How to downgrade from macOS: 2025 guide
▼ Key takeaways
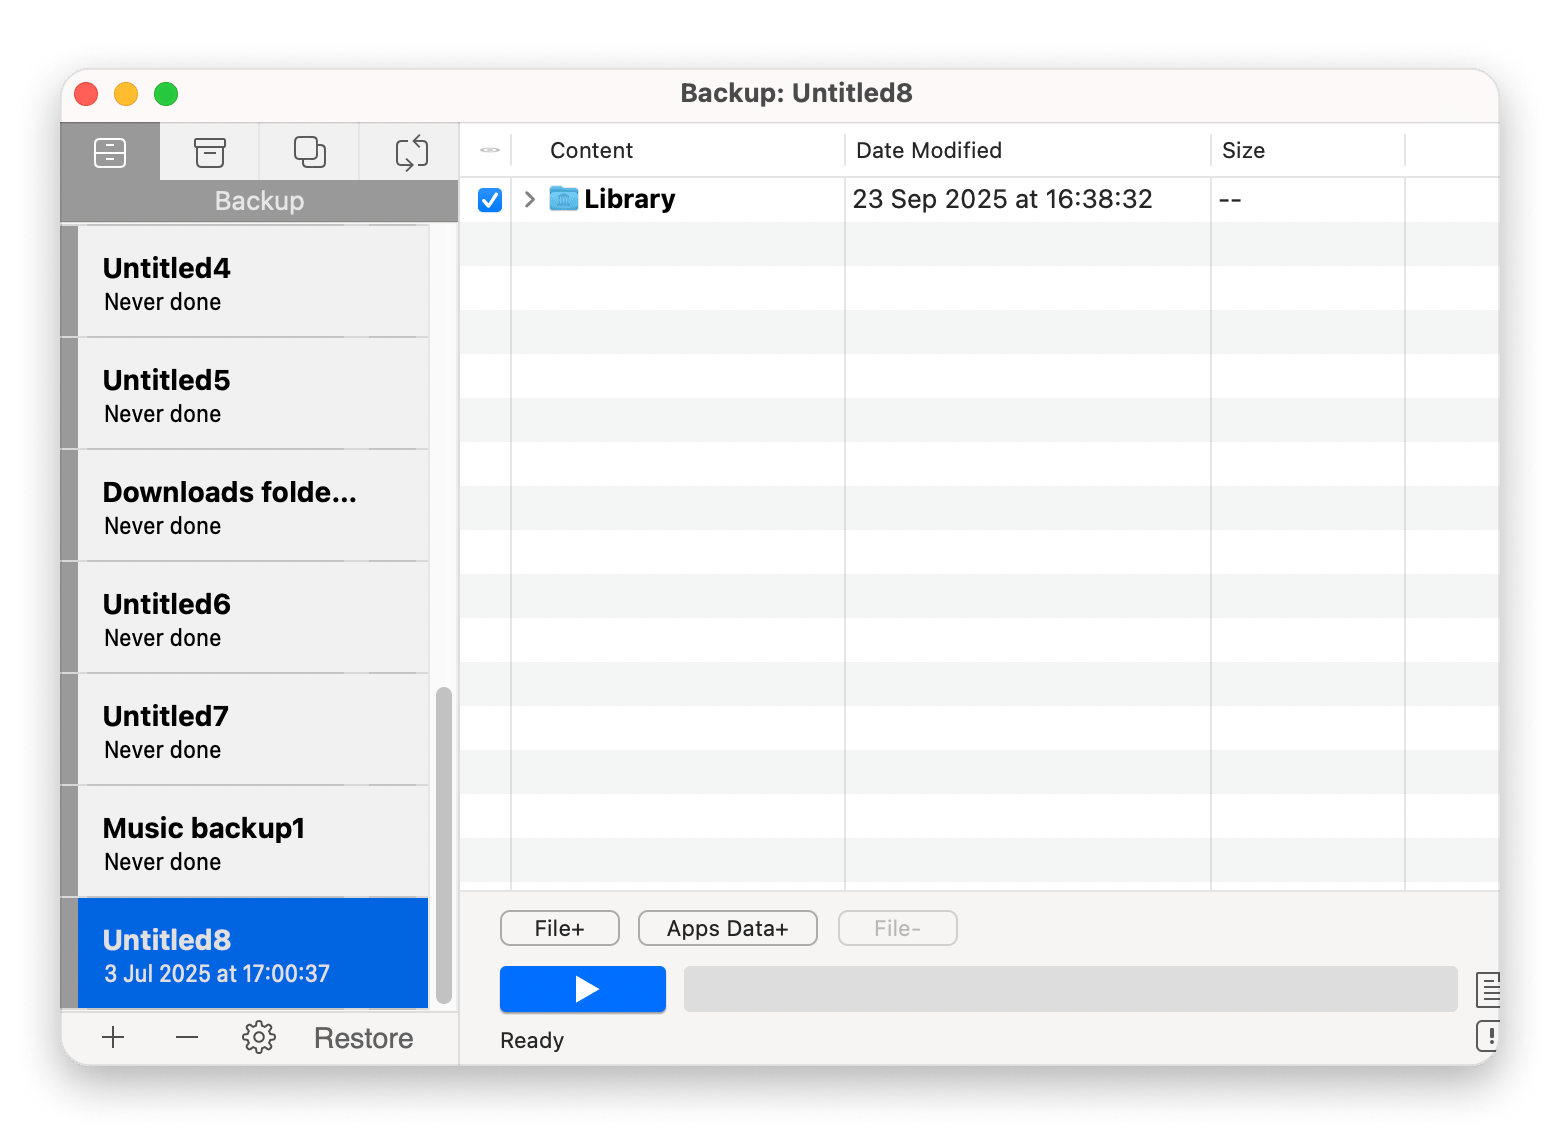
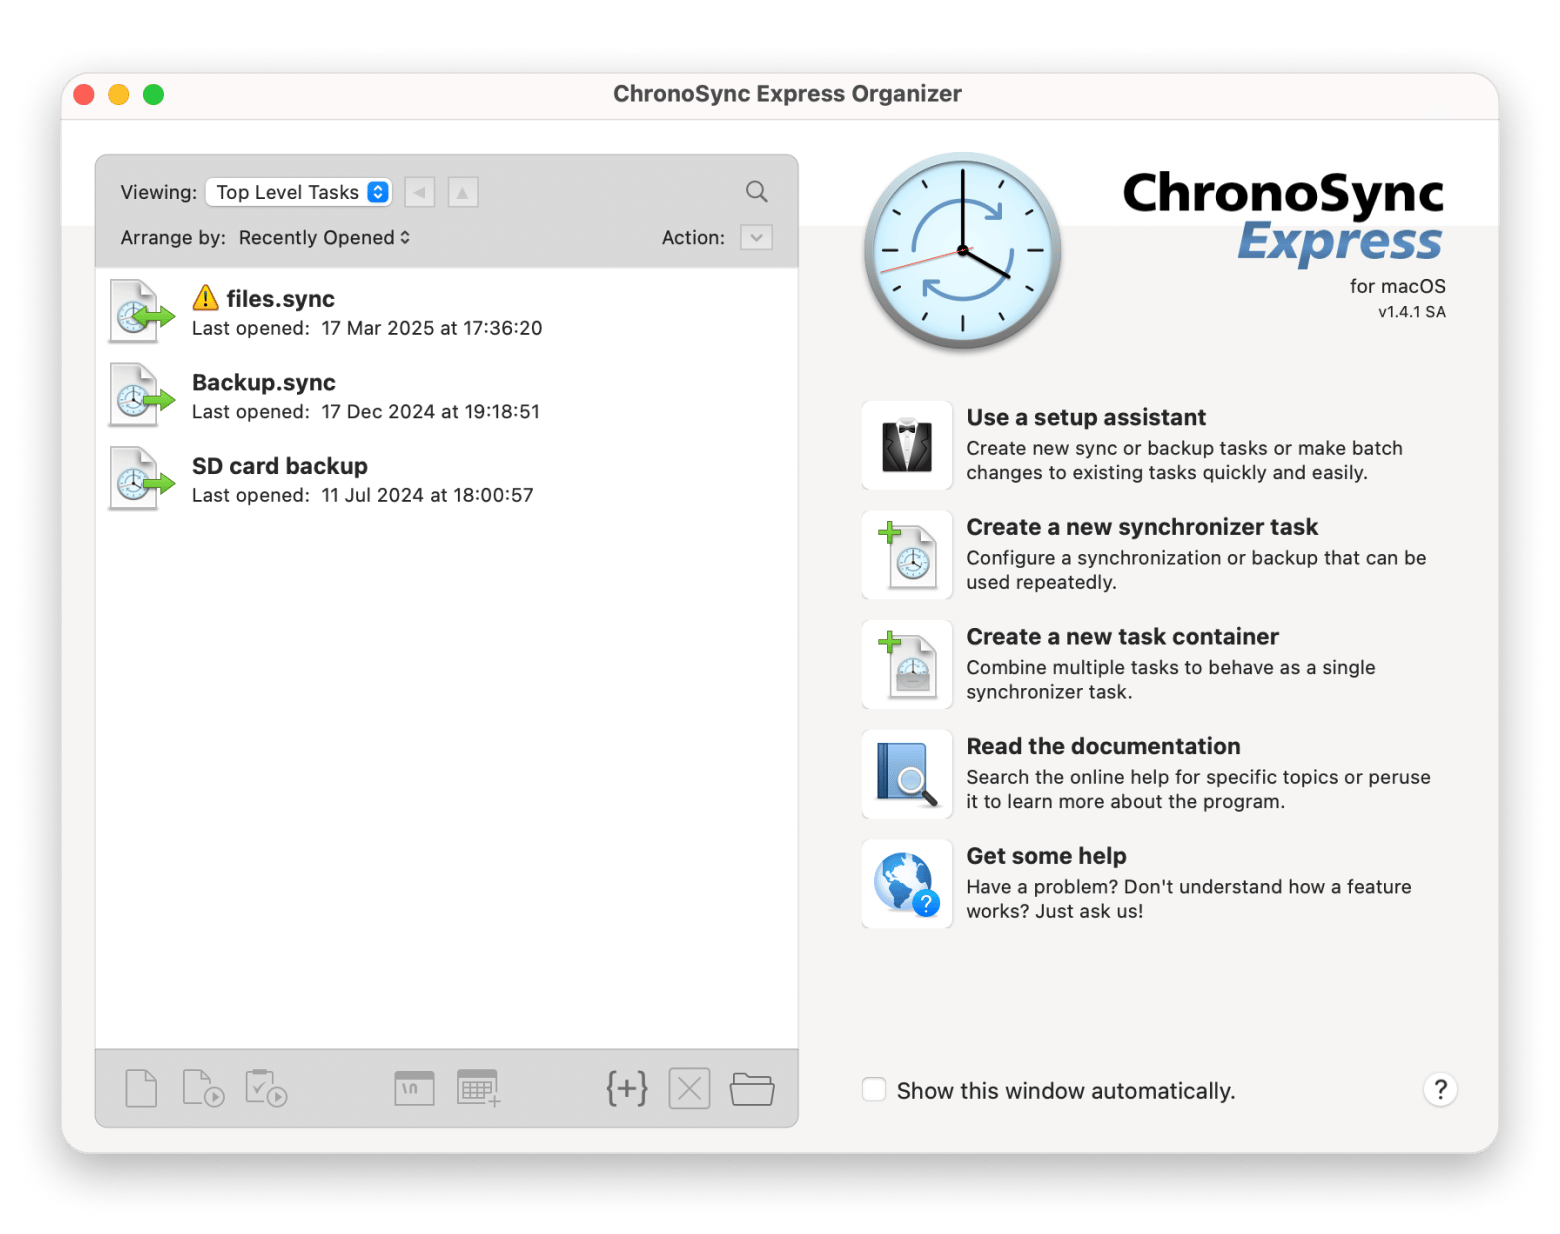
- Back up before you downgrade: Use Time Machine for a full system backup or apps like Get Backup Pro or ChronoSync Express for a bootable clone. Also, export Photos if iCloud isn’t turned on, and make sure cloud files have finished syncing.
- Check compatibility first: Confirm that your Mac can run the older version of macOS and make sure your essential apps will work properly before erasing your disk.
- Choose the right downgrade method: You have three main options: restore from a Time Machine backup, use a bootable USB installer, or reinstall the original macOS via recovery mode. Pick the one that matches your backup situation and comfort level.
- Restore apps and files carefully: After downgrading, use Migration Assistant or your backup tool to bring back only what you need. Reinstall apps manually to avoid clutter and copy files back from cloud storage or external drives.
- Make the process smoother with Setapp tools: Apps like Get Backup Pro and ChronoSync Express help create safer backups, bootable clones, and organized restores. You can try these and 250+ other apps with Setapp’s 7-day free trial to downgrade macOS with confidence.
Downgrading macOS might seem like a step backward, but when a new update falls short of expectations, it can be the smartest move.
Whether you upgraded to Sequoia, Ventura, Sonoma, or another version, the latest isn’t always the greatest. The good news? You don’t need to be a tech expert to take back control. While there’s no magical “undo” button, there are several reliable ways to roll back your system.
Preparing for a macOS downgrade
Before downgrading macOS, protect your data and prepare carefully with this checklist:
Back up everything: Use Time Machine to clone your Mac onto an external or network disk. If you want extra safety, download Get Backup Pro to make a bootable clone.

- Use external drives or cloud storage: Transfer photos, videos, and documents to a USB thumb drive or upload them to a cloud service like iCloud, Google Drive, or Dropbox. Do not proceed until you can open every file from its new location.
- Check compatibility: Don’t assume your Mac can run older macOS. Go to Apple Support, put in your model, and confirm compatibility. Test your must-have apps on that version before you downgrade.
- Prepare the installer: If you’re using a USB installer, get a 16 GB (or larger) thumb drive and download the macOS installer ahead of time. Have it plugged in and ready before you erase your disk.
Backup your Mac
Time Machine is the easiest way to back up your Mac. It copies your entire system at once so you can restore it in one step. If you’d rather pick specific files or create a bootable clone, apps like Get Backup Pro or ChronoSync Express can help.

If you use Photos without iCloud turned on, export your latest albums and edits to an external drive before erasing your Mac. Also, write down any license codes, serial numbers, and custom app settings you’ll need later.
Finally, open Dropbox, Google Drive, or your preferred cloud service and wait until every file finishes syncing. Anything still uploading could be lost during the downgrade.
Methods to downgrade macOS
There’s no one-size-fits-all way to downgrade macOS. The right method will vary, depending on whether you have a backup, access to another Mac, or feel comfortable erasing your drive. Here are the three most reliable options: Time Machine backup, bootable installer, and macOS Recovery Mode.
How to downgrade by restoring from a Time Machine backup
Here's how to bring your Mac back to an earlier version with Time Machine:
- Make sure you’re connected to your Time Machine backup drive.
- Boot into recovery mode:
- Intel Macs: Restart while holding Command + R until the Utilities window appears.
- Apple silicon Macs: Shut down, then press and hold the power button until you see Loading startup options. Choose Options > Continue to open Utilities.
3. When the macOS Utilities screen appears, choose Restore from a Time Machine Backup. Click Continue.
4. Select the backup created just before your upgrade and allow your Mac to restart.
5. Click the Time Machine icon in the Finder menu bar and choose Enter Time Machine after your Mac restarts.
6. Browse to the desired backup point, select the files and folders you need, and click Restore.
7. Use Get Backup Pro (or your cloning tool) if you did a clone rather than a Time Machine backup.
8. Manually drag in anything stored only in iCloud Drive, Dropbox, Google Drive, or on an external disk.
9. Reinstall applications.
How to downgrade using a bootable installer
If you already have a bootable installer for the macOS release you want, simply plug it into your Mac, restart from it, erase your startup disk, and run the installer to roll back. If you don’t have one yet, follow the steps in this guide on how to create a bootable USB on a Mac. You’ll need a 16 GB (or larger) USB drive and access to the correct macOS installer file.
Keep in mind that very old installer builds aren’t always available in the App Store. You may need to download them from Apple’s support website or use a secondary Mac that already has the installer in its Purchased list.
Once you’ve made your bootable install disk, follow these steps:
Insert your USB installer and restart your Mac from it.
- Intel Macs: Hold the Option key at startup and pick the installer drive.
- Apple silicon Macs: Hold the power button until Loading startup options appears, then select the USB installer.
2. Launch Disk Utility, click on the disk with the OS on it (the disk, not just the volume), and click the Erase tab.
3. Choose Mac OS Extended from the Format menu, then give the disk a name. Click Erase.
4. Restart and wait for the macOS Utilities window to appear.
5. Choose Reinstall macOS and select the disk you just erased – your Mac’s regular startup disk. Follow the onscreen instructions and wait for your Mac to restart.
6. Ignore the option to migrate data from a backup when it restarts.
7. Reinstall the backup tool you used to back up your Mac before you upgraded, and then use that to restore data from that backup.
How to downgrade via macOS recovery mode
This is your best route if you want to revert to the original macOS your Mac shipped with. It's quite straightforward, and all you need is a stable internet connection and your Mac.
Here's how:
- Restart your Mac and hold down Shift + Option + Command + R. This simple command tells your Mac that you want to reinstall the original macOS version it came with (or the closest version still available).
- Give your Mac a moment to load your macOS Utilities.
- Open Disk Utility on the next screen, select your main drive, and erase it.
- Return to the utilities window and choose Reinstall macOS. From there, you’ll find only the option to reinstall the macOS version that shipped with your Mac.
- Follow the prompts to reinstall the original macOS version.
Restore apps and files after a downgrade
After downgrading macOS, your Mac is fresh and faster, but now it’s time to restore your apps, files, and settings. This is also a great chance to reorganize and optimize your system.
Restore from Backup
- Reconnect your backup drive if you used Time Machine or a third-party backup tool like Get Backup Pro.
- Open Migration Assistant from Applications > Utilities.
- Choose From a Time Machine backup (or your backup tool, if applicable) when prompted.
- Take your time to scan your backup files. Choose exactly what you want to restore. Use this opportunity to take out the productivity killers.
- Follow the on-screen prompts to complete the transfer.
Reinstall apps manually
For a fresh start, reinstall apps manually from the Mac App Store or developers’ sites. It takes more time but helps eliminate old, bloated software. Your Mac will run smoothly with fewer background processes. Keep essential installers and license keys saved safely for easy access.
Restore files from the cloud or an external drive
For files not in your Time Machine backup or stored in the cloud, copy them back thoughtfully. Create fresh folders and organize logically to avoid clutter. Restoring after a downgrade is your chance to reset and keep your Mac tidy from day one.
Downgrade macOS with confidence
Downgrading macOS doesn’t have to be stressful. Whether you use Time Machine, a bootable installer, or recovery mode, you can safely roll back to a version that works best for you.
Just make sure to back up your data first and restore your apps and files afterward. With tools on Setapp like Get Backup Pro and ChronoSync Express, you can make the process smoother and keep your Mac organized every step of the way. You can try these and 250+ apps on Setapp free for 7 days and get the tools you need to downgrade macOS safely and efficiently.
FAQs
Can I revert my Mac to a previous version?
Yes, you can revert your Mac to a previous version. You’ll need to erase your macOS and reinstall the older version manually. The easiest way is to use a Time Machine backup made before you upgraded. Another option is to use a bootable installer of the older macOS version or revert to your Mac’s original OS via macOS recovery mode.
How do I revert to the original OS on Mac?
You can revert to the original OS on Mac using macOS recovery mode:
- Restart your Mac while holding Shift + Option + Command + R.
- Open Disk Utility and erase your startup disk when the Utilities window appears.
- Return to the Utilities window, click Reinstall macOS, and follow the on-screen instructions.
How do I get an older version of macOS?
To get an older version of macOS, you need to download the macOS installers directly from Apple’s official support site. Check first to see if the version is still available and compatible with your Mac model. If it’s not in the App Store, you may need another Mac to download the installer, create a bootable USB drive, and then install it manually on your main device.
How do I change my macOS version?
To change your macOS version, start by backing up your data to avoid losing important files. Then, create a bootable installer by loading the macOS installer onto a USB drive. Plug in the bootable drive, restart your Mac from it, and follow the prompts to install the desired macOS version. Once the installation is complete, restore your apps and files manually or using a backup.


