How to clear system storage on Mac
TL;DR:
- Check storage in System Settings > General > Storage.
- Free up space by emptying Trash, deleting unused apps, and clearing cache folders.
- Remove local Time Machine snapshots using Terminal.
- Delete old iOS backups from the MobileSync folder.
- CleanMyMac can automate cleanup, and iStat Menus helps you monitor storage from the menu bar.
- Use Get Backup Pro for custom backups and AnyTrans for iOS to manage and clean iPhone backups.
I checked my Mac’s storage and was surprised to see System Data taking up so much space. What exactly is that, and how do you clear it before it takes up all your storage space?
What is system data in storage?
System Data is an umbrella term for all files that aren’t part of any apps or utilities on your Mac, but also aren’t directly attributed to macOS.
This can include:
- Leftovers from applications you’ve deleted in the past.
- Cache files related to certain apps, system processes, or browser activities.
- App installers (i.e., DMGs) and other disk images.
- Extensions and plugins for various apps.
How to check system data on Mac
To check System Data on Mac:
- Open the Apple menu in the top-left corner.
- Choose System Settings.
- Click General in the sidebar.
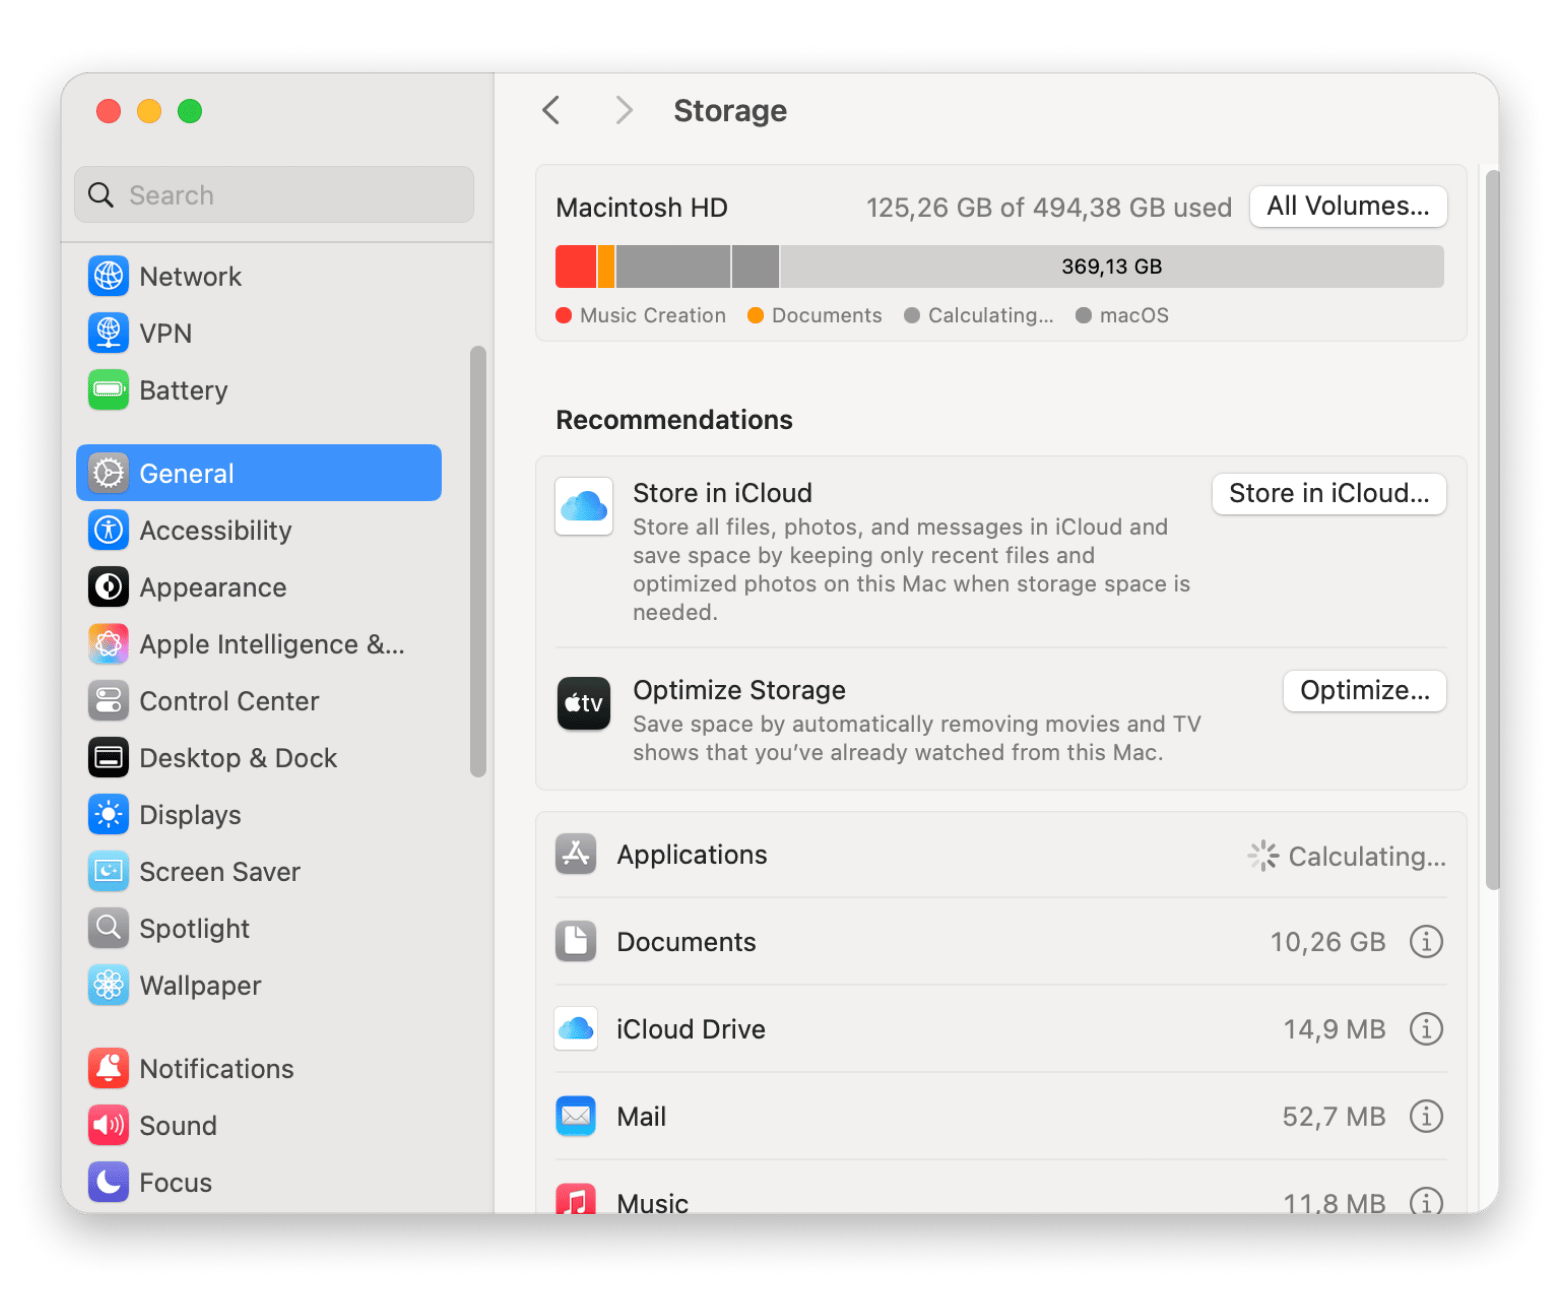
- Choose Storage on the right and wait for the bar to load.
- Hover over the dark-gray slice (or scroll down) to view your System Data size.
Why is System Data so big?
System Data usually doesn’t take up too much space, but if it starts occupying dozens of gigabytes, it can mean one of these things:
- There are too many temporary cache files on your Mac, which are usually generated by third-party apps.
- You’re not properly ejecting disk image installers.
- Some apps you’ve deleted in the past might still have leftover files hanging around.
- You have too many large Time Machine backup snapshots.
How to identify what’s taking up System Data space
To see which files and folders are using space in the System Data category, you can use a built-in method on your Mac through the Terminal app.
To check your disk space:
- Open Finder, then click Applications from the sidebar.
- Scroll down and open the Utilities folder, then double-click Terminal.
- Type in the command for the root directory cd /.
- Press Return.
- Type du -h -d1.
- Press Return, and this displays the size of each top-level directory in the root directory.
This will display the size of each top-level folder in the root directory (like /System, /Library, /private, etc.), which is where a lot of System Data is stored.. Try looking for G for gigabytes.
If you’d like to examine a specific directory, you can find it this way:
- Type cd /Users/your-username. Replace your-username with your actual username — no spaces unless in quotes.
- Run the du -h -d 1 command.
This will show you its contents.
Best ways to delete System Data on macOS Ventura & later
There are a few safe and effective methods to delete System Data on your Mac. Here are the best ways to delete cache files, remove old backups, uninstall unused apps, and more on macOS Ventura and later:
- Delete unnecessary files by emptying your Trash and removing files you no longer need from your Downloads.
- Clear your Cache by going to Finder > Go > Go to Folder: Type ~/Library/Caches and press Enter.
- Offload any unwanted apps by going to your Applications Folder and deleting any you don’t use.
- Optimize your storage by visiting System Settings > General > Storage, then choose Optimize Storage.
Remove old backups
If Time Machine is turned on, your Mac may store local snapshots that take up system space. To free up storage, start by deleting those snapshots.
Here's how:
- Launch Terminal.
- Type tmutil listbackups and press Return.
- Copy a backup name from the list.
- Type sudo tmutil delete followed by the pasted backup name.
- Press Return to confirm.
After that, delete any unnecessary local snapshots:
- Go to Terminal, type tmutil listlocalsnapshots / and press Return.
- Type tmutil delete localsnapshots followed by the name of the snapshot if a list of snapshots appears.
- Press Return.
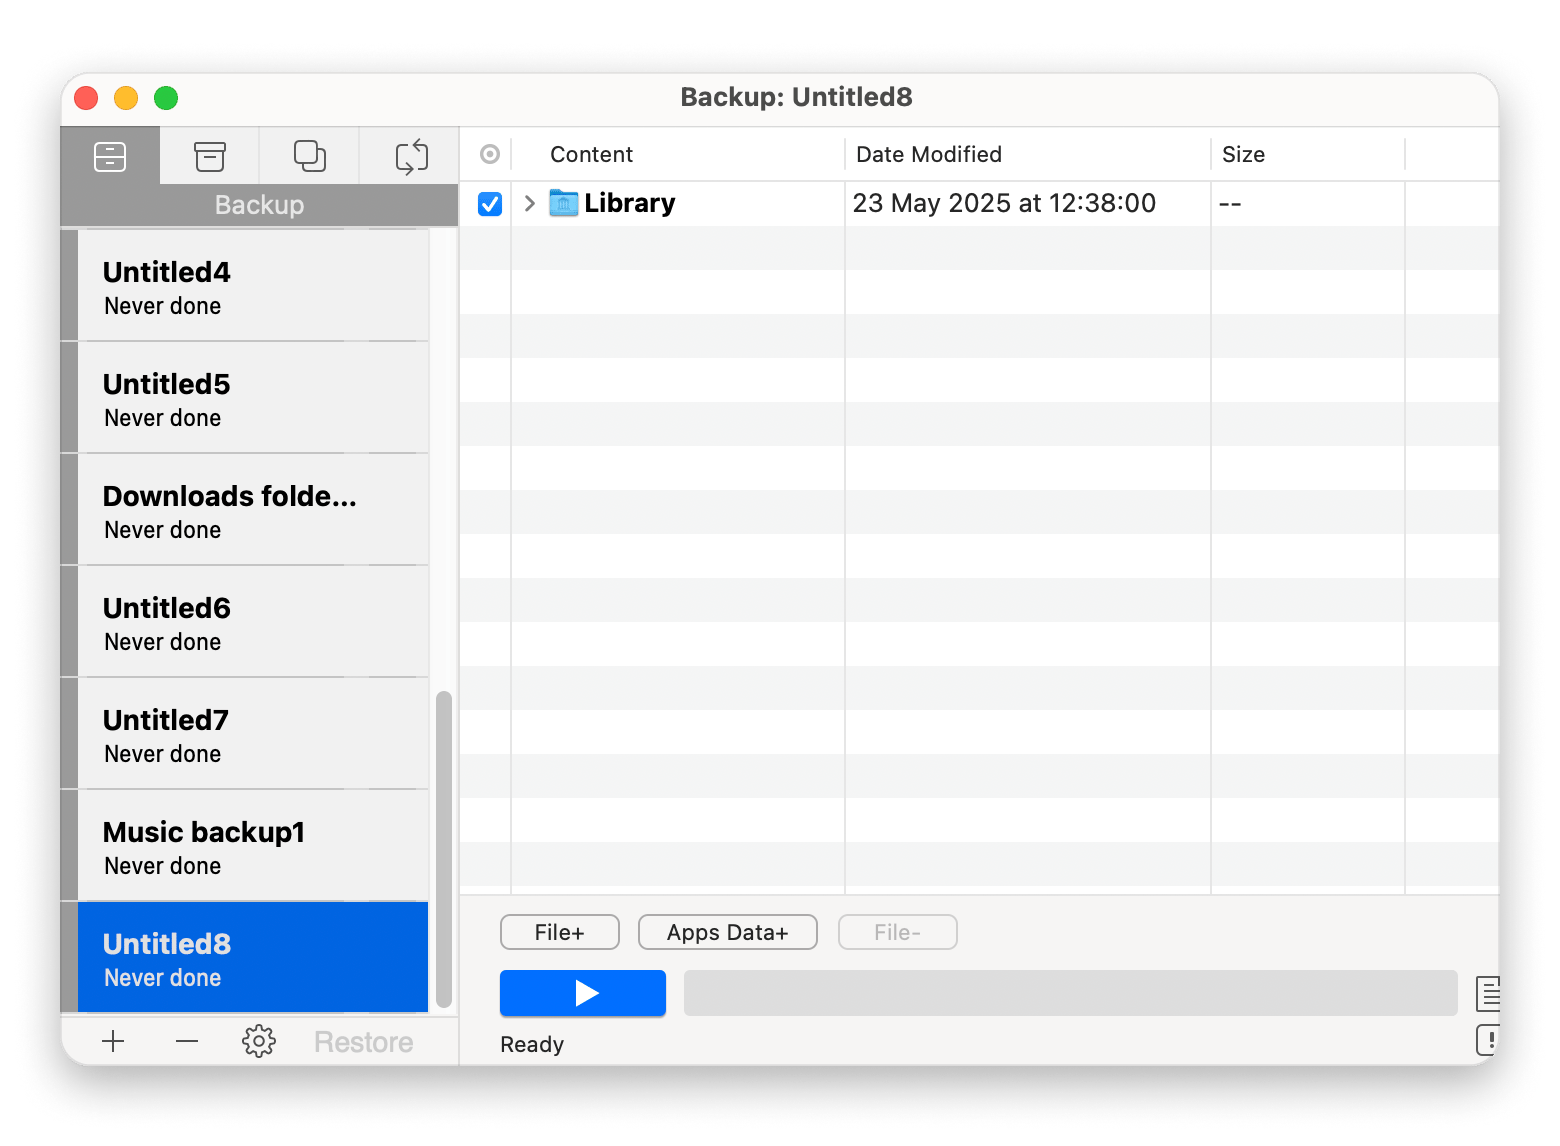
To avoid manually deleting Time Machine backups, try Get Backup Pro, a customizable backup tool that lets you choose backup methods, schedules, and files. It supports bootable clones, compressed backups, and easy recovery to any Mac.
Read also:
- Manage storage on Mac
- Reinstall macOS in recovery mode
- Quickly fix your MacBook keyboard not working issue
Automatically manage system storage with macOS tools
macOS has some handy built-in tools to help clear space. Let's look at some of them!
Clean iOS backup files stored on Mac
The first built-in option is Store in iCloud. This helps free up space by moving your files, photos, and messages to iCloud. The recent ones stay on your Mac, and the rest are stored in the cloud, ready to download when you need them.
Here's how:
- Open Finder.
- Click the Go menu and choose Go to Folder.
- Type ~/Library/Application Support/MobileSync/Backup and press Return.
- Browse the list of device backup folders (they’re named with long UUID strings).
- Select any backup folder you no longer need.
- Right-click the folder and choose Move to Trash.
- Empty the Trash to free up space.
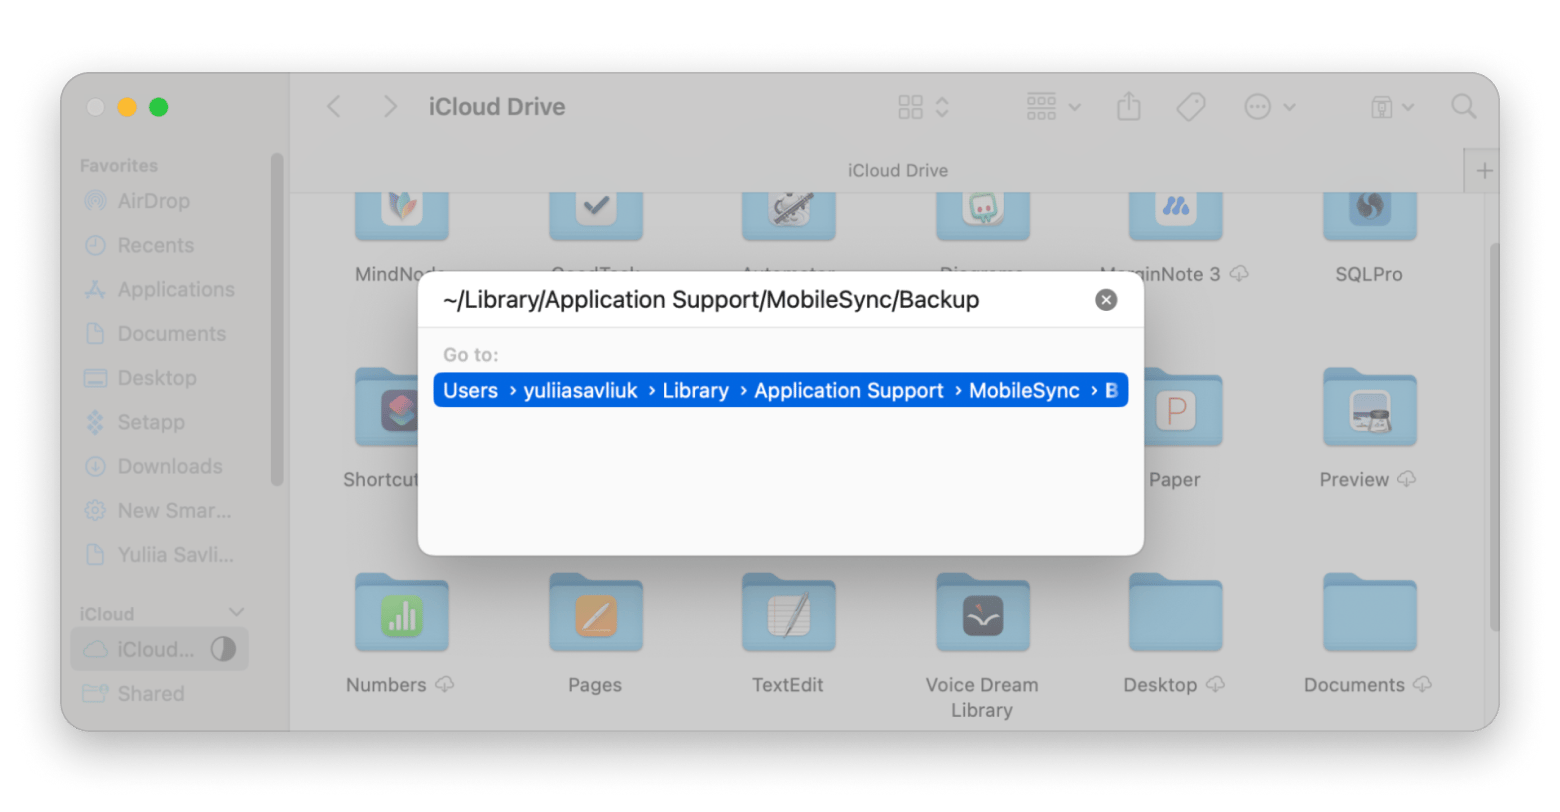
Only delete the specific backup folders you’re sure you won’t need. Removing the entire Backup folder will erase all of your local iOS backups.
Optimize storage
There’s a feature specific to the latest macOS versions called Recommendations. You can find it by going to System Settings > General > Storage.
If your Mac finds ways to save space, you’ll see a panel labeled Optimize Storage with suggestions on what can be removed or adjusted.
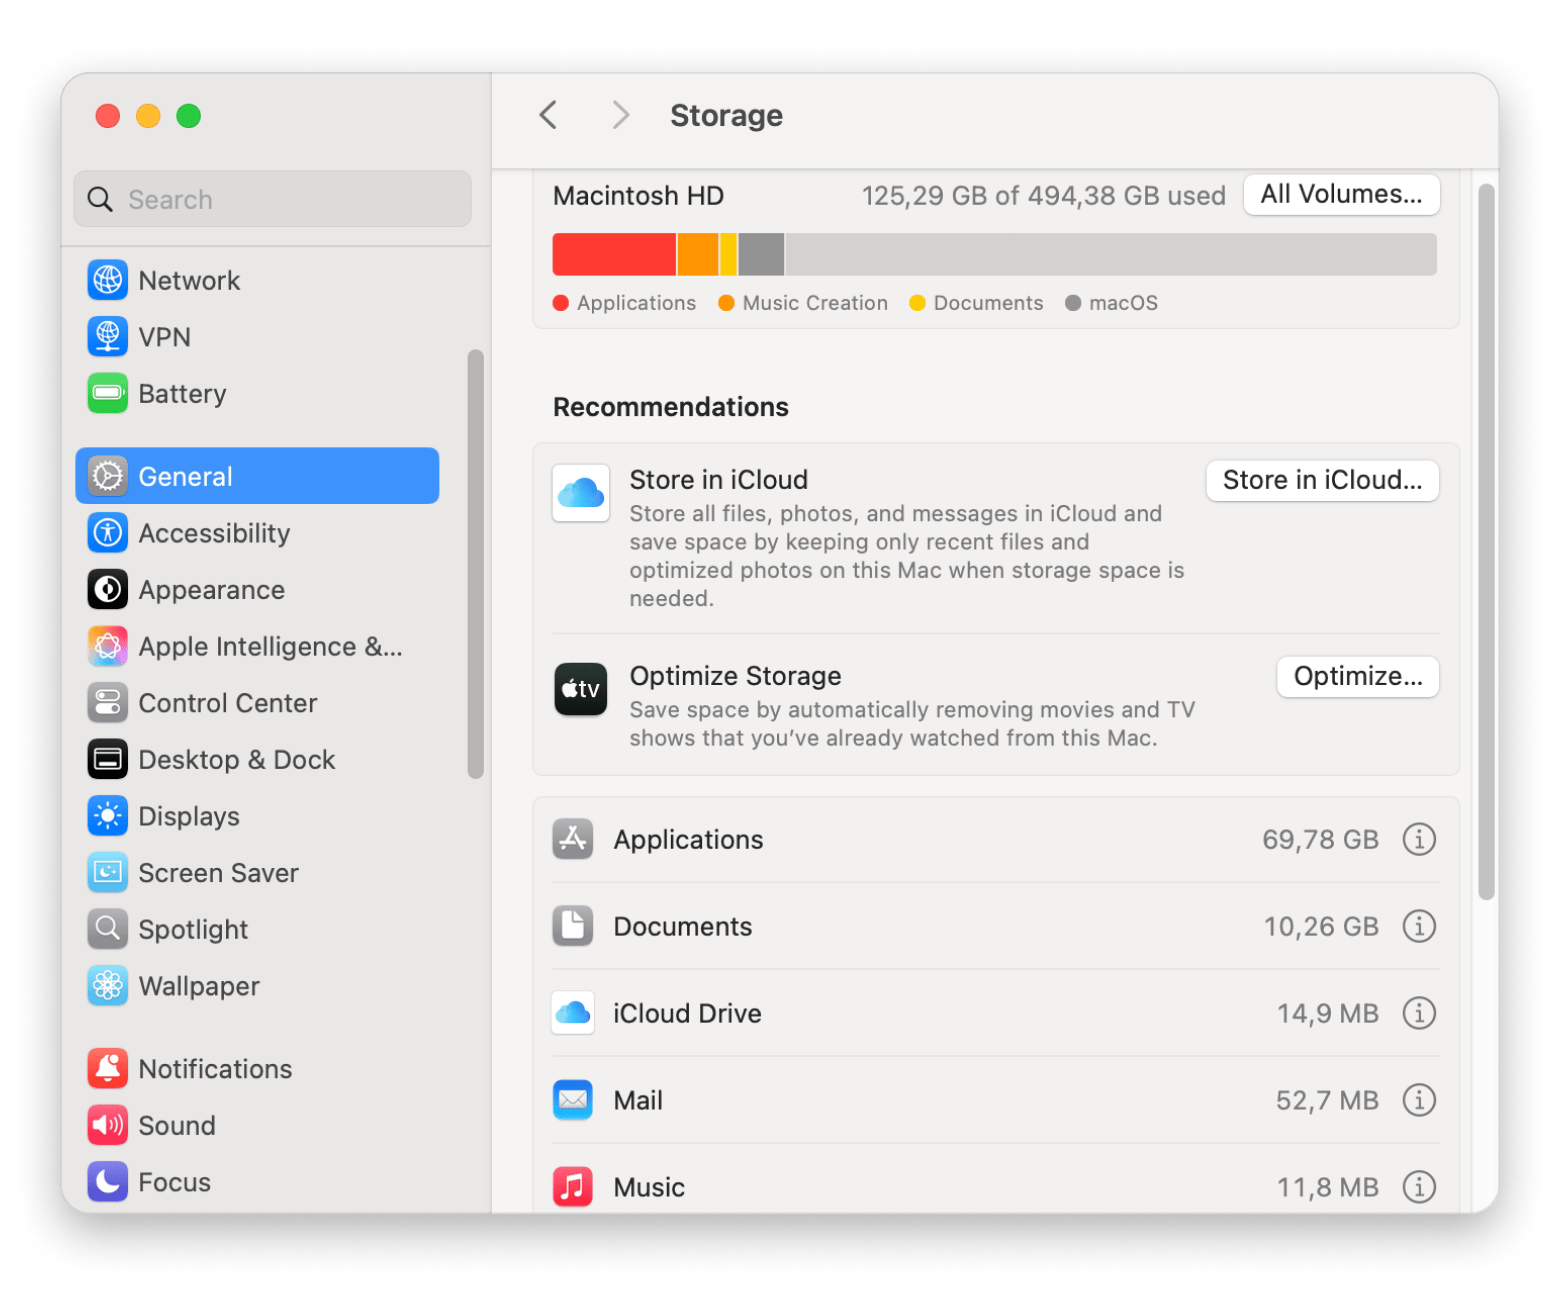
If the panel doesn’t appear, it probably means your system doesn’t have much unnecessary data to clean up right now.
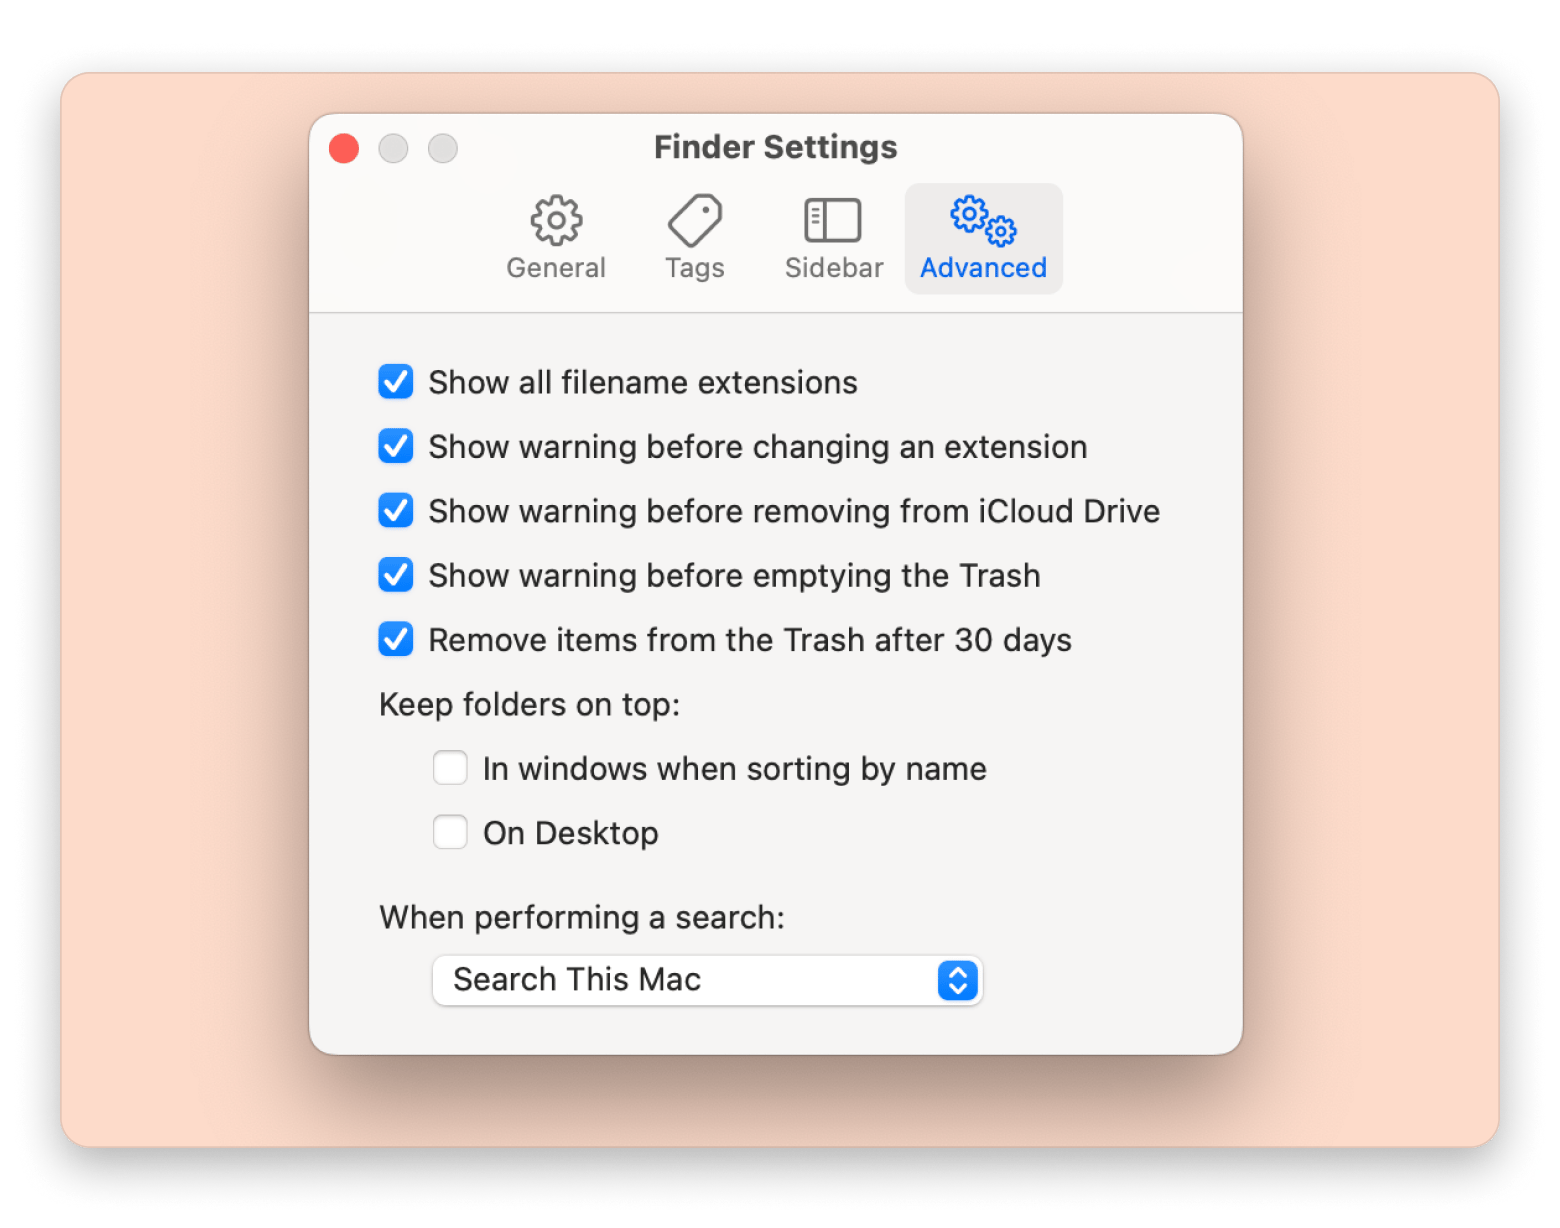
Empty Trash automatically
Over time, the Trash can quietly fill up with files you thought you deleted. This option automatically removes items that have been sitting in the Trash for more than 30 days. It's a simple way to prevent old junk from taking up valuable space without requiring you to remember to empty it yourself.
Here's how:
- Open and click Finder in the menu bar > Settings.
- Click the advanced tab.
- Select Remove items from the Trash after 30 days.
Reduce clutter
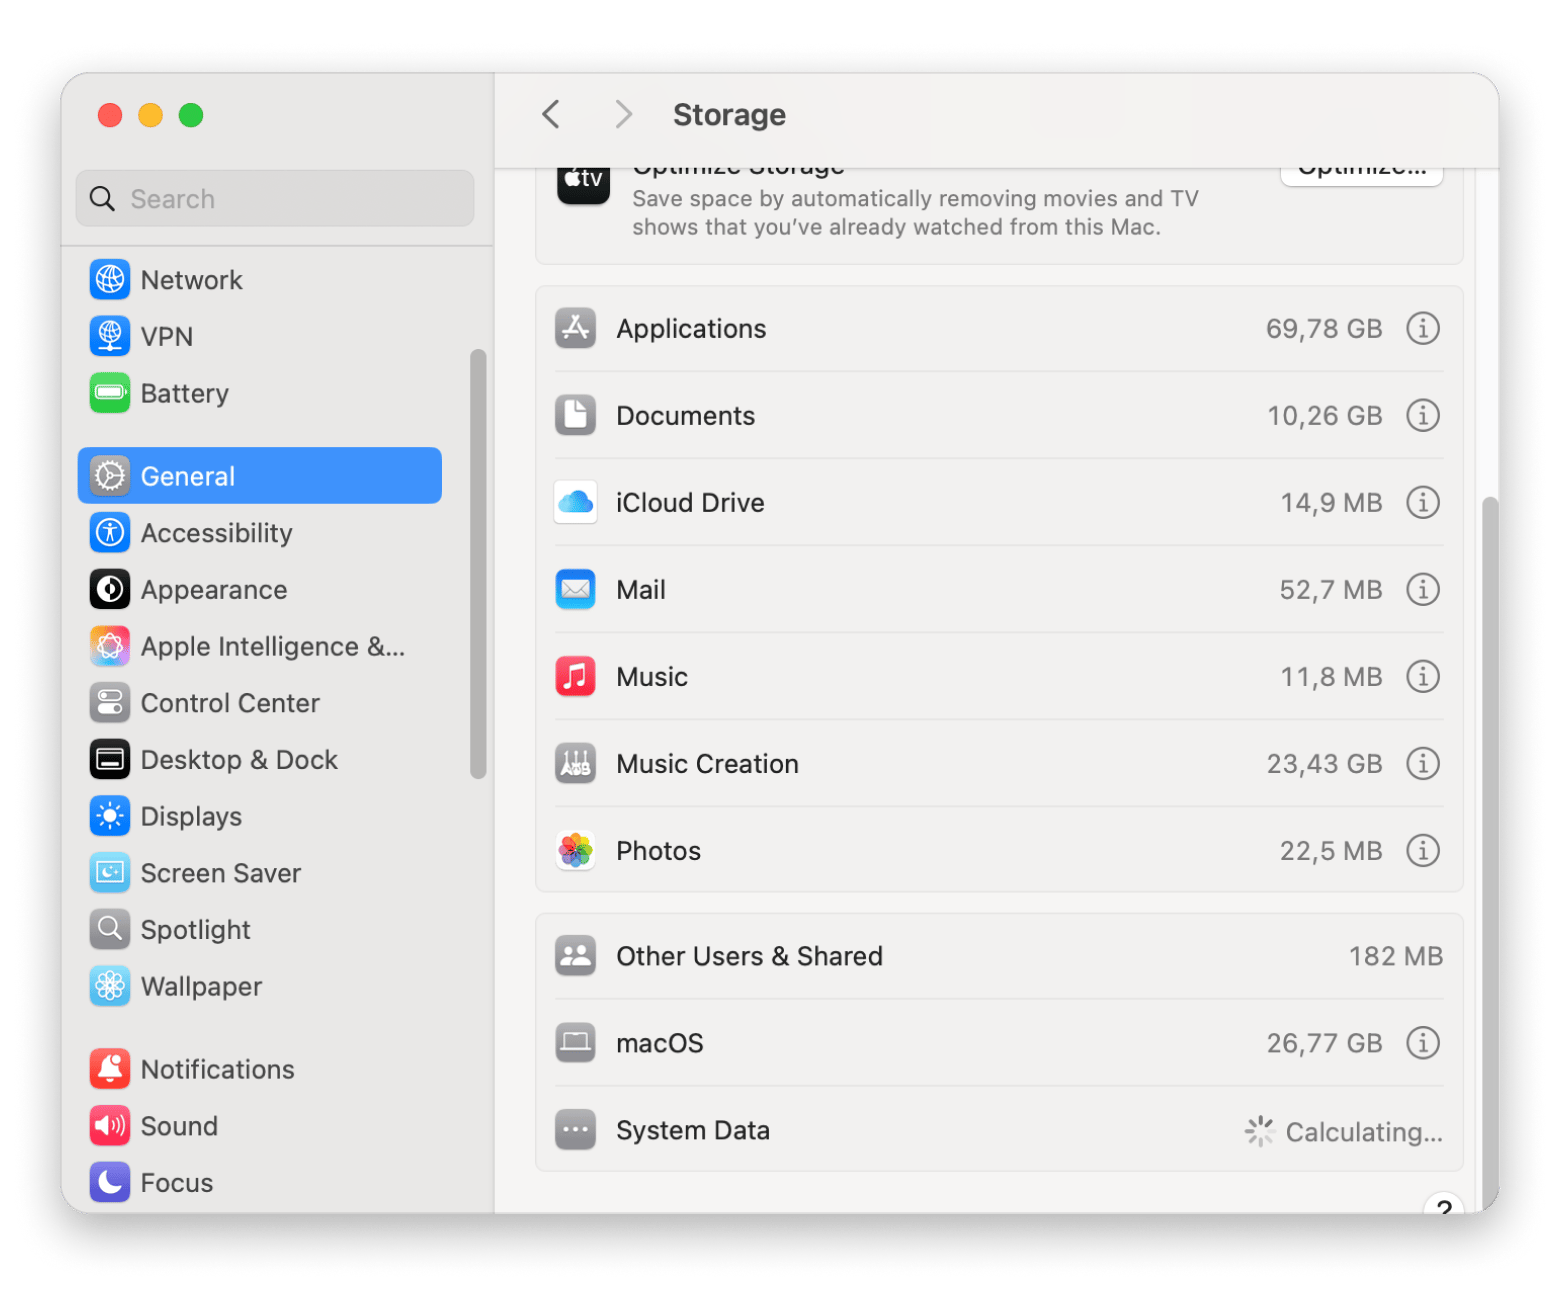
This tool scans your Mac for large files, old downloads, and apps you haven’t used in a while. It then presents you with a list of items to review and remove manually. This is a great way to find hidden storage hogs and take control of what stays and what goes.
How to use it:
- Open System Settings.
- Go to General > Storage.
- Browse categories like Documents, Applications, and iCloud Drive.
- Click the information icon next to each to view large files or rarely used items.
Clear system data manually
You can also reduce system storage manually. But be careful because deleting the wrong files can harm your Mac.
If you still want to remove leftover files from uninstalled apps, you can do that through the Application Support folder:
- Open Finder.
- Click Go in the menu bar and choose Go to Folder.
- Type ~/Library/Application Support and press Return.
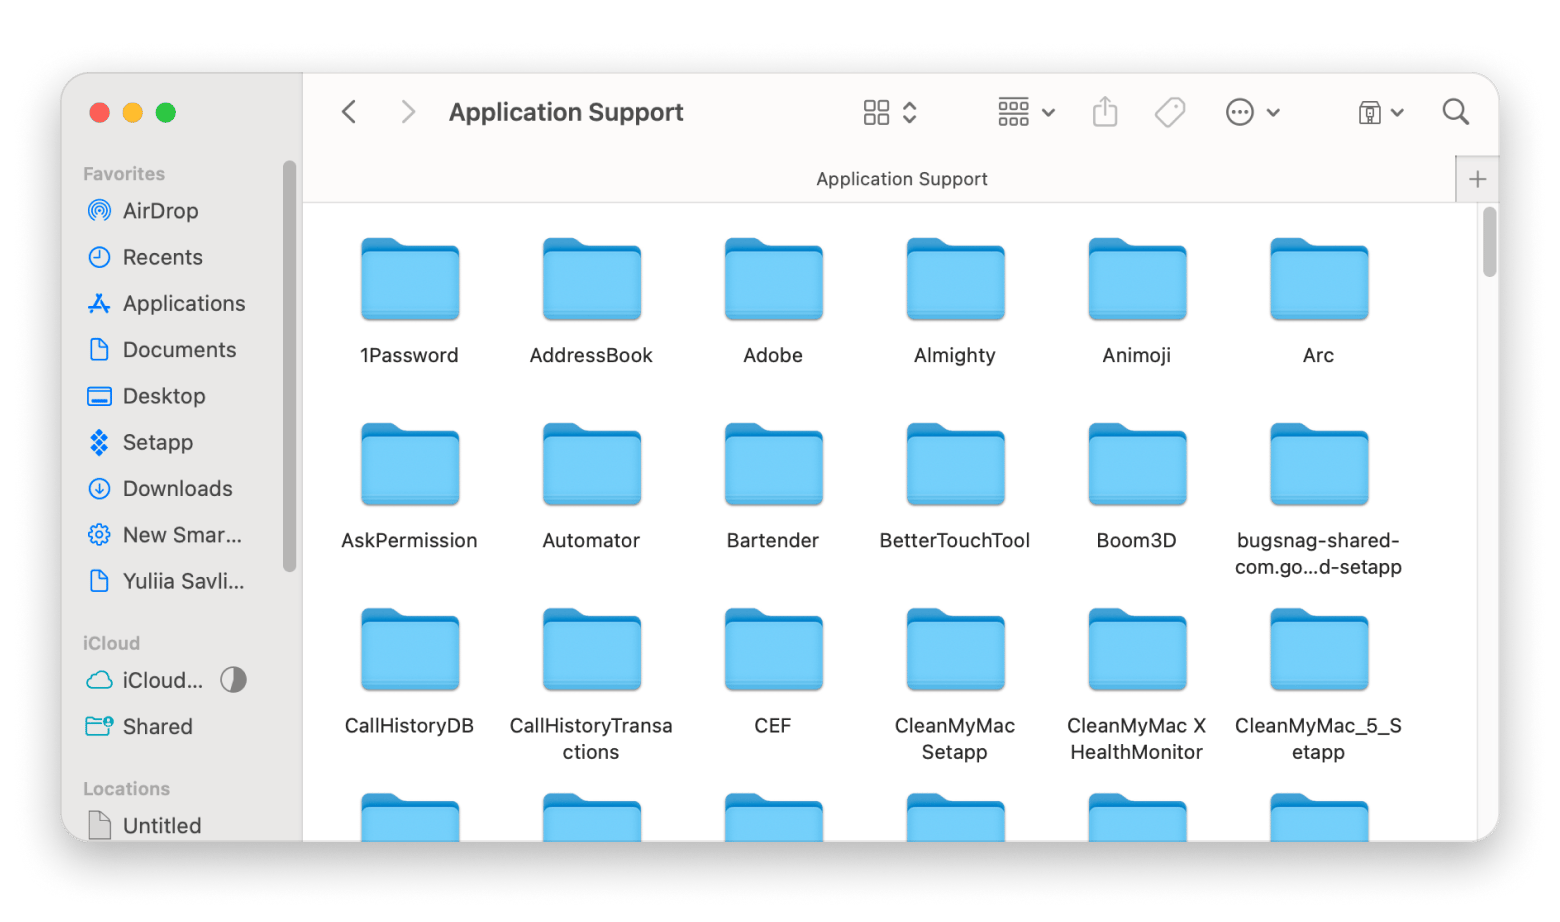
Find and delete any folders you’re sure are no longer needed.
Then, use the same pattern to visit and get rid of useless files in:
- ~/Library/Caches
- ~/Library/Logs
- ~/Library/Containers
- ~/Library/Cookies
Keep in mind, it’s always better to leave something in place than to delete it if you’re not sure.
How to clean up system data files in a few clicks
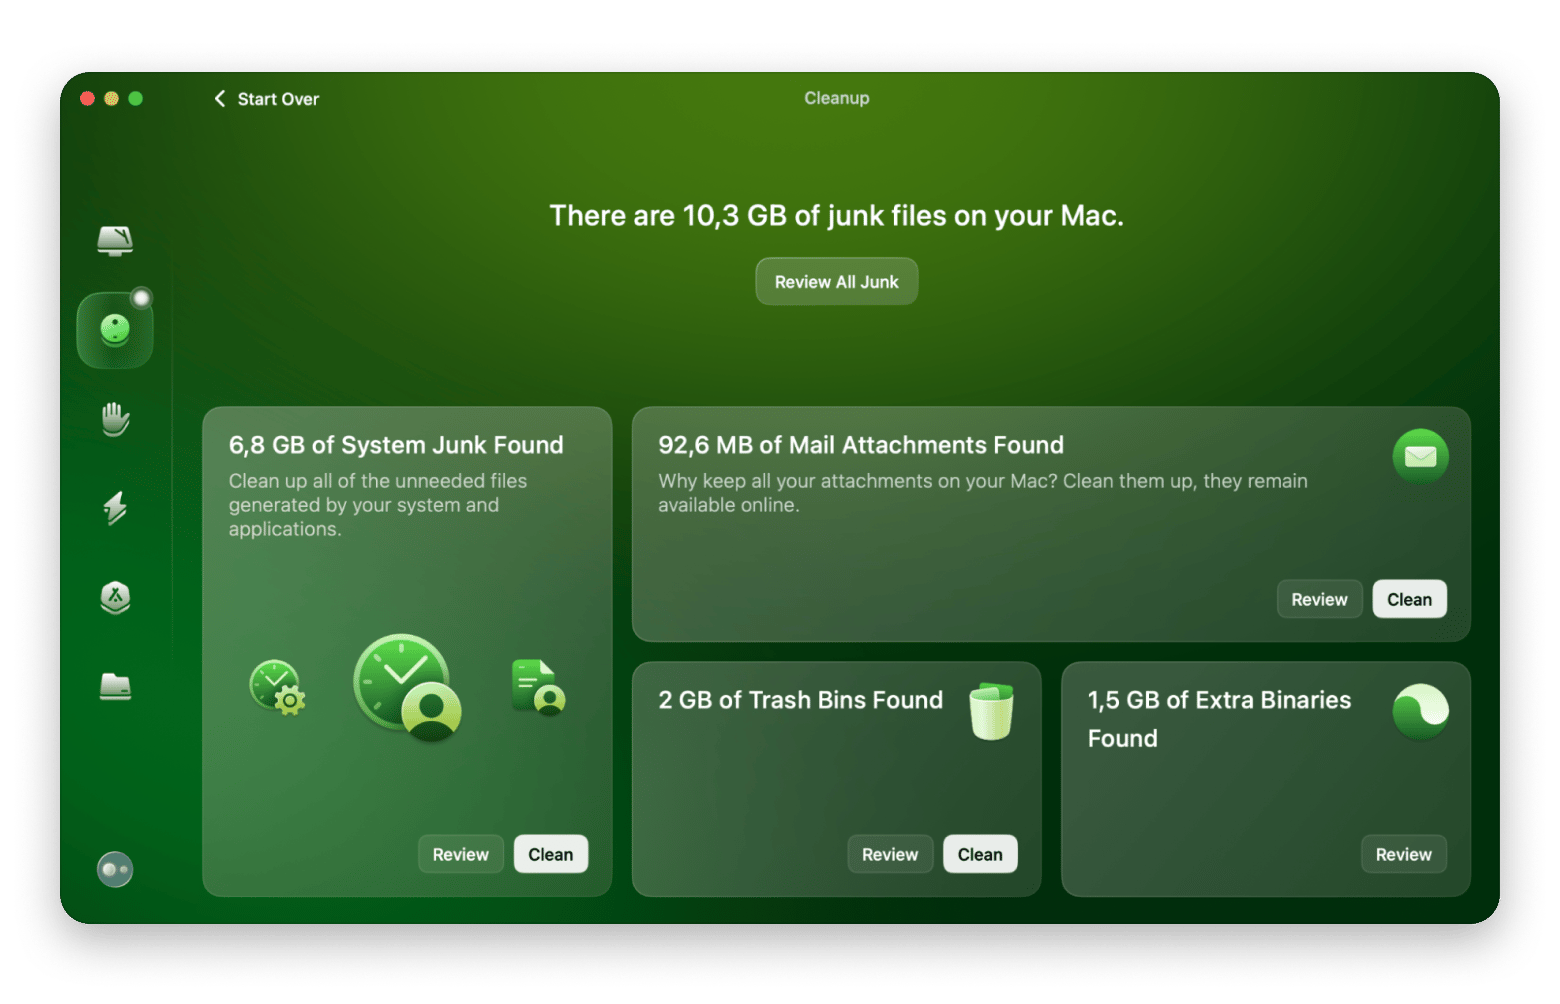
If you’d rather avoid sorting through system folders manually, there are tools that can help simplify the process. One example is CleanMyMac.
CleanMyMac is a powerful optimization software for Mac. It features various scans for improving different aspects of your Mac, from freeing up storage to removing malware or completely deleting apps. In just a few clicks, you'll free up tens of gigabytes.
Monitor storage on Mac from the menu bar
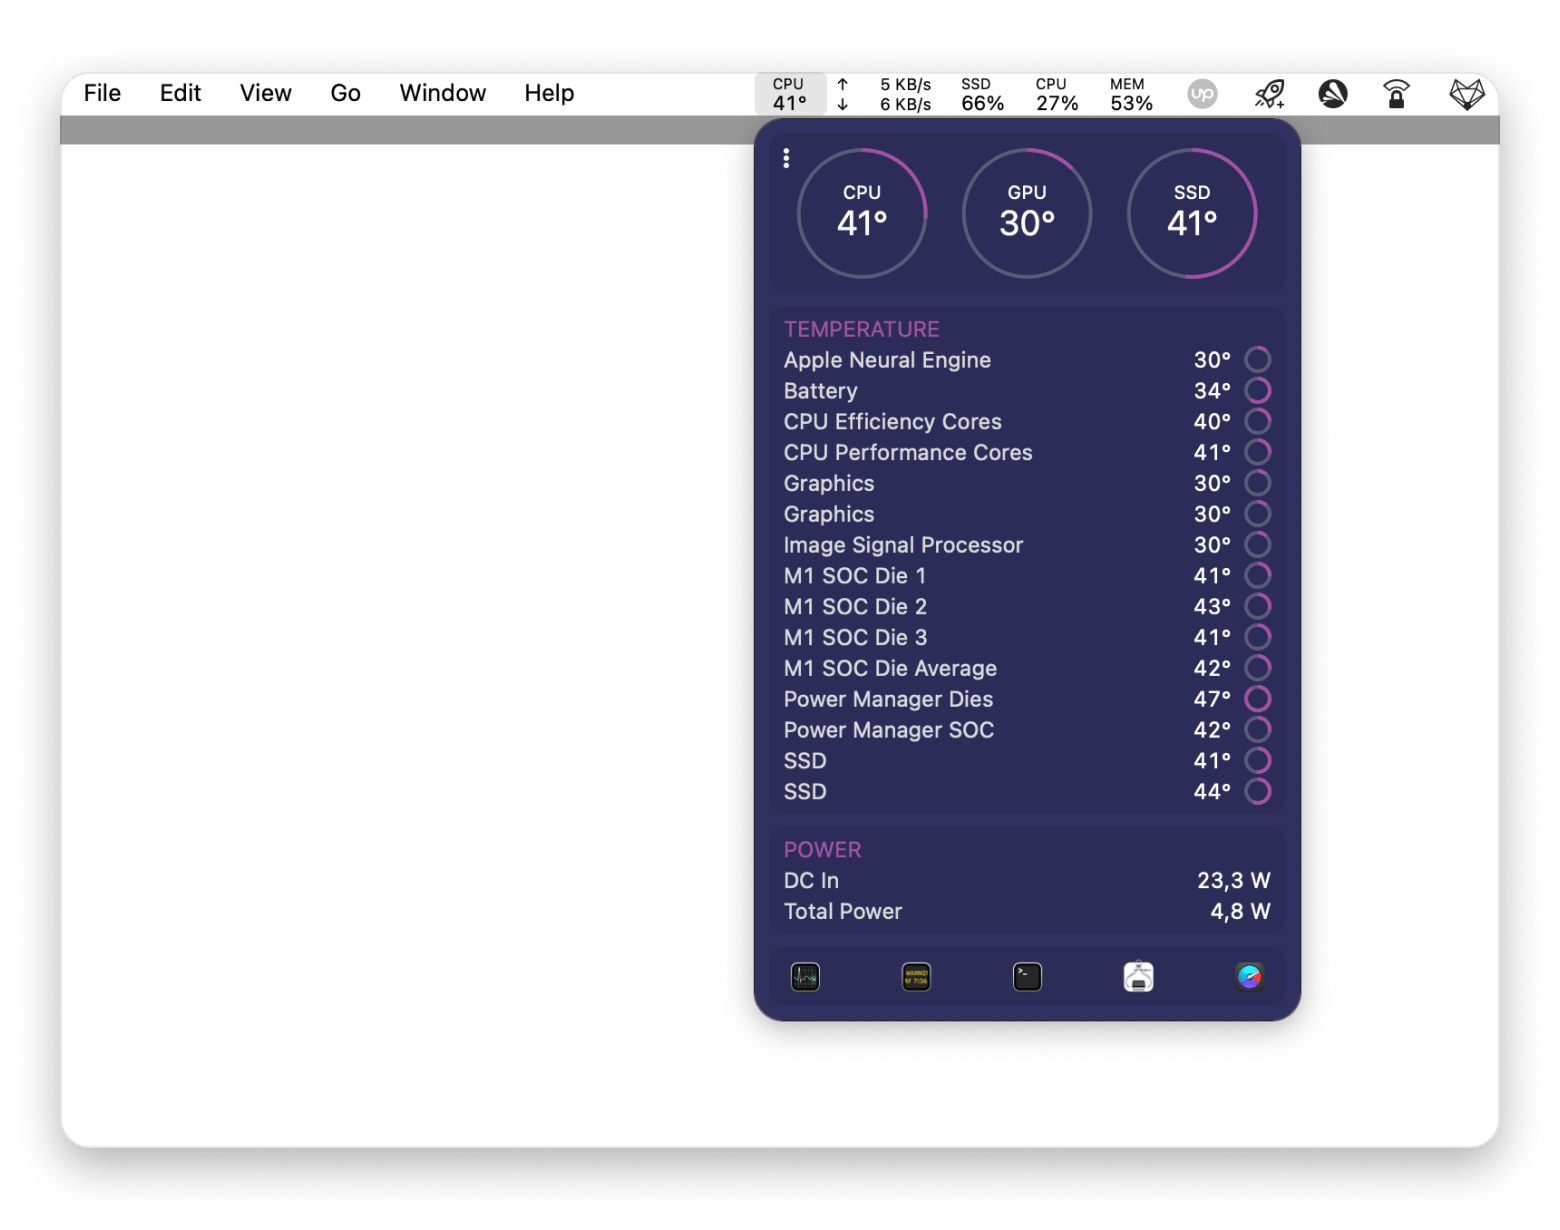
You can keep an eye on your free space right from the menu bar with a tool like iStat Menus. It shows your available storage, CPU load, RAM use, and more at a glance.
You pick which stats to display so it fits your workflow. When you spot a sudden dip in free space, you’ll know it’s time to clear out old files or caches. This simple setup helps you stay on top of your Mac’s health without digging through settings every time.
Scan, clean, and monitor your Mac system storage with ease
With the right steps, you can clear out old backups, delete cache files, and remove leftover junk, then keep an eye on your free space so it never gets out of hand again.
I covered a few handy apps: Get Backup Pro for custom backups, AnyTrans for iOS to manage your iPhone files, CleanMyMac to scan and remove system junk in just a few clicks, and iStat Menus to track storage, CPU, and RAM from your menu bar.
All of these tools are available on Setapp, a subscription service that gives you access to over 260 top-rated Mac and iOS apps. You can try them all free for seven days, so you can see which ones fit your workflow best.
FAQ
How do I clear my Mac system storage for free?
To clear your Mac system storage for free, empty the Trash, offload unused apps, clear caches, and manage large files. You can also use built-in tools like Optimize Storage and Store in iCloud under System Settings > General > Storage.
How do I clear the system on my Mac?
To clear the system on your Mac, you’ll need to erase all content and settings. Be careful, this process will completely wipe your Mac and remove all your data, restoring it to the state it was in when you first purchased it.
How do I clear my system storage?
To clear system storage on your Mac, start by emptying the Trash, deleting unused apps, and removing large or old files. Clear cache folders in your Library and check for leftover files from deleted apps. You can also use built-in storage tools under System Settings to manage space more easily.
How to reduce Apple system storage?
To reduce Apple system storage, check your Mac via System Settings > General > Storage to see what’s taking up the most space. Decide what you can and can’t get rid of, such as unused applications, larger files and photos, or emails and messages.


