The BEST mind mapping software for Mac I'll keep using to structure my ideas in 2026
Note-taking and decision-making are a part of my daily work. I’m grateful to a senior who introduced me to mind mapping software. But at the start, I would waste a lot of paper, pens, and time on note-taking.
Since then, I’ve tried all kinds of mind mapping tools while working with different teams and clients. After a lot of experimenting, I’ve finally narrowed it down to the 7 best ones.
Best mind mapping software to use in 2026
Mind maps let you visualize your thoughts and new ideas for better decision-making. Mind mapping allows you to organize scattered thoughts and notes into clear, visual diagrams. Let's say you're making a mind map about product development. You write "Product Development" in the middle. Then, you add branches that each point to sub-ideas, including new features, market trends, customer feedback, and competitor analysis.
Mind maps are typically used for:
- Brainstorming and ideation
- Ideas visualization
- Project planning and management
- Taking notes
- Making decisions
- Setting goals
In a nutshell, mind maps are perfect whenever you need to organize your thoughts and see the bigger picture at a glance.
Now that we know all the benefits of mind mapping, let’s review the seven top mind map makers I’ve shortlisted for you:
| What's the app? | Key things you should know | Price? | What is it best for? |
|---|---|---|---|
| MindNode Classic | Clean interface, Apple-friendly, syncs well across devices, but not great for collaboration. | Included in Setapp (free 7-day trial available) | Brainstorming ideas |
| MarginNote | Ideal for research and study with visual tags and flashcards, but features feel limited. | Included in Setapp (free 7-day trial available) |
Studying & taking notes |
| Diagrams | Simple and customizable for basic mind maps, but may not suit professional needs. | Included in Setapp (free 7-day trial available) |
Visualizing ideas |
| ClickUp | Feature-rich with real-time collaboration and templates but has a steep learning curve. | Free version available. Paid plan from $7/month | Project management features |
| Coggle | Beginner-friendly and flexible with real-time collaboration and Google Drive backup, but not suited for complex maps. | Free with paid plan from $5/month | Beginners who need a simple yet flexible mind map |
| XMind | Versatile with multiple structures and templates, great for brainstorming, but no real-time collaboration in the free plan. | Free with paid plan from $4.92/month | Planning complex projects |
| Miro | Powerful for team brainstorming and presentations, with many features and templates, but limited free plan. | Free with paid plan from $8/month | Projects where visual collaboration and innovation are critical. |
MindNode Classic: Comprehensive mind mapping app for Mac and iOS
If you're an Apple user, then MindNode Classic might be the best app for you to visualize ideas. It comes with a giant canvas to draw and connect your ideas like any other mind mapping software. The difference with other tools is that you get a detailed tutorial upfront, so even if you're a beginner with no prior experience, you'll quickly get the hang of it.
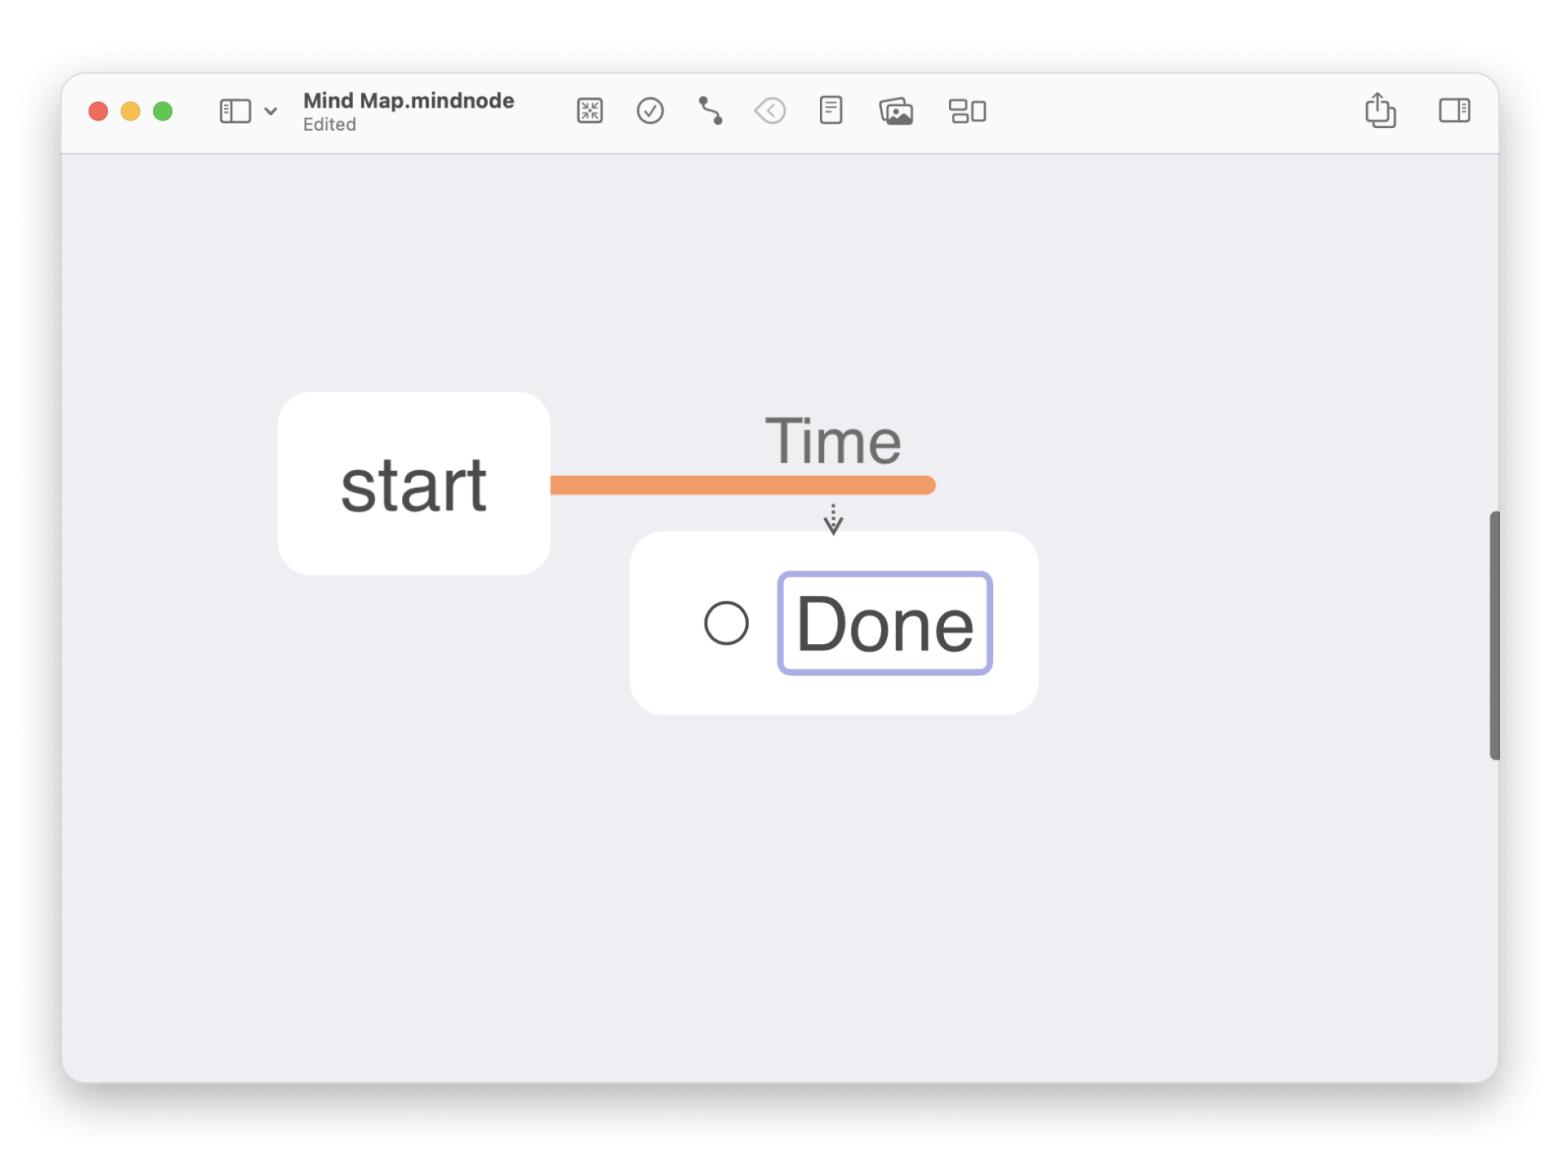
As soon as you launch it, you’ll see a blackboard where you can add images, blocks, emojis, and many more elements. The key differentiator is its focus mode, which spotlights the current branch and fades out the rest. If you’re a night owl (like me), you get the Dark mode for brainstorming.
As for styling, MindNote offers out-of-the-box themes and 260+ custom stickers. Once done, you can easily share the mind map with Apple Reminders, Things, or OmniFocus. You can even export your idea as text, image, and many other file formats.
MindNode Classic has over 1,600 ratings on Setapp, and an impressive 99% of them are positive. Users absolutely love this app: "Great mind mapping app! I’ve found it really helpful for talk preparation—cuts down my prep time by helping me focus on expressing ideas succinctly, mapping the flow of thoughts and not getting bogged down in trying to be ‘word perfect’."
Sounds cool, right?
The good stuff:
- Minimal, clean, and intuitive interface
- Syncs easily across Apple devices
- Collapse and expand nodes
- Adjust font size, style, and color as per your choice
- Customize notes with images (even your own images), links, and stickers
- Siri Shortcuts workflow automation
The not-so-good:
- Doesn’t support real-time collaboration
- Supports zoom out to 10% only, so viewing large, complex maps can be tricky
"As a video editor, my ideas often come in scattered pieces — MindNode helps me map them out visually and make sense of the chaos. It’s my go-to for planning scripts, shot lists, or entire projects when I need clarity fast", shares Stefan-Radu Gogolan, video editor, digital marketing specialist.
MarginNote: Best mindmap software for note-taking
If you're in a profession involving a great deal of note-taking, like a student, lawyer, or researcher, you need mind map software with some good features. That's what MarginNote offers.
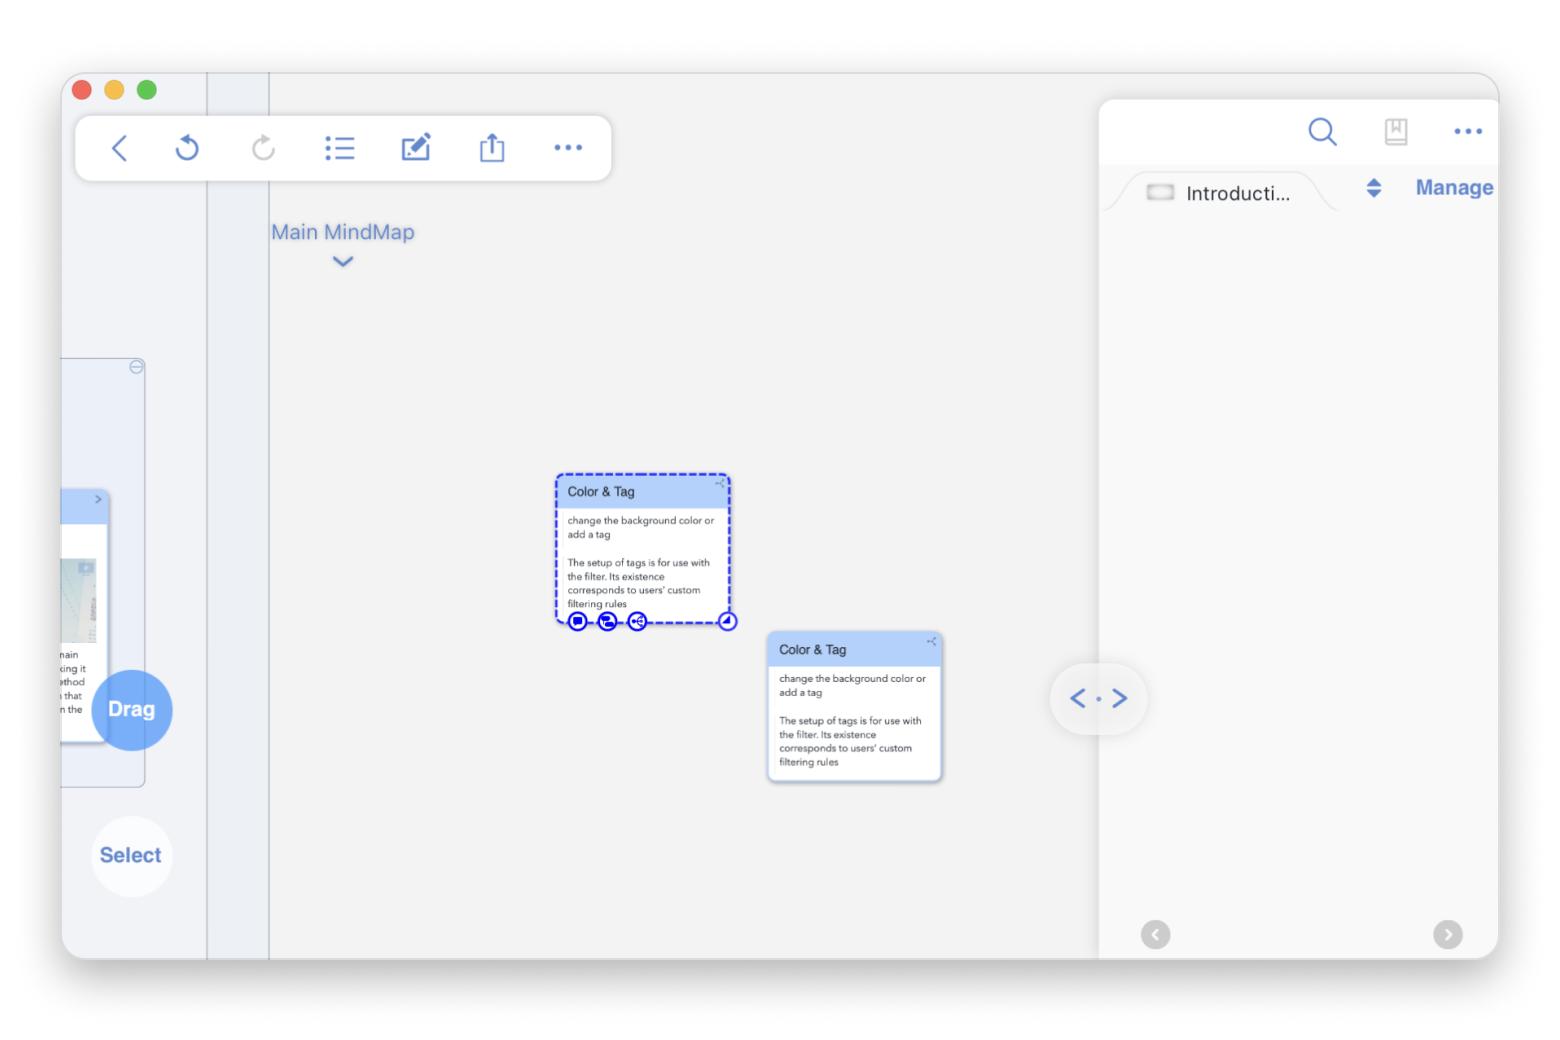
The split-view feature lets you read and take notes side-by-side, while the outline mode gives you a bird’s-eye view of all your highlights and annotations.
Adding images, tags, scribbles, and even audio to comments is possible within the app. You can generate virtual flashcards for quick study, so you don’t need to start over to reassess key facts. Apple users can sync notes with iCloud to access information on their iPhones or iPads.
I’ve heard from some app users on Reddit that the learning curve with MarginNote can be a bit steep at first, but once you get the hang of it, the app feels brilliant and hard to replace: "MarginNote is hands down the most powerful document markup software I've ever found/used. It's great for deep diving into a topic and creating useful notes from highlights while you read. Even has spaced repetition quizzing. It's probably best for students but I've found it useful personally for taking notes while reading books. It's very complex but very powerful."
The good stuff:
- Logical mind maps with annotations
- Flashcard creation for note reassessment
- Printable PDF creation from notes
The not-so-good:
- Limited mind-mapping features
- Manual backups only
Diagrams: Best for Mac users with basic needs
I used Diagrams for drawing a couple of product life cycles, and it worked amazingly. What I like the most is that it’s incredibly easy to use. Diagrams offer a range of palette presets and shapes to create truly personalized mind maps.
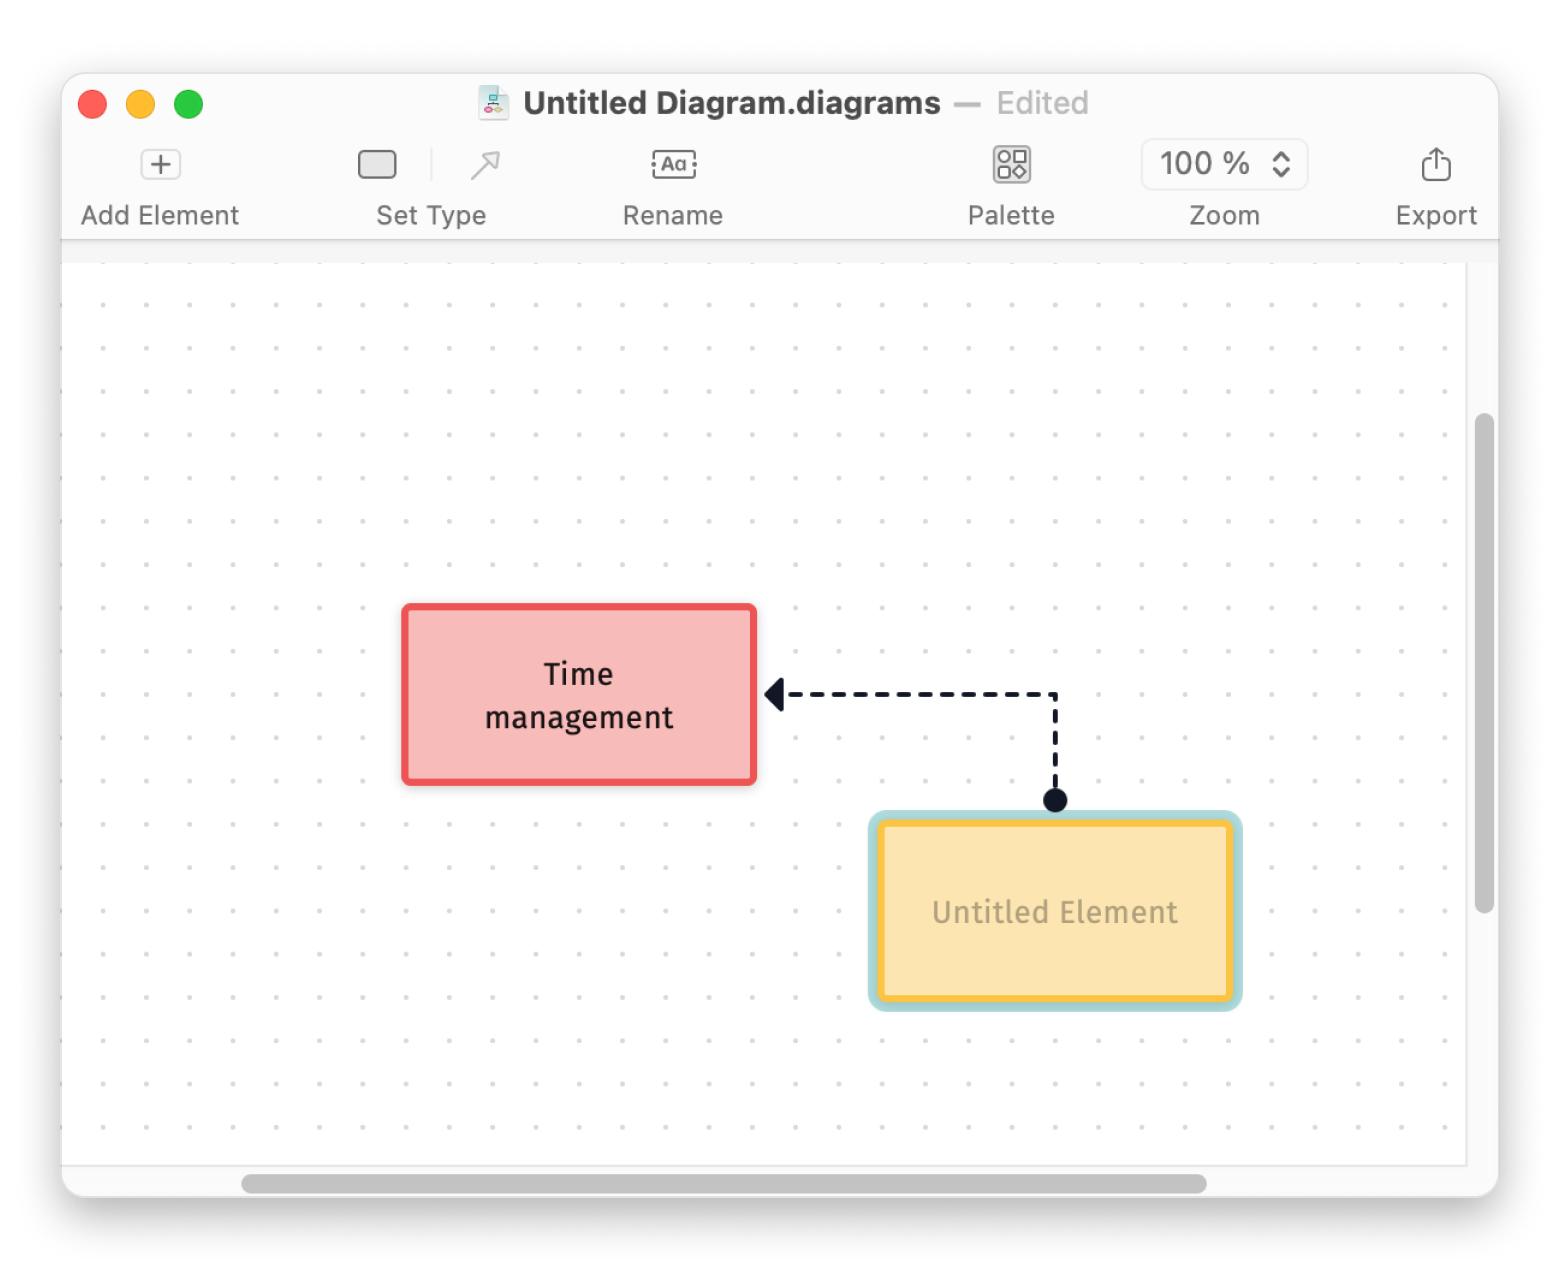
You also get a lot of styling and formatting options, along with nine element colors, including the grayscale ones intended for professional mind maps. You can easily tweak diagrams to fit your project’s specifics. The app is fully optimized for macOS.
The good stuff:
- Large range of text formatting and styling to customize your project
- Diagram support for flow with features like grid and infinite canvas
- Beginner-friendly
The not-so-good:
- Limited features for professional use
- Performance lag with intricate diagrams
ClickUp: Best for mind mapping with project management
ClickUp combines mind mapping and project management tools in one place. What does this mean? You can brainstorm, plan (create tasks), and execute (assign responsibilities and set deadlines), all within the same platform. So, you can turn a vague idea into a robust project plan in a jiffy.
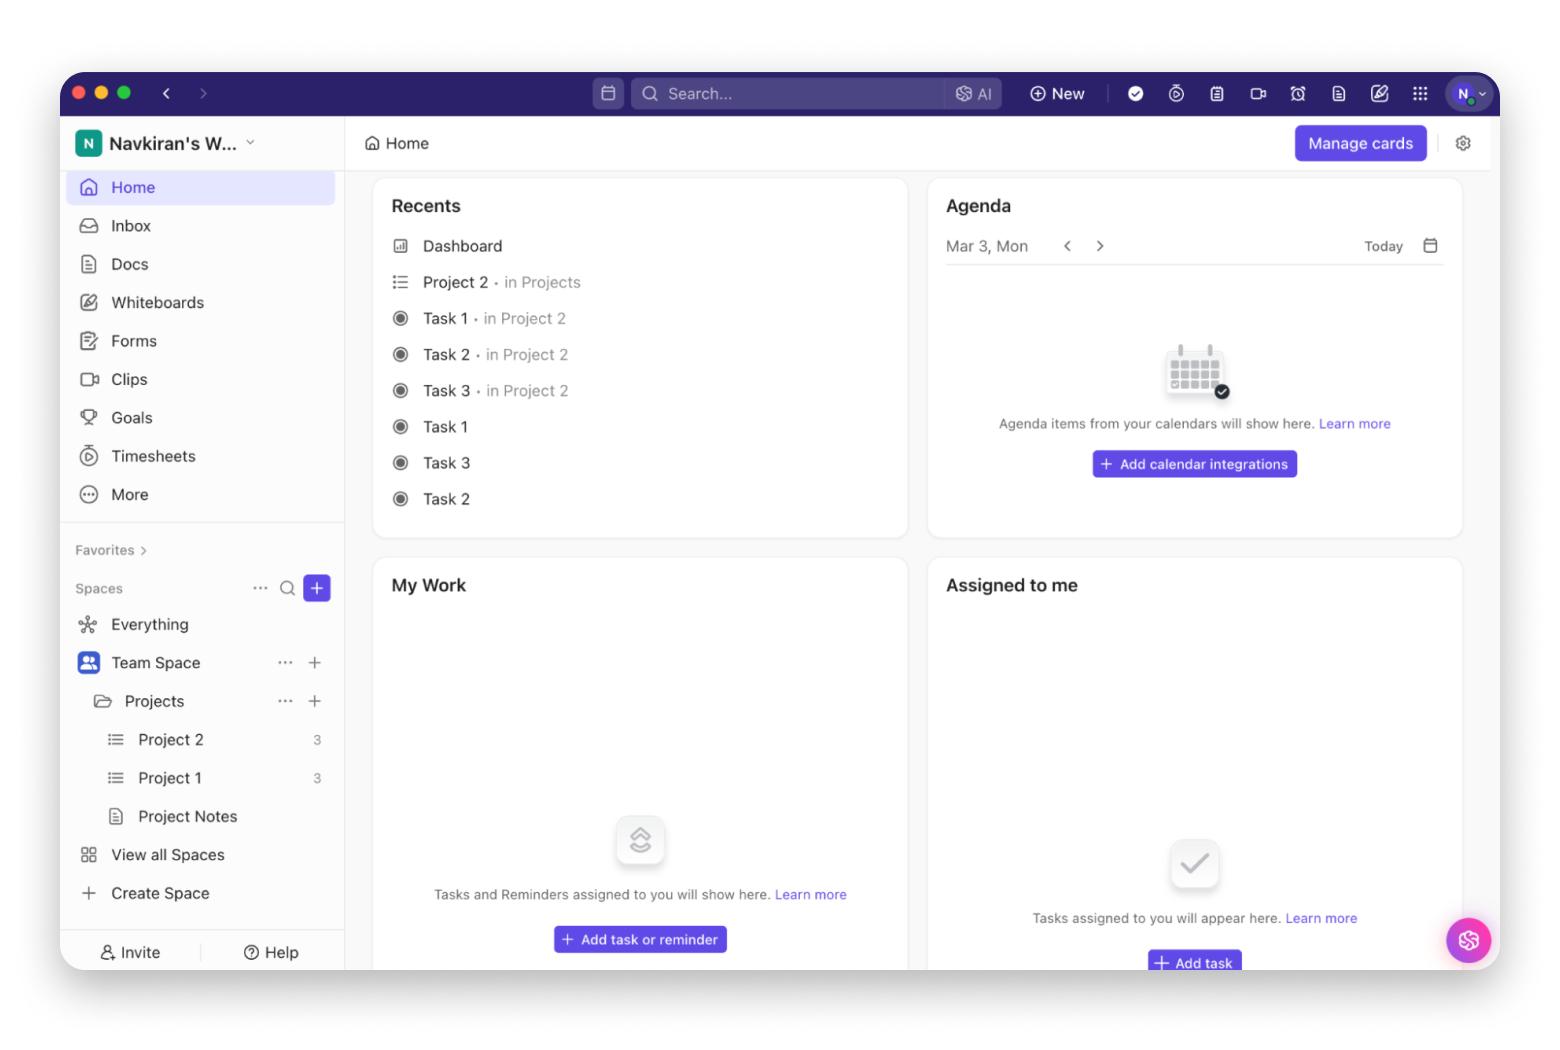
You get a lot of control with customizable, ready-to-use templates that let you create personalized mind maps for various use cases. Add sticky notes, draw freehand, upload images, and link ClickUp artifacts.
The good stuff:
- Chat functionality within projects
- ClickUp Brain (AI assistant) to quickly find data from the help center
- Ability to turn items from your mind map into actionable tasks
- Built-in mind map templates
The not-so-good:
- Learning all the features can take time
- Workflow setup complexity
Coggle: Best for beginners who need a simple mind mapping tool
Coggle is my top recommendation if you're a beginner and need a mind map online tool. This web-based mind-mapping platform makes creating and sharing beautiful mind maps a breeze. It works online, so there's no need to download anything.
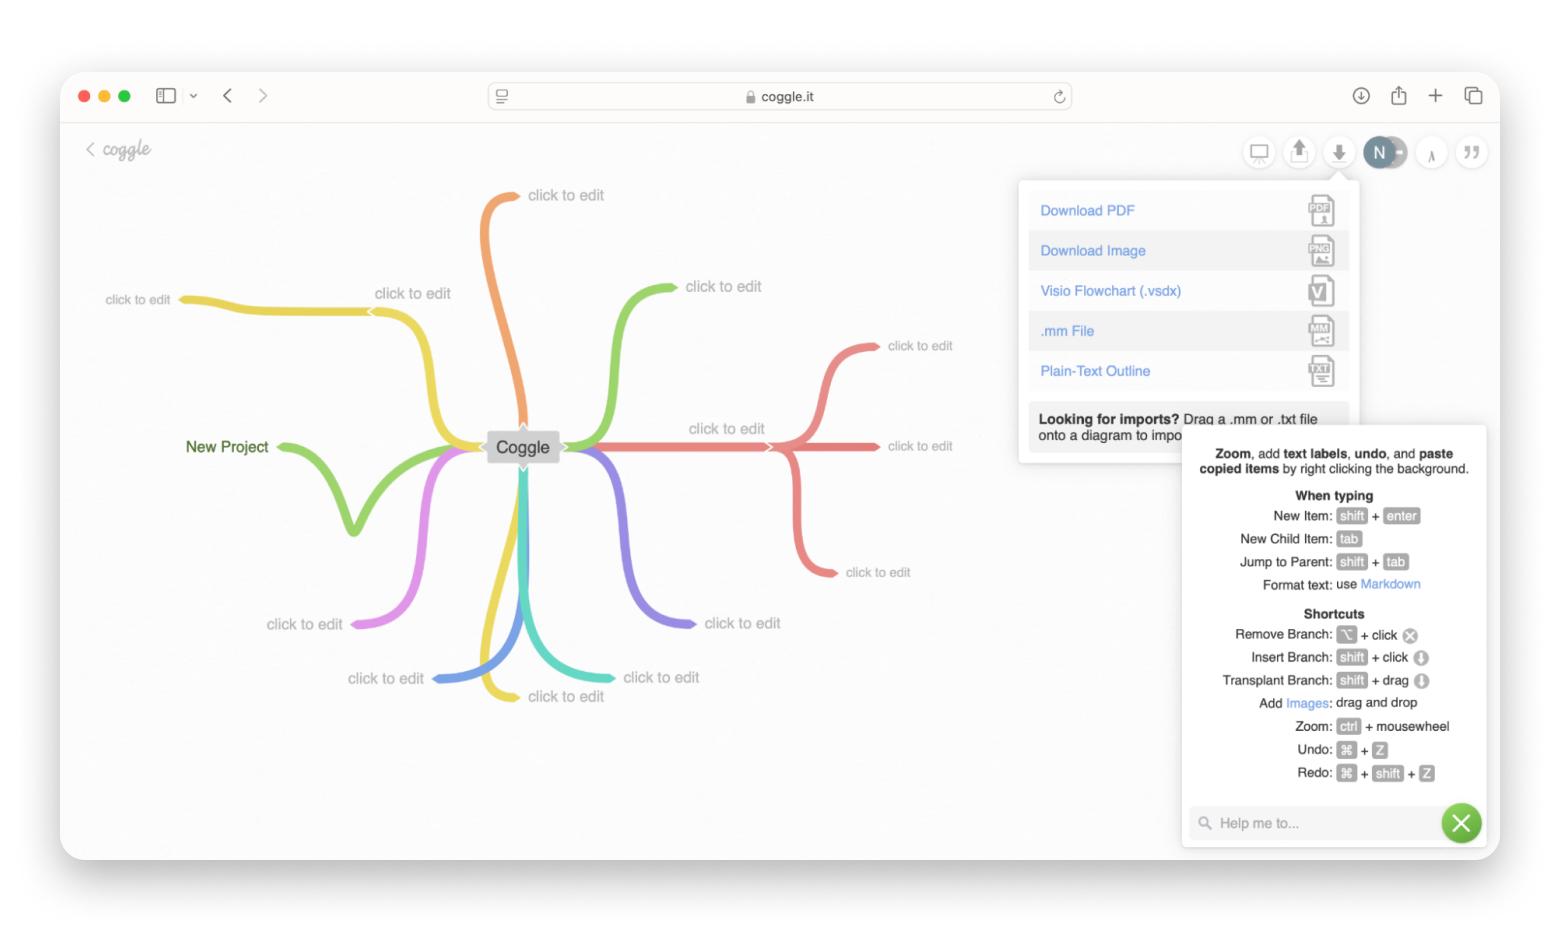
When I was using it for a decision-making task, I was amazed to see how Coggle automatically backed up my task on Google Drive to protect my work from sudden loss or deletion. Also, it let me create loops, add multiple starting points, and join branches for a better presentation.
Another interesting thing I like about Coggle is that you can add unlimited images and floating text to annotate parts of your map. In addition, its real-time collaboration feature allows you to work smoothly with others, which makes idea-sharing effortless.
The good stuff:
- Easy to use and no technical skills required
- Unlimited sharing capacity and image addition
- Multiple export formats, including PDF and PNG
The not-so-good:
- Limited font, color, and shape options
- Not suitable for larger, more complex mind maps
XMind: Best for brainstorming and planning complex projects
Planning complex projects is never a walk in the park. You need a tool that can transform all of your ideas into a clear, organized, and visually captivating mind map. XMind is such a tool.
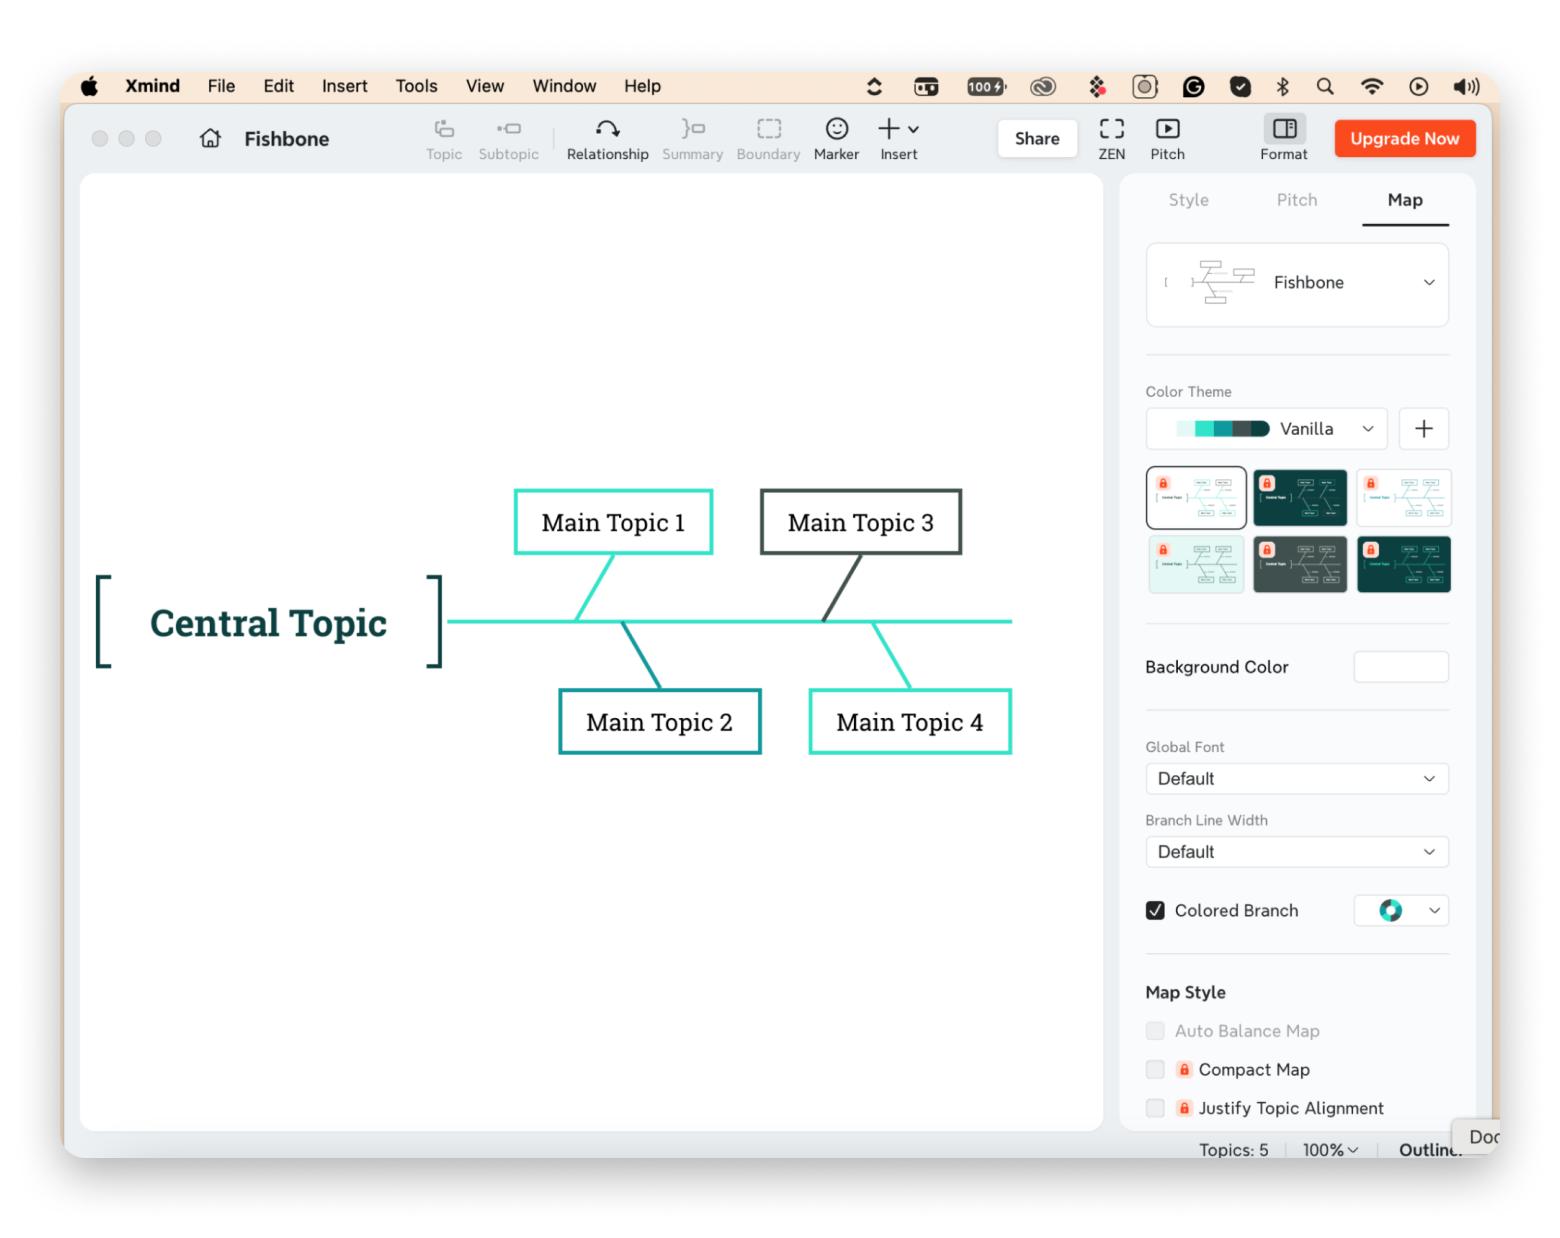
With the pre-made templates, you'll be able to jump-start your project without having to start from scratch. I love how smoothly it allows collaboration with others for map sharing. Another feature I liked is its combination of multiple mind map structures, including Fishbone, Tree, and Timeline charts. You can quickly switch between them for brainstorming sessions or structured planning.
The good stuff:
- Beginner friendly
- Text styles and color theme customization
- Direct sharing to email, Facebook, Twitter, and Pinterest.
- Markdown, Word, Excel, PowerPoint, and other formats support
The not-so-good:
- Limited integrations with Google Drive, Dropbox, or other task management tools
- Performance lag with large or complex mind maps
Miro: Best for projects that ask for visual collaboration and innovation
I've used Miro a lot to create presentations and visualize ideas for stakeholders. This virtual whiteboarding platform is a game-changer for promoting healthy collaboration within my team.
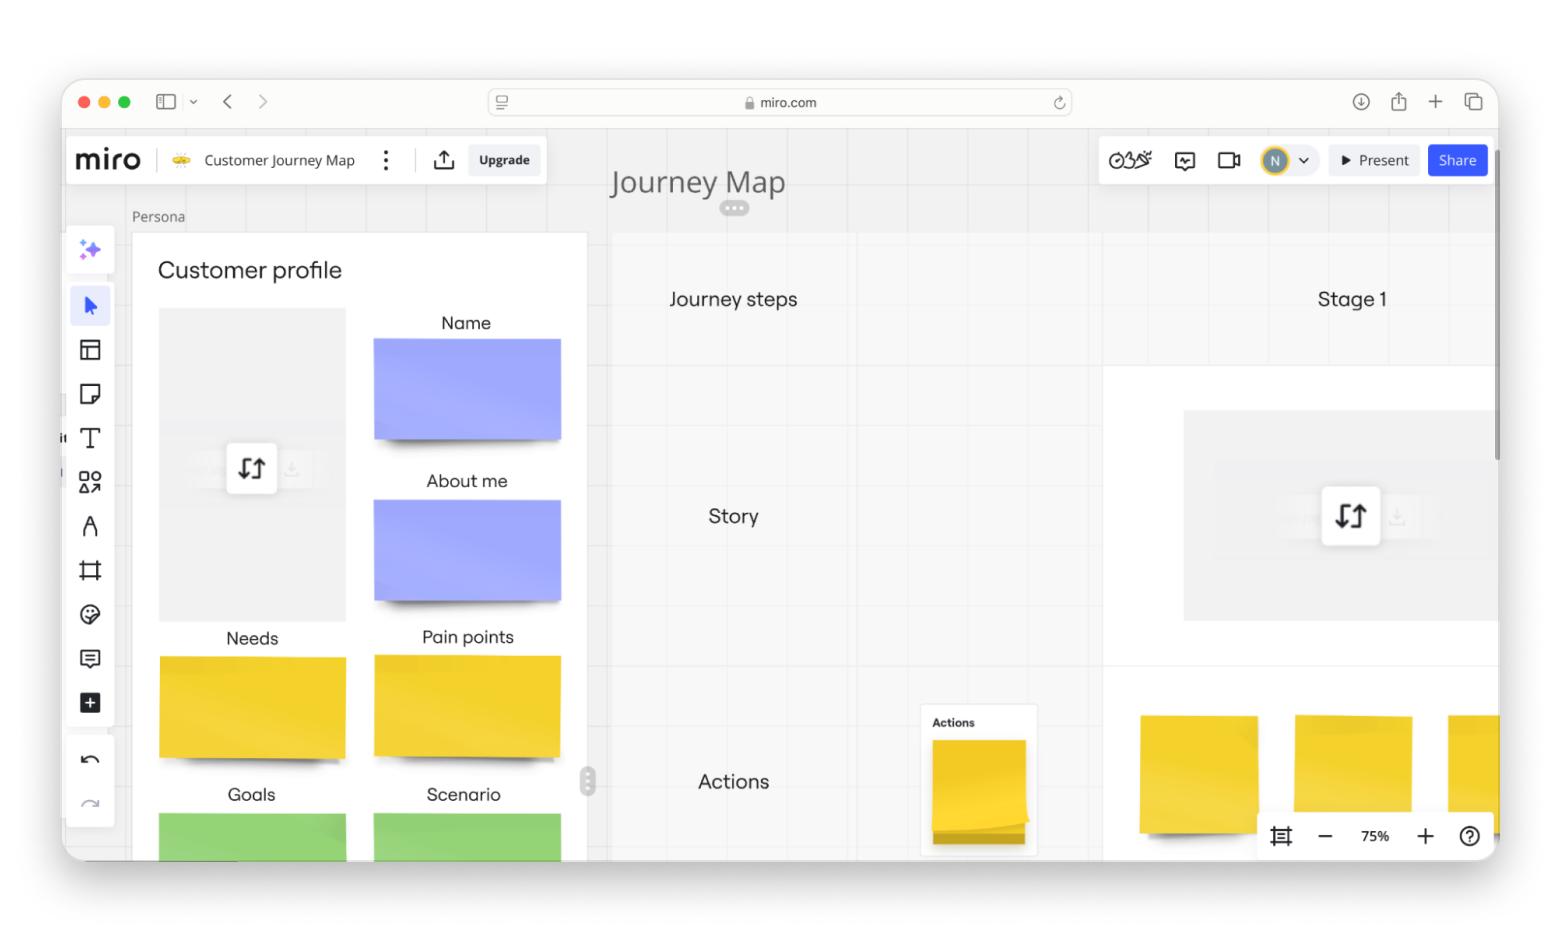
Source: miro.com
I really like its collection of 300+ pre-built mind map templates for any use case, from simple idea generation to complex project planning. Another thing I love is Presentation Mode. It lets me share my mind maps in a clean, professional way during webinars and meetings and makes it easy to move from one part to another.
Finally, there's Miro Assist, an AI feature that lets you automatically generate expansive mind maps that expand your thinking.
The good stuff:
- Infinite canvas for spreadsheets, PDFs, images, and more
- Real-time and async collaboration
- Visual tracking and collaborative planning remotely
- Auto layout mode to organize mind maps
The not-so-good:
- Limited offline mode
- Cluttered interface, especially for new users
Choose the right mind mapping software to have peace of mind
After testing out and reviewing these seven mind map apps, I realized there’s no one-size-fits-all. When choosing the best mind mapping software, you need to consider your creative needs. Basically, look for customizability, flexibility, actionability, and collaboration, which matter the most.
Whether you’re looking for a mind map for complex projects or something as simple as planning a trip, my list covers all the best tools to match your needs and style.
I think MindNode Classic is an easy-to-use mind mapping app for beginners and professionals, while MarginNote combines note-taking with mind mapping capabilities. You can find both apps at Setapp, a subscription platform with 250+ iOS and Mac apps. If you want to see how these apps work and whether one of them is a good pick for you, use the free 7-day trial.


