How to take a full-page screen capture on a Mac with this genius screenshot method
Screenshots are a neat way to capture something on your screen and share it with others. But if you want to capture an entire webpage, you're limited to what you can see on the screen.
Here, I'll share with you a few handy shortcuts for how to take a screenshot of a whole web page on a Mac. I'll also walk you through how to capture webpages entirely, print, copy to a clipboard, add annotations, and share easily.
But first, here’s a quick overview of all the ways you can take a full-page screenshot on a Mac:
I want to | How to do this |
Quickly grab just the visible screen | Press Shift + Command + 3. |
Screenshot a full webpage automatically | Use Capto > Snap Active Browser URL. |
Manually capture scrolling content (browser or app) | Use CleanShot X > Scrolling Capture > Drag and scroll. |
Capture full content in Notes, Mail, or Files on iPhone/iPad | Take screenshot > Tap Preview > Tap Full Page. |
Take webpage screenshots entirely, edit and share them faster
I’ve tried using macOS’s built-in tools to capture full pages, and honestly, they just don’t cut it. Shortcuts like Shift + Command + 3 or 5 are fine for quick grabs, but when I needed to screenshot a long webpage or a full chat, they only caught what was on my screen. I had to find something better.
For a smoother, more intuitive experience, apps like Capto make the job much easier. With Capto, you can capture the full length of a webpage in just a few clicks, then crop, annotate, and share your screenshot instantly.
This is how the scrolling screen capture works using Capto:
- Open the web page you need to snap.
- Launch Capto.
- Click on the Capto icon on the menu bar.
- Click Snap active browser URL.
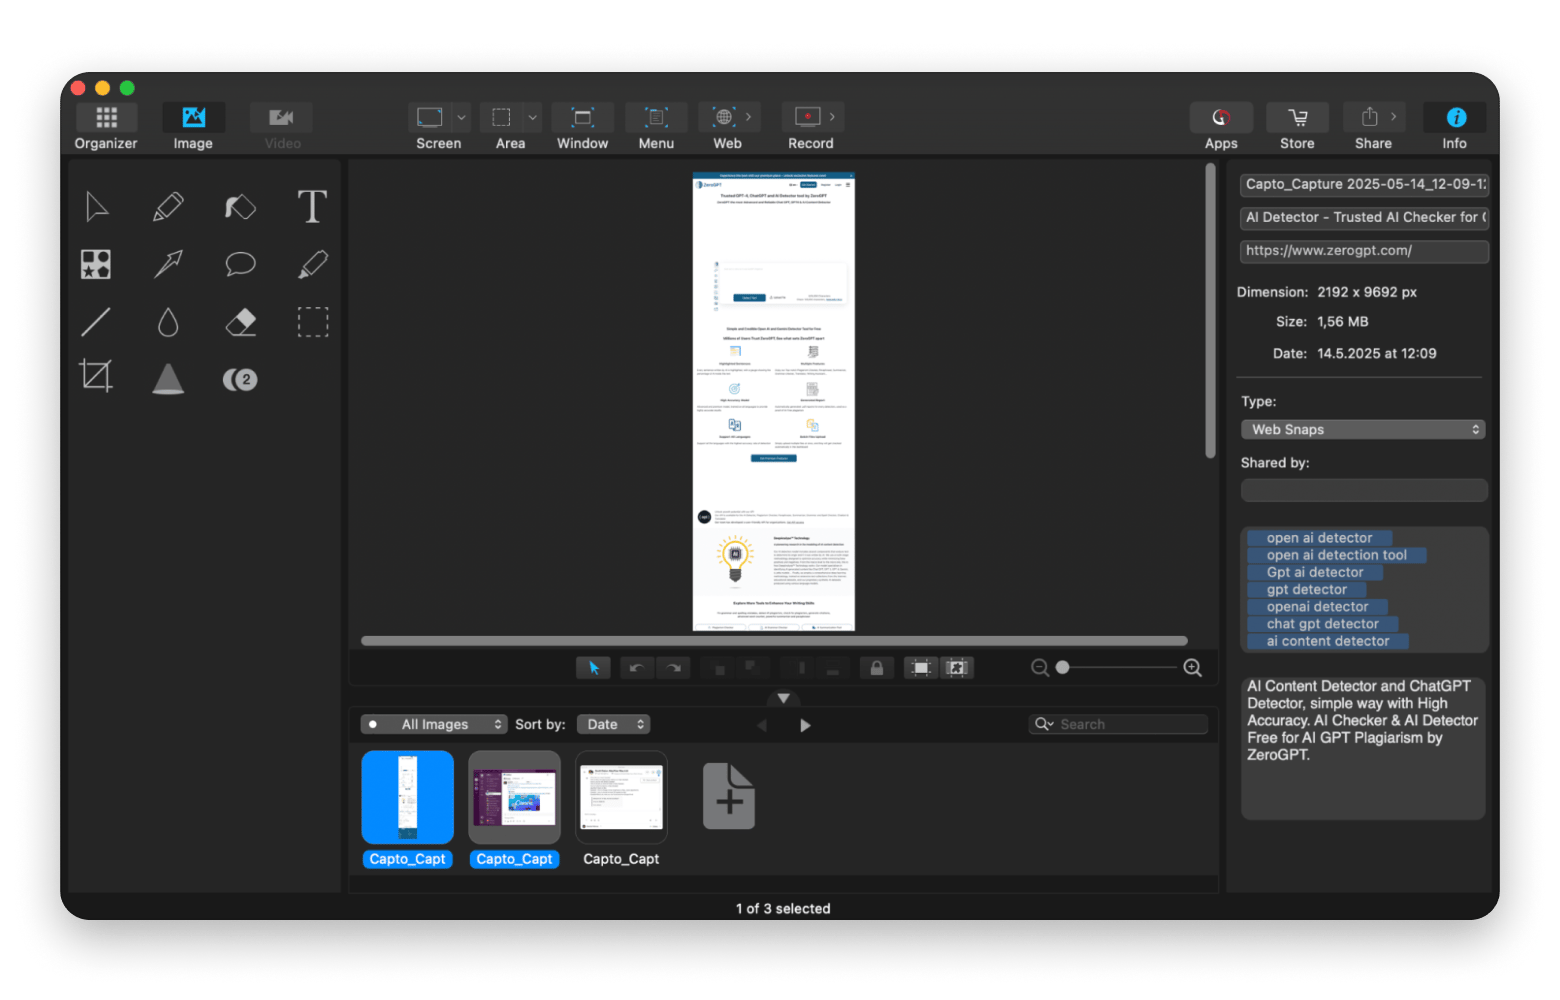
You'll get a full webpage screenshot, which will be saved to the Library. From there, you can easily crop, organize, and share your screen capture. In a nutshell, Capto is a great app if you're a creative professional, marketer, student, or someone who needs a robust screen recorder on Mac.
How to capture scrolling screenshots on Mac
Capto is an awesome app, but it only works with web pages. If you need to grab some scrolling part of an app interface or a text doc, Capto won't help you. For this, you'll need an app like CleanShot X.
CleanShot X is a universal screen-capturing app for Mac that comes with more than 50 useful features, including scrolling capture.
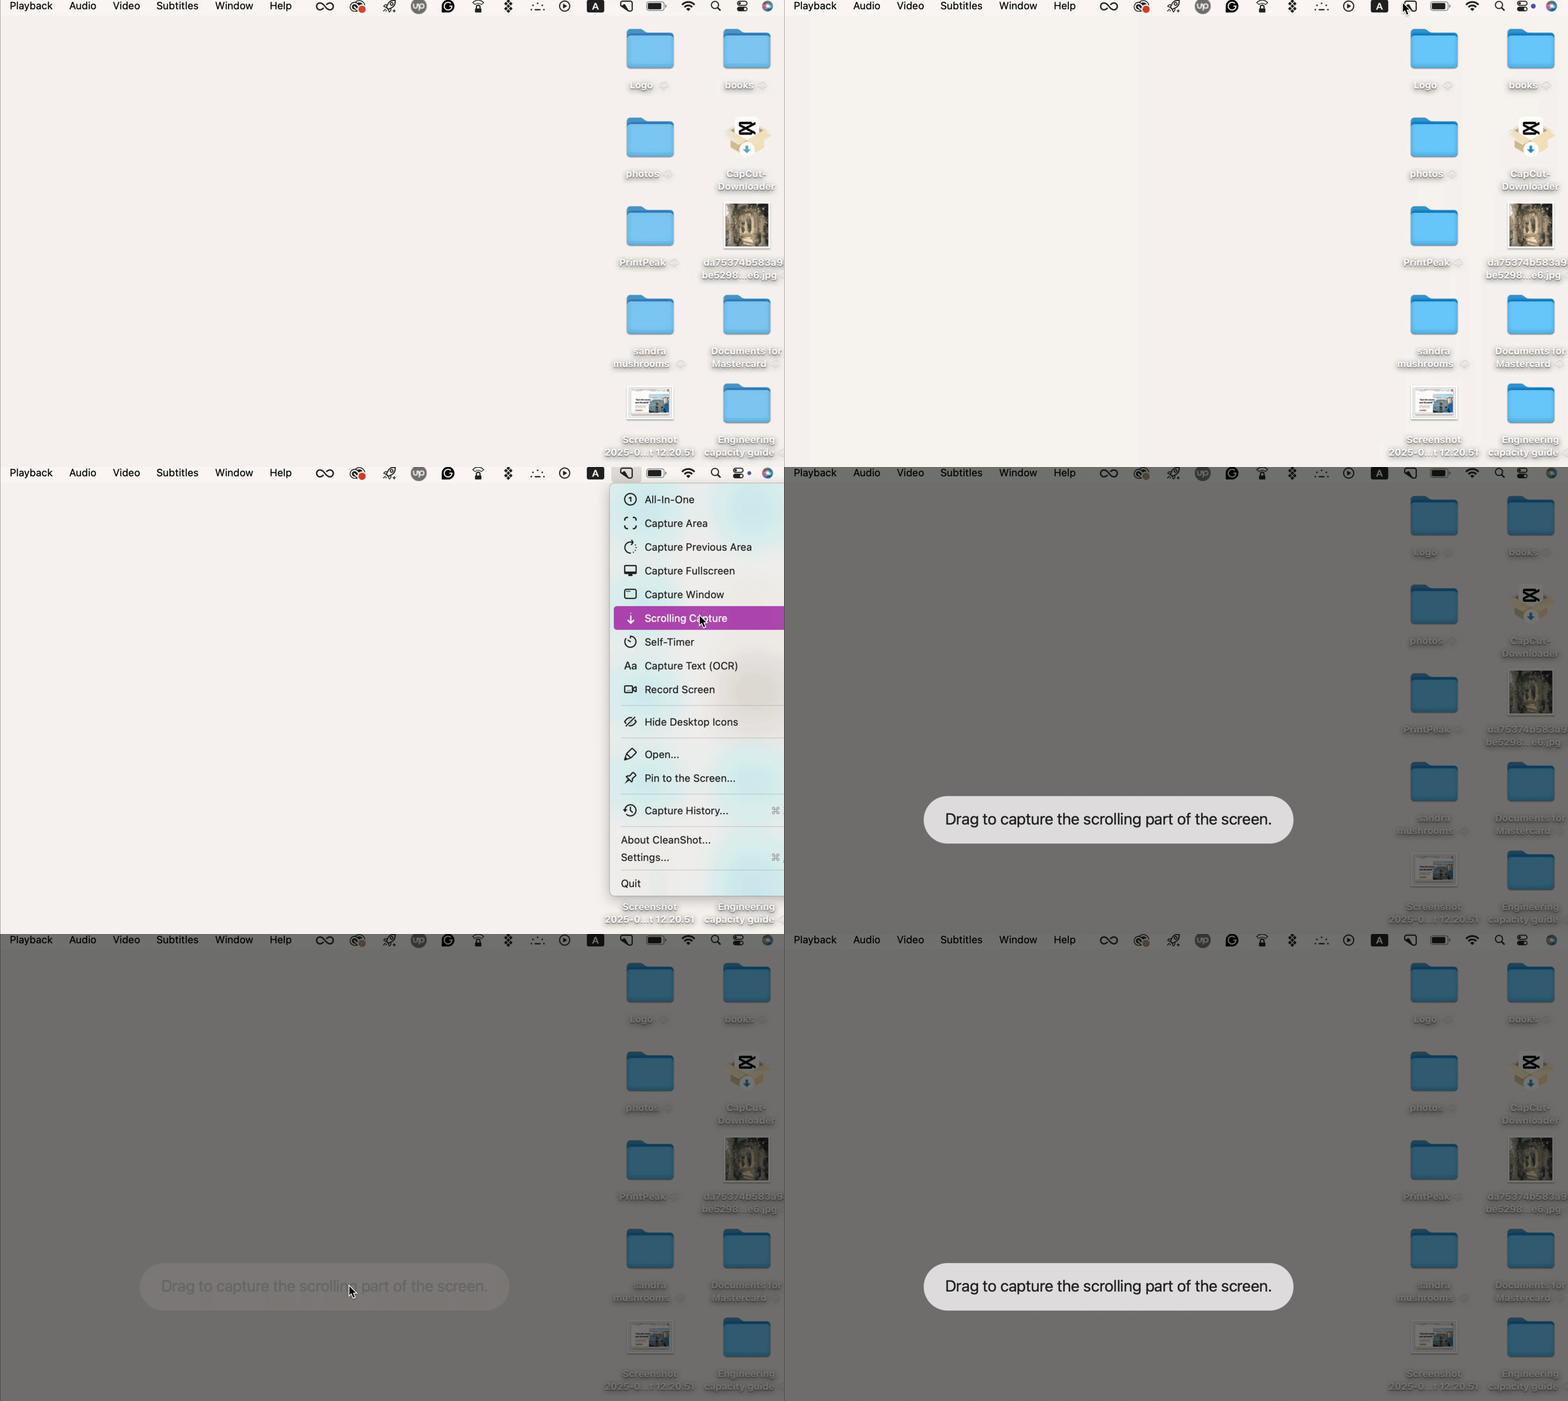
Here's how to use CleanShot X to save scrolling content:
- Install and open the app.
- Choose Scrolling Capture in the app menu bar.
- Drag to select a scrollable area on your screen.
- Click Start Capture and scroll down.
- Click Done once you’ve captured the full scrollable area.
- Open your screen capture from the overlay menu and edit if needed.
How to share and edit your scrolling screenshots
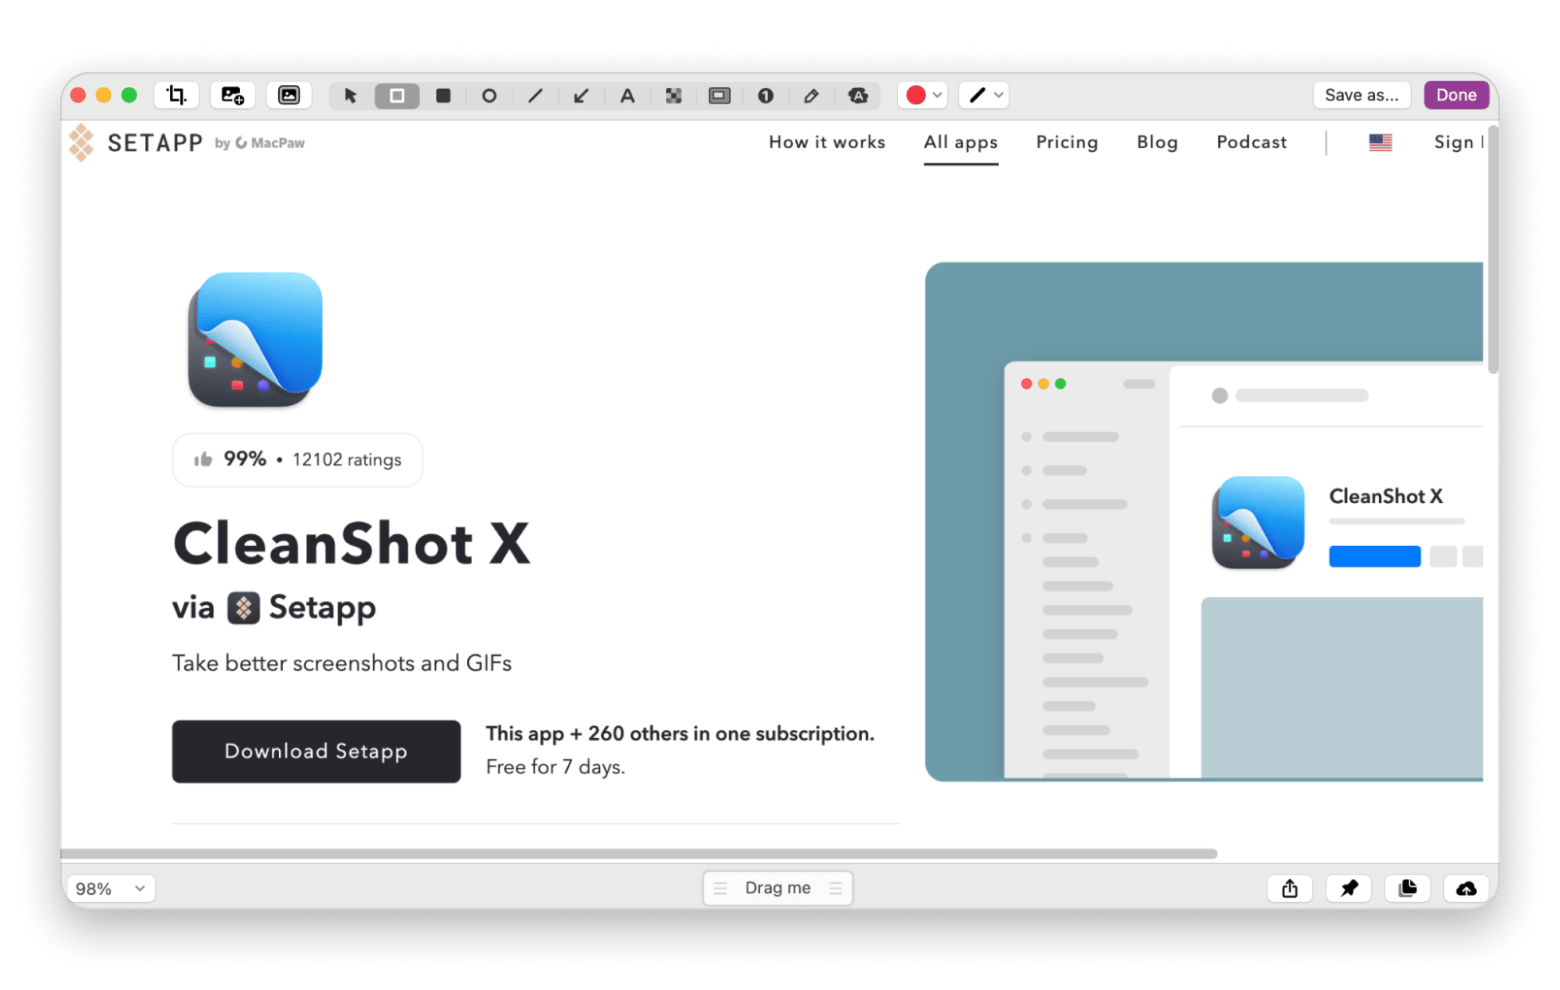
The good news is you can edit your scrolling screenshots directly from CleanShot X.
Here's how:
- Click the Annotate icon in the bottom-left corner of the prompt that appears when you take a screenshot.
- Choose from any of the features at the top of the window that appear, depending on your desired action.
- You can highlight, crop, blur or pixelate, number, add shapes, lines, and text, and even use the spotlight tool to select an area and dim its surroundings for emphasis.
- Click the Save as button on the top-right side of the window after editing. This will also work if you want to export the screenshot in a particular format.
To share a screenshot using CleanShot X, simply right-click the prompt that appears after taking the screenshot. Then, choose Share from the menu and opt for your preferred method.
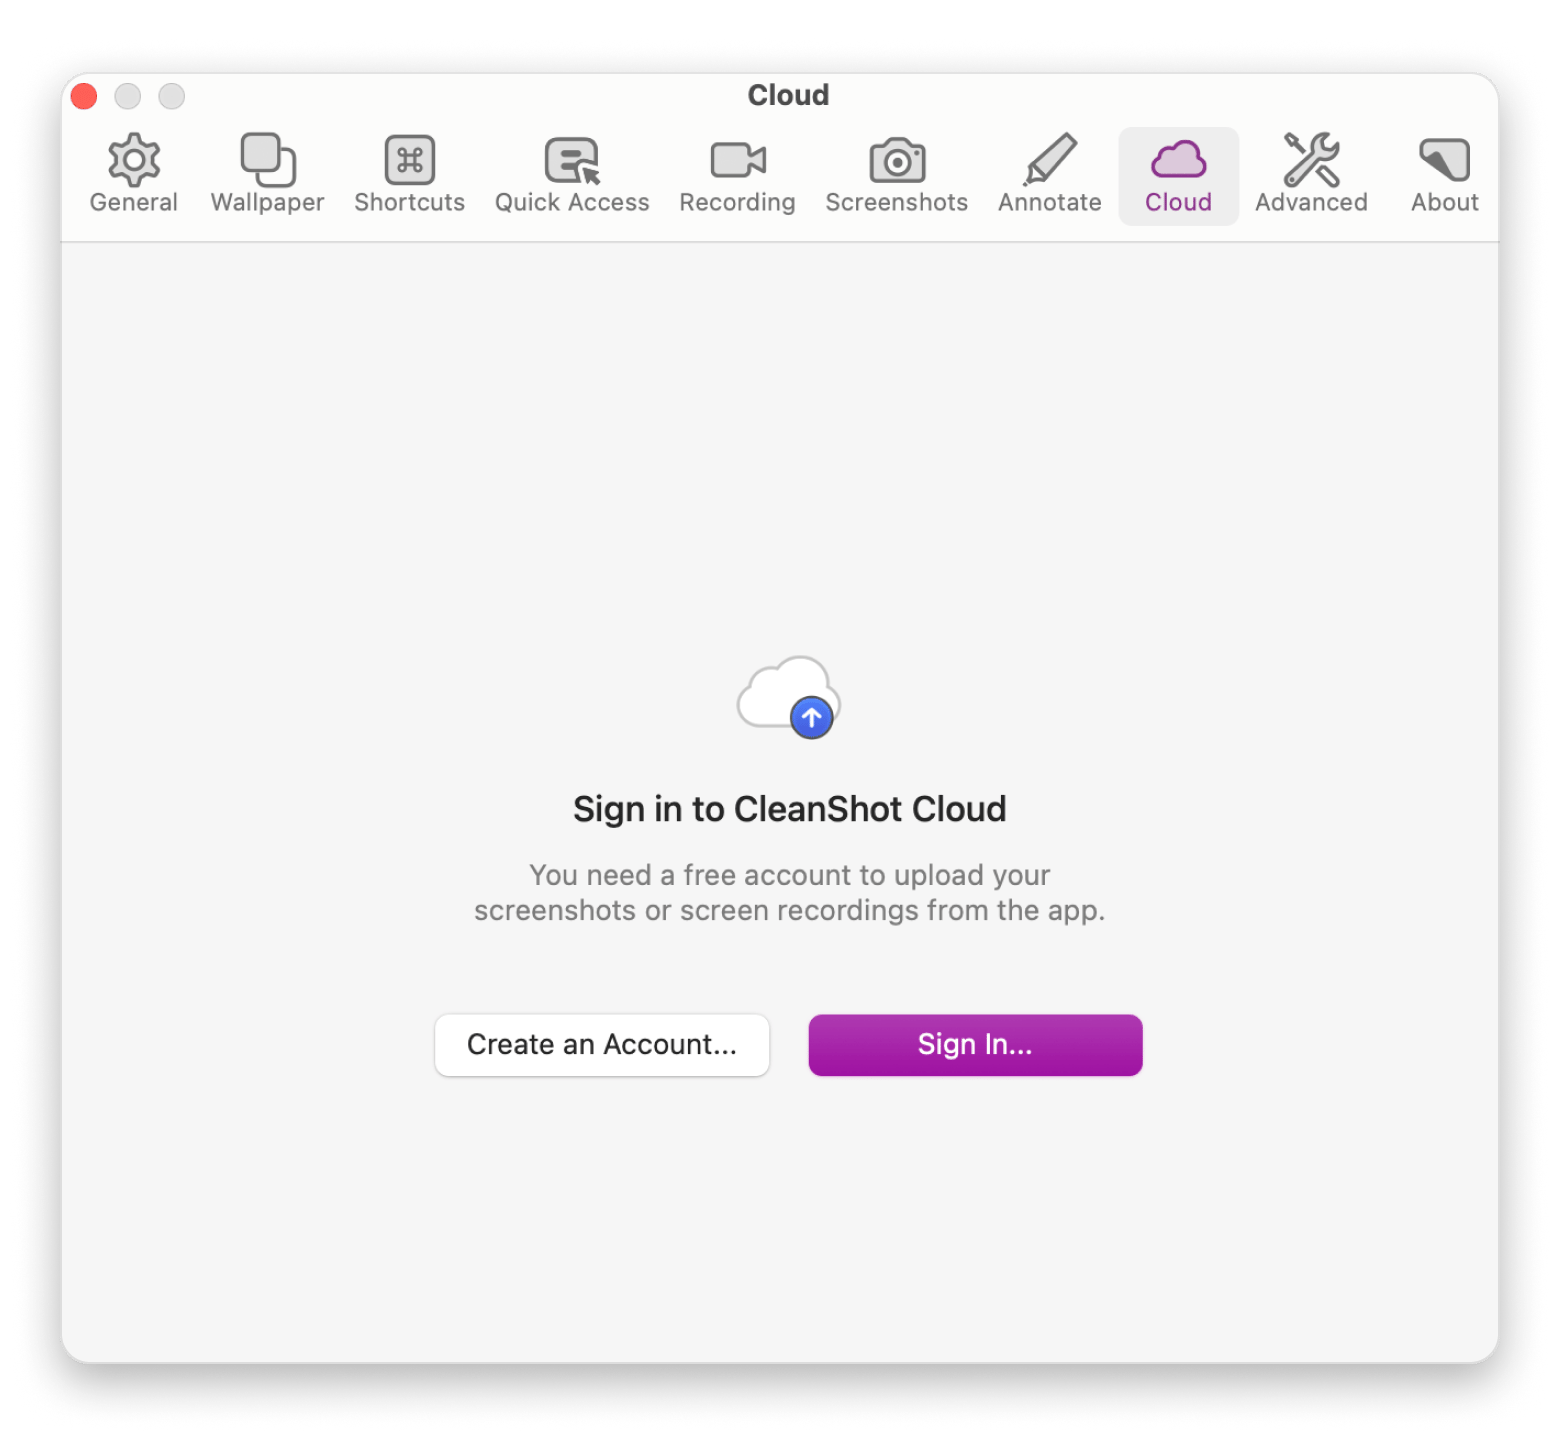
What I usually do is click the Upload button at the bottom right of the prompt. This sends the screenshot straight to my CleanShot Cloud. It’s super helpful when I’m working with a team because we all have access to the same space. No more digging through email threads to find the right image.
How to take a scrolling screenshot on iPhone and iPad
You can also take scrolling screenshots on your iPhone and iPad. All you need to do is choose Full page in your screenshot preview.
Here’s how it works on iPhone:
1. Take a screenshot.
- For iPhones with Face ID: Press the Side button and Volume Up button simultaneously, then release them right away.
- For iPhones with a Home button: Press and release the Side button and Home button at the same time.
2. Tap Preview in the left corner
3. Choose Full page.
4.Edit your scrolling screenshot if you want, then tap Done or Share.

This quick method will let you capture an entire document, file, email, note, or any content in an app or on the web.
How to capture a screen with keyboard shortcuts
macOS includes built-in keyboard shortcuts for quickly capturing screenshots of your screen.
To capture the entire screen, press Command + Shift + 3. This will take a screenshot of your entire screen and save it to your desktop by default.
If you want to capture a selected area, press Command + Shift + 4. Your pointer will turn into crosshairs. Click and drag to select the area you want to capture.
Here's how to capture a specific window or menu:
- Press Command + Shift + 4.
- Tap the Spacebar. The cursor will change to a camera icon.
- Click on any open window to capture it.
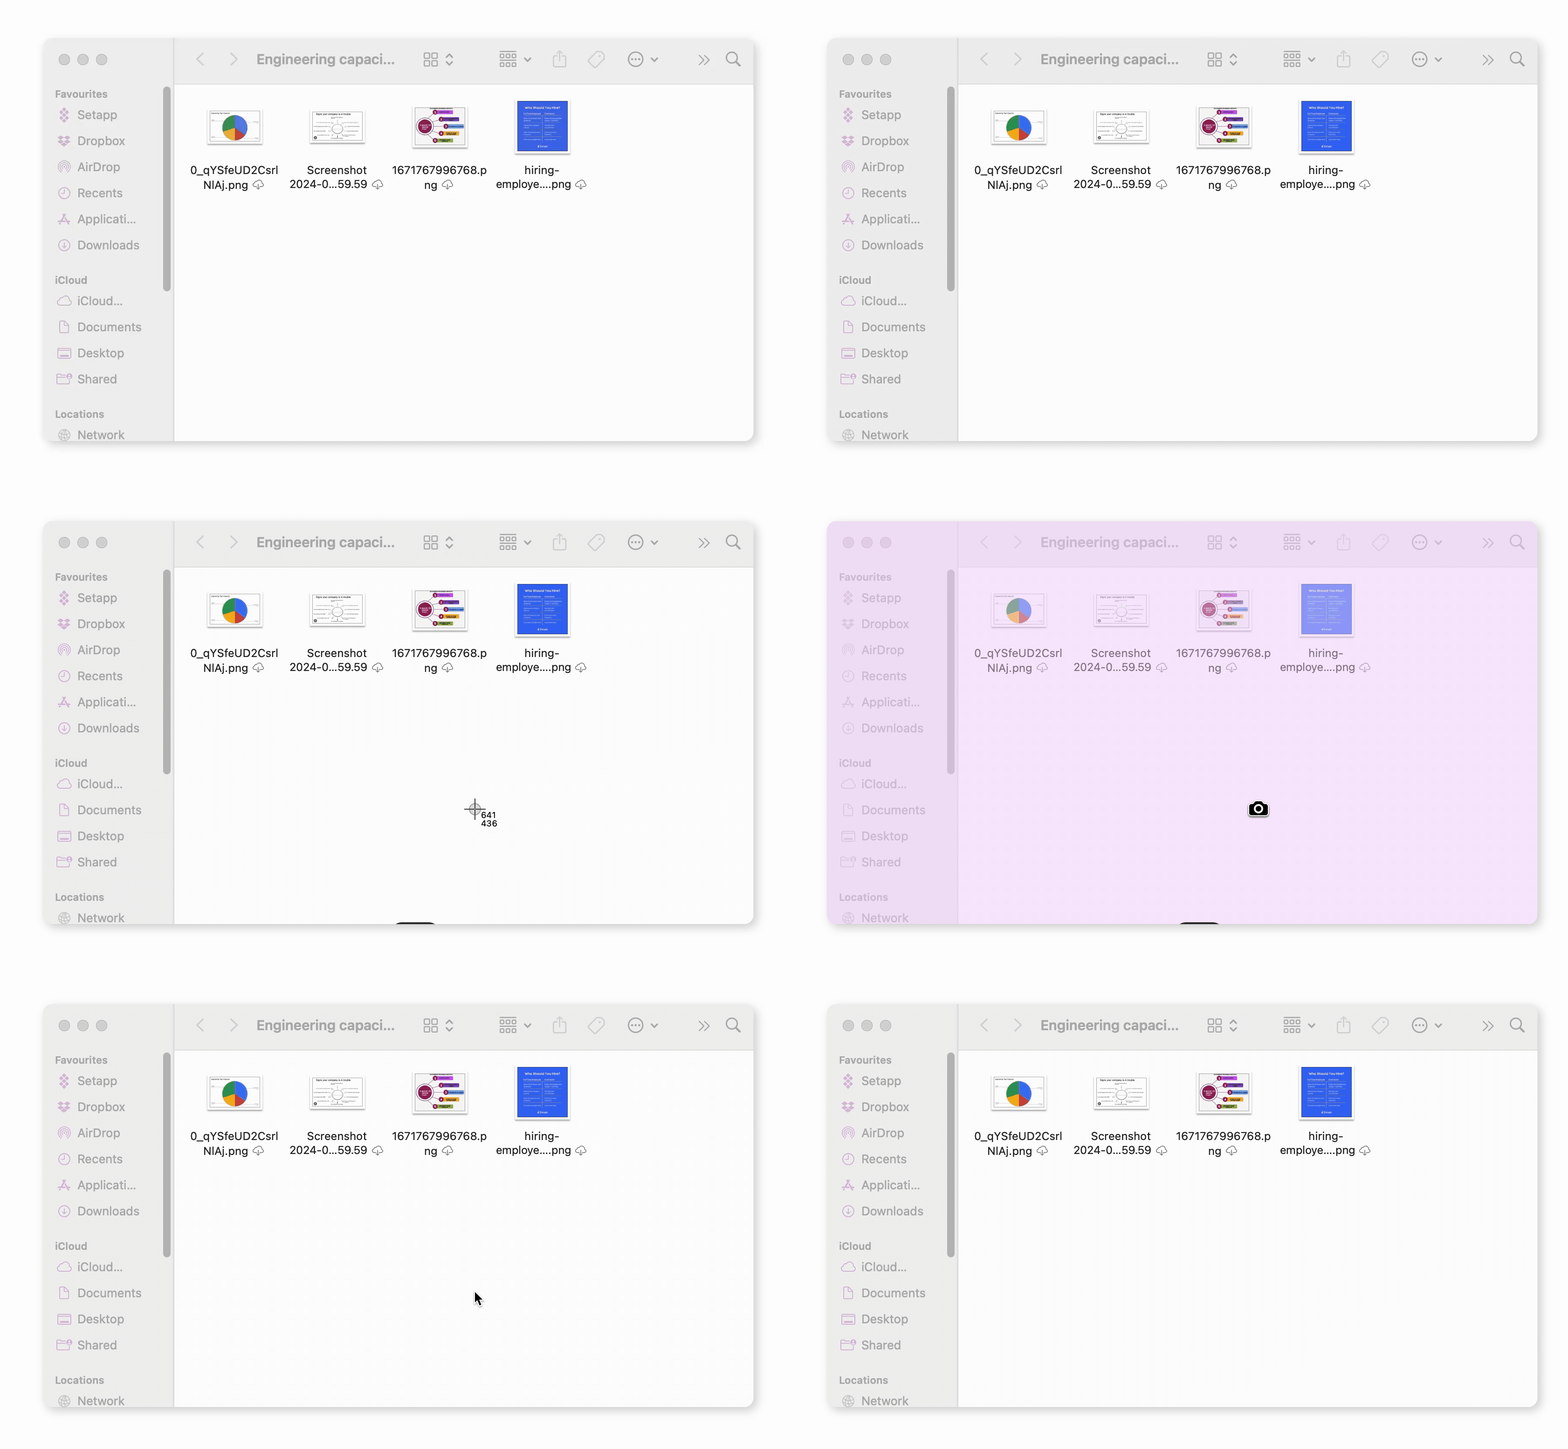
When I take a screenshot on my Mac using keyboard shortcuts, it shows up on my desktop as a PNG file. The filename includes the date and time, which makes it easy to find later. If I need to convert it to a JPEG or another format, I just do that afterward. For quick edits, like cropping or adding arrows, I usually open the image in Preview. That’s fine for simple stuff.
But when I need to capture a full webpage or something that scrolls, I’ve learned that built-in tools aren’t enough. In those cases, I use a third-party app to get the job done properly.
Built-in methods vs. third-party apps for scrolling screenshots
If your work involves regularly capturing content on your screen, it helps to understand the perks and downsides of both the built-in and third-party tools.
So, what are the perks, and what might hold you back?
Built-in macOS tools
What to like:
- Free to use, no subscriptions or downloads needed
- Quick and easy keyboard shortcuts
- Accessible Screenshot toolbar for various capture modes
- Integrated with native apps like Preview and Mail
What they lack:
- Can’t take scrolling or full-page screenshots
- Limited editing features (basic markup only)
- Sharing often requires additional steps
- No built-in organization for multiple screenshots
Third-party apps
What to like:
- Can capture scrolling content and full web pages
- Offer advanced editing tools (blur, annotations, cropping, etc.)
- Easier organization and management of screenshots
- Helpful for hiding sensitive information quickly
- Ideal for professional and creative workflows
What they lack:
- Usually require a paid license or subscription
- May consume more system resources (CPU, RAM, storage)
- Learning curve for users unfamiliar with advanced features
If you have the budget and your graphics-oriented work demands more capture, editing, and file management features, you should consider getting a third-party app. The built-in macOS tools are a better choice if you rarely take screenshots.
Scrolling screenshot tips for different use cases
Here are some helpful tips for taking scrolling screenshots, depending on your specific use case:
- For support tickets, bug reporting, or documentation: Always keep a raw copy of the full page. It may include important details like dates, locatio, or language settings, disclaimers, and other context that could be useful for searches, publications, or follow-up responses.
- For content creators and social media managers: If you’re a content creator, you should consider the blur, pixelation, cropping, and drawing features. Applying these changes before saving the screenshot can help you avoid accidentally sharing screenshot versions with personal information and other sensitive details.
- For students and researchers: Scrolling screenshots are useful for capturing long articles, academic papers, or tutorials. Organize them into folders or rename them clearly to avoid clutter and make retrieval easier during study sessions or project planning.
- For team collaboration: Upload scrolling screenshots to shared cloud folders or apps like CleanShot Cloud or Dropbox. This helps ensure everyone on your team has access to the same reference materials, which is especially useful for product reviews, marketing approvals, or content planning.
- For legal or financial documentation: Avoid cropping out context or disclaimers. When screenshots are used for audits, transactions, or compliance tracking, having the full, unaltered page may be required for accuracy and verification.
Final word on how to take a full-page screen capture on Mac
If you're just looking to grab what's on your screen, macOS has you covered with its built-in shortcuts, which are great for quick, visible-only screenshots.
But let’s be honest, if you regularly need to capture long pages, annotate, blur sensitive info, or organize your screenshots neatly, third-party apps like Capto and CleanShot X are the way to go. They’re smooth, fast, and packed with features that the native tools just don’t offer.
Best part? Both Capto and CleanShot X are available through Setapp, a subscription service that gives you access to 260+ premium Mac and iOS apps. There’s even a 7-day free trial, so you can try them out without spending a dime.
FAQ
How to take a screenshot of a whole page on Mac?
To screenshot a whole page on Mac, use CleanShot X’s Scrolling Capture to manually scroll and capture long content, or Capto’s Snap Active Browser URL to automatically grab full webpages. Both are faster and more reliable than native tools.
How do I make my screen full screen on a Mac?
To make your screen full screen on a Mac:
- Press Shift + Command + 5.
- Choose Capture Entire Screen. A camera icon will appear on your screen.
- Click the Capture button or simply click anywhere on your screen to take the screenshot.
How do I record my Mac screen full screen?
To record your Mac screen full screen:
- Press Shift + Command + 5.
- Choose the Record Entire Screen option.
- Click Capture or any part of the screen to start recording the entire screen.


