How to convert MOV files to MP4
Videos with the .mov extension have good quality and are great for editing. However, they are pretty large and can be tricky to play on non-Apple devices. So, if you need a more compatible format or just want to save space, read on to learn how to convert MOV to MP4 on Mac quickly and with maximum quality.
MOV vs MP4: key differences
Both formats are containers, i.e. files that can contain video, audio, subtitles, still images, and so on. But they also have many differences.
The MOV format was developed by Apple and is native to their products. Your iPhone records video in MOV, and QuickTime is the native player for viewing it. That's why these videos don't always play smoothly outside the Apple ecosystem.
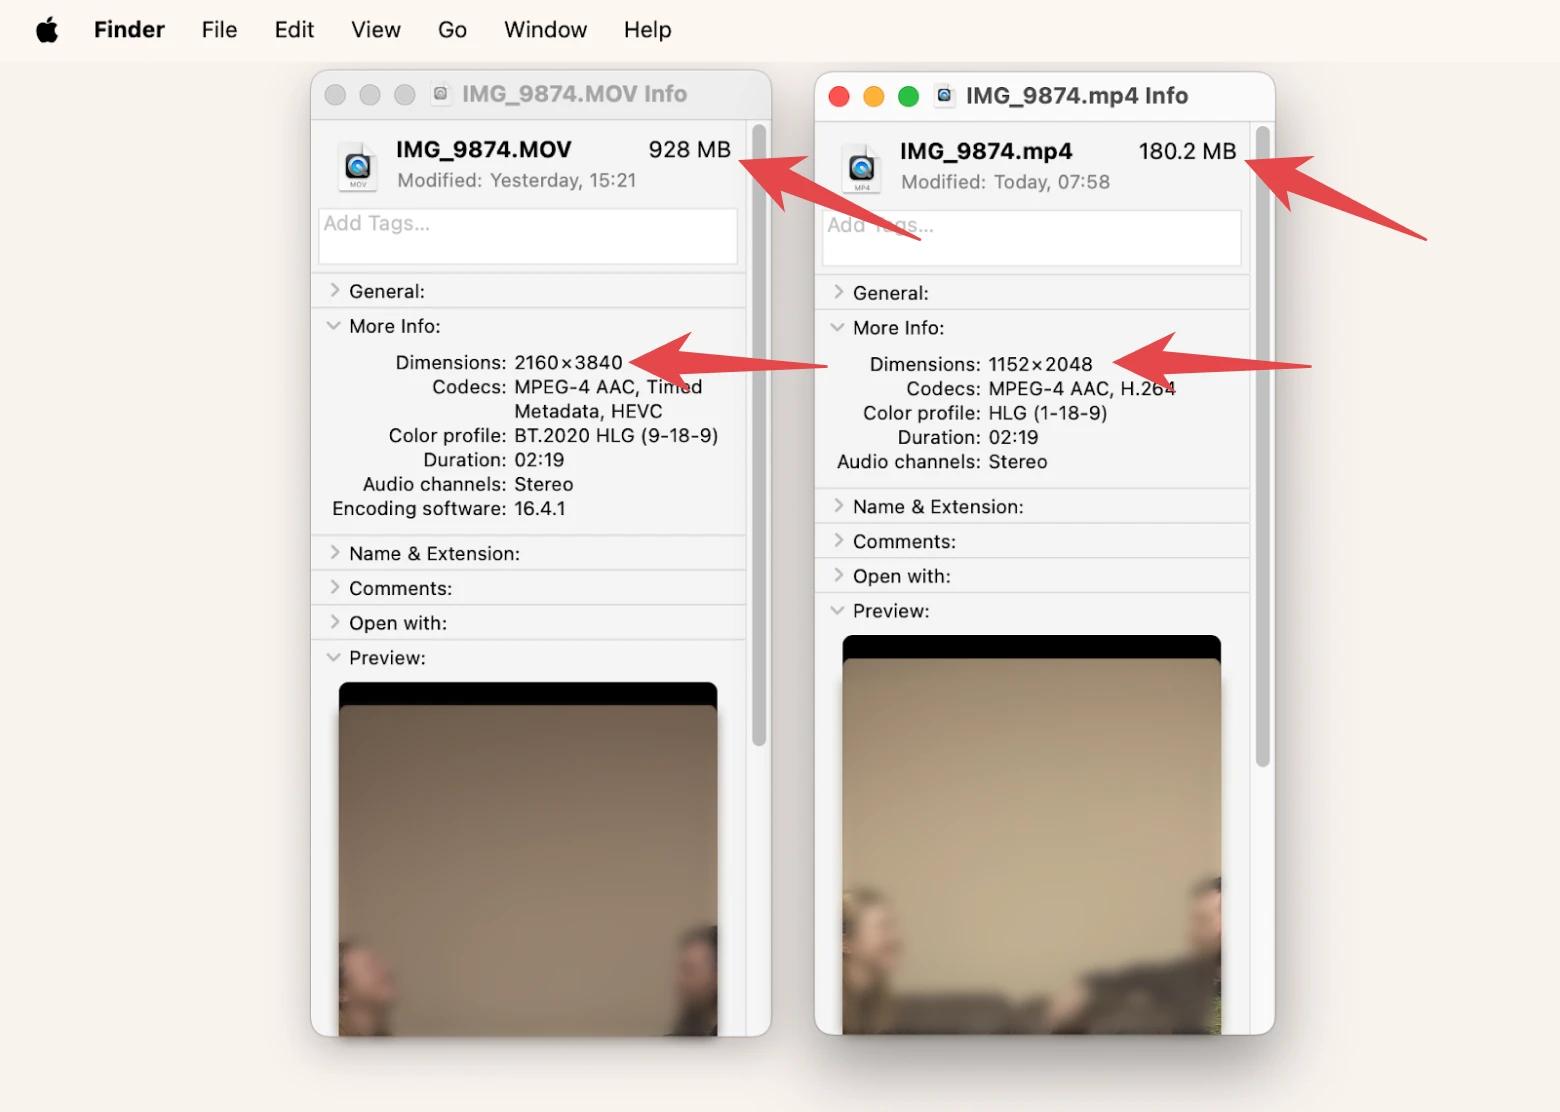
MP4 is a more universal format that will play on most devices. It's a nice compromise between good quality and high compression. In our test, a nearly 1 GB MOV file was compressed to 180 MB after conversion to MP4. And the quality difference is not critical to the naked eye.

Easy ways to convert MOV to MP4 on Mac
So when it comes to converting a MOV file to MP4, you have several options: desktop apps, built-in Mac tools, and online services. We've tested each method and listed the time required to convert a file of about 1GB. Let's look at them one by one.
Convert MOV to MP4 without losing quality
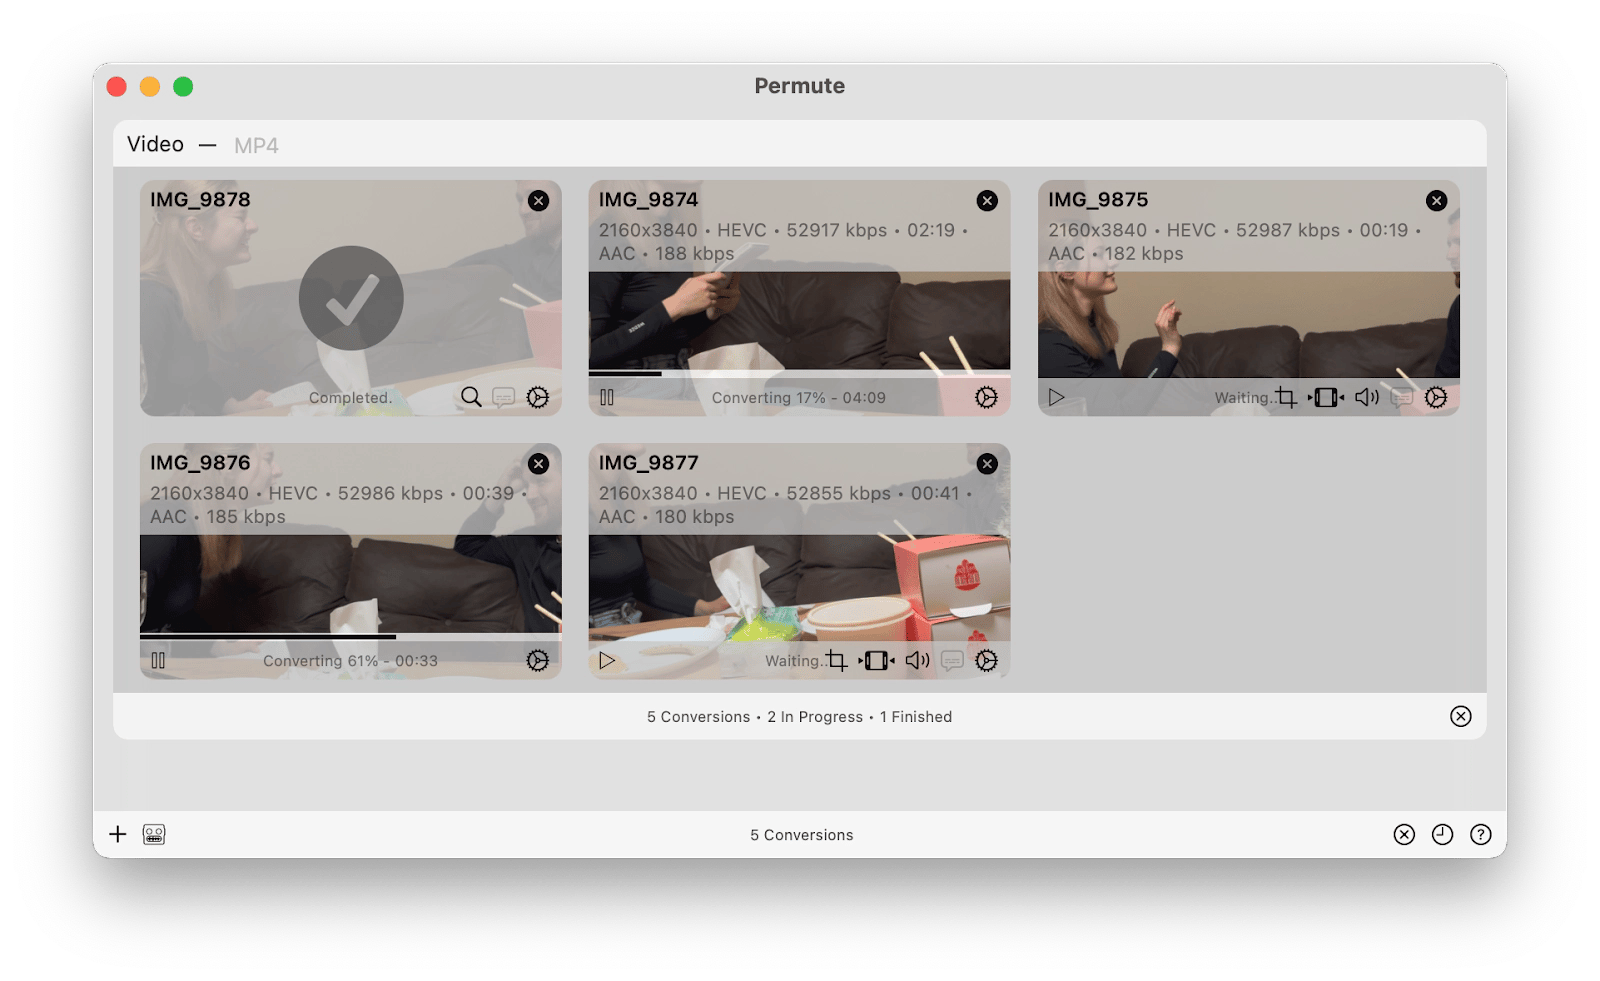
The smoothest way to convert MOV to MP4 is to use a third-party app. In our work, we use Permute because it is fast, can convert batches of files, and preserves quality as much as possible. The whole process takes four steps.
- Download and open Permute.
- Drag and drop the files you want to convert.
- Select the output file format (MP4) in the Video column.
- Click the Start button.

By default, the new video will go to the same folder as the original. Before converting, you can also change the resolution or speed up the video.
Another handy feature of Permute is that it allows you to perform basic video editing: trimming, cropping, adding audio, subtitles, metadata, etc. All this comes in a clean and intuitive interface where it is impossible to get stuck or make a mistake.
Time to covert ≈1Gb: less than 3 minutes.
Price: Free for 7 days on Setapp. Then, it's $9.99 + tax per month for Permute and 260+ other tools.
Verdict: One of the fastest ways to convert MOV to MP4 while maintaining maximum quality. Supports bulk conversion.
Convert .mov to .mp4 using iMovie
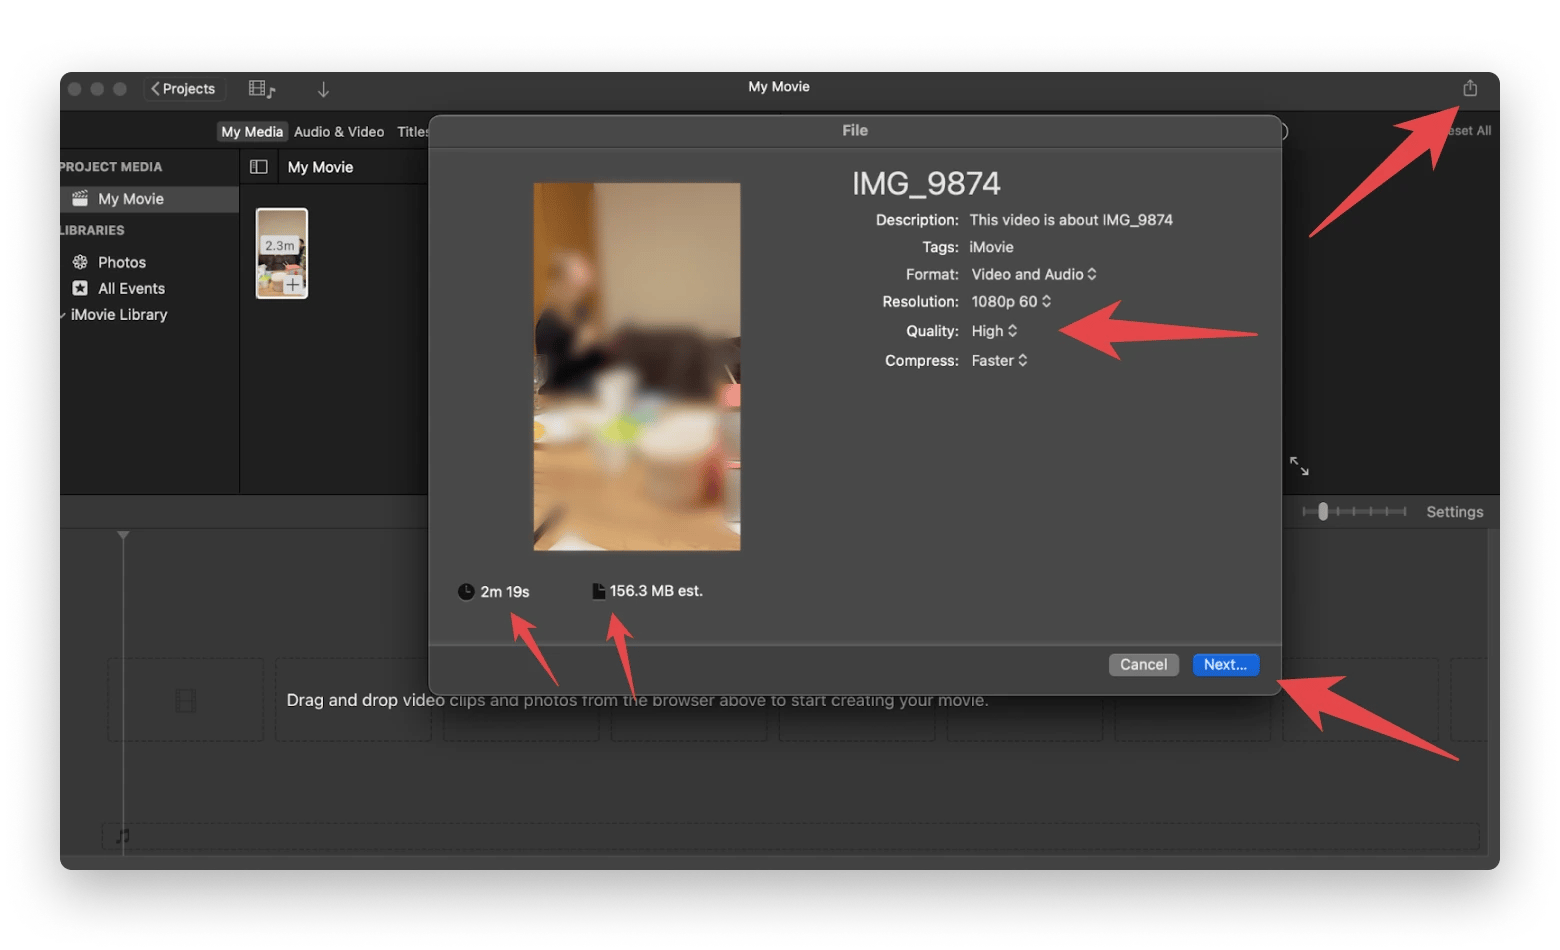
If you only need to convert one or two files occasionally, try iMovie, a built-in video editor for Mac. It has a decent set of features and can be a bit confusing for someone new to video tools. But don't worry; you only need to hit a few buttons. Here's how to convert MOV to MP4 on Mac using iMovie.
- Open iMovie (you can find it in Launchpad or Finder > Applications).
- Click on the + button and create a new movie (project).
- Import your video to iMovie.
- Click the Share icon at the top right of the app window.
- Click Export File.
- Select your desired video settings and exported file location (or keep the default ones).
- Begin conversion.

iMovie is quite fast and even lets you choose different settings for your video, such as resolution and compression quality. A minor inconvenience is that you have to clean up your iMovie files after conversion to avoid digital clutter. Also, you can only convert one file at a time.
Time to covert ≈1Gb: about 1:20 minutes in the Fastest mode and about 2:20 minutes in Better Quality mode.
Price: free.
Verdict: A reliable but slightly fussy way to convert MOV to MP4. Suitable for occasional use if you don't need to convert batches of files.
Terminal commands to convert MOV to MP4
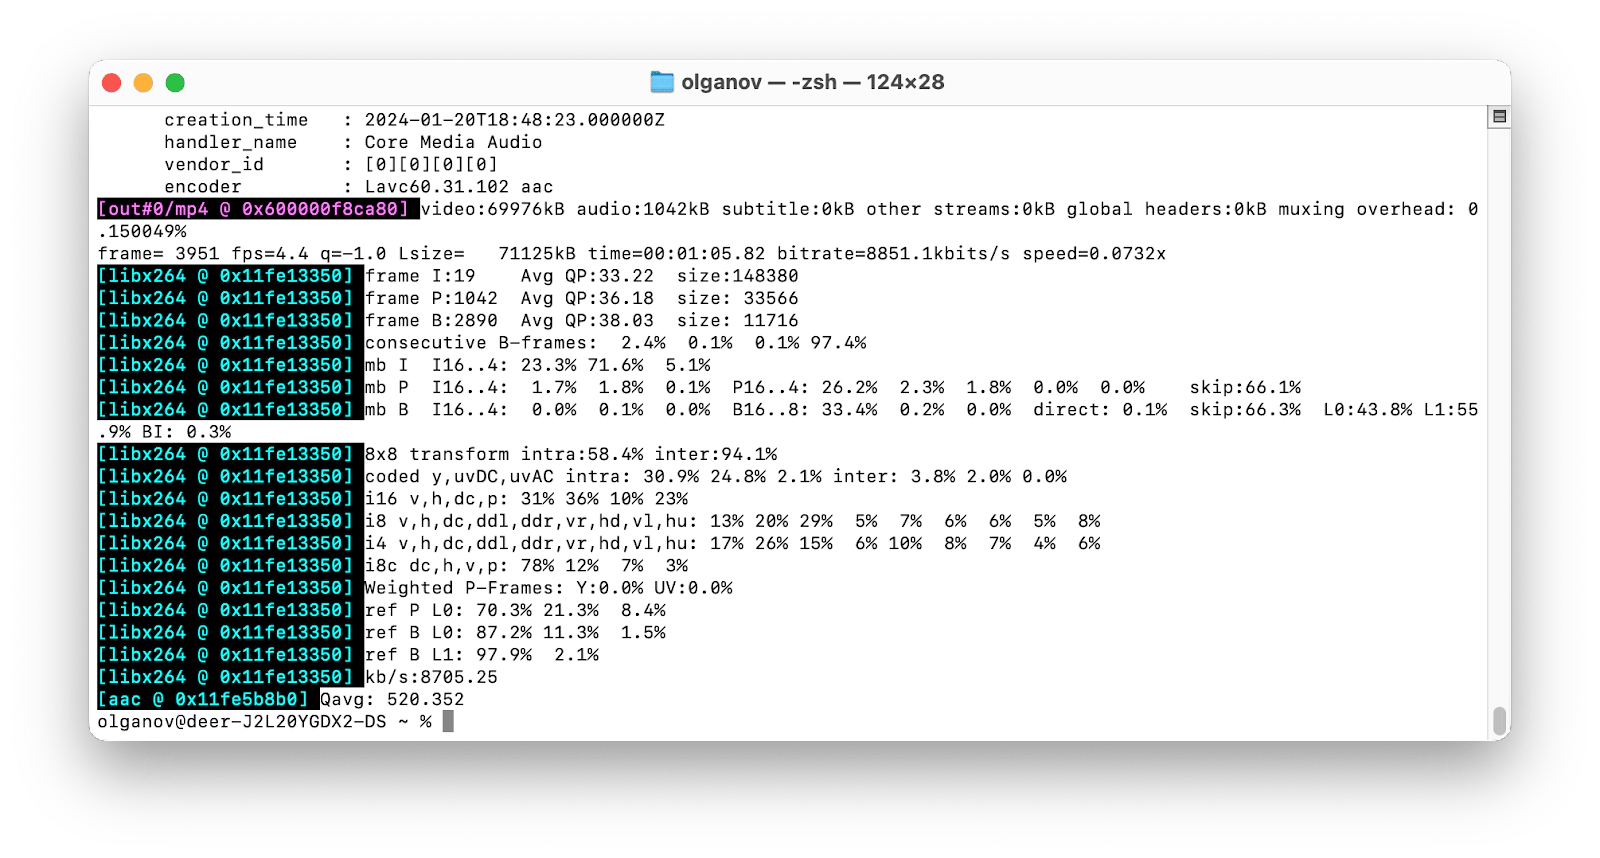
If you are a fan of the command line, you can convert MOV to MP4 using Terminal. Type exactly the same commands in Terminal, because every character and space is important.
Open Terminal.
Type the command to install ffmpeg: brew install ffmpeg and press Enter. The installation may take up to 5 minutes.
Type the command for conversion: ffmpeg -i input.mov output.mp4 and press Enter.
Replace input.mov with the path to your MOV file and output.mp4 with your desired output file name and path.
Tip: The easiest way to find the path to a file is to right-click your video, hold down Option, and click Copy as Pathname from the drop-down menu.

This type of conversion takes a long time, and there is no possibility to adjust the video parameters (at least with the described command). Theoretically, this method can be improved by creating a more advanced script, but there are still some problems: it is slow, inflexible, lacks a convenient graphical interface, etc.
Time to covert ≈1Gb: 15 minutes for the conversion + 5 minutes to install ffmpeg.
Price: free.
Verdict: Suitable for Terminal fans or when other conversion methods are unavailable.
Online tools to convert MOV to MP4
The last method – online conversion services – is suitable for those who work with small and non-private files. If your video contains sensitive information that could harm you if leaked, we recommend against uploading it online.
If you're okay with those, you can try one of the popular services, such as CloudConvert or Animaker.
They both work similarly: to convert MOV to MP4 online, you upload a video, select a format for conversion, wait for the process to finish, and download the video to your computer. But each of them has some specifics.
CloudConvert
CloudConvert offers up to 25 free conversions per day. However, it will be interrupted if the conversion process takes more than 5 minutes. This is what happened with our 1 GB file. We repeated the test with a 125 MB file, and the whole process (including uploading and downloading the video) took 3:30 minutes.
Time to covert ≈1Gb: failed.
Price: Free (limited). The paid version of CloudConvert starts at $9 for 500 conversion credits. 1 credit = about 1 minute of conversion.
Verdict: Suitable for infrequent conversions of small, non-private videos that you don't mind uploading to the web.
Animaker
The free version of Animaker also works with small videos, but the limits are not explicitly mentioned. In our test, the service couldn't handle a 1 GB video. A small file (12 MB) was queued for rendering after conversion, which took an eternity.
Time to covert ≈1Gb: failed.
Price: Free (limited). The paid access to the platform offers more flexible terms starting at $12.50 per month.
Verdict: Suitable for infrequent conversions of small, non-private videos that you don't mind uploading to the web.
How to convert MOV to MP4: Solved
So, choosing a tool to convert MOV to MP4 should depend on your needs. Use this table for comparison.
| Your tool | Best for | Conversion time for ~1GB | Bulk conversion | Security | Monthly price |
| Permute | Regular, multiple conversions | < 3 min | ✓ | Good | Included in Setapp from $9.99 + tax per month, along with over 260 other apps |
| iMovie | Rare conversions + edits | Up to 2:20 min | ✕ | Good | Free |
| Terminal | Advanced script users | 20 min | ✕ | Good | Free |
| CloudConvert | Small, non-private files | Failed | ✓ | Unknown | Free. Premium from $9 |
| Animaker | Small, non-private files | Failed | ✕ | Unknown | Free. Premium from $12.50 |
If you're interested in a MOV to MP4 converter for frequent file conversions right on your Mac, we recommend Permute. You can try it for free for 7 days on Setapp. Try it along with dozens of other apps for macOS without ads or restrictions.
MOV to MP4 conversion FAQ
Is there a size limit for video conversion?
Online services do have limits: for example, a video cannot exceed a certain time limit, a certain number of megabytes, or a certain number of conversions per day. Desktop apps tend to have high limits. For example, you can convert as many files as you like with Permute.
How to convert MOV to MP4 without iMovie?
Instead of iMovie, you can use the Terminal (first, intall ffmpeg with brew install ffmpeg > Enter, then type ffmpeg -i input.mov output.mp4, inserting your file’s pathnames), an online service (if the video is small and does not contain sensitive information), or a desktop app such as Permute.
Can you convert video files with QuickTime?
No, you can’t convert to MP4 with QuickTime. You can only export your video in different resolutions or extract audio from it. For this, open your video with QuickTime and go to File > Export as.


