How to fix “The following disk images couldn’t be opened” error | 2025 update
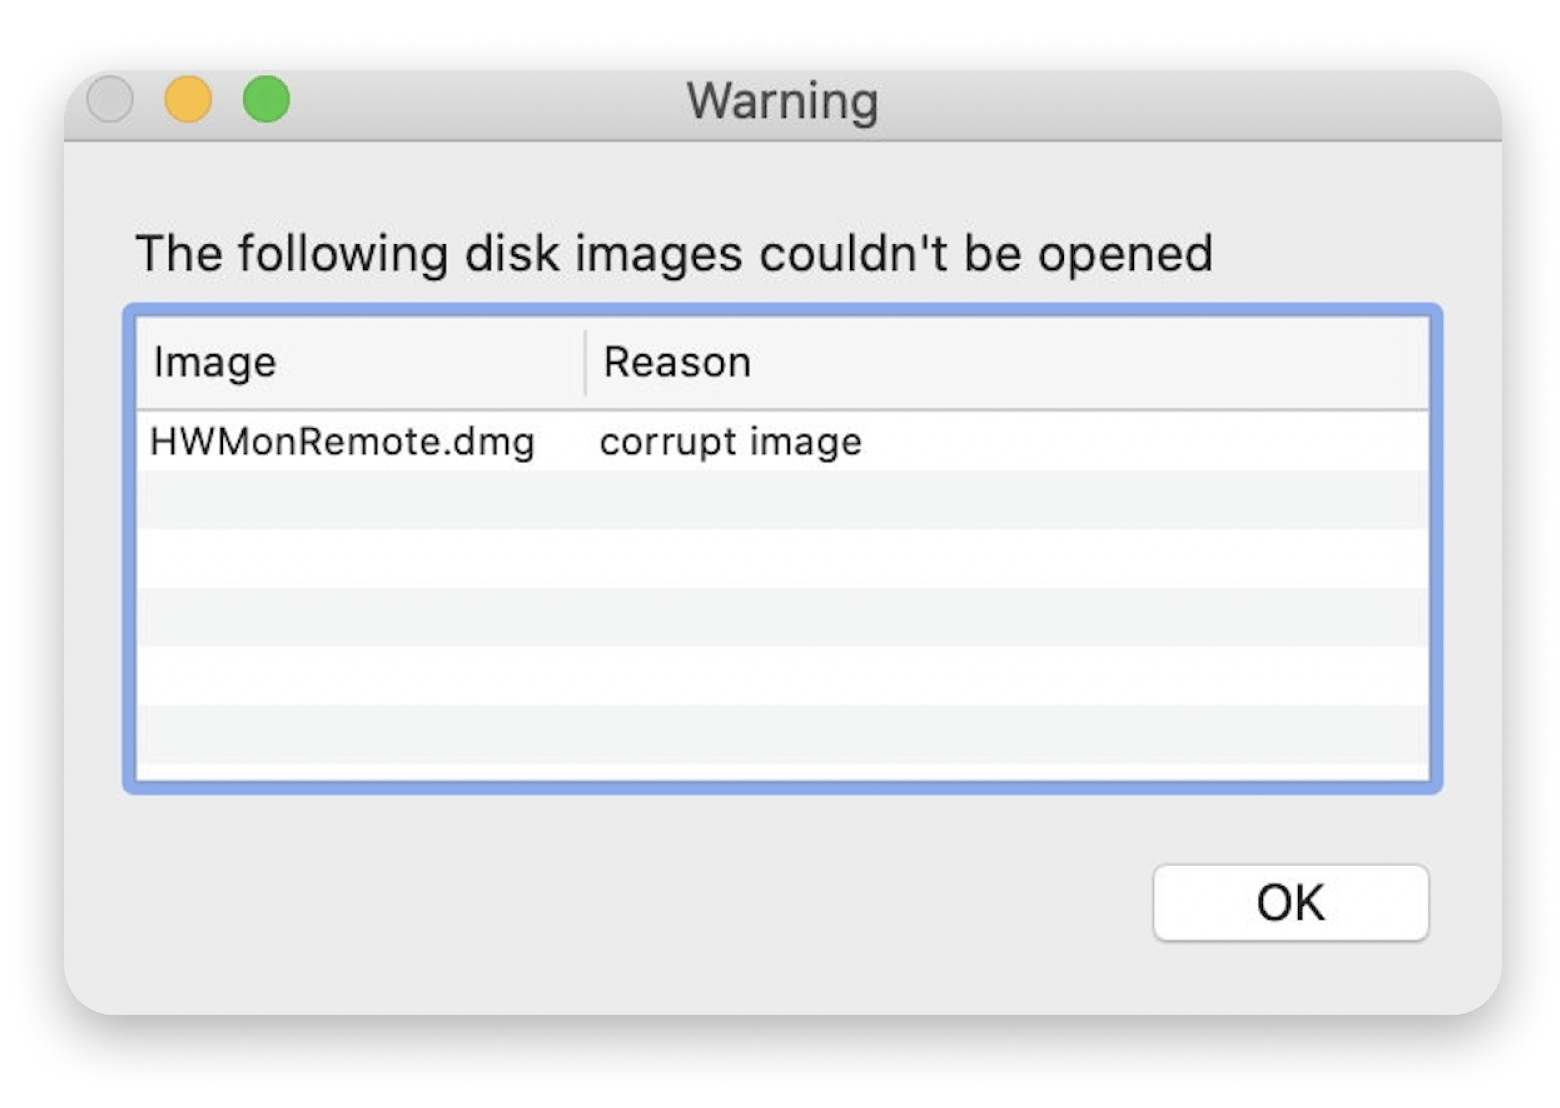
Sometimes, I need to download an app from an independent developer or any other tool that, for whatever reason, is not offered in the App Store. In such a case, the app can be supplied as a compressed disk image. The majority of the time, this works flawlessly for me. But occasionally, I can see the error message “The following disk images couldn’t be opened.” The most common reasons are that the disc image file is corrupted, disk image not recognized, or there are no mountable file systems.
If you want to know what to do to get rid of the error, my guide is for you.
| What happened? | Here’s what to do |
|---|---|
| Corrupted download | Re-download via stable network or use Folx to split that download into up to 20 smaller streams for better speed. |
| Disk image not verified | Use Disk Utility > Verify > Find the disk image file > Verify. |
| System clutter or permission issues | Run maintenance with the CleanMyMac’s Performance feature. |
| No mountable file systems | Try hdiutil + diskutil commands in Terminal |
What is a disk image on Mac?
Mac uses a special image file format called a disk image (dmg), which acts like a virtual disk. It works just like a physical drive, letting you mount it in Finder, drag files and folders to it, and even create copies. You can open them the same way you would a regular disk. Plus, the Disk Utility app lets you check them out and make your own disk images.
Disk image files are still super popular. This is mainly because they let developers control how their software looks when you open the image. For example, if you’ve downloaded an app that asks you to move its file into the Applications folder and create a shortcut to that folder, a disk image is what makes that possible.
Step-by-step guide to fix “The following disk images couldn’t be opened”
If you’re trying to launch a disk image on a Mac but receive a warning message, consider the following methods to get rid of the problem.

Step 1 — Re-download the disk image
Opening disk image file is impossible if it’s corrupted. The corruption may happen during the download because of the unstable network, a malware assault, or other interference. So before re-downloading the disk image, you need to check your network. Once you have the file, double-click it to see if it can now be launched.
Also, check out how to extract data from corrupted ZIP.
Step 2 — Verify the disk image with Disk Utility
Unfortunately, “The following disk images couldn’t be opened” may still appear when you attempt to open the disk image, even if you re-download it via a stable network. In this case, you should think about whether your Mac’s problematic disk image mounter is to blame. To verify the disk image, use Disk Utility.
Here are the steps to follow:
- Press Command + Space > Search for Disk Utility.
- Click Images in the menu bar, then choose Verify.
- Find the disk image file in the folder where it’s stored (as a rule, it’s the Downloads folder) > Click Verify.
- Click Done after the verification procedure is complete.
Step 3 — Fix Mac permissions and run maintenance scripts
When a disk image doesn’t open, it’s possible that your Mac is to blame rather than the disk image itself. On your boot drive, files that have gathered over time may cause conflicts and hinder the opening of disk images or the proper operation of software. Fortunately, there’s the CleanMyMac app that can assist in resolving these issues. It can run maintenance scripts for system optimization, fix disk permissions, and release RAM.
Here’s what you need to do:
- Install and open CleanMyMac.
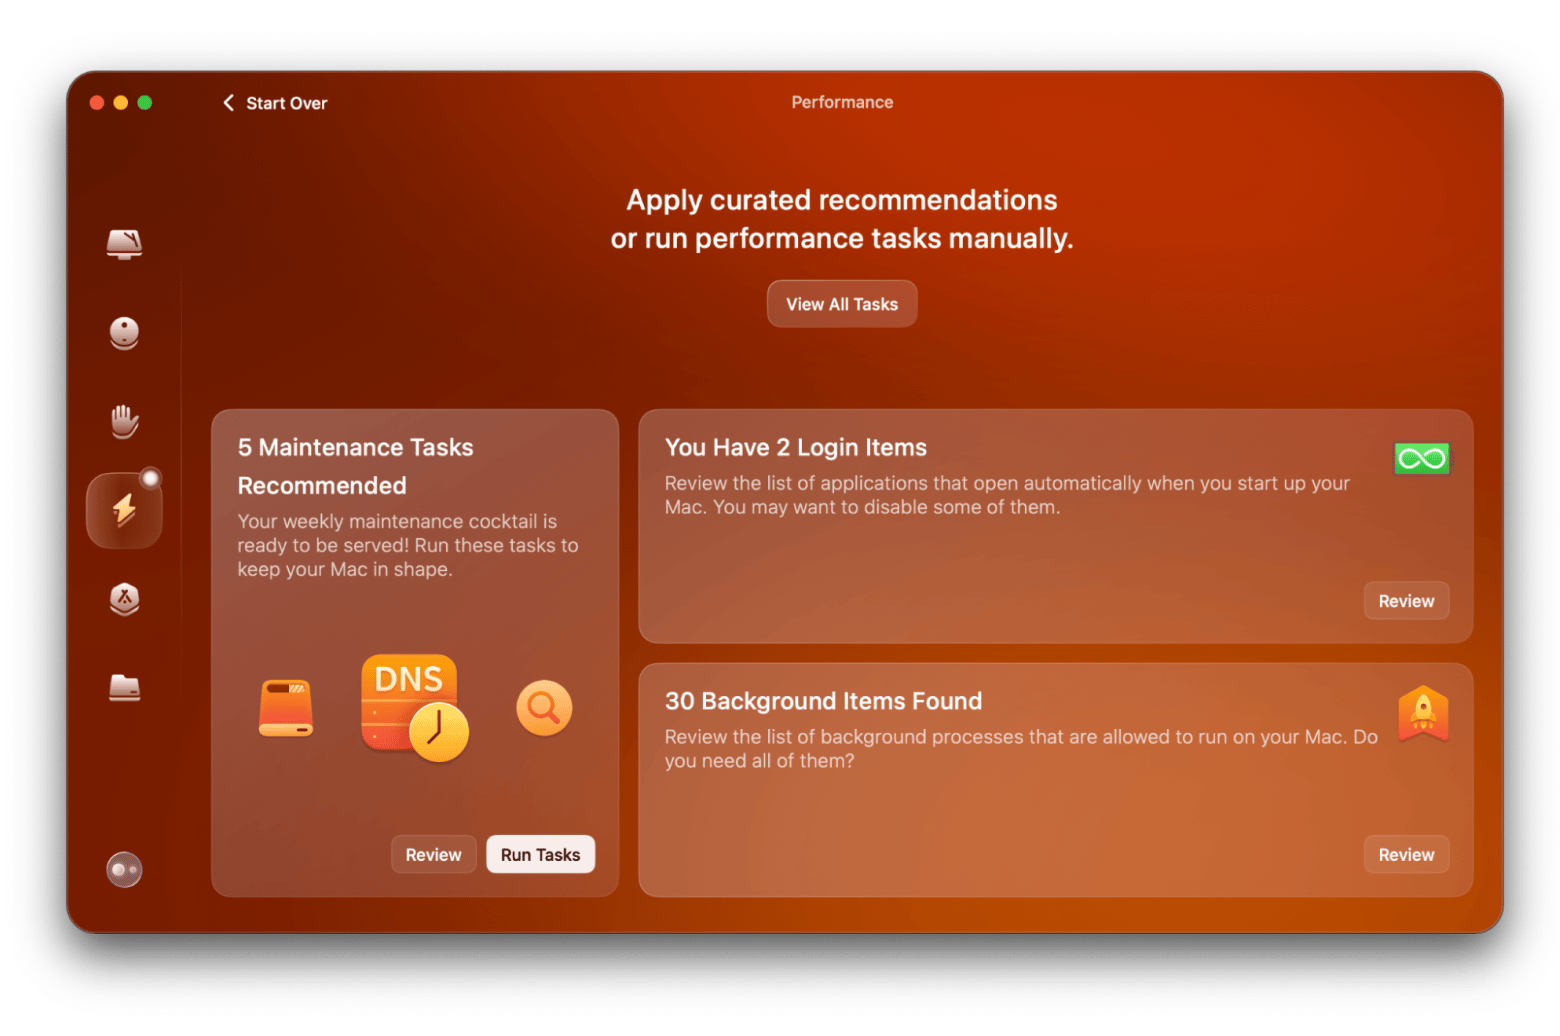
- Then open the app, click Performance from the left sidebar > Scan.
- Click Run Tasks under X Maintenance Scripts Recommended.

As I’ve mentioned, running maintenance scripts can fix many errors. Hopefully, once the process is finished, you’ll find that the “disk image is not opening” issue has been resolved.
Fixing “No mountable file systems” in macOS Sonoma/Sequoia
If you encounter this message on macOS Sonoma or Sequoia:
- Open Terminal ( Applications > Utilities) and run this command: hdiutil attach -nomount disk.dmg. This stops macOS from auto-mounting it and lets you inspect the image.
- From the Terminal output, note the disk identifier — it will look something like /dev/disk4.
- Mount it manually: diskutil mountDisk /dev/disk4 > Replace disk4 with the actual disk ID from the previous step.
Common causes of "The following disk images couldn’t be opened" error
There are many reasons why you may receive this error message, and these include:
Corrupted or broken downloads
It’s possible to download a disk image that was already faulty, especially if you’re not getting it from the official website. You may also not notice that your download broke midway due to a disrupted internet connection. This means you end up with an incomplete file that can’t be opened.
macOS compatibility issues
If your disk image encapsulates a software setup file, this image was likely made for specific macOS versions. This is why you may receive the error message if you try opening it on a macOS version released earlier than the earliest version it supports.
Damaged disk images
This can happen if the disk image is from a faulty storage device, such as one with bad sectors. Additionally, an image kept on an external drive that eventually gets such problems could also become hard to read.
Permission restrictions
Your Mac may fail to open a disk image if configured to avoid opening files from unrecognized sources. If the image you’re trying to open isn’t associated with an official website or app store download path, your Mac may not open it. However, you can change such settings and open disk images from your trusted sources.
The following disk images couldn’t be opened: Resolved
You can occasionally see the error like “The following disk images couldn’t be opened” when opening a disk image on your Mac.
While one of the most effective methods is re-downloading the disk image (you can do it with Folx to increase the download speed), running maintenance scripts with the help of CleanMyMac won’t hurt in this situation as well.
These three apps can be downloaded from Setapp, a premium platform that unlocks access to multiple Mac and iPhone tools (250 and counting) for just about everything Apple users could need. The best thing is that all apps are yours for a 7-day trial, with no ads and complications.
FAQs
Why does my Mac say "The following disk images couldn’t be opened"?
“The following disk images couldn’t be opened” might be caused by your Mac using an outdated macOS version, opening a damaged image from an untrusted website, or a broken download.
How do I fix a corrupt disk image on Mac?
To fix a corrupt disk image on a Mac, try using the First Aid feature in the native Disk Utility app.
Can I repair a disk image that won’t mount?
To repair a disk image that won’t mount, you can force it to mount using macOS’s Disk Utility.
What are the best tools to fix disk image issues on Mac?
The best tools to fix disk image issues on Mac is the native Disk Utility’s First Aid feature.


