Here’s why you need FileVault disk encryption
The clue as to what FileVault is lies in its name. Think of it as a vault for your Mac’s information with advanced data encryption capabilities. As most of us use computers (Macs in particular) at work, data security is increasingly important to protect against unauthorized access.
Fortunately, macOS users have FileVault! In this article, I’ll cover what is FileVault disk encryption, its benefits, and step-by-step guides on how to use it.
What is FileVault, and how does it work?
New Mac users often ask, ‘What does FileVault do?’ In simple terms, FileVault encryption is a built-in macOS feature that encrypts the whole startup disk. It uses XTS-AES-123 encryption with a 256-bit key to protect data. If your Mac is lost or stolen, you don’t have to worry about unauthorized access as long as FileVault is around.
Once enabled, Mac encryption begins as soon as you log in. FileVault encrypts all data on the startup disk built upon as your Mac is used. You don’t notice it happening — it all goes on behind the scenes.
First, back up your data
Backing up your Mac is just as important as encrypting your data. While FileVault protects your Mac, regular backups guarantee hardware failures or accidental deletions don’t mean the end for all of your precious data.
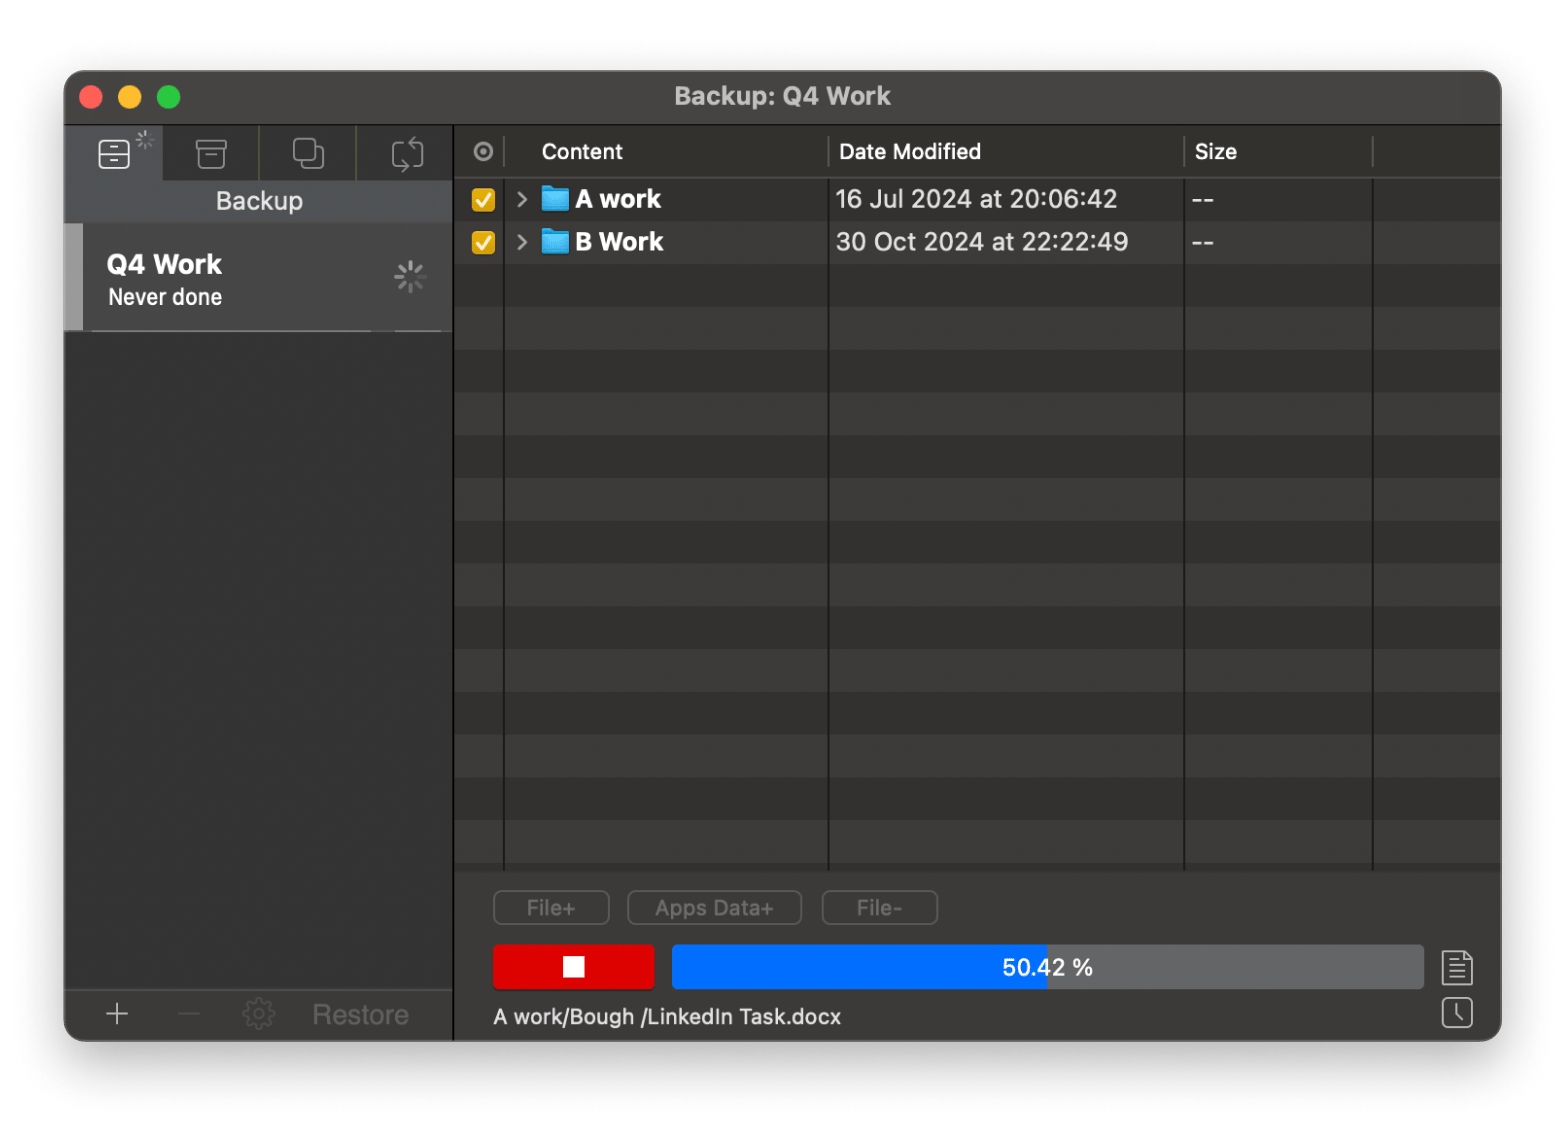
Get Backup Pro is one of the most reliable apps I’ve used to keep all of my Mac data safe. I can save files to an external drive or iCloud service with peace of mind that whatever happens is completely secure.
To back your data:
- Install and open Get Backup Pro.
- Click the Add new project “+” button > Name it.
- Click File+ > Choose a folder or files to back up.
- Click the play button to start the backing-up process.
Should I use FileVault disk encryption?
Everyone should prioritize data security, but some users need to take extra precautions. Professionals with confidential work files or those who like to bring their Mac traveling are most at risk.
With FileVault enabled, any attempt to log into your Mac is met with a robust encrypted disk no one but you can access. Additionally, businesses should enable FileVault to ensure they comply with industry data-protection standards.
FileVault is a built-in macOS feature, so you don’t have to install third-party apps or buy special software packages. Having said this, if you have an older Mac model, running FileVualt could cause performance issues.
So, the answer to the question, ‘Should I encrypt my Mac?’ is a resounding yes. Whether with FileVault or a reputable third-party app, encrypting your Mac is a must!
How to enable FileVault disk encryption
Apple devices with silicon or an Apple T2 Security Chip have data encrypted automatically.
If your Mac:
- Doesn't fall into this category
- You bought a second-hand Mac
- You previously disabled FileVault disk encryption
You will need to enable it.
Enable FileVault
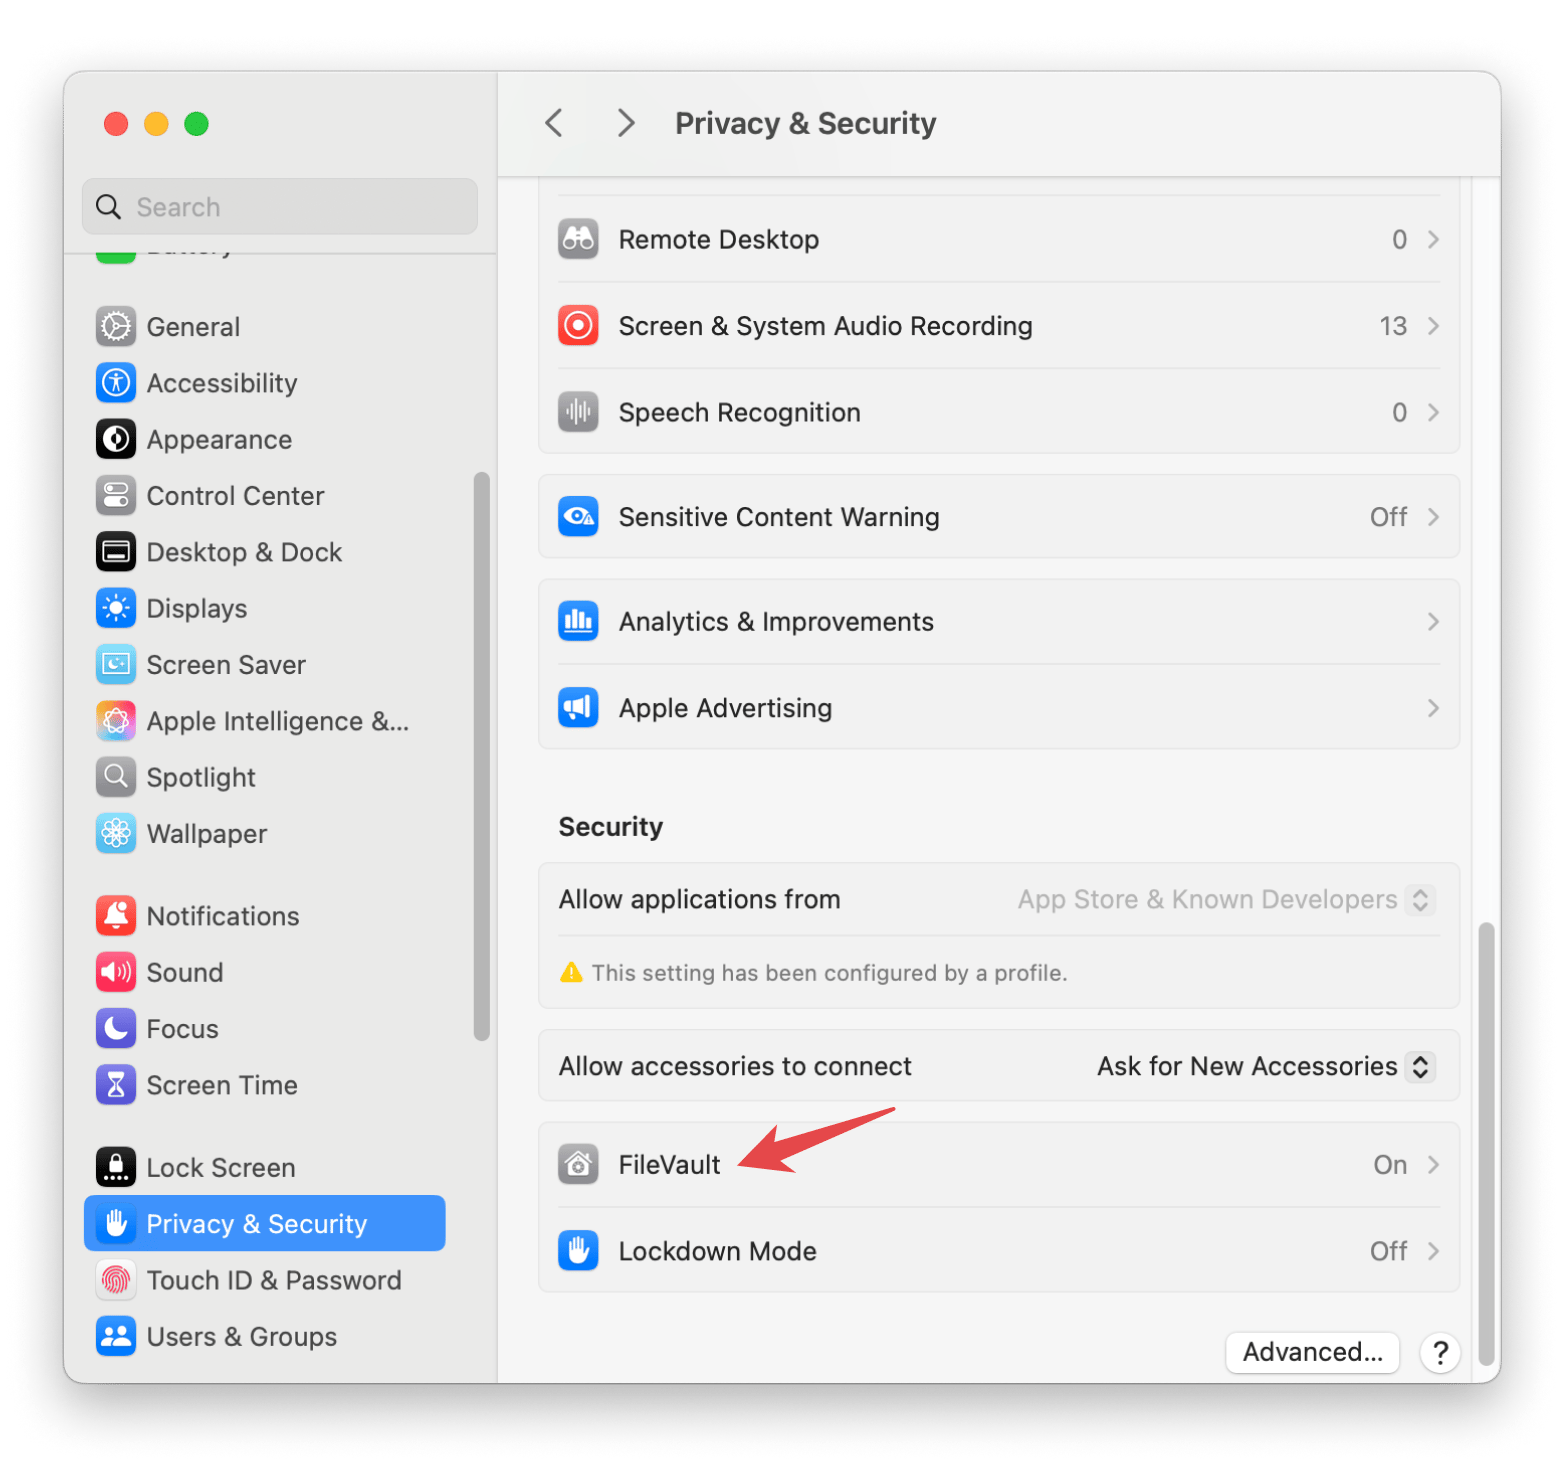
Here’s how to enable FileVault disk encryption:
Click the Apple icon > System Settings > Privacy & Security.
Click FileVault.
Click Turn On FileVault and authenticate using your administrator password.
Choose a recovery option:
Store the recovery key in iCloud.
Generate a local recovery key and store it securely.
Once confirmed, FileVault will begin encrypting your disk. This may take several hours, depending on the amount of data on the disk.
How to turn off FileVault?
FileVault disk encryption on Mac may be incredibly useful for safeguarding your data, but there might be situations where you no longer want it. For example, if you’re giving your Mac away to someone new or are fixing performance issues.
When you disable FileVault, a process called decryption is triggered. This process removes encryption while ensuring all files remain intact. Disabling FileVault requires careful consideration; after all, no encryption means no protection.
Here’s how to disable FileVault disk encryption:
- Click the Apple icon > System Settings > Privacy & Security.
- Click FileVault.
- Click Turn Off and authenticate using your administrator password.
- Your Mac will begin decrypting the disk, which may take some time.
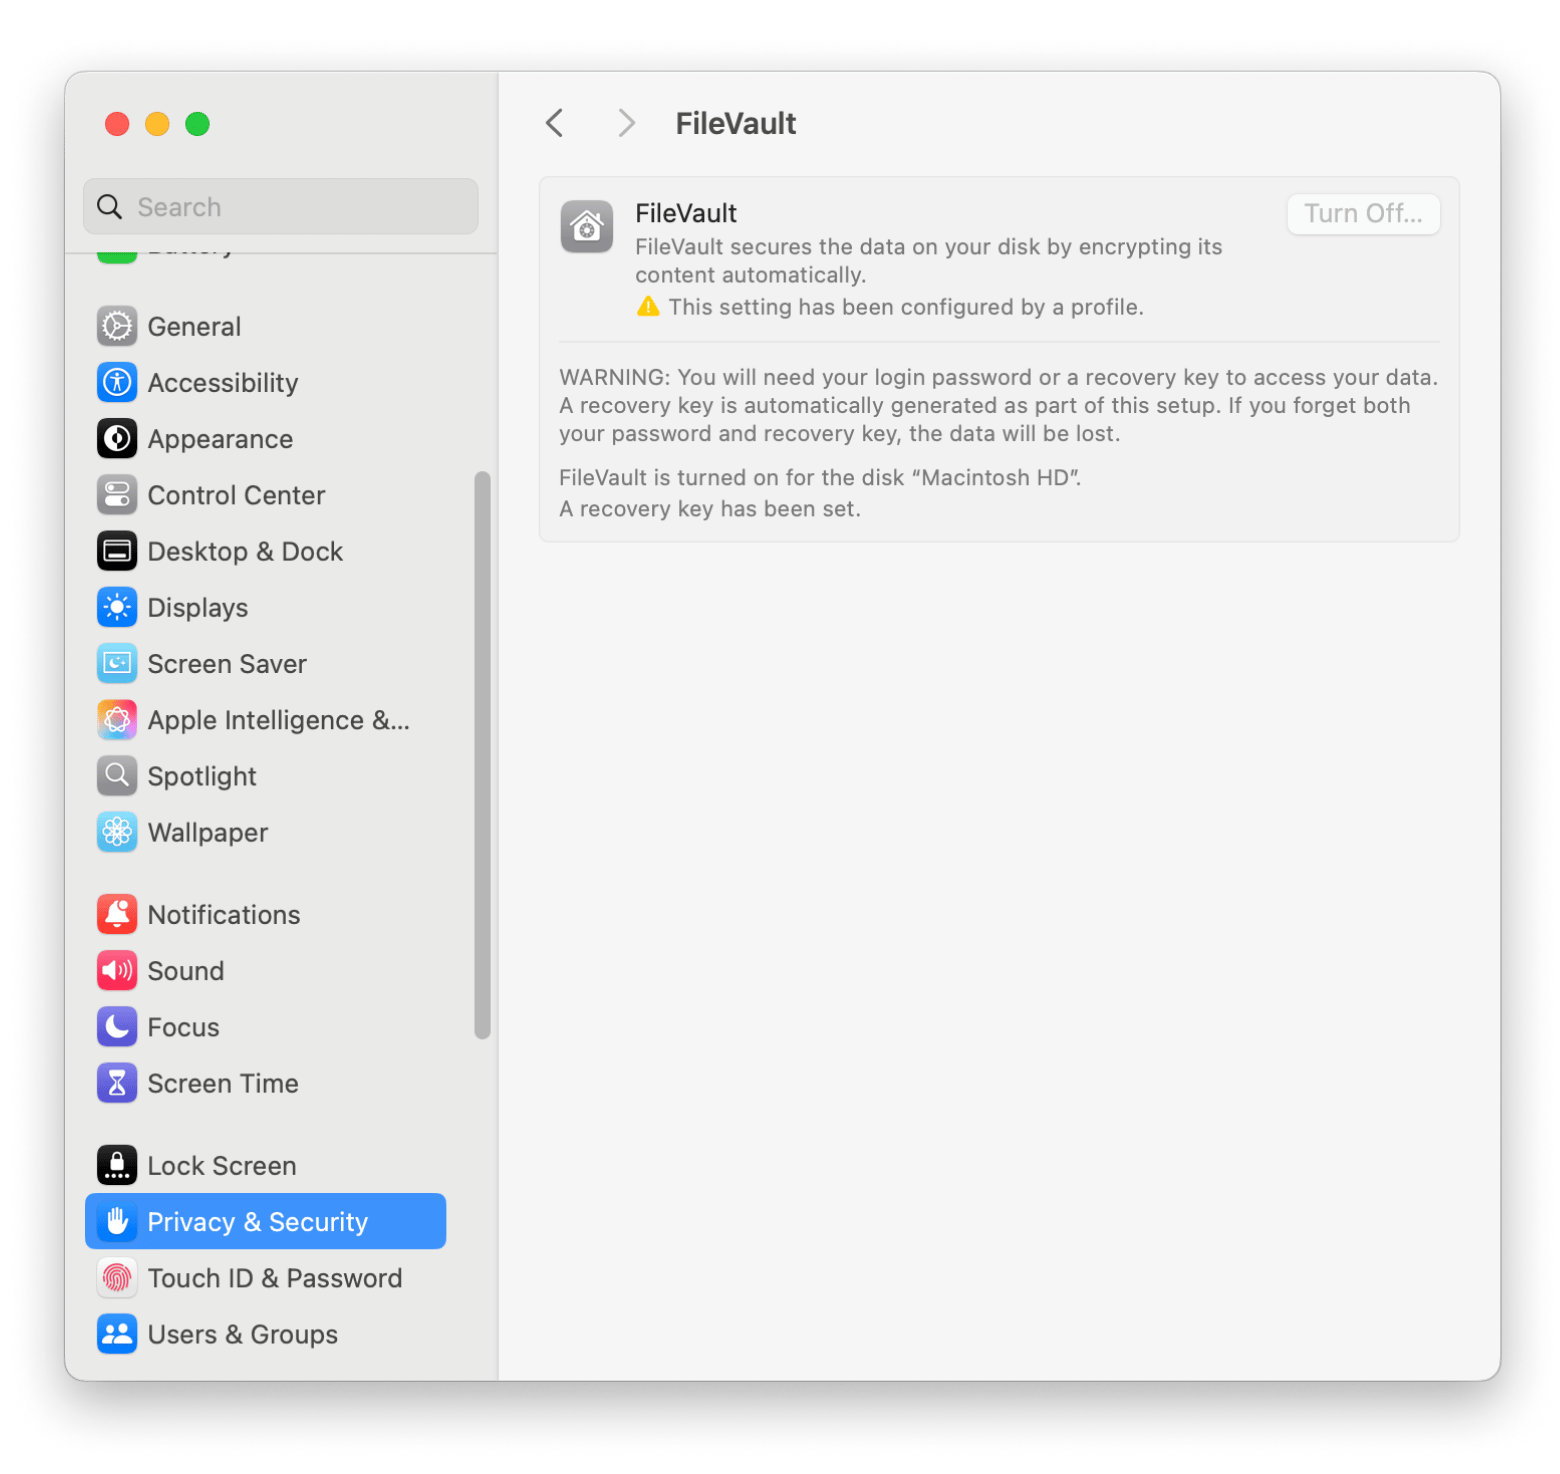
Turning off FileVault will not delete data but remove encryption from the drive. If you decide to re-enable FileVault in the future, the encryption process will need to start from scratch.
Personal experience: Sometimes, I feel like I can’t quite get a grip on my Mac’s inner workings. Having more control over system settings is key for data protection through controlling services and permissions, which I wasn’t aware of before installing Almighty.
I can control almost everything from one window, including hidden system settings like schedule to shutdown and clear clipboard contents. Accessing these controls from one window keeps my Mac running smoothly and removes the barrier between the Mac and the user.
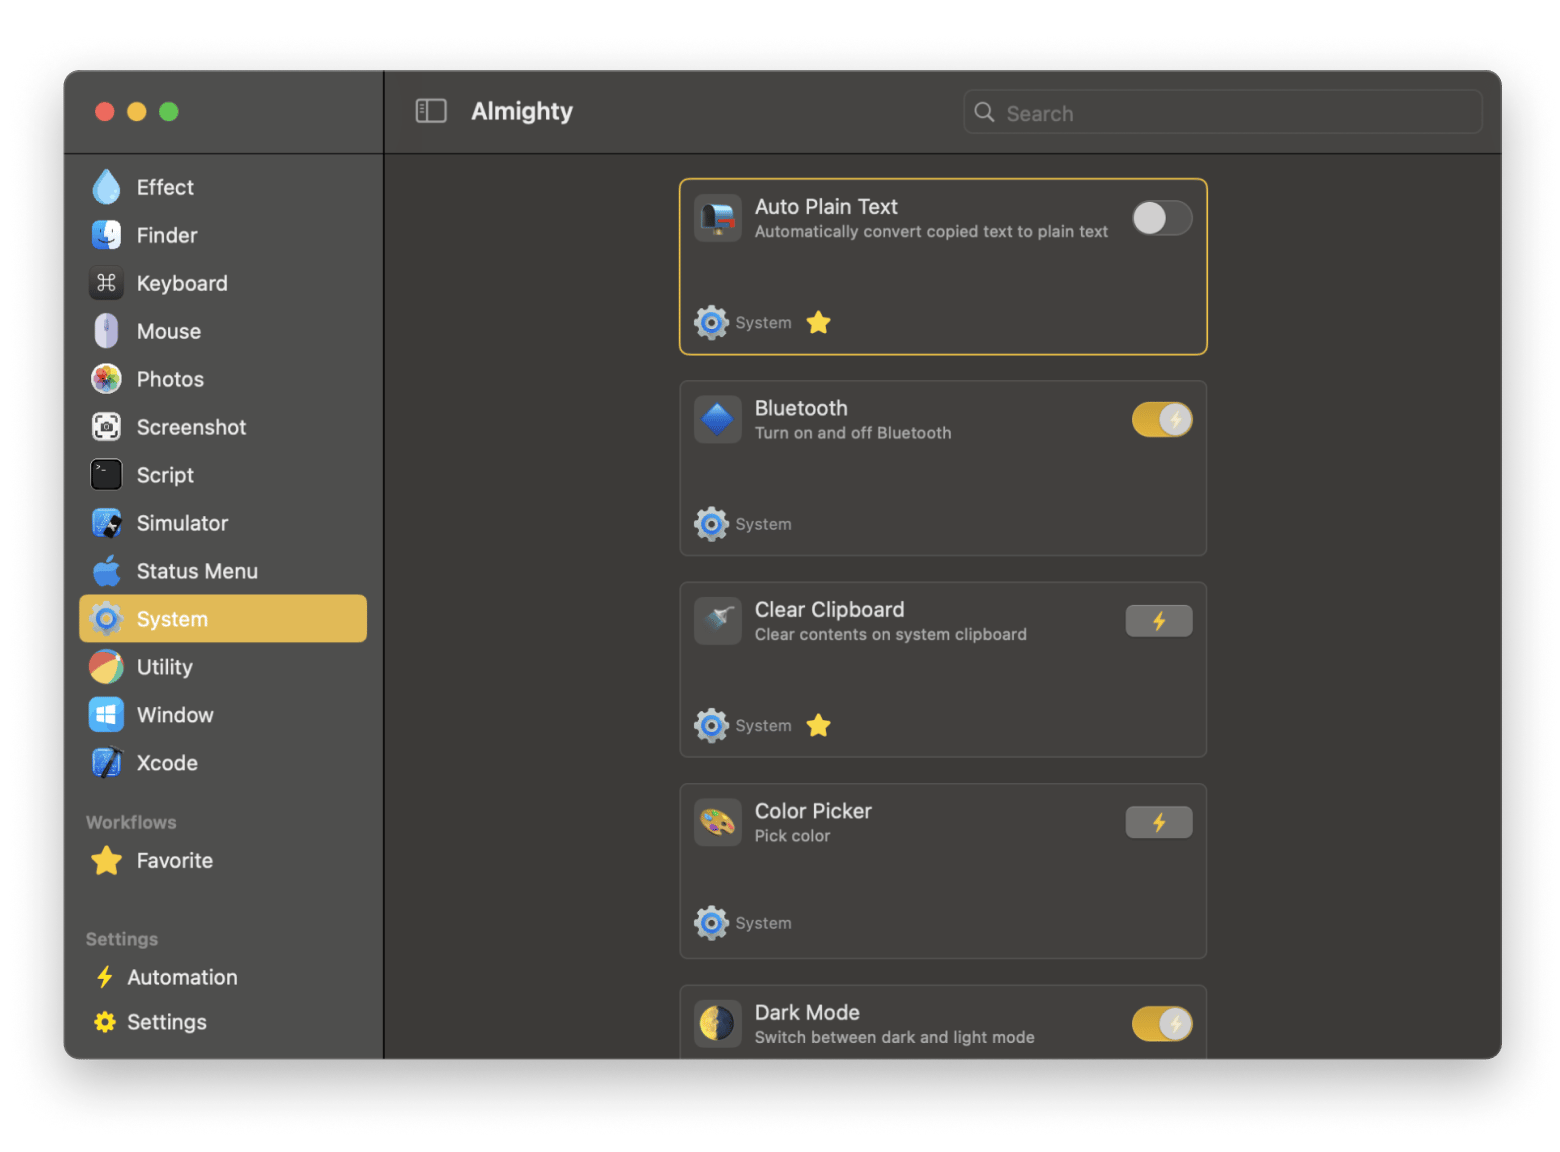
Almighty can be accessed using the menu bar. All from one small panel, I can switch settings like Toggle Desktop Widgets and Auto Plain Text. I believe having a better understanding of Mac capabilities clarifies how best to protect it, which Almighty facilitates.
Protect your data
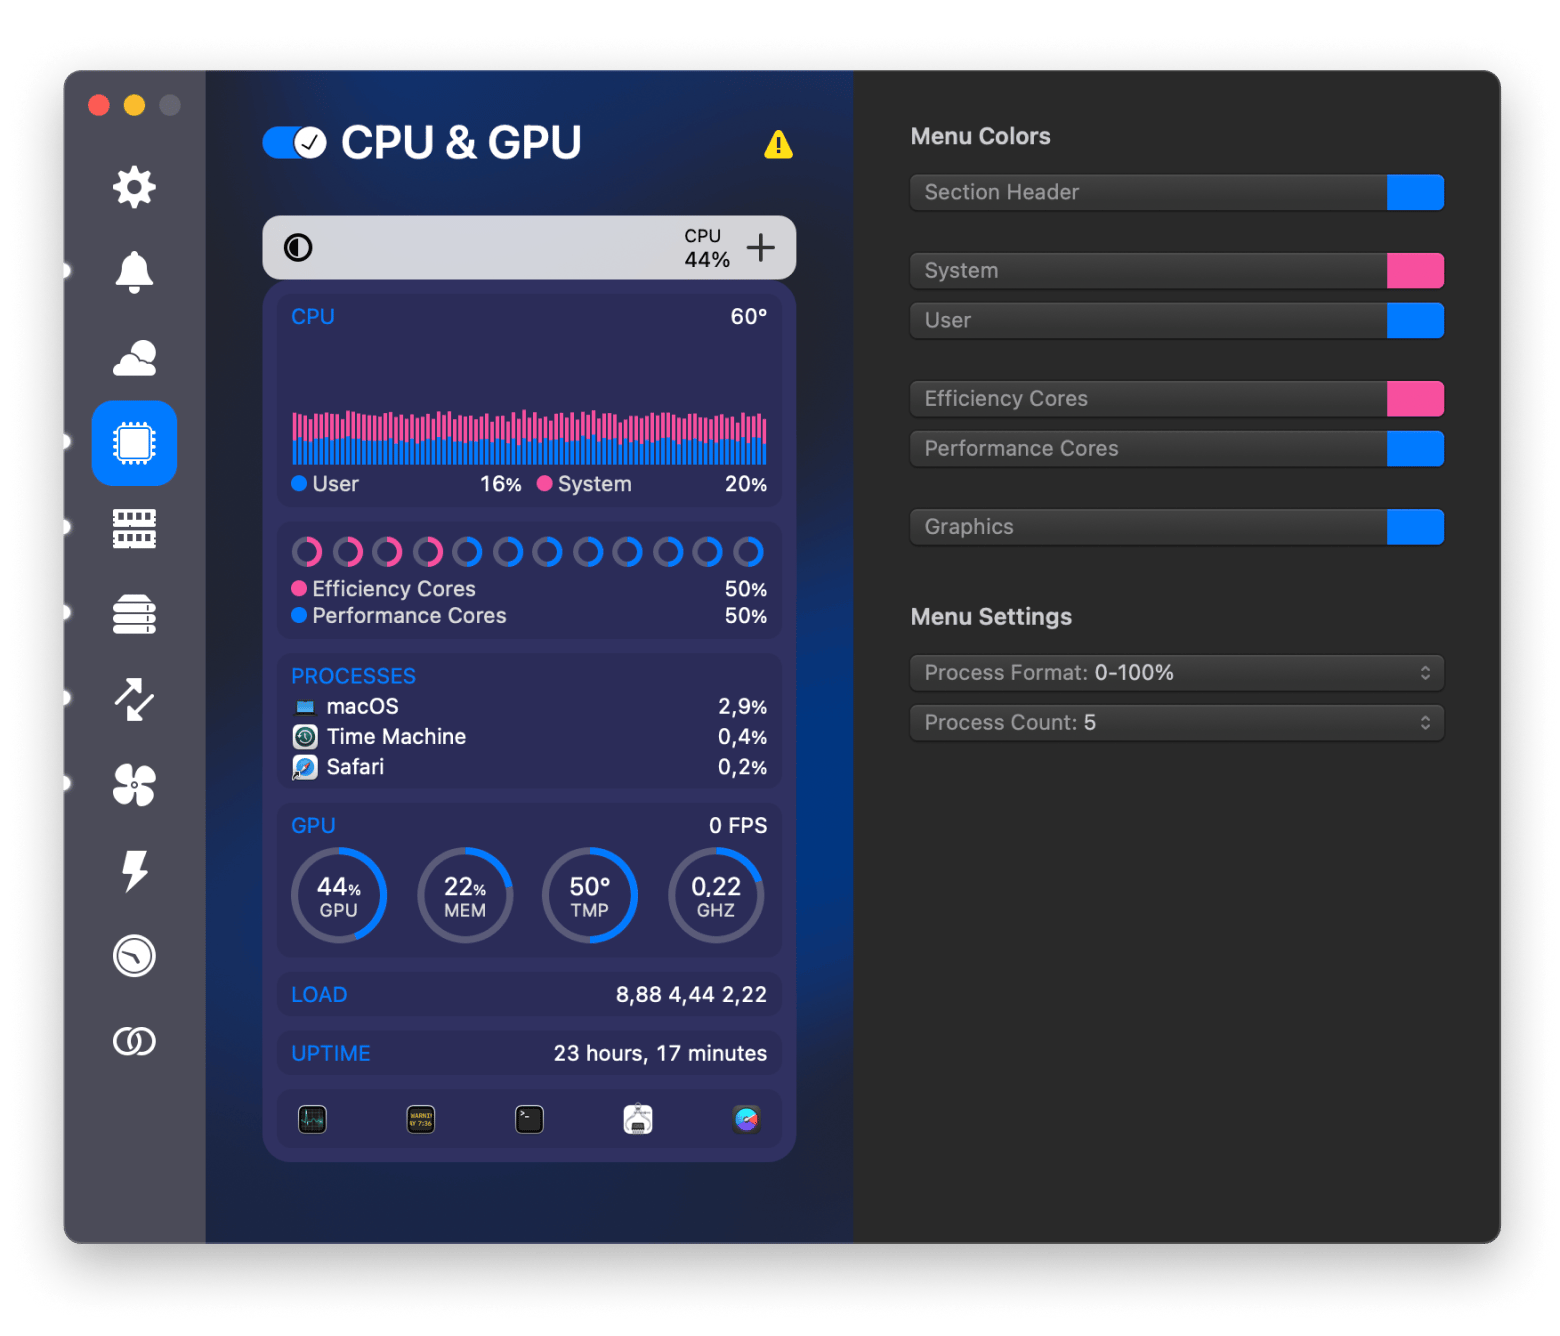
It’s almost impossible to know what’s going on with your Mac, encrypted or not. That’s why I like to use iStat Menus to track my CPU, disk usage, and memory in real-time. Seeing the numbers on my menu bar helps me catch problems before they escalate and affect my Mac's performance.
You can enable a notification to pop up when your Mac’s temperature gets too high. Heavy users such as me will benefit a lot from iStat Menus.
FileVault disk encryption on Mac: Done
If you want really make sure every file is accounted for no matter what happens, apps like BackupPro and ChronoSync are powerful back up and synchronization tools before FileVault encryption.
Everyone deserves to feel safe using their Mac, knowing their data is secure from unauthorized access. While FileVault disk encryption on Mac is effective, you can improve it with additional tools. Apps like iStat Menus, CleanMyMac, and Almighty simplify Mac system monitoring to enhance security and efficiency.
You can try all of the apps mentioned in this article to create folders, protect data, and tons more with a 7-day free trial Setapp subscription. Setapp is a great platform where you can find apps divided into categories that fit your needs. Actually, there are over 250 macOS and iOS apps on Setapp that you can access without purchasing each separately.
FAQs about FileVault Encryption
How long does FileVault encryption take?
FileVault disk encryption on a Mac can take anywhere from a few minutes to several hours or even over a day, depending on the amount of data on the disk. Older Mac models typically take longer than newer ones, so plan accordingly.
How to undo FileVault encryption?
To undo FileVault encryption, go to the Apple menu > System Settings, click Privacy & Security, then select FileVault and click Turn Off.
What to do if I forget my FileVault password?
Your FileVault password is the same as your login password. If you've forgotten it, you can reset it using your Apple ID by clicking the question mark icon on the login screen. Alternatively, you can use your FileVault recovery key, a string of letters and numbers provided when you first enabled FileVault.


