How to use Recovery mode on Mac (+ common fixes)
- Know which Mac you have and use the correct boot method
Check System Settings > About This Mac. If you see Chip, you have Apple silicon; if you see Processor, you have Intel. Intel: use Command + R (or Command + Option + R / Command + Shift + Option + R for Internet Recovery). Apple silicon: hold Touch ID/power, then choose Options > Continue. - Use Internet Recovery when local Recovery is corrupted
For Intel, hold the Internet Recovery key combo until a spinning globe appears, pick Wi-Fi, and wait; this loads recovery tools from Apple servers. The standard Recovery workflow on Apple silicon also handles internet recovery, so ensure you have a network connection and enough battery. - Recovery mode gives the tools you need to fix or restore
In recovery, you can run Disk Utility to repair drives, restore a full system from Time Machine, open Terminal for advanced fixes, run Startup Security Utility on T2 Macs to manage external boot options, and view the Recovery Log for diagnostics. - Recover files first to avoid losing data
If your goal is file recovery, launch iBoysoft Data Recovery from macOS Recovery and scan before reinstalling or erasing. That avoids creating bootable media or risking overwritten data and often saves the most important files. - Prevent trouble with backups and maintenance, and use a bundled app solution
Regular backups and cleanup reduce the need for Recovery. Use Get Backup Pro for incremental and folder-specific backups, ChronoSync Express for fast folder sync, and CleanMyMac for system cleanup. For easy access to all these tools, Setapp bundles 250+ Mac and iOS apps and includes a free 7-day trial, making it a practical way to protect your Mac and avoid future recovery headaches.
My first time using Mac recovery mode was anything but smooth. I struggled with it for quite some time, but in the end, knowing how to boot a Mac in recovery mode helped me save my most important files.
Drawing from that experience, I want to share my insights and tell you what macOS recovery mode is all about and how to use it. I’ve also included a section with alternative sections at the end of the article to help you avoid the challenges I faced.
How do you restart a Mac in recovery mode?
Before we get into how to enter recovery mode on a Mac, it’s important to mention that the instructions are different for Intel-based and Apple silicon Macs. To find out what type of processor you have, go to System Settings > About This Mac.
- If you see an item called Chip, followed by the chip's name, you have an Apple Silicon Mac.
- If you see an item called Processor, followed by the name of an Intel processor, you have a Mac with an Intel processor.
Pro tipIf your goal is to recover files rather than reinstall macOS, you can launch iBoysoft Data Recovery directly from recovery mode and scan your disk before making system changes. Learn how to reinstall macOS from recovery mode. |
How do you start a MacBook Pro in recovery mode over the internet?
If local recovery is corrupted or inaccessible, you may need to use Internet recovery. You can load recovery utilities from Apple’s servers using this method.
For Intel-based Macs:
- Shut down your Mac completely.
- Press the power button or Touch ID button and immediately press and hold Command + Option + R or Command + Shift + Option + R.
- Hold until a spinning globe appears on the screen with the message “Starting Internet Recovery.” It may take some time.
- Select Wi-Fi when a Wi-Fi menu appears, and enter your Wi-Fi password if prompted. Starting your Mac in Internet Recovery mode requires a network connection to load tools from Apple’s servers.
- Wait until your Mac boots into Internet Recovery. Make sure your Mac is fully charged, as this can take minutes or hours, depending on your internet speed.
For Apple silicon Macs:
The Internet Recovery mode has been combined with the standard macOS recovery mode on Apple silicon Macs. So booting into Mac Internet Recovery on an Apple Silicon MacBook is no different than booting into standard Recovery. In both cases, you need an internet connection:
- Turn on your Mac by pressing and holding the Touch ID button for a few seconds.
- Click the Wi-Fi icon to make sure the network is available.
- Click Options and Continue to enter the macOS Internet recovery mode.
You're done.
Alternate choices available within recovery mode
Once you've put your Mac into recovery mode, you can do a number of things with it. Let's take a look at some of them.
#1. Recover lost data in recovery mode with iBoysoft Data Recovery
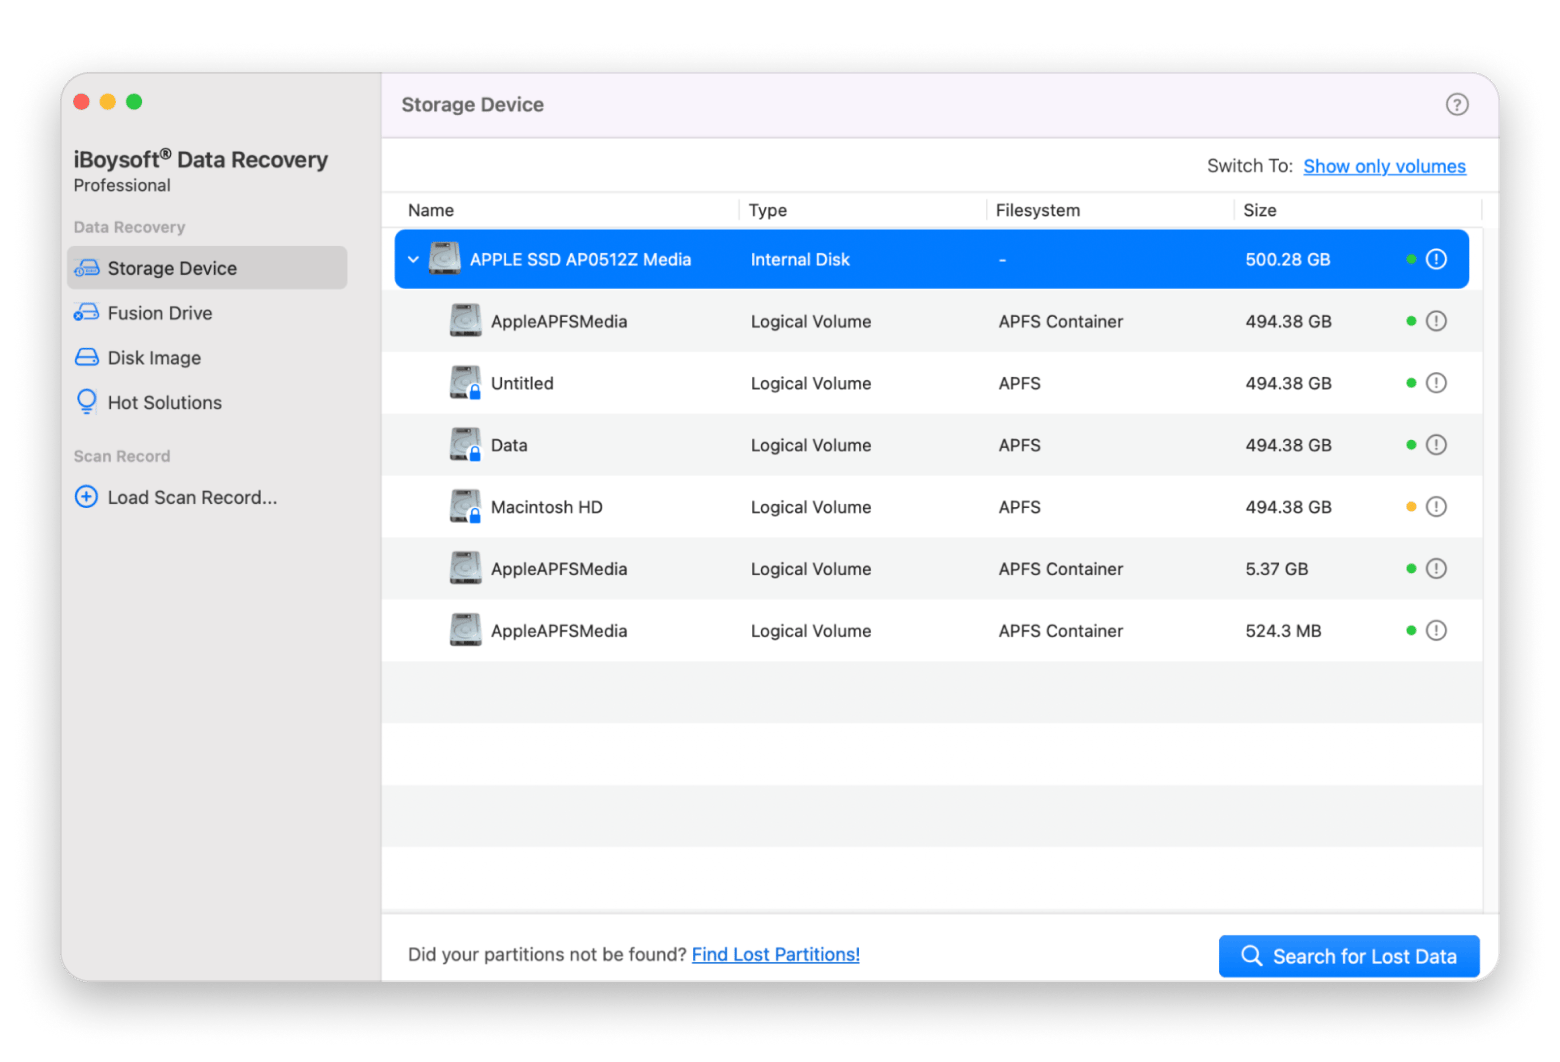
If your Mac won’t boot, or you've lost access to your files, there's still hope. iBoysoft Data Recovery for Mac is a powerful tool that works directly from macOS Recovery, so you don’t need to create a bootable disk or risk overwriting your files. There's also no need for a second computer or a bootable installer.
Here's how to recover your files using the tool:
- Install and open iBoysoft in macOS Recovery.
- Launch it and scan your disk by clicking Search for Lost Data.
- Preview and recover the files you need.

#2. Use Terminal in macOS Recovery
Here’s how to open Terminal from within macOS recovery mode:
- Start in recovery mode as described above.
- Click Utilities in the menu bar.
- Click Terminal.
TipThe built-in macOS Terminal app is fast and can perform most command-line tasks. However, it’s not as cool-looking or configurable as Core Shell. The app offers a great interface, supports one-click login to remote computers with auto-reconnect, and even lets you change the look and feel of your Terminal. |
#3. Access Startup Security Utility
This is a critical setting if you’re using a T2 Mac (which, as of 2018, many Intel Macs are), because you need to make sure you can boot from an external media before you can use a bootable installer.
Here’s how to open Startup Security Utility:
- Turn on your Mac, then press and hold Command + R right after you see the Apple logo. Your Mac will boot from macOS recovery mode.
- Choose a user whose password you know. Click Next and enter the administrator password.
- Choose Utilities > Startup Security Utility from the menu bar when you see the macOS Utilities window. You’ll be prompted to authenticate.
- Click Enter macOS password, then choose an administrator account and enter the password.
#4. Access Network Utility
Apple has removed Network Utility starting with macOS Big Sur, but you can still run the same checks in two ways:
- Use Terminal: Open Terminal from the Utilities menu in recovery mode, then run commands like ping, netstat, or traceroute to diagnose your connection.
- Use Wireless Diagnostics: Option-click the Wi-Fi icon in the menu bar, choose Open Wireless Diagnostics, and explore additional tools under the Window menu.
#5. Restore from Time Machine backup
You can use Mac Restore mode to restore your Mac from a Time Machine backup. This allows you to return your Mac to a point in time when you know it was working. It can also help you recover files you've accidentally deleted.
If you’re looking for how to restore Mac to a previous date, using Time Machine in recovery mode is the most reliable way.
#6. View your recovery log
As the name implies, the recovery log records messages logged by macOS recovery mode. In recovery mode, go to Window > Recovery Log. You can then filter messages or search for specific text. You can also save the recovery log to a file, which might be useful if you need help with Mac problems.
My experiencePrevention is always the best policy. Get Backup Pro is my solution for easily backing up any information I want to keep extra safe. This app helps me create incremental and compressed backups that I can use to restore data to both my Mac and another Mac.But what I like most is the fact that I can easily customize the backup of individual folders (Time Machine is quite messy in this regard). And when I have a lot of folders and files to synchronize, it's easy and fast with ChronoSync Express. |
What is recovery mode on a Mac?
Mac recovery mode is designed to recover your Mac. Specifically, it's a software tool that loads before macOS starts, so you can fix your Mac even if you can't boot the operating system.
Read also:
Why use macOS Recovery?
There are a number of reasons to use the macOS Recovery tool. Let's look at some of them:
- You want to sell your Mac. When you sell your Mac, you need to erase all your data, including your Apple Account. recovery mode is a valuable tool for doing just that.
- You need to fix a problem on a Mac. recovery mode lets you boot your computer with minimal resources so you can troubleshoot issues.
- You need to use Disk Utility. If there's a problem with your Mac's hard drive, you can use recovery mode to boot into Disk Utility to fix it.
- You need to restore from a Time Machine backup. recovery mode works best if you need to restore the entire system.
- You need to recover data. If your Mac won’t boot or you've lost files due to a corrupted disk or deleted partition, recovery mode can help.
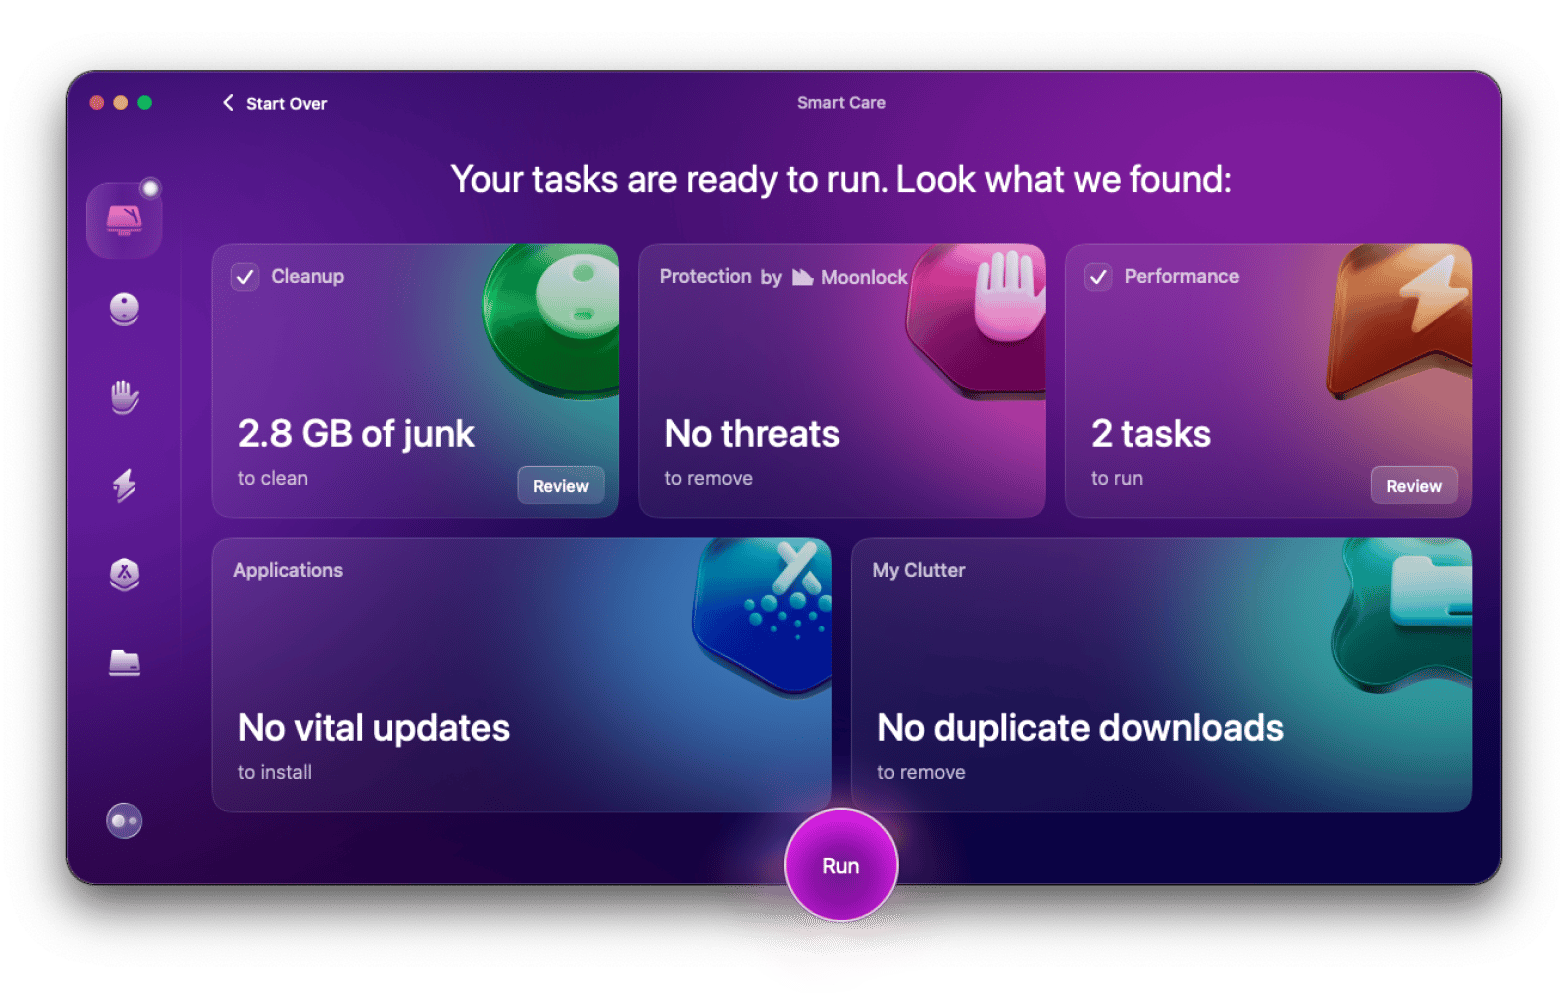
TipEvery time I restart in recovery mode or make any other major changes to my Mac, I first clean it up properly. Otherwise, I feel like tidying up my house only to scatter back all the dust I've just vacuumed.CleanMyMac, a Mac care app, helps declutter all the unnecessary stuff, so that my system runs faster post-restoration. A fun fact: this app can clear up to 74 GB of clutter from an average Mac computer. Why not give it a try? 
|
How to use macOS recovery mode: Final thoughts
Working in recovery mode is not really that challenging. With the proper guidance, you'll probably be able to handle it more easily. The difficulties begin when you have to deal with lost or corrupted data.
My main advice is to make backups and keep them on a separate drive. Tools like Get Backup Pro (great for incremental and folder-specific backups), ChronoSync Express (fast folder sync), CleanMyMac (system cleanup), iBoysoft Data Recovery (file recovery), and Core Shell (for a customizable command-line experience) can help keep your Mac safe and running smoothly.
You can find all the tools on Setapp, a platform that gives you access to 250+ Mac and iOS apps under one subscription. There's a free 7-day trial, so why not take these tools for a spin?


