How to open Terminal on Mac: My quick tips
One of the easiest ways to open Terminal on a Mac is to press Command + Space, type Terminal, and hit Return. If you just need occasional access, this should be enough. But if you plan to use it regularly, I have a couple of tips for you. In this article, I'll show you a few quick methods of how to open Terminal on Mac and how to level up your Terminal game.
What is Terminal?
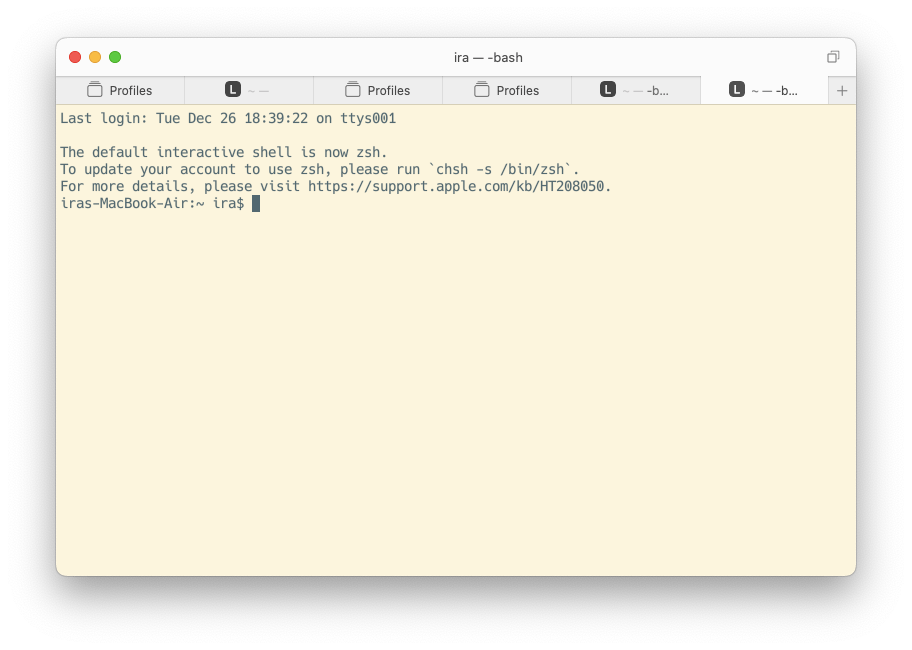
Terminal is a utility that lets you perform various tasks in macOS using text-based commands or scripts. When you open Terminal Mac shows you a window with a command line where you enter commands or scripts to run tools, manage files and folders (both locally and remotely), or execute other tasks on your Mac.
With Terminal’s command prompt macOS introduces CLI (command line interface) advantages for its users. As opposed to a graphical user interface (GUI) you might be more familiar with, CLI doesn’t need icons, buttons, windows, or dialog boxes to get things done on Mac. This makes Terminal a more direct way to communicate with macOS:
- Some tasks are easier to run using a command line on a Mac (like clearing the system cache, recovering lost documents, or downloading DMG files).
- Advanced users and professionals prefer Terminal for its extensive catalog of commands that help automate essential tasks and interact with the system, apps, and files more efficiently.
- Even if you aren’t a big fan of CLI and text commands, it still pays to know how to have your Mac open Terminal for times when you’re working with Apple Support to troubleshoot issues with your Mac.
How to open Terminal with a keyboard shortcut
Using combinations of hotkeys for instant access to apps and commands is the quickest way around your Mac. But if you’re wondering how to open Terminal on Mac using a keyboard shortcut, macOS doesn’t offer a preset one. Fortunately, on macOS Monterey or later, you can easily create your own with the built-in Shortcuts app.
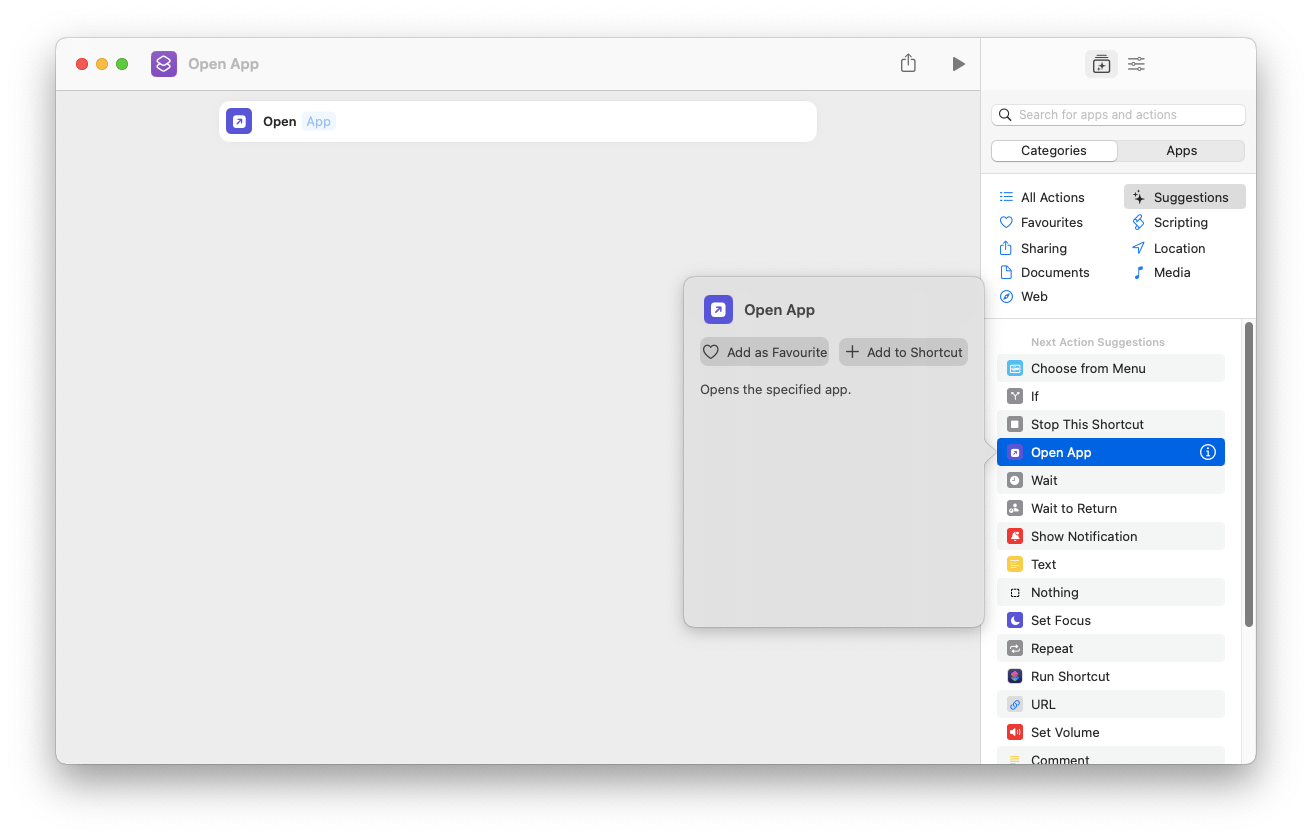
Here’s how to find Terminal on Mac using a custom keyboard shortcut:
- Open Shortcuts from Finder.
- Click on the plus sign in the top menu to create a new keyboard shortcut.
- Click on Open App in the menu on the right ➙ Add to Shortcut.
- Search for the Terminal app to appear next to Open in the main field.
- Go to the Shortcut Details icon in the top menu ➙ Add Keyboard Shortcut.
- Enter the keys you’d like to use as a shortcut for opening Terminal into the box next to Run with.
- Try using your new shortcut to make sure it opens the Terminal app.
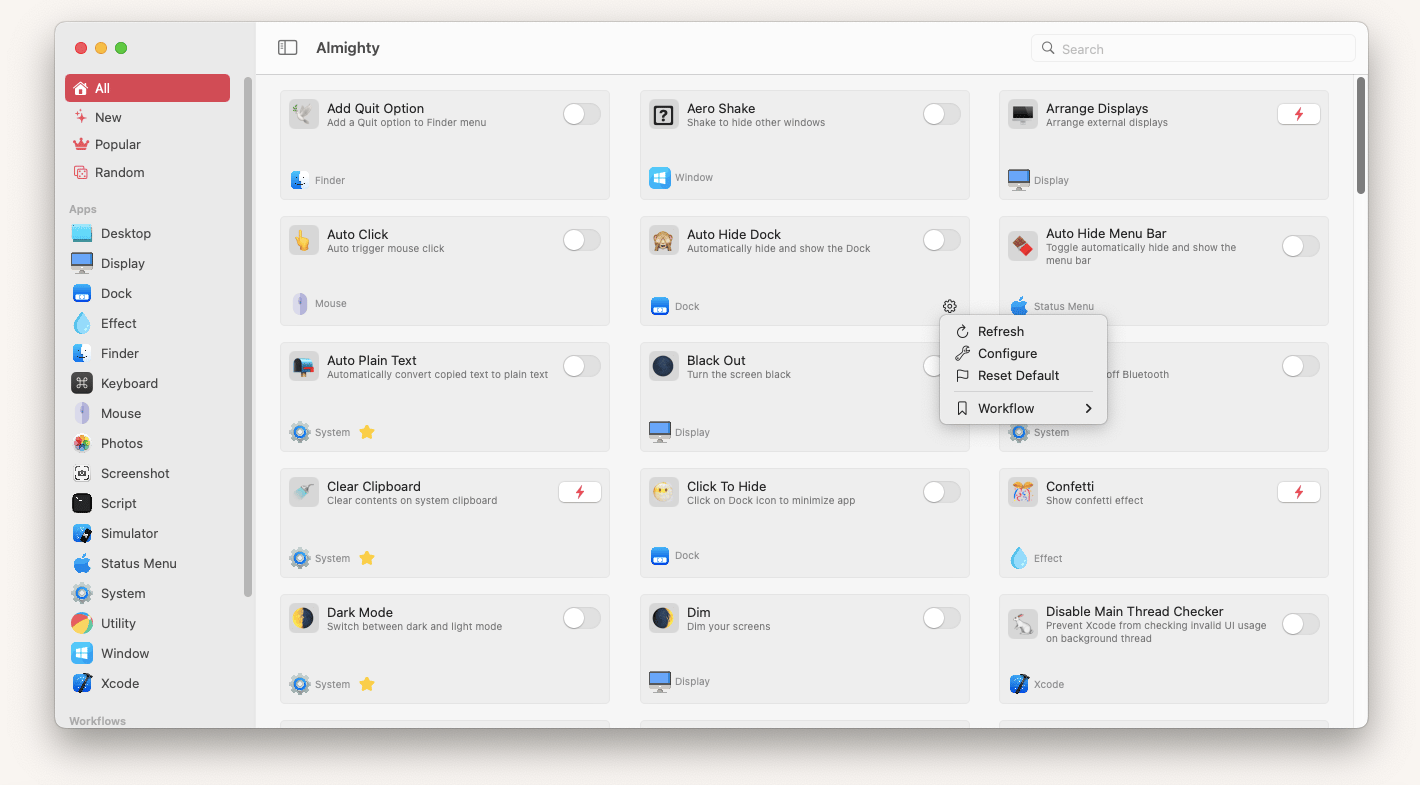
If the idea of customizing your Mac experience appeals to you, be sure to check out Almighty.
Almighty offers 50+ powerful shortcuts and extra utilities to help you set up your Mac for improved productivity. It covers different aspects of macOS functionality (from System and Dock to Photos and Xcode) and simplifies controls that are often only accessible through complex command lines.
With Almighty, you can lock your keyboard, hide desktop icons, clear clipboard contents, convert copied text to plain text, auto-hide Dock, create emoji, use Single App mode, schedule shutdown time, and much more. What’s most convenient is that any tasks can be added to the app’s menu bar dropdown window or configured with a keyboard shortcut — to always be only a click or two away.
How to open Terminal on Mac using Finder
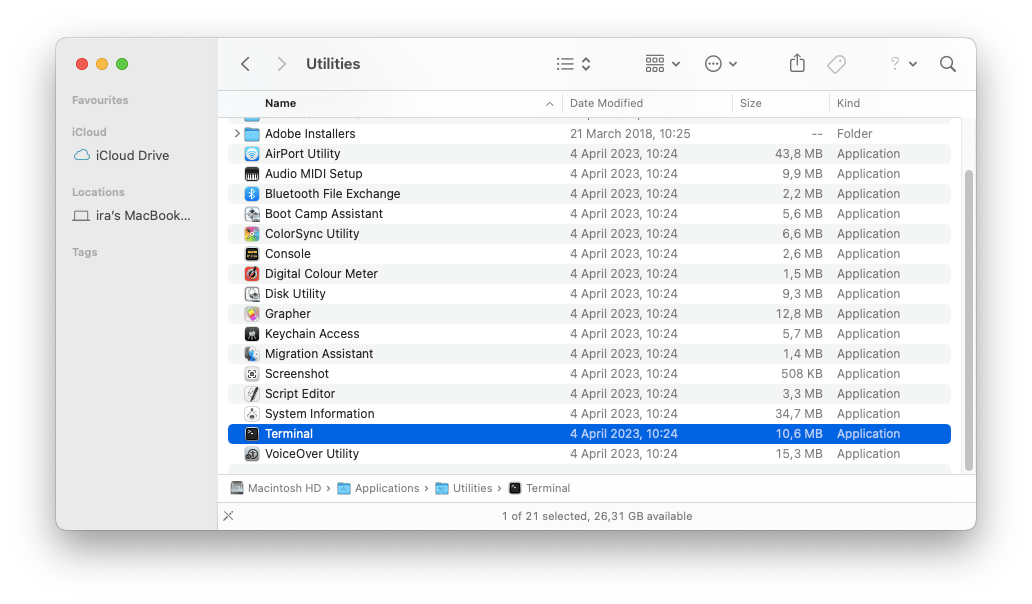
Terminal resides in the Utilities folder on your Mac, so using Finder to open it is easy:
- Open Finder.
- Choose Go from the menu bar ➙ Utilities.
- Scroll down to find Terminal and double-click it to open.
How to open Terminal with Spotlight
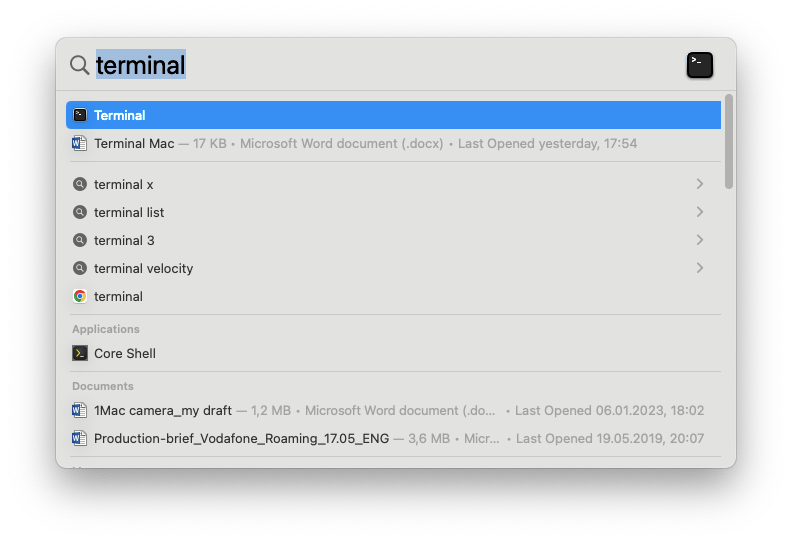
One of the easiest ways to open Terminal Mac users often prefer to others is using Spotlight search:
- Use Command + Space shortcut to bring up Spotlight search window.
- Type Terminal.
- Double-click on Terminal in search results to open it.
How to open Terminal from your Applications folder
When learning how to find Terminal on Mac, also consider the Applications folder:
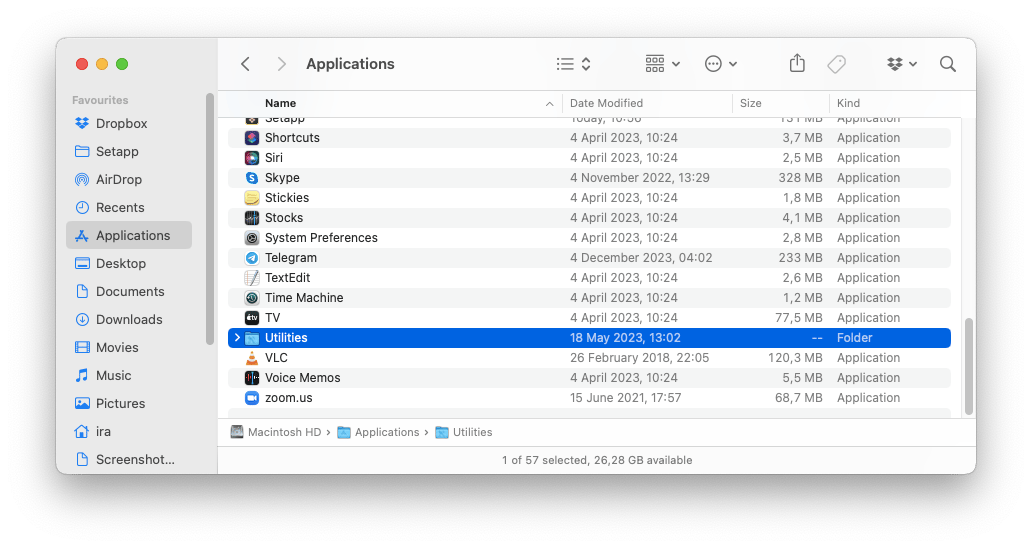
- Open a new Finder window.
- Choose Applications from the side menu.
- Find the Utilities folder and double-click to open it.
- Scroll down to Terminal.
How to open Terminal from Launchpad
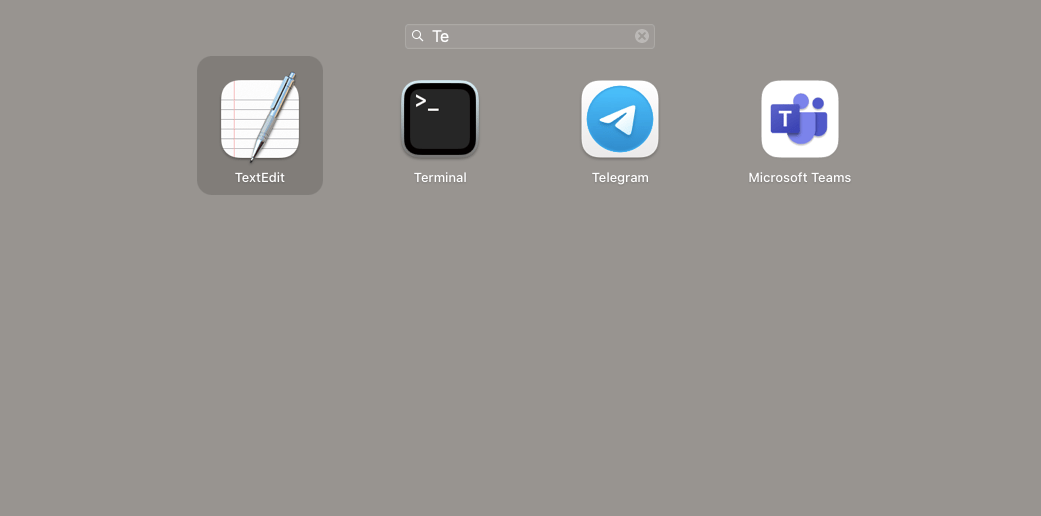
If you’re wondering how to find Terminal on Mac, you should know that you can always go to the Launchpad’s Other folder and open this utility from there. Or simply use Launchpad Search to have your Mac open Terminal:
- Open Launchpad from the Dock.
- Type Terminal in the search box at the top.
- Click on the app’s icon when it shows up.
Best Terminal alternative for Mac
If you use Terminal to work with SSH (Secure Shell) accounts that help you manage remote hosts, there’s an improved professional version of Terminal for Mac, called Core Shell.
Core Shell is a full-featured SSH terminal that provides built-in OpenSSH support with access to pro features (like proxy jump or agent forwarding), is fully compatible with Apple’s native SSH, and makes organizing multiple accounts easy even if you’re dealing with hundreds or thousands of hosts.
- Manage and edit per-host settings across different accounts.
- Enjoy automatic reconnect for lost connections and secure integration with Keychain to remember your login info.
- Streamline your workflow with custom color schemes (how does Dracula, Solarized, or Homebrew sound?) and host tags.
- Monitor the progress of your file transfers with built-in tracking of your downloads and uploads.
How to control your Mac with ease
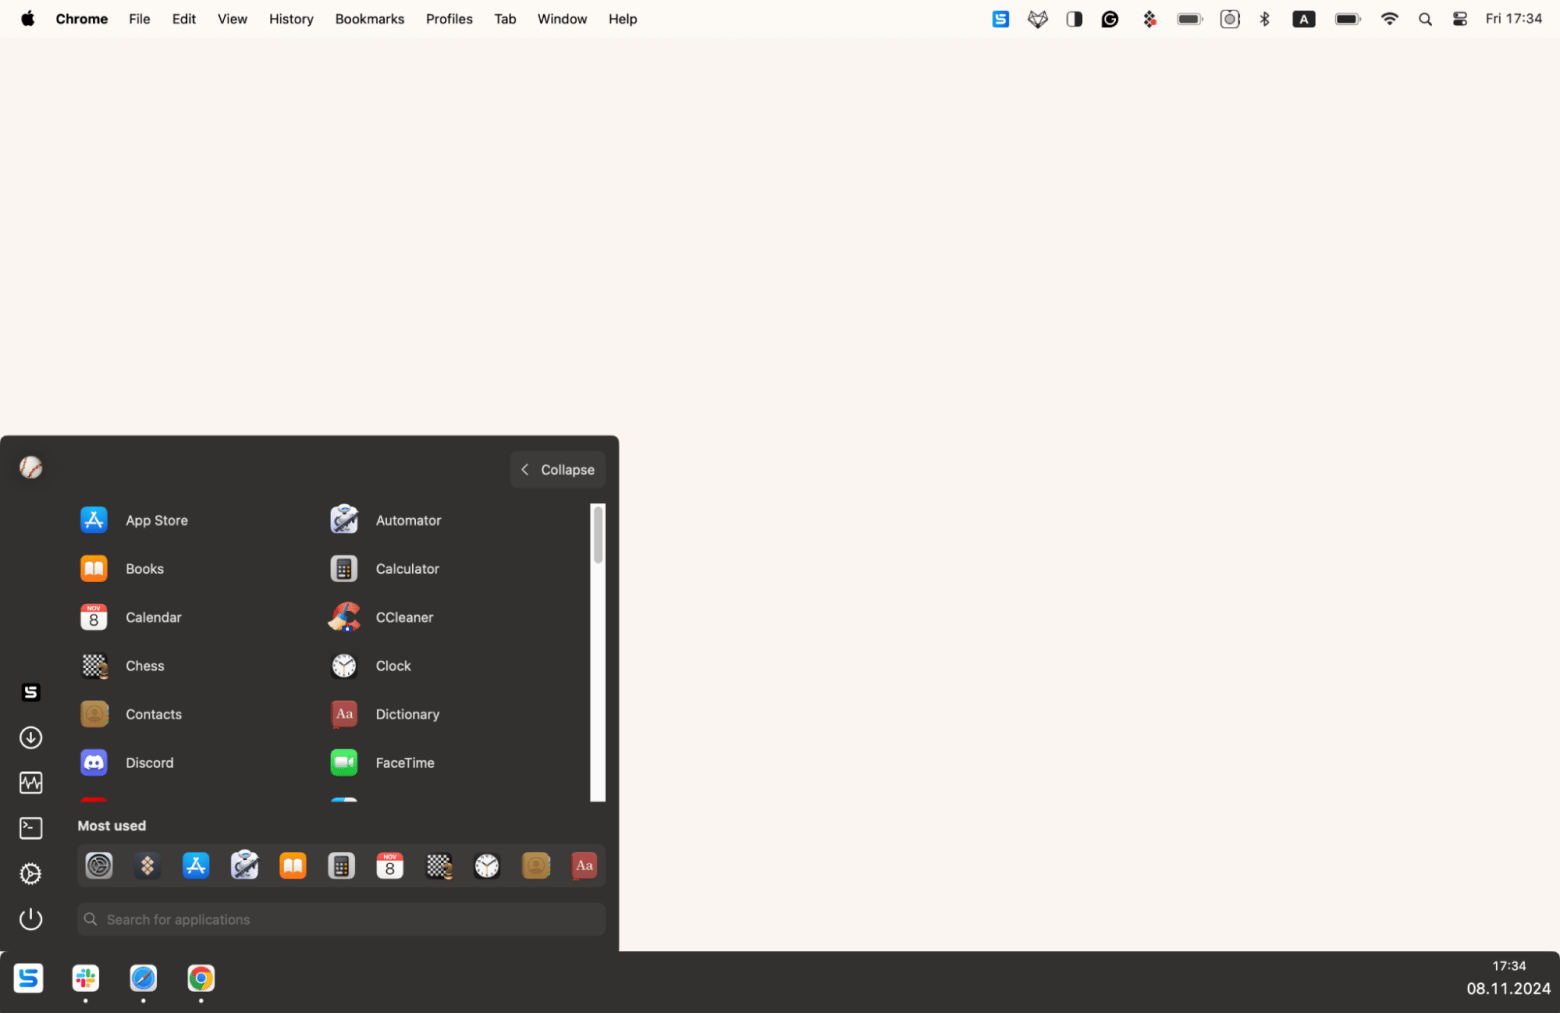
Your productivity on Mac doesn’t always come from using some complex command line Mac Terminal can execute for you. Sometimes streamlining your most basic Mac controls can contribute to your performance immensely. Why not start by building yourself a customizable Dock alternative with Sidebar?
Sidebar has designed a Dock that takes up minimal space on your screen and offers a smarter taskbar — with a lion’s share of space given to apps that are active, and not to the ones that are pinned for quicker access. This way it’s easy to group windows, as well as preview or close any app without opening it.
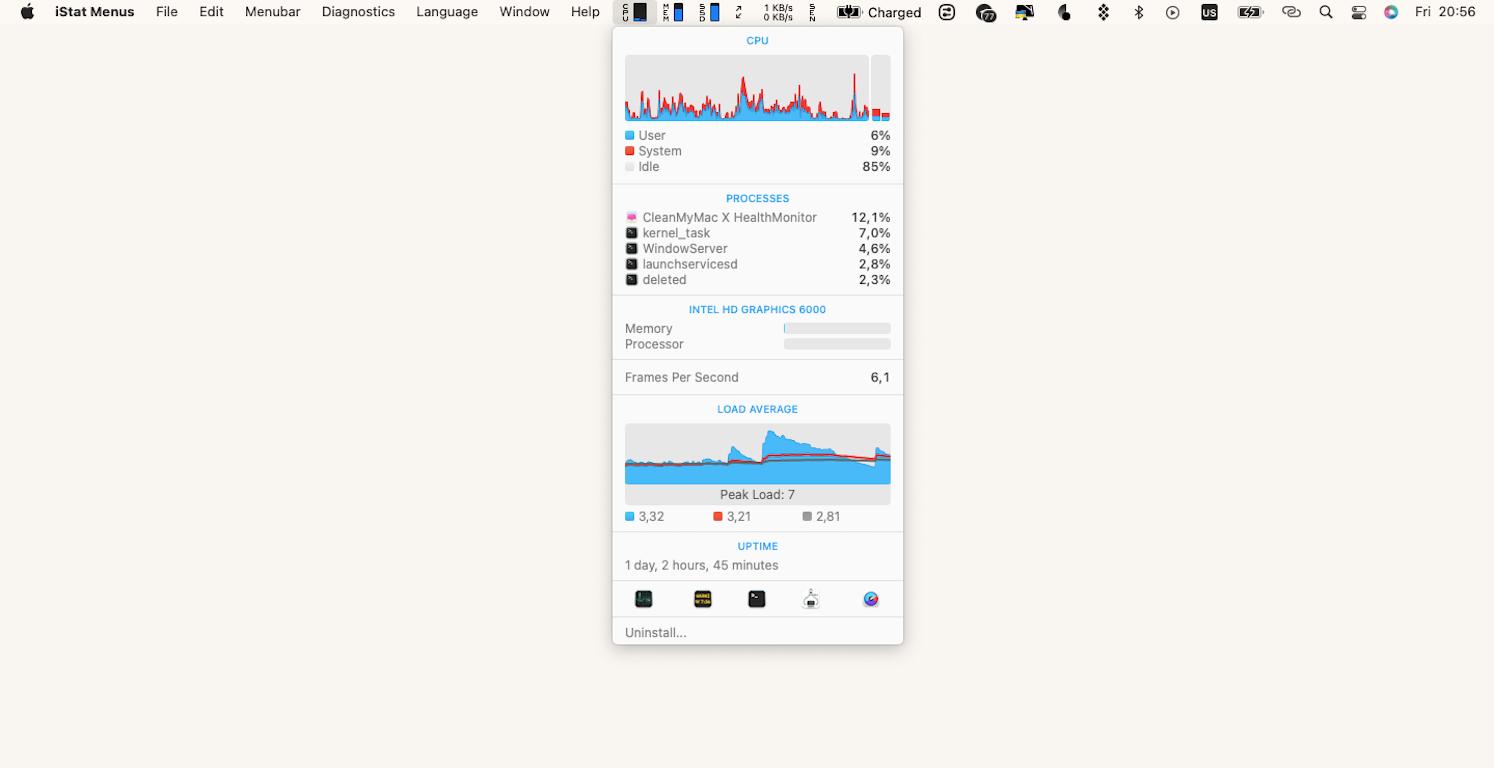
Another simple way to track your Mac’s real-time vitals and understand what’s going on with your Mac’s system at any given moment is iStat Menus.
iStat Menus is a comprehensive system data collector that lives in your menu bar and monitors the key indicators of your Mac’s performance and well-being. All you need to do is pick the stats important to you and set up notifications to spot any issues with:
- Instant CPU and GPU usage and overall activity check.
- Memory load, including the list of apps using most memory at the moment
- Disk usage and activity.
- Network graphs, including a bandwidth breakdown for the top 5 apps
- Battery life.
- Temperatures, fan sensors, voltages, current, and power.
- Other detailed daily info, including world clock with date and time, moon phases, temperature calendar, wind speeds, and more.
How to have your Mac open Terminal the way that fits your style
Terminal comes preinstalled on Mac because it uses fewer system resources to conduct complex tasks and often offers efficiency that graphical UI can’t compete with. So whether you want to learn how to use Terminal on Mac to power up your performance or simply need to know how to open Terminal on Mac for troubleshooting system issues, you can choose an option that’s most convenient for you: create a custom keyboard shortcut, look up in Spotlight or Launchpad, or open from Finder.
If becoming more fluent with Terminal commands isn’t something you’re after, be sure to check out hundreds of additional macOS utilities offered by Almighty and MacPilot. They offer powerful customization and performance tools without the need to master Terminal’s command line UI. If, on the other hand, you’re a pro when it comes to using Terminal and multiple SSH accounts, Core Shell is there to offer you access to advanced OpenSSH and host management tools. Also, you can try Commander One feel like a power user but without Terminal.
You can test Almighty, Core Shell, Sidebar, and iStat Menus for free with the seven-day trial of Setapp, a platform of best-in-class iOS and macOS productivity apps. Learn how to use Terminal command line macOS has in store for improving efficiency and check out more than 250 other options to boost your performance.
FAQ
How do I open Terminal settings on Mac?
To open Terminal Mac settings, launch Terminal and use the app’s top menu (Terminal ➙ Settings ➙ General, Profiles, Window Groups, or Encoding Settings)
How do I get to Terminal in Mac recovery?
To have your Mac open Terminal when it operates in Recovery mode, go to the top bar menu and click on Utilities, then choose Terminal and click on it to open.
How do I run a Terminal command on Mac?
Learning to run commands is essential to understanding how to use Terminal on Mac. Start by opening Terminal and locating the input field (called command prompt macOS has in place for you to know exactly where to type) with a blinking cursor. Type the Terminal command and hit Enter to execute it.


