Choose the right format:
• APFS or HFS+ — Mac only
• ExFAT — Mac and Windows (recommended for cross-platform use, supports files over 4GB)
• FAT32 — Mac and Windows (4GB file size limit)
Format via Disk Utility: Go to Applications > Disk Utility > select your external drive in the sidebar > Erase > set name, format, and partition scheme (GUID Partition Map) > Erase again.
Most hard drives are incompatible with macOS out of the box, so searching “how do I reformat for Mac external hard drive?” is totally fine. If this is your situation, or if your external drive is slowing down or cluttered with old files and you need a fresh start, I'll walk you through the process of formatting Mac HD for proper file storage.
How to choose file format and partition scheme when reformatting a hard drive
A file or disk format is a term that describes the way in which data on the disk is organized and the manipulation options available for it. Meanwhile, a partition scheme determines how a partition is maintained by the operating system and what code is used to boot from the hard drive. Both file formats and partition schemes are settings you can adjust while formatting hard drives for Mac.
Before getting into the steps of how to format a hard drive for Mac, here are the most popular disk formats and their key features to help you choose the best one for your needs:
APFS (Apple File System). The latest file format from Apple available for Mac users running macOS High Sierra or later. This format can encrypt files and is overall the most efficient for Mac, but won’t open on Windows or Linux machines.
HFS+ (macOS extended). A precursor for APFS, HFS+ is the default format for Macs running macOS older than High Sierra. Similar to APFS, HFS+ hard drives can be encrypted, but it won’t be the best option if you work with Windows or Linux devices as well.
FAT32. This file format works with macOS, Windows and Linux, making it the best option for users who are often sharing files between devices with different operating systems. A few downsides of FAT32 type include lack of security features and file size limitations.
ExFAT. While it shares all the same characteristics as FAT 32, ExFAT format can create and store files larger than 4 GB.
NTFS. This is Windows’ native file system that can be read by macOS devices. Your Mac, however, won’t be able to write to NTFS files.
How to format an external hard drive on Mac
Since most drives are designed to work only with Windows computers out of the box, you’ll most inevitably have to format HDD for Mac. So once you’ve taken the time to understand all the popular disk formats, you can then get started with the actual formatting process.
Here’s how to reformat external hard drive Mac using Disk Utility:
Connect the external drive to your Mac.
Go to Applications and launch Disk Utility.
Choose your external disk from the sidebar.
Click Erase in the toolbar.
Select a new name for your external hard drive in the pop-up window.
Choose the disk format and partition scheme (GUID Partition Map is the best choice in most cases).
Click Erase again to finish the process.
How to partition an external hard drive on Mac
While it may sound challenging, partitioning an external drive for use with your Mac is actually simple! You do need to keep in mind a few things, though: partitions can only be created on freshly formatted drives with no files or folders added, and only if you choose “Apple Partition Map” under the Partition Scheme setting during the formatting process.
Once you’ve erased an external drive and selected the “Apple Partition Map” scheme in Disk Utility, keep your external drive plugged in and follow these steps to partition your drive on Mac:
Go to Partition at the top of the Disk Utility window.
Choose how large you want your partition to be and its format.
Select Partition in the new window that appears.
Click Done once you see a notification that the operation was successful.
Before you partition or format a Macintosh hard drive, it’s critical to know that it’s in good condition. To keep your Mac and all its external devices operating smoothly, try CleanMyMac.
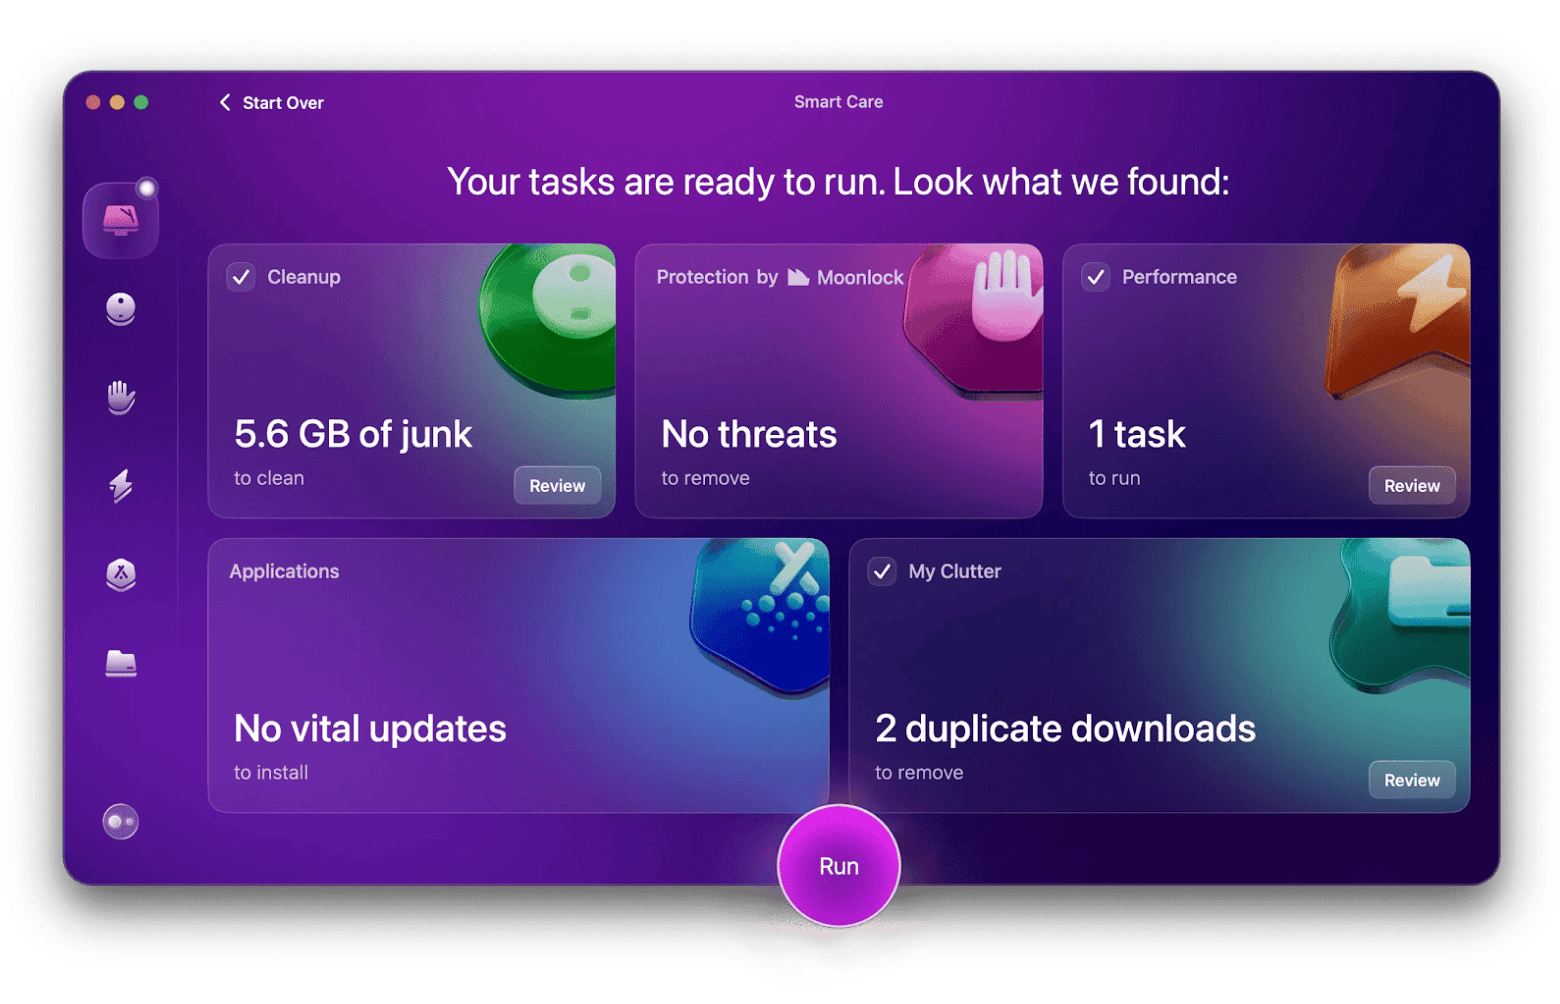
CleanMyMac helps monitor your Mac for unnecessary junk and malware while optimizing it for speed by running system cleanups, uninstalling and updating apps, and erasing files of any size. Simply plug your external drive into your Mac and select CleanMyMac’s Smart Care to check both devices for any malfunctions.
The Performance feature will help find any broken files on your external drive that may cause errors. If CleanMyMac discovers any issues, it’ll offer suggestions on how to repair your drive, too. Whatever your case may be, CleanMyMac is a top app for cleaning, optimizing, and protecting your devices for years of use.
Back up your files before reformatting
Once you format hard drive for Mac, all previous files on it will be erased and that action can’t be undone. Due to such consequences, it’s important to back up all your files before formatting Mac HD. To make this easier for yourself, try Get Backup Pro.
Get Backup Pro gives you full control over your backups by letting you determine which files and folders are essential, the backup frequency, and output size. Create quick bootable backups that’ll help you save space by choosing Get Backup Pro’s incremental and compressed backup options. Simply leave your external drive plugged in and let Get Backup Pro ensure the drive is backed up to your Mac or another external device.
Now you know how to format a hard drive on a Mac and have tools like CleanMyMac that will help not only maintain your drive but also improve your Mac’s overall performance. Plus, to avoid any data-loss catastrophes during the process of formatting hard drives for Mac, use Get Backup Pro to back up your files.
Both apps — CleanMyMac, and Get Backup Pro — are available to you for free through a seven-day trial of Setapp, a unique productivity hub of more than 260 utilities for Mac and iOS. Try any and all the apps without any restrictions and build on your own and your devices’ performance!
FAQs about how to format portable hard drive for Mac
This guide covers the most practical ways to format HDD for Mac and offers tips to improve your machine’s overall performance, but here are some additional answers to the most common questions about this topic like “how do I reformat for Mac external hard drive?”
What is the best format for a hard drive on Mac?
According to the official Apple Support website, APFS is the best external storage device format to be used with a Mac. If your Mac is still running macOS High Sierra or earlier, you can also use the Mac OS Extended (Journaled) format.
How do I set up an external hard drive for my Mac?
As mentioned above, you’ll need to connect the two devices and launch Disk Utility to erase that disk first. Then you’ll be able to select a new name for it and choose the disk format you want to reformat external hard drive Mac to.
Do I need to format my hard drive for Mac?
In order for an external hard drive to communicate with your computer, the drive has to be formatted with the correct file system. So unless you bought an HDD specific to Macs, you’ll need to format hard drive for Mac before using it.