How to format SD card on Mac: Best practices and tools
If you’re having trouble with an SD card that is acting buggy or cluttered with old, unknown files you want to remove, you’re not alone. In this case, formatting a card is a smart decision to clear out any issues and make it as good as new. I’ll show you how to properly format an SD card without the risk of losing any critical data.
A quick way to format an SD or mіcroSD card on a Mac
I'll start with a quick guide for people who are good with MacBooks. If you are not very tech-savvy, your instructions are below. Keep scrolling.
So, here’s how to format an SD card on Mac:
- Connect a memory card to your Mac through the slot, card reader, or card adapter. The card should be compatible with your Mac
- Back up your SD card. For a complete backup, you can use the built-in Time Machine. For more advanced backup (e.g., easily backing up separate files or folders), I recommend GetBackup Pro.
- Open Disk Utility in the Utilities folder.
- Right-click on your card and choose Erase.
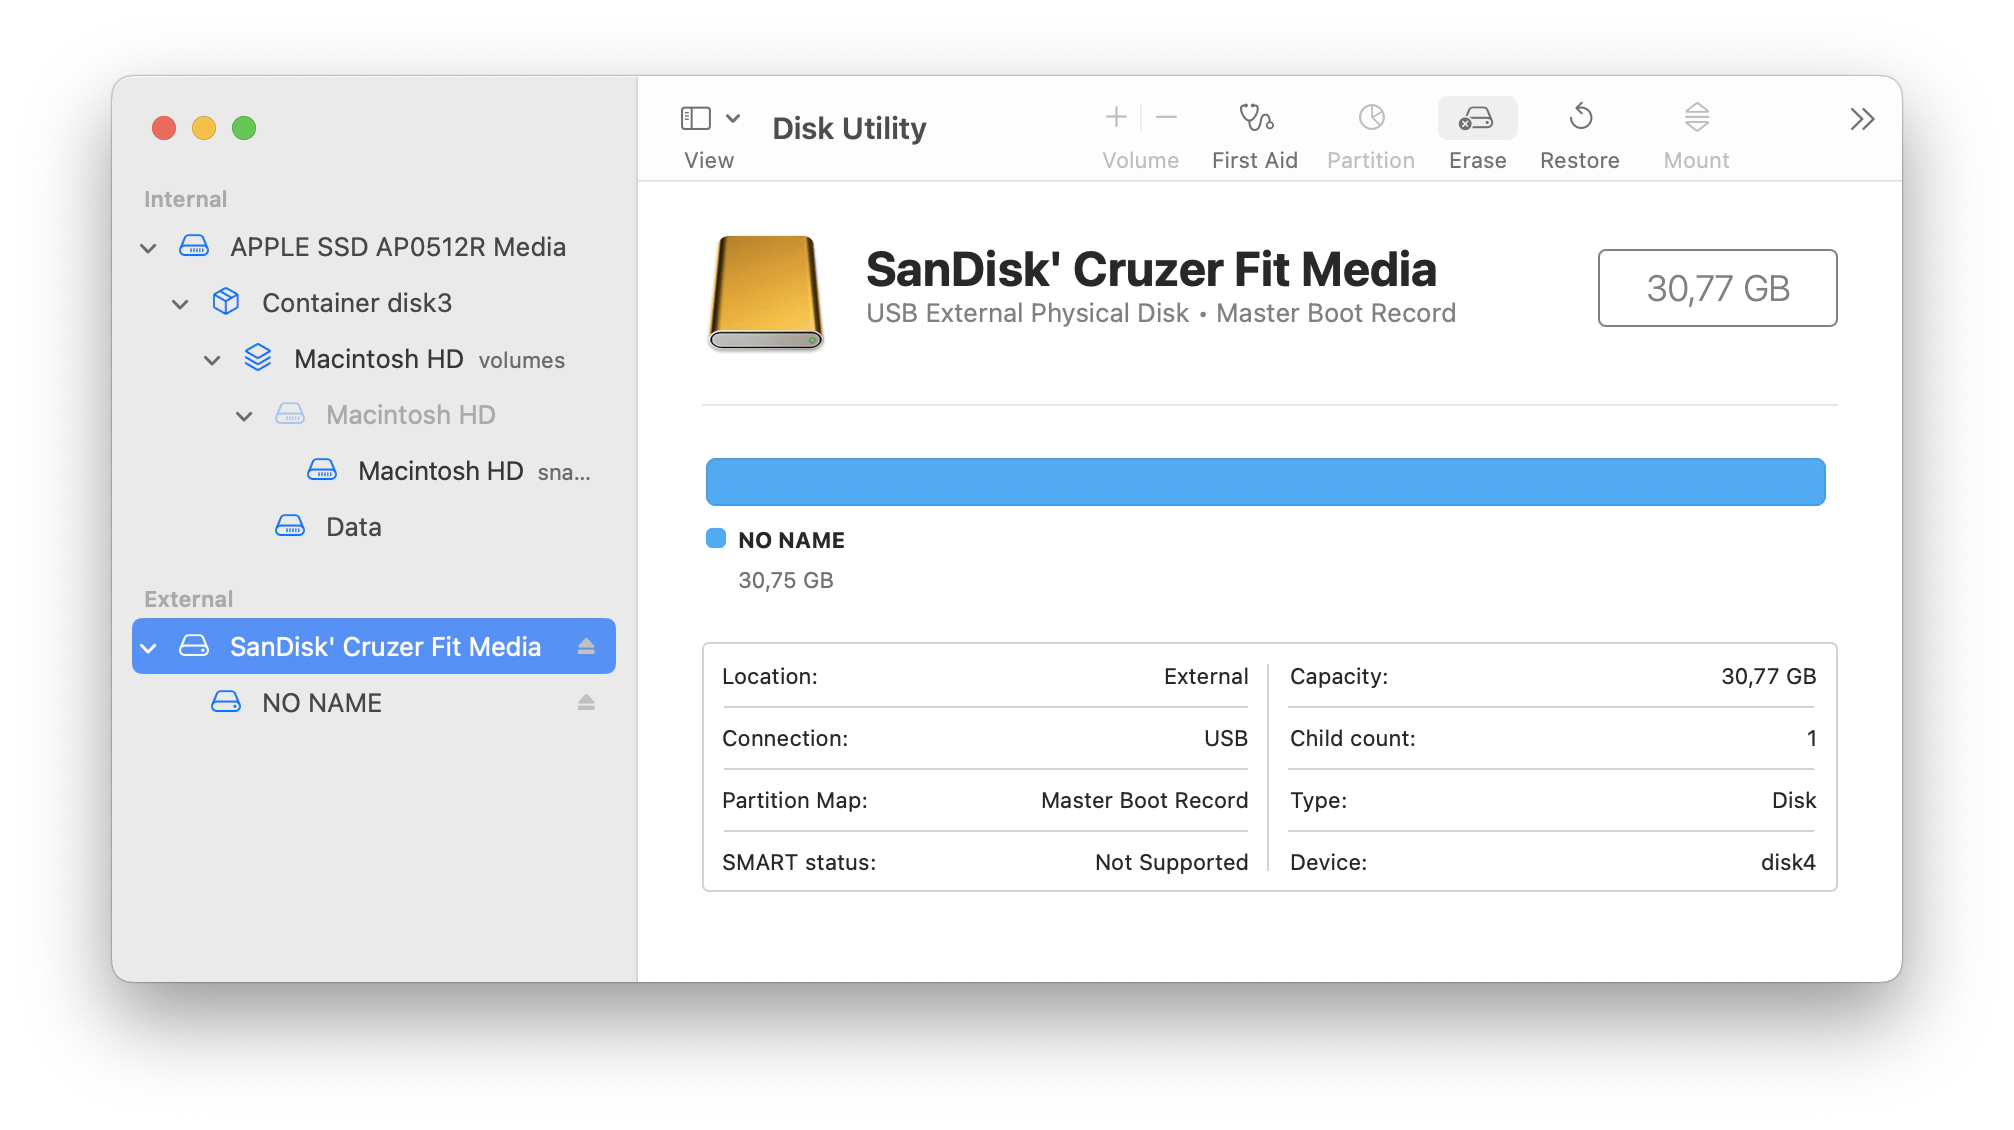
- Create the name for your SD card and the format type (exFAT for 64GB and more, or FAT32 for 32GB and less).
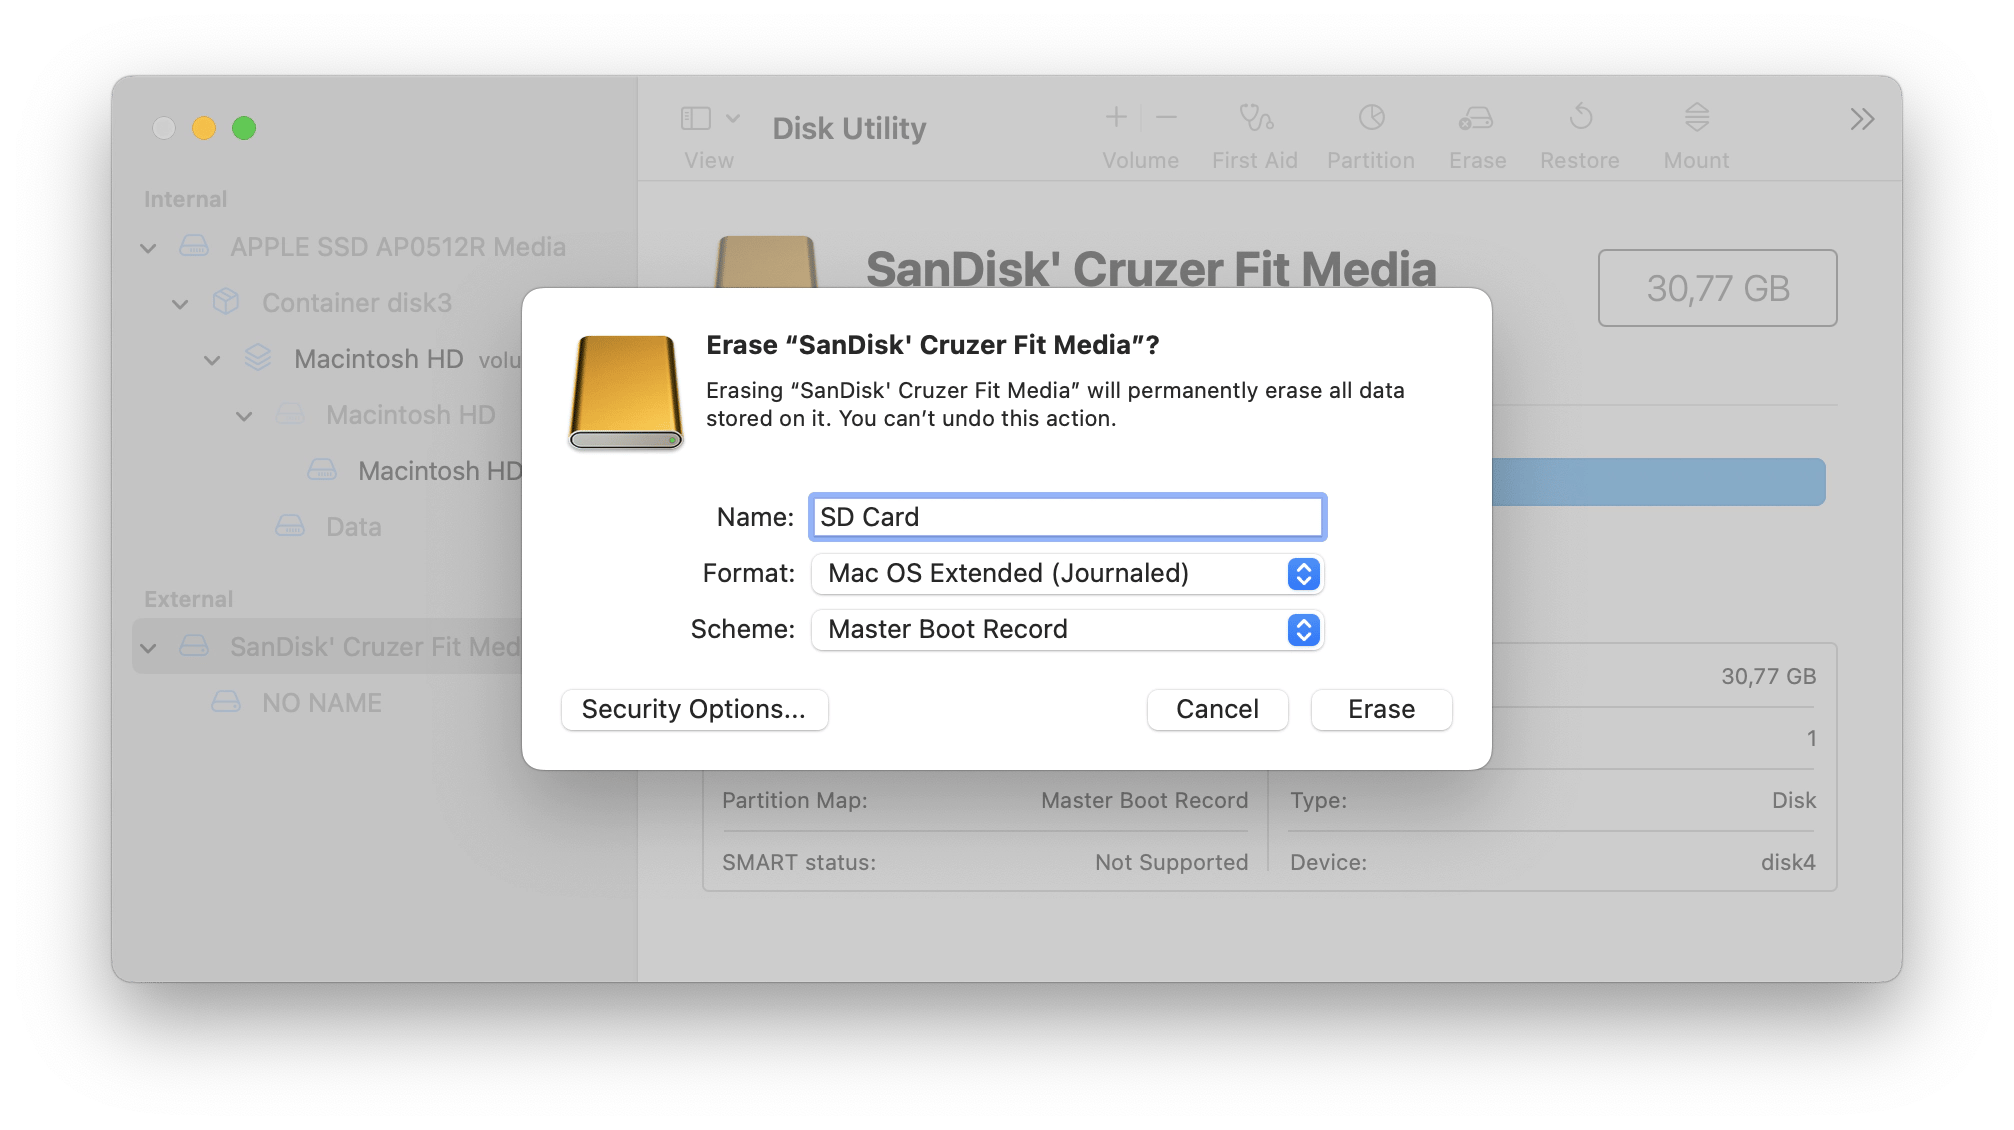
- Click Erase.
All done! Eject the SD card from your Mac.
How to format an SD card without losing the data on the card
If you want to format a memory card, you will lose all your data irreversibly. To save your files after formatting, you should back them up first.
I use trusted backup software to make a secure copy of the files on my memory card. If there is data you want to keep, here's how to create a bootable backup:
- Download and open GetBackup Pro on Mac.
- Click Plus for a new backup.
- Drag and drop your files from the SD card.
- Click Start and choose a backup destination.
Now, you can format an SD or microSD card without stress.
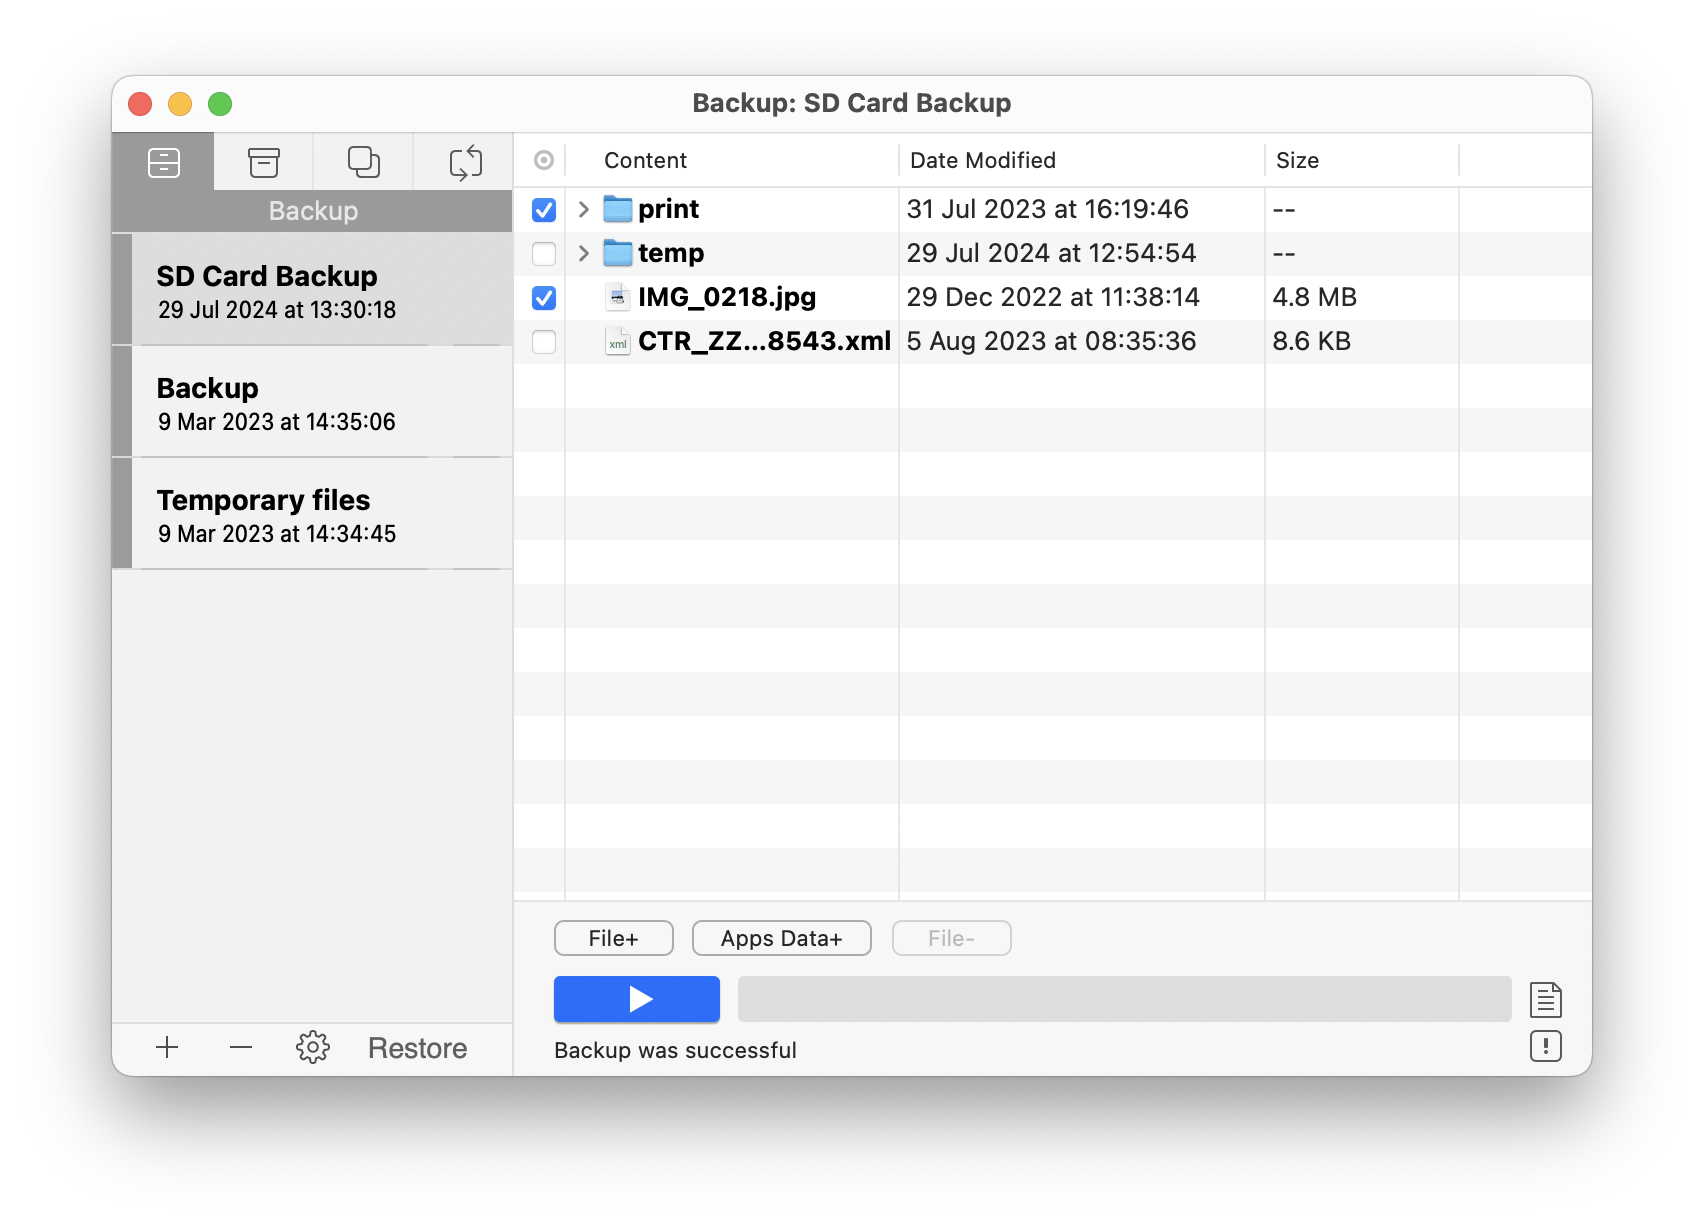
Why do I recommend GetBackup Pro? It has a mix of backup methods, like simple copy and clone. In case of a disaster, this software will restore your backup data to any Mac, even if you don't have the tool installed. Your data is in safe hands.
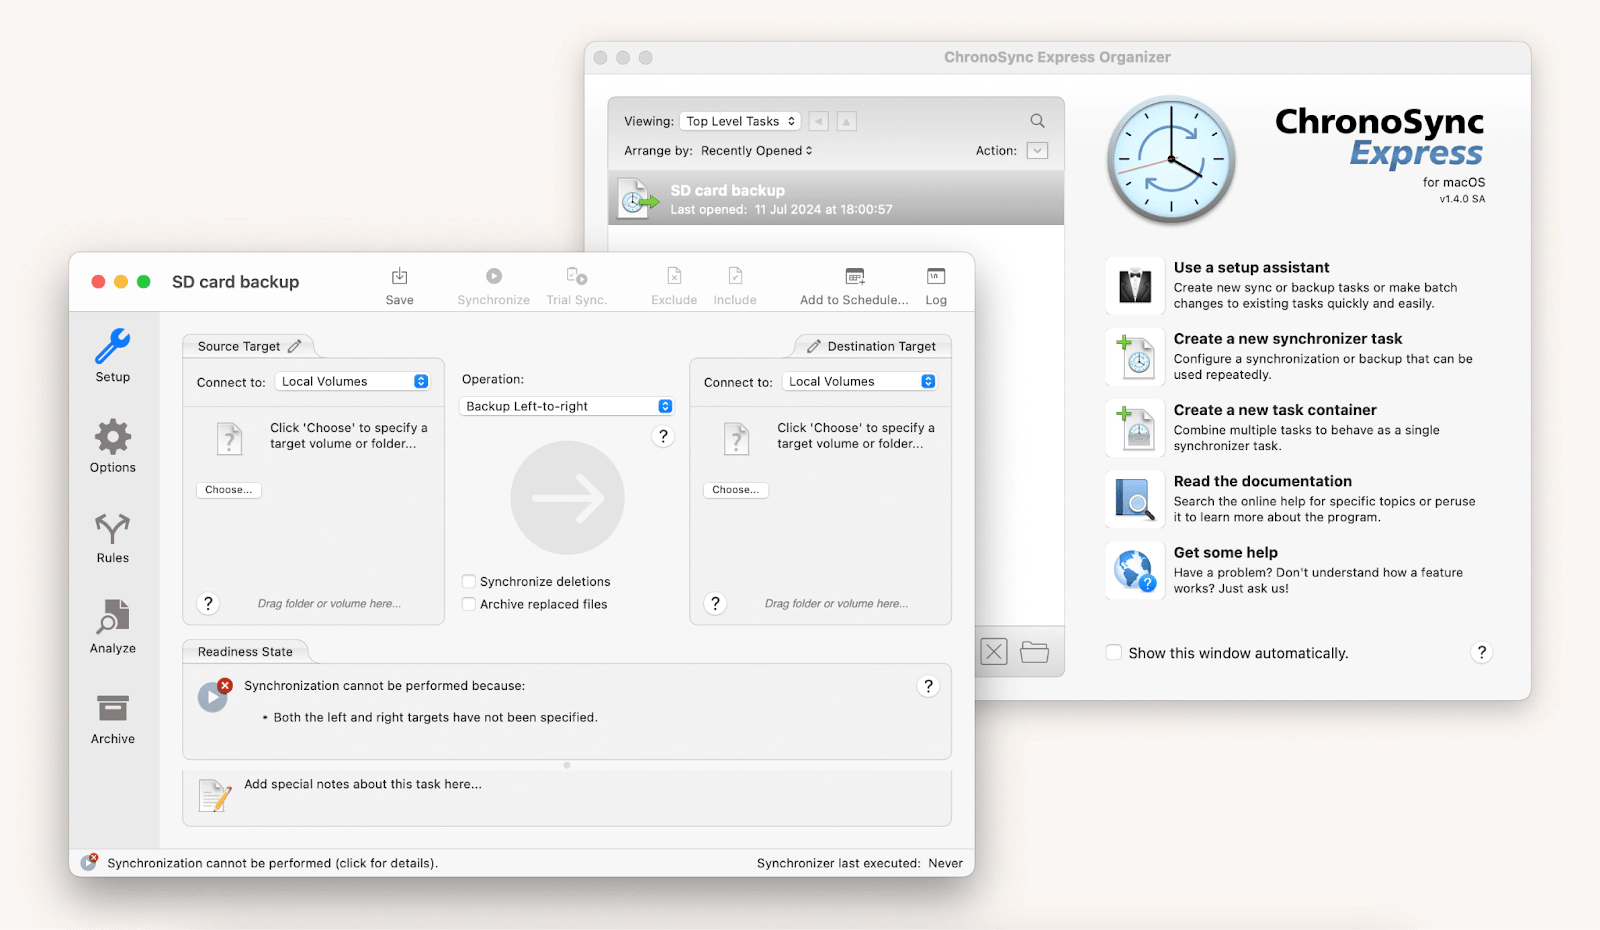
Another way to back up your data is using a cloud server instead of a physical storage device. No more “coffee spills on your Mac” or any other drama — this method lets you access your files from anywhere and keeps them safe from physical damage or loss. If that’s what you need, I recommend trying ChronoSync Express. It can perform regular backups, even in stealth mode. The top feature is that you can sync data between devices or folders.
How to format SD cards on Mac
Now, I'll provide you with details on how to clear an SD card on your Mac.
The process is quite simple and involves no third-party software. I'll walk you through each step of how to erase an SD card on a Mac manually.
Step 1. Connect a memory card to your Mac
Use an external card reader if your Mac lacks a built-in slot or can't recognize your card.
Is your SD card connected successfully? Perfect, you're ready to erase it. Once more, ensure you’ve backed up your data because it will disappear forever.
Step 2. Open Disk Utility
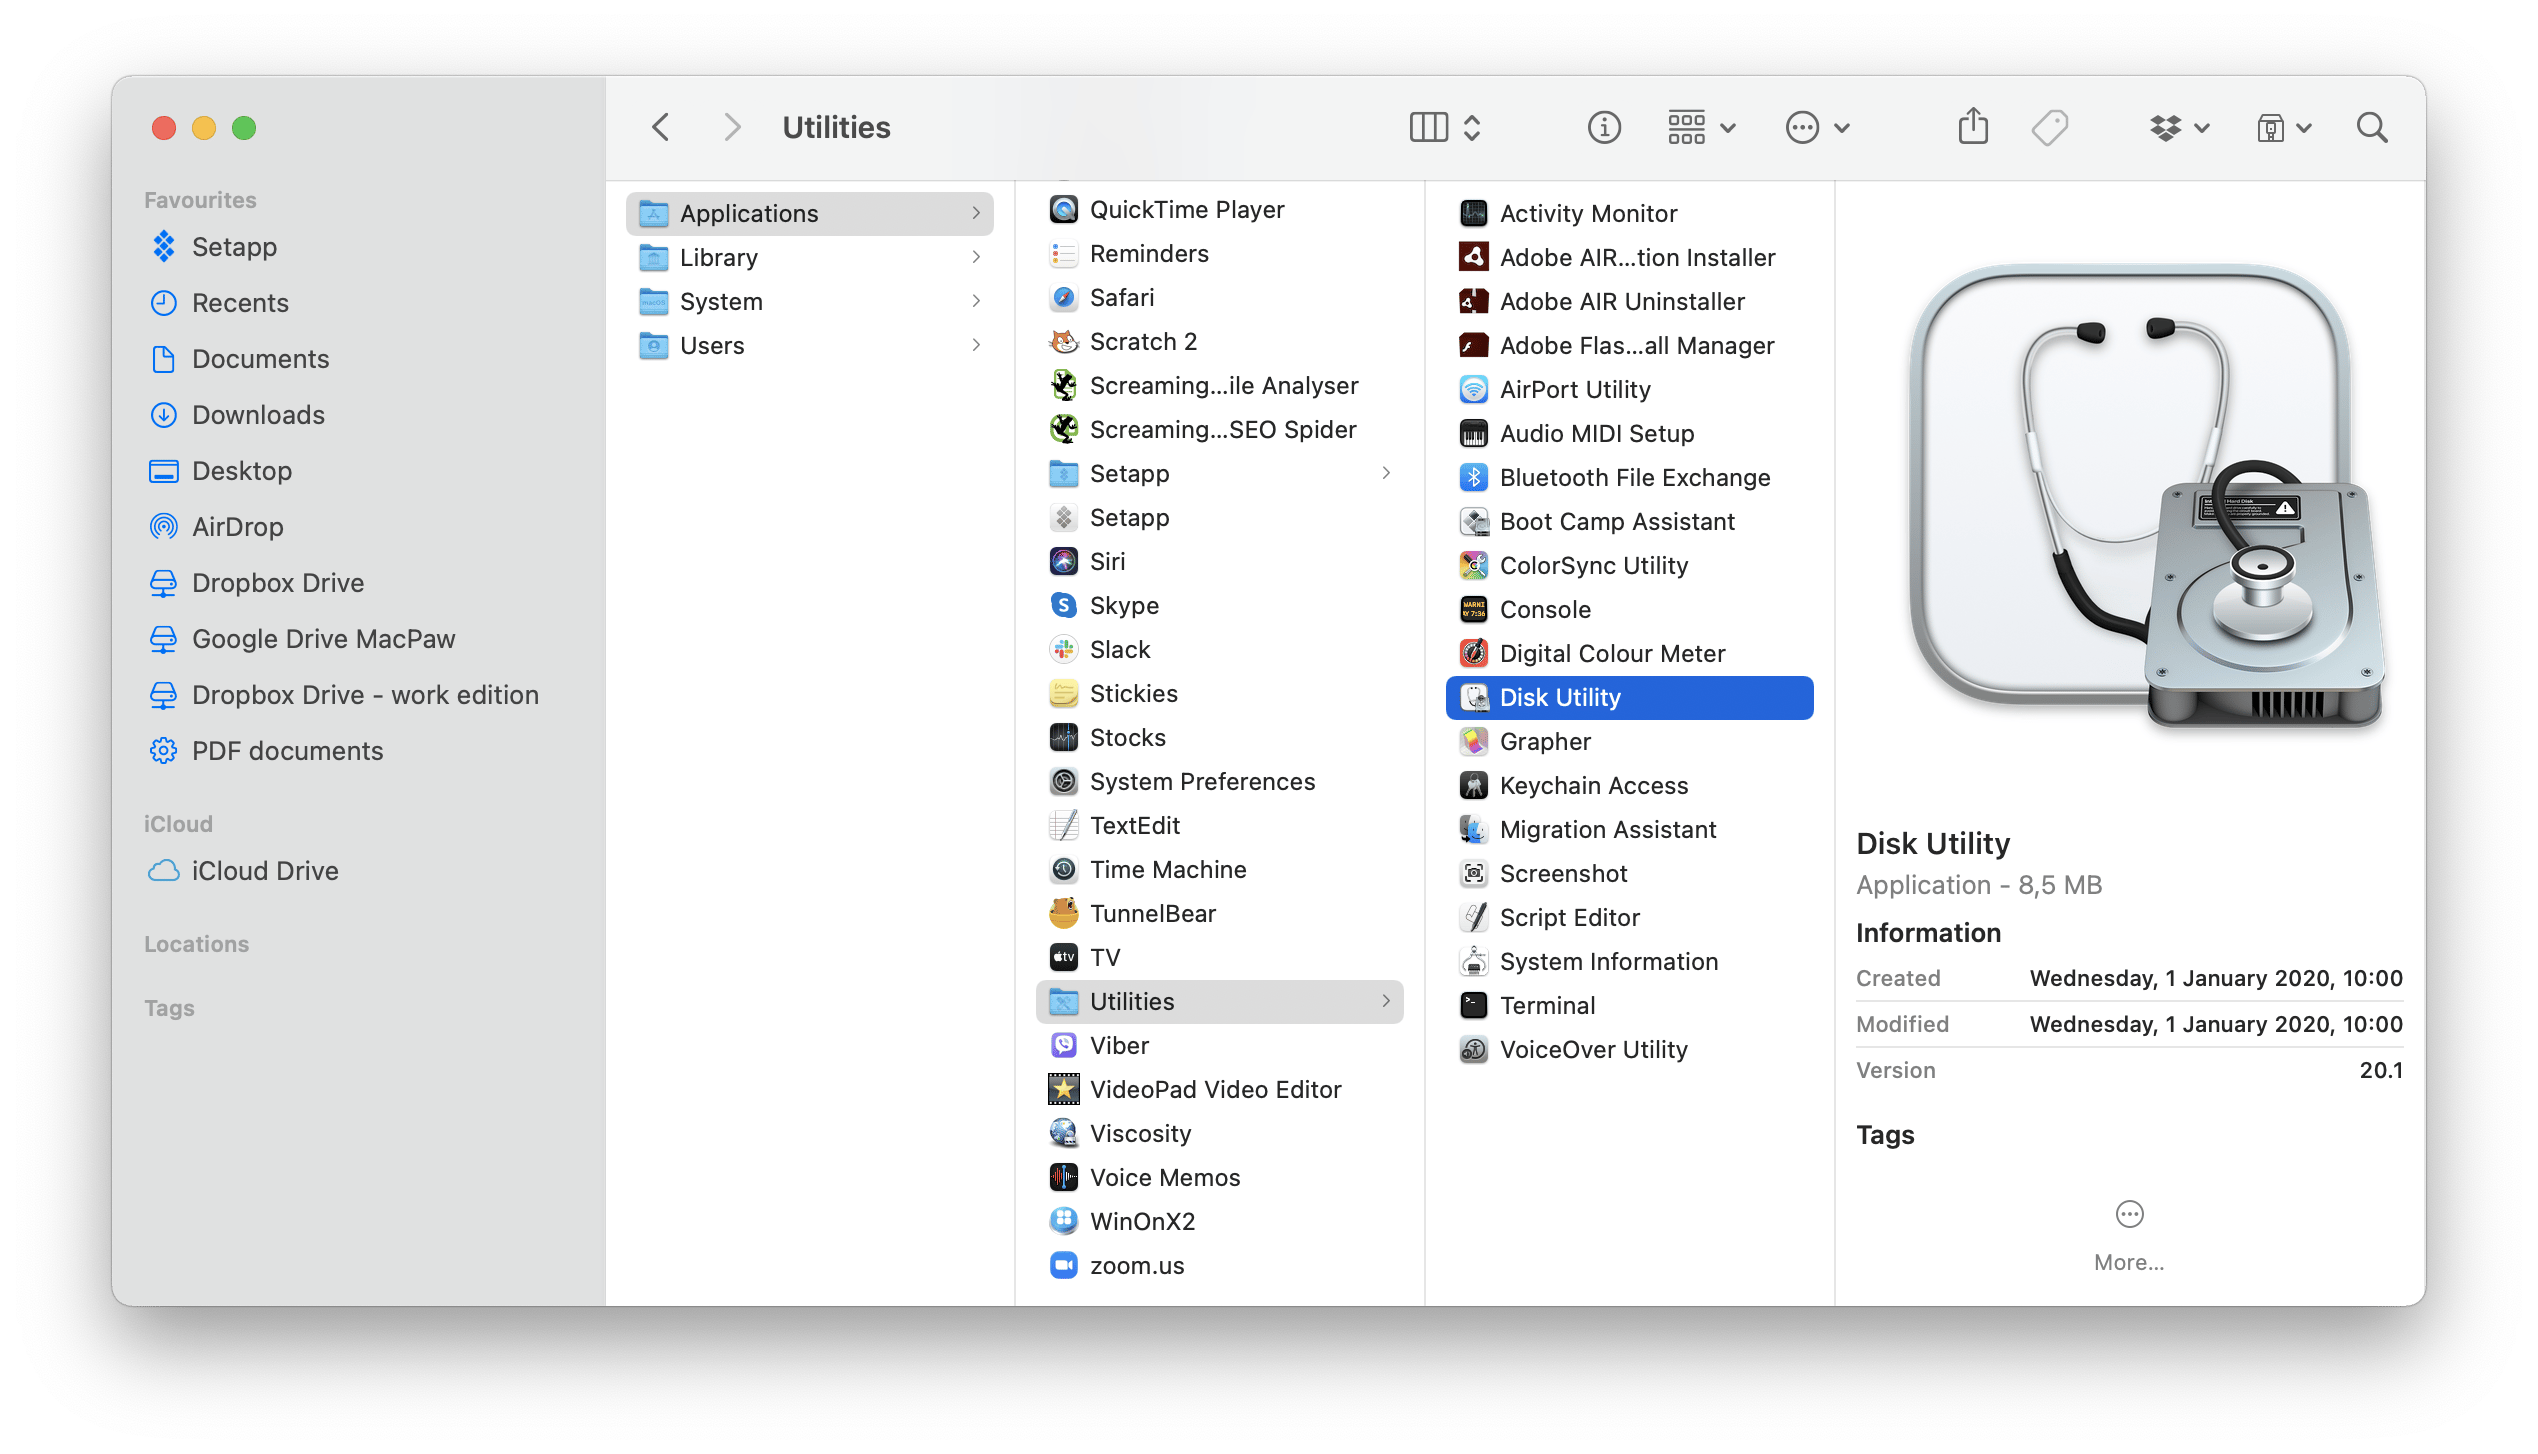
You'll find Disk Utility easily by locating it in Finder: Applications > Utilities > Disk Utility.
Step 3. Choose your SD card
You'll see the card you just connected. Proceed to the next step.
Also, I know it's not rocket science, but make sure you pick the right card, not your main drive — unless you really enjoy reinstalling macOS for fun!
Step 4. Reformat your SD card
Click Erase to begin the reformatting process. Before you proceed, a friendly reminder will pop up to ensure you're aware that your Mac will clear all data on your card.
Step 5. Give a name to your SD card and choose the proper format
Give the card a relevant name. Now is the perfect opportunity to make it.
You must also select the correct card format based on capacity: exFAT for 64GB or more and FAT32 for 32GB or less.
Step 6. Safely eject your SD card
We've reached the final step. To prevent data loss, safely eject your SD card in two easy ways:
- Right-click the card icon on your Mac and choose Eject.
- Or, click Eject next to the card name in Disk Utility.
Now, remove the card from the slot or card reader. Your files are safe, and your SD card is ready for its next use!
How to clean an SD card on Mac without reformatting
Sometimes, reformatting an SD card is off the agenda, but you keep stumbling upon odd-looking files (.DS_Store or .fseventsd) that macOS creates while working with your memory card. These files serve various purposes, like helping a Mac discover how to display folders when you open them or monitoring file system events on the external drive. Your Mac may have benefitted from these files in the past, but now they're just clutter that can corrupt the card’s performance.
It's not much fun to search through all of your folders for unnecessary files, and sometimes they're just hidden. Instead, let the SD cleaner app do the job and handle junk files without losing your data and time.
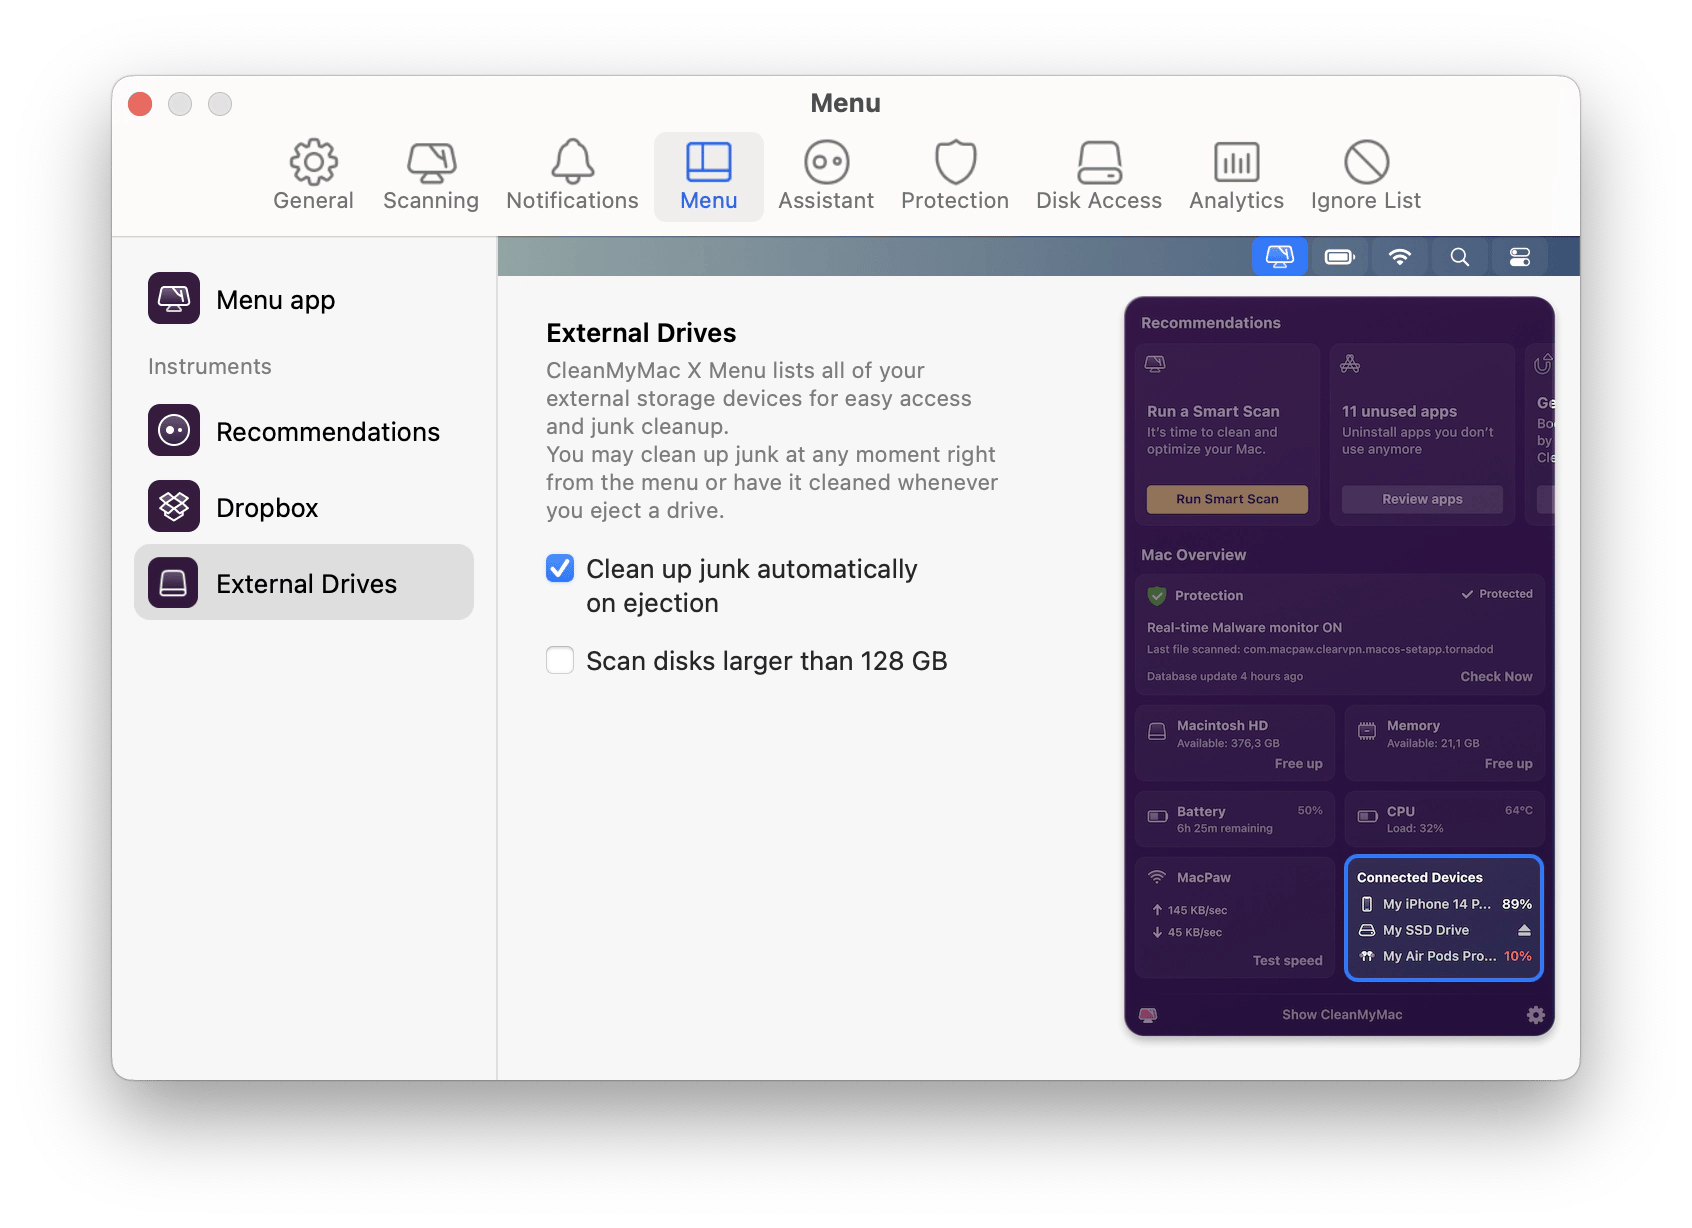
Here is how you can clean all the junk files from an SD card automatically with CleanMyMac X:
- Download and open CleanMyMac X from the menu bar and click Settings.
- In the Menu tab, choose External Devices.
- Select Clean up junk automatically on ejection.
Your SD card is free of unnecessary files.
How to format an unreadable SD card on a Mac
I recently faced an issue where my Mac couldn't read my camera's SD card because of the NTFS format, a file system that is a stranger to Mac. Luckily, there is a life-saving app for this scenario.
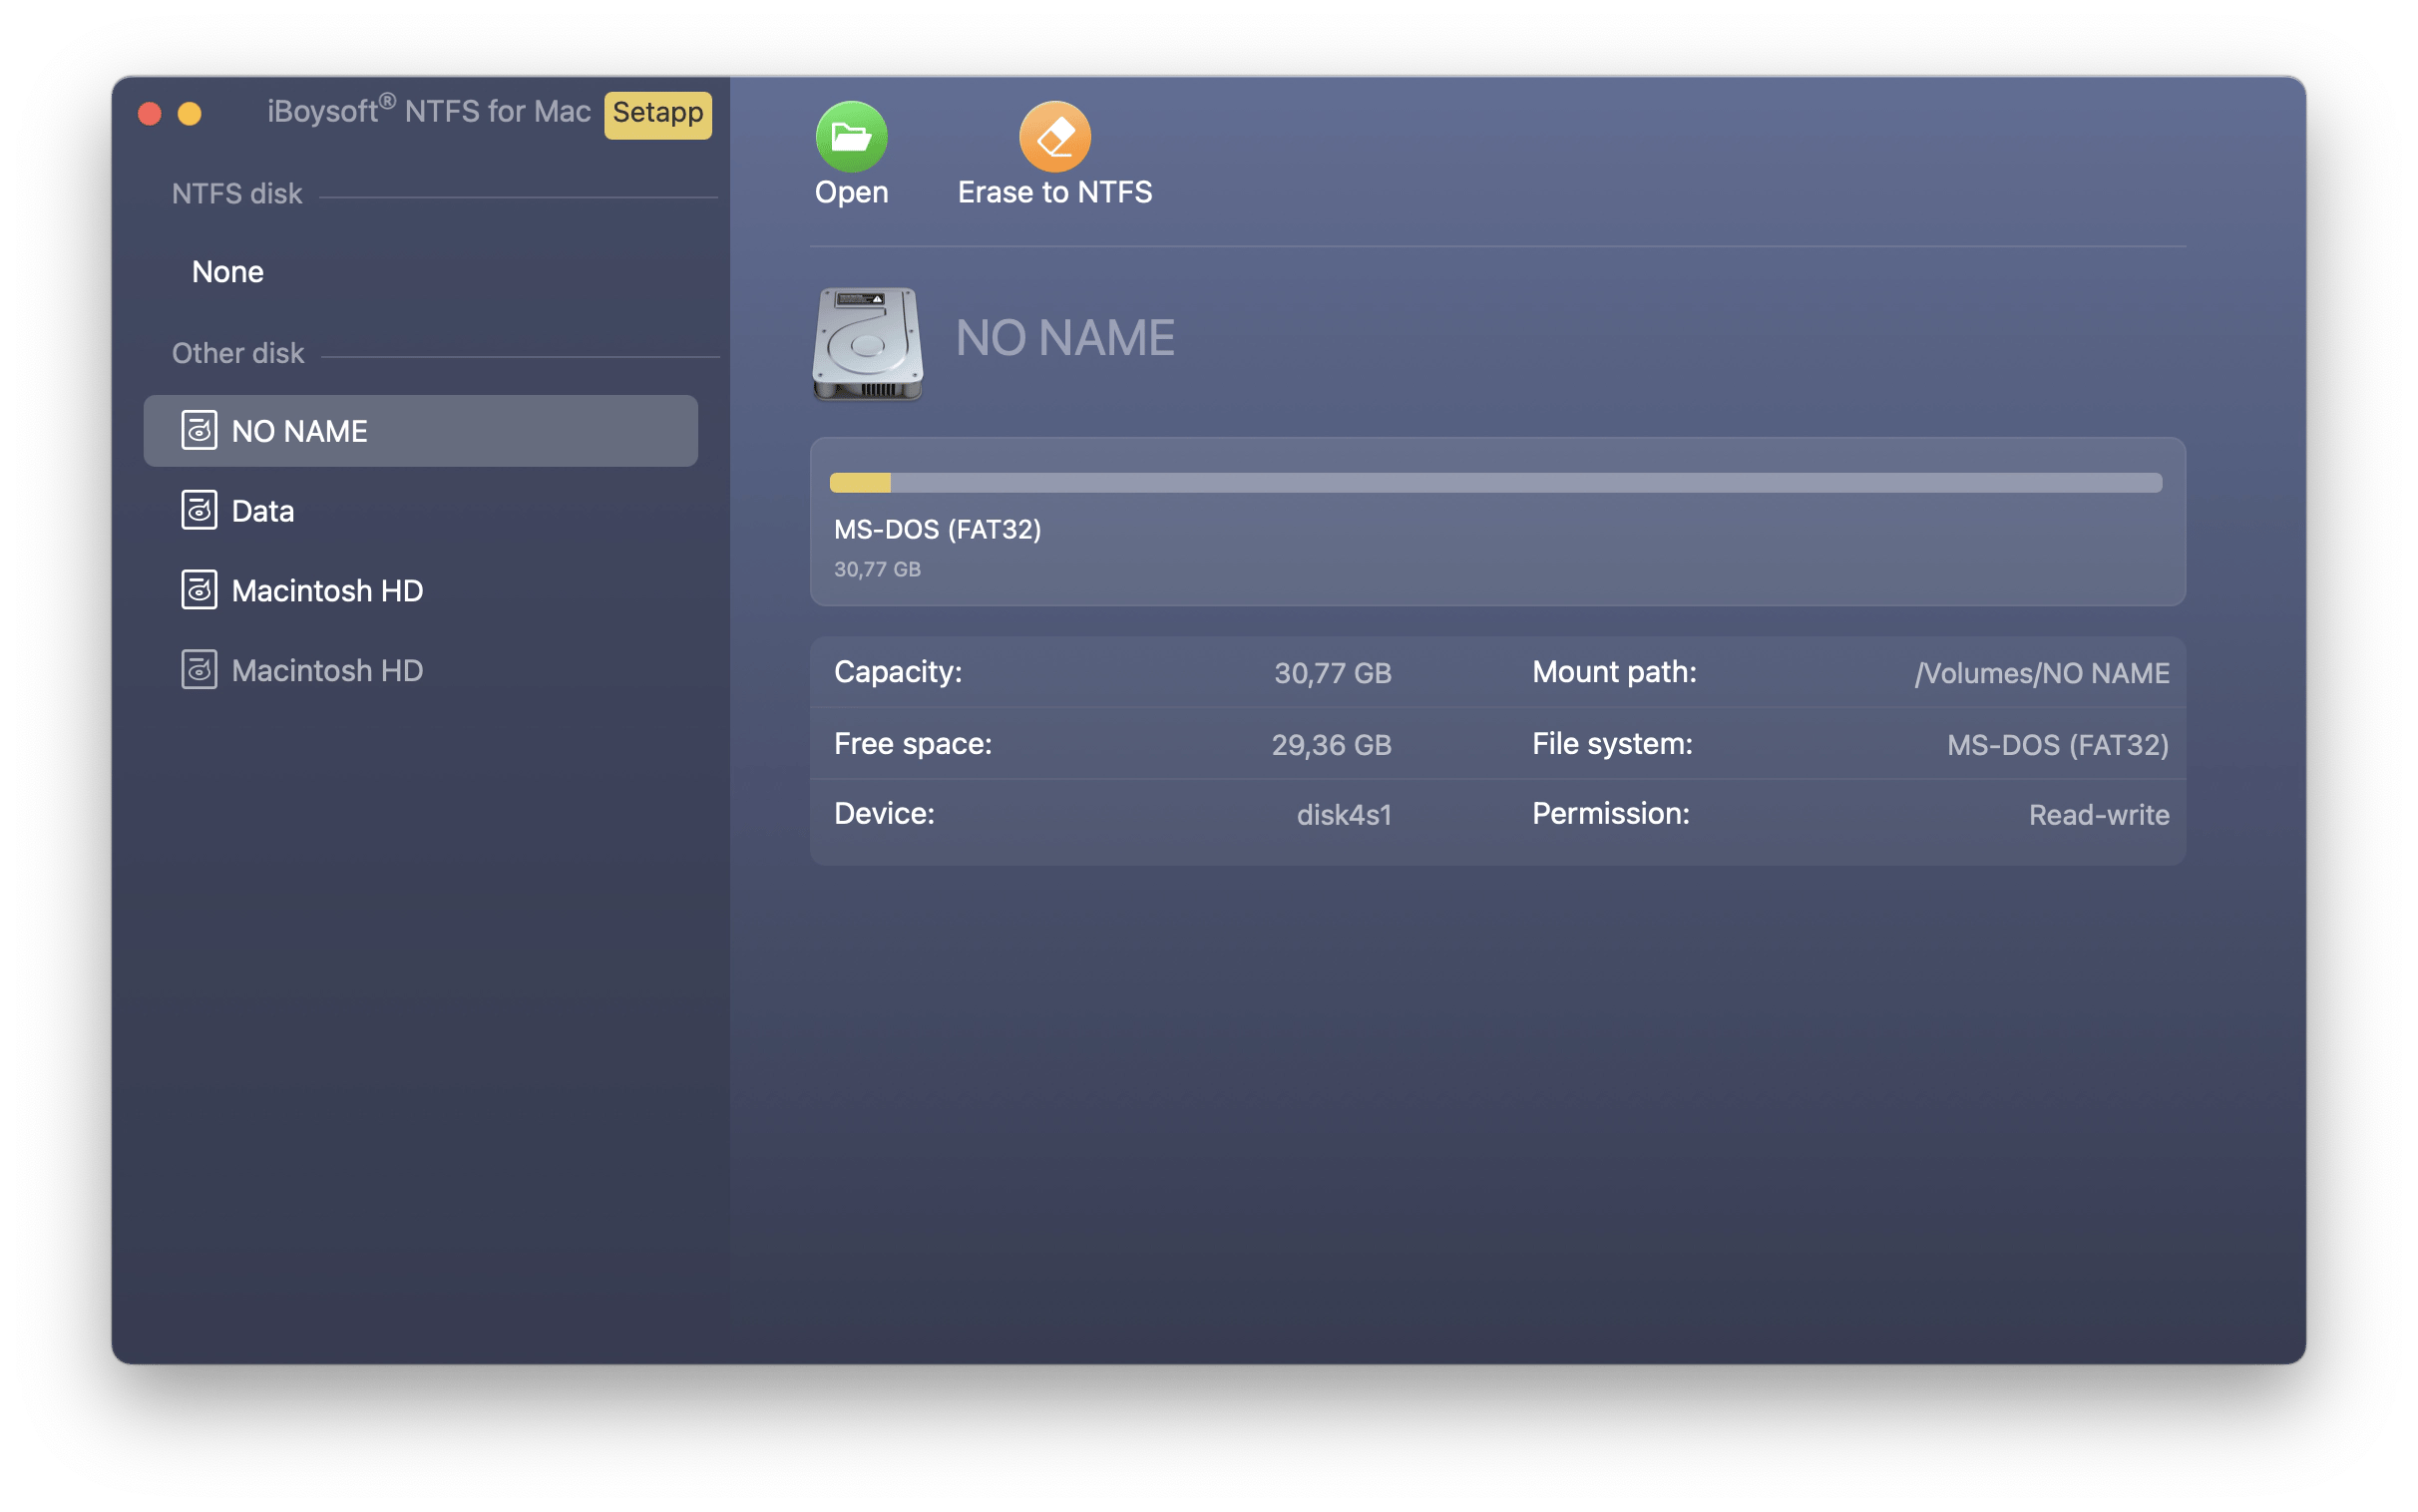
iBoysoft NTFS for Mac is your reliable assistant: use it to read, write, copy, delete, or transfer files across drives without limits. All you need to do is:
- Download and open iBoysoft NTFS for Mac.
- Connect your NTFS-formatted SD Card to your Mac. The app should automatically detect your NTFS-formatted drive.
- Choose your SD card and click Open.
That's it. Now that access is enabled, you can easily modify files on your SD card as if macOS natively supported them.
Format your memory card on a Mac: Final thoughts
Now you know how to reformat an SD card on your Mac, but make sure to back up important files first. Such apps like GetBackup Pro can do all the magic. And if your Mac can't read the SD card because of a strange file system, iBoysoft NTFS for Mac will help.
All these apps are available through Setapp, a platform with over 260 apps for various needs. Big bonus: you can try all of them for free during a 7-day trial at any time. So, don't hesitate!
FAQ
Is erasing an SD card the same as formatting?
Erasing deletes files that you can recover with third-party software. But formatting deletes files and partitions completely and, as a final step, sets up a new file system.
How do I completely wipe an SD card?
Here’s how to completely wipe an SD card:
- Connect an SD or microSD card to your Mac or use an external card reader.
- Open Disk Utility.
- Select your card, and choose the format.
- Click Erase to start formatting.
Note! Remember to back up any critical data before formatting, as it will delete everything.
How to change the format of my memory card?
The only way to change the format of a memory card is to erase it entirely. Here’s how to do it:
- Connect an SD or microSD card.
- Select the card format — it can be exFAT for 64GB or more and FAT32 for 32GB or less.
- Confirm that you want to erase your card.
- Click Erase to change the format.
Why can't I format to FAT32 on a Mac?
macOS might have limitations in formatting large drives to FAT32 directly through Disk Utility. If you want to format an SD card to FAT32, consider using iBoysoft NTFS for Mac. It will allow you greater flexibility with larger file sizes and better compatibility with Windows systems.
Can I format a corrupted SD card?
If the corruption isn't too serious, you can format a corrupted SD card to erase all data. Just keep in mind that severe damage might make formatting ineffective, and the card could be beyond repair. Consider using Backup Pro to keep your files safe.
How to format a micro SD card on a Mac?
To format a microSD card on a Mac, insert the card into a microSD-to-SD adapter. Go to Utilities > Open Disk Utility > Choose your card from the list > Click Erase > Choose the format (exFAT for 64GB and more, or FAT32 for 32GB and less) > Click Erase to complete the formatting process. Remember to back up any important data on a card before proceeding with formatting.


