How to use NTFS on Mac: 2026 update
- macOS supports NTFS only in read-only mode by default.
You can open and copy files from NTFS drives on Mac without extra tools, but editing, deleting, or saving files requires third-party software. - The safest way to get full NTFS read/write access is a dedicated driver.
Apps like iBoysoft NTFS for Mac let NTFS drives behave like native Mac disks, with stable performance, Apple silicon support, and no risky system tweaks. - There are Terminal-based NTFS write hacks, but they can be outdated and risky.
While older macOS versions allow experimental NTFS write access via Terminal, this method can cause data corruption and is not recommended for important files. - Choosing the right file system upfront can save you future headaches.
Use exFAT if you regularly move drives between Mac and Windows, or APFS if the drive is Mac-only. NTFS is best kept for Windows-centric workflows unless you install a proper driver. - Setapp gives you the easiest all-in-one NTFS solution.
With Setapp, you can use iBoysoft NTFS for Mac for full NTFS access and tools like Get Backup Pro for safe backups and recovery, all under one subscription. Try Setapp free for 7 days and explore the full app library.
Using NTFS external drives on a Mac has always been tricky. macOS can read NTFS, but to write to or edit it, you’ll need third-party software.
I’ll walk you through the easiest and safest ways to enable NTFS write support on your Mac.
But first, here’s a quick overview of what you can do with NTFS on your Mac and how to do it:
| I want to... | Do this |
| Read NTFS drives on Mac | Just plug in the drive; macOS will mount it in read-only mode. |
| Write to NTFS drives on Mac | Install a third-party NTFS driver, such as iBoysoft NTFS for Mac. |
| Format a drive for both Mac and Windows PCs | Use Disk Utility > Erase > choose exFAT format. |
| Format a drive for Mac only | Use Disk Utility > Erase > choose APFS format. |
| Enable native NTFS write support (not recommended) | Use Terminal and edit /etc/fstab. |
| Use Boot Camp to access NTFS | On Intel Macs, install Windows with Boot Camp Assistant. |
Can you read NTFS on Mac?
macOS will automatically mount an NTFS drive as soon as you plug it in, but only in read-only mode. You can browse folders, open files, and copy data off the disk without installing anything extra.
That said, you won’t be able to write files, save, rename, or delete anything on that NTFS volume without help. NTFS is Microsoft’s proprietary format, and Apple never built full write support into macOS. Back in the day, there was a hidden Terminal workaround to enable writing, but it always felt brittle and could corrupt data.
So by default, you can read NTFS drives out of the box, but writing requires a third-party driver.
The easiest way to access, edit, and save NTFS on Mac
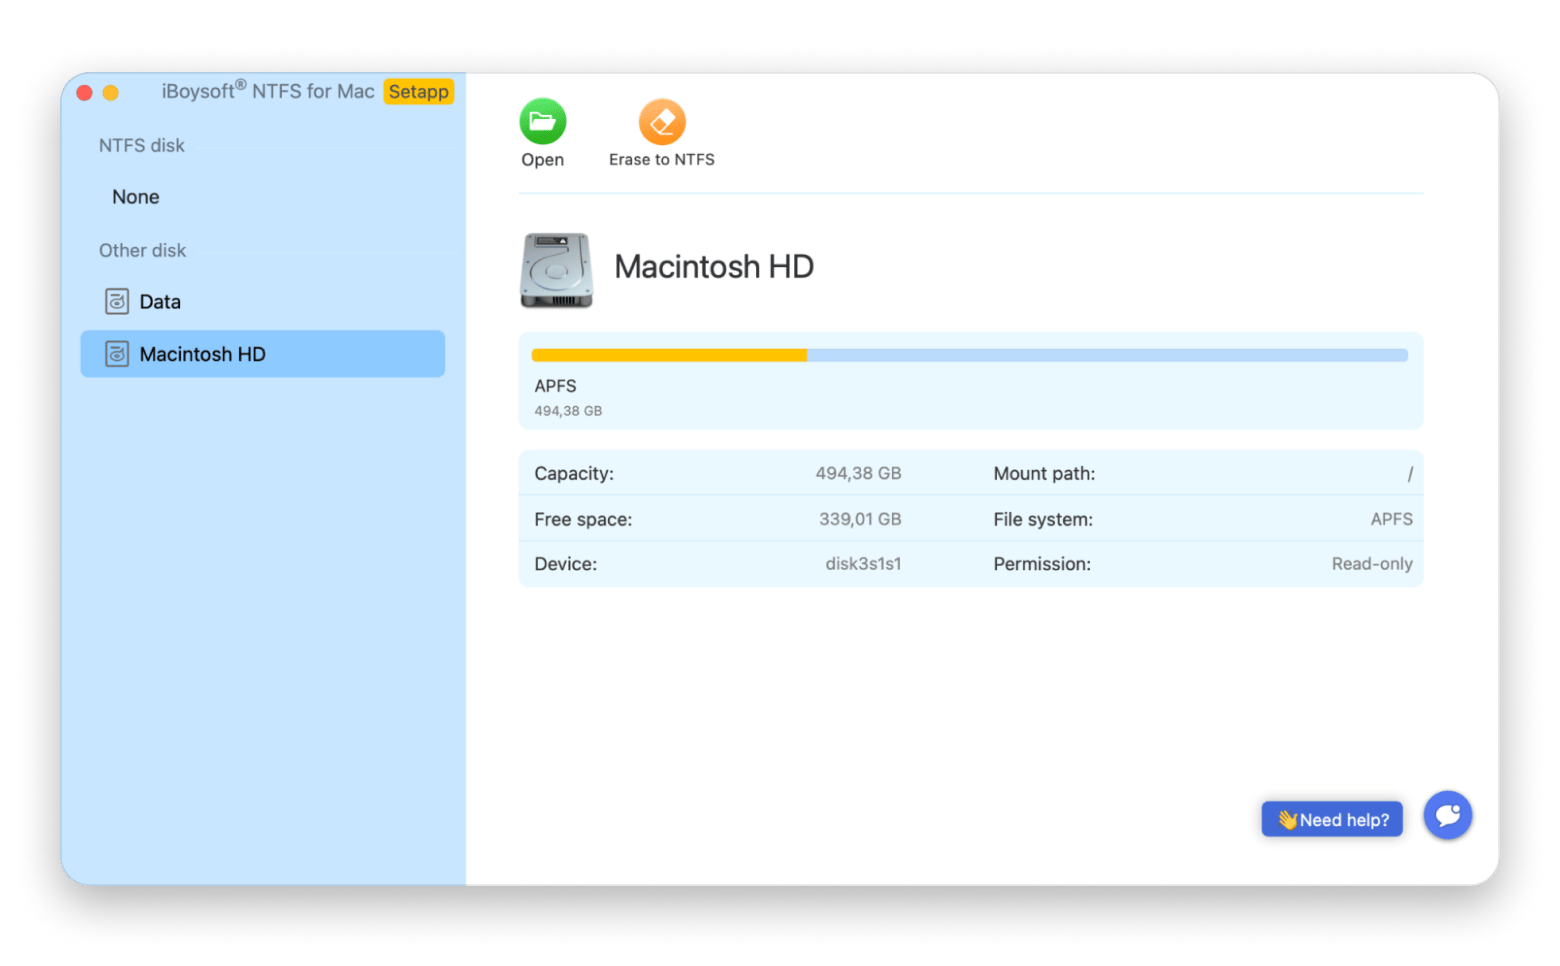
The safest and most efficient way for Mac users to read and write to NTFS drives today is to use an app like iBoysoft NTFS for Mac.
iBoysoft NTFS for Mac lets you work with any NTFS-formatted drive in read-write mode. Just connect an external NTFS drive and mount it with one click or set it to mount automatically.
You can reformat drives, view details, and add or delete data, all with full read/write access, and you don't need any extra tools. It offers near-internal drive speeds, is optimized for Apple Silicon, and integrates smoothly with Disk Utility for disk management, formatting, and checks.
How to mount Microsoft NTFS drives on Mac
To mount NTFS drives on your MacBook:
- Launch iBoysoft NTFS for Mac and install the required plugins.
- Allow system extensions on Mac.
- Connect your NTFS hard drive.
- Click to Mount the hard drive (the button appears on the top toolbar) in iBoysoft NTFS for Mac.
- Use the hard disk with Finder as usual.

How to connect NTFS in earlier macOS
If you haven’t yet upgraded to macOS Sequoia and are still using an earlier macOS, you have more options for reading and writing to NTFS drives.
You can format NTFS on Mac to FAT32 or another format, turn on NTFS support in Terminal, install Windows on your Mac with Boot Camp, and run your NTFS drives through it.
Check out the video tutorial on the best ways to use NTFS drives on Mac.
#1. Format NTFS to FAT32
You can’t convert an NTFS drive to FAT32 directly on macOS, but you can reformat it using Disk Utility. Just keep in mind that this process will erase all data on the drive. FAT32 is a widely supported format that works well with both macOS and Windows, though it comes with some limitations.
To reformat an NTFS drive to FAT32 on macOS:
- Open Finder > Applications > Utilities > Disk Utility.
- Connect your external drive.
- Select the drive in the sidebar.
- Click Erase (note: this will delete all data).
- Choose MS-DOS (FAT) as the format.
- Click Erase to complete the process.
#2. Enable NTFS in Terminal
If you're running an older version of macOS (like Sierra, High Sierra, Mojave, or Catalina) and are okay with the command line interface, you can enable basic, experimental NTFS write support in Terminal. Just note: this method is unofficial and can lead to system instability or file issues, so use it with caution and only for non-critical drives.
To enable NTFS file system in Terminal:
- Connect your external drive.
- Launch Terminal.
- Type sudo nano /etc/fstab and press Return.
- Scroll down the list and type LABEL=NAME none ntfs rw,auto,nobrowse, replacing NAME with the exact name of the external hard drive.
- Open Finder, click Go in the menu bar > Go to Folder, and type /Volumes/NAME, replacing NAME with your drive.
- View, edit, and add any files to the folder.
If you’re not a fan of Terminal, check out the comparison of 11 Terminal alternatives for Mac.
#3. Install Windows via Boot Camp Assistant
Boot Camp Assistant is the native Mac utility that lets you partition your drive and install Windows alongside macOS. In that case, you’ll have no problem working with NTFS external drives.
To install Windows on an Intel Mac:
- Go to Finder > Applications > Utilities > Boot Camp Assistant.
- Insert an external drive that will be used to create a Windows partition.
- Follow the onscreen instructions.
- Choose the Boot Camp partition when asked where to install Windows.
- Click Format to prepare the partition.
Restart your MacBook and press Option during startup to switch between Mac and Windows operating systems.
Do NTFS drivers work on Silicon Macs?
Boot Camp isn’t available on Apple Silicon Macs, so you can’t simply load Windows to work around NTFS restrictions like you could on Intel-based Macs. By default, macOS lets you read from NTFS volumes but won’t let you write to them, and the unofficial Terminal trick for enabling write access is flaky and can cause data issues.
Instead, your safest route on newer Macs is a dedicated NTFS driver built for Apple Silicon, like iBoysoft NTFS for Mac. You can also try Tuxera NTFS for Mac, which is based on the open-source NTFS-3G project. It’s polished for Apple Silicon and free to use, though it may be slower than the paid alternatives.
Reformatting your HDD is also an option, and it's free. Here's a quick comparison of the best file system formats for Mac external drives: APFS vs. ExFAT vs. NTFS.
| Feature | APFS | ExFAT | NTFS |
| Full name | Apple File System | Extended File Allocation Table | New Technology File System |
| Developed by | Apple | Microsoft | Microsoft |
| Native OS support | macOS (10.13+), iOS | Windows, macOS, Linux (with drivers) | Windows, macOS (read-only) |
| macOS compatibility | Full read/write | Full read/write | Read-only (write with third-party tools) |
| Performance | Optimized for SSDs, fast snapshots | Good for large files, cross-platform | High performance on Windows, slower on macOS |
| Best for | macOS-exclusive drives, Time Machine | Cross-platform drives | Windows-exclusive drives |
| Drawbacks | Limited cross-platform support | No native encryption, less robust | Limited macOS write support |
Here's how to change the drive format:
- Connect your external drive.
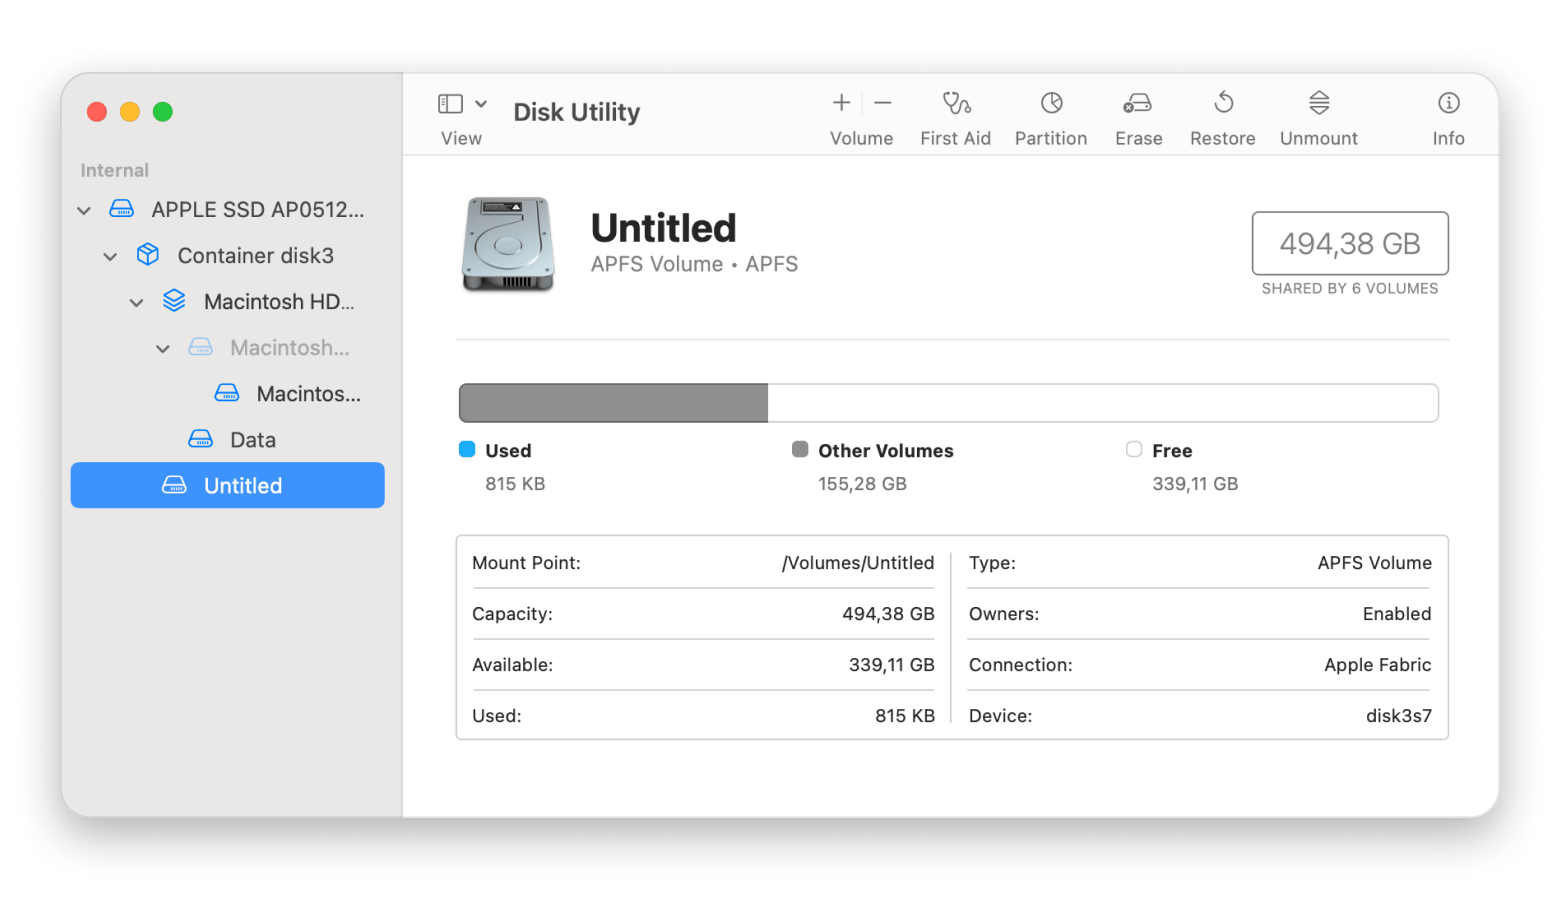
- Open Disk Utility, select the drive, and click Erase.
- Choose the right format under Format (APFS is standard for macOS) > Erase.
This will make your drive fully compatible with macOS. Note, however, that hanging the disk format will erase all data on the hard drive, so make sure to back it up before taking any action.
Best alternatives to NTFS for Mac users
You can skip the NTFS headache by choosing more Mac-friendly formats like exFAT or APFS. exFAT works well for transferring large files between Mac and Windows on USB sticks, SSDs, and SD cards. It lacks journaling, so it isn’t ideal for backups or boot volumes.
APFS is made for Mac only. It offers top speed, reliability, and features like snapshots and crash protection. It’s ideal for SSDs and Time Machine backups, but isn’t recognized by Windows.
Here's how to format a drive:
- Open Disk Utility (Applications > Utilities).
- Select your external drive.
- Click Erase.
- Choose:
- exFAT for use with both Mac and Windows.
- APFS for Mac-only use.
5. Click Erase to format the drive.

How to recover overwritten and lost files from NTFS on Mac
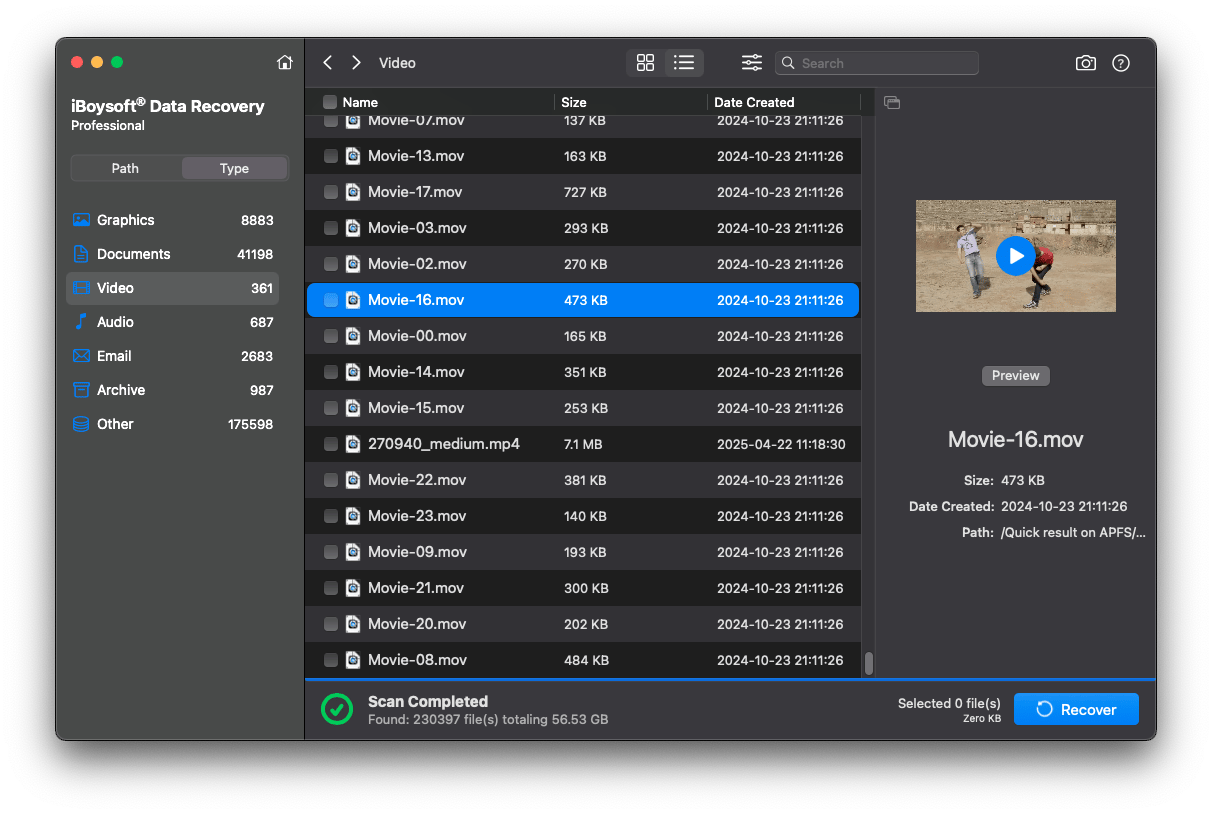
Formatting files, using Terminal, or installing a Windows partition can result in you accidentally overwriting some files. To recover them, it’s good to have a powerful recovery app handy, such as iBoysoft Data Recovery.
iBoysoft Data Recovery is a top-rated data recovery app that’s also very quick and easy to use. Launch it, scan your MacBook for lost files, and recover the ones you need. If you notice any missing files, this Mac app will help you restore them.

Final thoughts on how to use NTFS on Mac
While macOS can read NTFS drives, it won’t let you write to them without extra steps, and the old tricks don’t cut it on newer versions like Ventura and beyond. If you’re on an older macOS release, you can still reformat to FAT32, play around with Terminal’s hidden NTFS hack, or install Windows via Boot Camp (Intel Macs only). Just be aware that those methods can be cumbersome or risky.
For a smoother experience, iBoysoft NTFS for Mac handles everything in one go. It mounts NTFS drives with full read/write access, keeps performance snappy, and slots right into Disk Utility. And Get Backup Pro is your buddy for safe backups and data recovery.
Best of all, you can try both apps free for a week through Setapp, which gives you instant access to over 250 handpicked Mac and iOS apps. Discover powerful productivity tools, streamline your workflows, and get more done, all in one place.
FAQ
What is NTFS?
NTFS (New Technology File System) is a file format system developed by Microsoft in 1993 for Windows NT and supported by newer Windows versions ever since.
The goal is to make it easy for users to read and work with files on external hard disks and USB drives (e.g., flash drives) without transferring them to their computers.
How do I enable NTFS on my Mac?
To enable NTFS on Mac, get a dedicated driver. Tools like iBoysoft NTFS for Mac, Paragon NTFS, or Tuxera NTFS are all great options. Install one of these, and your NTFS disks will behave like any other volume on your Mac.
Can NTFS format work on Mac?
Your Mac can only read NTFS-formatted disks. You won’t be able to save or modify anything on those drives. In other words, NTFS as a format “works” only in read-only mode; full read/write use demands extra software.
Can NTFS be opened on Mac?
You can open NTFS on a Mac. When you plug in an NTFS drive, macOS mounts it automatically, but only in read-only mode. You can browse folders, open images, documents, and videos, and drag files off the disk to your Mac.
Why can't I use NTFS on Mac?
NTFS is Microsoft’s proprietary filesystem, and Apple never licensed write access. As a result, macOS deliberately disables NTFS write support. Without a third-party driver, your Mac will refuse to save, rename, or delete files on any NTFS disk.
Why can’t I see NTFS on Mac?
You can’t see NTFS on Mac because macOS doesn’t include native NTFS formatting tools. The system can mount Windows NTFS drives for reading, but it can’t create or format them.
How to format a hard drive in NTFS on Mac?
You can’t format a hard drive in NTFS on Mac with built-in tools. Disk Utility won’t list NTFS. Instead, install iBoysoft NTFS for Mac, connect your external drive, and use the app’s formatting function to convert the entire disk to NTFS.
How to format a partition to NTFS on Mac?
To format a partition to NTFS on Mac, install iBoysoft NTFS for Mac, launch it, and select the specific partition you want to change. Choose Format to NTFS for that slice, and the app will handle the rest. Just back up any data first, since formatting erases the partition.
How to format a microSD card on Mac to NTFS?
To format a microSD card on a Mac to NTFS, plug your microSD card into a reader and launch iBoysoft NTFS for Mac. Select the card as the target, pick NTFS as the format, and let the app reformat it. After a few moments, you’ll have a microSD card that Windows and other NTFS-aware devices can use fully.


