How to run Windows on Mac using Boot Camp, Virtual Machine, and more
Since I switched from PC to Mac years ago, I always thought running Windows on my sleek Apple machine was a bit far-fetched. But let’s face it, sometimes the temptation of those Windows-only apps is just too hard to resist. You know that one app you can’t live without — yeah, the one that’s only on Windows? No need to stress! We’re going to go over how to install Windows on Mac so you can enjoy the best of both worlds.
What you need to install Windows 10 on a Mac
Before you jump into the Windows wonderland, let’s talk essentials. You need to make sure your Mac is up to the task. Here’s what you need to consider.
Sufficient storage space
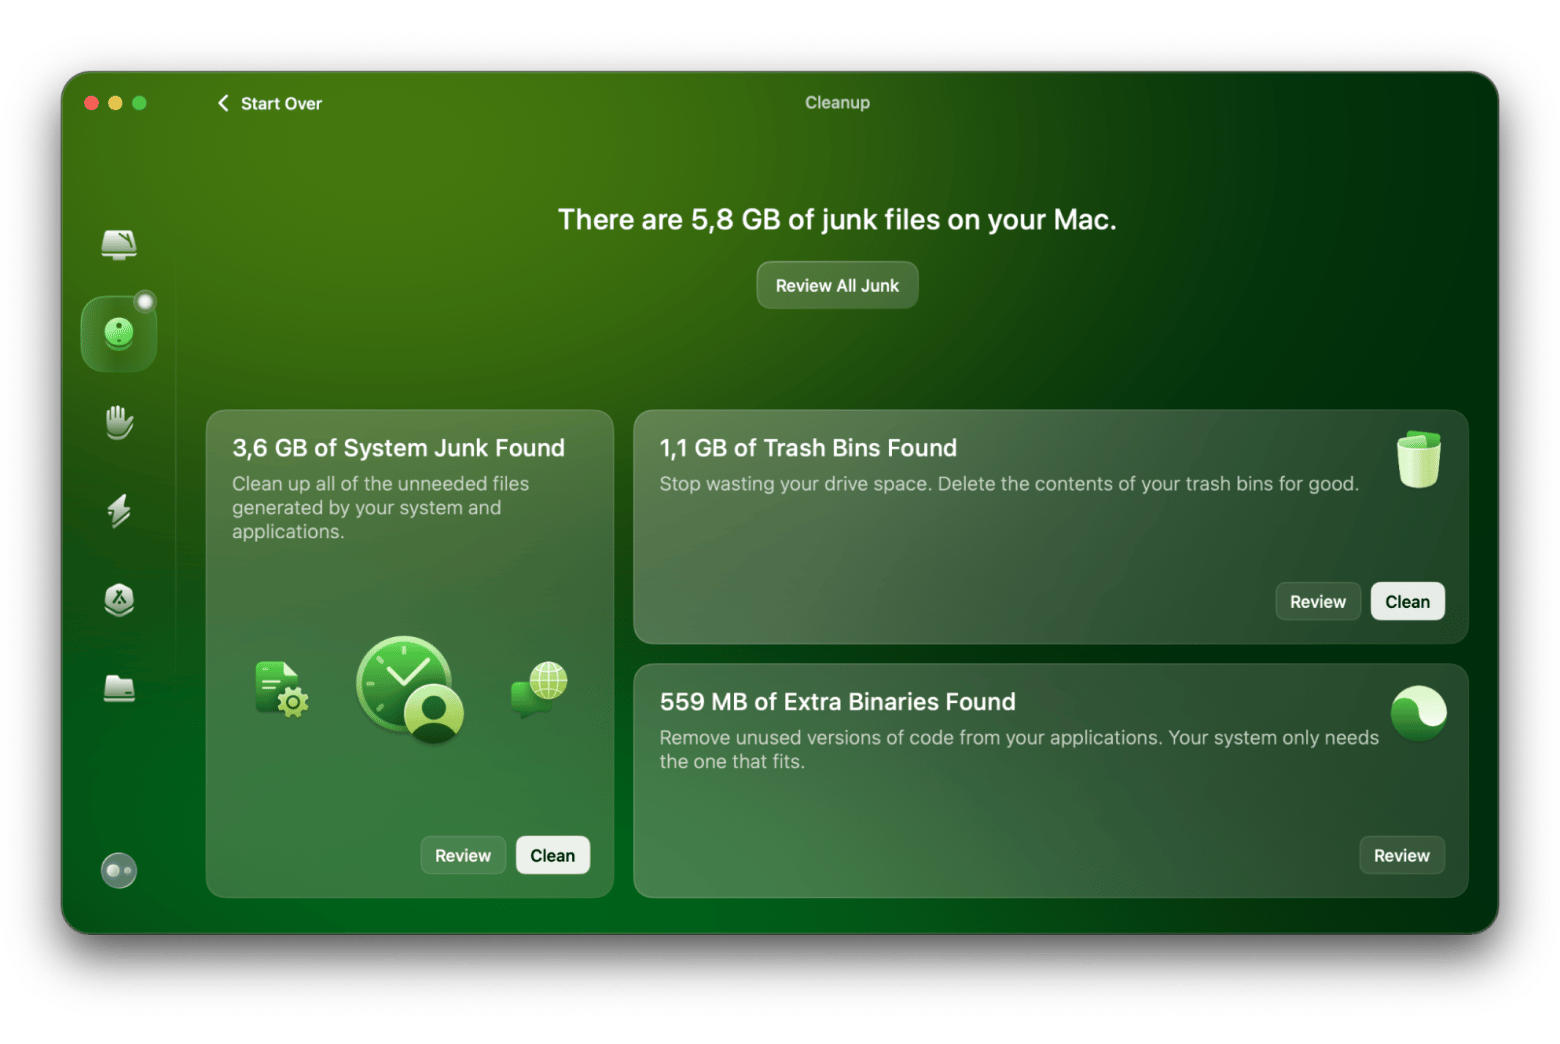
You’ll need a significant chunk of free hard drive space (not less than 64GB, but the more, the better). Think of it as the digital equivalent of clearing out your closet before a major shopping spree. I used CleanMyMac to free up space before I started. The app easily identifies and removes junk files, freeing up gigabytes in a matter of minutes. Seriously, it’s a lifesaver.

Compatible Mac
Not all Macs are created equal. At this point, make sure your Mac model supports running Windows. You need one of the following:
- MacBook (2015 model or newer)
- MacBook Air or Pro (from 2012 onwards)
- Mac mini (from 2012 onwards)
- Any iMac from 2012 or newer
- Any Mac Pro from 2013 or newer
- All models of iMac Pro
A Windows 10 installation file
Download the Windows 10 ISO file from Microsoft’s website. Trust me, finding the right link is crucial; otherwise, you’ll spend hours stuck in a digital rabbit hole.
A USB flash drive
To create a bootable Windows installer, you’ll need a USB drive with at least 16GB of storage space. I actually used a couple of different USB drives during this process: one to create the installer drive and another to have handy during the process, just in case something went wrong.
How to run Windows programs on Mac in two ways
Overall, running Windows on a Mac might seem like mixing water with oil, but there’s magic in the way they can coexist. Today, I’m going to show you two tried-and-true methods for making that happen: Boot Camp and Virtual Machines (VMs). Each method has its perks, depending on what you’re after.
How to choose between Boot Camp and Virtual Machines
If you crave the full power of your Mac to run Windows, Boot Camp is your best bet. It allows Windows to operate natively on your Mac hardware, ideal for gaming or high-performance applications.
On the other hand, if you want the convenience of jumping between macOS and Windows without restarting your Mac, Virtual Machines offer a flexible solution that lets both operating systems run concurrently.
Let’s start with Boot Camp.
How to install Windows on Mac using Boot Camp
Boot Camp is Apple’s built-in utility for creating a dual-boot system. In simple words, using Boot Camp to run Windows on Mac is basically like having two separate apartments in one building — one for macOS and one for Windows. Once again, you’ll need to reboot to switch between them.
Step-by-step guide to installing Windows with Boot Camp
Prep your Mac. Back up all your precious data before you start. This isn’t optional; it’s crucial. Here is a full guide on how to back up your Mac. Also, I suggest checking the battery status on your laptop. Make sure you are not running on a low charge. You don’t want to end up with a dead laptop halfway through the process.
So, to install Windows with Boot Camp:
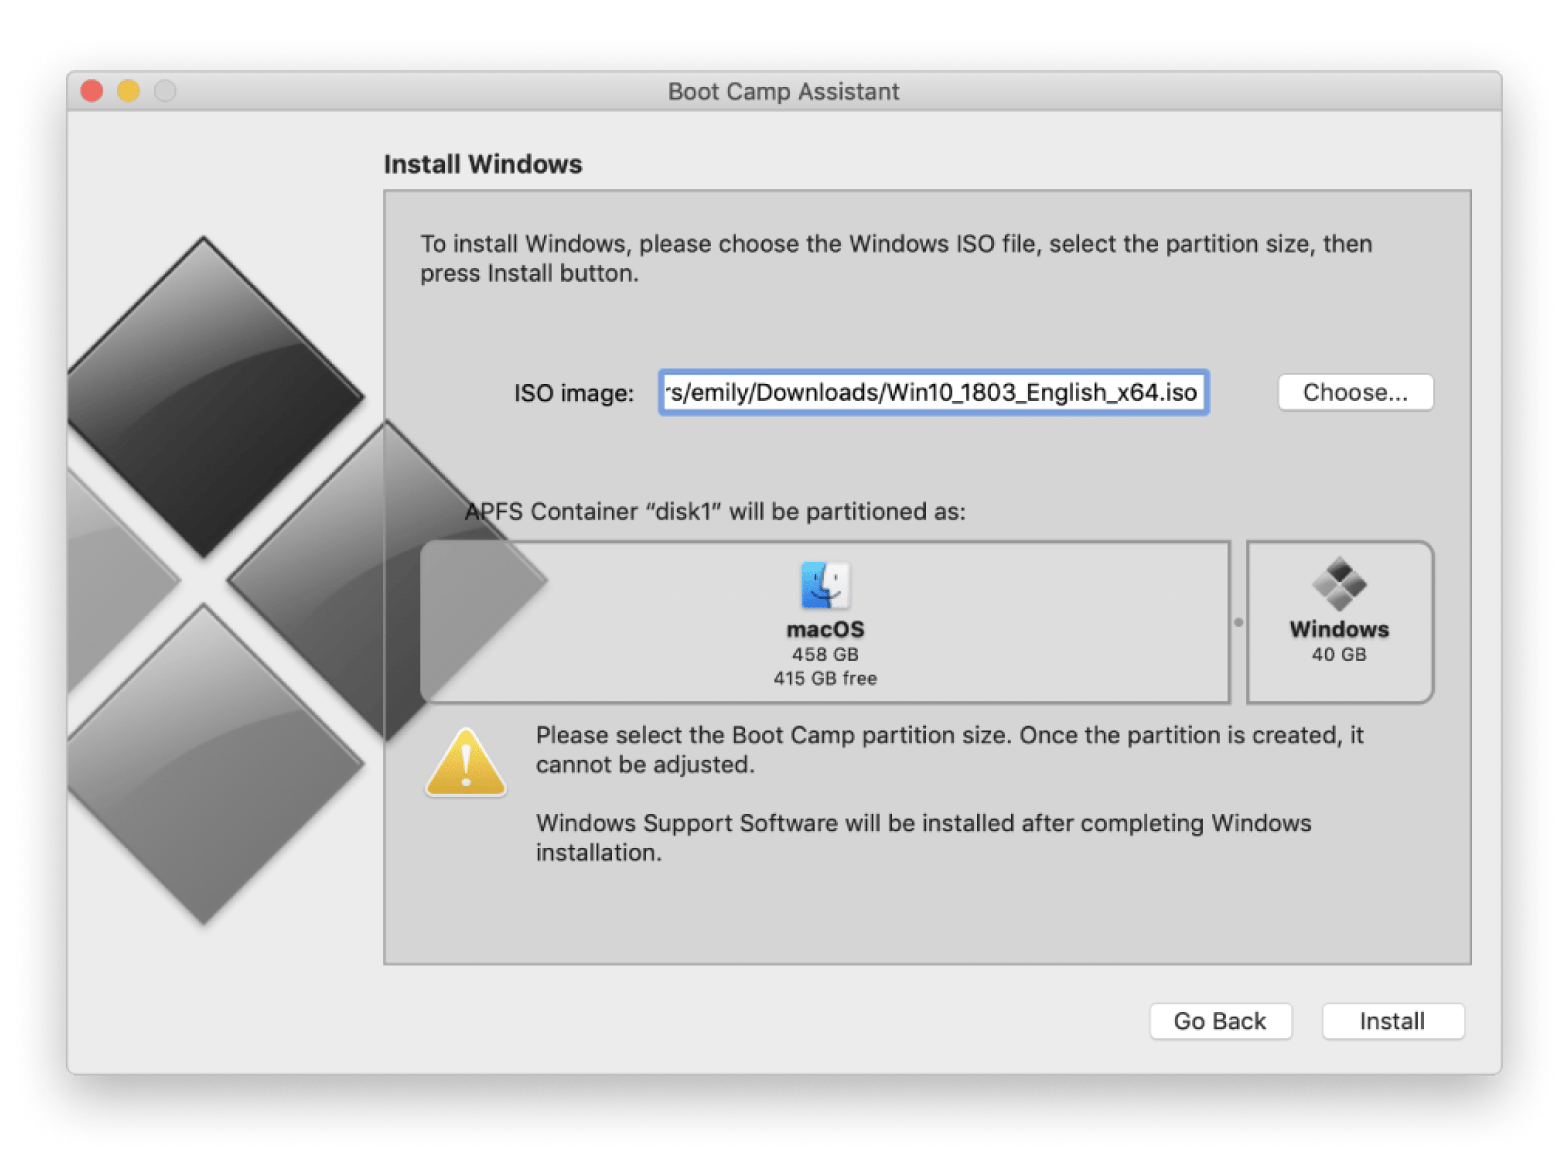
- Go to Applications > Utilities and locate Boot Camp Assistant.
- Select the ISO image you want to use.
- Choose the disk image that you have already created or downloaded; this will copy the ISO file onto your USB drive.
- Boot Camp Assistant will download the necessary driver software for Windows.
- Use the slider to set the size of your Windows partition, remembering that this size cannot be changed after it’s created.
- After setting the partition size, click Install. Your Mac will shut down during the process. Once it restarts, follow the prompts to complete the Windows installation.
- You can switch between macOS and Windows by holding the Option (Alt) key whenever you start your Mac.

Troubleshooting Boot Camp installation issues
Now you know how to install Windows 10 on a Mac, but Boot Camp isn’t always a walk in the park. Sometimes, you might run into errors. Here is a short table with possible issues and solutions.
| What’s wrong | What can I do |
| Insufficient disk space | Free up disk space using CleanMyMac. |
| Incompatible hardware | Check Apple’s support website to confirm your Mac model is compatible with Boot Camp. |
| Driver issues | Ensure you install the Boot Camp drivers after installing Windows. Download these from Apple’s support website or your installation media. |
| Partitioning errors | Verify your USB drive is correctly formatted. Consult Apple’s Boot Camp documentation for formatting requirements. |
| Windows installation errors | Create a new bootable installer USB drive and ensure your Windows ISO file is valid. Refer to Apple’s support for error-specific troubleshooting. |
| Network problems | Check your internet connection and network settings. Ensure a stable connection throughout the download and installation. |
Running Windows on Mac with Virtual Machines (VMs)
If you’re not up for a dual-boot system, Virtual Machines are a fantastic alternative. Think of a VM as having Windows living inside a little box on your Mac. You can run Windows alongside macOS without having to restart. However, this method does need more system resources.
Setting up a Virtual Machine with Parallels Desktop
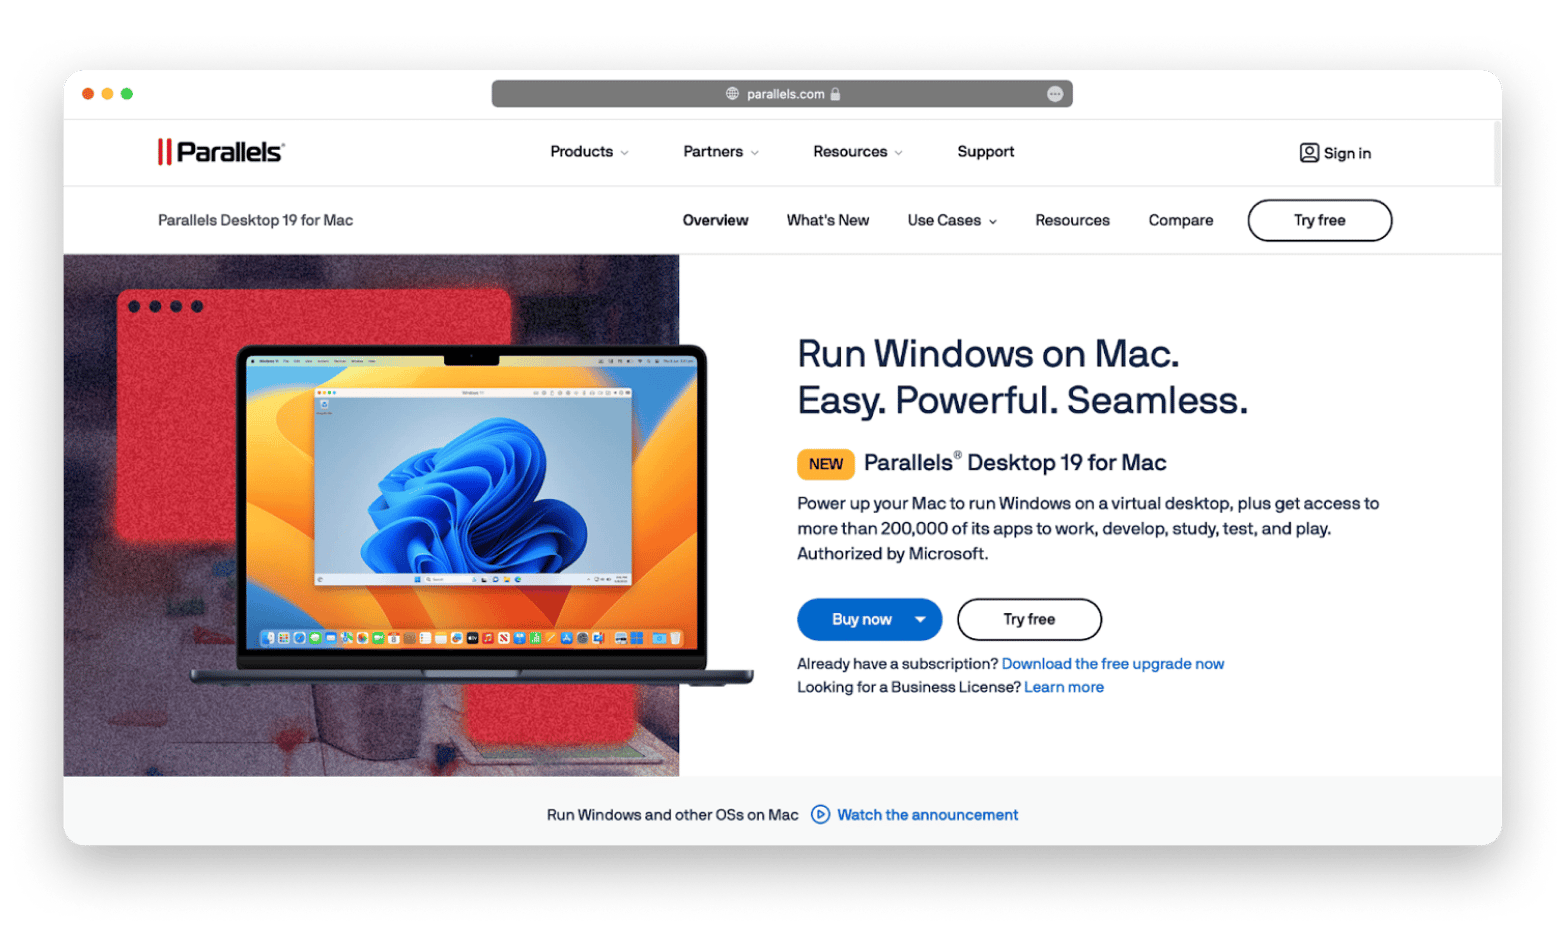
Parallels Desktop is a popular VM software that’s super user-friendly. I actually started off with the free trial, and I could see instantly that it was exactly what I needed. With this, there is a simple step-by-step wizard that will help you through the installation process:
- Download and install Parallels Desktop.
- It will guide you through installing Windows within the virtual machine.
- Customize settings for things like processor cores and RAM allocation to optimize performance.
- Once the installation is complete, you will be able to boot directly into Windows from the Parallels interface and use it just as you would on a regular Windows PC.
- Now, you can run Windows programs on Mac right alongside your Mac apps.

Alternative VM solutions: VMware Fusion and VirtualBox
Need a simple, user-friendly virtual machine? Parallels Desktop is your best bet. Need more control and advanced features? Choose VMware Fusion (but it’s paid). On a tight budget and comfortable with some technical setup? VirtualBox is free, but it’s more complex to use. Read more about the best virtual machine software for Mac.
Running Windows-only apps on your Mac with CrossOver
CrossOver is a compatibility layer that lets you run some Windows apps directly on your Mac without the need to install Windows on your Mac. Think of it as a translator for your software. It works surprisingly well for some apps, but it is not a silver bullet. It’s definitely worth a shot if you only need to run a few specific Windows programs. I found it particularly helpful for older software that didn’t run well in a virtual machine environment.
The overall process is not complicated:
- Download and install CrossOver from their website.
- Simply use Crossover’s interface to install your desired Windows app.
- Run the app.
Note that some Windows apps may not be compatible. If many apps are needed, note that installing Windows on Mac via Boot Camp or a virtual machine (like Parallels) offers broader compatibility.
How to run Windows on Mac: The bottom line
Running Windows on your Mac can feel daunting at first, but with a bit of patience and the right tools, it’s totally doable. Boot Camp offers excellent performance but requires a reboot; virtual machines let you run Windows alongside macOS but might demand more system resources. I’d suggest trying out a free trial of either Parallels or Crossover to see which is right for you.
Don’t forget to use CleanMyMac to keep your Mac running smoothly. Keeping track of your system’s performance is also critical. For this, I found iStat Menus (also through Setapp) to be indispensable. It provided me with invaluable real-time information on my CPU, memory, and disk usage. This allowed me to monitor the resources my system was using and avoid performance bottlenecks when running both operating systems concurrently.
Note that the apps mentioned in this article (CleanMyMac, Get Backup Pro, and iStat Menus) are available for a free trial through Setapp. It’s a subscription service, but seriously, the free trial is worth checking out just to see what apps you could add to your workflow.
FAQ
Is it good to install Windows on a Mac?
Whether it’s “good” to install Windows on a Mac depends on your needs. If you need specific Windows-only software or have some compatibility issues with a particular piece of software, then running Windows on your Mac can be a really good solution. However, if you don’t need any Windows programs, then you probably don’t need to install them.
Is it legal to have Windows on a Mac?
It’s perfectly legal to install and use Windows on a Mac. You just need to purchase a legitimate Windows license.


