How to use Time Machine on Mac for backup and restore tasks [2026 update]
I know some people dismiss Time Machine because it doesn’t allow bootable backups, lacks flexible scheduling, and its archives can take up too much space. All of that is true, but it doesn’t change the fact that it’s a great, reliable, built-in tool for backing up your Mac. It’s always at your fingertips, and I’ve been using it myself for years.
In this guide, I’ll show you how to use Apple’s Time Machine and introduce you to a few alternative apps that you might prefer.
How to use Time Machine on Mac for backup: Quick overview
To save you time, I’ve summarized the key takeaways from the article in this table. If you’re a confident Mac user, these might be all you need. For more detailed instructions, no problem — just scroll down.
| Backup solution | Instructions |
| Set up Time Machine | Connect an external drive. Go to System Settings > General > Time Machine, and select Add Backup Disk. |
| Adjust backup options | Exclude specific files/folders in System Settings > Time Machine > Options. |
| Restore from Time Machine backup | Connect the backup drive, restart Mac while holding Command + R, choose Restore from Time Machine backup. |
| Get more control over backups | Download Get Backup Pro for different backups: simple copy, clone, incremental, and versioned. Save up to 60% of space compared to Time Machine backups. |
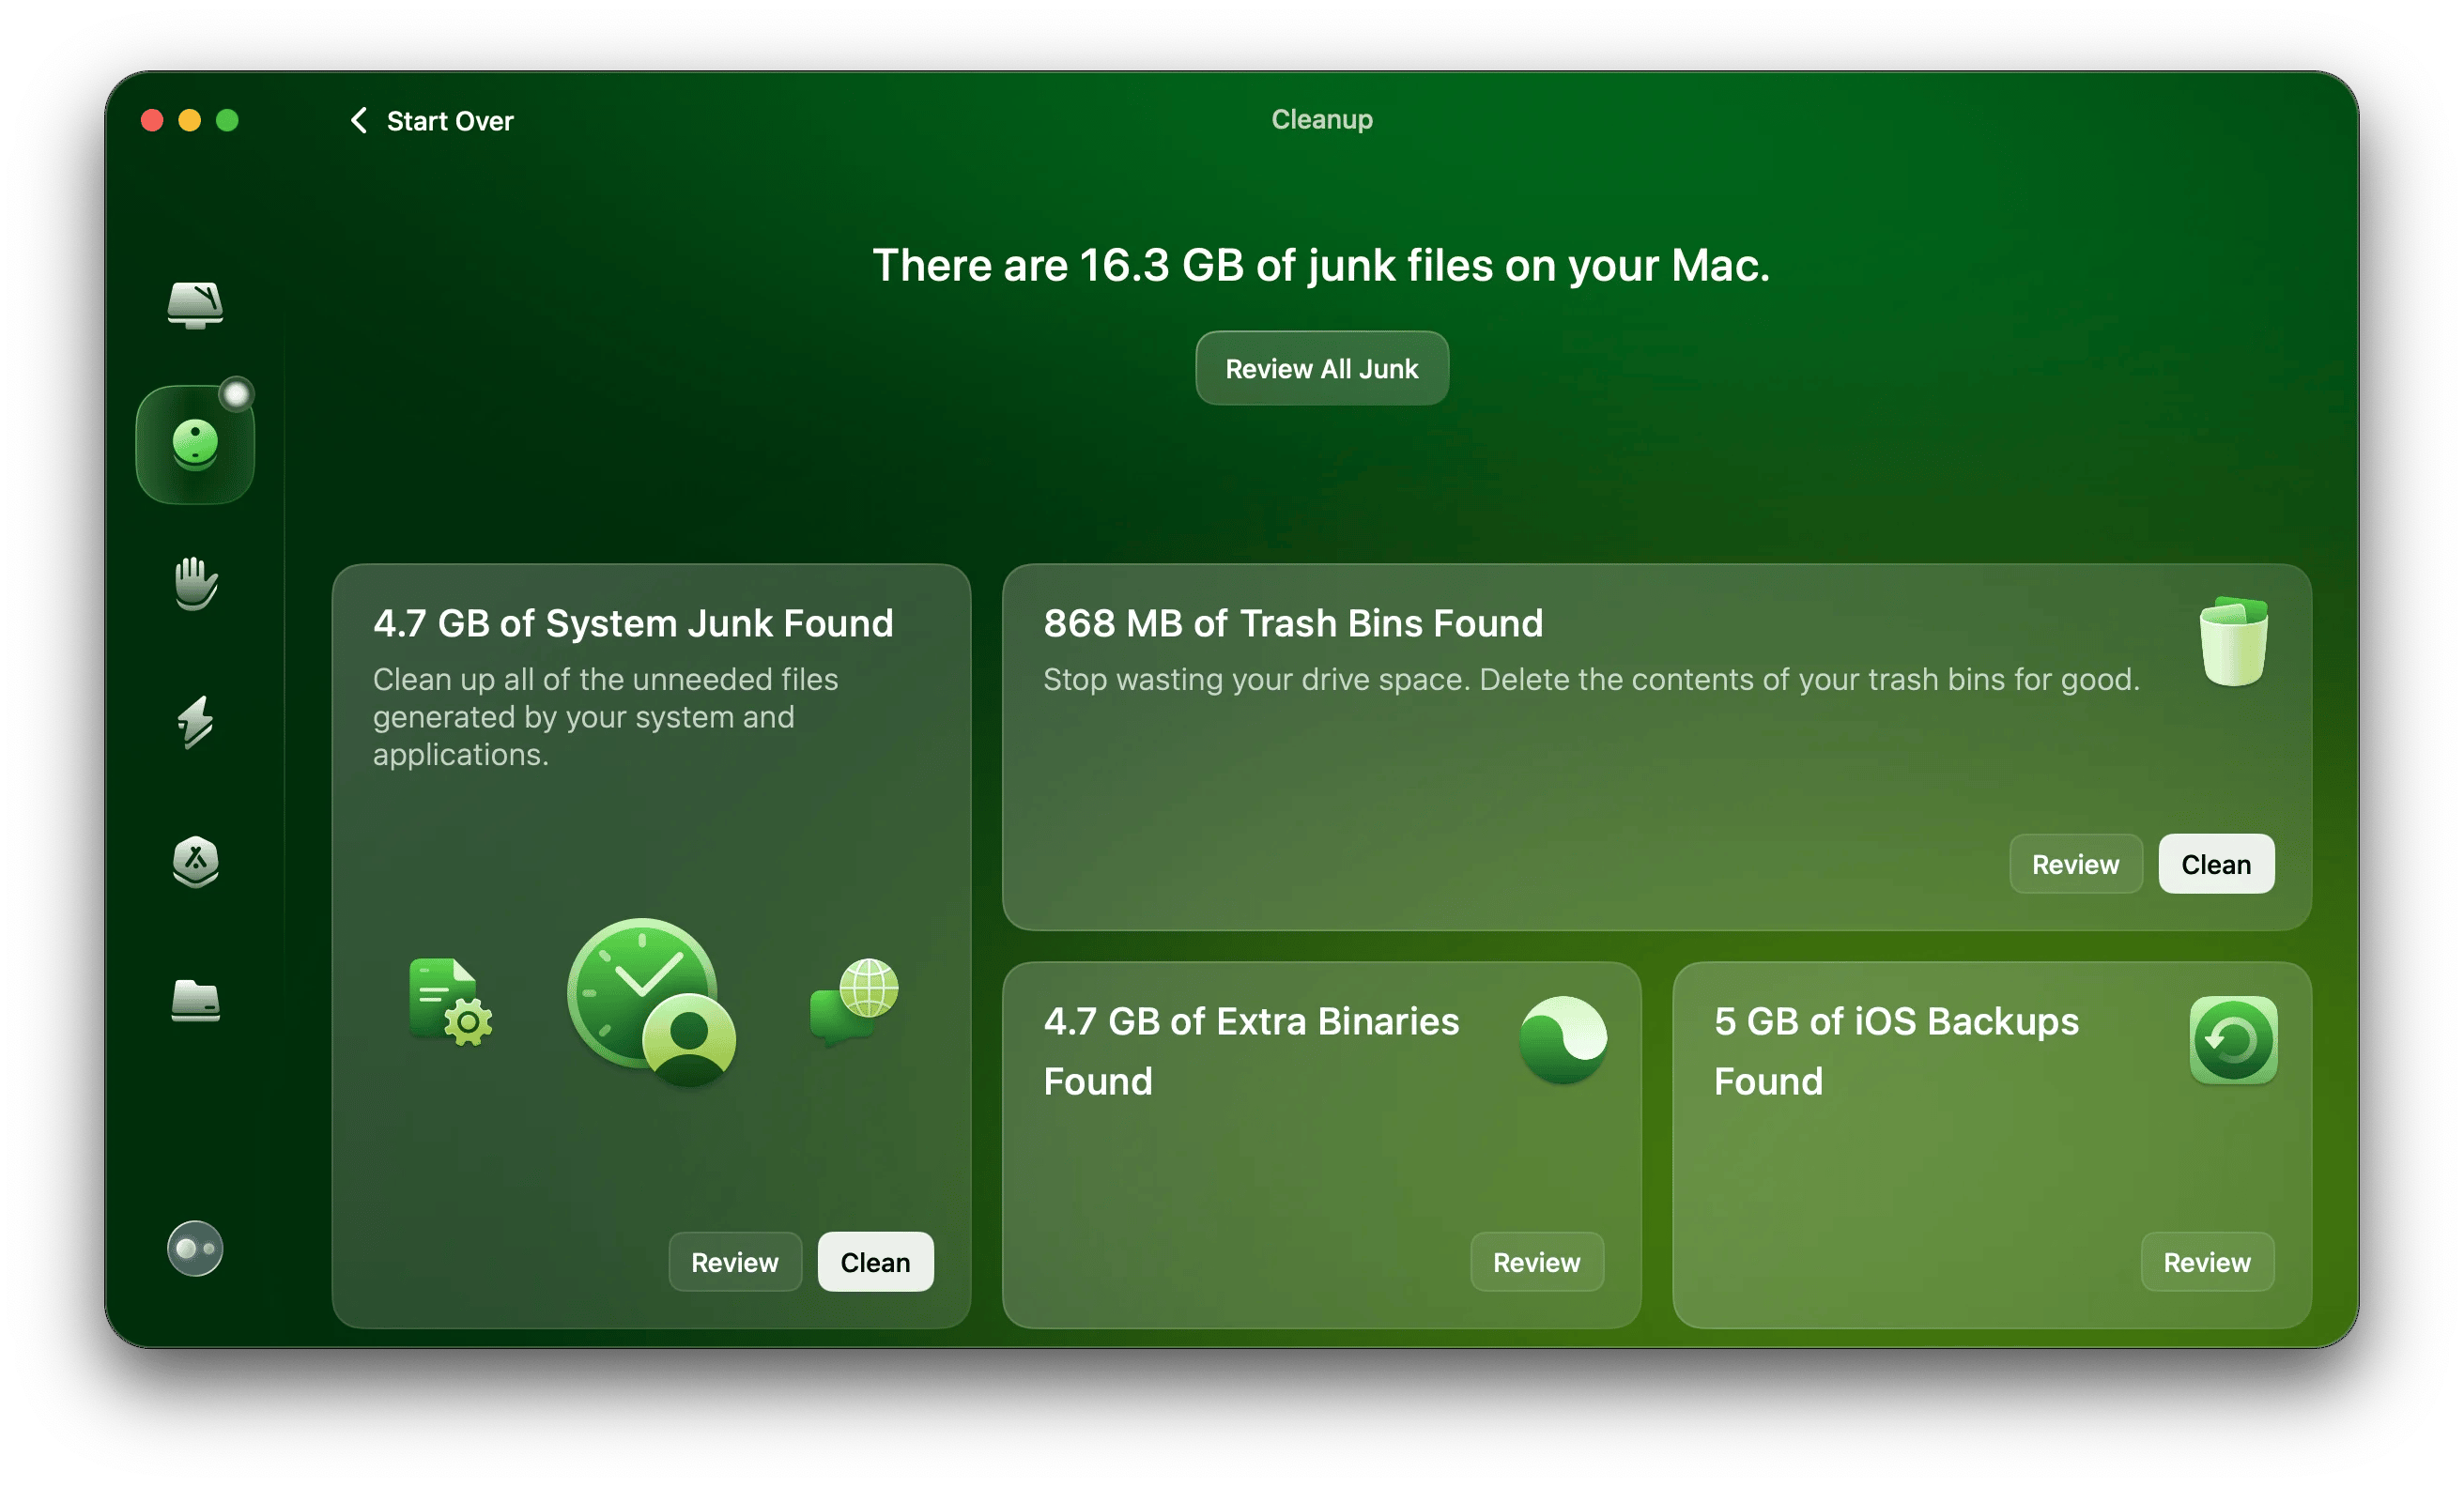
| Make your backups more compact | Before backing up, get rid of system (and other) junk with CleanMyMac. |
What is Time Machine?
Time Machine is a service from Apple to backup your Mac. It creates a simple “image” or “snapshot” of your Mac, which simply means a compressed file containing everything on your Mac at the time of the backup that you can revert to when needed. Time Machine backups can also be used when you need to boot a new device, or refresh your Mac after returning it to factory settings.
Apple’s Time Machine is meant to run in the background, offering a simple, straightforward way to back your Mac up. When activated, it will periodically back your Mac up, keeping the last few versions in case you need to revert to a backup from a few weeks ago.
Most will use Time Machine when booting new Macs. On startup, a new Mac asks if you want to start fresh, or boot from a backup. Using Time Machine backups will make you feel like you picked up where you left off. Like most services Apple creates, Time Machine is in both your System Settings menu and is available as an app for the Mac.
How to set up and use Time Machine on Mac
For most of us, knowing how to use Time Machine means knowing how to activate it. Because it typically runs in the background, the service isn’t something you need to access often to create backups. But I’ll cover Time Machine to restore Mac computers, to back up your Mac, and how to use Time Machine to restore files as well.
Setting Time Machine up is really simple. Here’s how:
- Connect an external drive where you're going to store backups.
- Go to System Settings > General > Time Machine.
- Click Add Backup Disk, select the drive, and click Set Up Disk.
- Decide if you want to password-protect your backups (I'd recommend it) and fill in the fields.
- Choose the disk you want to use to store your backups.
- Wait for the setup to complete.

That’s all you need to do. Once you complete these steps, Time Machine will begin creating a backup to the disk you’ve designated on a schedule.
You can adjust the backup schedule (hourly, daily, or weekly) or run backups manually. Plus, you don’t have to back up your entire Mac — you can exclude specific folders or files from the backup.
What I don’t like, though, is that you can’t back up individual folders directly. Technically, you can, but it requires excluding every other location and folder you don’t want in the backup, which is far from convenient.
How to use Time Machine with an Apple AirPort Time Capsule
Apple used to make routers, and one of their best was the AirPort Time Capsule. Not only were they excellent routers, but the AirPort Time Capsule worked perfectly with Time Machine. If you still using it, you can try this method.
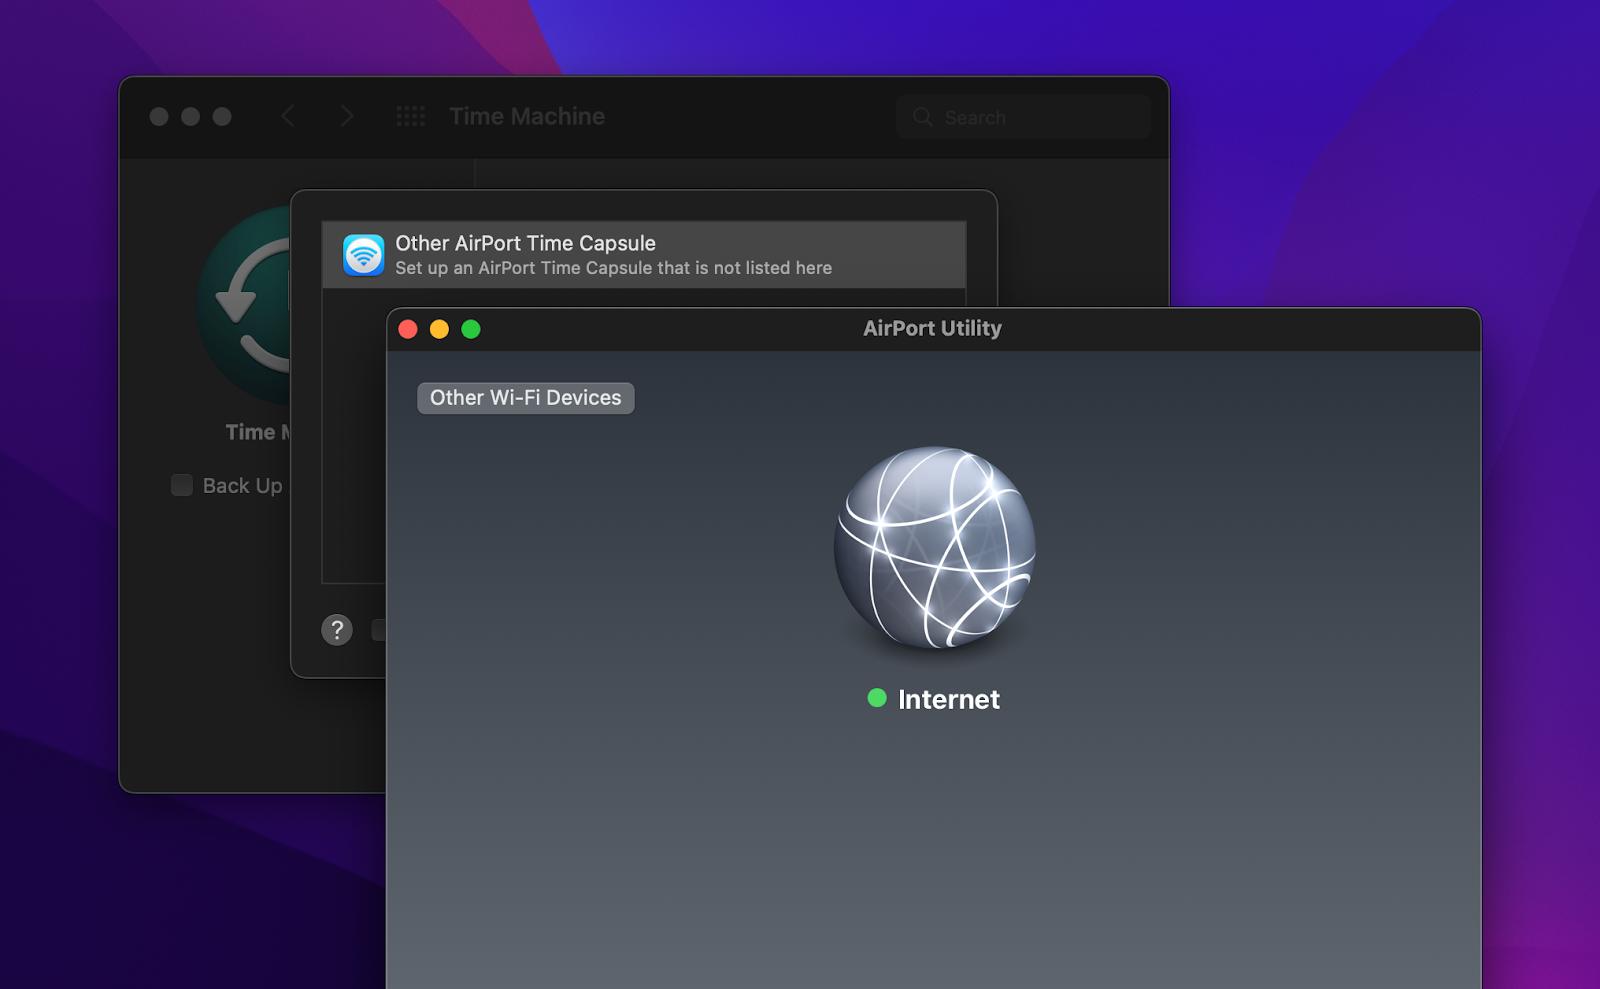
The Time Capsule has a one or two-terabyte hard drive inside it, making it both a router and external drive for Time Machine backups. As you see in the screenshot below, Time Machine is backing up to a Time Capsule.
All you have to do is set up your AirPort Time Capsule as the main router for your network and make sure your Mac is connecting to the network the AirPort is on. Then, choose the AirPort Time Capsule as the external drive you want to save backups to.

That’s it! The best part about using this method is when you reconnect a Mac reset to factory settings or buy a new Mac, and log into the same network, you know your backups are available.
How to restore Mac from Time Machine
Restoring a Mac from a Time Machine backup is straightforward but you need to know a couple of things about it:
- Having done it, it can take hours and hours for your Mac to get back up and running when restoring from a backup. Consider whether or not you have time to devote to that process.
- Time Machine can be very inconvenient when it comes to restoring photos and emails.
- Why you’re trying to restore your Mac from a Time Machine backup? Sometimes, we restore to a backup because we believe we’ve lost a crucial file. If we go back in time, the file will be there, right? Maybe, but the process is time-consuming and not always accurate. Think carefully about whether you have those files anywhere else.
If you do need to roll back to your previous backup and restore all the files and app data it contained, here’s how to do it:
- With your backup disk connected, restart your computer.
- Hold down Command + R to enter the Recovery Mode while Mac is turning on.
- Release the keys once you see the Apple logo.
- In the Disk Utility menu, choose Restore from Time Machine backup > Continue.
- Choose your restore source and click Continue.
- Enter the admin password if prompted and click Continue once again.
- Select the backup you want to restore (by date), then select the destination of the backup you want to restore.
- Click Restore.
- Restart your computer.
Alternatively, you can use Migration Assistant (you’ll find it in Applications > Utilities) to move data from your Time Machine backup to Mac.
How to restore from Time Machine to a new Mac
Ready to learn how to use Time Machine on new Mac computers? I’ve got you covered. Here’s how it’s done:
- Make sure your backup disk is connected to your new Mac (Note: if you’re using a Time Capsule, make sure your router is set up and your computer connects to the same network. This will automatically “connect” your backup disk to your Mac).
- When signing into your new Mac, select From a Mac, Time Machine backup, or startup disk when asked how you’d like to transfer your information.
- On the next screen, select your backup disk from the available options.
- Click Continue.
- Choose the data you’d like to transfer, and click Continue.
That’s all you need to do. Your Mac will begin the process of transferring your data from the Time Machine backup.
Restore your Mac from a backup: My favorite method
Now that you know how to restore data from Time Machine backups, it’s clear that it’s a reliable option for many users.
However, if backing up your Mac is an essential part of your daily routine, you might find that Time Machine doesn’t offer enough control. It lacks the ability to precisely select files or folders for backup and doesn’t allow for a fully customizable backup schedule.
A few years ago, I switched to Get Backup Pro, and it’s been a better solution for me. Maybe it will be for you, too.
Get Backup Pro allows you to customize the backup schedule that works for you. If you’d rather have a weekly backup on Friday night after your work week is done, it can handle that. You’re also given a lot more control over the files and folders you back up — you can include only specific data in your backup. And you can save your bootable backups to external drives.
Another advantage is that Get Backup Pro compresses backups to a really small size (60% smaller than Time Machine), which speeds up the backup process by quite a bit.
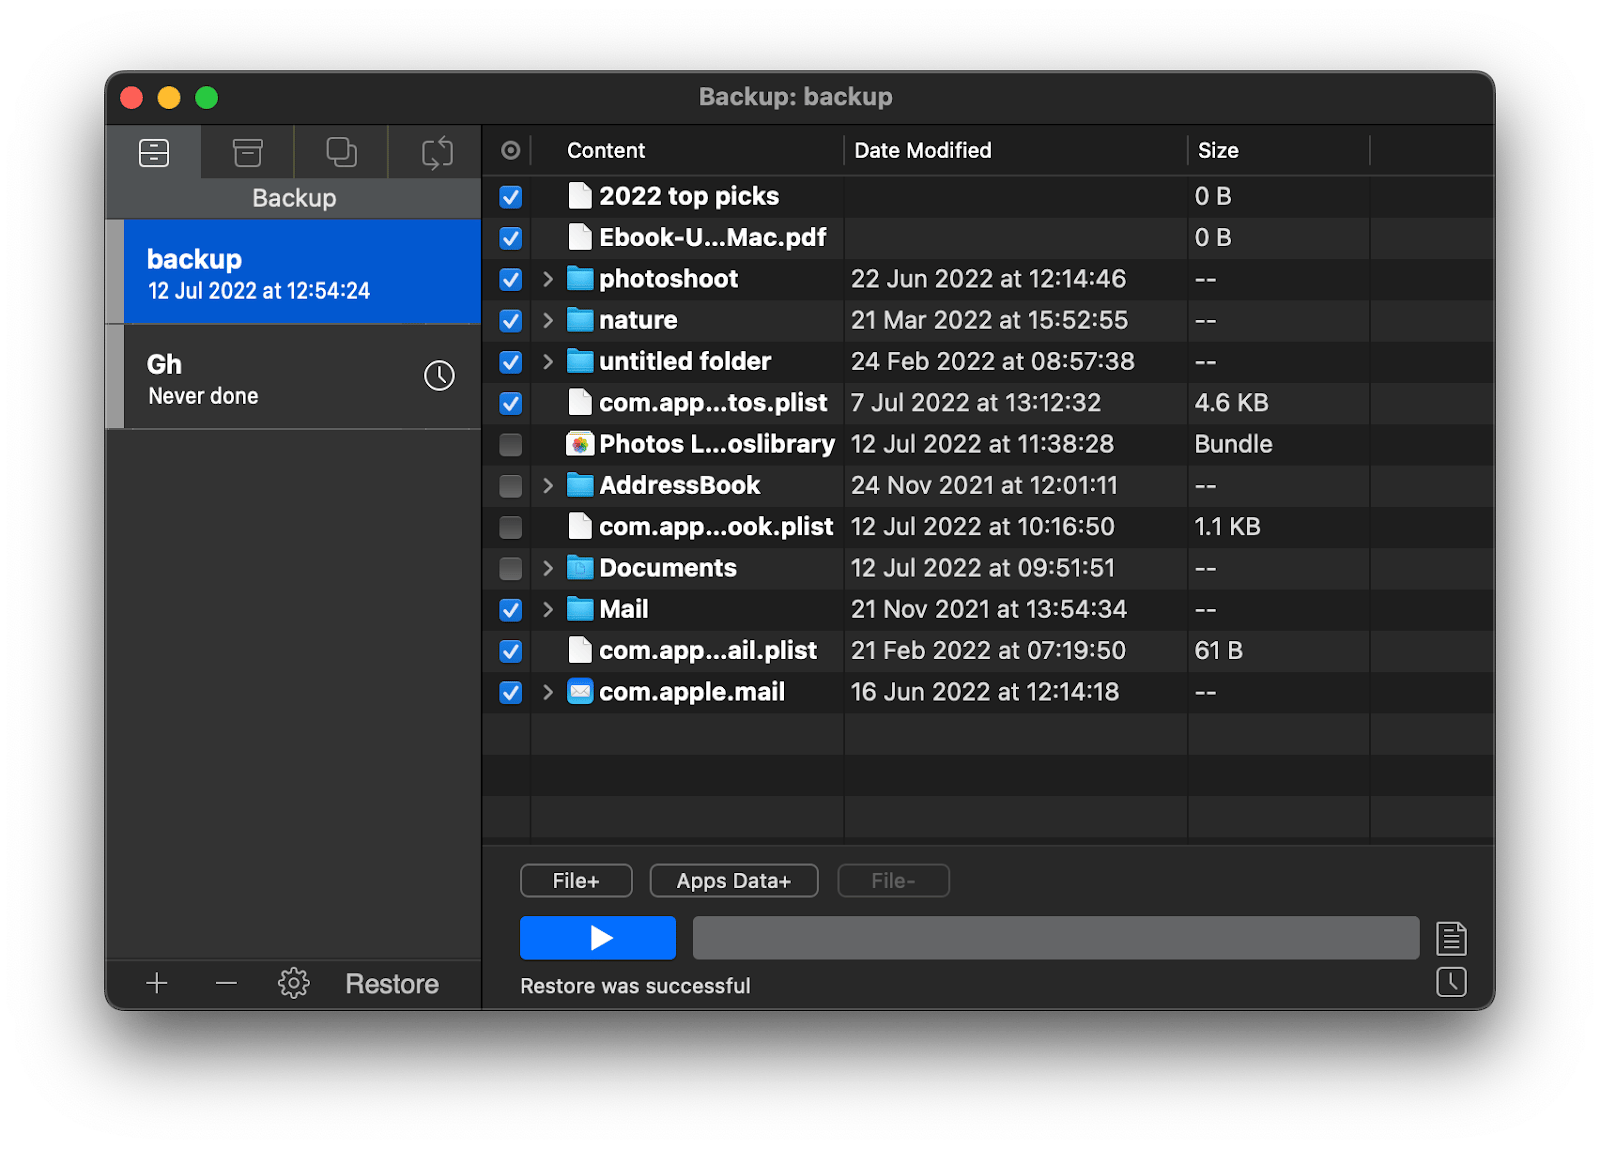
Here’s how to back up data with Get Backup Pro:
- Download and open Get Backup Pro.
- Click the plus button in the left sidebar to create a new backup project (name it so you can easily locate it later).
- Use the plus button to add files and app data to your backup.
- Click the Start button if you’re ready to back up now, or schedule for later — you can set up your custom schedule in Settings.

Here’s how to restore data from the Get Backup Pro backup:
- Open the app and select the backup you want to restore in the left sidebar.
- Click Restore.
- If you want to restore only specific files, select those files and click Restore Selected. Otherwise, click Restore.
- Choose the folder to restore to, enter your admin password if prompted, and start the process.

Back up, restore, and organize files with Setapp
Backing up your Mac is really important; everyone should do it on a routine basis. Time Machine is a great option, but it can also be not flexible enough and time-consuming.
I prefer (and can recommend it to others) to back up with Get Backup Pro, which allows for a lot more control and compresses backups far better than Time Machine. When used with CleanMyMac, you’ll always know your backups are clean, organized, and free of any weird settings or bloatware you forgot about.
These apps are available for free as part of a seven-day trial of Setapp, a platform with 260+ apps for iOS and macOS. When your trial is through, continued unlimited access to the full Setapp catalog is only $9.99 + tax per month.
FAQ: How to use Time Machine
How much space does Time Machine need?
Generally, it’s recommended that you allocate at least 2 times more storage than you have on your internal drive to backups. But Time Machine will use up as much space as you give it — it’s just the way it works. Time Machine will keep storing new and new backups on the drive. Once the space is used up, Time Machine will start deleting the oldest backups. A better solution would be to create better-compressed backups and keep them on external hard drives with Get Backup Pro.
How to turn off Time Machine?
You can turn off Time Machine by disabling automatic backups in System Settings > General > Time Machine. Note that you’ll still need to manually delete all the backups made with Time Machine if you want to free up space.
How to set up Time Machine on Mac without an external hard drive?
You can set Time Machine to store backups on your internal hard drive. For convenience, you can create a separate partition dedicated to backups. Just go to Disk Utility > Macintosh HD > Partition to set it up.
Keep in mind, though, that Time Machine backups can take up a significant amount of space, so you’ll need to be prepared to allocate that storage. Plus, if something happens to your Mac, the backup won’t be accessible. However, it’s still a useful option for restoring lost files in less critical scenarios.


