How to put your iPhone or iPad into DFU Mode
Like any piece of hardware, your iPhone or iPad can run into seemingly random issues from time to time. For most, simply force-quitting an app or restarting the device solves things. In other cases, toggling into and out of Airplane Mode may help.
For more pressing issues, you may need to put iPhone in DFU mode – but what is the iPhone DFU mode? And is there an iPad DFU mode?
DFU mode is a setting each iPhone and iPad has that helps diagnose and solve some issues but is most commonly used for those who participated in jailbreaking their devices. Still, it’s something we can all use for restoring devices when the issues we’re experiencing are just too severe.
We’ll tell you how to enter DFU mode on iPhone and iPad, when it’s appropriate to do so, and which devices can be placed in DFU mode.
What is DFU Mode and What You Need to Know Before we Begin
DFU is acronymous for “device firmware update,” and places your device into a recovery mode that makes low-level changes to the firmware on that device.
If you’re thinking “but there’s already a recovery mode on iPhones and iPads,” you’re correct! DFU mode differs from recovery mode because it’s a bit more comprehensive and helps solve far more difficult problems with iPhones and iPads. In DFU mode, the device is held in a state of limbo: it will be powered on, but not yet booted into iOS. This allows you to make changes to the operating system before it begins running.
The main reason for entering DFU mode is it allows your device to link to iTunes for restoration so you can return the device to a working state. In DFU mode, a device linked to iTunes won’t trip the bootloader on iOS – but know it takes some careful timing to get right. If you fail, don’t worry, just keep trying!
Here are some of the main reasons to enter DFU mode:
- Downgrading iOS. Most users excitedly seek out the latest version of iOS to get the latest tools. Many of them experience random issues with settings, apps, or other core services, causing them to wish they’d never upgraded. In DFU mode, you can quickly revert to an older version of iOS without losing data. Just be sure to back your device up first!
- Jailbreaking. Some clever tinkerers like to do something called “Jailbreaking,” which essentially replaces iOS with a customized version built by a rogue programmer. If you’ve ever felt limited by the constraints iOS has, jailbreaking may be something you’ve become interested in. Just be careful: when jailbreaking, you lose access to many core Apple services. But if you still want to jailbreak your iPhone or iPad, you’ll need to know how to enter DFU mode.
- Un-jailbreaking. Yes, DFU can help with jailbreaking – but it also serves as the bridge to bring you back to iOS! If you jailbreak your iPhone or iPad and decide it’s not for you, enter DFU mode again and boot into iOS. It’s like the jailbreak never happened.
- Removing old beta software. Apple has an open beta program for iOS and iPadOS, and many use it to experience life on the bleeding edge of technology. And doing so typically causes buggy performance, battery drain issues, and so much more. When you think a beta version of iOS may be hampering your device, DFU mode can help you delete it and return to stability.
- iPhone won’t boot. Remember when we told you DFU mode kept your device in limbo between starting up and booting into iOS? It can also help when your iPhone or iPad won’t boot into iOS or iPadOS properly.
How To Put an iPhone X and Older Into DFU Mode
The iPhone X DFU mode is the same as other devices but entering DFU mode on newer iPhones is a bit different due to the presence of Face ID. And more often than not, older devices are the ones with issues, or are prime candidates for jailbreaking. Know that in DFU mode iPhone 6 and older may take a bit longer for the process to complete as those are older devices with slower processors.
Here’s how to enter DFU mode on an iPhone X (or newer):
- Plug your iPhone X into your Mac with a Lightning cable
- Ensure iTunes (macOS Mojave or earlier) or Finder (macOS Catalina or later) is running
- Press and release the volume up button
- Press and release the volume down button
- Press and hold the side button until you see the “Power Off” slider appear
- Drag the slider to power your device off
- Wait a few moments to allow the device to completely power down
- Press and hold the side button on your iPhone for three seconds
- While holding down the side button, hold down the volume down button
- Continue to hold both buttons for 10 seconds (Note: If you see the Apple logo appear at any point in the process, you’ve failed, and will need to restart the shutdown/booting process again.)
If the screen stays black – but is clearly illuminated – you’re in DFU mode.
Release the side button – but continue holding the volume down button for five seconds (Note: If you see a “Plug into iTunes” screen on your phone, you’ve failed, and will need to try again. If the screen stays black – but is clearly illuminated – you’re in DFU mode.)
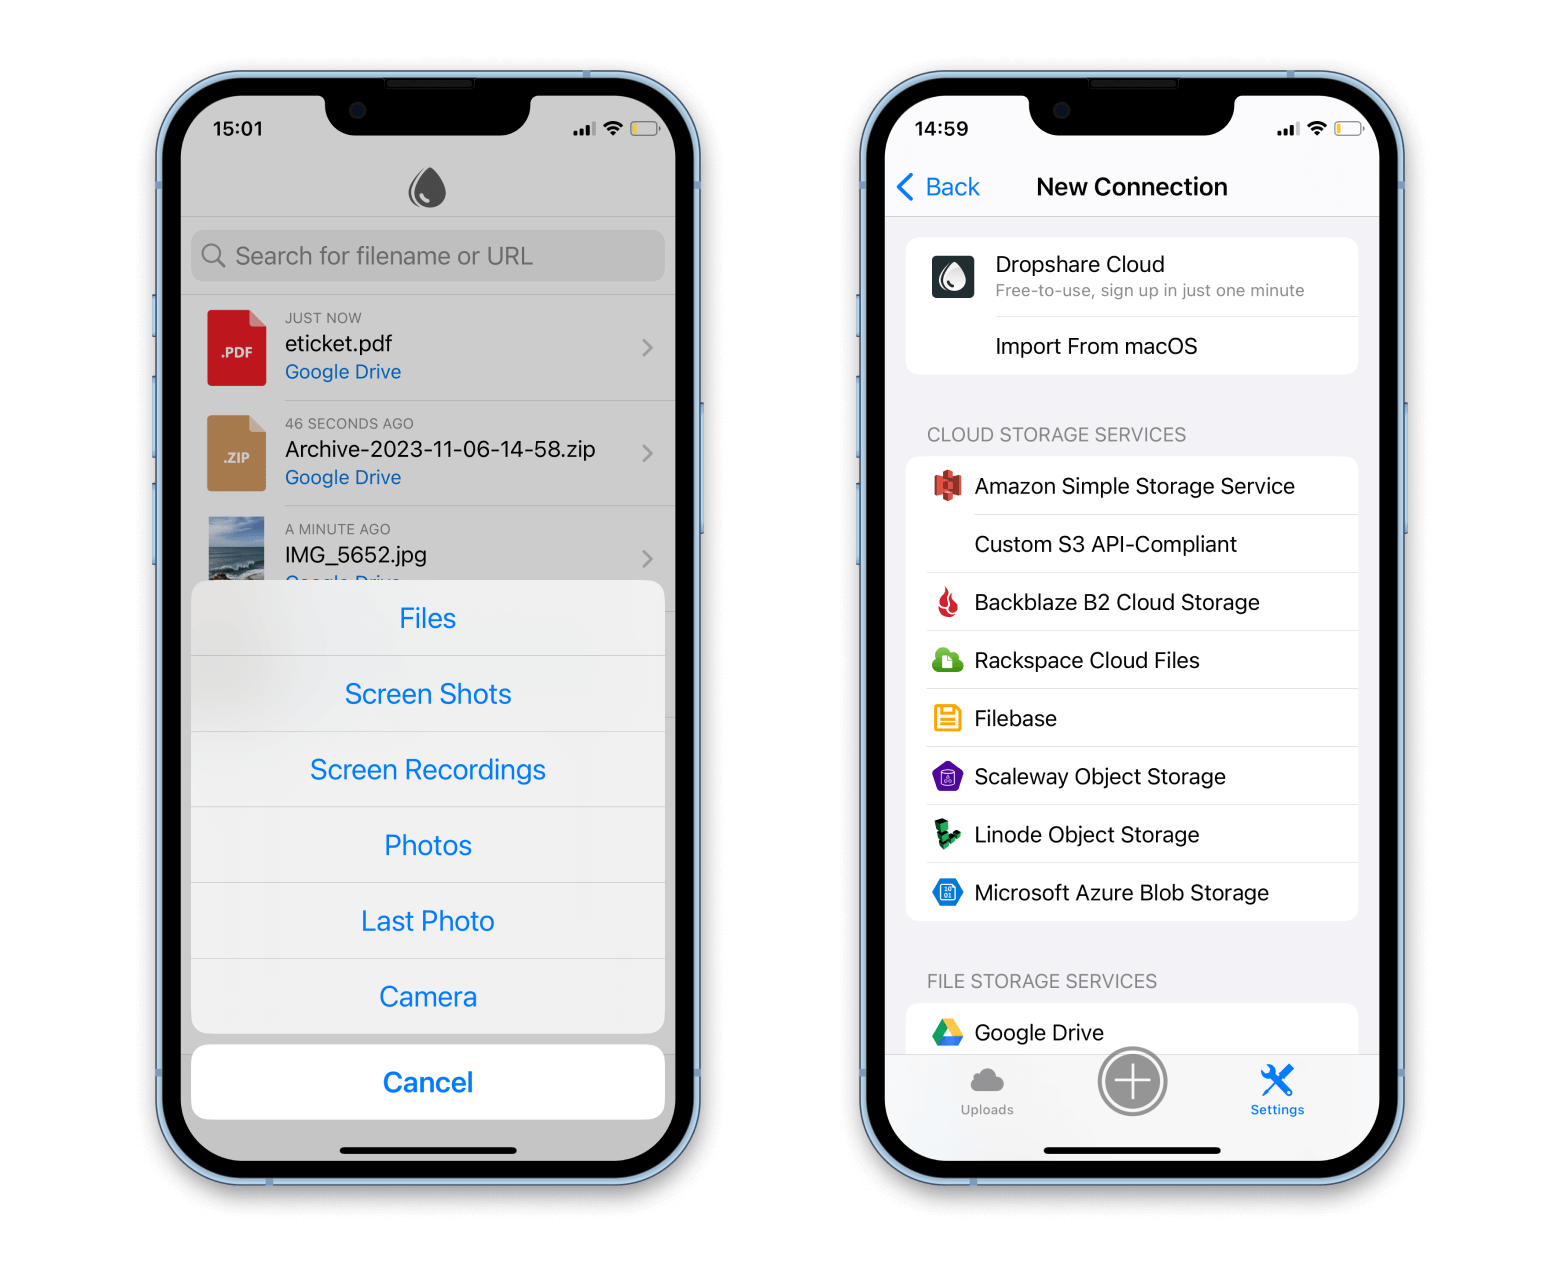
Before taking any of these steps, save important documents and photos on your phone to the cloud with Dropshare for iOS. Dropshare works with all popular cloud hosting services including Google Drive, Dropbox, Box, OneDrive, and others!

Dropshare lets you share form any device to the cloud, so you don’t lose anything during the DFU boot procedure. Your iPhone or iPad may not have synced properly if it was having issues, so eliminate the risk of losing your digital documents and use Dropshare.
For iPhone 5, 6, 7, 7 Plus and Earlier
In DFU mode iPhone 7 and older models may be a bit sluggish, so it might take a few tries. As you can see from the steps above, timing is critical. These models also lack Face ID, so powering them down is a bit less cumbersome.
Here’s how to enter DFU mode on iPhone 7 and older models:
- Plug your iPhone into your Mac with a Lightning cable
- Ensure iTunes (macOS Mojave or earlier) or Finder (macOS Catalina or later) is running
- Press and hold the side button for three seconds
- Drag the slider to power your device off
- Press and hold the side button for three seconds
- While holding down the side button, hold down the Home button on the front of the device
- Continue to hold both buttons for 10 seconds
If the screen stays black – but is clearly illuminated – you’re in DFU mode.
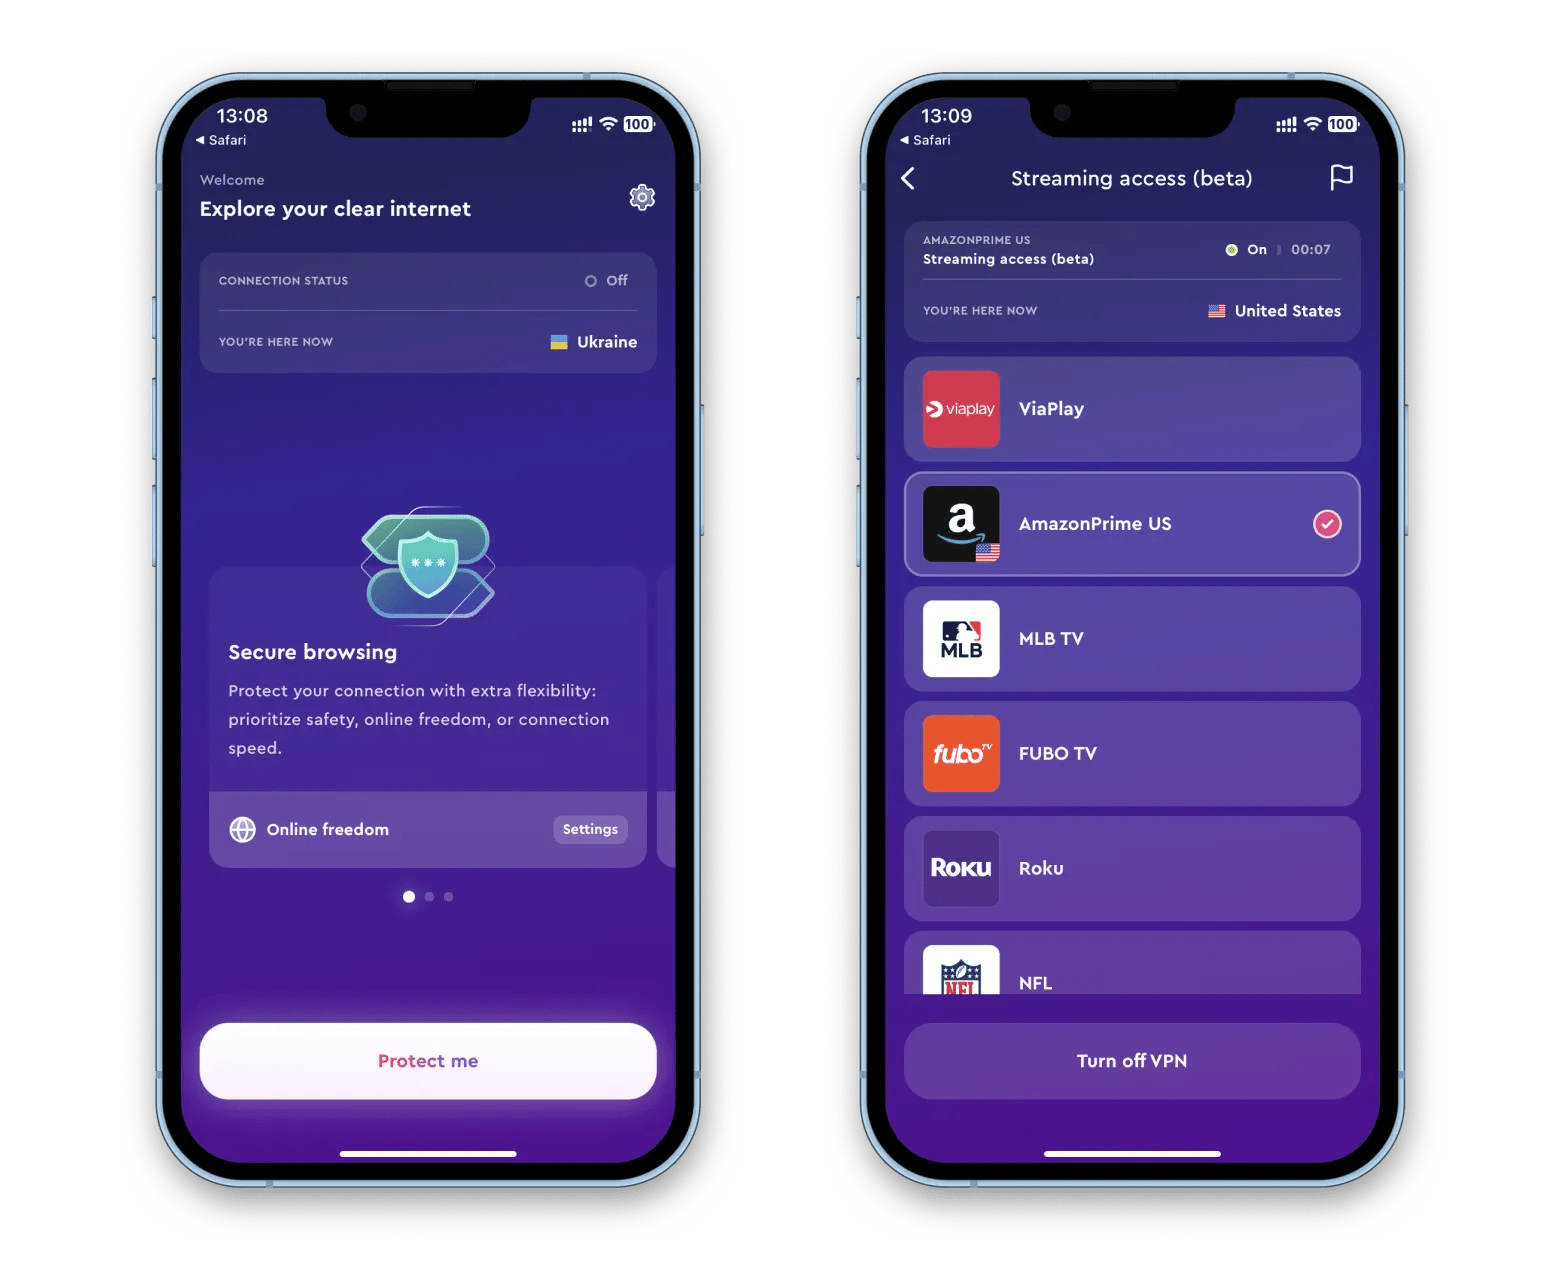
Many users with older iPhones enter DFU mode in an attempt to remedy a slowed iPhone, but there could be a simpler fix. Instead of taking unnecessary steps with DFU mode, give ClearVPN for iOS a try. It’s an efficient VPN for iOS, helping you browse the web safely, and likely much faster. It can help keep you safe from phishing, tracking, and other fraudulent activity, too.

How To Put an iPad in DFU Mode
Entering DFU mode on an iPad is very similar to the process for iPhone but has a slightly different workflow. Here’s how it’s done:
- Plug your iPad into your Mac with a Lightning cable
- Ensure iTunes (macOS Mojave or earlier) or Finder (macOS Catalina or later) is running
- Make sure Finder or iTunes recognizes your iPad
- Press and hold the power button and Home for three seconds until the screen turns black (Note: If your iPad has Face ID, press and hold the power and volume up buttons.)
- Three seconds after the screen turns black, release the power button, but continue to hold down the Home or volume up button
- Continue to hold the Home or volume up button until you see your iPad in iTunes or Finder again
How To Exit DFU Mode
Exiting DFU mode is fairly simple, but a bit tricky. Remember to have the device powered off completely before taking the steps below.
For iPhones with Face ID:
- Press the volume up button
- Press the volume down button
- Press and hold the side button until you see the Apple logo on the display
For iPhones with a Home button, you just need to power the device down then back on again. Just hold the Home/power button until the device turns off, then hold the power button to turn it back on.
Conclusion
Dropshare is a great app to use before, during, and after these processes, and is available for free during a seven-day trial of Setapp. In addition to this great app, you’ll have unlimited access to over 220 other amazing apps for Mac, many of which have iOS counterparts you can try as well!
When your trial ends, continued access to Setapp is only $9.99 + tax per month. It’s an amazing deal, so why wait any longer? Give Setapp a try today!


