How to Use AirDrop to send photos on your iPhone, iPad or Mac
Want to master the art of photo-sharing? Since switching to Apple, I’ve been obsessed with how effortlessly I can share photos — no cables, wires, or cloud storage needed to AirDrop to someone…A real game-changer! I’ll show you how easy it is to AirDrop photos on your iPhone, iPad, or Mac.
What is AirDrop?
AirDrop is a built-in standard feature. It lets you transfer files using Bluetooth and a Wi-Fi connection between Apple devices. You don’t need email, MMS, cables, or cloud storage. It’s quick. It’s easy. Even my grandma can do it.
How to turn on AirDrop
Next, I’ll show you how to turn on AirDrop on a Mac, iPad, or iPhone. You’ll see how easy it is.
Turn on AirDrop on iPhone or iPad
iPhone and iPad users can activate AirDrop through the device’s settings menu.
Here’s how to do this:
- Open Settings > General.
- Click AirDrop.
- Choose from one of the three options.
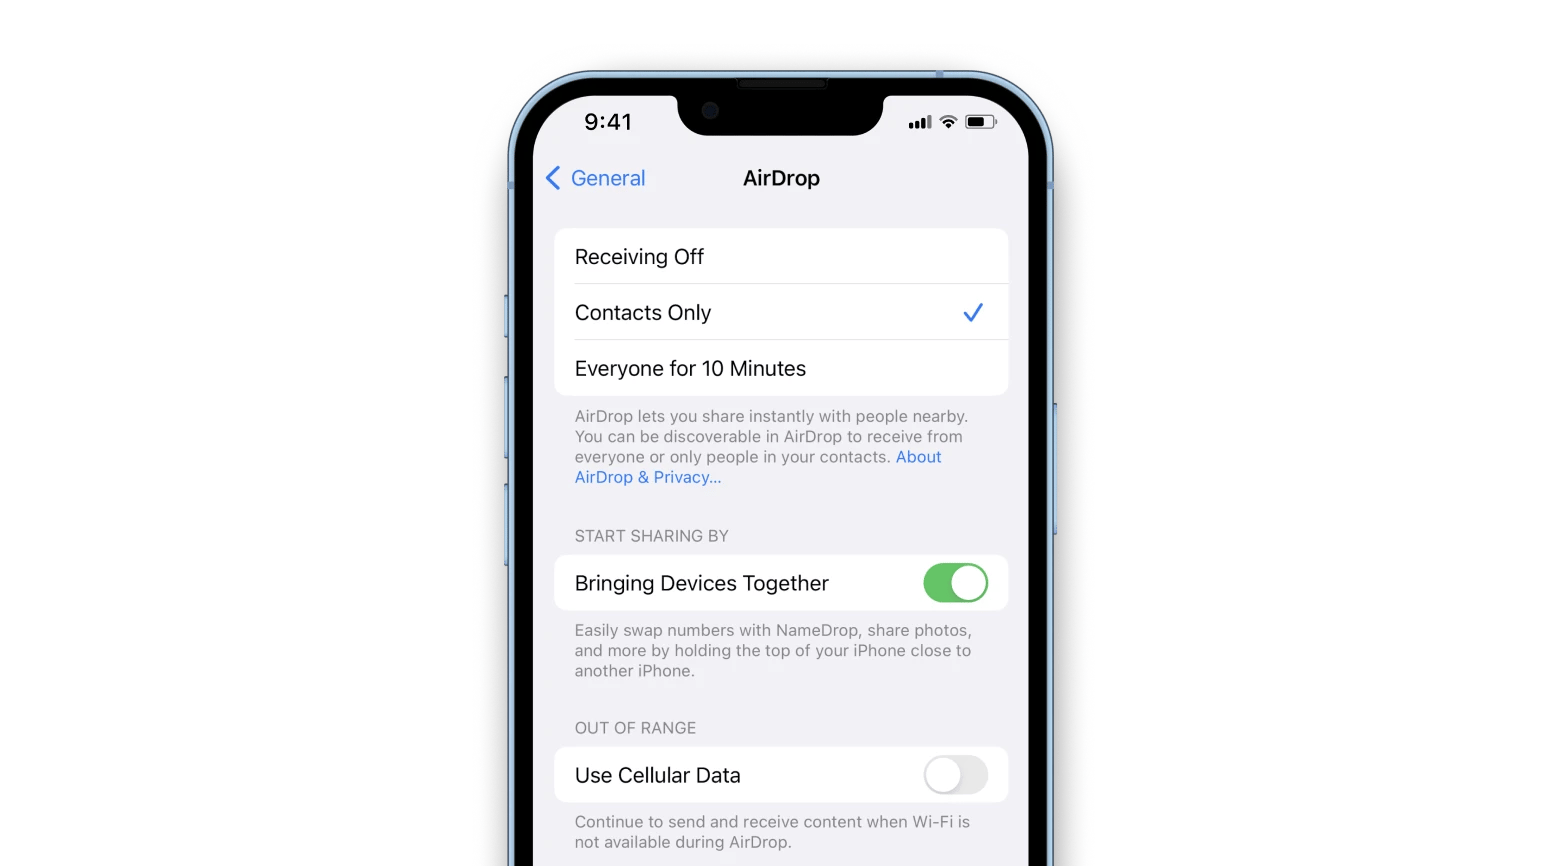
You can also turn on AirDrop and set your options in Control Center.
On iPhone X or later, swipe down the upper right corner of your screen (for iPhone 8 or earlier, swipe up from the bottom of the screen). Tap and hold the network settings card > Tap and hold AirDrop > Choose one of the options.
Turn on AirDrop on Mac
You can activate AirDrop on your Mac computer using either Finder or Control Center. I prefer to use Finder since it involves fewer steps.
To enable AirFrop on a Mac:
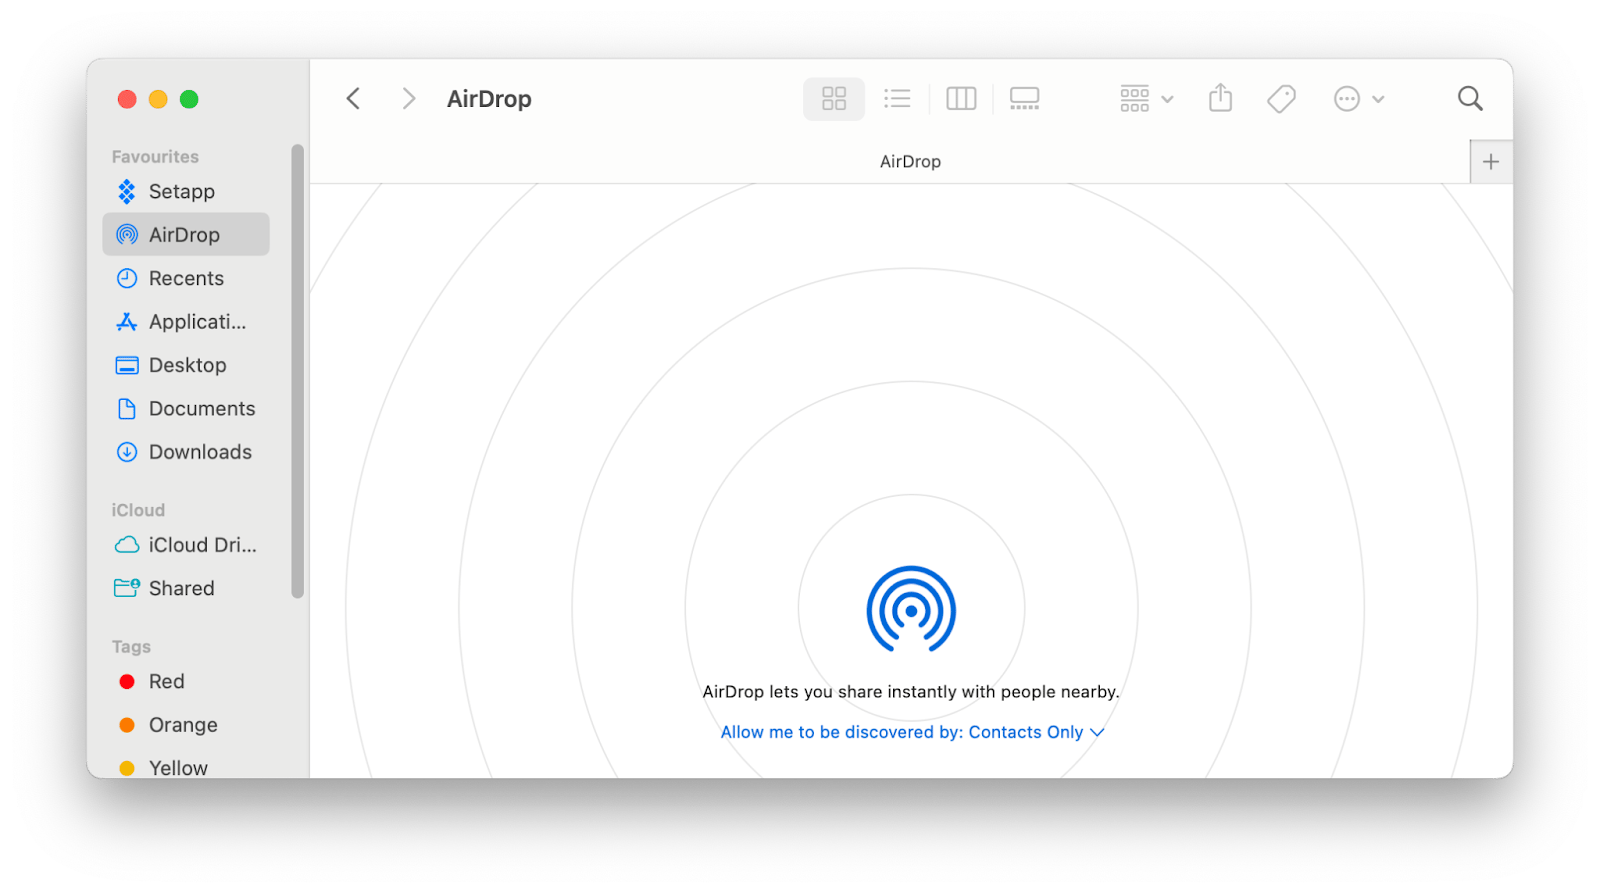
- Go to Finder
- Click AirDrop from the sidebar.
- Click Turn on Bluetooth.
- Click Allow me to be discovered by > Choose an option.
How to AirDrop photos from iPhone to iPhone
To AirDrop something between phones, you need to take a few preliminary steps:
- Make sure both devices have AirDrop turned on.
- Check if both devices are no more than 30 feet apart.
- Make sure both devices have the suitable AirDrop options enabled.
Everything looks good? Great!
Now, I’ll show you how to AirDrop photos from iPhone to IPhone:
- Open a photo and tap the Share button.
- Tap AirDrop.
- Choose a user that you want to share with.
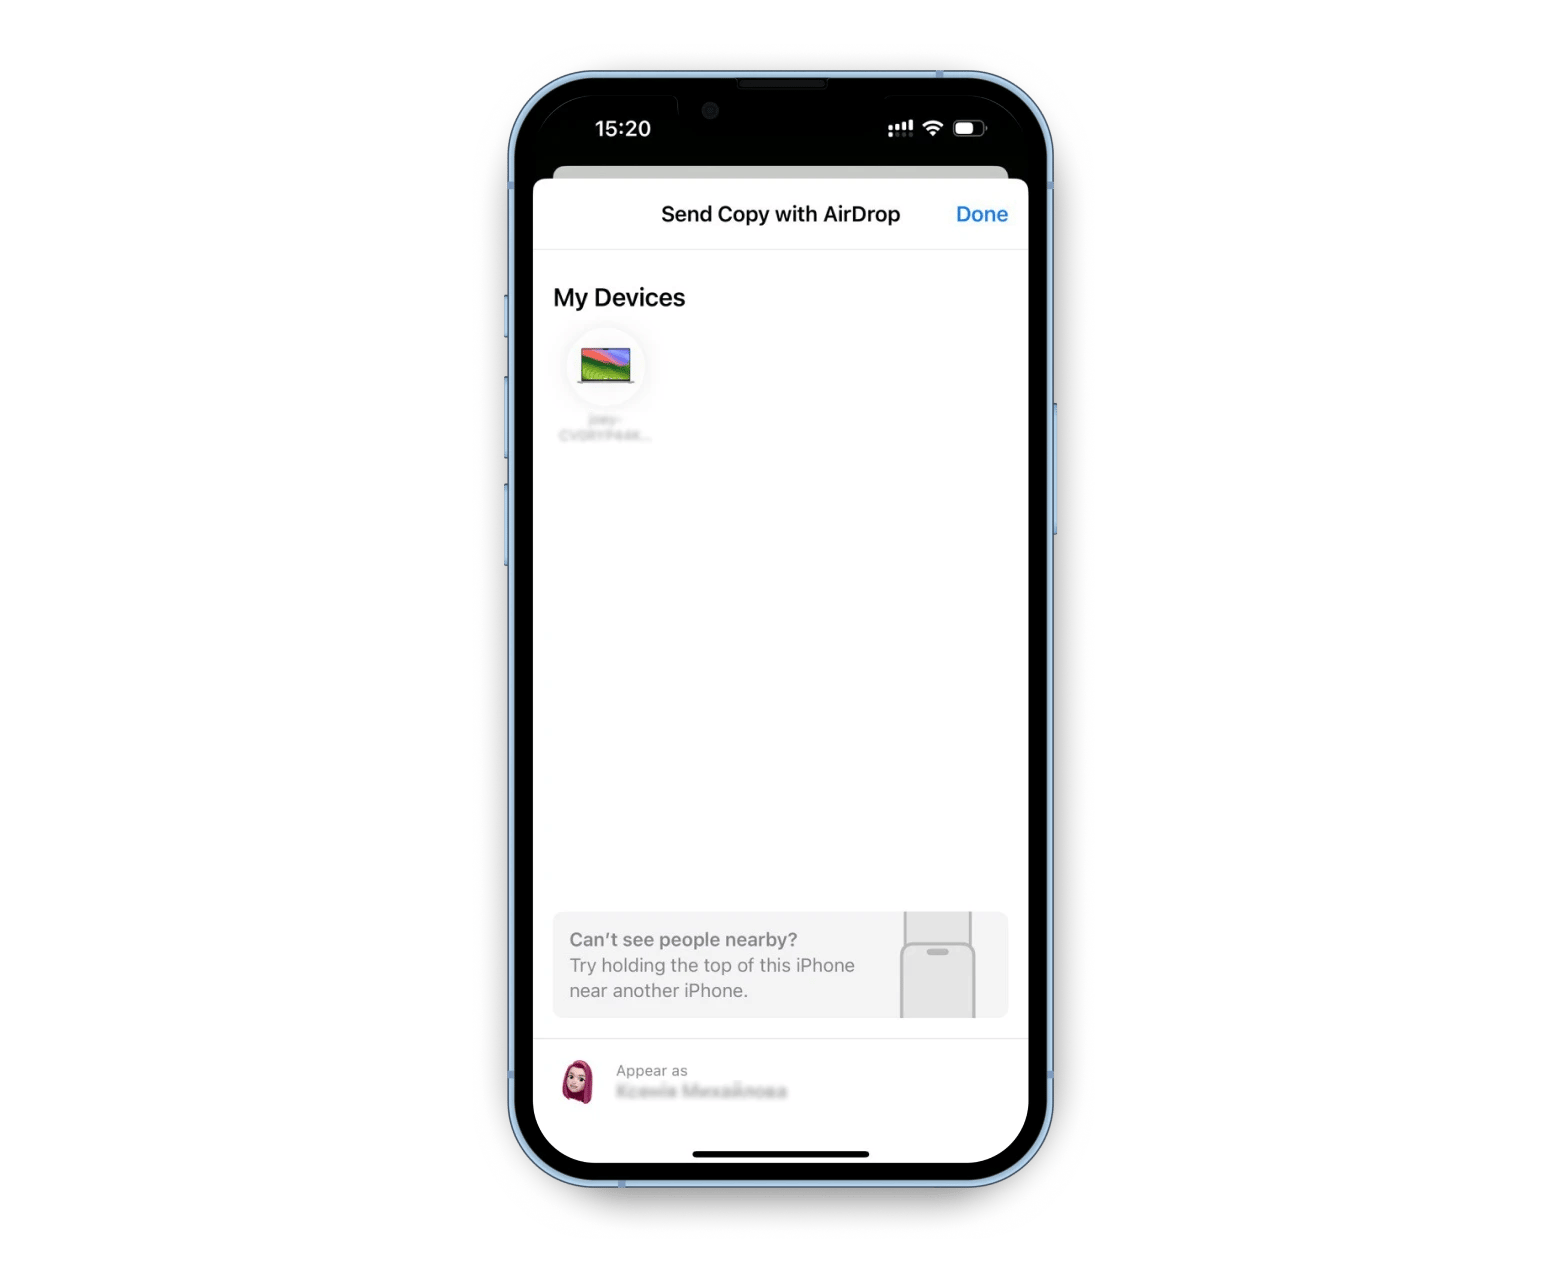
If both you and the recipient are using iOS 17 and are in each other's Contacts, simply open the photos you want to share, then bring your devices close together to transfer them quickly.
How to AirDrop photos from iPhone to Mac and vice versa
First, make sure that AirDrop is enabled on both devices and that both are connected to Bluetooth and Wi-Fi.
Once everything is set up correctly, follow these steps on how to AirDrop from iPhone to Mac:
- Open the file you want to share.
- Tap Share > AirDrop.
- Choose your Mac to initiate the transfer.
Now you know how to AirDrop to your Mac.
To AirDrop photos from your Mac to your iPhone, simply follow these steps:
- Choose the photo.
- Click Share and choose AirDrop.
- Choose the user you wish to share the photo with.
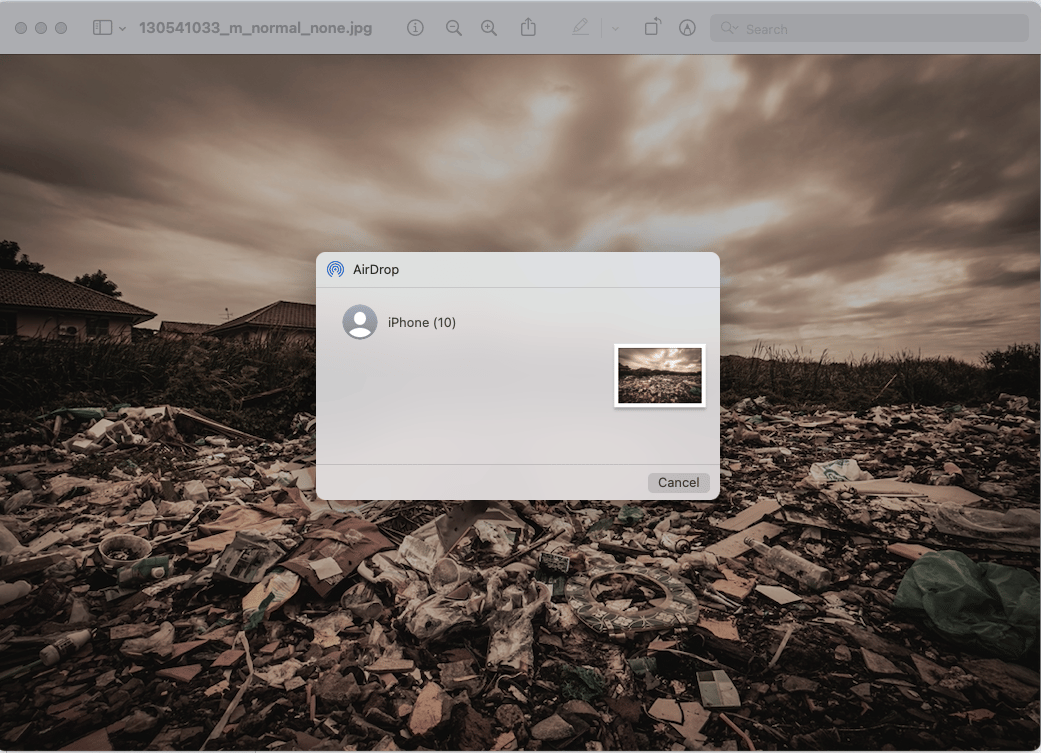
I usually AirDrop photos from my iPhone to Macbook to free up iPhone storage. It’s convenient for quick file sharing but too hard for bulk transfers due to high probability of failure.
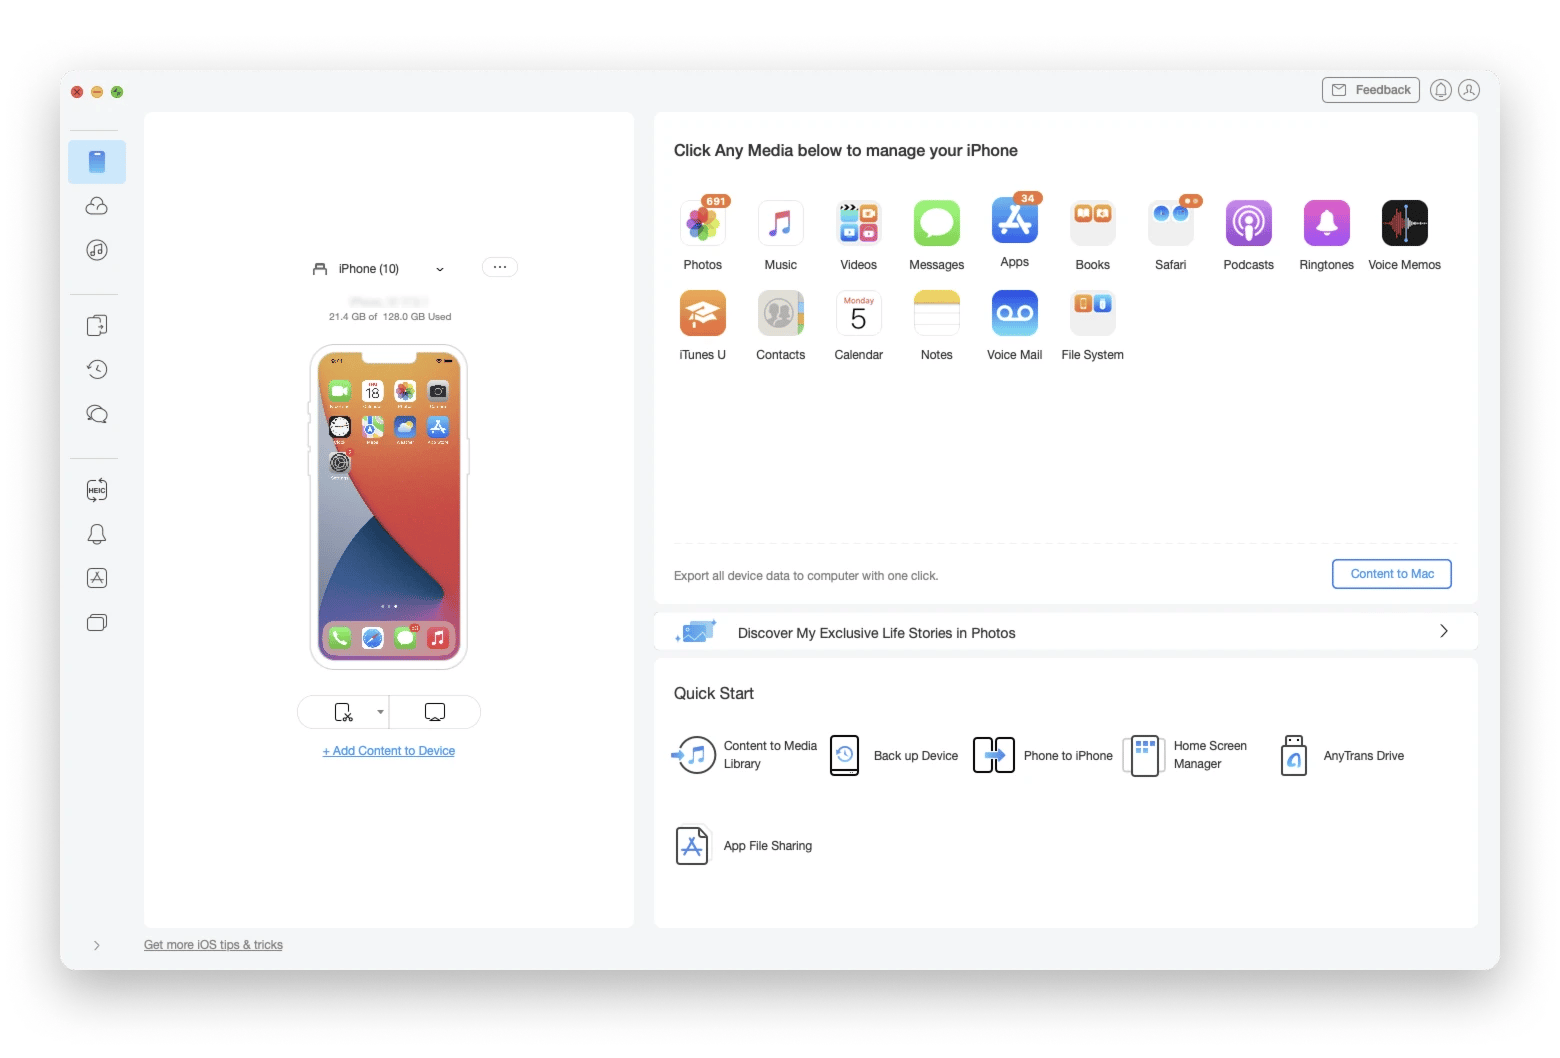
For a more efficient solution, I use AnyTrans for iOS for bulk transfers without interruption. You can export content from your phone to your Mac by category (photos, music, documents, etc.).
Plus, the app works as a backup manager, so you can create backups for any of your iOS devices, including data from old backups on iTunes and iCloud.
How to accept AirDrop
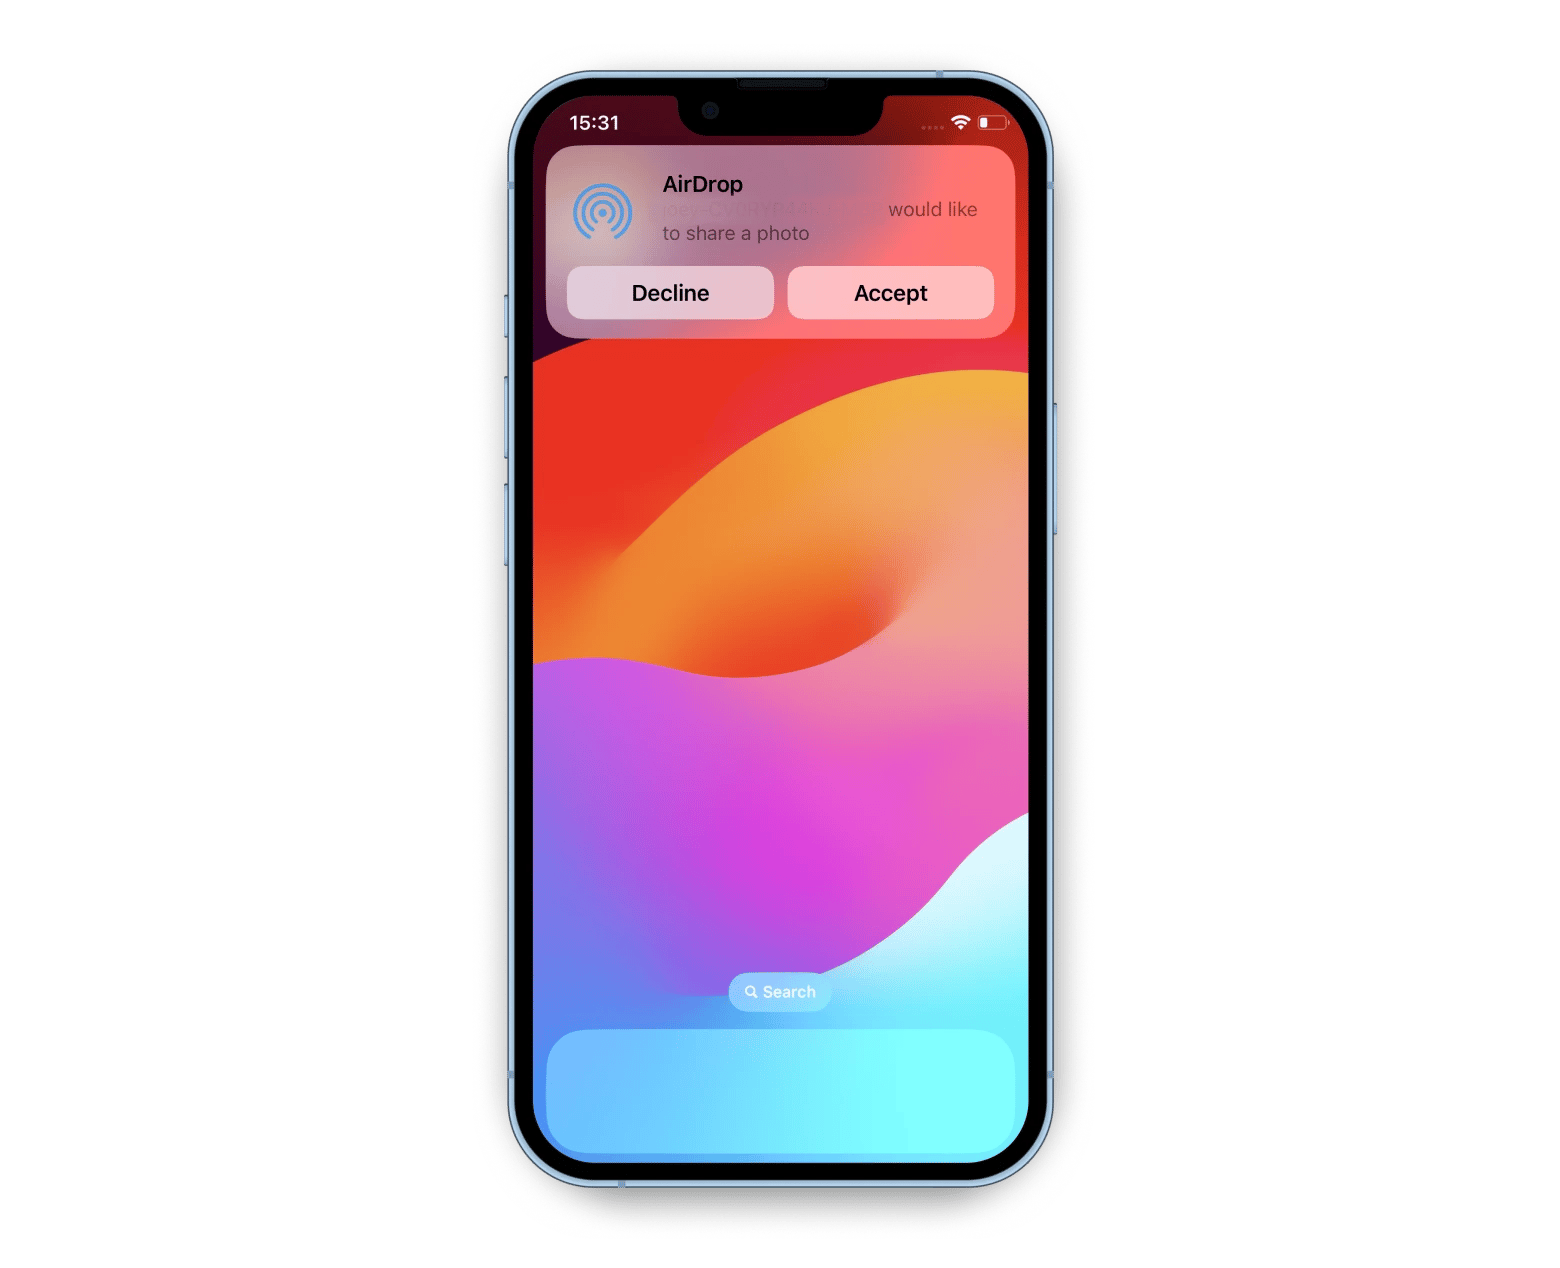
An alert will appear anytime somebody wants to send you an AirDrop. You will have the option to either accept it or decline it.
In most cases, files you receive via AirDrop will appear in the same app from which they were sent. For example, if someone sends you images from their Photos app, you'll also find them in your Photos app.
How to find AirDrop photos
On your iPhone, AirDropped photos will automatically go to the Photos app.
On your Mac computer, all AirDrop photos will go to your Downloads folder by default. Simply open Finder and click Downloads from the sidebar.
How to AirDrop Between Own Devices
Airdropping photos between your Apple devices is pretty similar, but there is one difference — the transfer happens automatically without any alerts. Just ensure you're signed in with the same Apple ID on both devices.
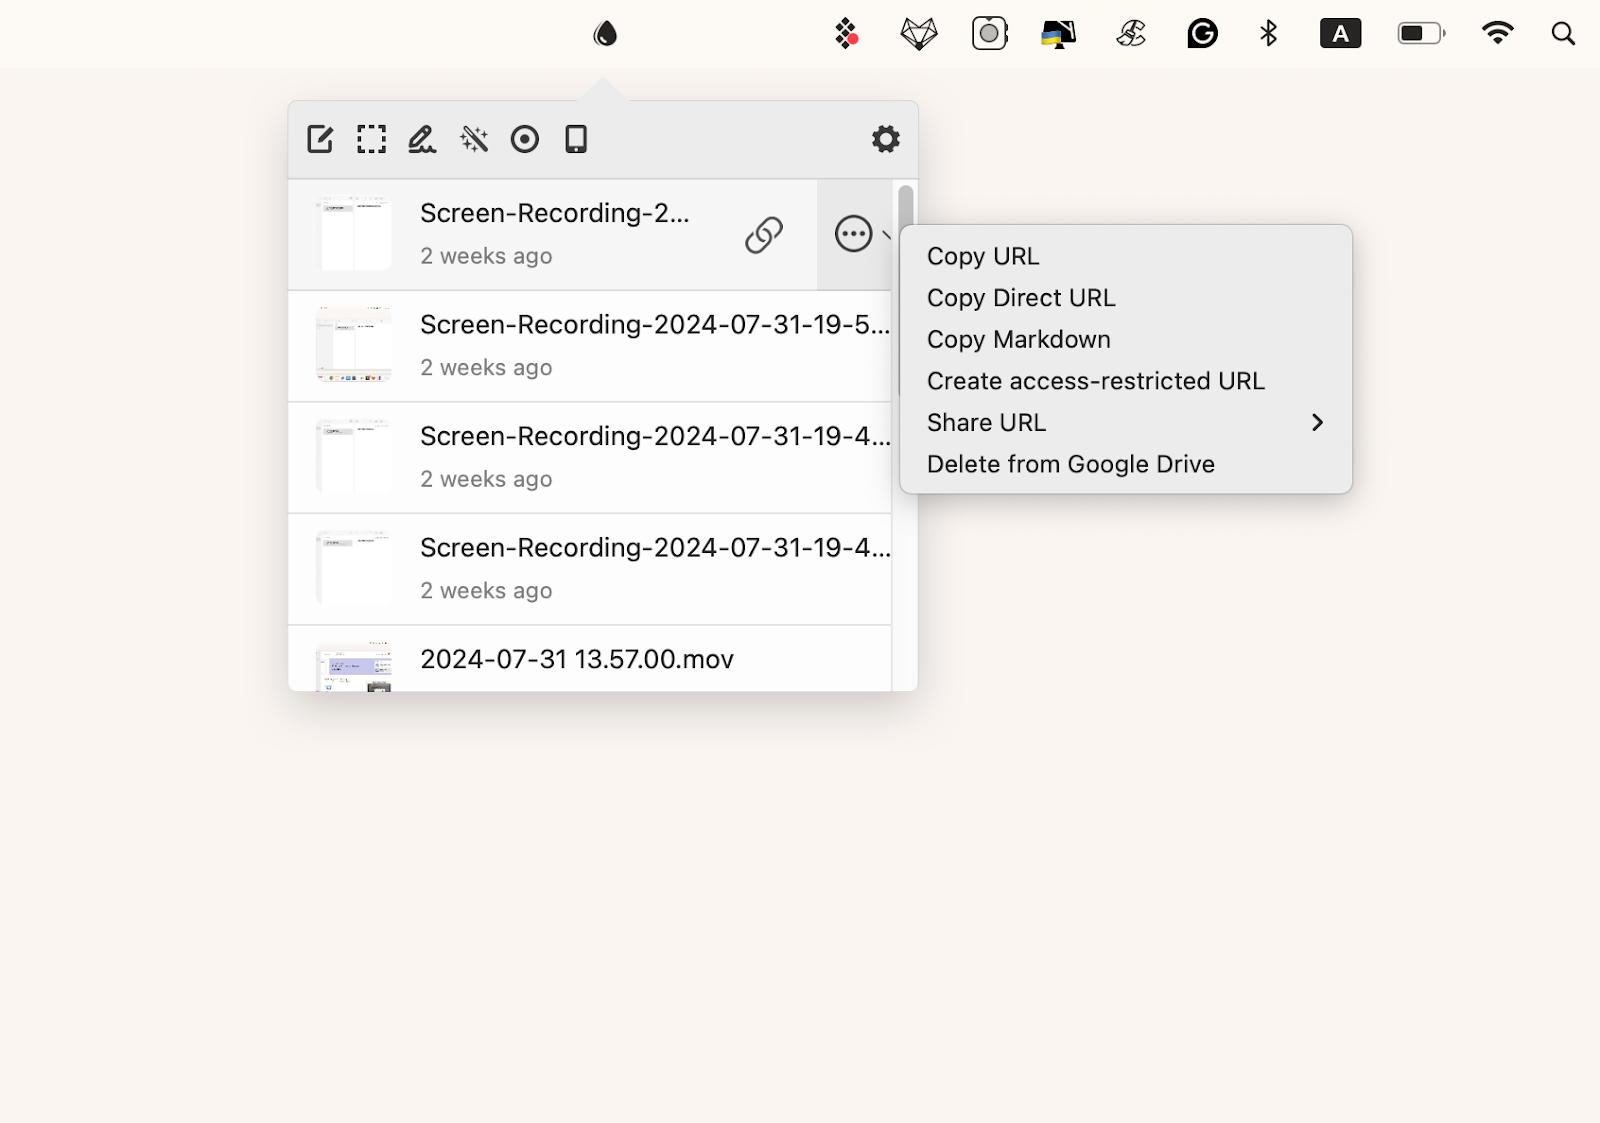
Tip: If you need to share multiple files with sensitive information to another Apple device, such as bank details or insurance, but can't use AirDrop due to distance from the recipient, consider using the Dropshare app. This app lets you upload files to the cloud storage and generate a password-protected download link. In this way, only someone who knows the password can access the contents.
Other items you can AirDrop
So far, I’ve discussed the different ways you can send photos via AirDrop, but you can send any file you want. This includes common file types such as:
- Documents
- Contacts
- Notes
- Map locations
- Links to apps in the App Store
AirDrop works best with smaller transfers. If you need to AirDrop someone's large files or multiple files at once, consider using third-party apps.
How to Fix AirDrop Not Working
Most of the issues can be easily fixed. To get your AirDrop working, try using this checklist of solutions:
- Ensure AirDrop is supported. Devices must operate on iOS 7 or later, iPadOS 13 or later, and MAC OSX Lion or later.
- Check if your device is unlocked. AirDrop is not usable on locked iPhones or iPads.
- Turn off Hotspot. AirDrop will not work if you use your device as a personal Hotspot. You can re-enable your Hotspot once the transfer is complete.
- Investigate AirDrop settings. Make sure both devices are set to Contacts Only or Everyone for 10 Minutes to AirDrop something.
- Adjust Firewall settings: Go to System Settings > Network > Firewall. Make sure your Firewall is on.
- Initiate a hard reset. System glitches can potentially delay changes in your settings from taking effect. Try turning your device on and then powering it back up.
AirDrop can malfunction for any number of reasons. If the options are not solutions, contact Apple support for assistance.
Using AirDrop to Share Photos
AirDrop is a quick and convenient way to share photos and files between Apple devices without losing quality.
To make the sharing process even better, you can use one of the apps I described earlier:
- Anytrans for iOS for bulk transfers without interruption.
- Dropshare for sharing files at a distance with a password-protected link.
- Dropzone for super-quick AirDrop transfers on your Mac.
All these apps are available via Setapp, a platform with dozens of useful tools. Try these and other apps with a seven-day free trial today.
FAQ
How does AirDrop work?
AirDrop operates over Wi-Fi and Bluetooth connections to transfer your files quickly. Devices must be within a maximum 30-foot range to successfully airdrop something.
Can I AirDrop photos to someone far away?
If you want to share photos via AirDrop, devices must be within a maximum 30-foot distance (or 10 meters).
Do you need Wi-Fi for AirDrop?
Wi-Fi connections are not required to AirDrop someone. However, the tool works best when both devices are connected to the same Wi-Fi network.
What are the requirements for AirDrop?
If you use AirDrop for iPhone, iPad or Mac, ensure every device has iOS 7, iPadOS 7, MAC OSX Lion, or a more recent operating system.


