To install Homebrew, you’ll need macOS Ventura or later, a 64-bit CPU or Apple Silicon, and Xcode’s command line tools.
Install it by running the official script:
/bin/bash -c "$(curl -fsSL https://raw.githubusercontent.com/Homebrew/install/HEAD/install.sh)"
To remove packages, use brew uninstall package-name.
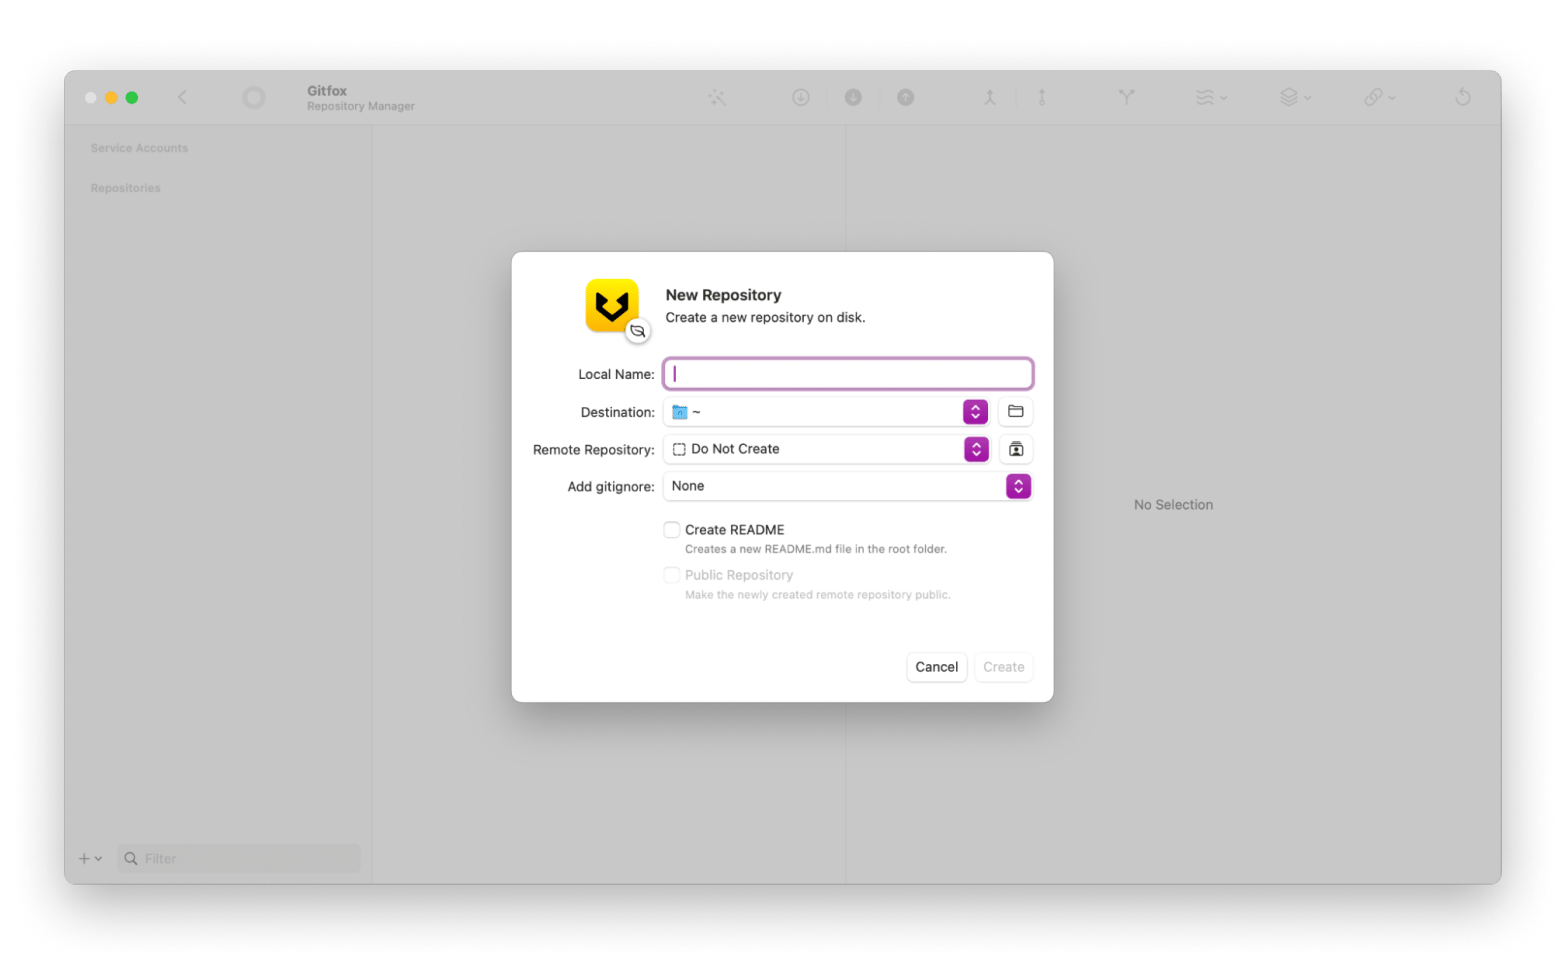
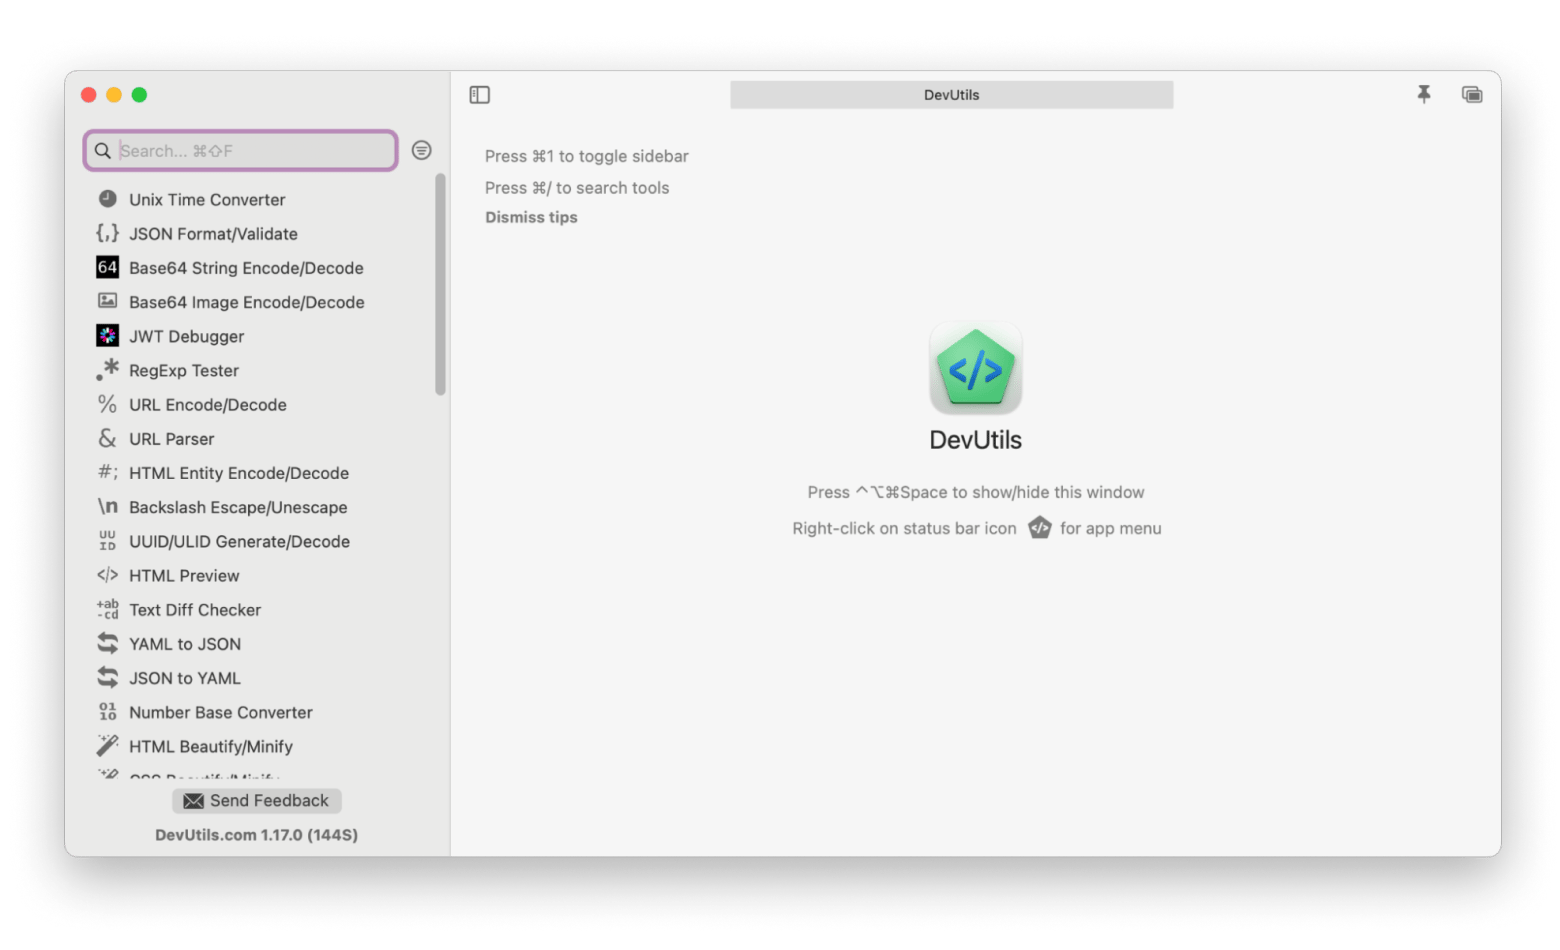
Bonus tip: Try Gitfox for Git and DevUtils for offline dev tasks.
A couple of years ago, I had no clue what Homebrew was or why I’d need it. The first time I opened Terminal to install it, I was curious and slightly terrified. So if you're feeling overwhelmed, I get it.
That’s why I put together this simple, beginner-friendly guide to walk you through installing (and uninstalling) Homebrew on your Mac. I’ll also share a few handy alternatives I’ve discovered along the way, just in case you’re not into command lines.
What is Homebrew, and how does it work?
Homebrew is a free and open-source package manager for macOS that helps you install, update, uninstall, and manage developer tools like Python, Ruby, and Node.js on your Mac.
With Homebrew, you can benefit from many command-line tools to automate your work. Best of all, they're all installed, uninstalled, and updated in one location on your Mac.
Here are just a few examples of the useful tools you can get through Homebrew:
imagemick to convert images to other formats
archey to share the localhost with your team
hub for a better experience with Git
tldr for practical examples on how to use the command line
To make it easier to follow, I'll avoid the coding jargon and won't dive into how Homebrew works under the hood. The main thing you should know as a user is that Homebrew acts through Terminal commands. You can install, update, and uninstall packages by typing a few words.
There are some simple default brew commands for installing single-file utilities and more advanced subcommands called casks. You’ll have to use those to install multi-directory utilities.
Requirements to install Homebrew on Mac
Before you dive into the process, make sure your macOS meets the following requirements:
Apple Silicon or 64-bit CPU
macOS Ventura (13) or later
Bourne-compatible shell (bash or zsh syntax)
Xcode’s command line tools (I'll explain how to install the tools in the following section)
How to install Homebrew on Mac
Moving to the main part, how do you install Homebrew on Mac? Just a heads up, the installation method I describe uses the curl command to download the installation script. This method is the easiest, and it’s recommended by the Homebrew team.
The same applies to the process of uninstalling Homebrew. Since some people don’t want to use the curl command for security reasons, there are ways to manually download and execute the script (but I won’t go into that here).
Step 1: Install command-line tools for Xcode
Xcode is Apple’s native IDE, an integrated development environment that has all the tools you need for software development on Mac. To install some of the Homebrew package components, you need to install Xcode’s command line tools first (in case you haven’t done it before).
Here’s how to install command-line tools for Xcode:
Open Terminal (Applications > Utilities) and type the following command: xcode-select --install.
Confirm that you want to install the Xcode tools in the new dialog window.
Agree to the license agreement and wait for the installation process to complete. It might take a while.
Step 2: Install Homebrew on Mac
Now your Mac is ready for Homebrew. Here’s the full installation process:
Open Terminal and type the following command: /bin/bash -c "$(curl -fsSL https://raw.githubusercontent.com/Homebrew/install/HEAD/install.sh)".
Type your admin password (note that you won’t see your keystrokes in the Terminal window; it’s a security measure) > Press Return.
Wait a few minutes until you see the “Installation successful” message in Terminal.
Step 3: Turn off analytics
This is not an obligatory step, but I always turn off analytics. Homebrew can share some of your data with developers since the tool is free and open-source.
It collects: set
Homebrew User Agent
Google Analytics version
Homebrew analytics tracking ID
Homebrew analytics user ID
Whether anonymous IP tracking is enabled
If you don’t want your data to be collected and shared with the Homebrew developers, the command you should run in Terminal to turn off analytics is: brew analytics off.
Step 4: Set up Homebrew
Now that Homebrew is installed, open Terminal and run brew help to get started. You’ll see examples of commands that will help you install different software, configs, and updates through Homebrew.
For example, to install a package, you should type brew install “package name” in Terminal. There are also a few useful troubleshooting commands you should take note of, such as brew doctor, to detect installation issues.
Step 5: Update Mac Homebrew
Anything you install via Homebrew needs to be updated regularly. You should also update the package manager occasionally to make sure it works properly and that you’re not missing some important new features:
To update Homebrew, run brew update in Terminal.
To find out what packages need updating, run brew outdated in Terminal.
To update a specific package, run brew update package name in Terminal.
Personal tip
If you often use Homebrew to manage Git-related tools, check out Gitfox. I switched from using the hub command to Gitfox, and it honestly made things so much easier. Clean interface, smart Git workflows, and way faster commits.
Setting up Homebrew PATH in macOS Sonoma
Running into problems with Zsh when you’re trying to execute a script or run commands isn’t unusual at all. This is why you should properly set up Homebrew to be reachable with the PATH environment variable.
You can do this on Intel-based Macs with these steps:
Open your .zshrc file in a text editor.
Add the Homebrew path at the end of the file using this line: export PATH="/usr/local/bin:$PATH" and save the changes.
Close and reopen Terminal, then run the command source ~/.zshrc.
Open a new Terminal window and run brew --version. If Homebrew has been properly added to PATH, Terminal will return its version.
For Apple Silicon Macs, use the command: eval "$(/opt/homebrew/bin/brew shellenv)".
Troubleshooting Homebrew installation
As a Homebrew user, you could face either of these two common issues, so here’s how to work around them:
command not found: brew: Fix this with a PATH check: echo $PATH.
Permission denied: Fix this with sudo chown -R $(whoami):admin /opt/homebrew.
With all this in mind, you can now rely on Homebrew directly through your Terminal for various package-related actions, such as installing, updating, and uninstalling.
Personal tip
Honestly, I love Homebrew, but it doesn’t cover everything. Sometimes I just want to quickly format some JSON or decode a string without jumping through hoops or being online. That’s when I reach for DevUtils [=https://setapp.com/apps/devutils.app]. It runs locally on my Mac and handles all those little dev tasks that usually send me down a Google rabbit hole. I didn’t expect to use it as much as I do, but now it’s one of the first apps I open when I started working.
How to uninstall Homebrew from Mac
If you need to uninstall Homebrew for whatever reason, here’s how to quickly do it:
Open Terminal.
Run the Uninstall script. This script will guide you through the uninstallation process and remove Homebrew and its associated files.
Type /bin/bash -c "$(curl -fsSL https://raw.githubusercontent.com/Homebrew/install/HEAD/uninstall.sh)".
This will launch the official Homebrew uninstall script, which guides you through the process and removes Homebrew from your system.
How to uninstall Homebrew packages from Mac
If you don’t want to get rid of the package manager itself, but rather remove specific packages, you can absolutely do that.
Here’s how:
Make sure there are no dependencies between the package you want to delete and the ones that are in use by running the following command: brew deps package name.
Type the following: brew uninstall --ignore-dependencies package name if you’ve found dependencies and decide to ignore them.
Run the command: brew uninstall package name to uninstall the package.
What’s new in Homebrew?
Homebrew has made significant improvements in development since 2021, including the much-awaited native Apple Silicon support and faster dependency handling. If your project needs tools like Node and wget, Homebrew can now help you set them up to work properly.
It also now boasts improved command analytics, with the analytics side underpinned by InfluxDB. You can execute Homebrew-managed updates faster thanks to the recent switch from Git-cloned taps to JSON downloads.
Final thoughts on how to install Homebrew on Mac
Setting up Homebrew on my Mac turned out to be way easier than I expected. Once I got through the initial steps in Terminal, I could install and manage all kinds of tools without needing to dig around the web or mess with manual downloads. It really changed the way I work.
Along the way, I also used a couple of apps that made things even better. Gitfox helped me stay on top of my Git projects without the usual headaches. DevUtils became my go-to for quick tasks like testing regex or formatting JSON. Both saved me time and made me feel way more organized.
If you're curious, you can find both apps on Setapp. It’s a single subscription service that gives you access to 260+ helpful Mac and iOS tools. There’s a 7-day free trial too, if you want to take the apps for a spin before you commit.
FAQs
What do I need Homebrew for?
You need Homebrew to install, update, manage, and uninstall various developer tools relevant to your project, including Ruby, Node.js, and Python.
Can I install Homebrew on macOS Monterey 12?
Yes, you can. It still works on macOS Monterey, but some of the newer features might not run as smoothly as they do on the latest macOS versions. But for most everyday tools, you should be good to go.
Are there any good alternatives to Homebrew for Mac?
Some good alternatives to Homebrew for Mac are MacUpdater, MacPorts, ServBay, Nix Package Manager, Applite, Brewer X, and Mas CLI.
How to fix Homebrew cluttering on Mac?
Over time, Homebrew can leave behind old versions of packages and unused dependencies, which take up space. To fix Homebrew cluttering on Mac, you can run brew cleanup. This removes outdated versions of installed formulas. You can also use brew autoremove to get rid of dependencies that are no longer needed.
Grab your offline development toolkit
DevUtils inspects your clipboard content and picks the utility you need at the moment.