Quick fix to Zsh: Permission denied Terminal error
Opening a file on macOS is usually a breeze — just double-click, and you’re good to go. You can also use Terminal by running a simple command to open the file. But sometimes, things don’t go as smoothly. If you’ve ever tried opening a file in Terminal and got the "zsh: permission denied" error, you know it’s not just a simple command issue. It usually means there’s something off with the file or macOS itself.
In this article, I’ll walk you through how to fix the "Terminal permission denied" issue, so you can get back to work without any hassle.
How to fix the error | What to do |
Check file permission | Open Terminal > Type ls -l > Choose and drag the file/folder > Press Return. If permission denied, right-click the folder/ file > Get Info > Click arrow > Name column > Choose a user/group > Privilege setting. |
Change directory ownership | Drag the folder to Terminal > Type chown -R $ [username] : [username] [directorypath] > Press Return. |
Give Terminal full access | Go to System Settings > Privacy & Security > Full Disk Access > Add Terminal. |
Use Terminal alternatives | Install Core Shell to customize your Terminal and run any command. Alternatively, use Almighty to manage configurations and help resolve the "Zsh: permission denied" error. |
Before we go into the details of the issue, let's clarify some basic terms.
What is Mac Terminal?
Mac's Terminal app is frequently used to operate your device with a variety of commands. To use it, you only need to be familiar with fundamental functions and commands, which you can then enter into the command line.
For example, if you want to move a system file from one folder to another, you must use the move command "mv" and specify the destination folder.
Why do people use Terminal?
Mac users prefer Terminal for a variety of reasons. First of all, it's a fast way to run processes and tasks for those familiar with Unix commands. The other major advantage of utilizing Terminal is that it allows you to access parts of macOS that are hidden and not accessible through System Settings.
How do you open it?
Go to Finder > Applications > Utilities folder, then double-click Terminal.
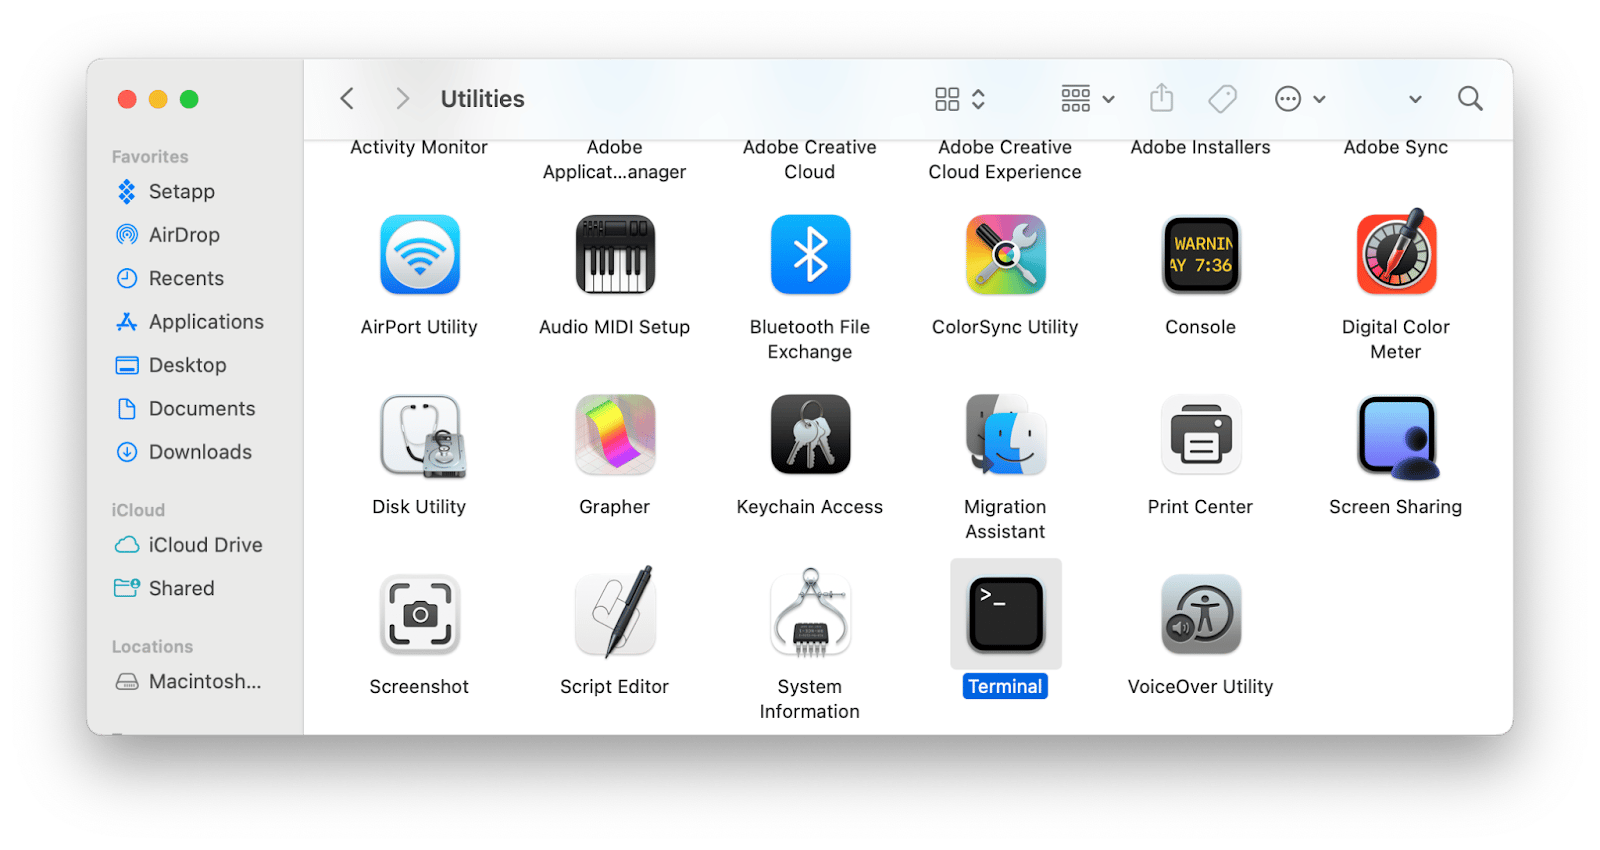
You can also press Command + Space to launch Spotlight. Then type “Terminal” and double-click it from the results.
If you use iStat Menus for monitoring features, you can also open Terminal from there. It’s available from the Disks category.
Why are you getting the permission denied error in Terminal?
If you see an error message like this, it means Terminal is unable to perform the command you’re attempting to run.
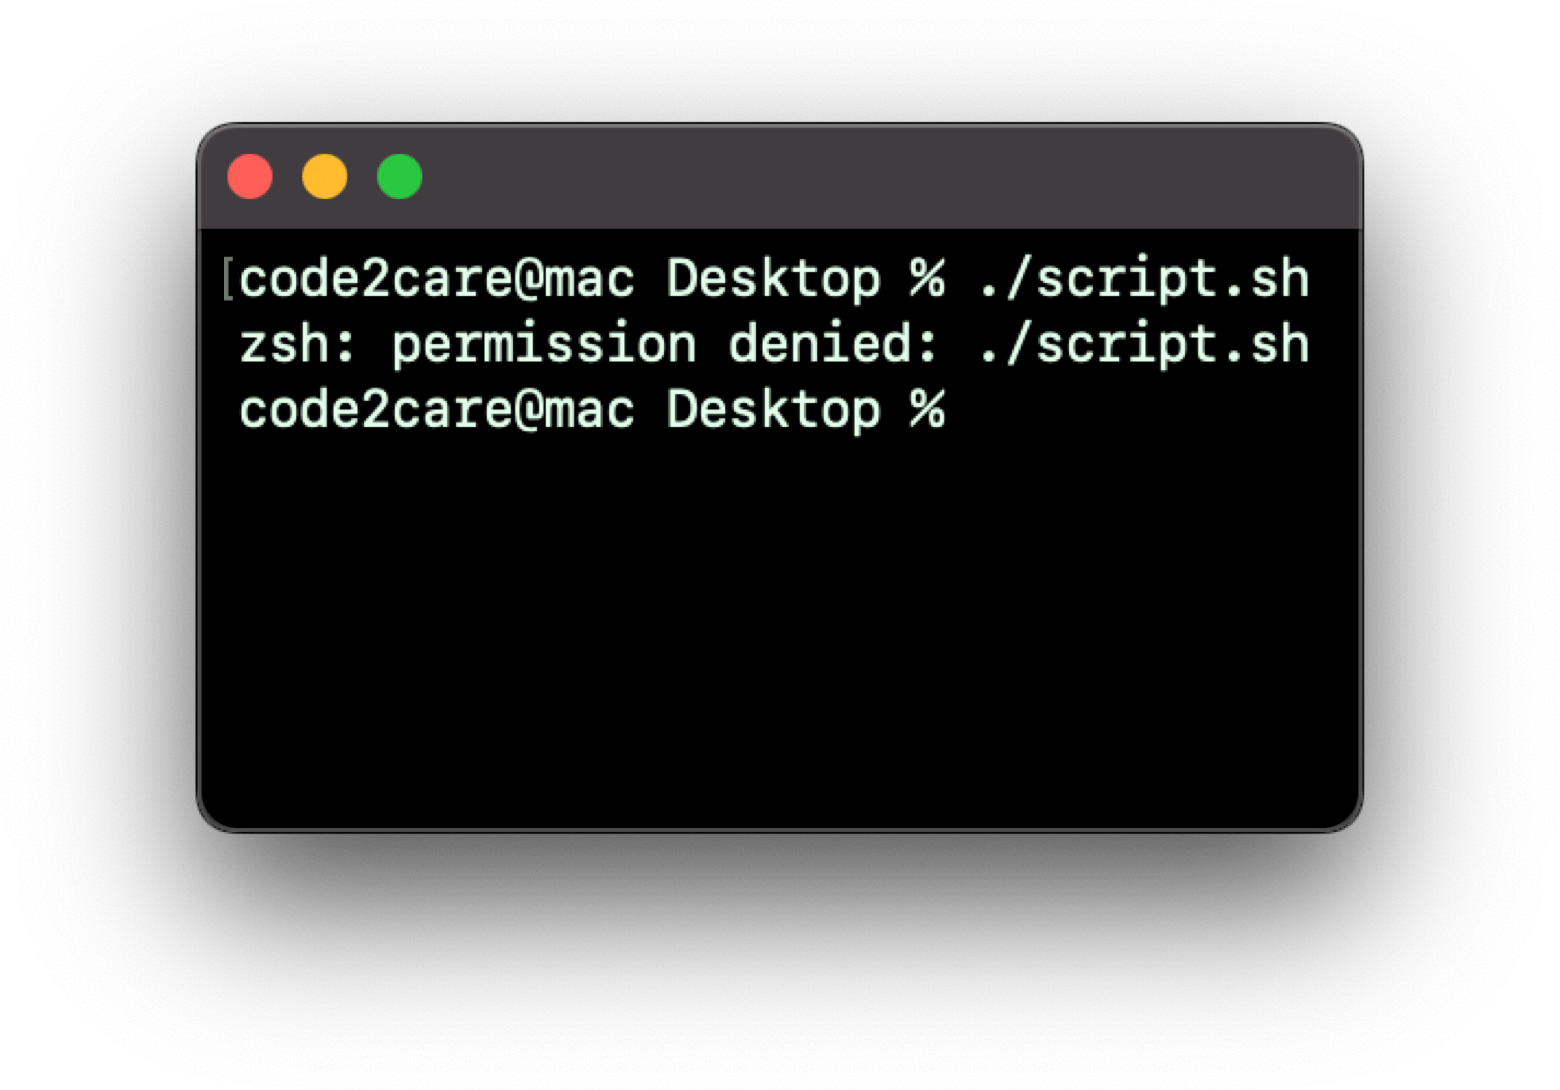
This usually happens because:
- The file is locked. It's possible that you don't have administrator access or that the file's creator used chmod to lock it.
- The command you're trying to run has been formatted wrongly.
How to fix Zsh permission denied error on Mac?
Below are a few methods you can try to fix the issue.
Check your permissions
To check the permissions, follow the steps below:
- Open Terminal from the Mac's utilities menu.
- Type the following command: ls -l. Make sure to add a space after the final character.
- Then find the file or folder you're working on and drag it into Terminal.
- Now press the Return key. It'll display specific permissions that are available to the current user. You can read, write, and execute the file if the letters "rwxr" appear in the string of characters before your username in the result. If you just see one letter, such as "r," the file is read-only for you.
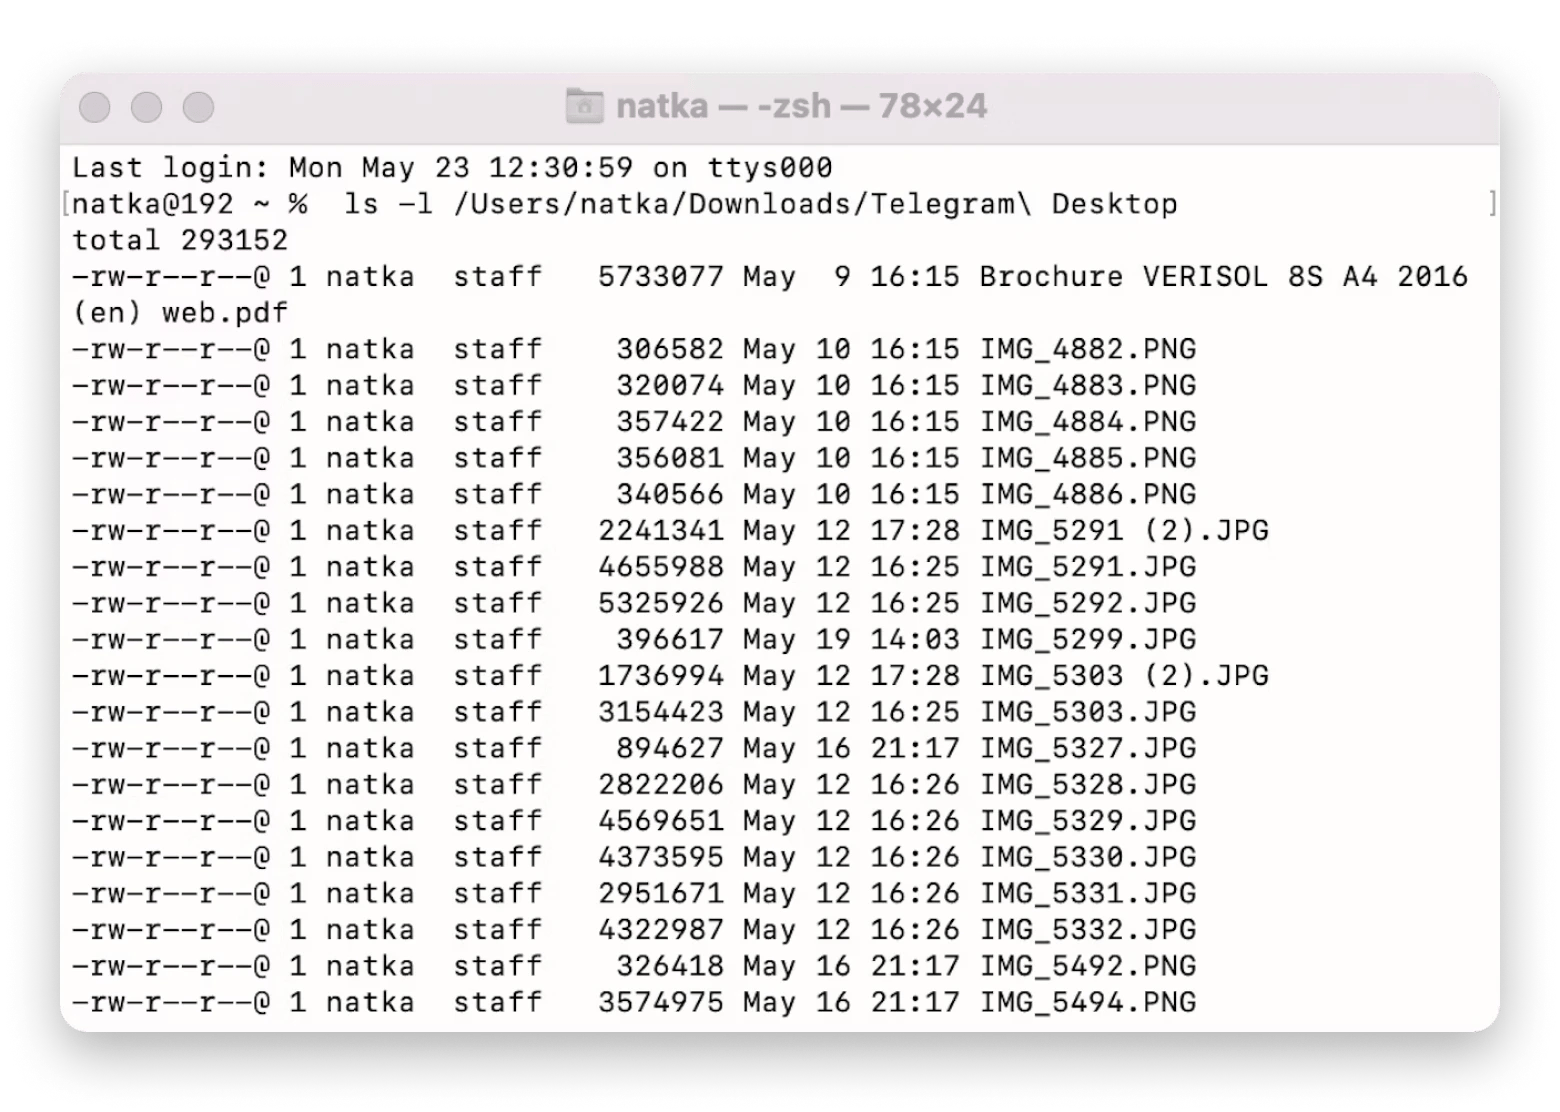
Permission settings determine who can view and alter files on the computer. Next, I’ll show you how to change the permissions.
Modify the file permissions
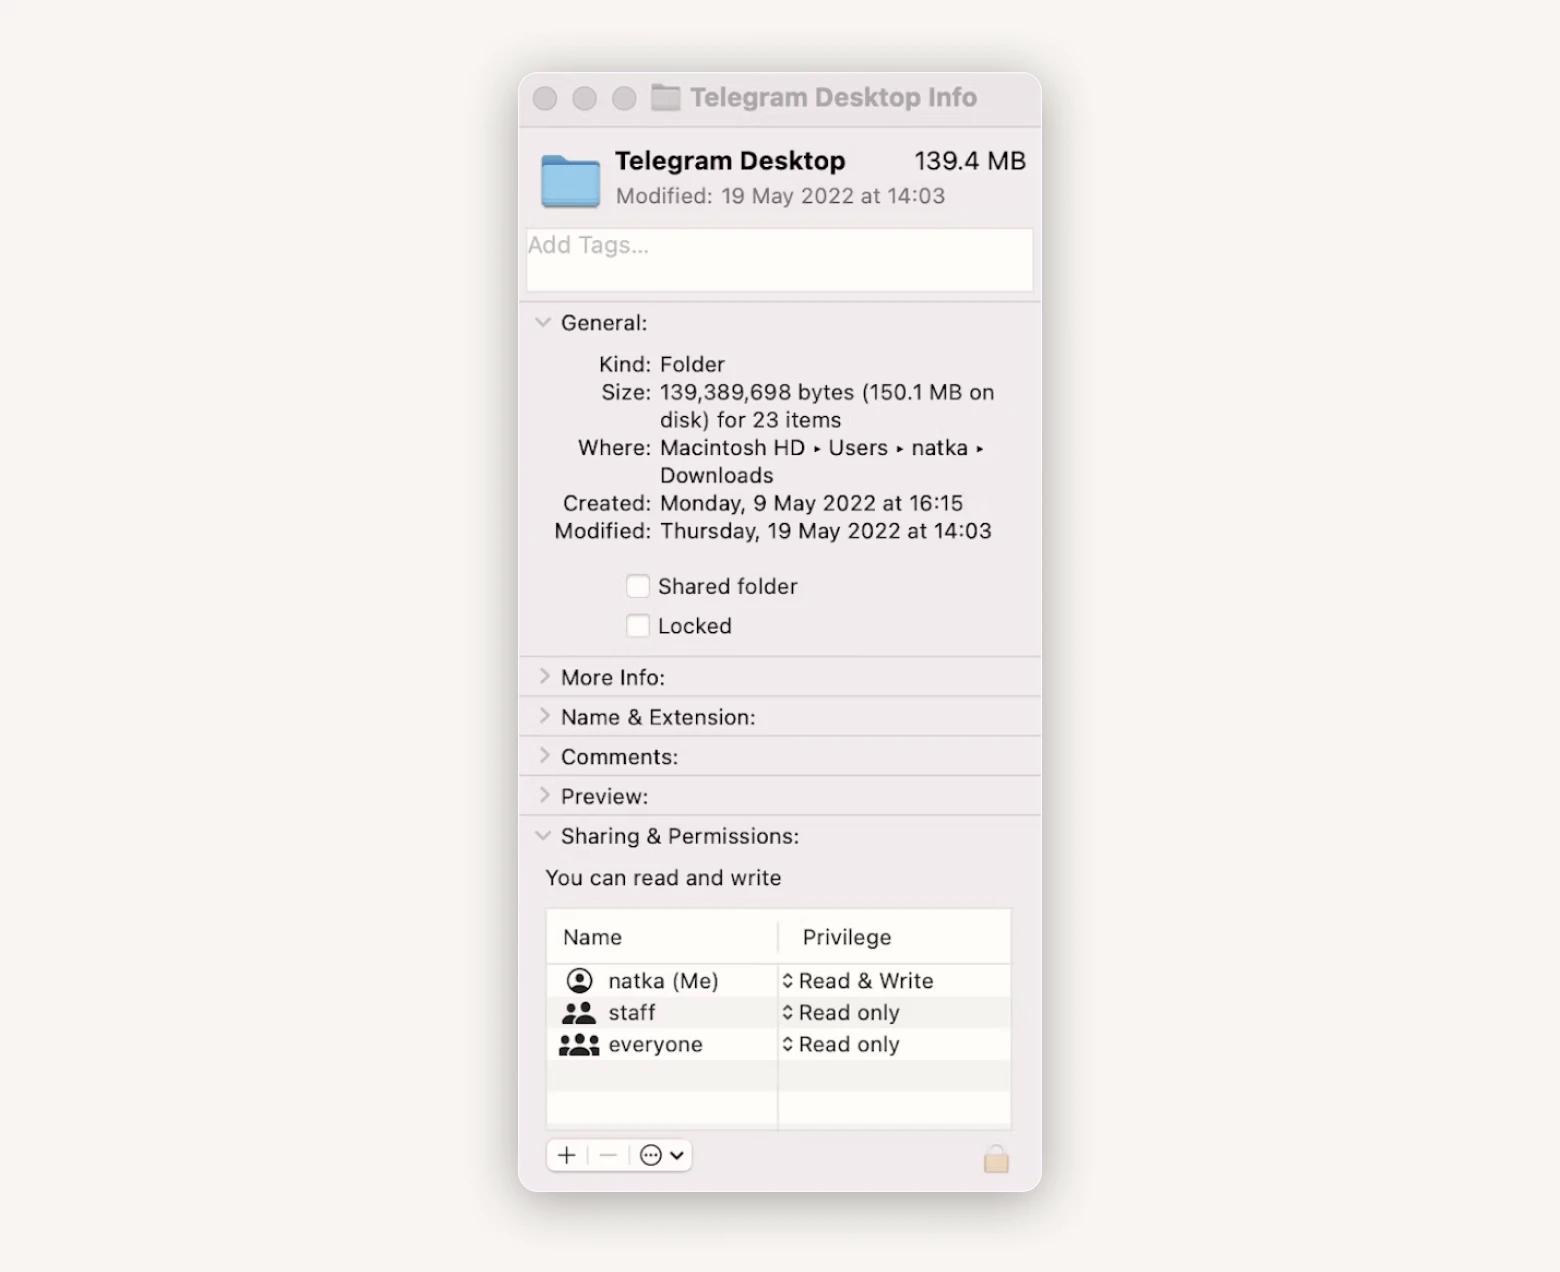
If the "permission denied" Terminal problem is caused by the permissions you just verified not allowing you to write to a file, try to repair it. To do so:
- Right-click the folder or file you're working on > Get Info.
- Click the arrow if the information in Sharing & Permissions isn't accessible.
- In the Name column, choose a user or group, then select a privilege setting from the pop-up menu.
Change directory ownership
If changing permissions didn't resolve the issue, try changing the directory's ownership to your username. Change [username] to your username and [directorypath] to the path of the directory you wish to change ownership of in the steps below – you can just drag the folder onto the Terminal window as we did previously.
- Use command: chown -R $ [username] : [username] [directorypath].
- Press Return.
Give Terminal complete control over the disk
It's also possible that the Terminal doesn't have full access to the drive, which is why you can't use commands to open the file. To change this, go to System Settings > Privacy & Security. Scroll down and click Full Disk Access. Then, add Terminal to the list of apps that can control your Mac.
What else can you do to resolve the "zsh: permission denied" issue?
Another method you can try is to use Mac's Terminal alternative – Core Shell. This terminal emulation app will allow you to customize your Terminal to be precisely what you want it to be: useful, minimal, and attractive.
With this tool, you can run any commands, just like with the native Mac Terminal. The app has a great user interface which you'll enjoy. Core Shell also supports one-click login on remote computers with auto-reconnect capability. But what you'll probably like the most is the ability to change the look and feel of your terminal. You can change the color scheme of connections by using your favorite shades.
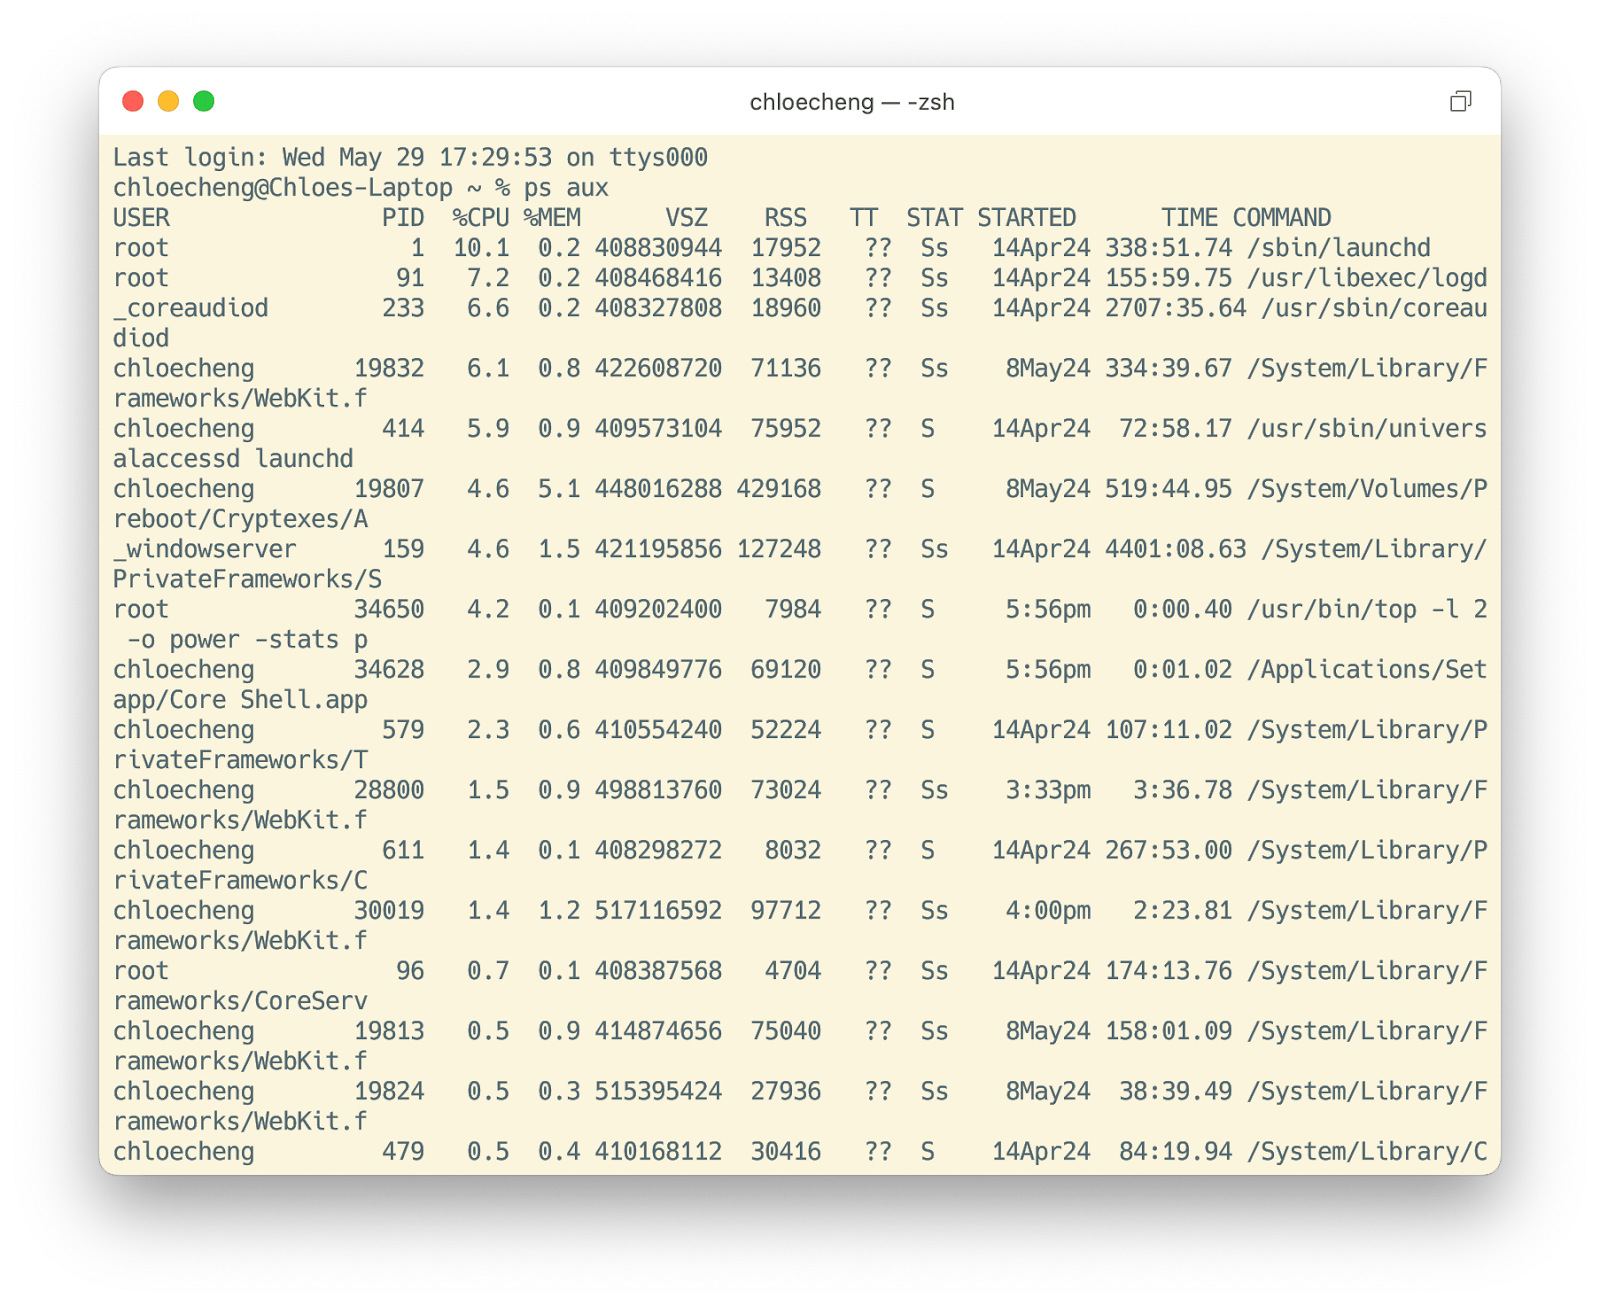
"Zsh: permission denied" error: Resolved
Permission issues with the file or directory you want to work on are frequently the cause of the "zsh: permission denied" error in Terminal. You may generally fix it by re-assigning ownership or altering permissions.
In this article, I recommend you trying Core Shell and Almighty. The first app is a full-featured SHH terminal. The second app is a convenient and easy-to-use menu bar app that exposes powerful configurations for your Mac. Note that both apps will arrive with Setapp, a platform that hosts 260+ tools for solving everyday tasks on Mac and iPhone. You can use them 7 days free, then $9.99 + tax зук month.
FAQ
What is Zsh on a Mac?
Zsh on Mac, or Z shell, is a Unix-based command-line shell used in the Terminal app on macOS. It allows users to run various commands and processes efficiently.
How do I reset my Zsh on my Mac?
To reset Zsh on your Mac, you can delete or modify the .zshrc configuration file in your home directory. This file stores settings and preferences for the Z shell. Running the command rm ~/.zshrc in Terminal will remove it, allowing Zsh to reset its default settings. If you prefer a more user-friendly approach, apps like Core Shell offer customizable terminal environments that help manage or troubleshoot issues with Zsh.
Should I install Zsh on Mac?
Zsh is already pre-installed on macOS, starting from macOS Catalina. Installing it separately is unnecessary unless you have a customized requirement or prefer a different shell configuration. However, apps like Core Shell can provide additional features and customization options if you're looking for enhanced terminal functionality.
How do I get out of Zsh on Mac?
To get out Zsh in Terminal, simply type the command exit or press Control + D. This will close the current shell session. For a more integrated experience, you might use apps like Almighty to manage various system tasks, including terminal sessions, from a convenient menu bar interface.


