How to Install NVM on Mac
Managing multiple versions of Node.js can feel like juggling, especially when one project demands version 14 and another — version 16 (if you know, you know). Trust me; I’ve been there — up late, staring at error messages because a project didn’t "like" my current Node.js version. That’s where NVM (Node Version Manager) comes in.
Whether you’re a developer running legacy projects, experimenting with the latest features, or just learning Node.js for the first time, NVM ensures you stay productive. Think of it as your Node.js “time machine” (aka Node version manager Mac), letting you jump between versions.
If this sounds like you, let me be your guide (think Sam to Frodo) on the journey to install NVM on Mac. I’ll break everything down step by step so it won’t feel like a way to Mordor; you have my promise.
Prerequisites for installing NVM on Mac
Before we try to install NVM macOS, let’s quickly go over a few things to set you up for a smooth installation.
Here’s what you’ll need today:
- Terminal. It’s is your go-to tool for running commands. On the newest macOS Sequoia and older versions as well, you can open Terminal by pressing Command + Space, typing "Terminal," and pressing Return.
- Basic Terminal knowledge. Don’t let the term "basic" scare you. If you can type commands and press Return, you’re ready. And I’ll walk you through everything step by step.
- Homebrew or MacPorts (Optional). These are package managers for installing software like NVM. Think of them as app stores for your Terminal. Though optional for this guide, package managers like Homebrew can save you a lot of time by automating downloads, installations, and updates. If you don’t have one yet, installing Homebrew on a Mac is a solid choice — it’s simple, reliable, and, honestly, way easier than manually downloading stuff.
Also, check out how to uninstall Node.js on a Mac.
Installing NVM using curl or wget
When it comes to installing NVM, curl (a common tool already installed on most Macs) or wget (another tool for downloading files) is hands down the most popular and straightforward method. This was the method I tried first because, honestly, it seemed quick, and I was in a rush to fix a Node.js issue for a project.
Note: curl vs. wget? Use whichever is available. curl is pre-installed on macOS, but you can install wget via Homebrew (brew install wget) if needed. If you’re unsure which shell you’re using, run echo $SHELL. Starting with macOS Catalina, Zsh is the default shell, so most users will edit ~/.zshrc.
Start with Terminal
But before we dive into the process, let’s start with a flow for Terminal, especially if you’re new to macOS Sequoia. It’s nothing difficult.
Here’s what to do:
Press Command + Space and type “Terminal” to open it.
Install NVM:
If you use curl, type curl -o- https://raw.githubusercontent.... | bash
If you use wget, type wget -qO- https://raw.githubusercontent.... | bash
Add the following lines to your shell configuration file to make sure NVM loads every time you open a Terminal:
For Zsh (default on newer macOS versions), type nano ~/.zshrc
For Bash (used on older macOS versions), type nano ~/.bash_profile
Add the following lines to the file: export NVM_DIR="$HOME/.nvm"
[ -s "$NVM_DIR/nvm.sh" ] && \. "$NVM_DIR/nvm.sh".
Activate the update profile and type source ~/.zshrc (replace ~/.zshrc with ~/.bash_profile if you’re using Bash).
Check if NVM is installed correctly and type nvm --version.
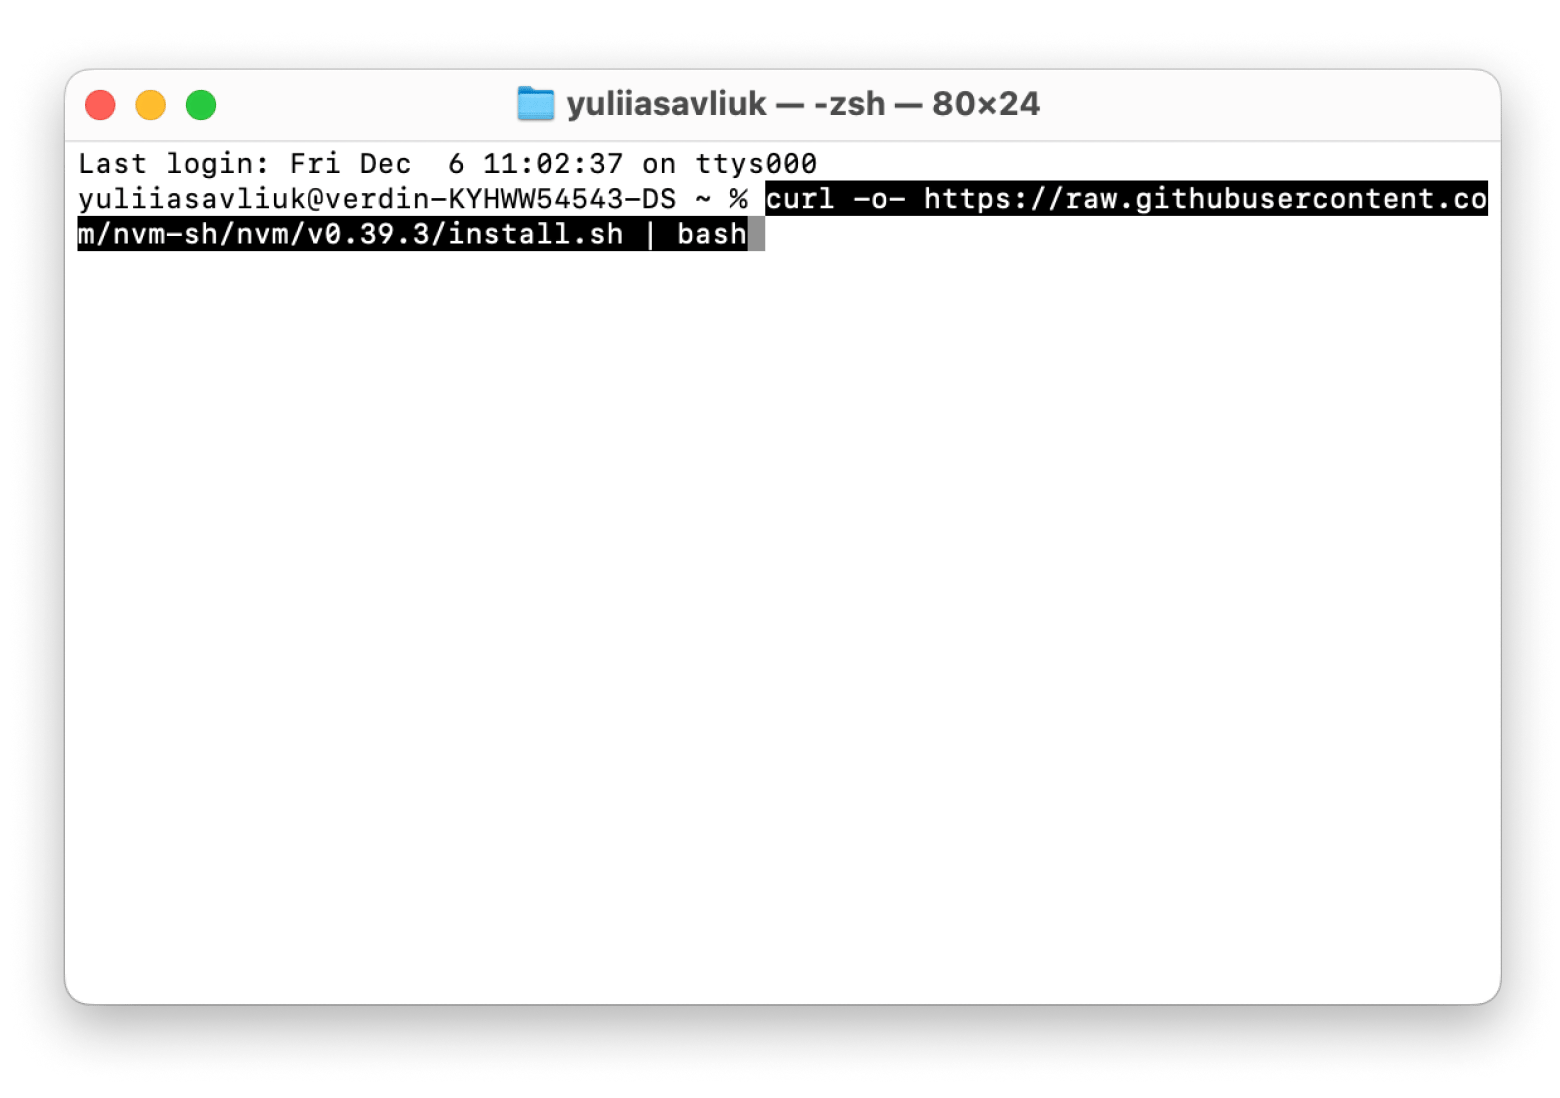
If you see a version number, congratulations! You’ve installed NVM.
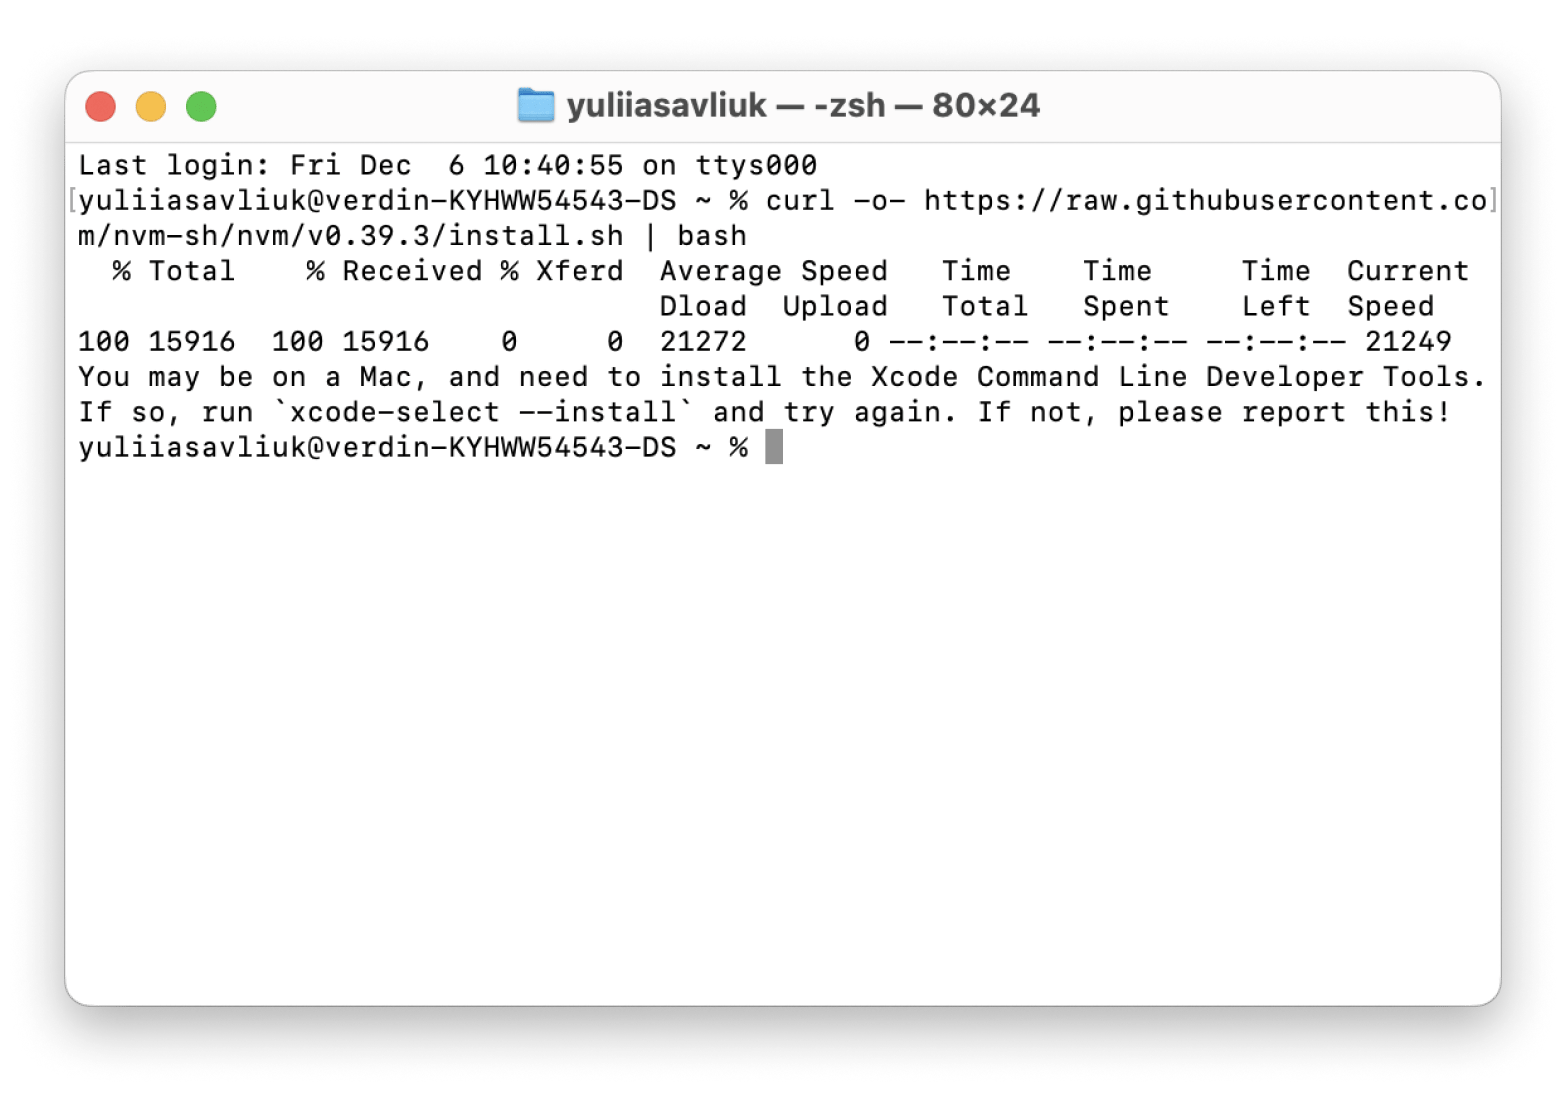
Personal experience: When I first installed NVM, I hit a bump: Xcode Command Line Tools were missing. A quick fix: xcode-select --install. After running the curl command, adding NVM to my shell profile, and applying changes with source ~/.zshrc, everything worked perfectly.
Installing NVM using Homebrew
If you love saving time and making life easier, Homebrew is the way to go when installing NVM. It’s like the Swiss Army knife of macOS tools — simple, reliable, and handles all the messy stuff for you. If the thought of copying messy scripts makes you want to run the other way (same here), Homebrew is your new best friend. It gets things done quickly and leaves you more valuable time.
I loved the first time I used Homebrew. It felt like finding a cheat code for my Mac. Trust me, once you try it, you’ll wonder how you ever managed without it.
Here’s how you can install NVM with Homebrew:
Open Terminal and install Homebrew (if you don’t already have it installed) by typing /bin/bash -c "$(curl -fsSL https://raw.githubusercontent.com/Homebrew/install/HEAD/install.sh)".
Install NVM with Homebrew by typing brew install nvm.
Create the NVM directory and load NVM by typing mkdir ~/.nvm export NVM_DIR="$HOME/.nvm" . "$(brew --prefix nvm)/nvm.sh".
Add the following lines to your shell configuration file to make sure NVM loads every time you open a Terminal:
For Zsh (default on newer macOS versions), type nano ~/.zshrc
For Bash (used on older macOS versions), type nano ~/.bash_profile
Add the following lines to the file: export NVM_DIR="$HOME/.nvm" [ -s "$NVM_DIR/nvm.sh" ] && \. "$NVM_DIR/nvm.sh".
Activate the update profile and type source ~/.zshrc (replace ~/.zshrc with ~/.bash_profile if you’re using Bash).
Check if NVM is installed correctly and type nvm --version.
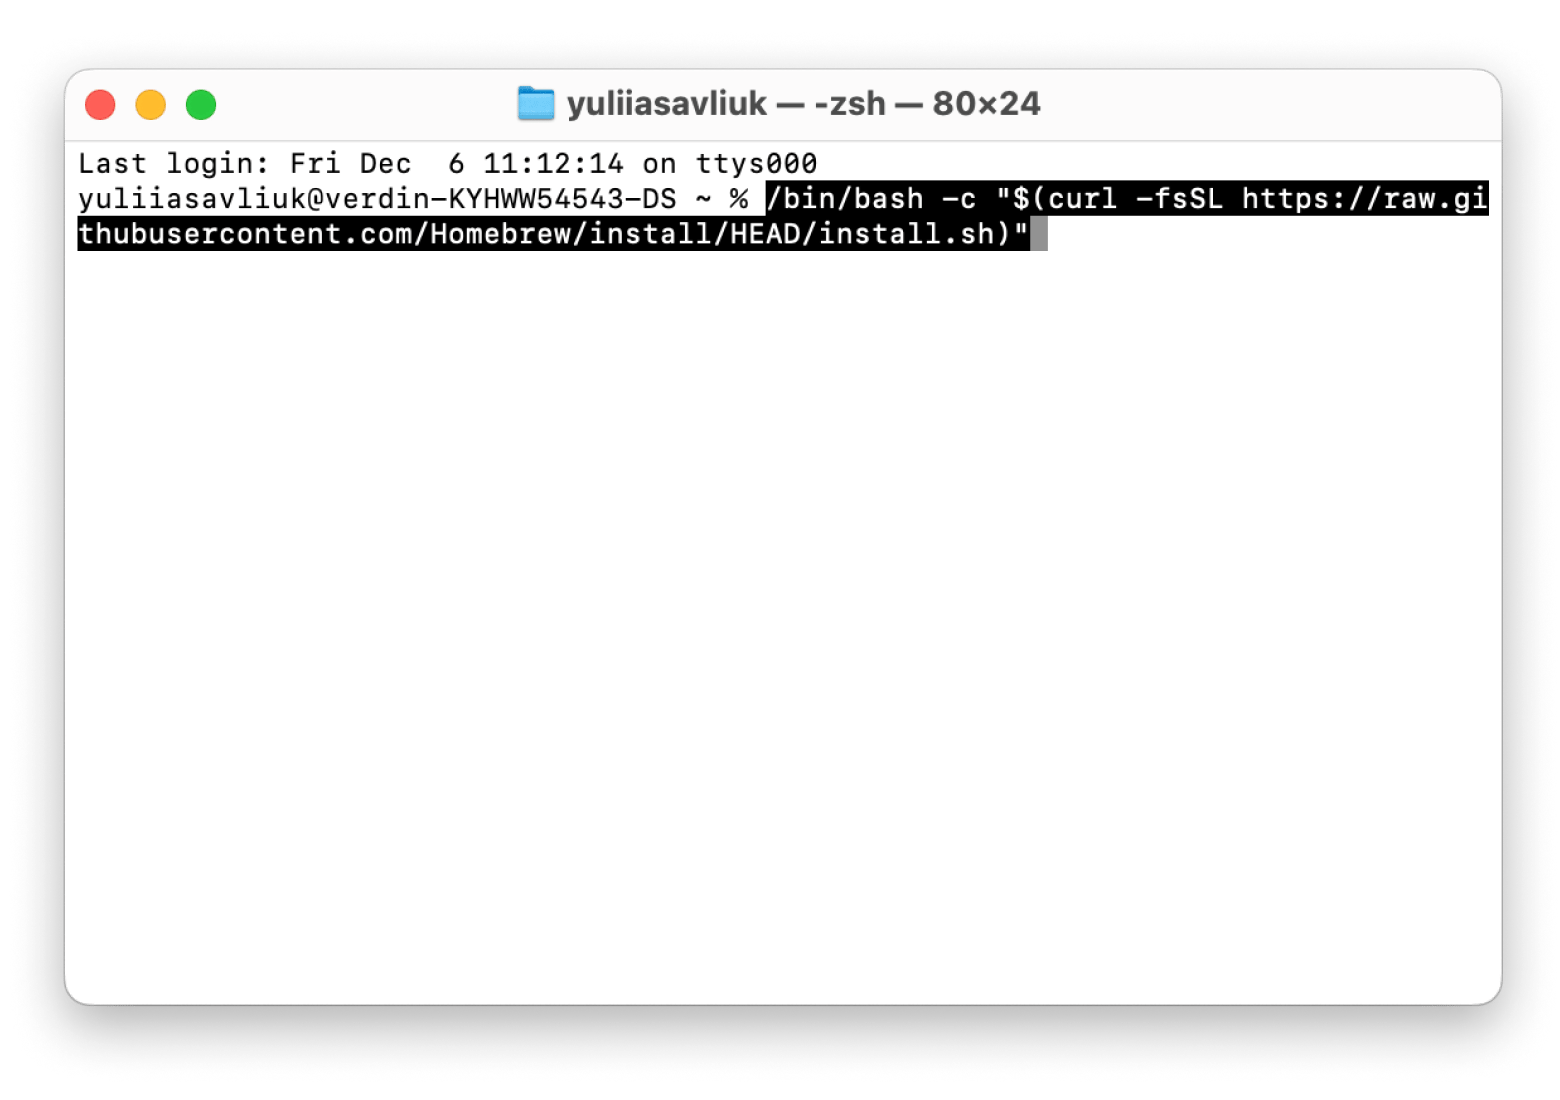
If the version number appears, congrats — you’ve successfully installed NVM using Homebrew!
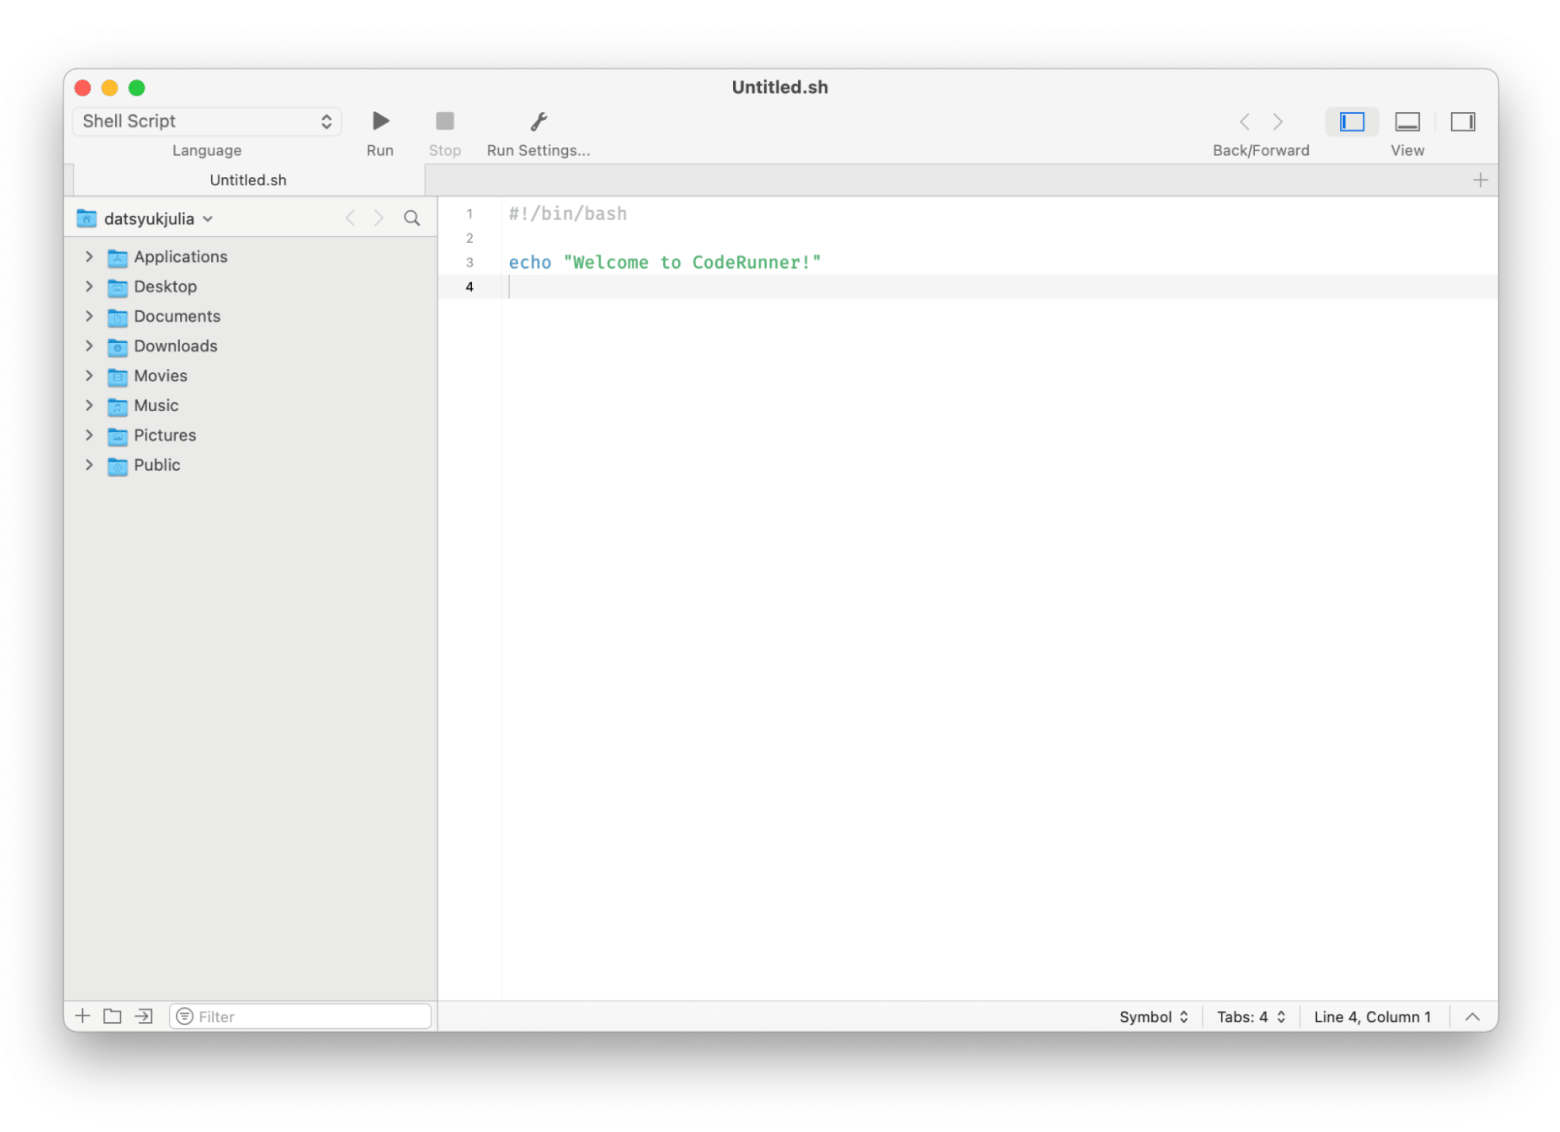
When NVM installed, I recommend testing your Node.js code using CodeRunner. It’s a fantastic IDE that supports multiple programming languages and makes debugging your code super intuitive. It’s my go-to tool for quick tests. For example, if you’re working on a project where you need to test different Node.js versions, like making sure it runs well with both Node.js 14 and 18, you can easily swap between versions using NVM and run your code right in CodeRunner.
Using MacPorts to install NVM
If you’re familiar with MacPorts, it’s a solid option for installing NVM. It keeps things simple and takes the stress out of managing software on your Mac. I’ve used it before on older macOS versions, and while it’s not the prettiest tool, it’s reliable, and it can actually help you with what you need. Sometimes, that’s all that matters.
Here’s how you can use MacPorts to install NVM:
- Install and open MacPorts using the compatible macOS version.
- Open Terminal and type sudo port install nvm to install NVM via MacPorts.
- Load NVM by updating your shell profile. Add to ~/.zshrc or ~/.bash_profile the following command: export NVM_DIR="$HOME/.nvm" [ -s "$NVM_DIR/nvm.sh" ] && \. "$NVM_DIR/nvm.sh".
- Apply the changes by running source ~/.zshrc.
- Verify the installation using: nvm --version.
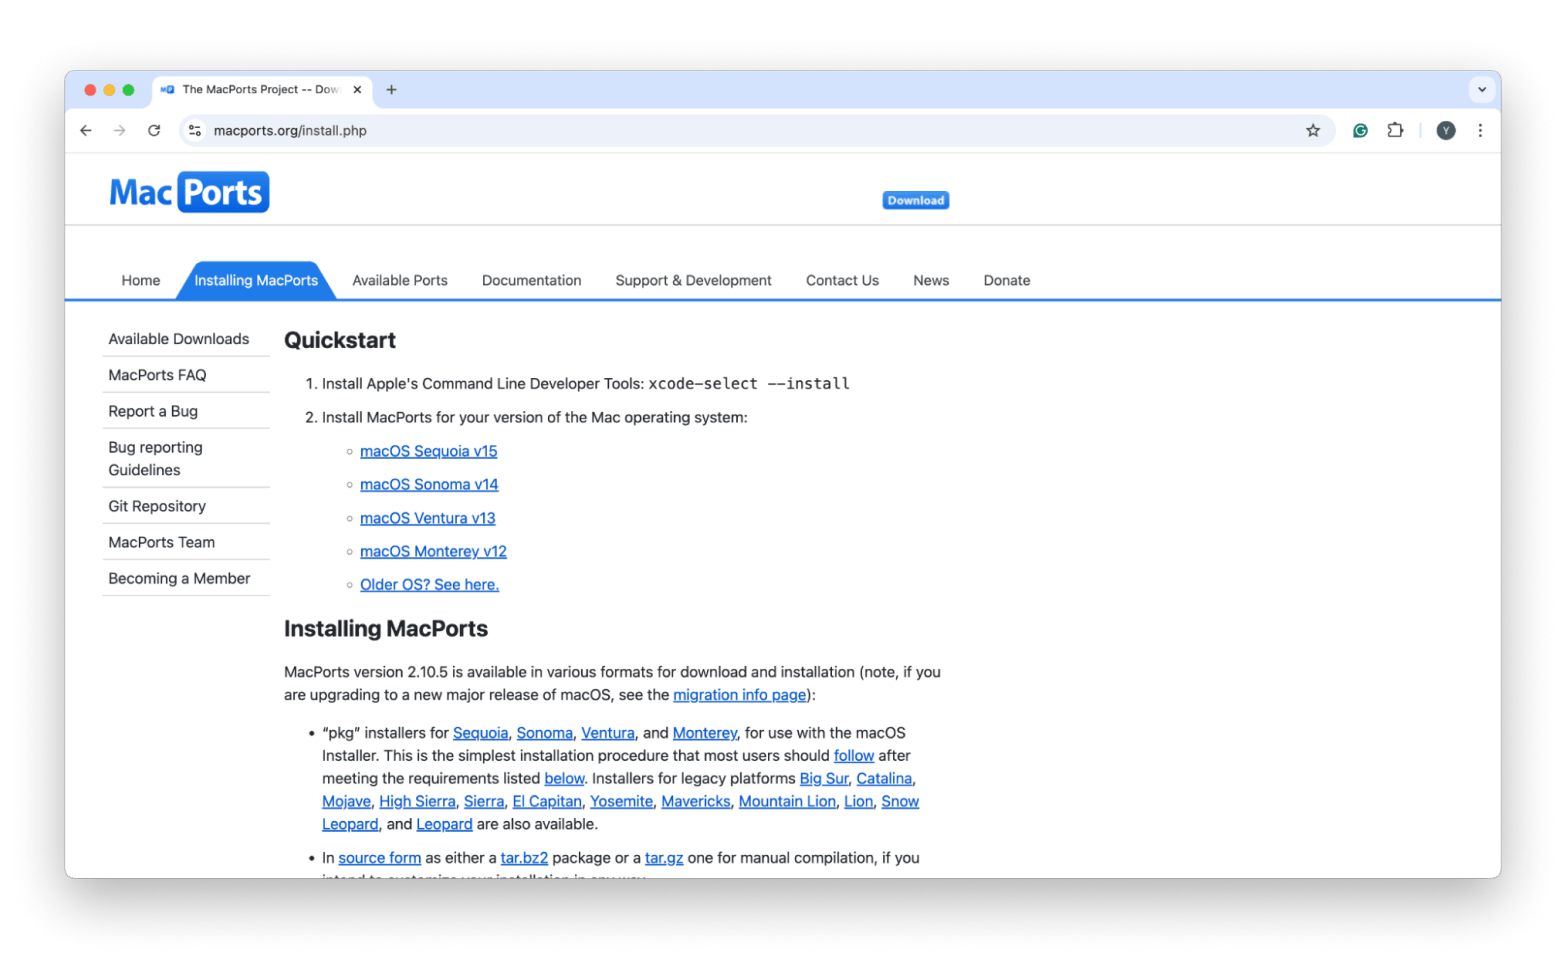
If you see a version number, you’re ready to go!
Installing and managing multiple Node.js versions using NVM
This is where NVM feels like a lifesaver. I remember working on two projects at the same time (which was my basic) — one needed Node.js 14 for stability, and the other required Node.js 18 to use the latest features. Without NVM, switching versions was a nightmare of uninstalling, reinstalling, and praying nothing broke or got lost in the process. Once I discovered NVM, it was like a weight lifted off my shoulders.
Here’s how you can make managing Node.js versions effortless:
- Install a specific version. Let’s say you need Node.js 14. Just run nvm install 14, and NVM will download and set it up. It’s as easy as grabbing a coffee from your favorite cafe — no drama.
- Switch between versions. Need to switch to Node.js 16? Just run nvm use 16, and you’re there. I use this feature all the time when testing updates in a sandbox environment.
- Set a default version. Tired of typing commands every time? Use nvm alias default 14 to make Node.js 14 your go-to version. This way, it automatically loads when you open Terminal — perfect for long-term projects.
With NVM, you can quickly test, debug, and run projects in different Node.js environments without breaking a sweat. I’ve saved countless hours (and avoided plenty of headaches) by letting NVM handle version management for me.
How to install NVM Mac: Recap
Managing Node.js on macOS is so much easier with NVM. Whether you install it using curl, Homebrew, or MacPorts, the process is straightforward and flexible. Once installed, switching between Node.js versions takes seconds, saving you from compatibility headaches.
The tools mentioned, like CoreShell, CodeRunner, and SnippetsLab, make the process even smoother, and they’re all available on Setapp. With a 7-day free trial, you can explore these apps and more than 250 macOS and iOS others. Don’t wait — give Setapp a try and simplify your coding experience.
FAQ
How do I know if NVM is installed on my Mac?
To know if NVM is installed on your Mac, run nvm --version in Terminal. If it shows a version number, NVM is installed.
How do I install NVM on Zsh?
To install NVM on Zsh:
Run the following command in Terminal to install NVM: curl -o- https://raw.githubusercontent.... | bash.
Open your Zsh configuration file: nano ~/.zshrc.
Add the following lines at the end of the file: export NVM_DIR="$HOME/.nvm"
[ -s "$NVM_DIR/nvm.sh" ] && \. "$NVM_DIR/nvm.sh".
Reload your Zsh configuration by running: source ~/.zshrc.
Confirm that NVM is installed and working by typing: nvm --version.
How do I set the path for NVM on Mac?
To set the path for NVM on Mac, add export NVM_DIR="$HOME/.nvm" [ -s "$NVM_DIR/nvm.sh" ] && \. "$NVM_DIR/nvm.sh" to your shell profile and run source ~/.zshrc in Terminal.


