Stop googling dev converters every time you need one
DevUtils handles YAML to JSON, Base64, Unix time, JWT, and dozens more conversions offline — with smart clipboard detection that guesses the right tool before you even ask. Available on Setapp.
pip comes with Python automatically. If you install Python 3 via Homebrew (brew install python) or from python.org, pip is included — no separate installation needed.
Homebrew is the easiest method for most Mac users. Run brew install python in Terminal, and you'll have both Python 3 and pip ready to go in minutes.
Missing pip? Use ensurepip. If Python is installed but pip isn't, python3 -m ensurepip --upgrade bootstraps it instantly, no internet download required.
"Command not found" usually means a PATH issue, not a missing pip. Add Homebrew's directory to your shell profile or use python3 -m pip instead of pip3 to work around it.
Manage your Python projects with Substage on Setapp. It converts plain-language requests into Terminal commands, so you spend less time memorizing pip syntax and more time building. Try Setapp free for 7 days.
Short answer: The fastest way to get pip on macOS is to install the latest Python 3 package with Homebrew (brew install python). Homebrew's Python comes with pip pre-installed, so you can start installing packages right away. If you already have Python 3 from python.org, skip Homebrew and run python3 -m ensurepip --upgrade instead.
Here's a breakdown of the main installation methods. Each has its place, and I'll walk you through them below:
Install pip on Mac
Best for
Time needed
Command
Homebrew
New Python setups
5 minutes
brew install python
python.org installer
Official Python users
3 minutes
Download from python.org
ensurepip module
Fixing missing pip
1 minute
python3 -m ensurepip
get-pip.py script
Last resort option
2 minutes
curl -o get-pip.py
How to check if pip is already installed
Before installing anything, let's check if pip is already on your Mac. Apple included Python 2.7 with macOS until 2022 (macOS Monterey 12.3), but Python 3 and pip may be present if you or an app installed them earlier.
Follow these steps:
Open Terminal from Applications > Utilities.
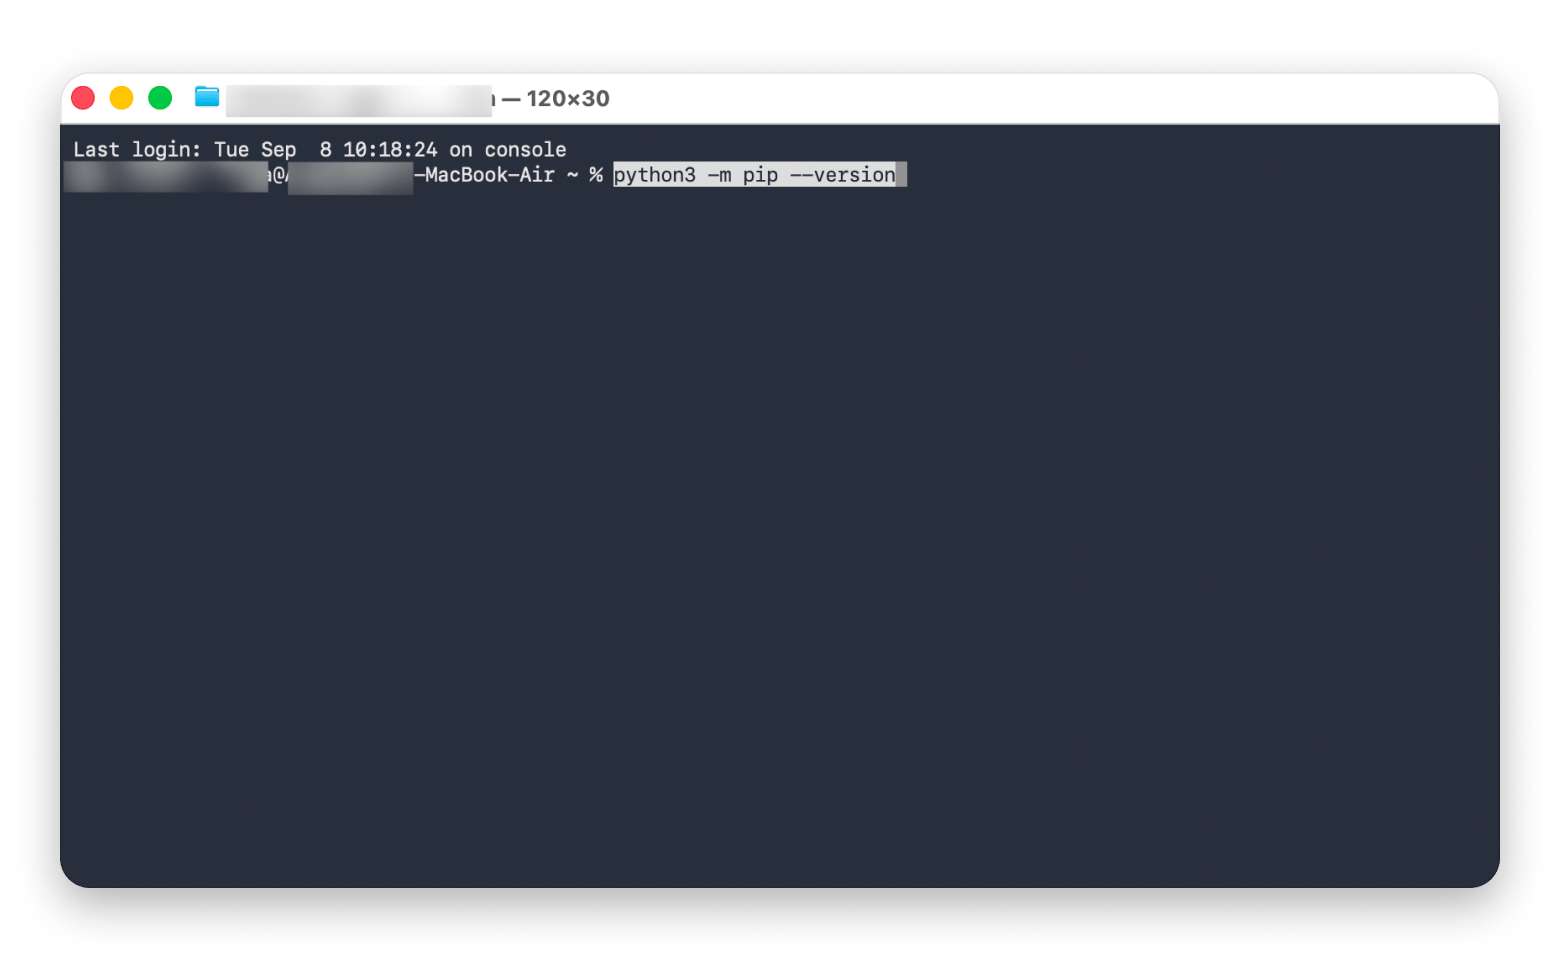
Type python3 -m pip --version and press Return.
Look for output like pip 24.3.1 from ... (python 3.x).
If you see a version number, pip is ready to use. If you get "No module named pip" or "Command not found," or a macOS prompt asking to install Command Line Tools, keep reading for installation steps.
You can also try pip3 --version directly. This works if pip's command is in your system’s PATH (the list of directories your Terminal searches for commands). According to Python's official documentation, Python 3.4 and later bundle pip by default, so most modern Python installations include it automatically.
Method 1: Install pip using Homebrew
I recommend Homebrew for most Mac users. It's the cleanest approach and handles dependencies automatically.
First, check if you have Homebrew:
Open Terminal from Applications > Utilities.
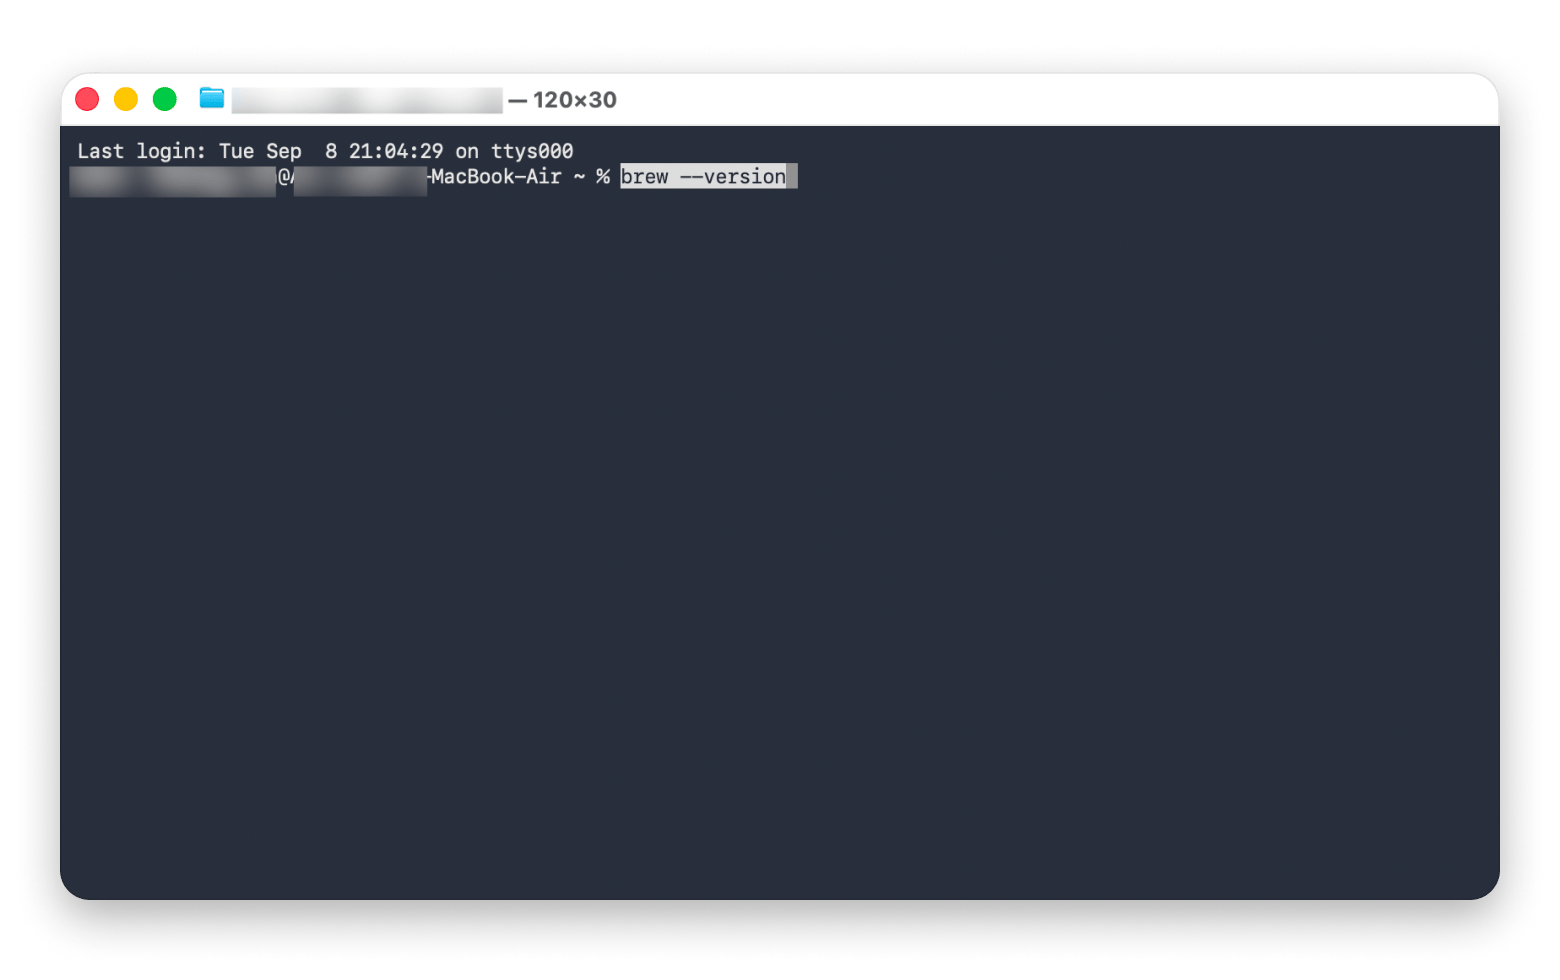
Run brew --version.
If you see a version number, skip straight to installing Python (covered below).
If Homebrew isn't installed, get it from brew.sh. Run this command in Terminal:
Note for Apple silicon Macs (M-series): After installation finishes, follow the "Next steps" instructions printed in your Terminal to add Homebrew to your system PATH.
Now install Python (which includes pip):
Run brew install python.
Wait for the installation to complete.
Verify with python3 --version (should show Python 3.13 or 3.14 or later).
Check pip with pip3 --version.
Homebrew installs everything to /opt/homebrew on Apple Silicon Macs or /usr/local on Intel Macs.
Method 2: Use the official Python installer
If you prefer the official route, download Python directly from python.org. Follow these steps:
Download the latest stable release (Python 3.14.7 as of August 2026).
Open the downloaded .pkg file.
Follow the installer prompts.
Restart Terminal after installation.
The official installer includes pip automatically. Verify the installation by running:
python3 -m pip --version
This method works well if you need a specific Python version or prefer not to use Homebrew.
Method 3: Install pip with ensurepip
If Python is installed but pip is missing, use Python's built-in ensurepip module:
python3 -m ensurepip --upgrade
This command bootstraps pip using the wheels pre-bundled with your Python installation. The --upgrade flag ensures pip is installed even if an older version or broken instance was previously detected.
I use this approach when troubleshooting Python environments that have lost pip. It works offline and doesn't require external downloads.
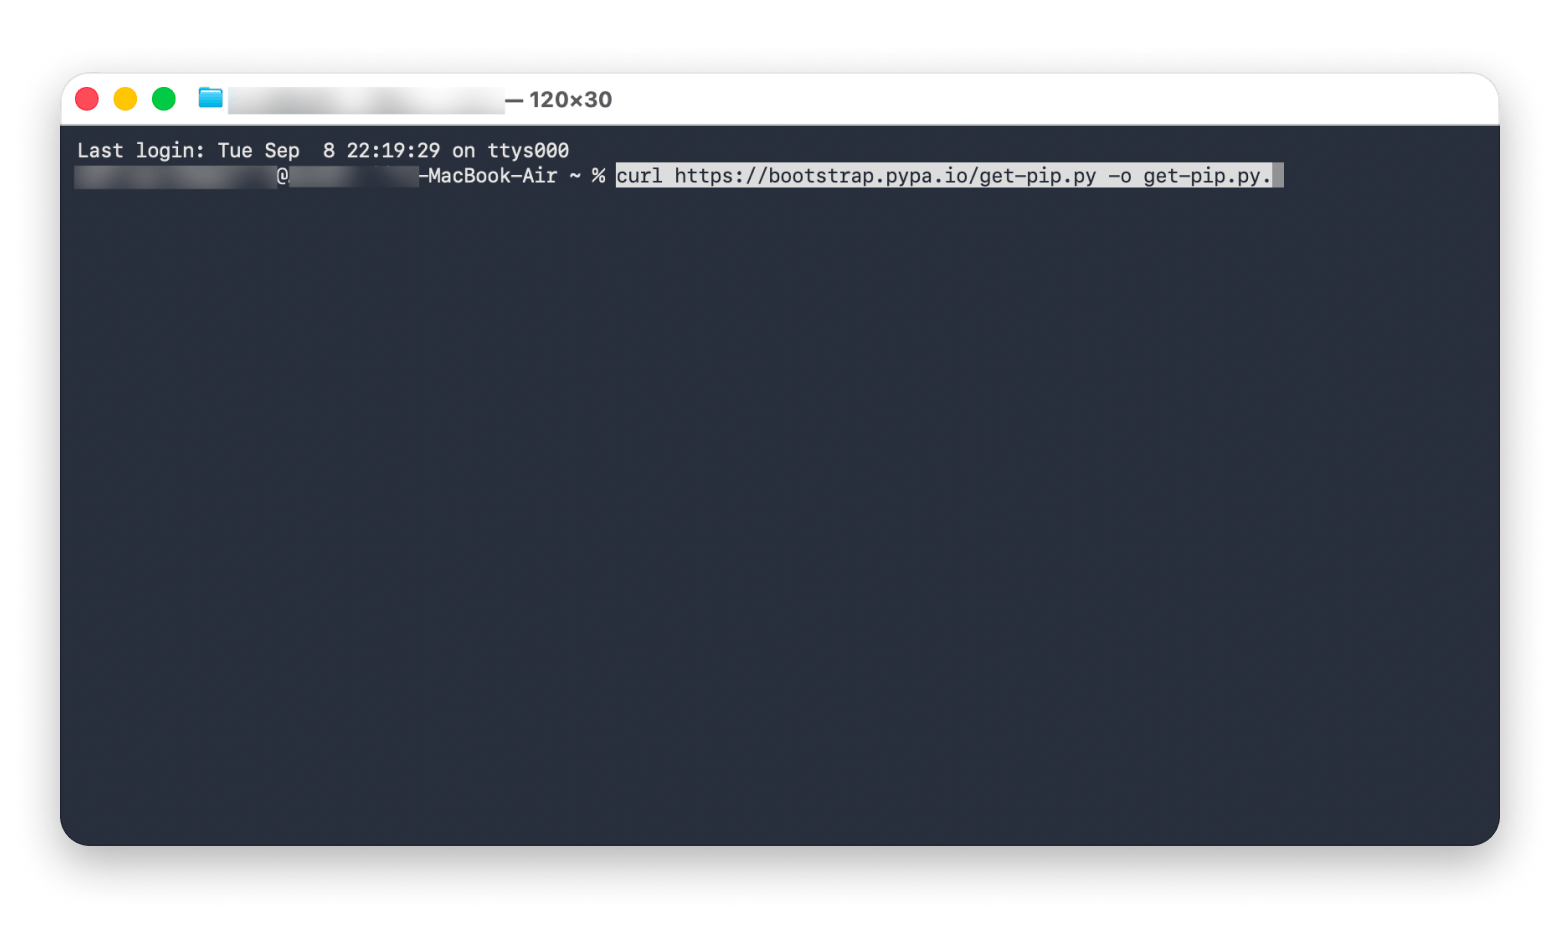
Run python3 get-pip.py.
Note: If you receive an "externally-managed-environment" error on modern macOS setups, run python3 get-pip.py --break-system-packages or python3 get-pip.py --user instead.
Delete the script: rm get-pip.py.
This script downloads and installs the latest pip version directly from PyPI. While it works, I prefer the other methods because they integrate better with your system's package management.
How to fix "command not found: pip3" error
This error usually means pip is installed but not in your PATH. There are a few ways to fix it.
I usually run an upgrade right away to dodge SSL or dependency errors:
pip3 install --upgrade pip
That one command keeps your installation future-proof. pip releases updates every three months according toPyPI's release schedule, so regular updates ensure compatibility with new packages.
You can also upgrade pip using Python's module syntax:
python3 -m pip install --upgrade pip
This method works even if pip isn't in your PATH.
What to do next
With pip installed, you're ready to explore Python's ecosystem. Here are some essential packages to get started:
requests for HTTP requests
numpy for numerical computing
pandas for data analysis
flask or django for web development
Install any package with:
pip3 install package_name
For managing complex projects, consider using virtual environments:
python3 -m venv myproject
source myproject/bin/activate
This keeps project dependencies isolated and prevents version conflicts.
What is pip and why do you need it?
pip is Python's package installer — the tool that lets you download and manage Python libraries from the Python Package Index (PyPI). Think of it as the App Store for Python packages. Whether you're building web apps with Django, analyzing data with pandas, or automating tasks with requests, pip gets these tools onto your Mac.
I've been using pip on macOS for years, and getting it set up takes just a few minutes. The tricky part is knowing which installation method works best for your setup.
Get started with pip on your Mac
Installing pip opens up Python's vast library ecosystem on your Mac. Whether you chose Homebrew, the official installer, or ensurepip, you now have access to thousands of packages for data science, web development, automation, and more.
If you found Substage helpful for Terminal commands, you can try it along with 270+ other Mac apps through Setapp's free trial for $14.99 USD/mo + tax. It's a great way to enhance your development workflow without buying individual apps. Start your 7-day free trial.
FAQ
Is pip already installed on macOS?
Python 3.4 and later bundles pip, so installing Python from python.org or with Homebrew usually gives you pip automatically. (Note: macOS no longer includes a pre-installed system Python, so it must be installed separately). Open Terminal and run python3 -m pip --version. If a version appears, pip is ready. If you get "command not found," install it using the steps above.
How do I install pip on my Mac using Terminal?
Open Terminal and run brew install python if you have Homebrew. This installs Python 3 with pip included. Without Homebrew, use python3 -m ensurepip --upgrade to bootstrap pip from your existing Python installation. Both methods take under five minutes.
How can I check if pip is installed on my Mac?
Run pip3 --version or python3 -m pip --version in Terminal. If pip is installed, you'll see version information like "pip 26.2.1". The second command works even if pip isn't in your PATH. No output or "command not found" means pip needs to be installed.
Why does my Mac say "pip command not found"?
Three common causes: pip isn't installed, you're using the wrong command name (try pip3 instead of pip), or pip isn't in your PATH. Fix it by installing pip with Homebrew, using python3 -m pip instead, or adding Homebrew's directory to your PATH as shown above.
How do I update pip on macOS?
Run python3 -m pip install --upgrade pip in Terminal. This upgrades pip to the latest version while preserving your installed packages. Note: On modern macOS setups using Python 3.12+, run this command inside an active virtual environment, or add --break-system-packages if updating globally. Regular updates prevent compatibility issues with new Python packages.






 Best solution
 Best solution