Detailed guide on how to post to Instagram from Mac
Instagram is a brilliant tool for taking, editing, and sharing visual content with the world. It’s also a great tool for marketing a brand on social media. However, very often, especially if you use it for marketing, you’ll have the content on your Mac that you want to share — and transferring it to your iPhone is an extra step that can be inconvenient at best. In this article, we’ll tell you how to post on Instagram from Mac.
Can you post on Instagram from Mac?
Since the previous paragraph had a spoiler, we’ll say it right away: yes, we know how to post to Instagram from Mac. However, there’s no easy way to do it. Instagram is a mobile-first service, so it doesn’t bother much about helping you post from a computer. There’s no “Instagram desktop app Mac.” In fact, the only way you can even see your Insta feed on a Mac is through a browser. This is why we need a workaround. And we’ve found it!
Why is it better to post from a computer?
Before we guide you through the steps, let’s answer the main question. Why would you even want to post on Instagram from Mac? Here are the top three reasons in our opinion:
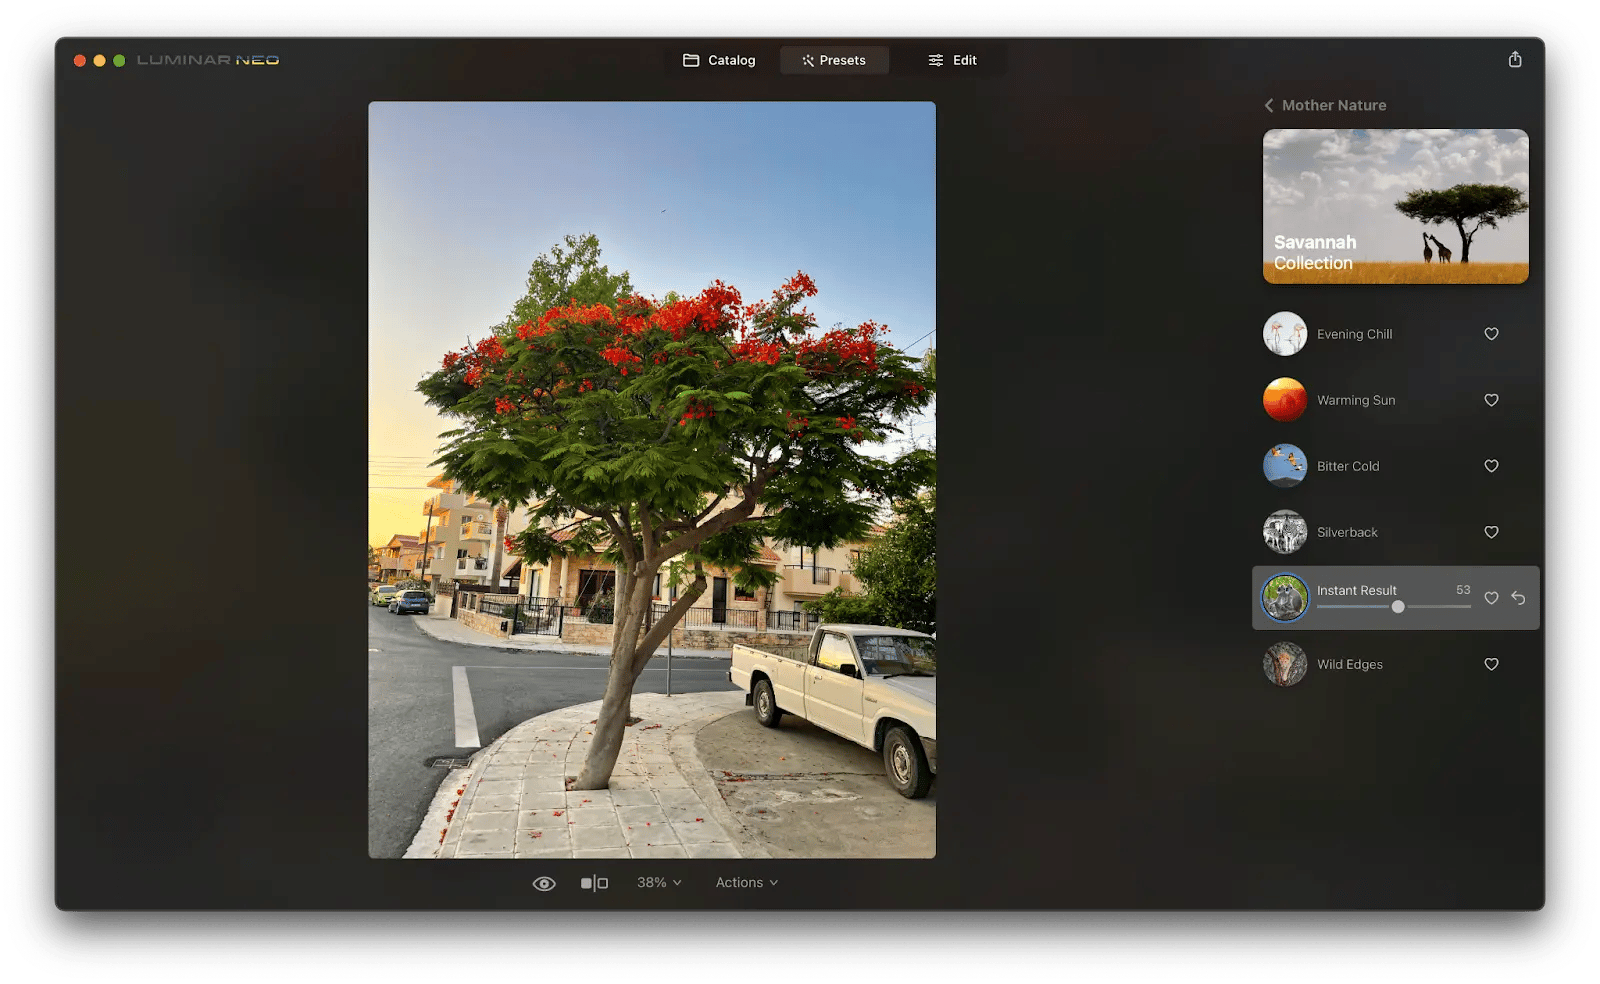
- Photo and video editors. A Mac does a better job preparing your content for posting than an iPhone. With apps like Luminar Neo, TouchRetouch, and CameraBagPro, you can fix imperfections, create a consistent visual style for all your content, and even experiment with AI effects.
- Part of your work routine. If posting to Instagram is part of your job, you don’t want to switch back and forth between computer and phone. You want a connected work environment, all in one place.
- Additional features. To post content from Mac, you’ll need to use a third-party app. These apps often have features that Instagram doesn’t have. For example, IM+ allows you to post to multiple platforms and monitor incoming messages directly from the app.
How to use Instagram on Mac to post photos, videos, and stories
To upload to Instagram from Mac, you'll need an app like IM+. Its superpower is connecting to numerous social networks, including Facebook, Zoom, Twitter, Facebook Messenger, Skype, WhatsApp, and many more.
And, if you use apps like Luminar Neo to edit your photos, you have the perfect Instagram marketing platform right on your Mac. Even if you only use Instagram for fun, being able to post directly from your Mac is very handy.

Instagram apps we’ll discuss here also let you switch between as many accounts as you like, DM friends, comment, tag, and more — all the usual stuff you do on mobile. Here’s how to use IM+ to post on Instagram from Mac.
How to post photos on Instagram from Mac
IM+ is a great tool to combine all of your messages and social networks into a single interface. To post to your Instagram page through IM+ follow these simple steps:
- Open Setapp > IM+ > install and open the app
- In IM+, log into your account
- Click the plus button to make a new post
- Pick the photo you want to post, click Open, edit or add filters if necessary, write your caption and add location, and click Share.

How to add and switch between multiple Instagram accounts
IM+ allows you to add multiple Instagram accounts. To add another Instagram account in IM+:
- Open IM+.
- Click Settings (a gear icon in the lower left corner) > Services.
- Choose Instagram and log in.

How to edit your photos before posting to Instagram
Instagram is extremely limited in terms of image editing, so you might want to refer to better software. Well-edited images are the deal breakers on IG after all. Since you already have a Setapp account (IM+ is available with your Setapp subscription), you have access to many photo and video editors.
Here are the top three we recommend to try in Setapp:
- If you already have some experience editing photos, try CameraBag Pro. It’s an app that combines ready-to-use filters and ultra-detailed editing, including nuanced skin tone correction and eye-sparking tools.
- For quick results, try Luminar Neo. An AI-powered photo editor that turns your images into magic with its smart noise reduction, image enhancement, sky adjustment, and a plethora of other tools for better images.
- TouchRetouch will help you get rid of unwanted objects in the photo. It’s a great solution if you need to cover up a logo or a company name, remove a person in the background, or...well, pimples.
How do I upload photos from my PC or Mac via browsers?
If you don’t want to use third-party apps, how to post on Instagram from Mac? And if you don’t have a Mac, how to post on Instagram from PC? The possible option is to do a few under-the-hood tweaks in the web version of Instagram. No worries, nothing too technical. Following are the instructions for uploading content to Instagram via Chrome and Safari.
Post to Instagram via Google Chrome
- Open Google Chrome and paste https://www.instagram.com/ in the address bar
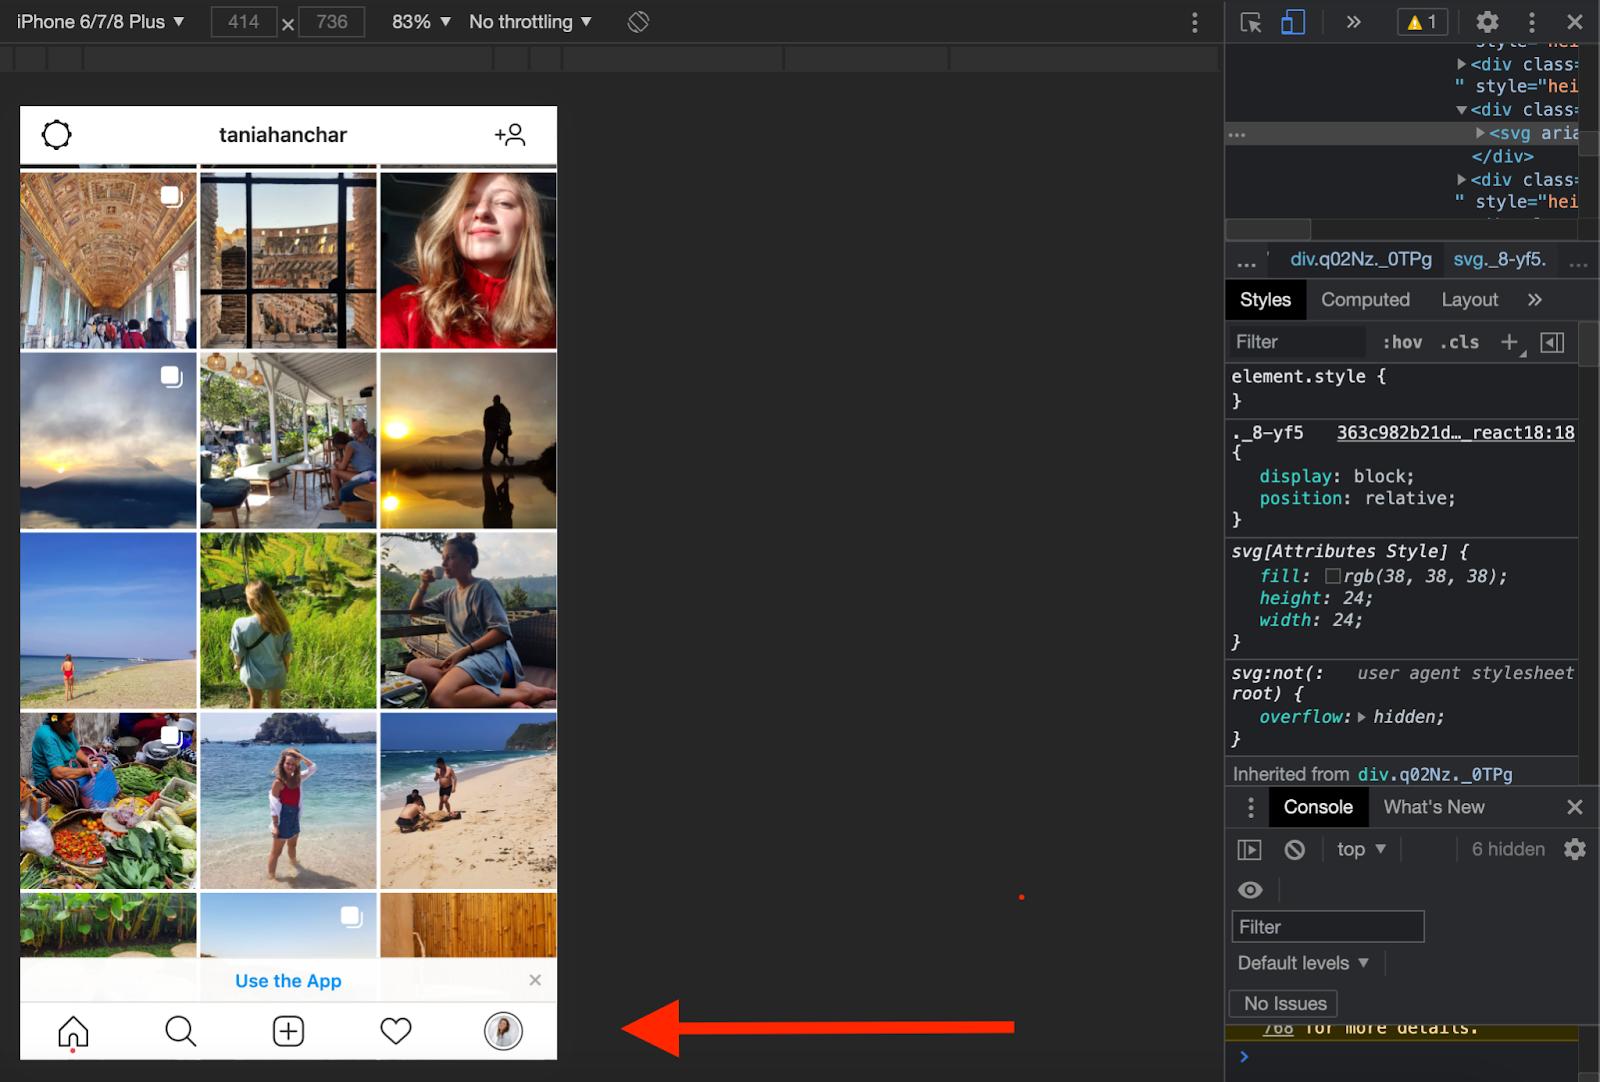
- Click the three dots in the upper right corner of Chrome > More tools > Developer tools
- In the developer panel, click “Toggle Device Toolbar” (an icon with two devices)
- Click Responsive and select your mobile device from the drop-down menu

- Refresh the page for Instagram to emulate the look, based on the device you’ve selected
- After the refresh, you’ll see the upload button in the lower bar (just as it looks on your phone)
- Now you’re ready to upload and post your photos.

Upload to Instagram via Safari
- Open Safari and paste https://www.instagram.com/ in the address bar
- Open Safari Preferences > Advanced
- Check the box “Show Develop menu in menu bar”
- As soon as Develop appears in your menu bar, click it, then click User Agent

- User Agent shows the list of mobile devices Safari can emulate
- Pick your device and refresh the page to switch to the mobile interface
- Upload and post your photo.
After you upload your photo, you’ll be able to apply filters, add location and captions like you do on mobile. However, this method doesn’t guarantee you’ll preserve 100% of the original quality. Plus, uploading via browsers can be glitchy, so if you can, we really recommend using trusted Instagram apps for the job.
That’s about it. Using Instagram for Mac on desktop is nothing new. We’re surprised that with such a huge audience and business behind it, Instagram still hasn’t introduced a decent desktop client of its own. Luckily for you, there are apps that fix the problem with ease:
- IM+ is an app you can use to post to Instagram from your Mac that has comparatively limited functionality, but it allows you to manage multiple social media accounts directly through the app.
- CameraBag Pro and Luminar Neo will perfect your photos before posting — enhance colors, add filters, etc.
- TouchRetouch will help fix imperfections and remove unwanted objects.
Best of all, these apps are all available through Setapp, a productivity service that solves your tasks with Mac and iOS apps. It’s free for 7 days, then $9.99 + tax per month.
We hope this guide has been of help and now you know how to bypass the tricky Mac-iPhone file shifting. It’s a pain to be forced to move every image to your phone when it’s ready for posting, so Setapp apps to the rescue. Have a great day, post a lot, cheers!


