How to make a flowchart on Mac: Best methods + tools
TL:DR:
- Use Microsoft Word for simple charts.
- Try online tools like draw.io for quick, no-install flowcharts.
- For more control and features, use Mac apps like Diagrams or MindNode Classic.
- Keep flowcharts clear: use consistent shapes, short labels, and minimal steps.
- Plan before you build: outline key steps and group related tasks to avoid clutter.
Flowcharts are one of the easiest ways I’ve found to organize my thoughts, map out ideas, or untangle messy workflows. Sure, you can always start with a whiteboard and a Sharpie — I’ve done that plenty of times. But when it’s time to share what I’ve created or collaborate with others, I always use flowchart software. And the good news is, there are tons of great tools out there.
In this guide, I’ll walk you through how to make a flowchart on Mac and what makes a good flowchart, and I'll share a few of my favorite apps for building one quickly and easily.
What is a flowchart?
A flowchart is a type of diagram that illustrates a process or workflow. Visually, it’s made up of boxes with text connected by arrows to represent logic. It might sound simple, but flowcharts are so flexible that they can outline even the most complex decision-making processes.
How to make a flowchart in Word
Microsoft Word is the world’s most popular text editor, but it's also a great place to create flowcharts.
You can find countless Word flowchart templates online. Just grab one, and you’ll already have a framework in place. If you prefer to start fresh, just open Word’s Shapes and SmartArt tools and build each element by hand.
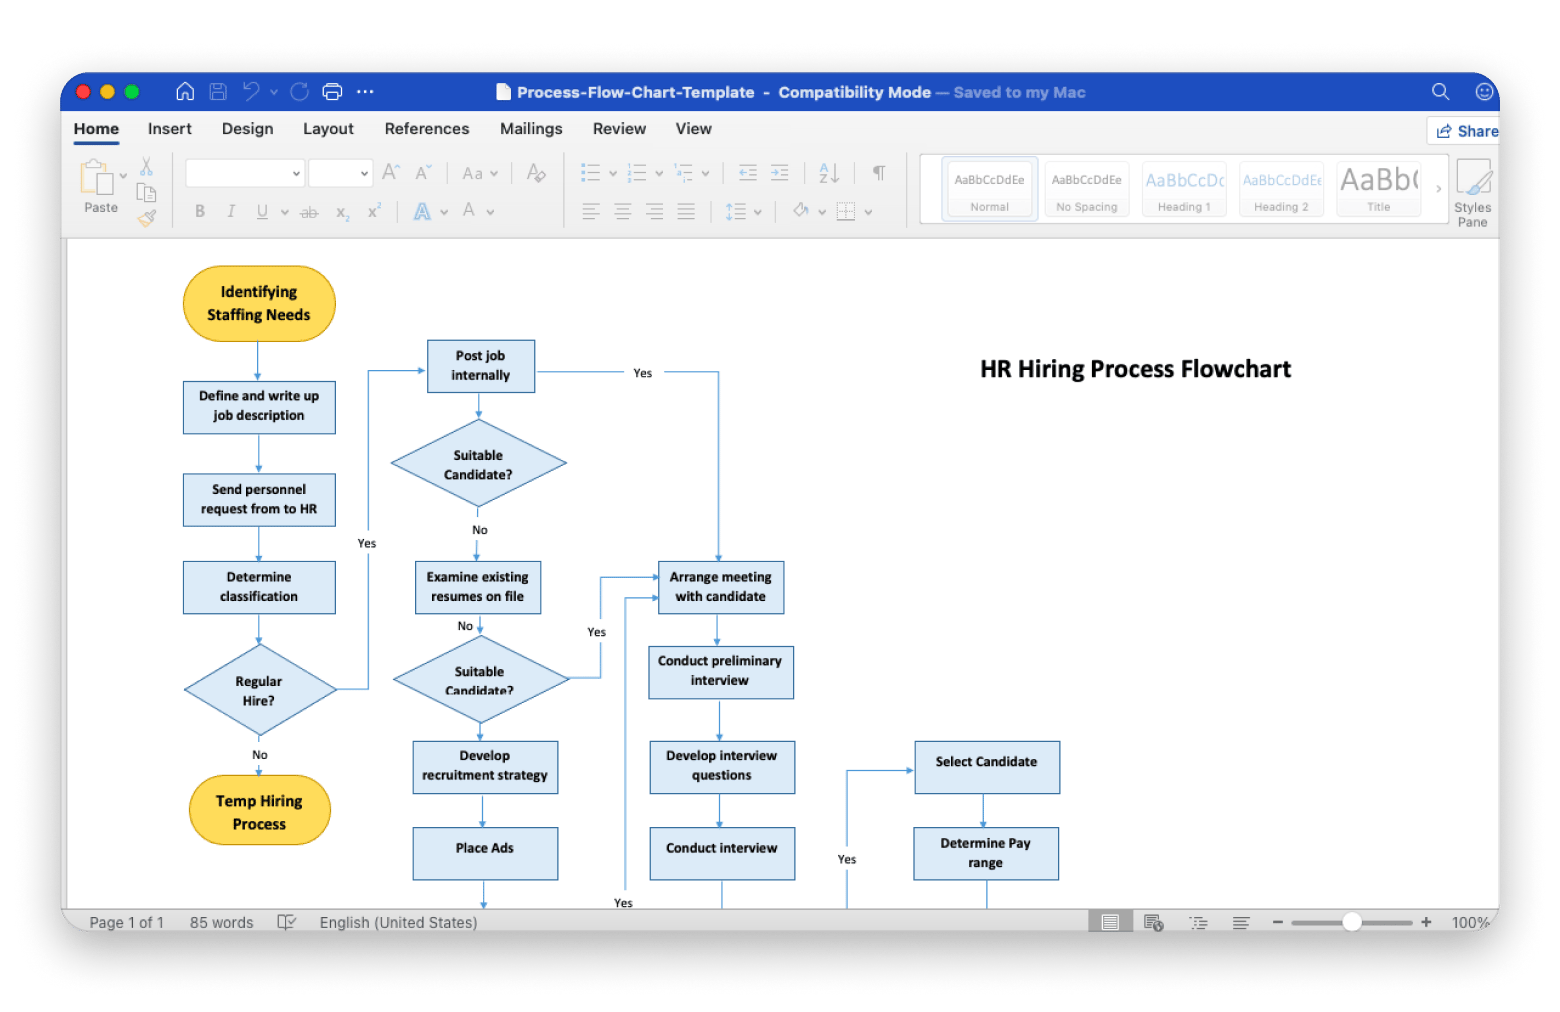
Here are detailed instructions on how to create a flowchart in Word on Mac:
- Go to the View tab and check Gridlines to help with alignment.
- Go to Insert > Shapes and choose rectangles for actions, diamonds for decisions, and arrows for the flow.
- Click and drag to draw each shape, then draw arrows to connect the steps in the correct order.
- Double-click inside a shape to add a short, clear label.
- Use the Format tab to adjust fill colors, borders, fonts, and reposition elements as needed.
- Right-click a shape or arrow and choose Set as Default to reuse that style automatically.
Note: For a faster setup, go to Insert > SmartArt, pick a diagram layout that matches your process, and customize it like you would individual shapes.
Read also:
The best flowchart software for Mac
When you need to build a flowchart on your Mac, using a dedicated app is the fastest, most responsive, and most flexible way to go.
Diagrams is the app you should try first if you want a simple and effective flowchart creator. Get started with a built-in palette preset; there’s even one specifically for flowcharts. From there, the flow is very simple: choose an element, add text, and build relationships with links. You’ll also have access to custom color sets and various text formatting options.
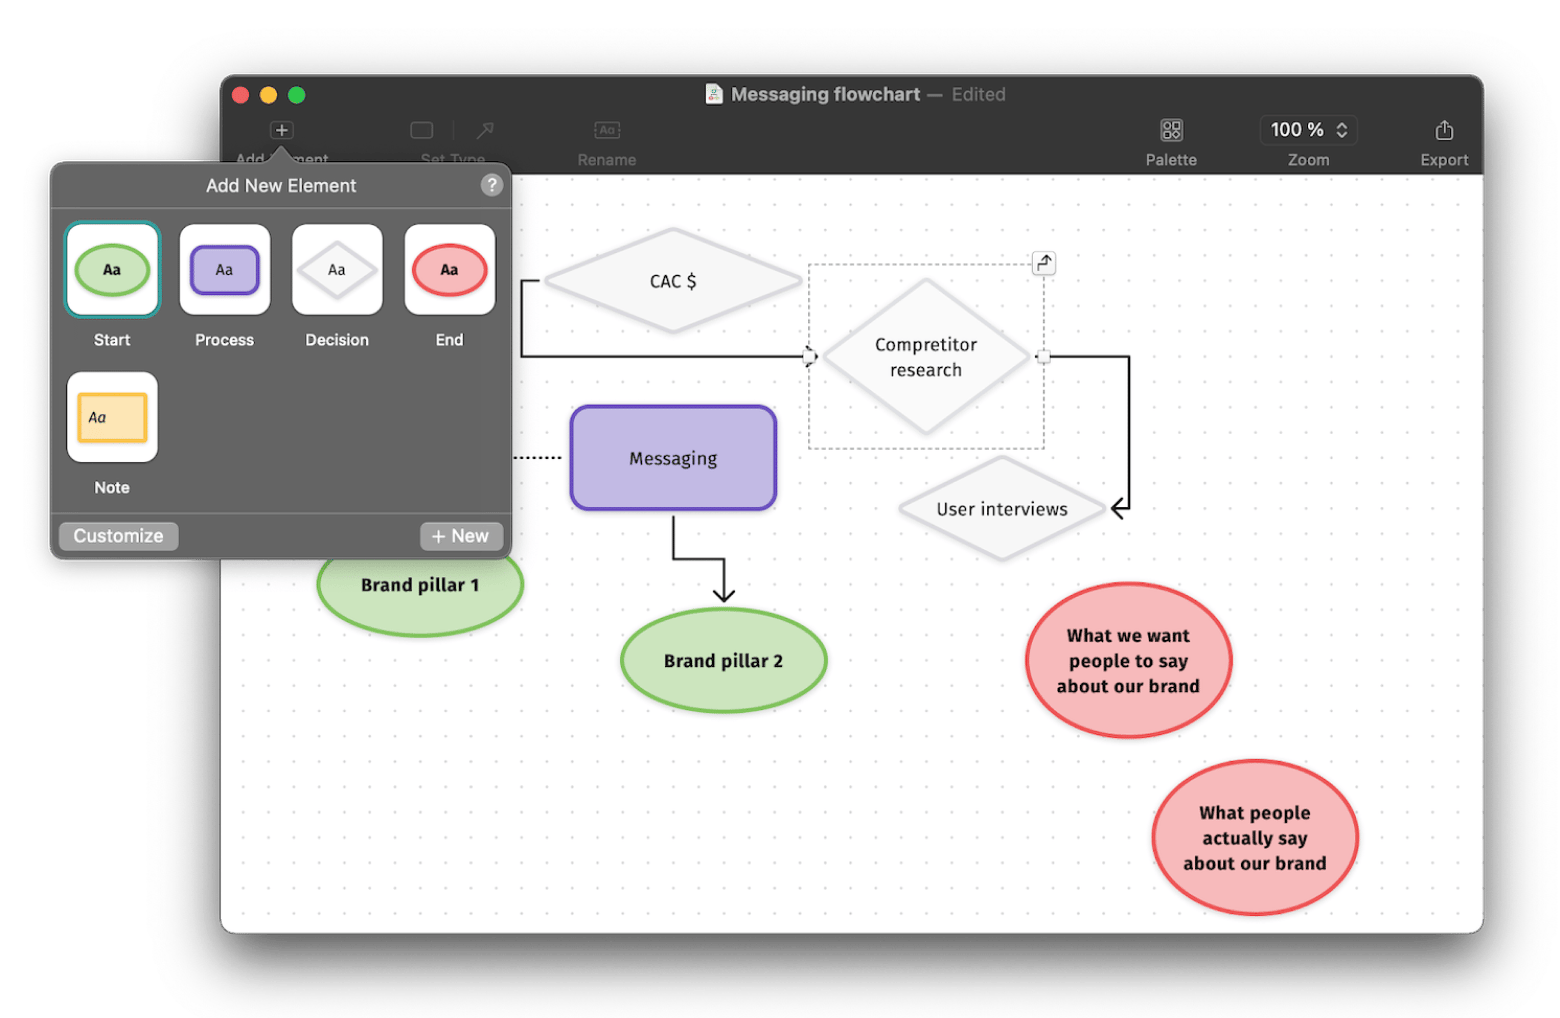
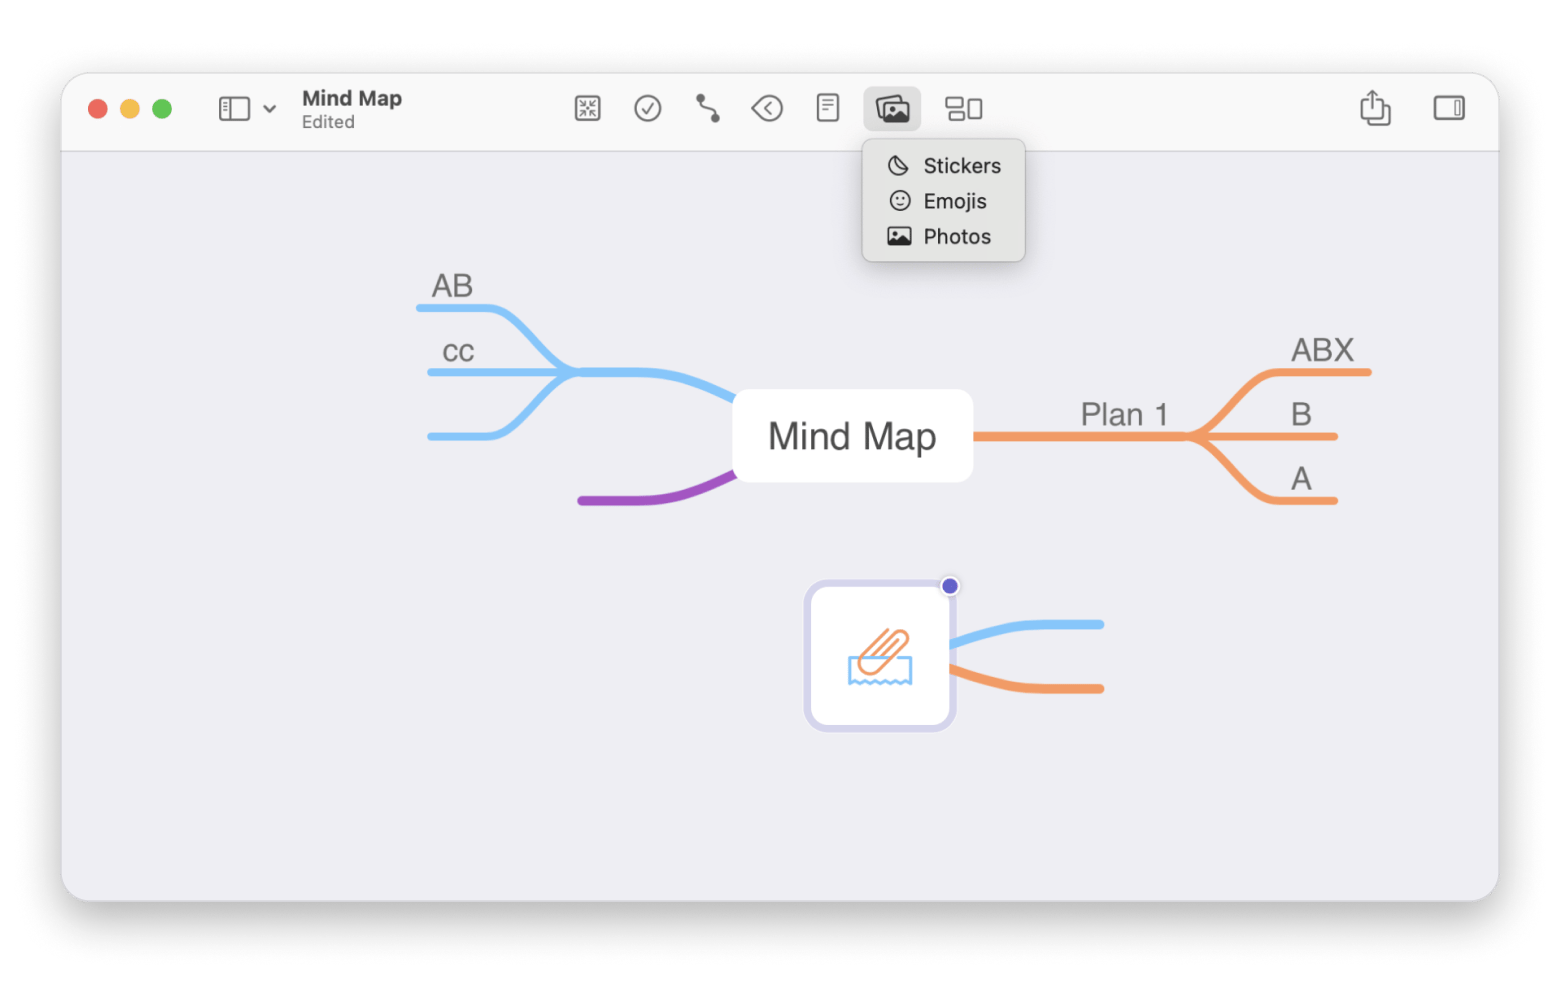
MindNode Classic is another awesome flowchart app for Mac that lets you add tasks, notes, and visual tags. It’s a great choice for mapping out processes or managing bigger projects.
It has a clean interface, an intuitive design, and hundreds of illustrations you can use. You can even add external images or designs to your flowcharts to help explain your thinking. The size of MindNode Classic flowcharts is nearly unlimited. You can make them as large as you like and focus on specific parts by enabling Focus Mode.
Also, check out the best mind mapping software for Mac 2025 to structure your ideas.
Integrating flowcharts with other Mac productivity tools
Think of your flowchart as more than just a picture on your screen. When you save it to something like iCloud or Google Drive, you can pull it up on any device and easily share it with a teammate.
If you need to work together on a diagram, using MindNode Classic or Lucidchart lets everyone jump in at once and tweak things live. Once the chart is ready, you can drag it straight into a Keynote or PowerPoint slide so you don’t have to rebuild it for presentations.
And if someone has a suggestion, they can drop a comment right on the diagram in Lucidchart without messing up your layout. For an extra boost of efficiency, Diagrams lets you set up a macOS Shortcut to export your chart or trigger other quick actions. These little tweaks turn your flowchart into a dynamic part of your daily routine, not just a static image.
How to make a flowchart online
If you don’t have access to Microsoft Word and don't want to download any software on your Mac, you can always make a flowchart online. Many online flowchart tools offer some free functionality and are great for collaborating with others.
Flowcharts in real time with draw.io
One such online tool is draw.io. This website is free to use, and even without creating an account, you can invite a few people, create flow charts, and save them to your Google Drive or other storage.
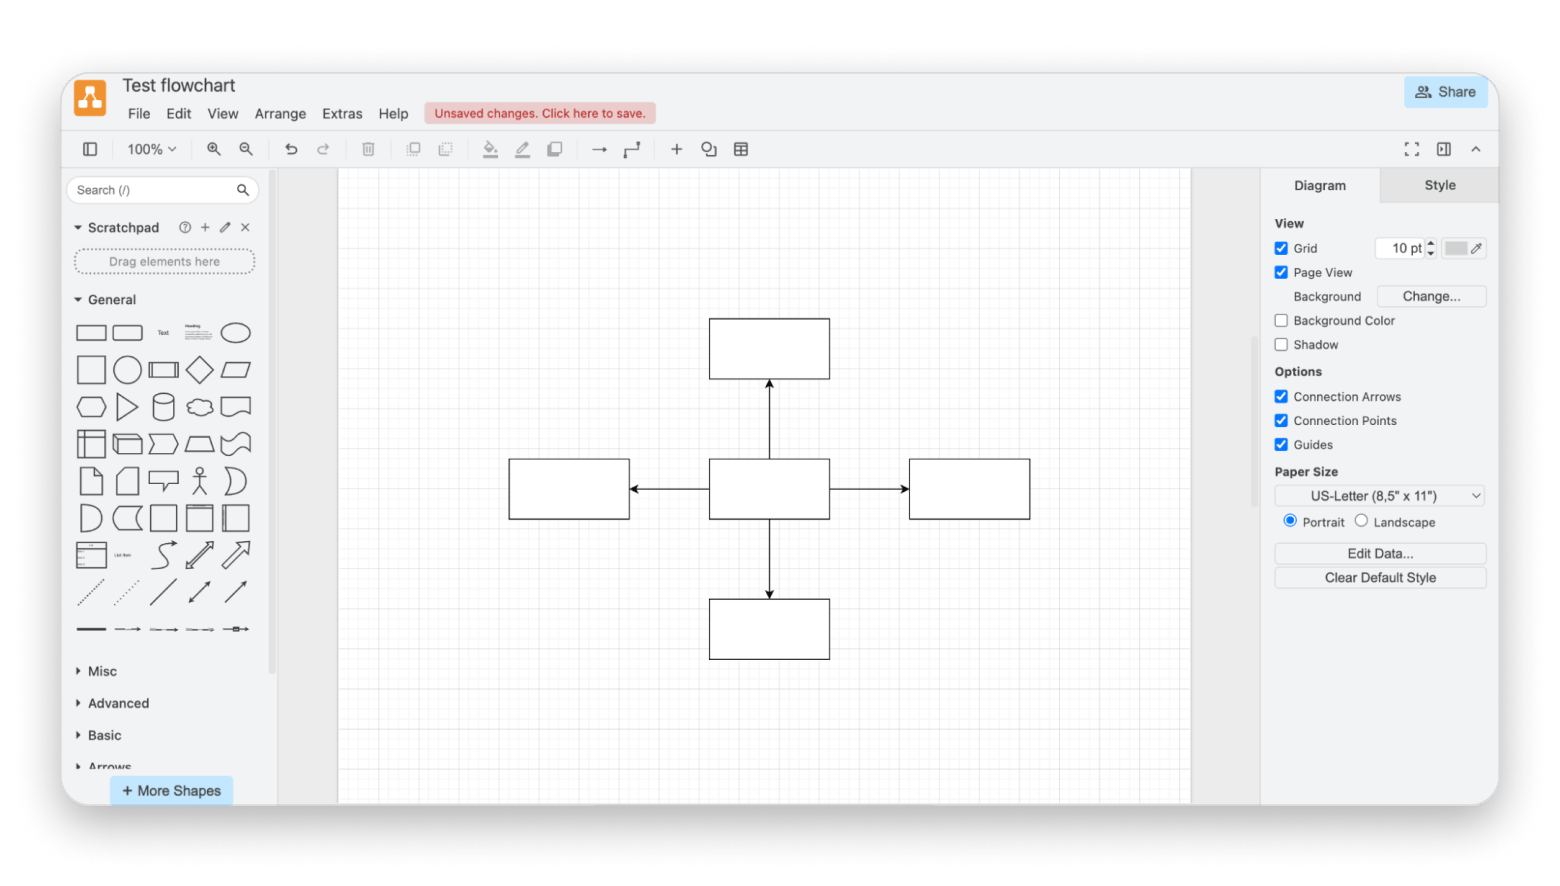
Source: drawio.com
There are a few themes to choose from and a preset library of shapes. You can modify them in any way, add colors, change fonts, and draw something completely custom. The only thing this tool lacks is advanced shapes and features.
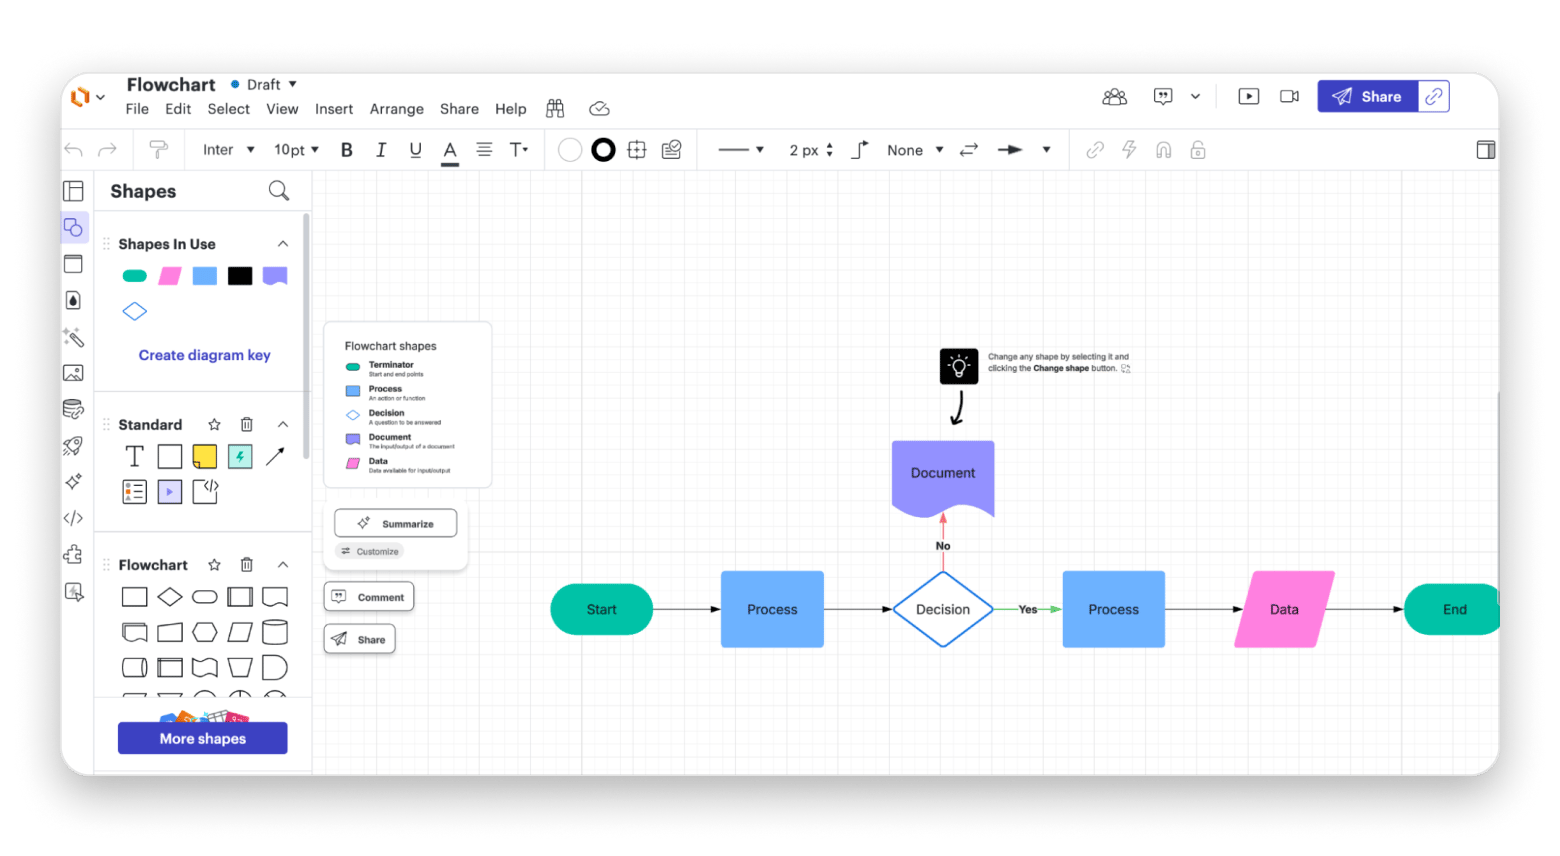
Share and collaborate with Lucidchart
If you need more advanced options, then go with Lucidchart. It has a free online version, but you can also upgrade if you want to edit more documents and access a full library of templates.
The best part about Lucidchart is the amount of pre-designed shapes you can use, from various UI containers for browsers to complex UI widgets (e.g., YouTube) to UI input, UI menus, etc.
Source: lucidchart.com
The downside is that when you rely on web-based flowchart makers, they often run slower and aren’t as adaptable as Mac-specific apps. Plus, if you pay for extra features, it usually ends up costing more than a comparable Mac app.
How to plan, design, and draw a flowchart on Mac
When you’re laying out a really straightforward process, like a decision tree with just a handful of steps, you don’t need to overthink it. Keep things tidy: use arrows to guide the flow, choose one shape for actions and another for decisions, and let it breathe.
But if you’re tackling a more intricate workflow, it pays to pause and sketch everything out first. Here are a few tricks I’ve picked up along the way:
- Jot down the biggest steps first. These become your primary boxes.
- Identify which of those steps break down into smaller sub-steps; those tend to serve as decision hubs.
- Arrange your most critical steps toward the top or center of the page, and make them stand out (bigger or bolder) if they drive the process.
- Resist cramming every detail into a single shape. Keep each box focused on one clear action or outcome.
- Aim for fewer than ten boxes in a single chart. If you’re creeping past that, split the flow into two or more smaller charts so it stays readable.
- Leave enough white space between elements. A little breathing room makes it far easier for anyone to scan and understand the chart at a glance.
Once you’ve sketched out these basics, you’re ready to pick your tool of choice and build the flowchart.
Best practices for creating flowcharts on Mac
When creating flowcharts, there are some best practices you can follow to get solid results.
Here are some things to keep in mind:
- Establish core goals: Ask yourself, “What is my flow chart supposed to achieve?” Whatever the case, make it clear so you don’t have a flowchart that confuses people.
- Converge all information: Try writing down all the text you'll include in the flowchart and have it in one document. This may require gathering other documents like manuals, research materials, etc., in one place. It'll help you make things more concise.
- Choose a design style: Depending on factors like your audience, the medium that will carry the flowchart, and the other information that will accompany it, you should choose a look for your flowchart (line arrows vs. block arrows, conventional shapes vs. custom ones, color schemes, fonts, etc.).
- Test the flow: It’s easy to assume the logic makes sense in your own head, but until you walk through each path or ask a colleague to follow along, you won’t know for sure. Trace each arrow from start to finish (and have someone else do the same) to catch any missing connections or dead ends.
- Pick a software: Pick a tool that has the features you need, like drawing by hand, easy drag-and-drop, or simple animation. Make sure it’s within your budget and lets your team work together if you’re collaborating. You can also try AI tools that create a flowchart from a text prompt.
Common mistakes to avoid when creating flowcharts
Even when your flowchart looks perfect, there might be some mistakes you've made that undermine its true potential.
Here’s how to know when you’re going down the wrong path:
- Letting arrows cross over each other: When lines overlap or intersect, the flow becomes ambiguous. If two arrows have to cross, consider adding a bridge (a little gap) or rerouting one arrow around the outside. The goal is for anyone glancing at your chart to trace each path without second-guessing where it leads.
- Skipping a clear starting or ending point: If you don’t clearly label where the process begins or where it ends, readers can feel lost. I always place a labeled Start shape at the top or left, and a matching End shape wherever the process concludes, so there’s zero doubt about entry and exit points.
- Failing to consider the audience: A flowchart meant for engineers might include technical jargon, but if you’re sharing with marketing or sales teams, those terms could be confusing. Tailor your labels and level of detail to whoever will actually use the chart.
- Making the chart too big for one view: If someone has to scroll or zoom out to see the entire diagram, they won’t get the full story at a glance. Whenever possible, keep everything within a single screen or printed page. If your process really is massive, break it into smaller subcharts and link them together.
Final thoughts on how to make a flowchart on Mac
In a nutshell, if you need a quick diagram, you can raw-draw a basic flowchart in Word or use a free online tool. That’s perfect for simple workflows. When your project grows more complicated, you’ll want something that handles alignment, styling, and updates without a fight.
For that next step, check out Diagrams and MindNode Classic. Both apps give you drag-and-drop simplicity, neat automatic spacing, and all the bells and whistles you’d expect from a dedicated Mac app.
The best part is you can try both apps free for seven days on Setapp. Setapp is a subscription service that gives you access to over 260 premium Mac and iOS apps in one place, all for a single monthly fee. It’s a great way to explore powerful tools without the commitment, and find the perfect flowchart app that fits your workflow.
FAQs
How to create a flow chart on a MacBook?
To create a flowchart on a MacBook, get a flowchart app like Diagrams or MindNode Classic, or use Word. You can also use online tools like draw.io.
Does Mac have a flowchart tool?
Macs have no dedicated native flowchart tools, but you can use third-party apps like Diagrams and MindNode Classic, as well as cloud-based solutions, to design flowcharts on a Mac.
How to make a flow chart in Word for Mac?
To make a flow chart in Word for Mac, enable gridlines (View > Gridlines), then go to Insert > Shapes to add boxes and arrows. Double-click shapes to label them, and use the Format tab to style. For a quicker start, try a SmartArt flowchart template.
How to make a chart on Pages Mac?
To make a chart on Pages on a Mac, open the Pages app, choose 2D or another preferred option, click the right or left arrow for more styles, then choose a chart by clicking or dragging it onto the page.


