Top screen-sharing software for macOS [Tips & tools included]
As a content manager (and former freelance marketer), screen sharing has been a daily ritual for me. Actually, I’ve shared my screen more times than I can count. And let’s be real — everyone has experienced that awkward moment of saying, “Can you see my screen?” and waiting for five people to unmute and confirm.
But after working with all the available screen sharing apps — built-in macOS features, Zoom, Slack, TeamViewer, Skype, Google Meet, and more — I’ve seen it all. If you’ve ever struggled with screen sharing on Mac or just want to find the best tool for your workflow, this guide is for you. I’ll walk you through different ways to share your screen (plus some advanced tools and tips to level up your screen-sharing).
How to share your screen on Mac Screen Sharing app
If you need to share your screen with someone on the same network — whether for collaboration, troubleshooting, or remote access — Apple’s built-in Screen Sharing feature is a simple, no-install solution. It allows another Mac user to view and control your screen without additional software.
With Screen Sharing, other users can:
- View your desktop in real-time.
- Move, open, and close files (if you allow control).
- Launch apps and even access your Mac remotely.
How to enable macOS Screen Sharing
When Screen Sharing is disabled, no one on your network can access your Mac, ensuring your privacy and security, so you need to enable it first.
Here’s how to enable Screen Sharing on Mac:
- Open System Settings from the Apple menu.
- Click General > Sharing.
- If Remote Management is turned on, disable it to prevent users from accessing your Mac with the Apple Remote Desktop feature.
- Click on the information “i” icon next to Screen Sharing > Adjust access permissions. Turn on Screen Sharing > Done.
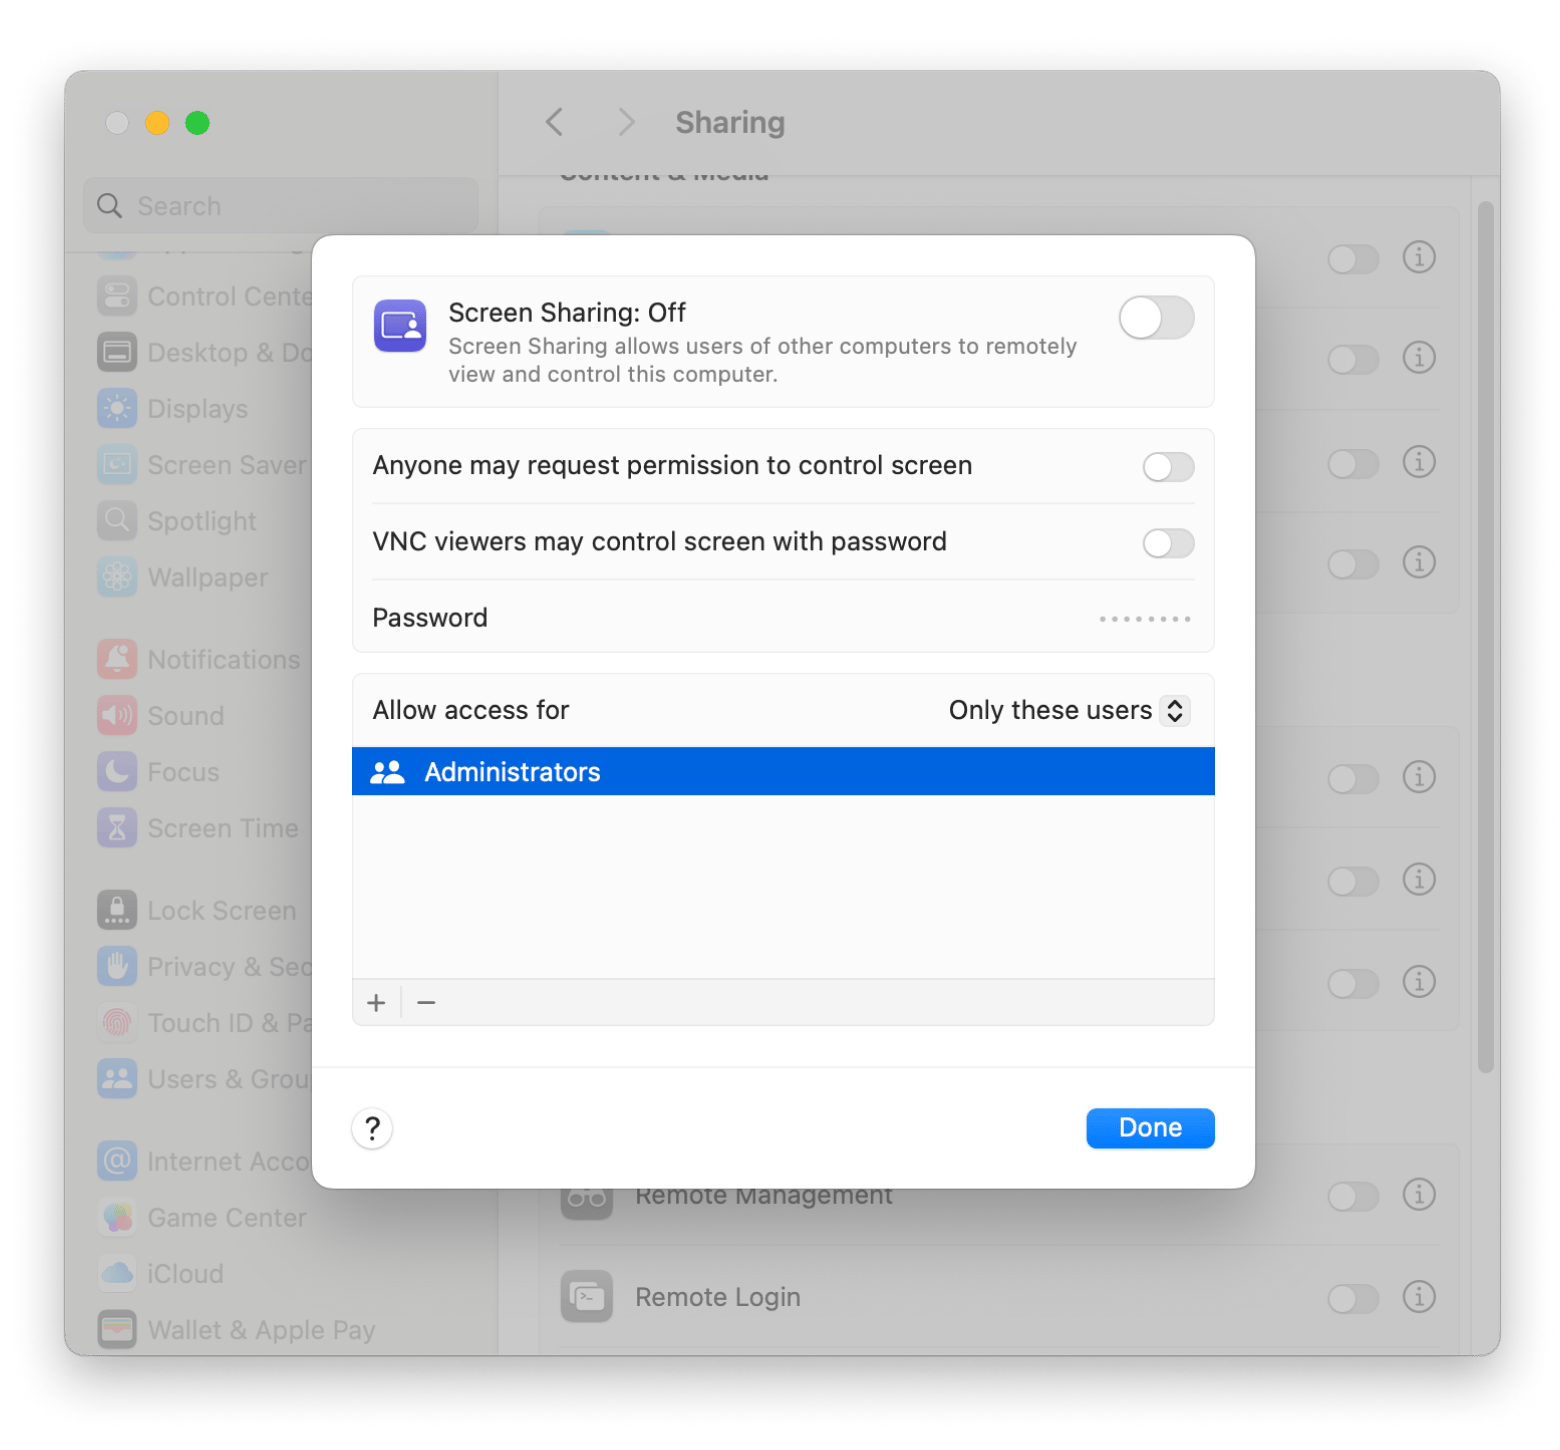
Once enabled, your Mac will display a screen-sharing address, such as vnc://192.168.x.x, that others can use to connect.
How to start screen sharing
Then, you can easily start a session using the Screen Sharing app — a built-in macOS tool that lets you remotely view and control another Mac on the same network.
Here’s how to get started:
- Press Command + Space, type Screen Sharing, and press Return.
- Choose how you want to connect:
- In the sidebar, click Network, move the pointer to the Mac you want to access, and click Connect.
- Click All Connections, find the Mac you need, and click Connect.
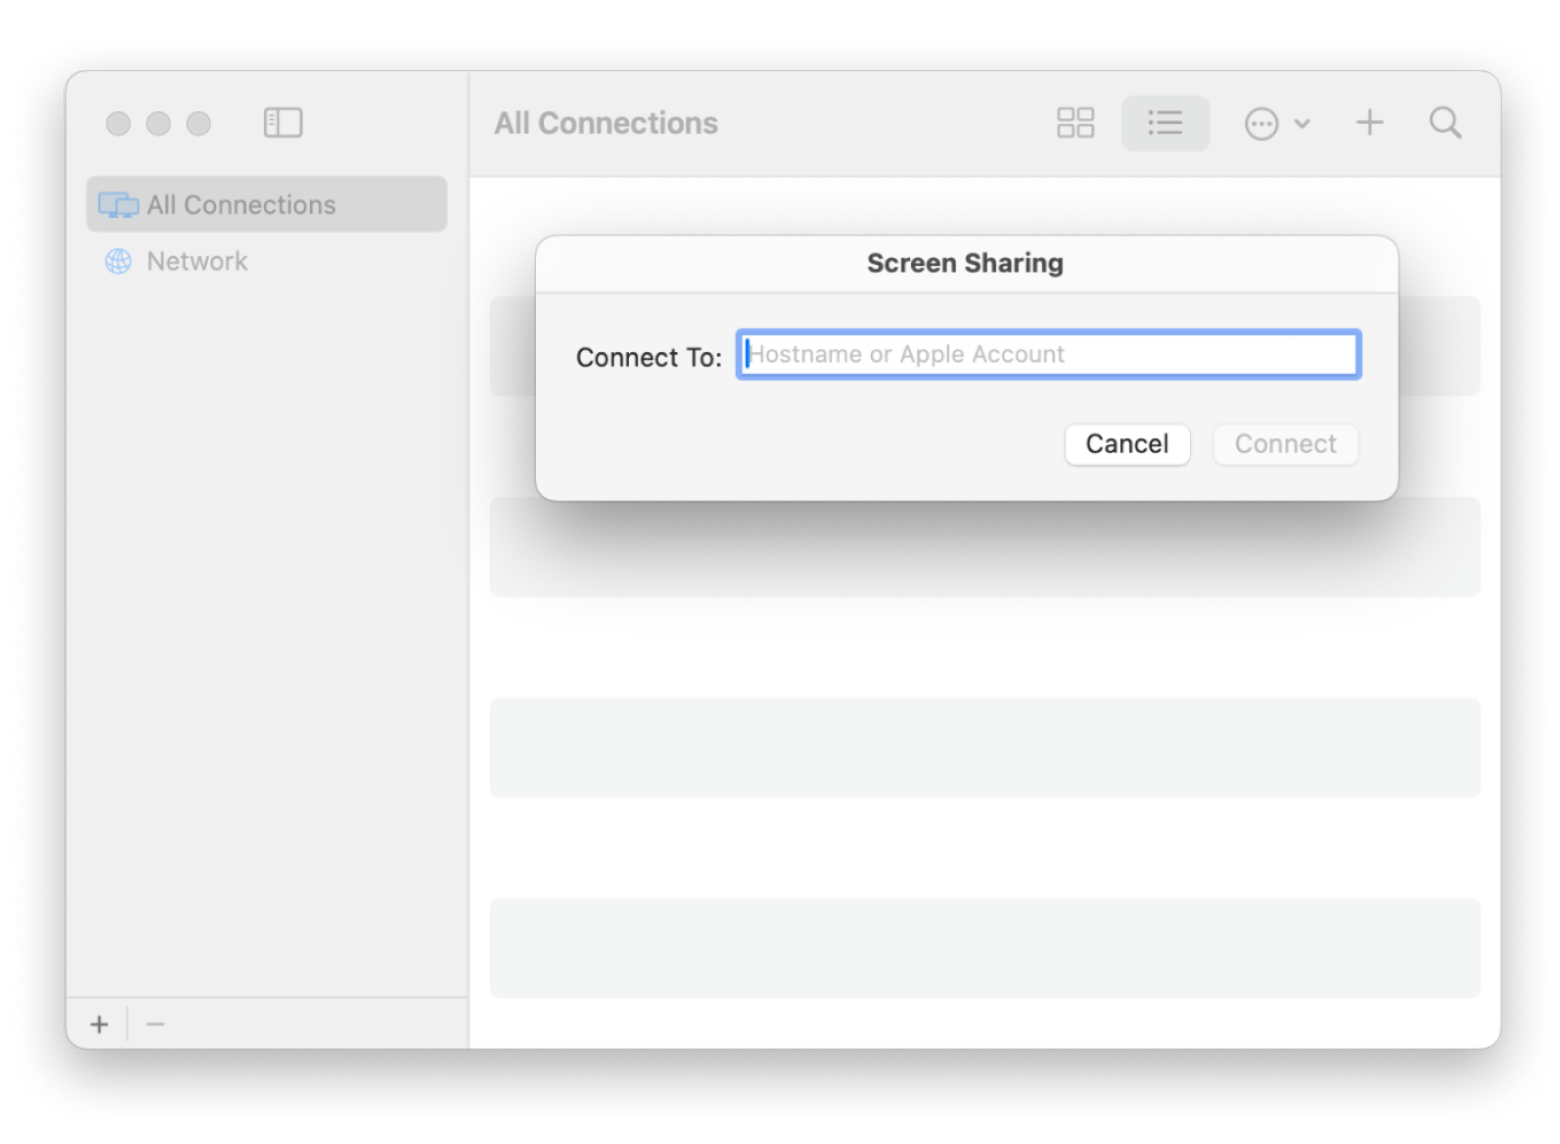
- Click the add “+” button in the toolbar, enter the Mac’s hostname or Apple Account, and click Connect.
3. If prompted, enter the username and password for the Mac you’re connecting to and click Sign In.
4. If you see the Select Screen Sharing Type window (on macOS Sonoma 14 or later), pick:
- Standard.
- High Performance (for Apple Silicon Macs).
5. Once connected, your Mac will save the connection under All Connections, so you can quickly access the same Mac in the future without having to re-enter details.
6. To end a screen-sharing session, choose Window > Connections, move the pointer over the active session, then click Disconnect.
How to share your screen in FaceTime on Mac
FaceTime screen sharing is one of those features I didn’t know I needed — until I started working remotely. And let’s be honest, we’ve all had those moments where a quick screen share could’ve saved a 10-minute explanation.
Here’s how to do it:
- Start a FaceTime call on your Mac.
- Open the app or document you want to share.
- Click the Video button in the menu bar, then click the Screen Share button.
- Choose how much you want to share: an entire screen, a specific window, or all windows from an app.
My favorite 3rd party apps for screen-sharing on Mac
As someone who’s spent a lot of time working remotely, I’ve tested every screen-sharing method available. Some apps keep my presentations distraction-free, others help me annotate on the fly, and a few even let me record and send screen shares asynchronously so I don’t have to hop on another call.
Now, I’ll walk you through my go-to screen-sharing tools that actually make a difference:
Tool | Best for | Cool features |
Distraction-free screen sharing | Hides desktop icons; changes your wallpaper background; conceals active apps; disables notifications; | |
Drawing anywhere on the screen | Annotates, highlights, and draws anywhere on the screen; | |
Presenting on a big screen (TV, projector) | Changes your wallpaper; conceals active apps; shares a single window on a big screen; |
For even more ways to capture and share your screen, take a look at the comparison table of the best screen recording software for Mac.
Read also:
- Use Dslr As Webcam on Mac
- Use Google Meet App for Mac
- Challenges Of Distributed Teams
- Record Zoom Meeting
PliimPro for distraction-free screen sharing
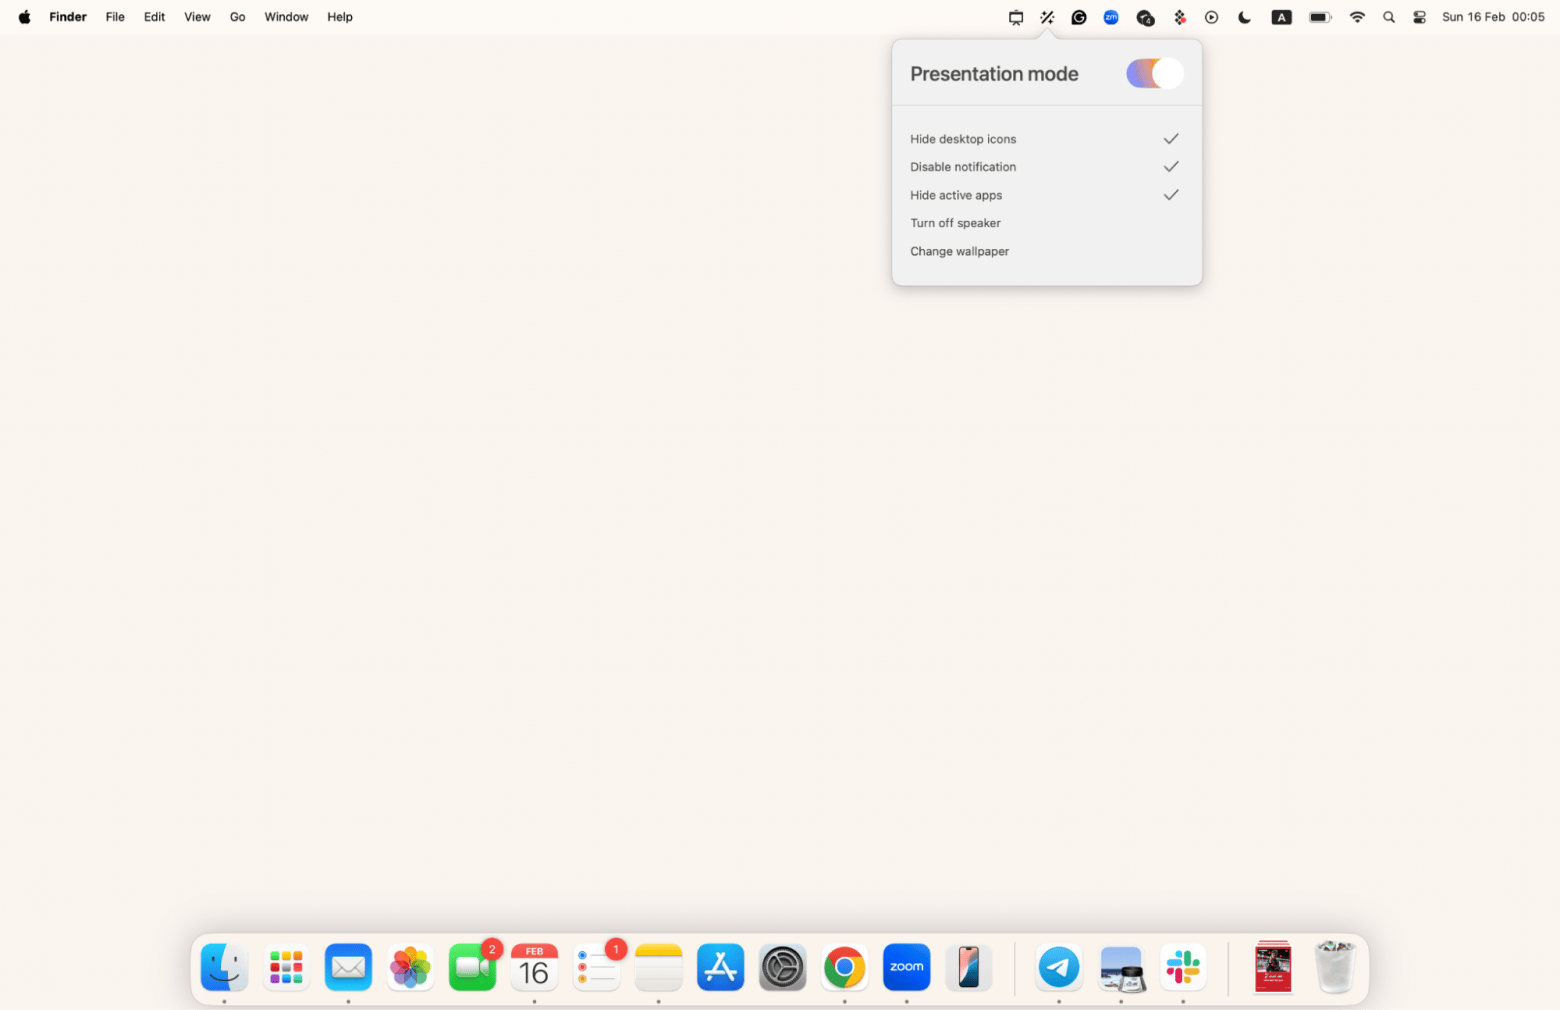
If you’ve ever shared your screen mid-meeting only to have an embarrassing notification pop up — whether it’s a random Slack message or a text from your mom asking about dinner — you know the struggle. That’s why I started using PliimPRO, and honestly, I wish I had found it sooner.
With one click, PliimPRO hides desktop clutter, mutes notifications, and even lets you mute your mic — so I never have to scramble to close personal apps before a presentation. It works across Zoom, Google Meet, FaceTime, and more, meaning I don’t have to tweak settings for each platform. Plus, everything goes back to normal as soon as I turn off presentation mode.
Presentify to share and annotate, highlight, and draw anywhere on the screen
Screen sharing can be frustrating. I used to constantly say, "Wait, can you see my screen?" or awkwardly move my cursor around, hoping people followed along.
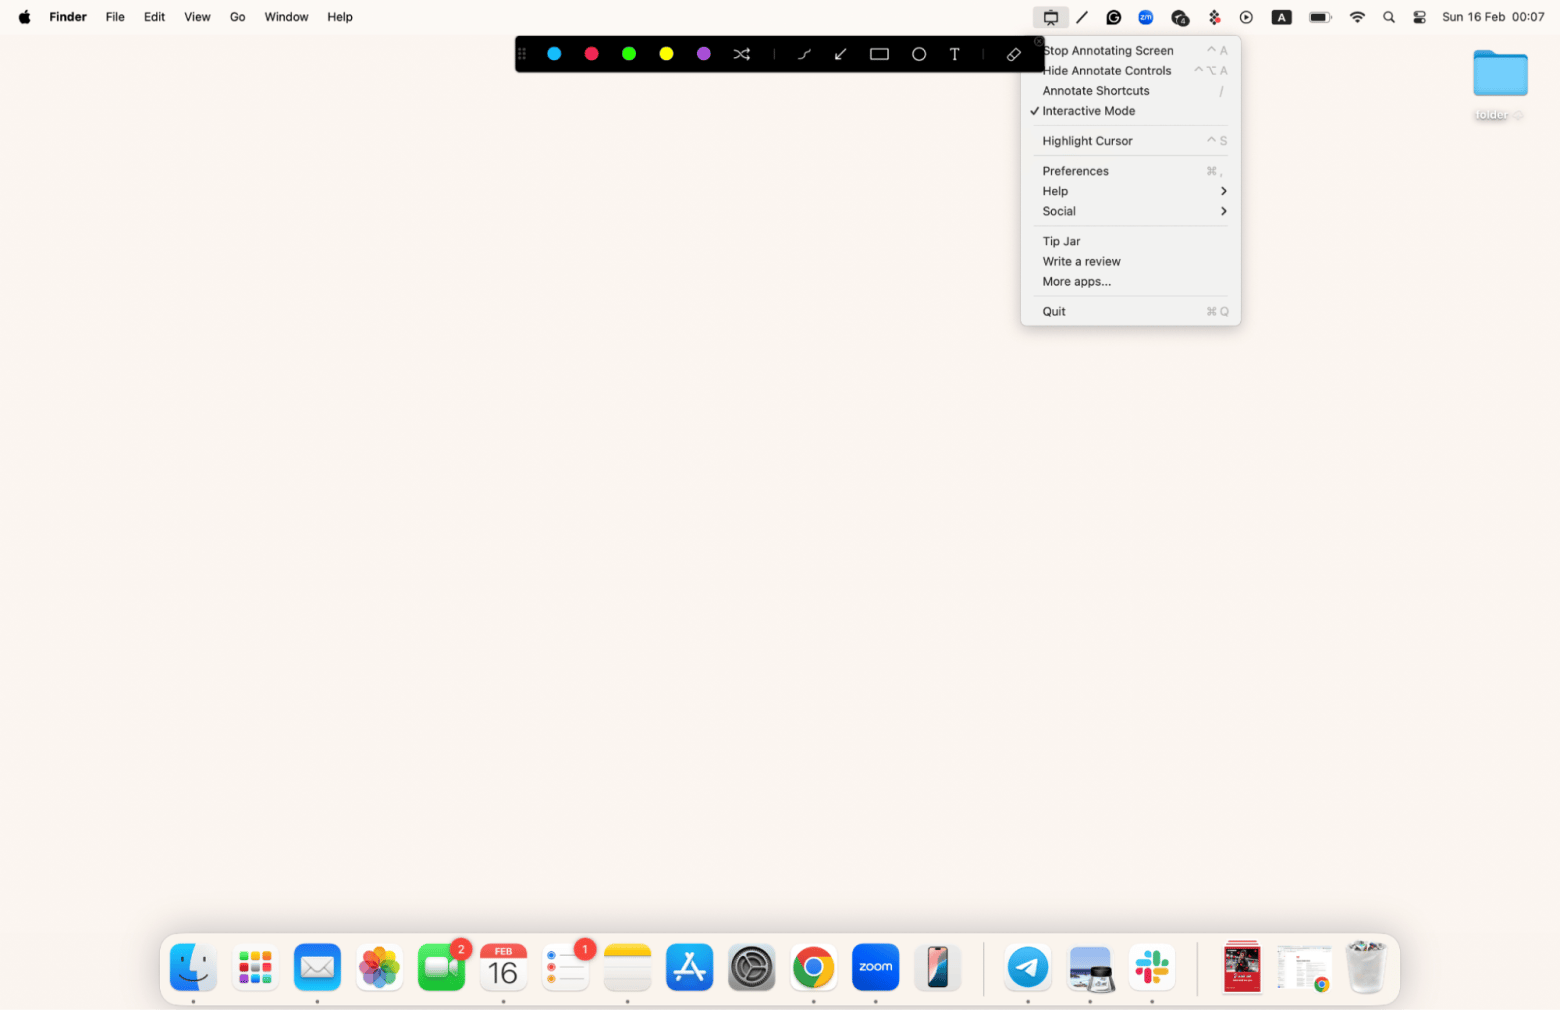
That’s where Presentify helps. It lets me draw on my screen during presentations so I can point things out instead of overexplaining. If I need to highlight a section of a report or guide someone through a document, I just switch on annotations and mark it up directly. The cursor highlight is another small but useful feature — especially when jumping between windows.
CleanPresenter for presenting on a big screen, stress-free
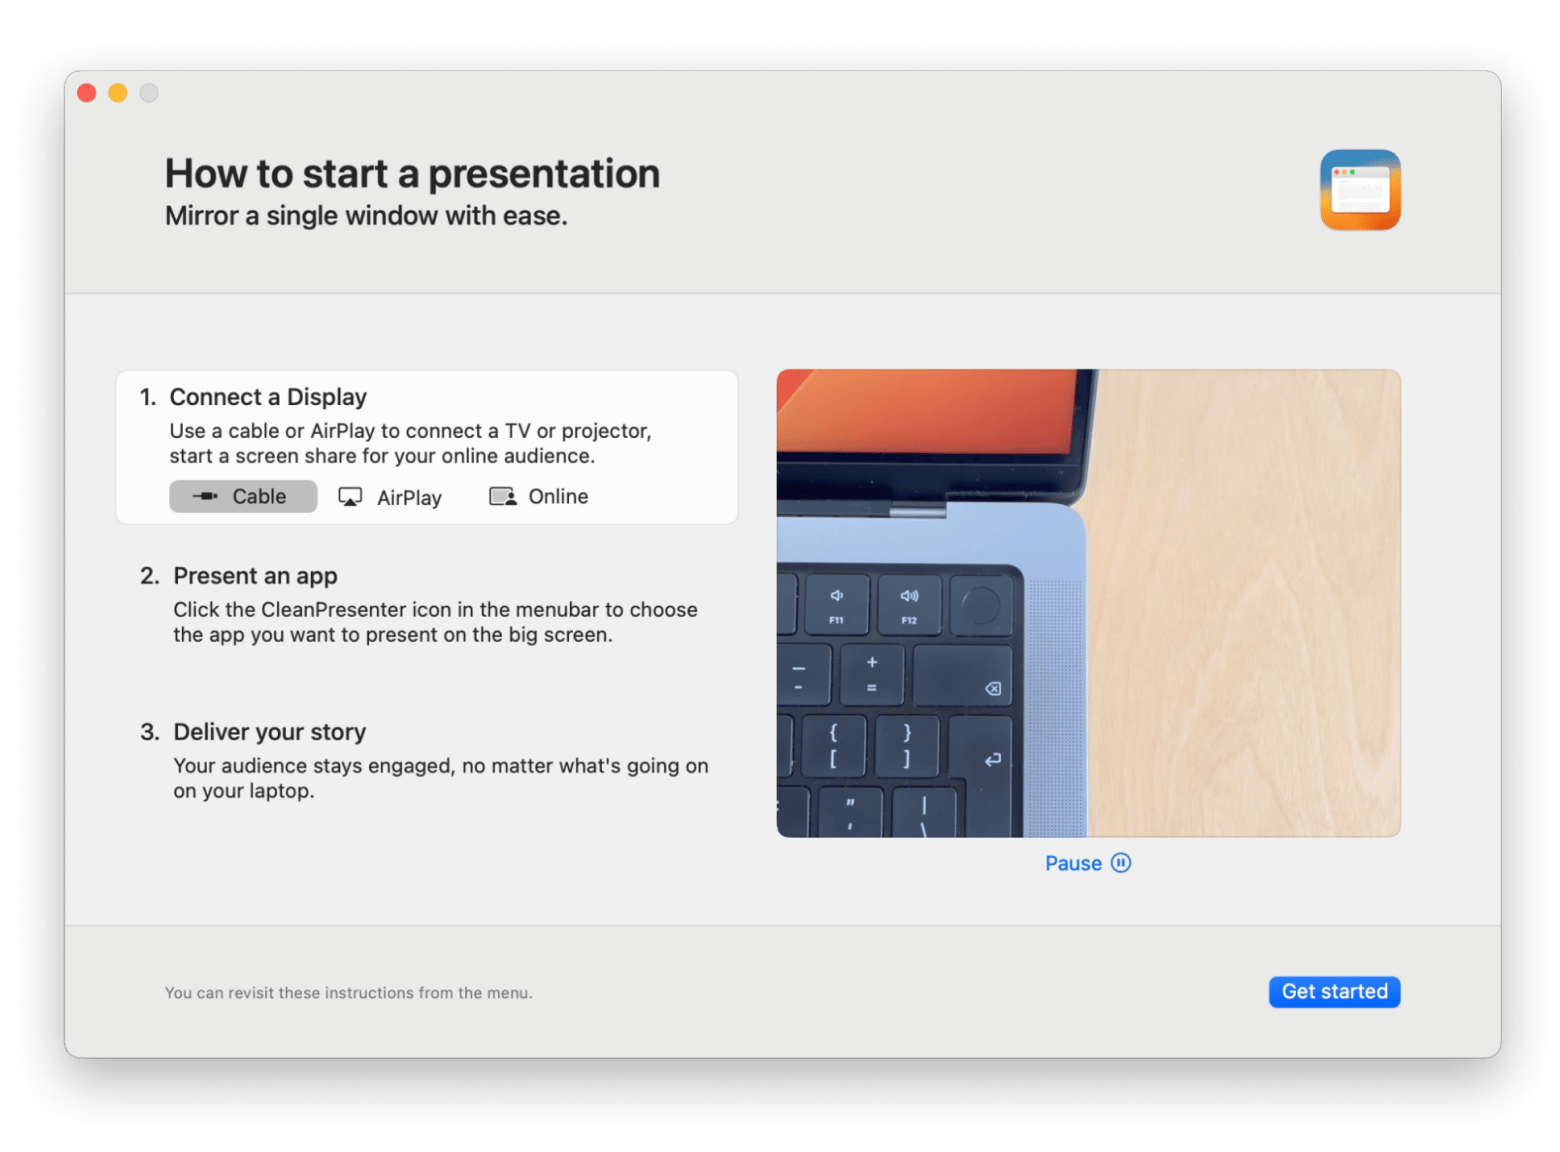
There’s nothing worse than sharing your screen mid-meeting and realizing your entire desktop (personal messages and random files) is on full display. That’s why I started using CleanPresenter. Instead of sharing your whole screen, the tool lets you mirror a single window onto a bigger screen or during video calls.
Plus, it automatically hides notifications and desktop clutter, so I don’t have to triple-check everything before sharing.
How I run meetings with CleanPresenter:
- If I’m presenting on a TV or projector, I first connect my device via cable or AirPlay.
- If it’s an online meeting, I click the CleanPresenter icon in the menu bar.
- Optionally, I go to CleanPresenter icon > Settings > Appearance and set a custom background.
- Then, I choose the app I want to present.
Online tools for screen-sharing calls
Sometimes, free screensharing tools are your lifesaver. Luckily, many online tools (which you all know since 2020) make it easy to share your screen with just a few clicks, no matter what device you're on.
Here are some of the most popular screen-sharing tools:
- Zoom: The go-to for virtual meetings. Just hit Share Screen during a call and pick what you want to display. Bonus: It lets you annotate while sharing, which is great for live feedback.
- Google Meet: A free, no-download option for Google users. Click Present Now, select your screen, and you’re all set. Simple and effective.
- Chrome Remote Desktop: More than just screen sharing, this tool lets you control another computer remotely, which is ideal for IT help or working across different devices.
- Slack: If your team lives on Slack, you can start a video call and share either your full screen or just a specific app window — perfect for quick work check-ins.
- TeamViewer: The best option for remote troubleshooting and collaboration. You’ll need to set up an account, but once connected, you can fully control the other computer.
- Skype: Not as popular as it once was, but still solid. Click Share Screen during a call, and you’re good to go.
Now you know how to share screen on Mac
Screen sharing is one of those essential skills that you don’t think about — until you need it. Go ahead and pick whichever method or tool works best for you.
But let me remind you of my top picks:
- PliimPRO keeps your desktop clean and distraction-free before a meeting.
- Presentify helps you highlight, annotate, and guide viewers effortlessly.
- And when it’s time to present on a big screen, CleanPresenter makes it seamless.
All these apps (and 250+ more) are available on Setapp, where you get unlimited access to top-tier Mac and iOS tools for a single subscription. And with a 7-day free trial, you can try them out and see what fits your workflow — no strings attached.
FAQ
What is the best screen share app for Mac?
The best screen share app for Mac depends on your needs:
- PliimPRO is a great choice for a distraction-free presentation.
- Presentify works best for annotating or highlighting during a screen share.
- CleanPresenter is a good option for presenting on a big screen.
- For everyday meetings, Zoom, Slack, and Google Meet are solid options.
Does macOS have a built-in screen sharing app?
macOS has a built-in Screen Sharing app that lets you remotely access and control another Mac on the same network. You can find it under System Settings > General > Sharing > Screen Sharing.
How do I stop notifications while screen sharing?
To stop notifications while screen sharing, use PliimPRO. It can hide notifications, mute distractions, and declutter your desktop before screen sharing.
Can I record my screen while sharing?
You can record your screen while sharing with Zoom, Google Meet, and Slack. If you need to record and annotate, try Presentify, which lets you highlight and draw on the screen while recording.


