How to delete Incognito history in 2026: I made the ultimate guide
Every browser has some sort of private browsing or Incognito mode, which is a godsend for those who want to keep their browsing history private. For example, when you’re searching for a gift for your loved one, you don’t want them to know your plans. Actually, no matter what you’re doing on the internet, you want it to remain a secret. Will it?
Unfortunately, browsing in Incognito mode is so misleading, and many people don’t even realize that tracking your browsing history through private mode is still possible.
In this article, we’ll discuss how to find Incognito history, how to delete it, and whether it’s safe to rely on this feature if you want to protect yourself.
But first, let me show you quick solutions:
What’s the problem? | Here’s what to do |
Incognito mode doesn’t hide you online | Use ClearVPN to encrypt traffic and hide your IP. |
DNS cache reveals private browsing | Clear it via Terminal (sudo killall -HUP mDNSResponder). |
SPs and networks can track you | VPN blocks tracking and masks activity. |
Advertisers still follow you | Use AdLock to block trackers and ads. |
Shared browser sessions leak data | Use Unite to isolate sites into standalone apps. |
Incognito only hides local history | Combine Incognito with VPN for full privacy. |
How does Incognito browsing work?
If you’ve ever used Incognito mode in your browser and then gone back to look at your history, you’ll know that the sites you’ve visited aren’t saved. This means that people who share your computer with you won’t be able to see what they don’t need to see.
It’s important to understand that the main point of the Incognito mode is not to keep your browsing safe but to make sure that whatever it is you’re doing online doesn’t leave any cookies or browsing history on your computer. That’s it!
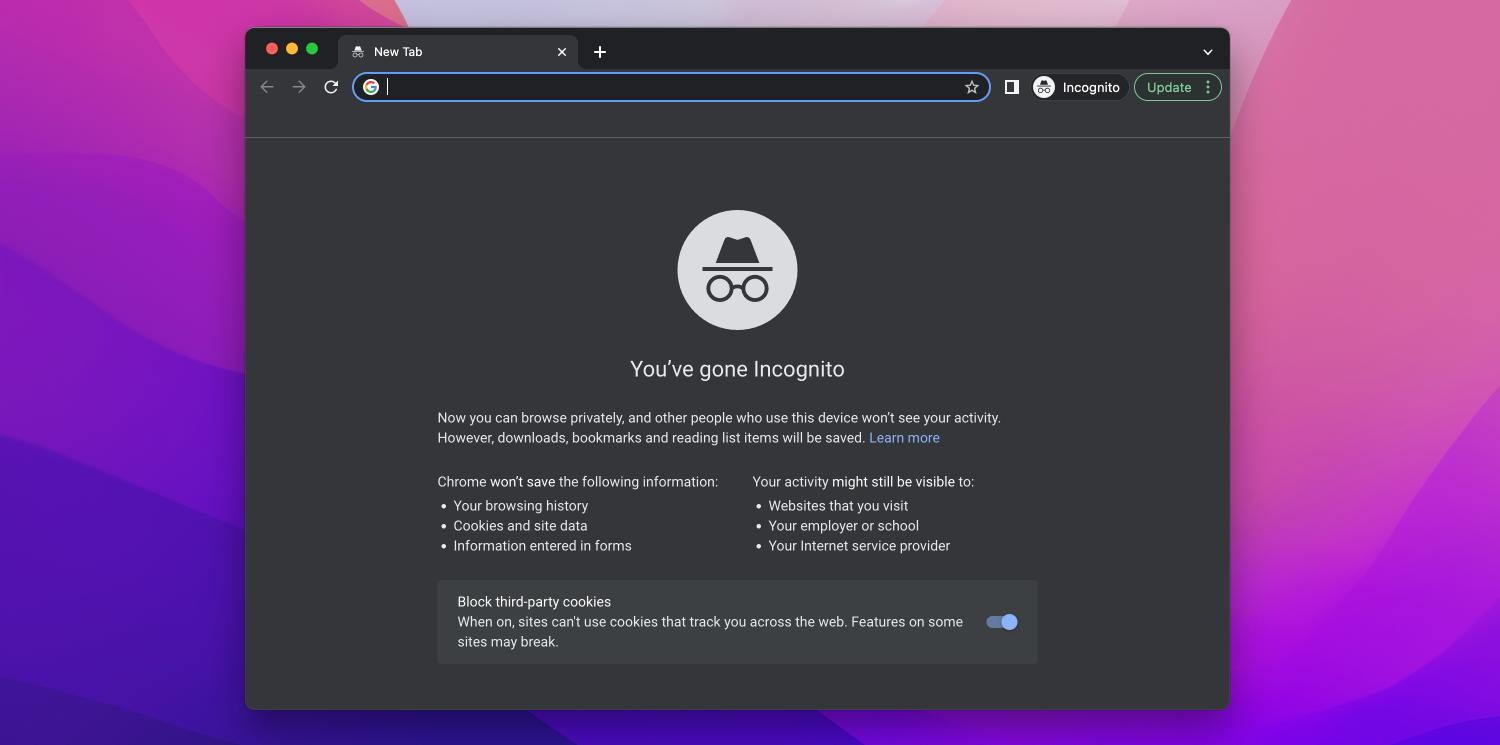
However, even this is not entirely true. If someone needs to identify a site you’ve visited, there is a way to do it on your computer. They can examine Incognito’s history cache by querying DNS records. We’ll show you how to view Incognito history and erase those records.
How private is Incognito mode, really?
Incognito mode might initially seem pretty ironclad, but the reality is that it’s really just used as a way to not store any history on your device — not to shield your online activity from external parties. Your Internet Service Provider (ISP) and the websites you visit will still be able to see what you’re up to, and you won’t be protected against hackers either.
What Incognito mode hides:
- Browsing history on your device
- Cookies (after the session ends)
- Auto-fill data
What it doesn't hide:
- Browsing history from ISPs and networks
- Your IP address and location
- Cookies (in real-time)
- Tracking by ISPs and websites
- Downloads and bookmarks
- Activity on Wi-Fi
Also, check out how to use Private Browsing in Safari on iPhone, iPad, and Mac.
How to see Incognito history on Mac
On Macs, there’s something called the Terminal archive. Whether you use Safari Private Browsing or not, the Terminal archive contains all the websites you visit. This is because when you view a page for the first time, your Mac saves static images and other files. As your Mac retrieves the essential files from the Terminal archive, subsequent visits to these sites and page loading will be much faster.
How to view private browsing history in Safari on Mac
Step 1:
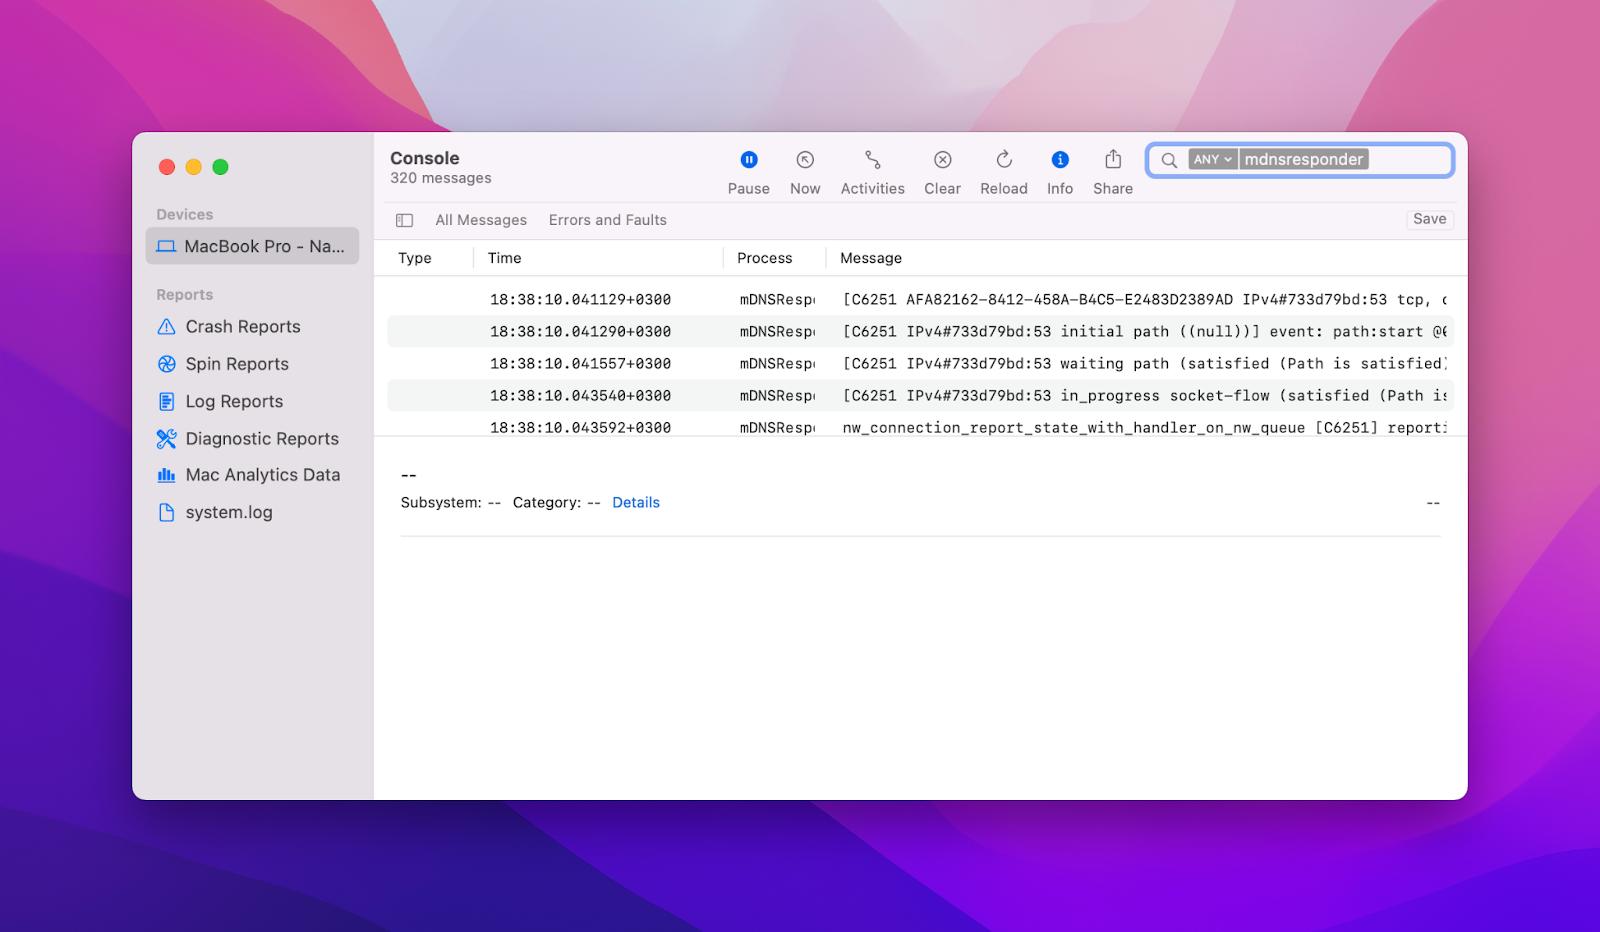
- Go to Utilities > Console
- Select your Mac in the sidebar
- In the search box, type: any:mdnsresponder
- Click the Play button in the toolbar
Step 2:
- Go to Utilities > Terminal
- Type the following command into Terminal: sudo killall -INFO mDNSResponder
- Press Return
- You’ll be asked to provide your admin password.
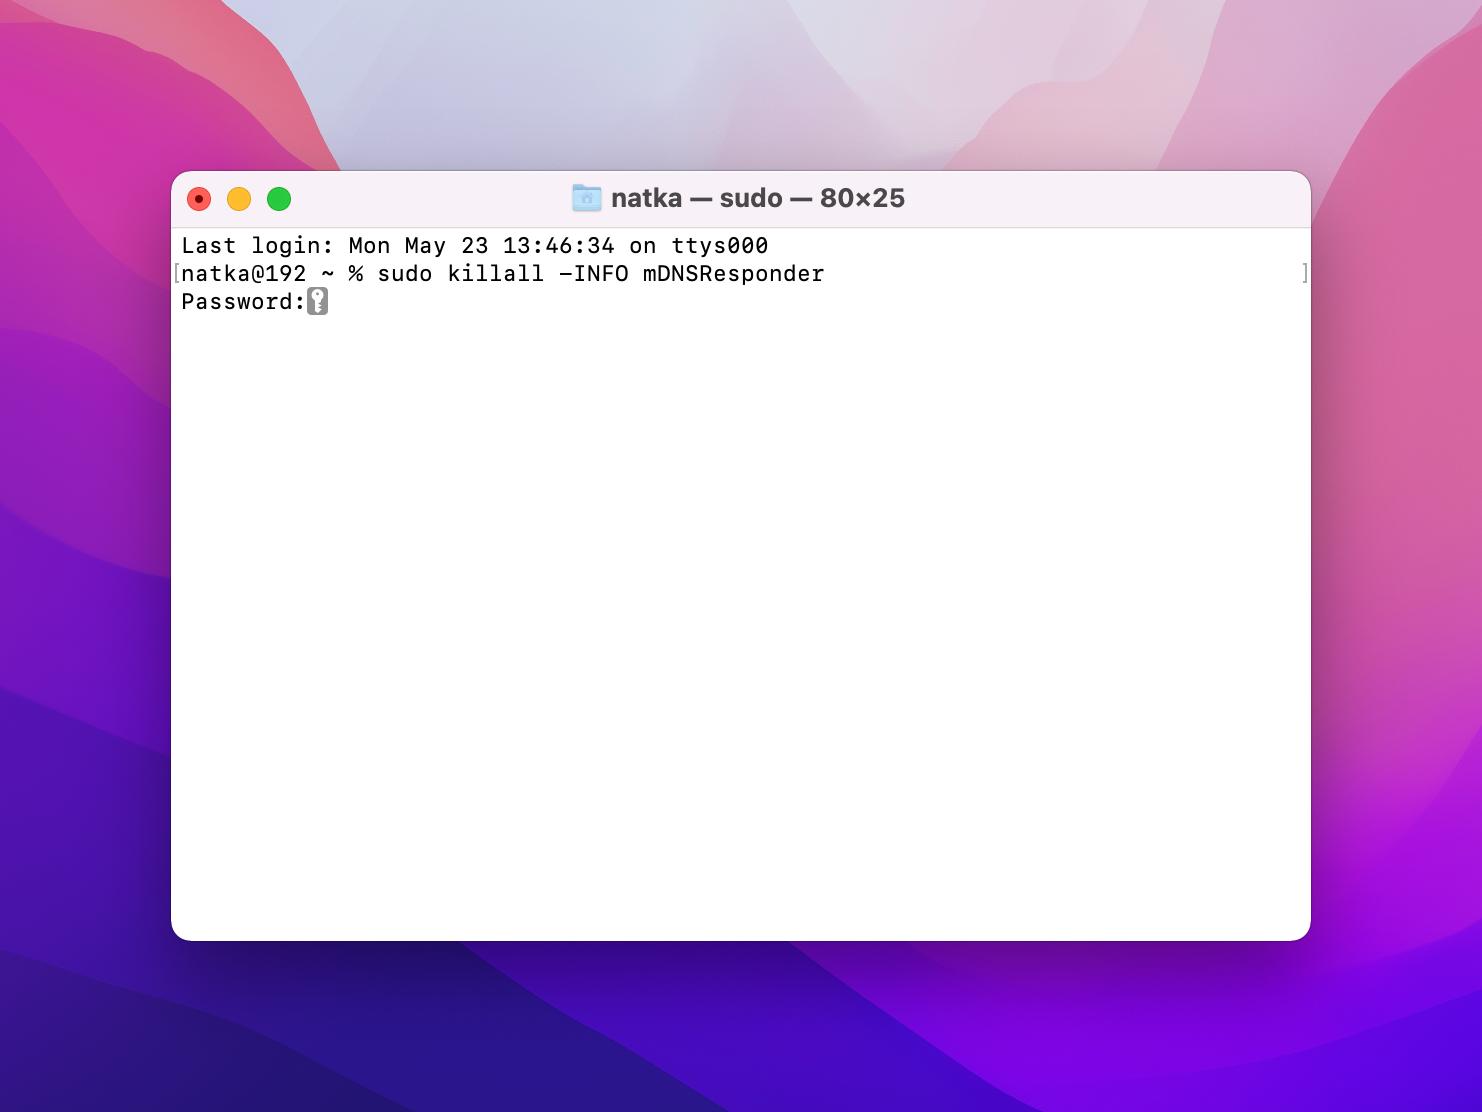
Now you can go back to Console (described in Step 1) and see Incognito history.
Note that the website names are translated into IP addresses when your Mac consults a DNS directory, so you won’t see the exact website addresses.
If you prefer using Chrome and wondering how to check Incognito history in Chrome, follow the above steps. The private history of all browsers are stored in the Terminal archive.
How to delete incognito history
By now, you might be asking yourself how to delete Incognito history stored in the Terminal archive. Follow these steps to get the task done:
- Go to Utilities > Terminal
- Type the following command into Terminal: sudo killall -HUP mDNSResponder
- Press Return
- You’ll be asked to provide your admin password.
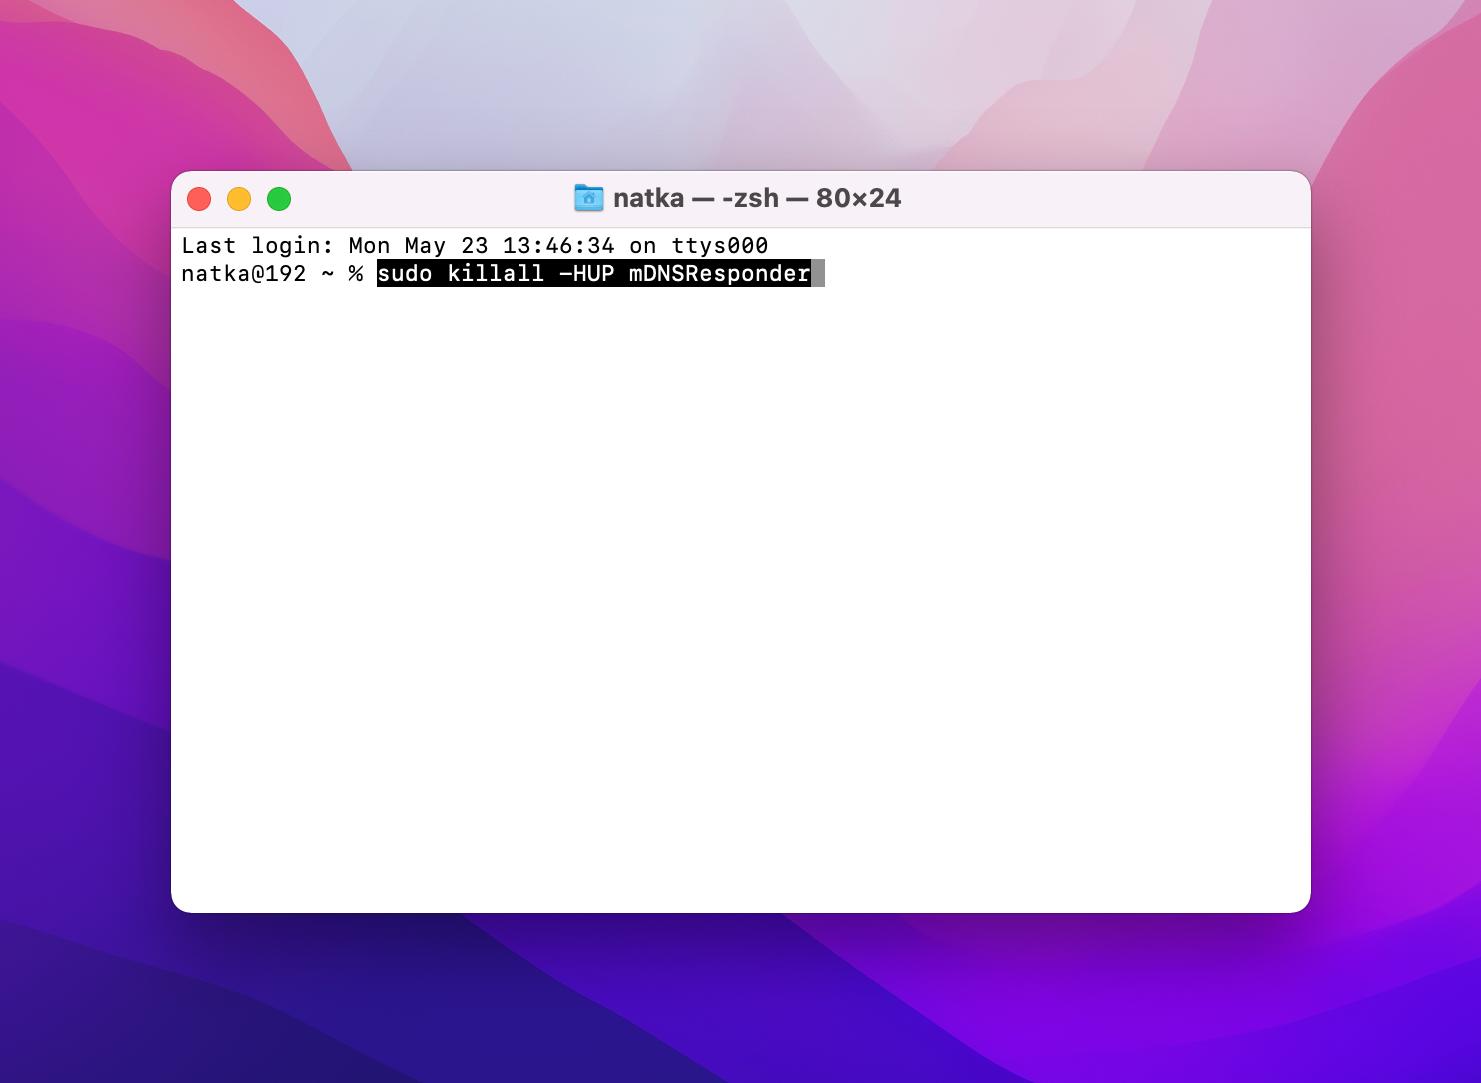
This will clear the DNS cache. Just make sure you don’t change anything else while inside the Terminal.
Incognito mode vs. VPN — Which one is better?
For those who have heard of or even dabbled with a VPN, you might be wondering what the difference is. After all, the premise of both tools is privacy. The thing is that they serve very different purposes. Incognito mode keeps your browsing history private on that specific device, while VPNs provide that full-suite level of encryption and anonymity to keep you safe online.
What Incognito mode does
Incognito mode prevents browsing history from being saved, deletes data and cookies after each session, and avoids auto-login using stored details.
Use when:
- You’re using a shared or public computer.
- You want to access a site without stored cookies.
- You want to keep your browsing private.
What a VPN does
A VPN encrypts your internet traffic from hackers and ISPs, hides your IP address, and prevents cross-site tracking for enhanced online privacy.
Use when:
- You want to protect your online activity from prying eyes.
- You’re using a public Wi-Fi that’s unsecured.
- You want to access geo-restricted content.
If you’re big into privacy, there’s no rule that prevents you from using both at the same time. Using both a VPN and Incognito mode can be useful if you want both temporary privacy that won’t track your browsing history and full protection over your identity and activity online.
Make your online browsing truly private
Obviously, if you want real online privacy, you can’t rely on the Incognito mode. Remember, all the information is stored in the DNS cache on your computer. Furthermore, regardless of which mode you’re in, for example, on a work computer or on your college’s network, the admin can see which sites you’re visiting. The Incognito mode also doesn’t prevent web tracking by advertisers, which gather your data to serve you targeted ads.
Basically, this mode protects your privacy only from other people who can use your computer. If you want to stay anonymous and safe from everybody on the internet, consider other tools.
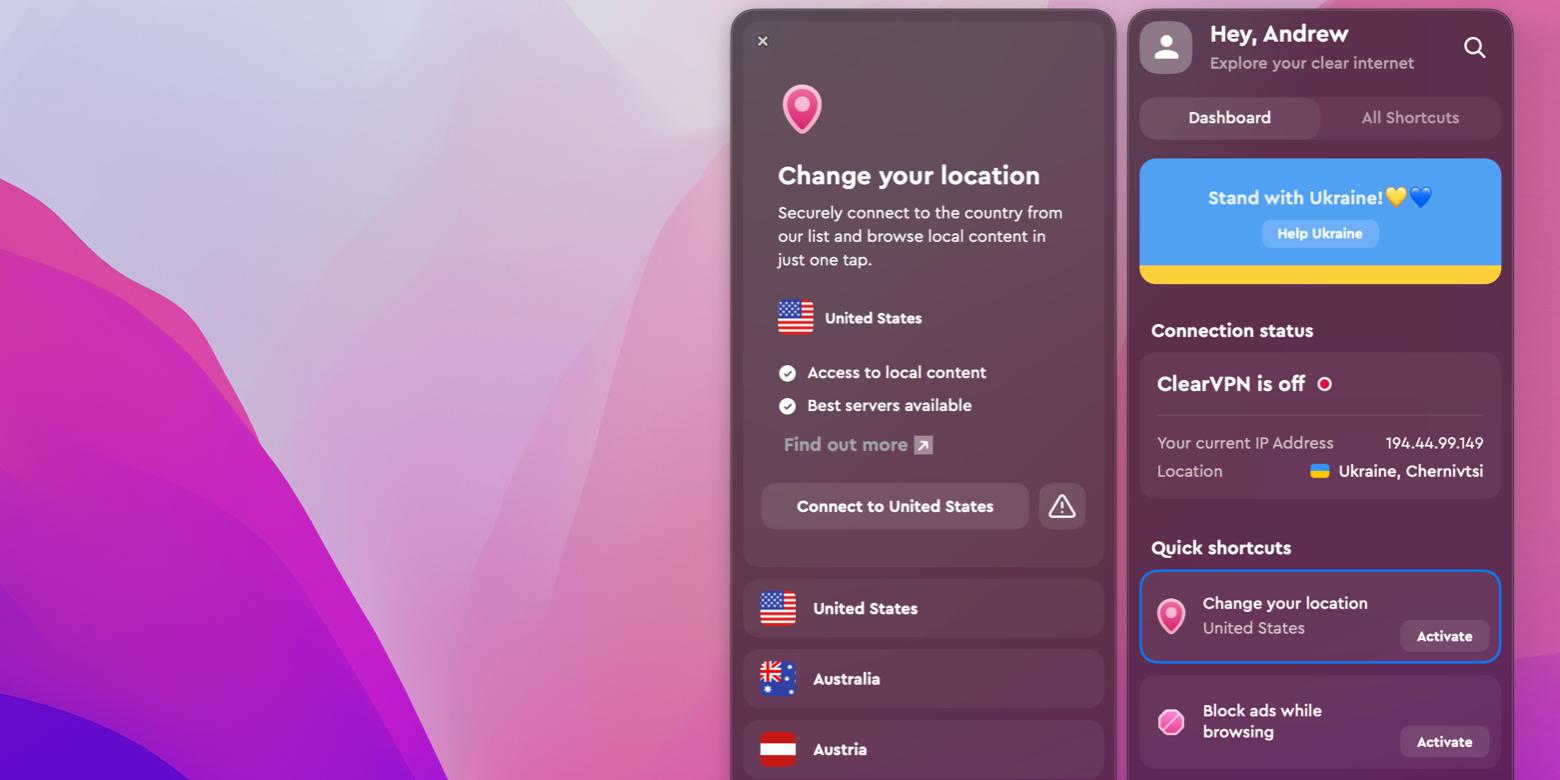
For example, you can use ClearVPN for a more secure online experience. The app encrypts all of your information and assigns you an anonymous IP address. Apart from browsing anonymously, you may find this beneficial in a variety of scenarios. For example, it’ll help you keep your credit card information protected when shopping online; prevent others from eavesdropping on your computer or obtaining your personal information when using public Wi-Fi; get better deals on certain products or services (airplane tickets, hotel bookings, and more).
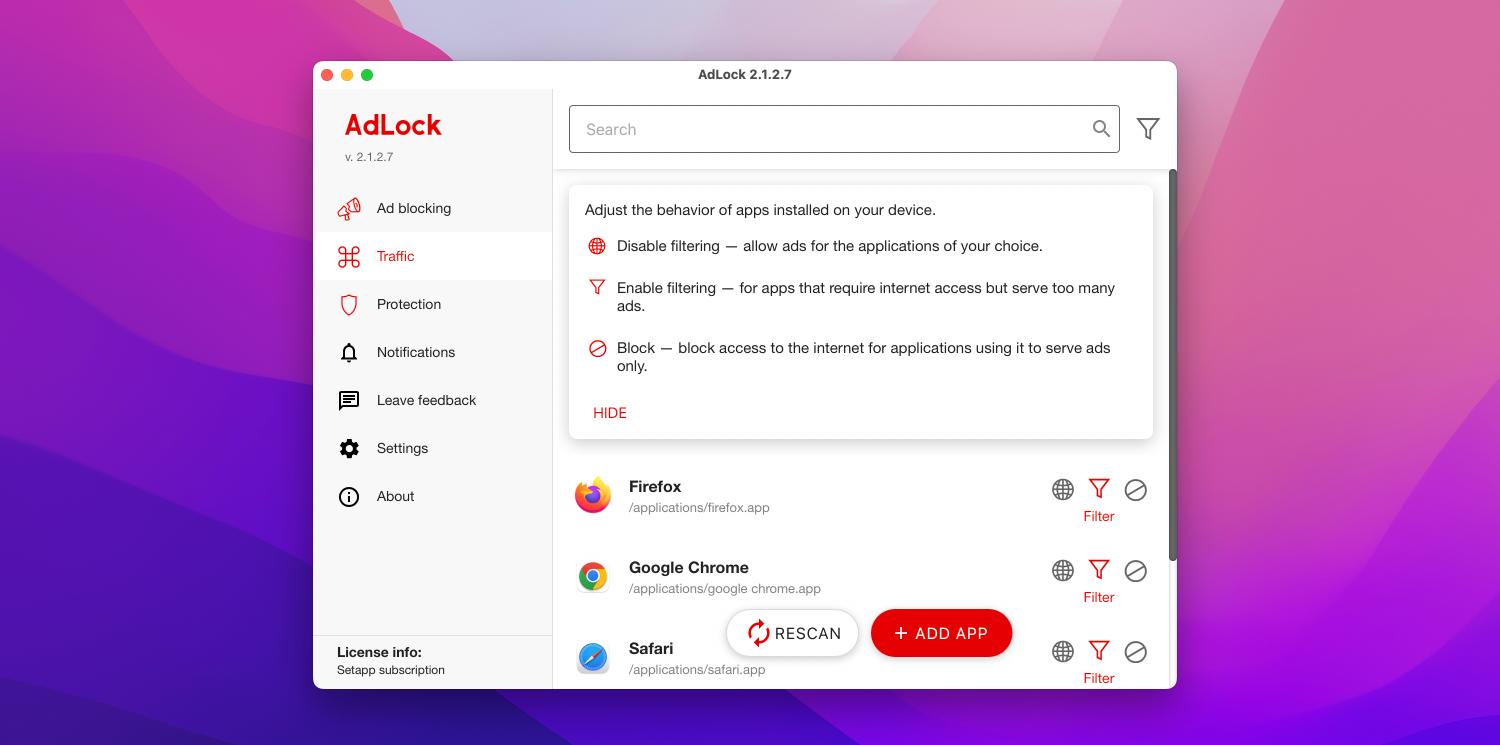
As we already mentioned, using the Incognito mode, you’re not browsing anonymously. You’re just hiding from anyone who has physical access to your device. This means advertisers can still track you. Luckily, there is a way to resolve the issue. Try AdLock to protect yourself against trackers and analytical systems.
Finally, the most interesting part. Did you know that you can turn any website into a Mac app? No coding skills required. You just need to enter the website URL and type in the app name.

With Unite, you avoid many risks. Because each app comes with its own browser, your data will be isolated to the app you’ve created.
Ensure top online privacy: the perfect combination
The Incognito mode is a handy yet thin layer of privacy protection. It does nothing but hides your browsing history from other people who can use your computer (they still can recover data stored in the DNS cache). However, you’re not browsing anonymously.
The Incognito mode isn’t useless, but it works better in tandem with other powerful tools such as ClearVPN, AdLock, and Unite. By combining them, you can protect your privacy from anyone you share your computer with and from third parties at the same time. If you want to try the apps mentioned in this article, do it with a Setapp subscription. You pay only $9,99/mo and get access to 230+ useful macOS and iOS apps for any task. The first seven days are free!
FAQ
Can someone see my Incognito history?
Those with access to your network, like your internet service provider or employer will still be able to see your Incognito history, even though it isn’t saved in your browser.
Does Incognito mode protect me from tracking?
Incognito mode doesn’t protect from tracking, since you’re still browsing external sites, advertisers and websites will still see the sites you’re visiting.
Can I delete my Incognito history permanently?
There isn’t such thing as an Incognito history as Incognito doesn’t save a history.
Is a VPN better than Incognito mode?
While Incognito is great if you want local privacy, a VPN will provide the real anonymity and privacy you might be looking for. Your IP address and personal data will all be under wraps, making it difficult to track online.


