Flush DNS cache in seconds with CleanMyMac.
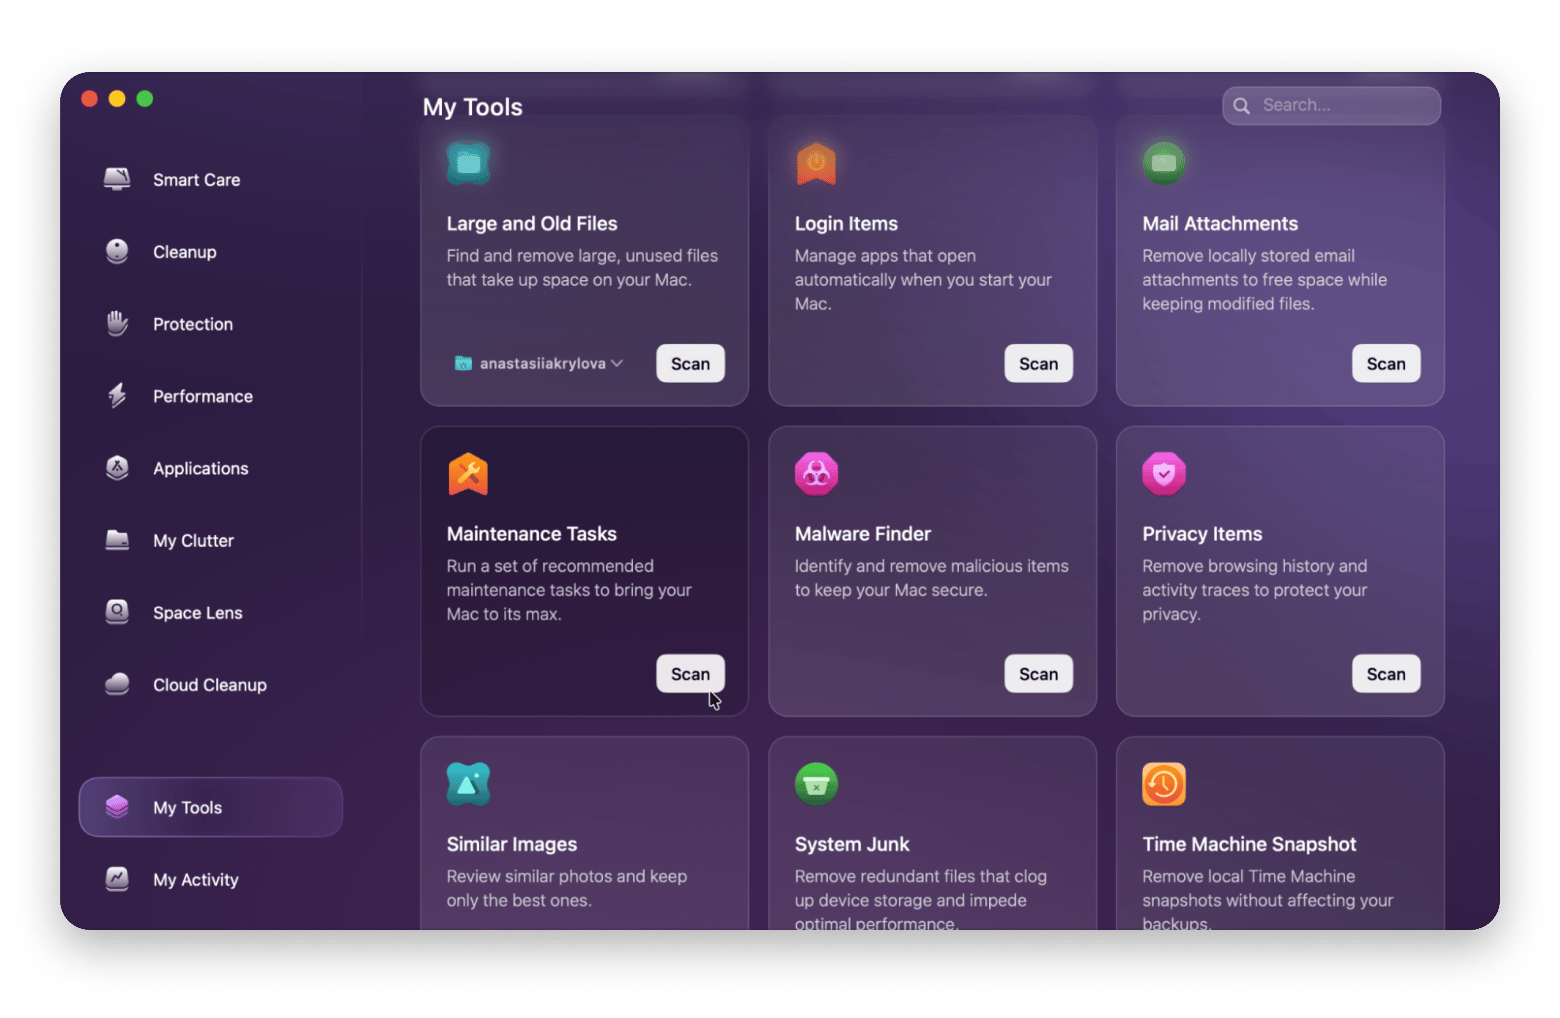
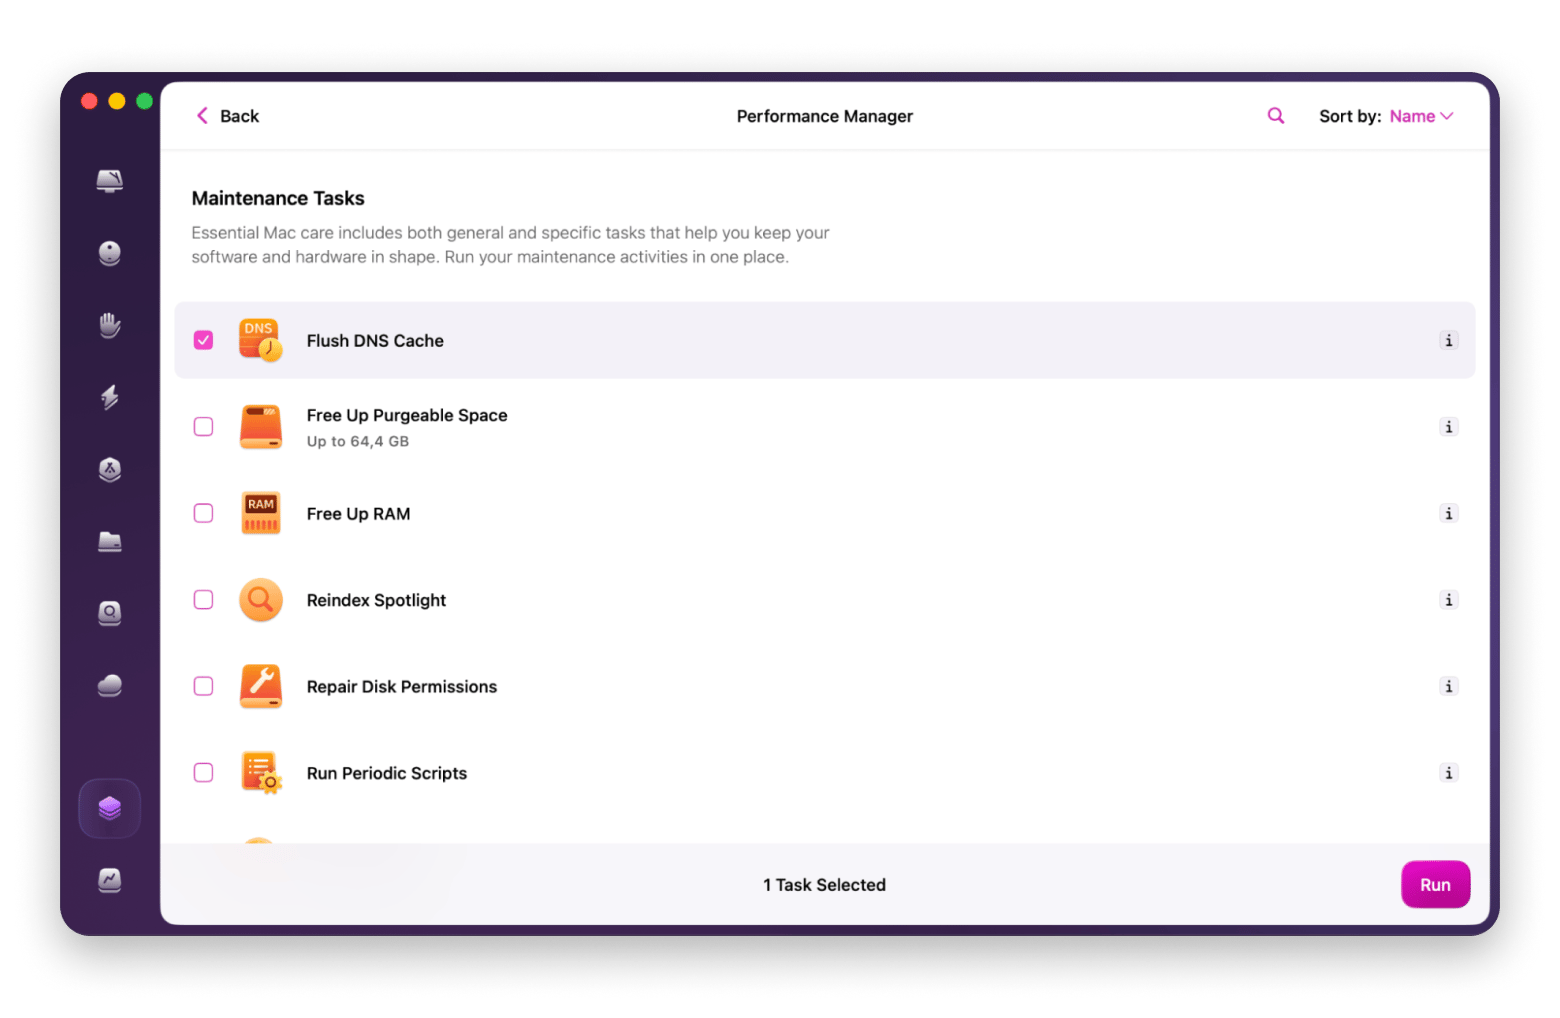
Open CleanMyMac > My Tools > Maintenance Tasks > Flush DNS Cache > Run. No Terminal needed.
Use the right Terminal command for your macOS version.
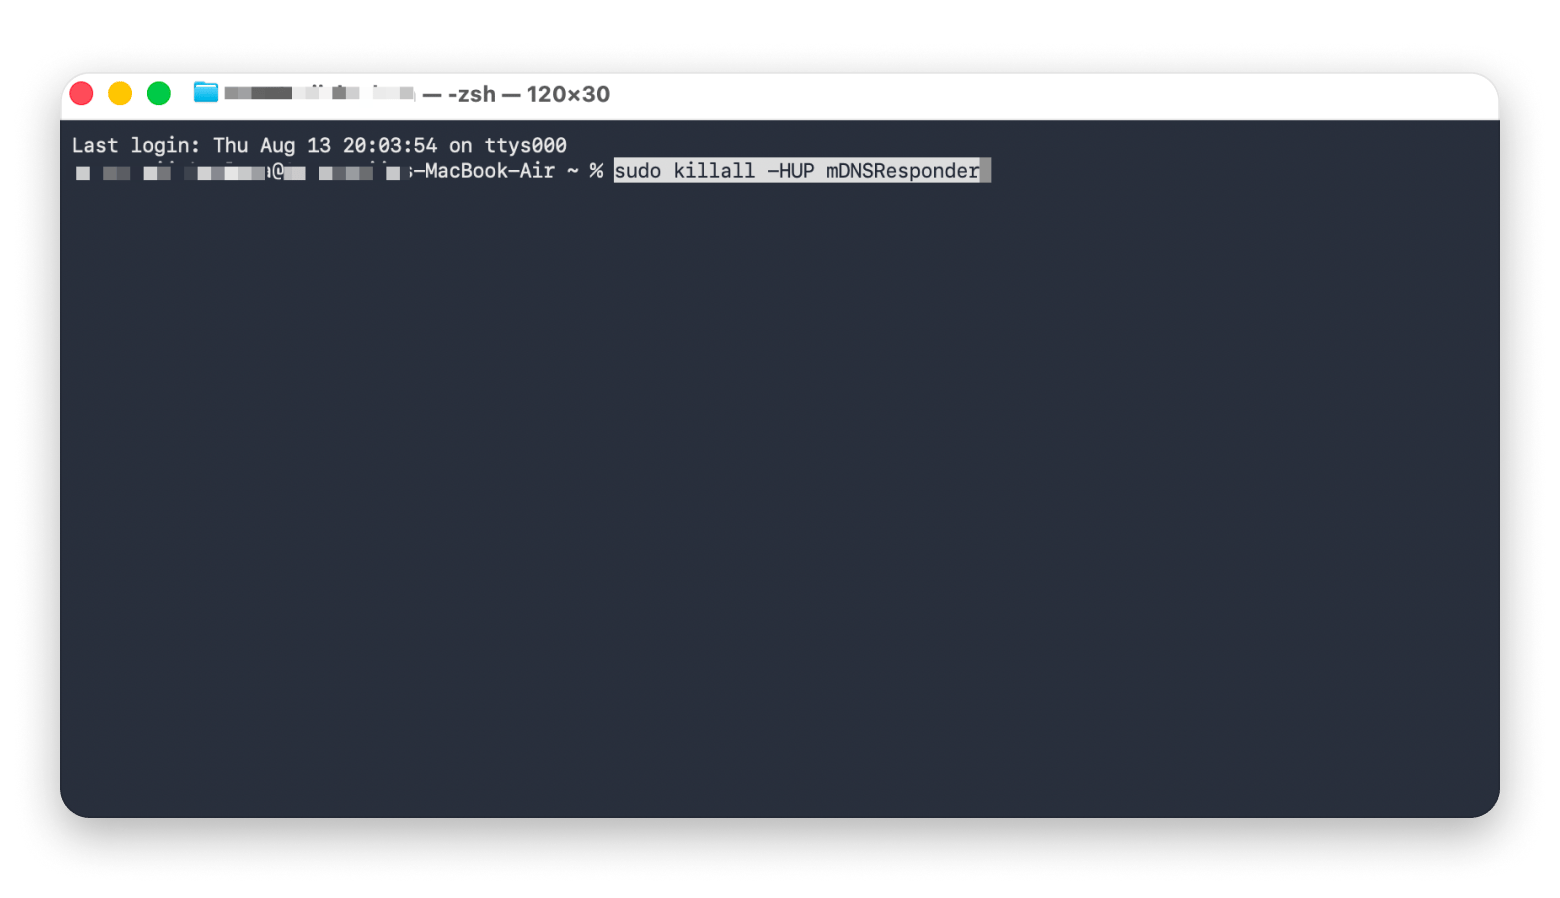
On macOS Tahoe and newer, run sudo killall -HUP mDNSResponder. On Big Sur through Monterey, use sudo dscacheutil -flushcache; sudo killall -HUP mDNSResponder. On Catalina and older, the shorter sudo killall -HUP mDNSResponder works too.
DNS cache stores IP address records to speed up browsing.
When sites change servers or the cache gets corrupted, flushing it forces your Mac to fetch fresh routes.
Persistent DNS issues may need extra steps.
Renewing your DHCP lease, switching to reliable DNS servers like 8.8.8.8 or 1.1.1.1, and clearing browser cache can all help when a basic flush isn't enough.
There are two main ways to flush the DNS cache on your Mac: using special tools like CleanMyMac or doing it manually through Terminal.
DNS cache stores the routes between domain names and IP addresses to speed up browsing. But when websites change their servers or your cache gets corrupted, you need to clear it out. Let me show you exactly how to do it.
Or get CleanMyMac as a standalone app from $9.95 USD/mo — free for 7 days.
Common DNS cache problems and solutions
Here's a quick overview of the main issues you might face and the ways to fix them. I'll walk you through each solution in detail below:
Clear cache with sudo dscacheutil -flushcache command
Browser showing outdated website versions
Flush DNS and clear browser cache
Network connectivity issues after system update
Reset DNS cache using macOS-specific commands
Suspicious redirects or DNS hijacking
Clear cache and check DNS settings
What is DNS cache?
DNS (Domain Name System) translates website names into IP addresses that computers understand. Think of it as your Mac's address book for the internet.
When you visit a website, your Mac saves the route between the domain name and IP address. This saved information is your DNS cache. It helps websites load faster on repeat visits.
How to flush DNS cache on Mac with one click
I prefer using CleanMyMac because it handles DNS flushing without Terminal commands. The app handles everything from junk cleanup to malware removal, including DNS cache issues.
Here's how to flush the DNS cache with CleanMyMac:
1. Open CleanMyMac.
2. Click My Tools in the sidebar > Scroll down to Maintenance Tasks > Click Scan
3. Check the box next to Flush DNS Cache.
4. Click Run.
How to clear DNS cache manually
Prefer doing it yourself? You can flush the DNS cache using Terminal. The exact command depends on your macOS version.
First, check which macOS you're running. Click the Apple menu > About This Mac to see your version. Here's a full list of all macOS versions, in case you want more details on your exact macOS version.
How to flush DNS cache on macOS Tahoe or newer
For the latest macOS releases (Tahoe and beyond), Apple simplified the process:
Open Finder > Applications > Utilities > Terminal.
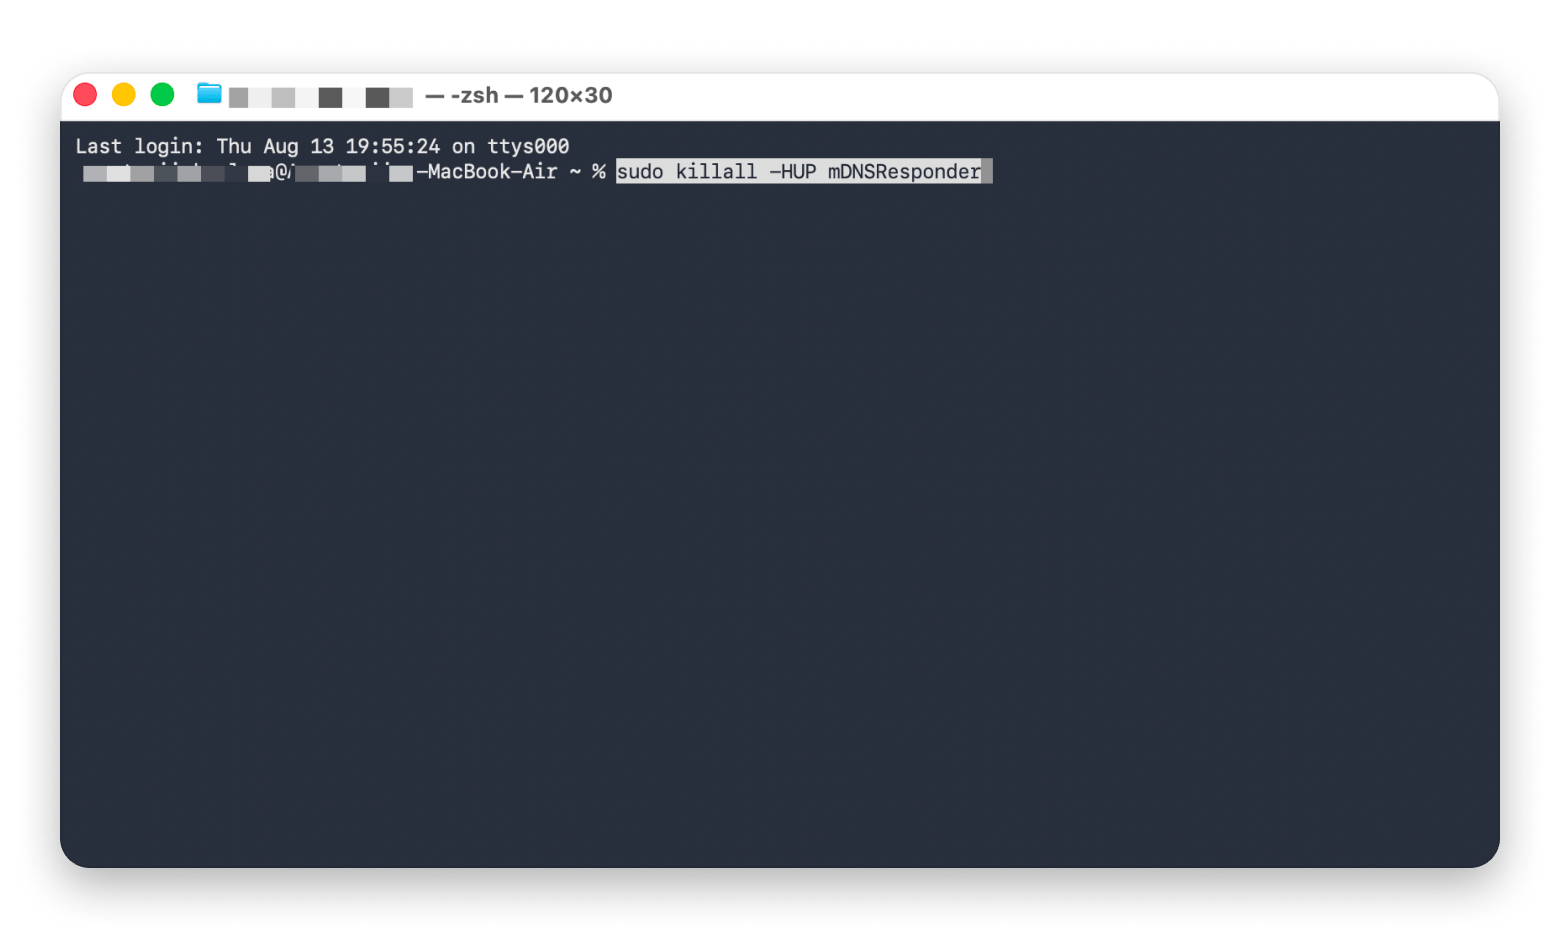
Type this command: sudo killall -HUP mDNSResponder
Enter your admin password when prompted.
Press Return.
Want confirmation it worked? Add this to the command: ; say "DNS cache flushed" — your Mac will tell you when it's done.
How to flush DNS cache on macOS Big Sur through Monterey
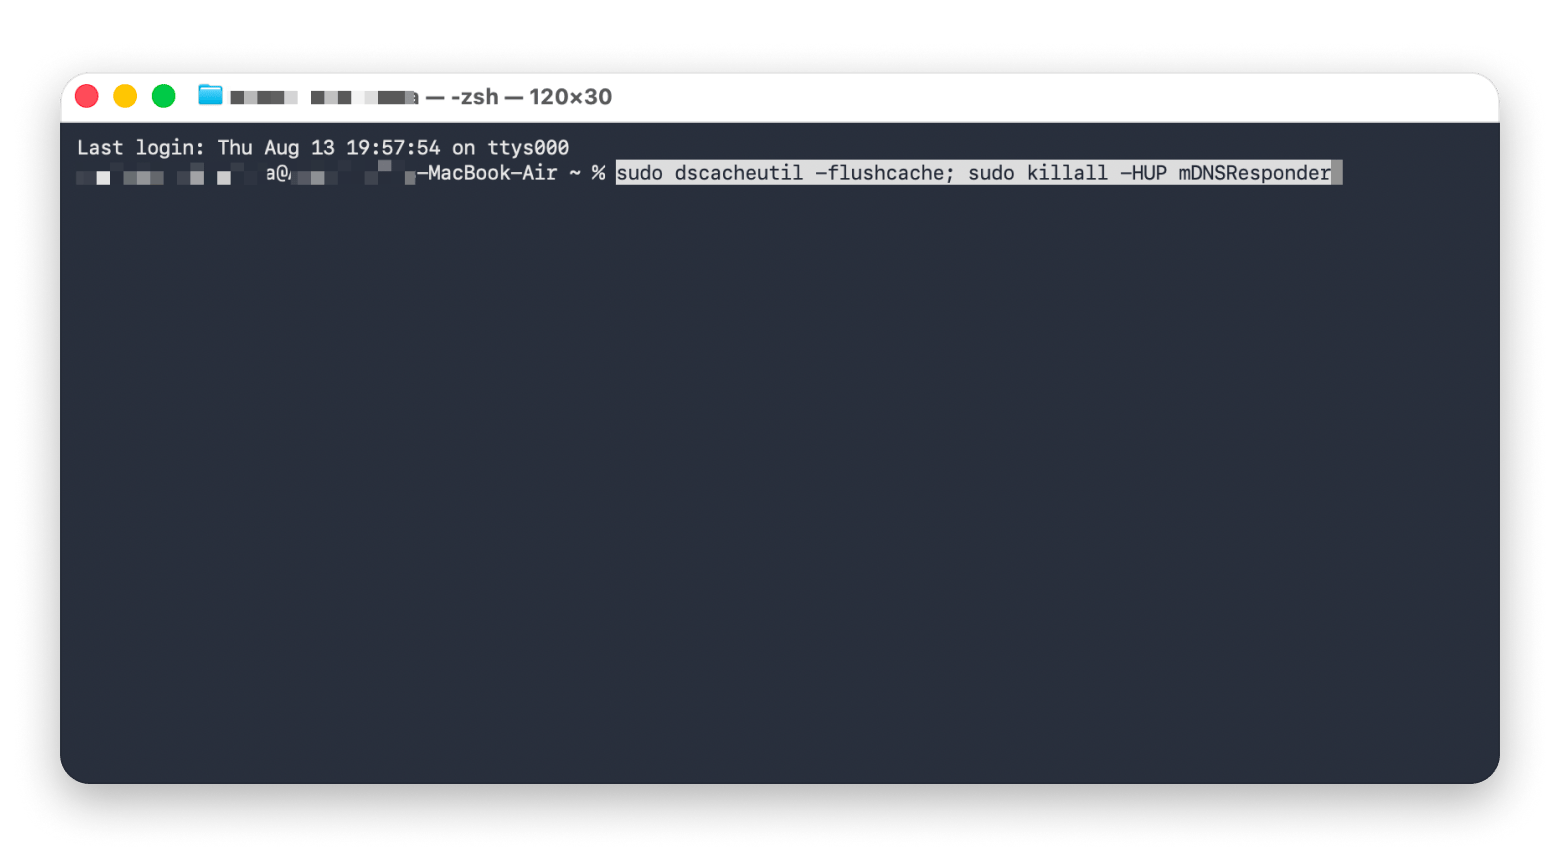
These older versions need a two-part command. To flush the DNS cache with macOS Big Sur:
The command runs both cache utilities to ensure complete clearing.
How to clear DNS cache on macOS Catalina or earlier
Older systems use a simpler command. To clear DNS cache on macOS Catalina or earlier:
Open Terminal.
Type: sudo killall -HUP mDNSResponder
Enter your password.
Press Return.
For macOS Yosemite specifically, use: sudo discoveryutil udnsflushcaches instead.
Best Terminal alternatives for Mac
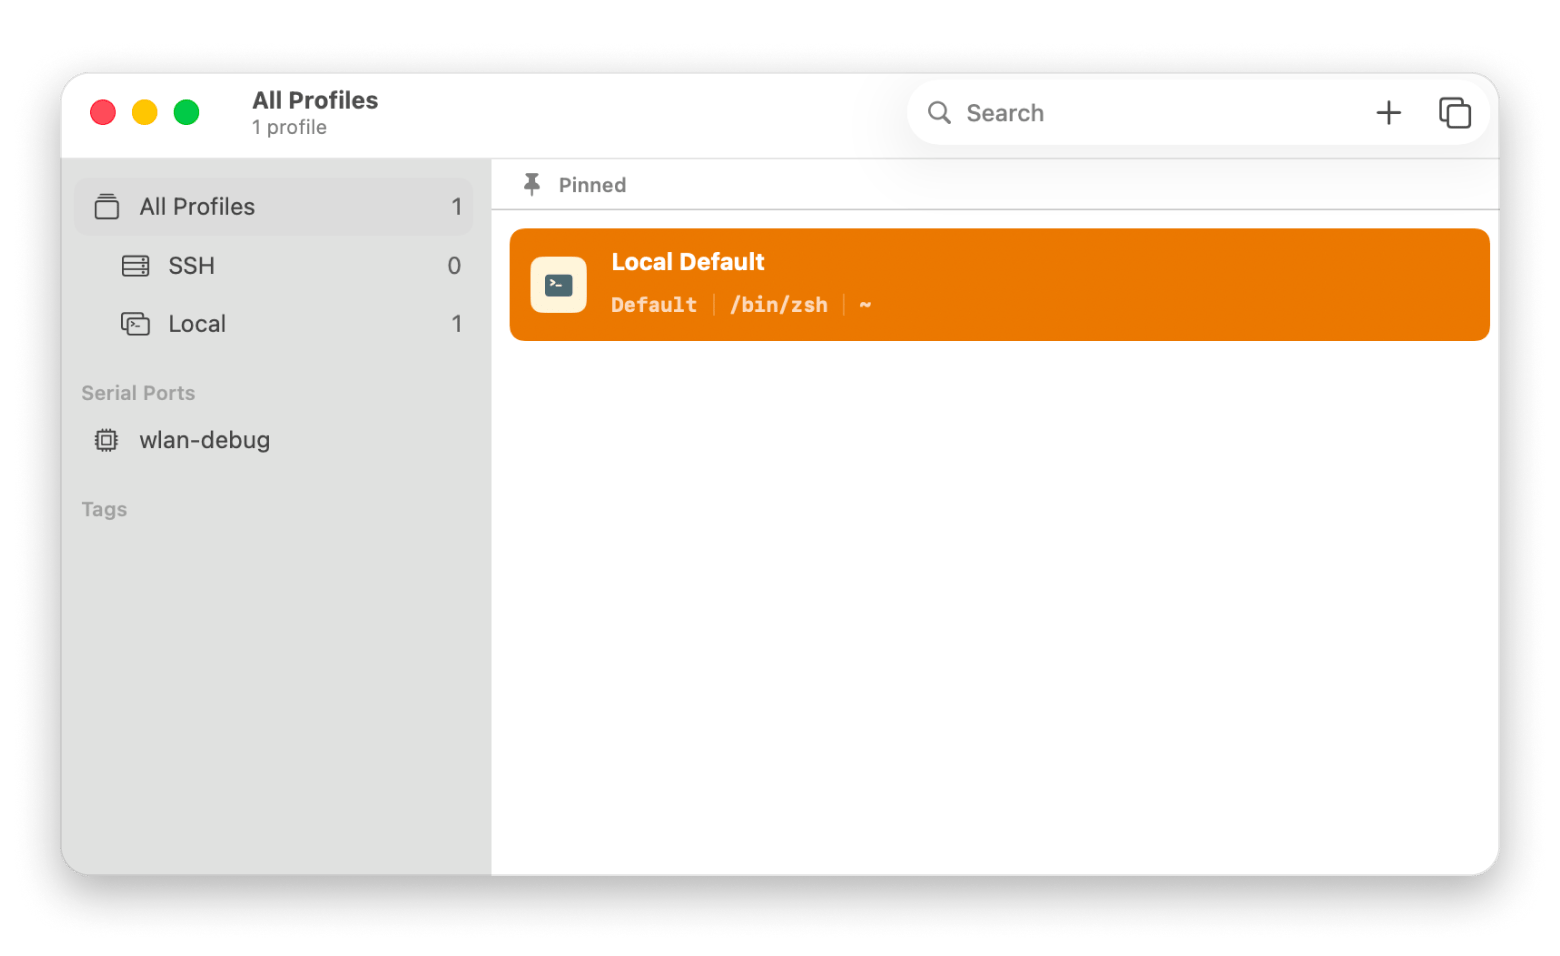
If you spend time in Terminal, upgrading to a full SSH client makes sense. I use Core Shell because it offers one-click logins, automatic reconnects, and macOS keychain integration — perfect for managing multiple connections.
The app simplifies SSH connections with proxy jump support and color customization. It's especially useful if you're troubleshooting network issues beyond just DNS.
Extra tips for faster Mac performance
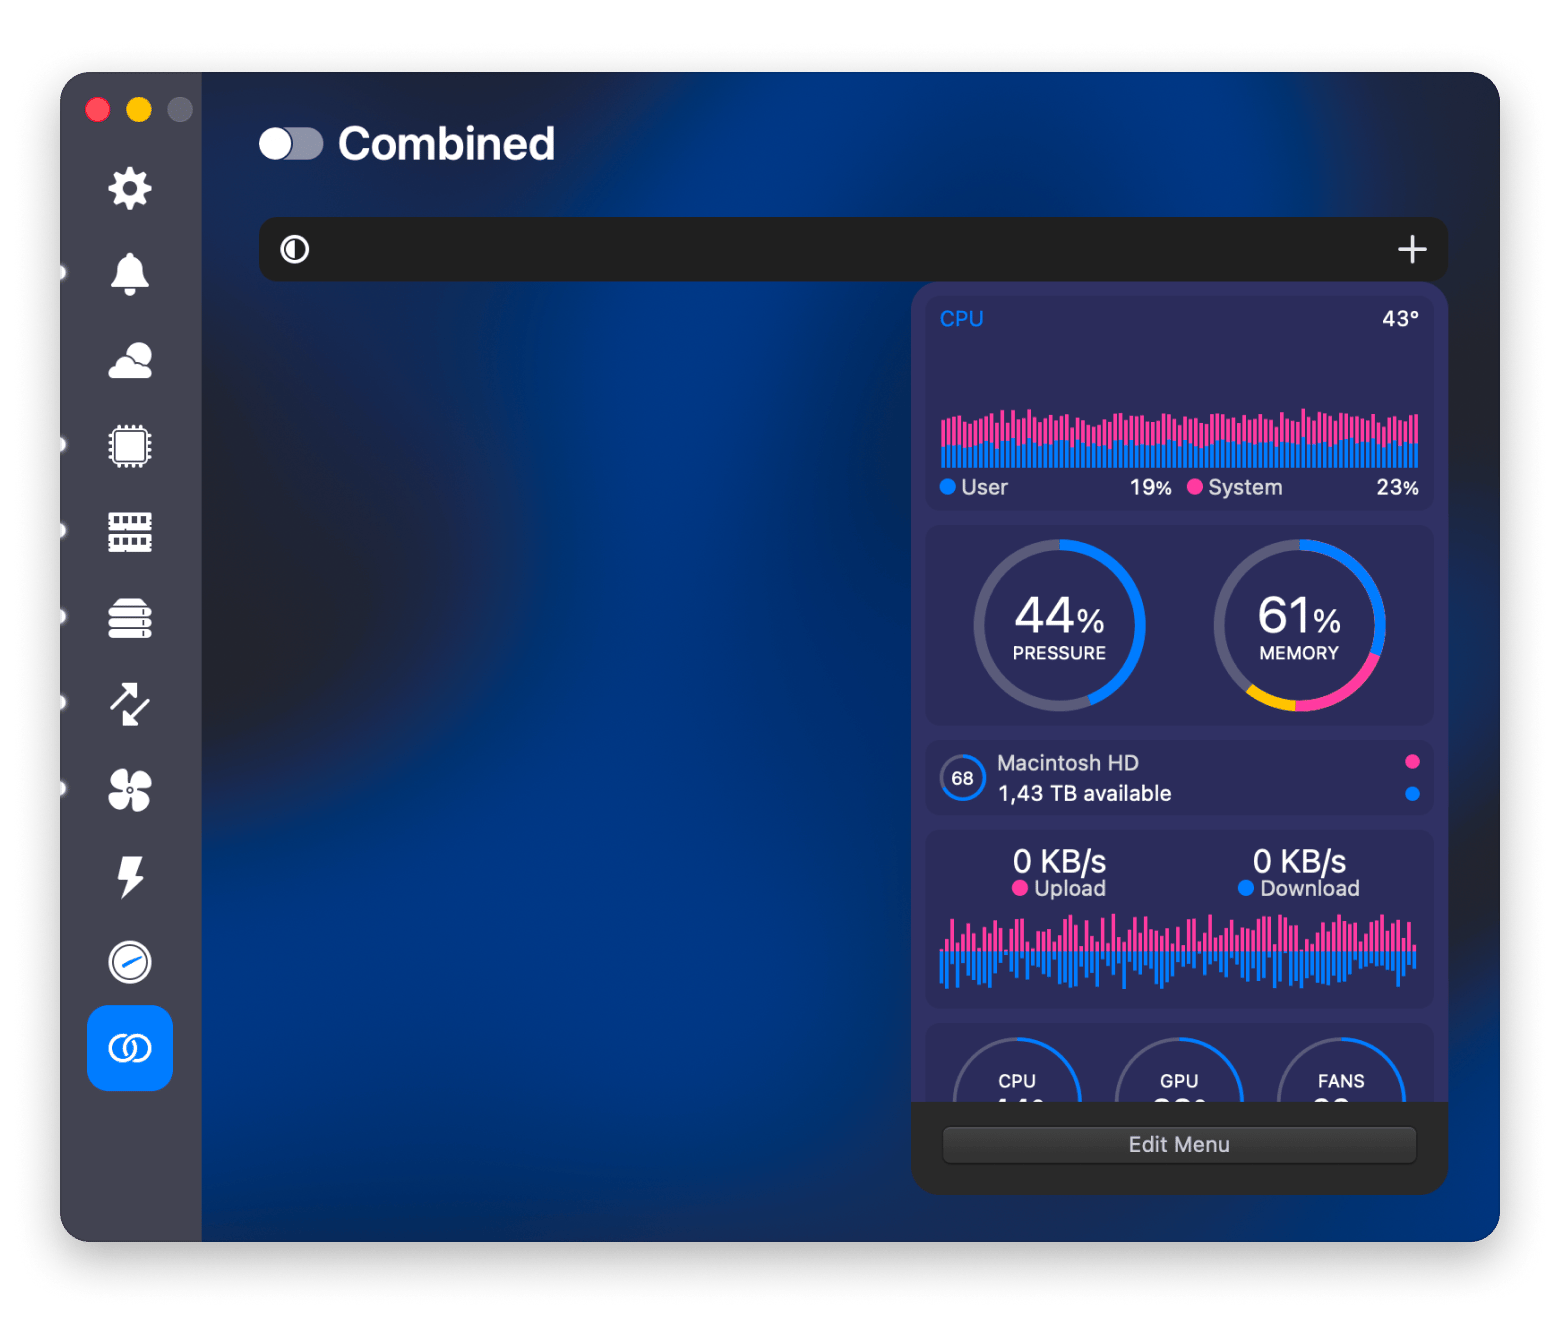
Monitoring your system helps catch problems before they affect performance. I’d recommend iStat Menus for that, as it tracks everything from CPU usage to network activity. What I like most about it is that you can see all the stats right in your menu bar.
The app shows real-time graphs of system resources, so you'll spot network bottlenecks or DNS issues immediately, not after the damage is done.
By the time you notice a DNS problem, you've already lost time troubleshooting. iStat Menus shows network issues in real time — before they disrupt anything. Available on Setapp. Cancel anytime. Get iStat Menus on Setapp.
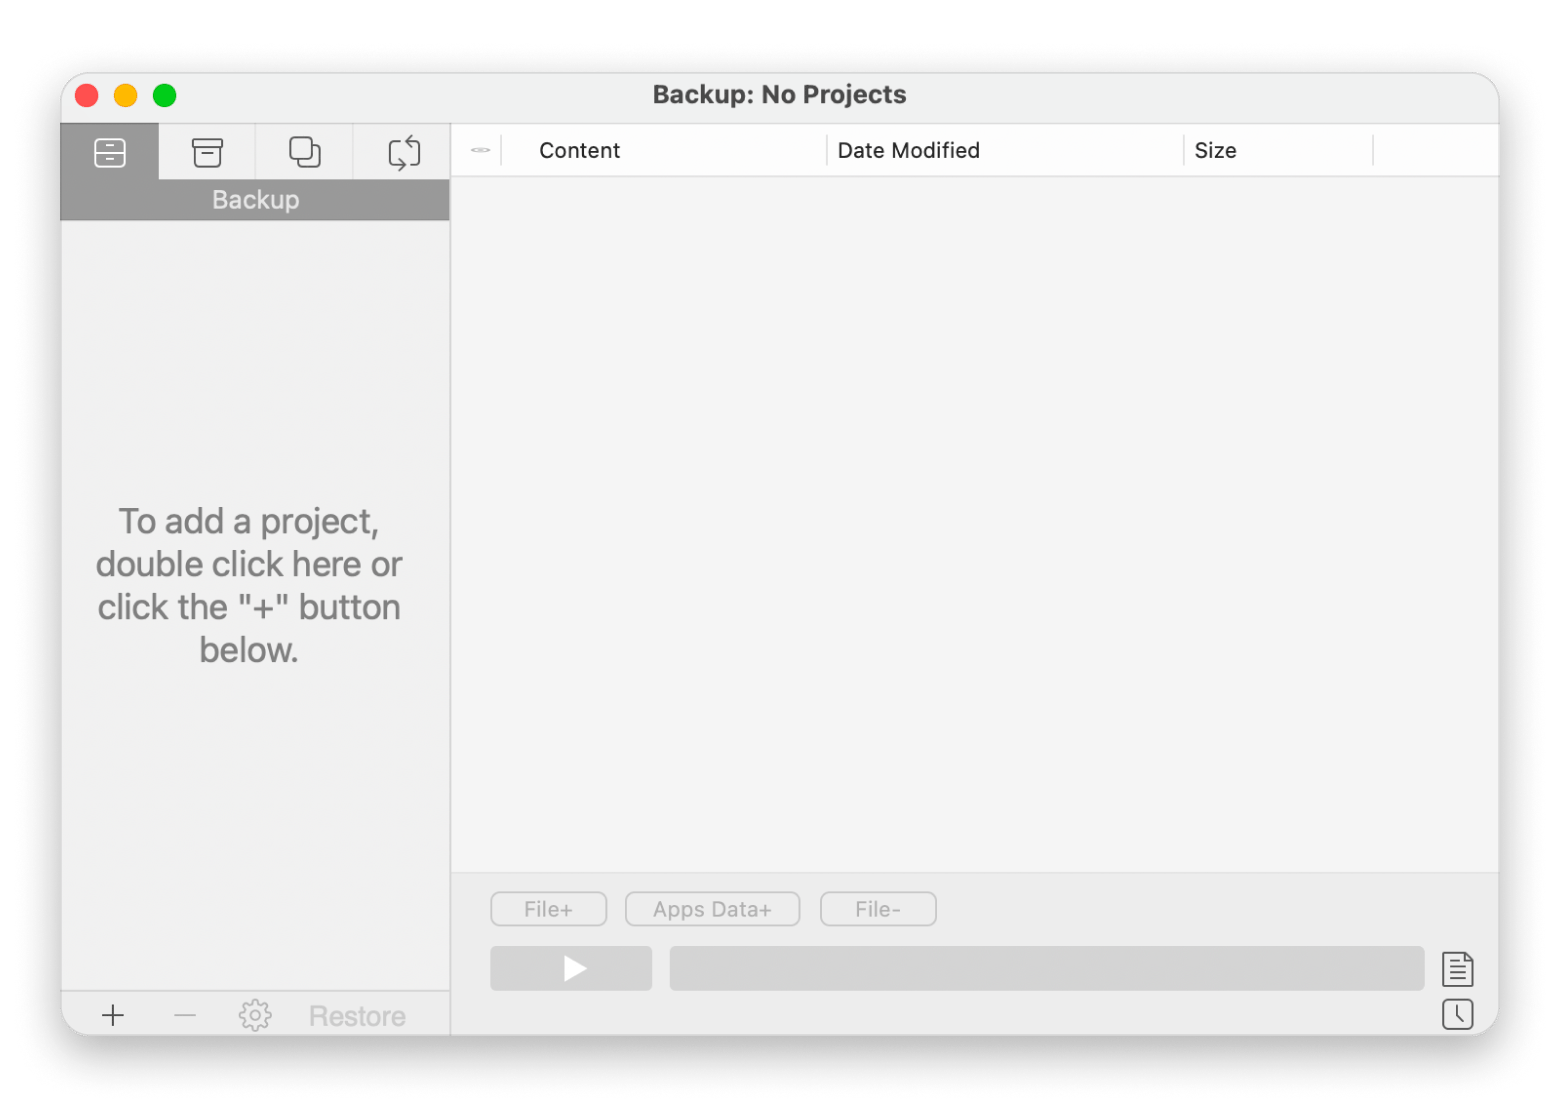
Another thing you should keep in mind is regular backups. They protect against data loss from system glitches.Get Backup Pro creates incremental, versioned, or bootable backups on your schedule. If DNS issues corrupt system files, you can quickly restore everything. The app also supports folder synchronization between Macs.
One system glitch without a backup can mean hours of reinstalling. Get Backup Pro keeps a bootable clone ready — just in case. Available on Setapp. Risk-free 7-day trial. Try Get Backup Pro on Setapp.
If you want to compare backup options before committing, I’d suggest checking the best Mac backup software in detail.
Troubleshooting persistent DNS issues
Sometimes flushing the DNS cache isn't enough. Here's what else to try:
Reset your network settings completely. Go to System Settings > Network > Choose your connection > Details > TCP/IP > Renew DHCP Lease.
Check your DNS servers. In the same network settings, click DNS and verify that you're using reliable servers such as 8.8.8.8 (Google) or 1.1.1.1 (Cloudflare).
Clear your browser cache too. Each browser stores its own DNS information that might conflict with system settings.
For network-wide issues, consider using AdLock to block malicious DNS redirects and trackers. The app filters DNS requests to prevent hijacking attempts.
Make DNS management simple
Flushing the DNS cache quickly fixes most website loading issues. Whether you use Terminal commands or CleanMyMac, the process takes just seconds.
DNS cache files are stored in system folders like /private/var/db/ and managed by the mDNSResponder process. You can't access them directly through Finder. Use Terminal commands or CleanMyMac to clear them safely.
Is it safe to flush DNS cache?
Yes. Flushing the DNS cache only removes temporary lookup files. It won't affect your data, passwords, or browsing history. Clear it whenever websites load incorrectly or after changing DNS settings. For a no-command approach, use CleanMyMac — just choose My Tools > Maintenance Tasks > Flush DNS Cache > Run.
How do I know if my DNS cache is cleared?
Reload the problematic website. If it opens correctly, the flush worked. Sites might load slightly more slowly at first while macOS rebuilds its cache. For proof, run sudo dscacheutil -statistics in Terminal before and after — the numbers reset to zero.
Does flushing DNS cache delete browsing history or passwords?
No. A DNS cache contains only temporary records that map web addresses to IP numbers. Clearing it never touches your browsing history, saved passwords, or autofill data. Your personal information stays intact.
Is CleanMyMac from Setapp safe?
Yes. CleanMyMac is developed by MacPaw, which holds ISO 27001:2022 and SOC 2 Type I certifications (source). The app follows strict security standards and is notarized by Apple.
Why flush the DNS cache?
Websites change their IP addresses more often than you'd think. They might switch hosting providers, update their infrastructure, or rotate through dynamic IPs.
Your browser can also develop glitches that prevent proper IP resolution. When this happens, you'll see errors even though the website is working fine.
Flushing the DNS cache forces your Mac to fetch fresh IP addresses. It's like updating your contacts when someone gets a new phone number.
Mac looking messy?
Clear out 20+ types of junk and get space back with CleanMyMac.






 Best solution
 Best solution