People are visual creatures. Evolution gave us the brain where neurons devoted to visual processing take up about 30% of the cortex (compared to only 8% for hearing). So we go about our daily lives relying mostly on vision.
Pictures grab our attention, touch our emotions, and tend to be remembered much better than words. So no wonder that 103 million photos are posted daily on Instagram alone. That’s about 1,200 photos a second!
Whatever the motivation — more followers for your account or a warm smile when looking back on memories years later — don’t settle for photos that are just ok. You’d be surprised to learn how much can be done to improve pictures even after they’ve been taken.
You can explore photo editing in Photos on your Mac and iPhone or opt for more sophisticated solutions with AI photo-processing software. Let’s talk about how to enhance a photo quality, so that you can turn your shots from everyday to remarkable.
Simple ways to enhance your photos and images
There are several things you can pay attention to when trying to enhance image quality. Here’s a list of what could potentially have the biggest impact on how your pictures turn out:
Composition. Tilted horizon makes pictures look sloppy, even though it’s very easy to fix with the rotate tool. You could also try a few ways to reframe your image to get a better perspective with the help of crop or zoom-in.
Lighting. Not enough light makes for a dull picture. What you need to do is adjust brightness and exposure. This is a strong photo quality enhancer that might change how the image is perceived and bring out interesting details.
Color. Try adjusting saturation, white/black ratio, and contrast to add more drama or warmth, or create a different mood.
Sharpness. If you’re concerned with how to enhance a blurry photo, use sharpen and noise reduction tools. Or try reducing image size. This way image pixels will have a smaller area to cover, which will result in a crispier look for the human eye. Other than that, there’s not much more you can do to enhance a photo resolution once it’s been taken.
Distractions. To highlight the main subject of your photo, remove unnecessary objects from your image, such as electric towers, street signs, or people in the background. Use retouch tools to fix skin, hair, or other imperfections.
Add-ons. Apply effects, filters, vignettes, captions, and watermarks to enhance images and express your style and creativity. These bring artistic touches and sometimes are a great way to hide defects.
Making an effort to enhance image quality in one or more of these areas, be it composition, color, sharpness, decluttering, or adding effects, will certainly bring a visual reward.
How to enhance a photo on Mac
The good news is that you already have all the utilities you need to start editing photos right on your Mac. Now that you know what to look for when you set out to improve pictures, be sure to give this process a try.
To enhance an image on Mac, simply:
Launch Photos from Applications
Open the image you’d like to work on
Click Edit in the top-right corner
Choose Adjust, Filters, or Crop from the top menu
Adjust your photo using the tool panel on the right side of your screen
Click Done
How to enhance a photo on iPhone
You don’t have to always use your Mac to get your images in shape. For years now, iPhones have been more than capable of getting the job done when it comes to taking and editing photos.
If you want to enhance image on your phone:
Launch Photos
Choose an image you wish to improve
Tap Edit in the top-right corner
Choose Adjust, Filters, or Crop from the menu at the bottom of the screen
Adjust your photo using the tool panel above the menu
Hit Done
How to enhance photo quality with the help of AI
Once you experiment with various color and lighting adjustment toggles, you’ll quickly learn that getting any image to a perfect state on your own is quite challenging. So why not give AI a try?
One of the most impressive AI-powered photo editors is Luminar Neo. It lets you apply complex pro-level editing presets with ease, making your images look their best in seconds. Here’s what’s especially great about this app:
Presets are offered in special collections by genre, such as Landscape, Portrait, Lifestyle, Cinematic, Essentials, and more.
It supports layers, so you can apply changes to the entire photo or choose a specific area (e.g. to get rid of unwanted objects).
It has great Supersharp and Noiseless features, bringing out sharpness and elevating badly-lit environments.
AI sky replacement or augmentation options are to die for (blue sky, sunset, clouds, starry night, and even galaxy).
For object removal, definitely get to know TouchRetouch. This easy-to-use app designed for Mac lets you erase defects or any unwanted objects from your photo with simple graphic tools that you don't have to be a professional to master. Its AI content removal algorithms can even eliminate lines and small point-like objects, and then do a magical job reconstructing the areas you’ve manipulated on plain, patterned, or complex backgrounds. It’s amazing how much you can enhance photo quality when you control what stays in the frame!
If you often look to not only enhance photo quality but edit videos too, CameraBag Pro is a great choice. It’s a powerful image-editing software with a preset-based workflow presented as an alternative to brush-based “photoshopping.” You can treat CameraBag Pro as a one-click solution, choosing from 200+ pro presets, such as analogue film emulation, popular digital styles, special filters for portraits and landscapes. Or you can start with a preset and then go deeper into professional adjustments with this image quality enhancer.
CameraBag Pro is intuitive, fast, and a solid choice even for professional photographers:
It keeps all your adjustments in layers that can be rearranged (order may be important for artistic purposes), edited, and switched on and off
It lets you configure a preset and then apply it to multiple files with a single click
It doesn’t take up much space on your drive because it doesn’t create its own library and works with your files directly
It works with video
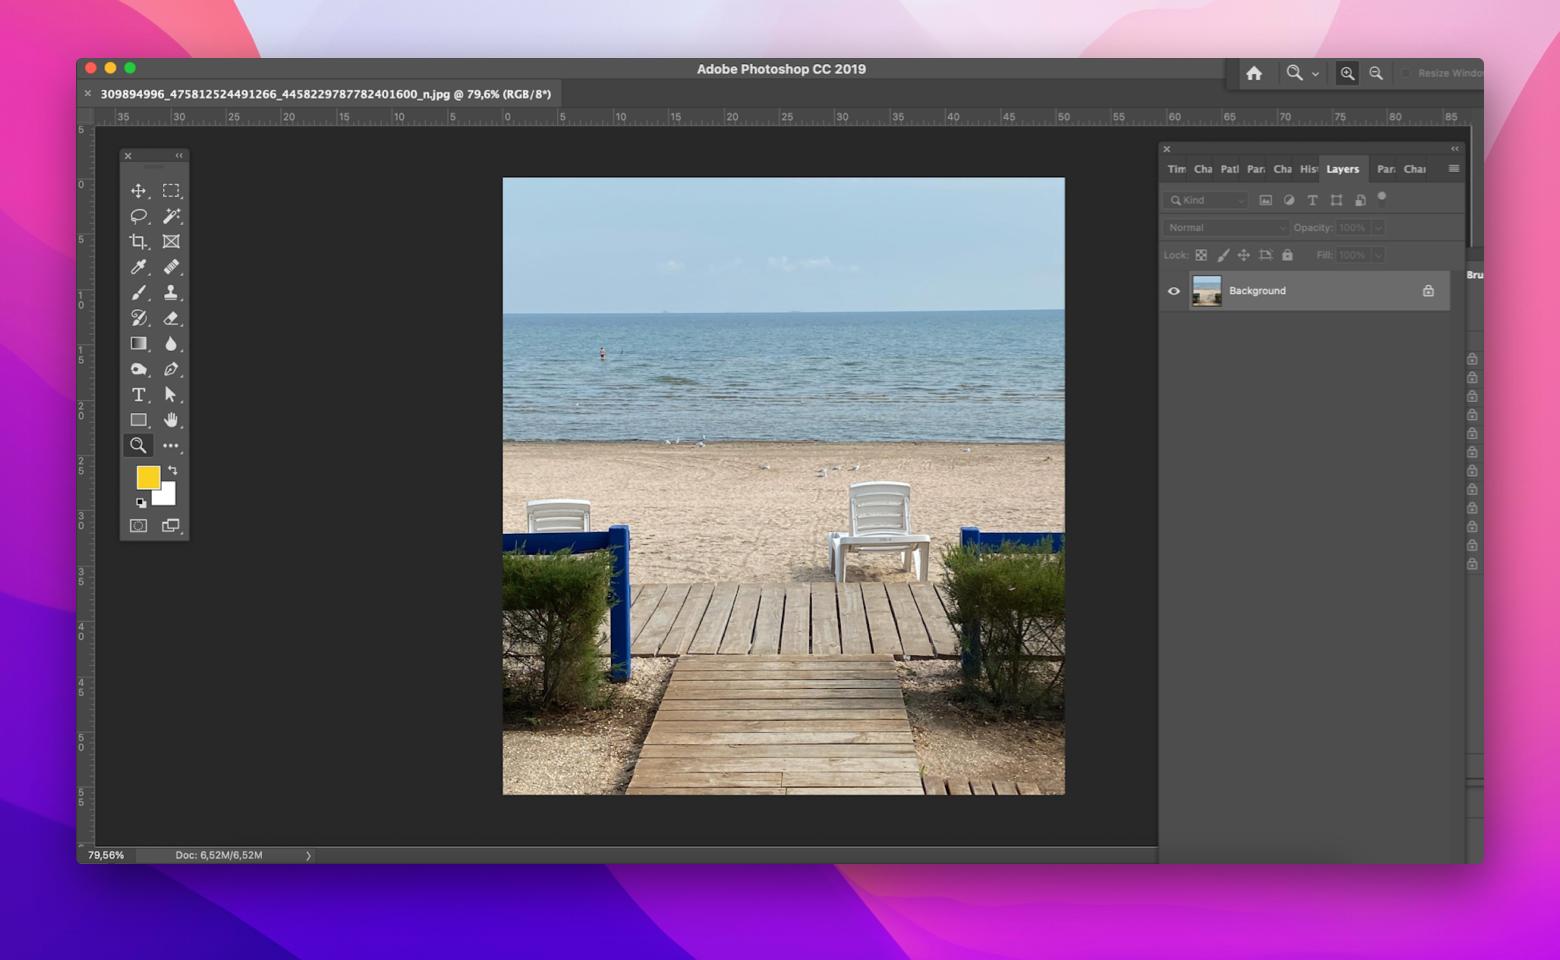
How to enhance a photo in Adobe Photoshop
Compared to a more intuitive approach of popular photo enhancers like Luminar and CameraBag Pro, Photoshop may seem to be overwhelmingly complicated. At the same time, it offers a lot of creative freedom and a great deal of control over selective adjustments. Besides, many professional photographers consider Photoshop to be one of the most powerful object removal tools on the market.
If you’ve ever wondered how to enhance a photo in Photoshop, here’s the general list of tools you’ll need:
To import the file you want to edit, click Open on the start screen
Use Crop and Straighten tools to bring more focus and improve the overall composition
Use Camera Raw for general adjustments of exposure and white balance, then follow up with the Curves Adjustment layer to fine-tune
Use Clone Stamp tool to remove any unwanted objects
Experiment with Selective Color, Hue Saturation, and Color Balance tools for desired color adjustments
Use layer masks to control spot adjustments in targeted areas
Use High Pass filter to sharpen your image
To finish and save the changes go to File ➙ Save As (choose the file name, desired location, and don’t forget to change the format from PSD to JPG)
Save
Mastering image editing in Photoshop might require some time, but if you really want to manually control all the adjustments, this software allows for most precision.
The best ways to enhance image quality
Let’s face it, not all photos are created equal. Some of them you like right away, some you send to trash, and some need editing. Once you decide on what changes in composition, colors, or special effects you want to apply to your image, it’s a matter of picking the right editing tool. Change the skies on your photo with Luminar Neo, get rid of unwanted details with TouchRetouch, or dive into multiple photo adjustments with CameraBag Pro to achieve really incredible images.
With your favorite photo quality enhancer handy, today’s technology allows you to improve any picture instantly.
Give Luminar Neo, CameraBag Pro, and TouchRetouch a test run with a free seven-day trial on Setapp, a platform of high-performance, best-in-class iOS and macOS apps. See how quickly your photos attract more likes, and which apps out of more than 240 on Setapp become your favorites.