How do I transfer data from my old iPhone to my new iPhone?
▼ Key takeaways
- The easiest way to transfer everything is with AnyTrans for iOS: Install AnyTrans for iOS on your Mac, connect both iPhones, and use the Phone Switcher feature to migrate all your data, apps, and settings in a few clicks. It’s the quickest and most complete transfer method.
- Use iCloud for wireless backup and restore: Go to Settings > Apple Account > iCloud > iCloud Backup on your old iPhone, back it up, then choose Restore from iCloud Backup on your new iPhone. This is ideal when you want to transfer data without cables.
- Quick Start is the fastest option for direct iPhone-to-iPhone transfer: Place both iPhones near each other, turn on Bluetooth, follow on-screen prompts, and scan the animation with your old iPhone’s camera. Your data will transfer wirelessly and securely.
- Clean up your iPhone after the transfer with CleanMy®Phone: Once the transfer is done, use CleanMy®Phone’s Declutter tab to remove unnecessary photos, screenshots, and other junk to free up space and keep your new iPhone organized.
- Recover lost files easily with iBoysoft Data Recovery on Setapp: If something goes wrong or files vanish during transfer, iBoysoft Data Recovery can restore lost photos, messages, and more. It’s part of the Setapp suite as well as AnyTrans for iOS and CleanMy®Phone, which gives you 250+ premium apps with a free 7-day trial.
Upgrading to a new iPhone can feel like winning the lottery. You’ve got a shiny new phone that’s faster and better in every way. But here’s the catch: you need to move all your old data over to the new one.
It might sound a little tricky, but don’t worry. I’ll walk you through how to transfer data from iPhone to iPhone and get your new phone ready in no time. I’ve done it myself a few times, and trust me, once you know the steps, it’s a breeze.
The easiest way to transfer everything from my old iPhone to my new iPhone
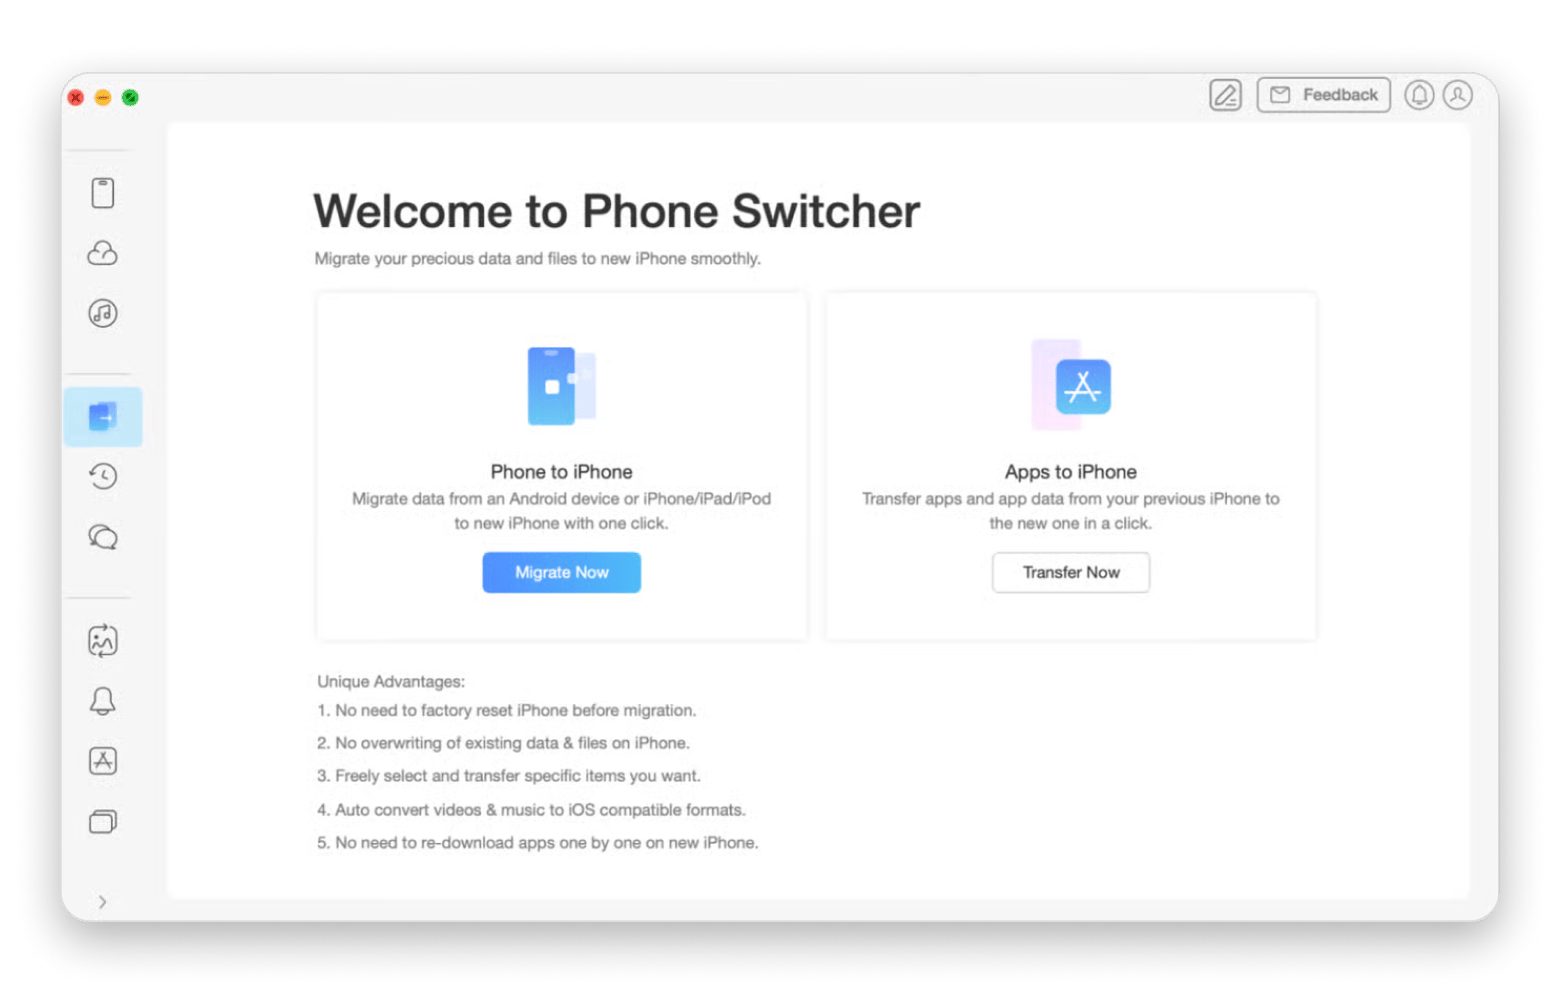
So, the main question remains, "How do I transfer everything from my old phone to my new phone?" Let’s start with the first method, which might also be the easiest. It involves downloading an app called AnyTrans for iOS.
AnyTrans for iOS is handy when you want to make the process of data transfer between iPhones a lot easier. As an all-in-one iPhone data manager, the app can transfer your desired data from one iPhone to another in just a few clicks. Every app, setting, photo, and even your favorite wallpapers can be part of the transfer.
Here’s how to transfer everything from one iPhone to another using the app:
- Install and open AnyTrans for iOS on your Mac.
- Connect the new iPhone to your computer with a USB cable.
- Click the Phone Switcher tab from the left pane.
- Click the Migrate Now button to start and follow the on-screen instructions.
How to transfer data from an iPhone to iPhone using iCloud
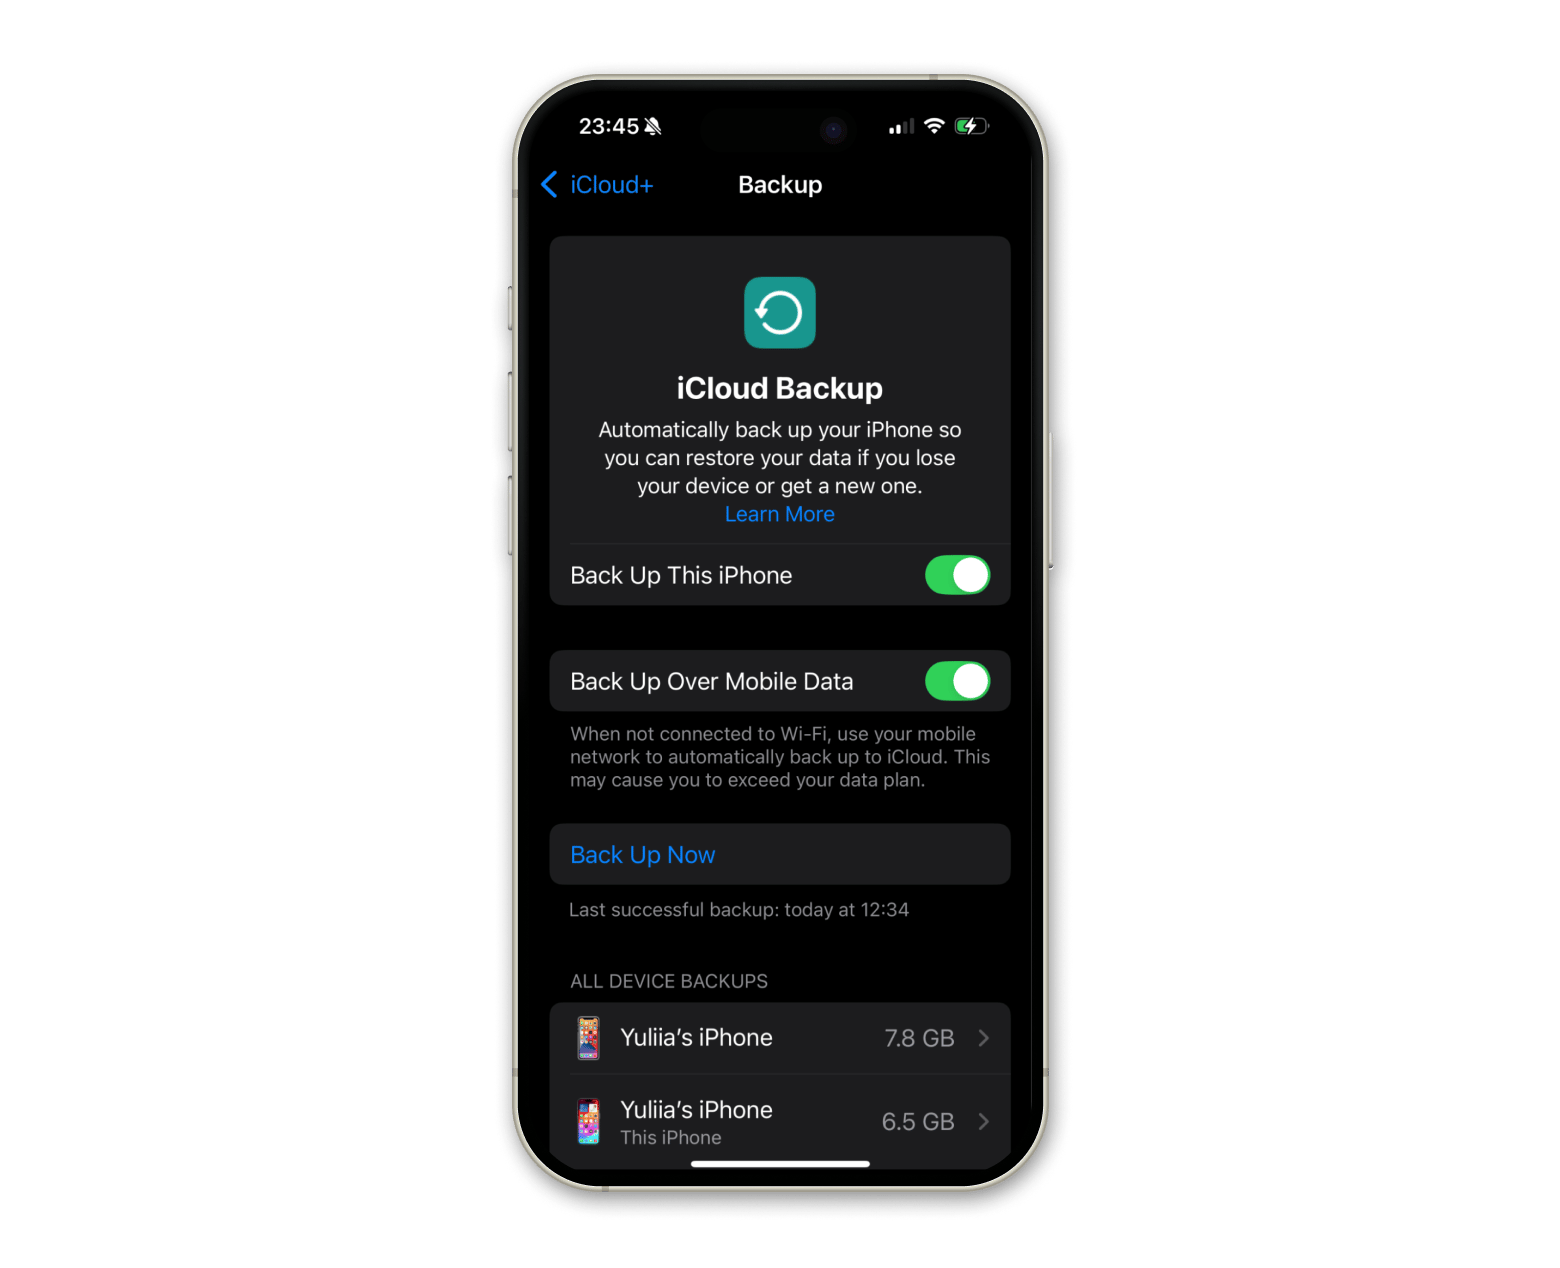
iCloud is another reliable option for transferring data from one iPhone to another. It's wireless, painless, and especially useful when you're trying to transfer everything from iPhone to iPhone while on the move.
Here’s how to do it:
- Go to Settings > Apple Account > iCloud > iCloud Backup on your old iPhone.
- Tap Back Up Now to make sure Back Up This iPhone is enabled.
- Select Restore from iCloud Backup on your new iPhone.
- Enter your Apple Account, then select the latest backup from your old iPhone.
For the fastest data transfer, keep in mind that both iPhones should be connected to the same Wi-Fi network.
Learn more about how to sync iCloud Photos on Mac, iPhone, and iPad.
How to transfer data from iPhone to iPhone using Quick Start?
With Quick Start, you can transfer data directly between devices. The best part is that you don't need any cables or computers, as it works through Bluetooth. All you have to do is place the two phones near each other, and voila, the magic can begin!
To use Quick Start:
- Turn on Bluetooth on both iPhones.
- Enter your Apple Account when prompted by Quick Start.
- Follow the instructions to authenticate the data transfer.
- Scan the animation that will show on your new iPhone using your old iPhone’s camera.
- Choose to transfer your data wirelessly or restore from an iCloud backup once authenticated.
And that's it! All your data, apps, and settings will be as they were before, just like on the old iPhone.
Free up space on your iPhone after transferring
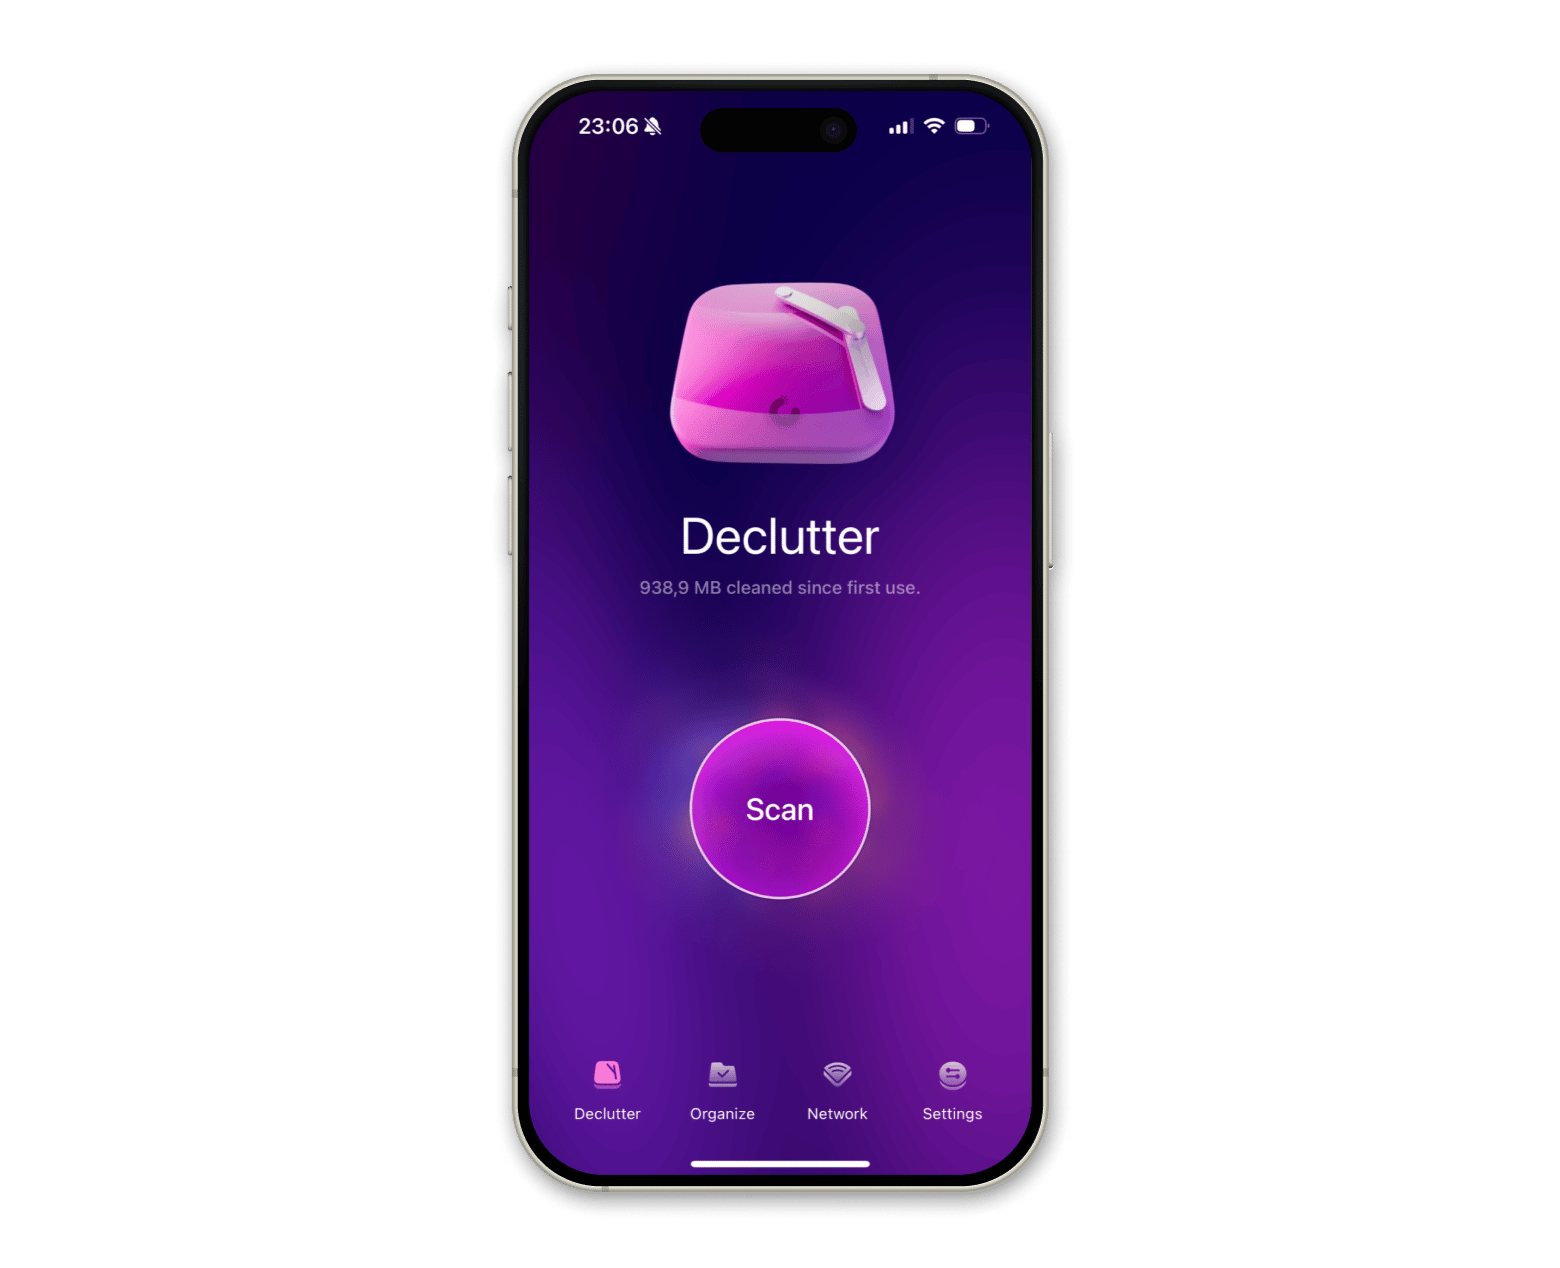
When transferring old data, you'll likely find that you don't need every single file. And that's where CleanMy®Phone comes in. I use it to declutter my iPhone from screenshots, blurred photos, or screen recordings I no longer need.
Here's how to free up space using the app:
- Install and open CleanMy®Phone.
- Go to the Declutter tab.
- Tap Scan.
- Review the results or delete them by tapping Clean.
Read also:
- The Contents Of The iPhone Could Not Be Read
- Transfer Photos From Android to Mac
- How to Recover Deleted Emails on Mac
- Sync Contacts From iPhone to iPad
How to transfer data from iPhone to iPhone using a Mac
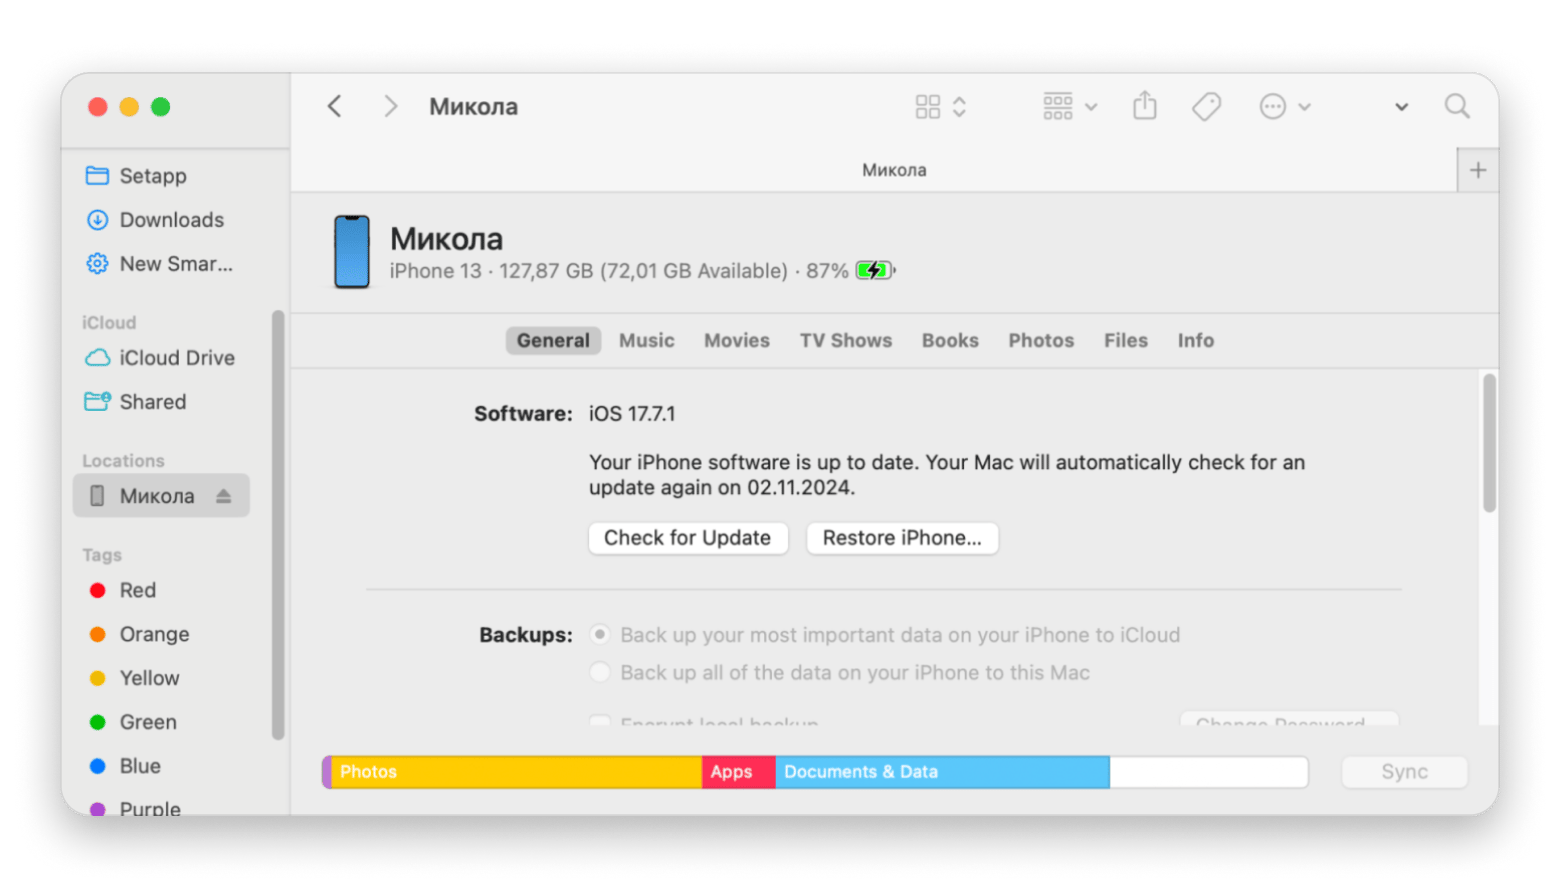
If you, like me, prefer using a Mac to transfer data from iPhone to iPhone, you can use Finder on your Mac. It's a wired alternative if you want to avoid potential hiccups from wireless transfers from your Mac.
Here’s how to transfer data from one iPhone to another using your Mac:
- Connect your old iPhone to your Mac via a USB cable.
- Open Finder on your Mac and choose your old iPhone in the sidebar.
- Click Back Up Now to create a current backup on your Mac.
- Disconnect the old iPhone and then connect your new iPhone to the Mac.
- Choose your new iPhone in Finder, then choose Restore from Backup.
- Choose the most recent backup of your old iPhone, then click Restore to transfer data.
How to transfer data from an iPhone to iPhone without Wi-Fi
If you're in an area without Wi-Fi but still need to transfer data, AirDrop is your best option.
To use AirDrop:
- Open Control Center on both iPhones (swipe down from the top-right corner on newer iPhones with Face ID, or swipe up from the bottom of the screen on older iPhones with a Home button).
- Turn on AirDrop > Choose Everyone for 10 Minutes.
- Go to your old iPhone and select the files (photos, contacts, etc) that need to be transferred.
- Tap the Share icon > AirDrop and choose your new iPhone from the list.
- Accept the transfer on your new iPhone.
This method is quick, reliable, and cable-free. It’s a great alternative when other options aren’t available. But it doesn’t work for bulk transfers, so I recommend using AnyTrans for iOS in those cases.
Reasons to transfer data to a new iPhone
You might be wondering, "Why bother transferring data in the first place?" There are plenty of reasons for keeping and archiving your data:
- For one, you probably have hundreds, if not thousands, of photos and videos that hold sentimental value. These are captures of meaningful moments in your life, and personally, I think they’re worth saving.
- Your old iPhone might also store documents and other files you need for work or personal use.
- And when you transfer data to a new iPhone, you’re also bringing over all the apps you use on a daily or weekly basis. By moving everything, you won’t have to start setting up a new device from scratch.
If you’ve ever had to manually reinstall and set up an iPhone, you know what I mean. Plus, transferring data between iPhones ensures your important messages and settings remain intact on the new phone.
Transfer data from iPhone to iPhone hassle-free
Whether you'll opt for AnyTrans for iOS to transfer data from iPhone to iPhone, or do it via iCloud, Quick Start, Finder, and/or AirDrop, the good news is you’ve got a lot of options to choose from.
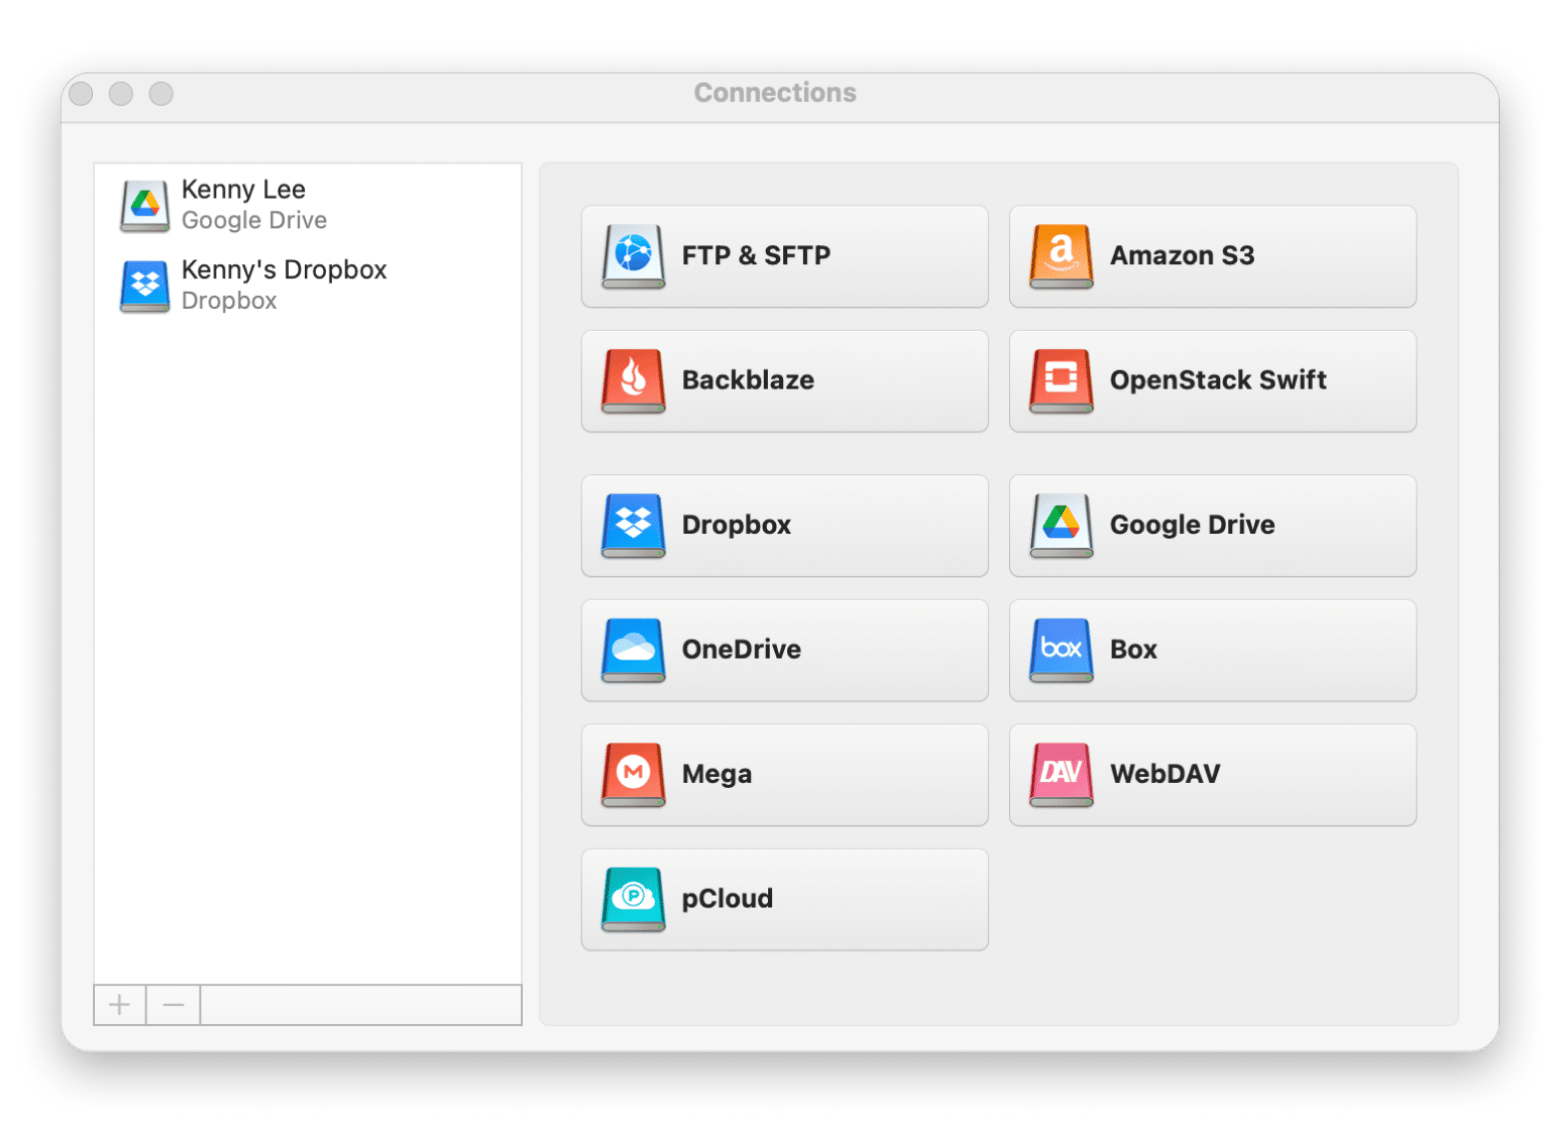
Don’t forget to keep your iPhone clutter-free with CleanMy®Phone and manage all your cloud drives with CloudMounter. And if you ever accidentally delete something important, iBoysoft Data Recovery has your back.
The best part? All of these apps are available on Setapp, a platform that gives you access to 250+ premium apps for iOS and Mac. There's also a free seven-day trial, so why not take these apps for a spin?
FAQs
How do I wipe my old iPhone after transferring to my new iPhone?
To wipe your old iPhone after transferring to your new iPhone, go to Settings > General > Transfer or Reset iPhone > Erase All Content and Settings on your old iPhone.
How long does it take to transfer data from one iPhone to another?
The time it takes to transfer data from one iPhone to another depends on what method you're using and the size of your data:
- Using Quick Start or Finder for a direct device-to-device transfer takes anywhere from 15 minutes to an hour.
- If you're restoring from an iCloud backup, the process may take several hours, depending on your internet speed and the amount of data being transferred.
Does Quick Start transfer everything?
Yes, the Quick Start feature transfers all your data, including apps, settings, and even Apple Watch pairing. It’s the simplest way to perform a full data transfer.
What if some files are missing after transferring data to my new iPhone?
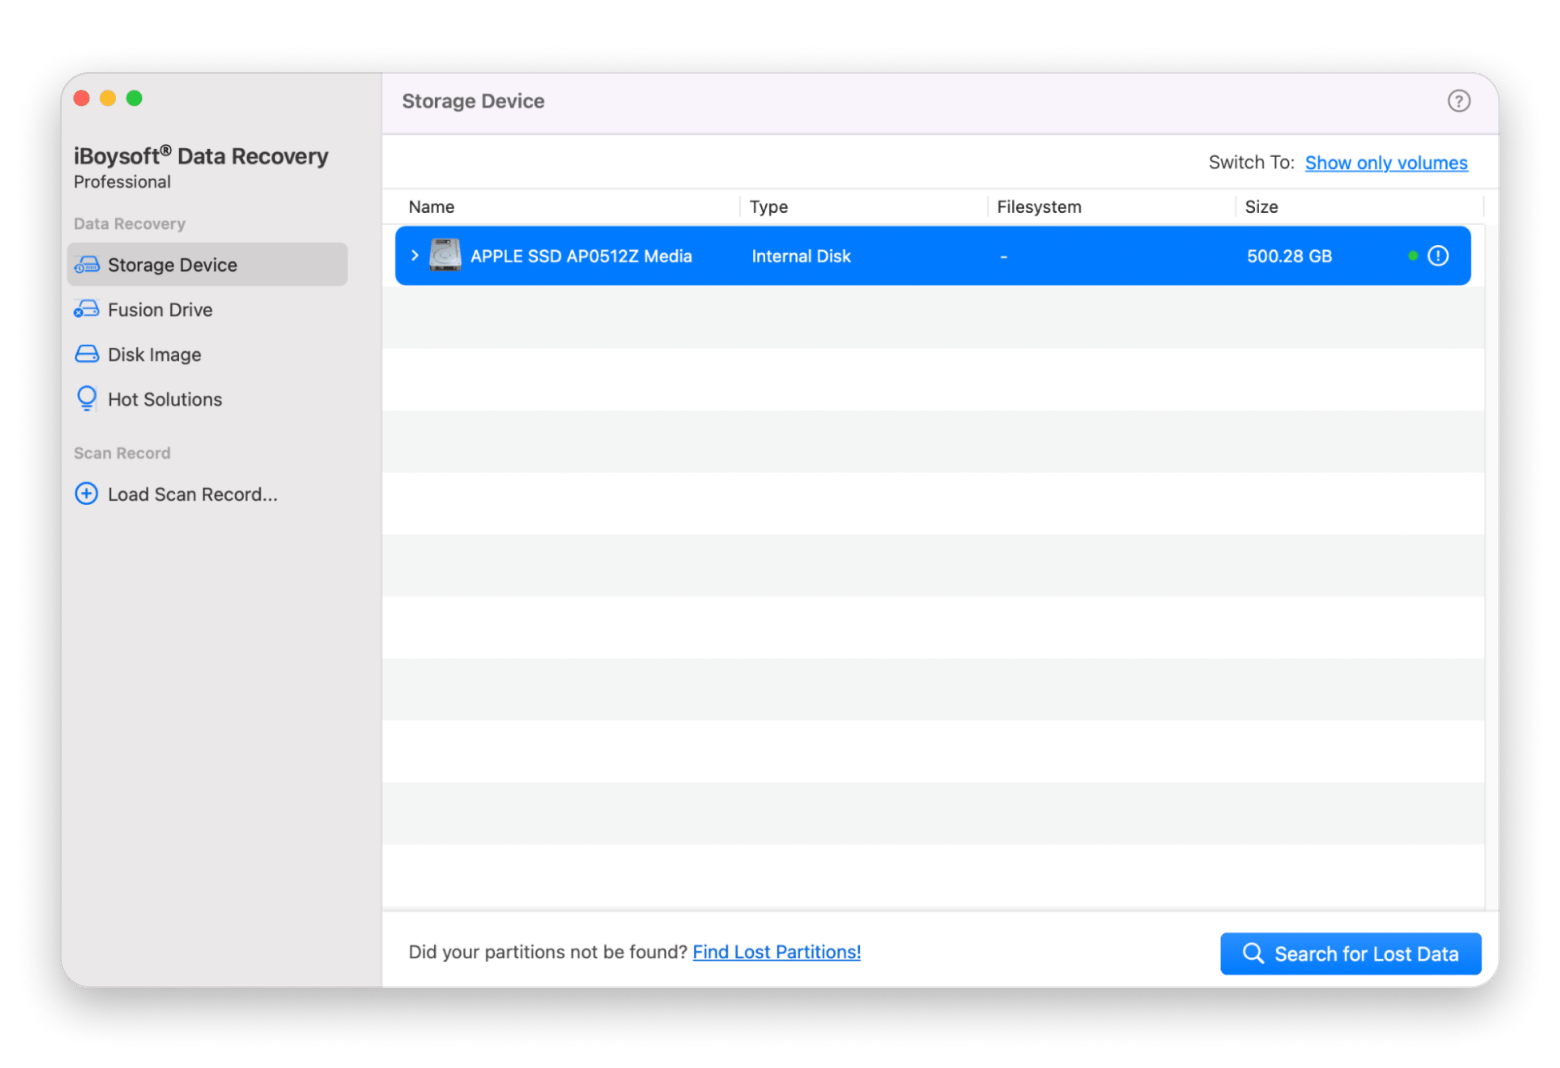
If you notice that certain files are missing or corrupt after transferring your data using Quick Start, iCloud, or another method, you don’t have to panic. An app like iBoysoft Data Recovery can help you recover lost files from either your old iPhone’s local storage (if backed up) or from external drives.


