How to recover deleted emails on Mac
These mishaps happen to the best of us. We’re finally making an effort to go through all those spammy marketing emails and old messages from clients, and — poof! You accidentally delete one you actually need.
If it’s an especially important email, too, you might panic, wondering where to start looking for it. Of course, this can also happen without your own doing, potentially because of a syncing issue or a problem with your mail client.
The rule of thumb when deciding how to recover deleted emails on Mac is that the quicker you do something about it, the better your chances of recovering those lost emails. While the Mail app has a couple of built-in functions, other tools I’ll share with you can retrieve even permanently deleted emails. Interested? Let’s get started.
Common reasons for losing emails on Mac
From my experience, if you aren’t even sure why or how your emails disappeared in the first place, you might want to consider these most common reasons:
- Accidental deletion: The most frequent cause is that your emails are unintentionally deleted while you’re managing your inboxes. If you’re someone who has multiple inboxes and email accounts, things can get messy.
- Sync issues: Sometimes, syncing problems between the Mac and email servers can cause email loss or conflicting versions across different devices.
- Trash folder cleaning: Emails are automatically deleted after a certain period, especially if they aren’t recovered from the Trash. If you’ve already temporarily deleted an email and never fished it out, it’s likely gone (for now).
- Corrupt mail database: If your email client’s database gets corrupted, emails might disappear without warning.
Find out how to recover deleted files on Mac.
How to recover deleted emails on Mac
Fret not! There are many ways to restore deleted emails on Mac and even recover permanently deleted emails from iCloud. Let’s go over them.
Recover deleted emails from Apple Mail Trash
The first place to look is the Trash folder in the Apple Mail app. As long as your email was deleted within the last 30 days and you haven’t permanently deleted anything within that period, you’re in luck.
To get there:
- Open the Mail app.
- Click on Trash for the email you’re searching for.
- Find the email you need and drag it back to your Inbox tab or the folder you’d like it to be in.

You can also be interested in how to retrieve deleted text messages on your iPhone.
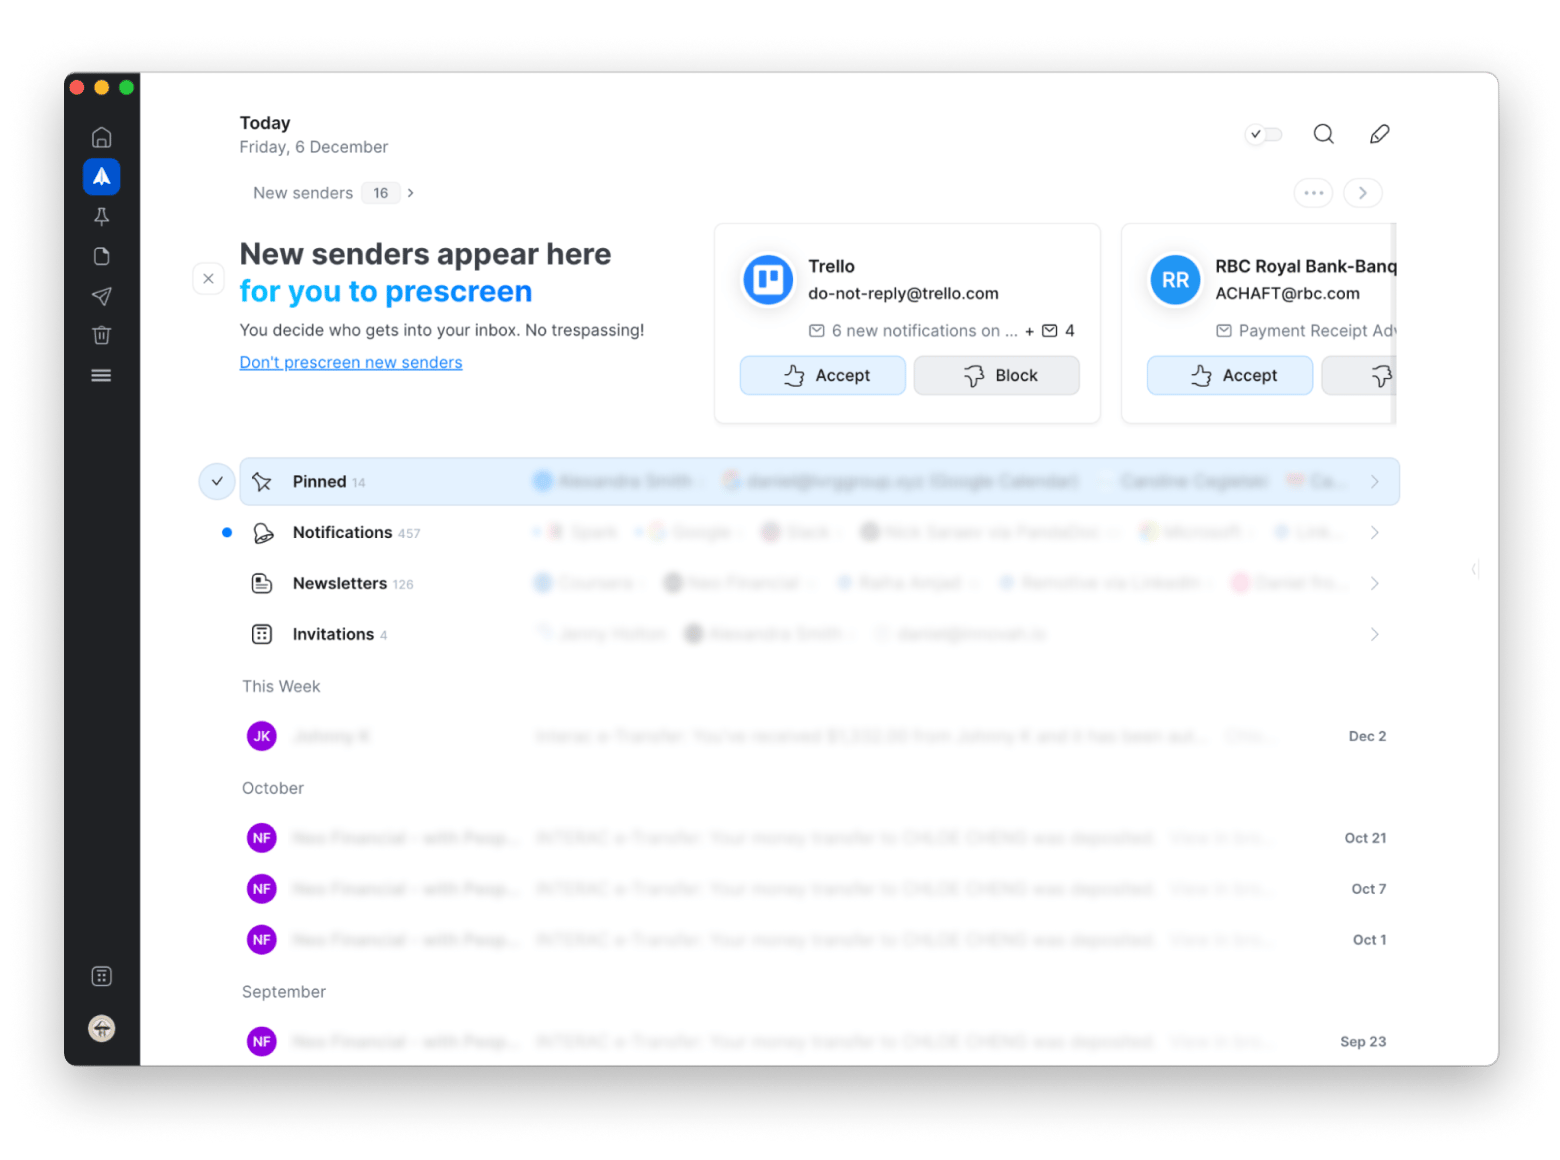
While the Apple Mail app has a clean interface and a familiar user experience, it lacks features beyond basic email formatting, sorting, and composing. This can feel a little lacking today, especially if you use email daily for personal and professional reasons.
On the contrary, Spark Mail comes with all the typical features Mail has, such as organization and accessibility for multiple inboxes, but tacks on the intuitive tools you didn’t know you needed. Think collaborative email capabilities like adding participants and private chat, an AI-powered email assistant to proofread or innovate, and more to take mail management to the next level.
How to recover deleted emails from iCloud Mail
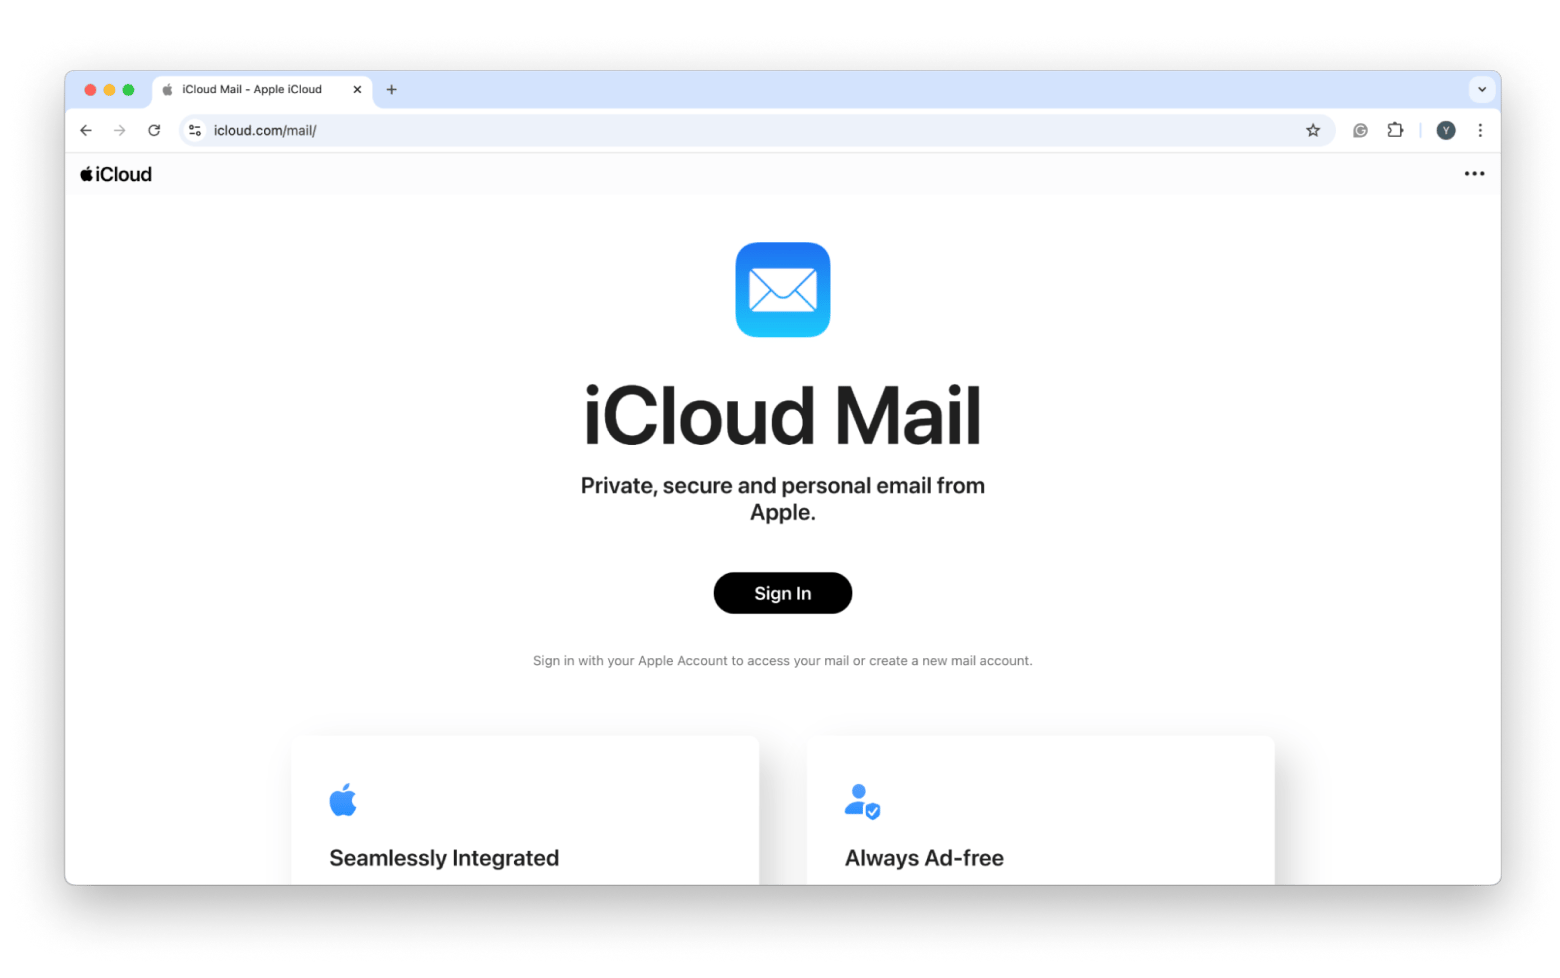
iCloud has always been reliable when it comes to backing up your apps or devices. So, it’s a natural place to check out if you’re missing some important emails from an icloud.com email address. If you’ve asked yourself, “How can I retrieve deleted emails on Mac from iCloud?” and have an account set up, here’s how you can do so:
- Access iCloud Mail in a browser by going to icloud.com/mail/
- Sign in to your account.
- Go to the Trash folder and look for the deleted emails you need.
Use Time Machine to back up emails
Time Machine is the Mac’s built-in backup tool that’ll keep your files, emails, and apps safe even in case of the unexpected. It works to automatically back up your entire system at regular intervals, including your emails. If you already have this on, you’ve got a chance!
Here’s how to find deleted emails using Time Machine:
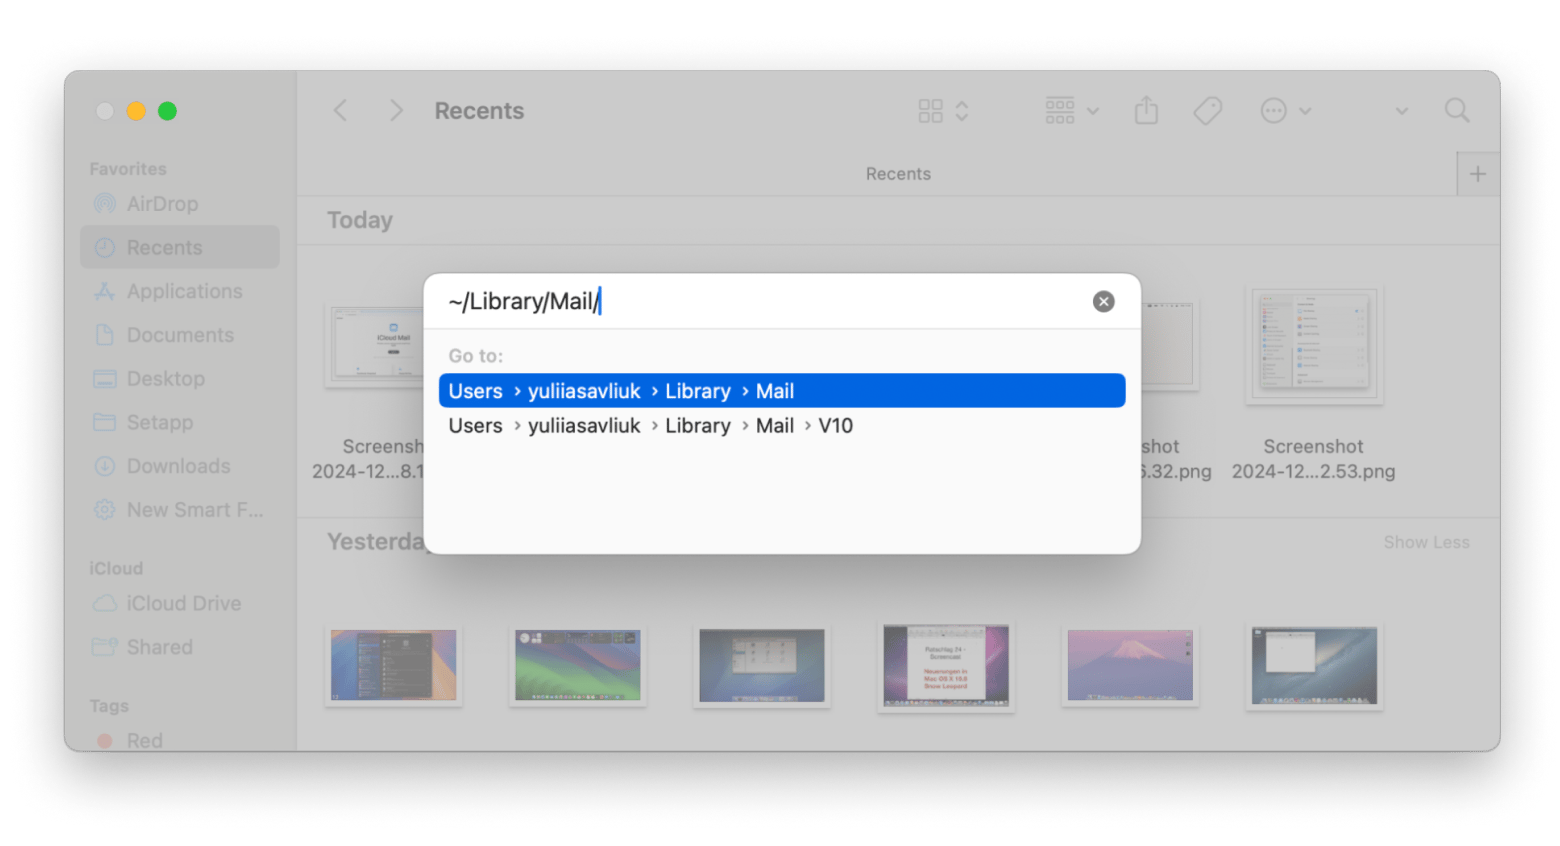
- Open Finder
- Go to the Mail folder in the menu bar by clicking Go > Go to Folder.
- Type ~/Library/Mail/ and press Return.
- Click the Time Machine icon in the menu bar(or open it via System Settings), and browse through the folder back in time.
- Restore the email file from an earlier backup.
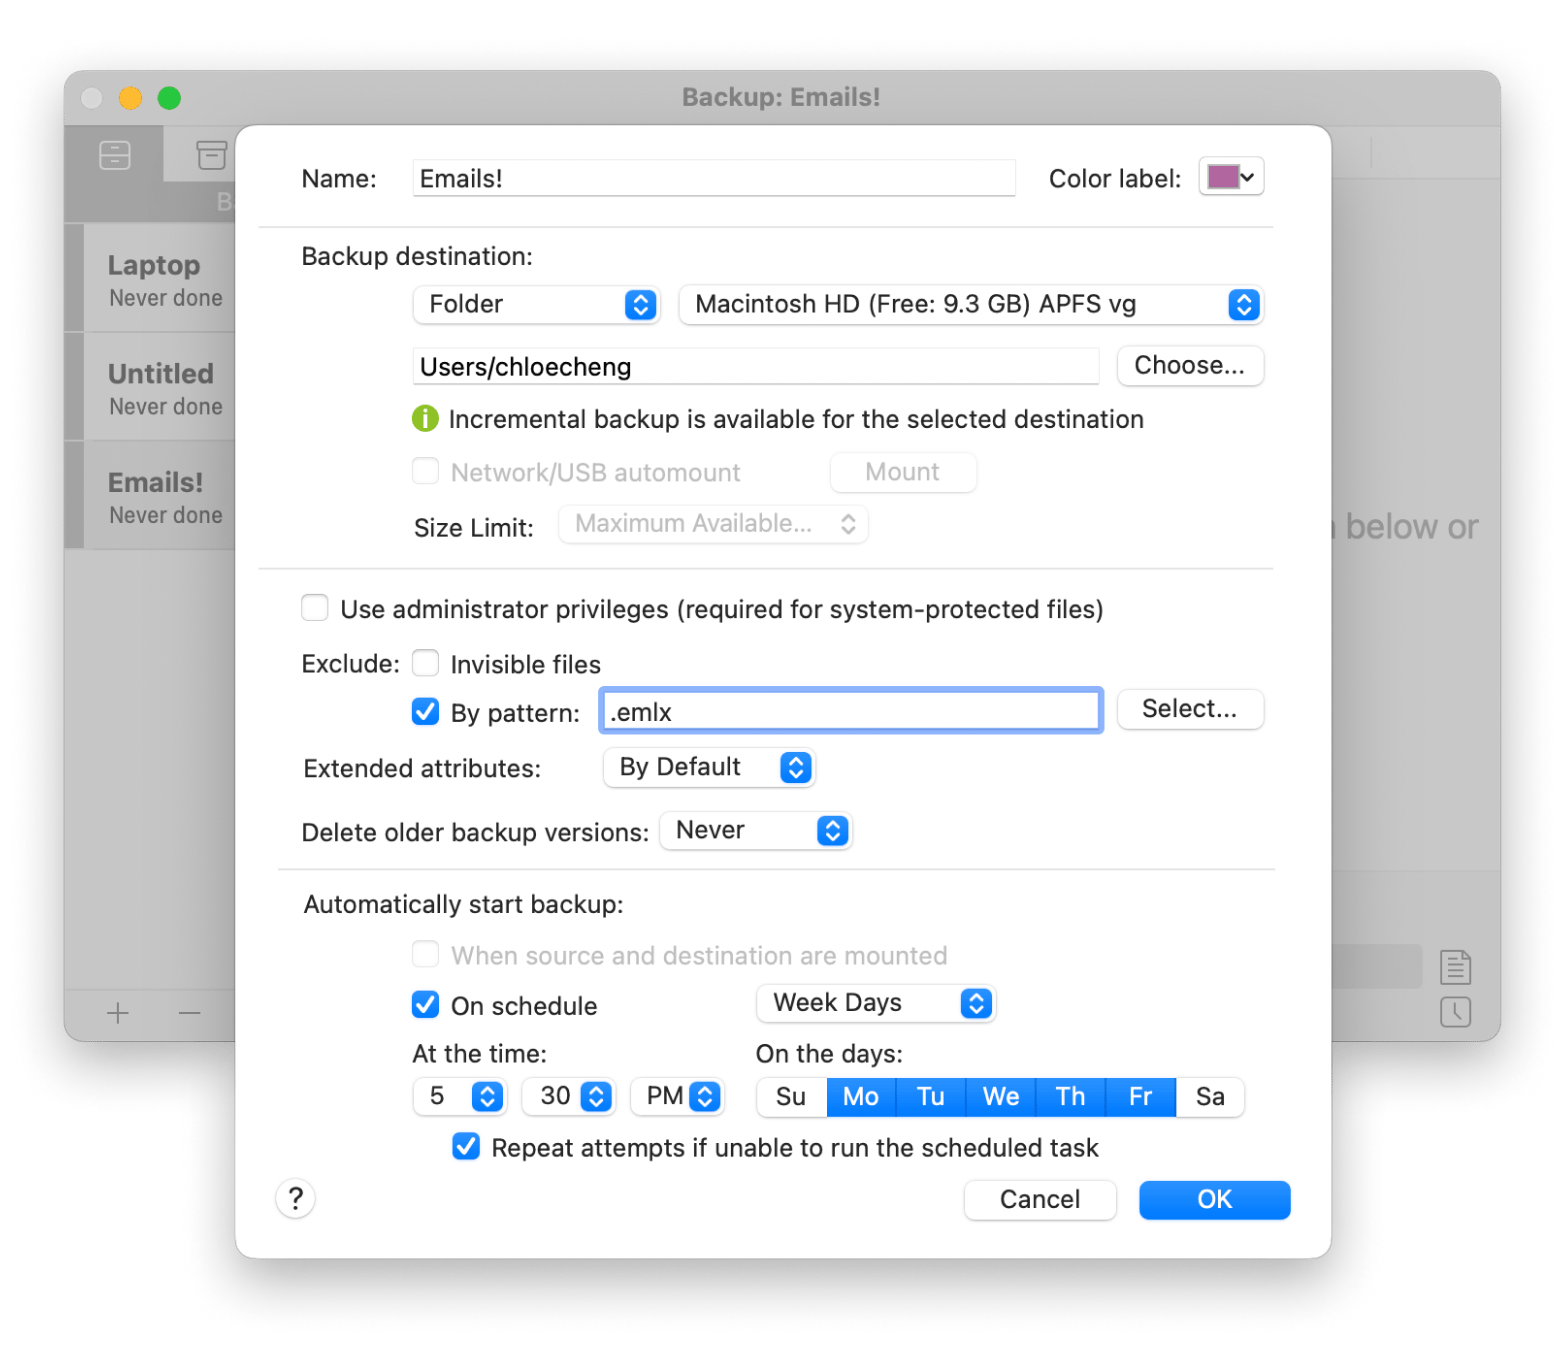
Time Machine is useful as an overall safety net, but it’s not selective. If you ever want to back up a folder, a file, or a section of your hard drive, you’ll need to use Get Back Up Pro.
Get Back Up Pro is an absolute gem when it comes to backups. It offers four different styles: simple copy, incremental, versioned, and clone. You can also schedule backups with Stealth mode for a certain file type, recover files to any computer, and conduct both full and incremental backups to save space. To restore your emails, all you need to do is recover the latest backup version, and you’re good to go.
Tips to prevent losing emails on Mac
The more effort you put into putting those safeguards in place, the less you’ll have to worry about accidental deletions and missing messages. To go the proactive route, follow these tips I gathered:
- Enable Mail syncing: Make sure your email client is properly synced with cloud servers to avoid losing emails due to connectivity issues.
- Use Cloud-based email services: Rely on cloud storage services like iCloud or Gmail, which offer better security and recovery options.
- Backup regularly with Time Machine: Set up automated backups through Time Machine to preserve your emails in case of an emergency.
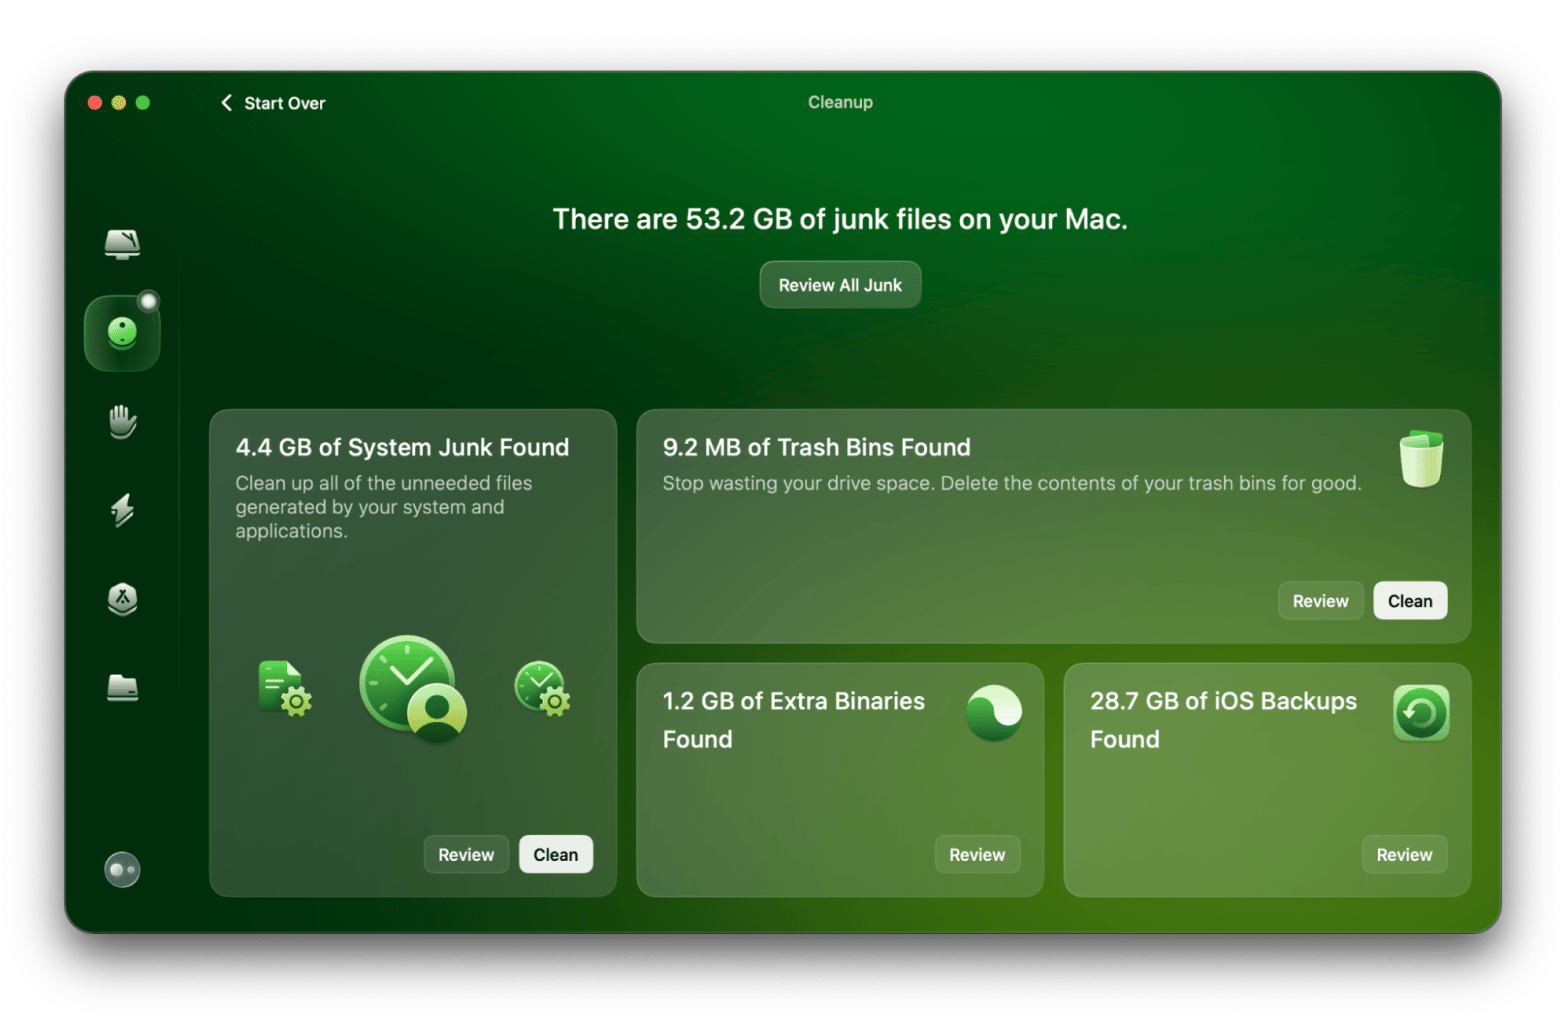
While proactive email management and an active backup process do wonders for preserving your emails, using a dedicated tool for clean-up can prevent crashes and corruption early. CleanMyMac is my top pick for Mac and email maintenance. I can either do an extensive scan and decluttering of my Mac using Smart Care or use the Cleanup scan to free up space and improve my system’s performance. With just a click of a button, I can reduce manual effort and let a tool do the work for me.
Solved: How do I recover deleted emails on Mac?
With a proactive approach to backups and email management, deleting an email doesn’t have to be the end-all-be-all. It can mean retrieving those lost messages in a couple of clicks despite the many possible complications that could happen. Whether it’s through iCloud, the Mail app, or your Mac’s system, there are countless ways you can recover a deleted email.
Third-party apps like Get Back Up Pro are also incredible tools that can recover all sorts of files, too. These apps and 250+ more are available through a subscription to Setapp, which offers a 7-day free trial for you to test the waters.
FAQ
Where are deleted emails stored on a Mac?
Deleted emails are stored in Trash. When you initially delete an email on the Mail app, you can go to the Trash folder within your accounts and retrieve it within 30 days.
Can I recover deleted emails from iCloud after 30 days?
To recover deleted emails from iCloud after 30 days, you can try to check your other devices before they sync to the Cloud or contact iCloud support for extra help.


