How to install macOS (any version): A complete step-by-step guide
- Always prepare before installing macOS
Check your Mac’s compatibility, back up your data, and ensure you have at least 35GB of free space before installing. This prevents errors and data loss during the process. - Back up your data with flexible tools
Use Time Machine for basic backups or Get Backup Pro (via Setapp) for advanced options like cloning your disk or backing up selected folders. It’s the safest way to protect your files before installation. - Choose the right installation method
For a quick upgrade, use System Settings > General > Software Update. For a fresh start, create a bootable USB and do a clean install to remove clutter and improve performance. - Troubleshoot common macOS installation errors
If the installer fails, check your drive format, time settings, or available storage. CleanMyMac can help free up space and fix minor issues that may block the installation. - Keep your Mac optimized with Setapp tools
Setapp offers all-in-one access to essential macOS utilities like Get Backup Pro, CleanMyMac, and iBoysoft Data Recovery, so you can safely install, back up, clean, and recover your Mac. Try these and 250+ more apps with a 7-day free trial.
I remember the first time I tried to do a clean macOS installation and got the “macOS can’t be installed on this disk” error. Of course, I first panicked thinking I’d corrupted something serious, but it turned out to be just a formatting oversight.
In this guide, I’ve collected everything I wish someone had told me before my first major macOS installation — compatibility checks, data backups, creating downloaders, everything. I’ll walk you through how to download and install macOS using both Software Update (built-in) and a bootable USB.
Preparing to install macOS
The preparation phase involves only three major steps, but it will set you up for a smooth installation and help avoid costly errors.
Want to try a quick fix? Try the Fix My Mac assistant: describe the problem and get a quick solution.
Step 1: Check compatibility
Before you install mac OS, the first thing you need to do is check the compatibility of your Mac. So, it’s always good to use a macOS compatibility guide to find out the macOS versions that work well with your Mac.
Step 2: Back up your Mac
Backing up your data gives you peace of mind in case something goes wrong and you need a clean installation. Apple provides Time Machine, which you can use to perform incremental backups on an external drive.
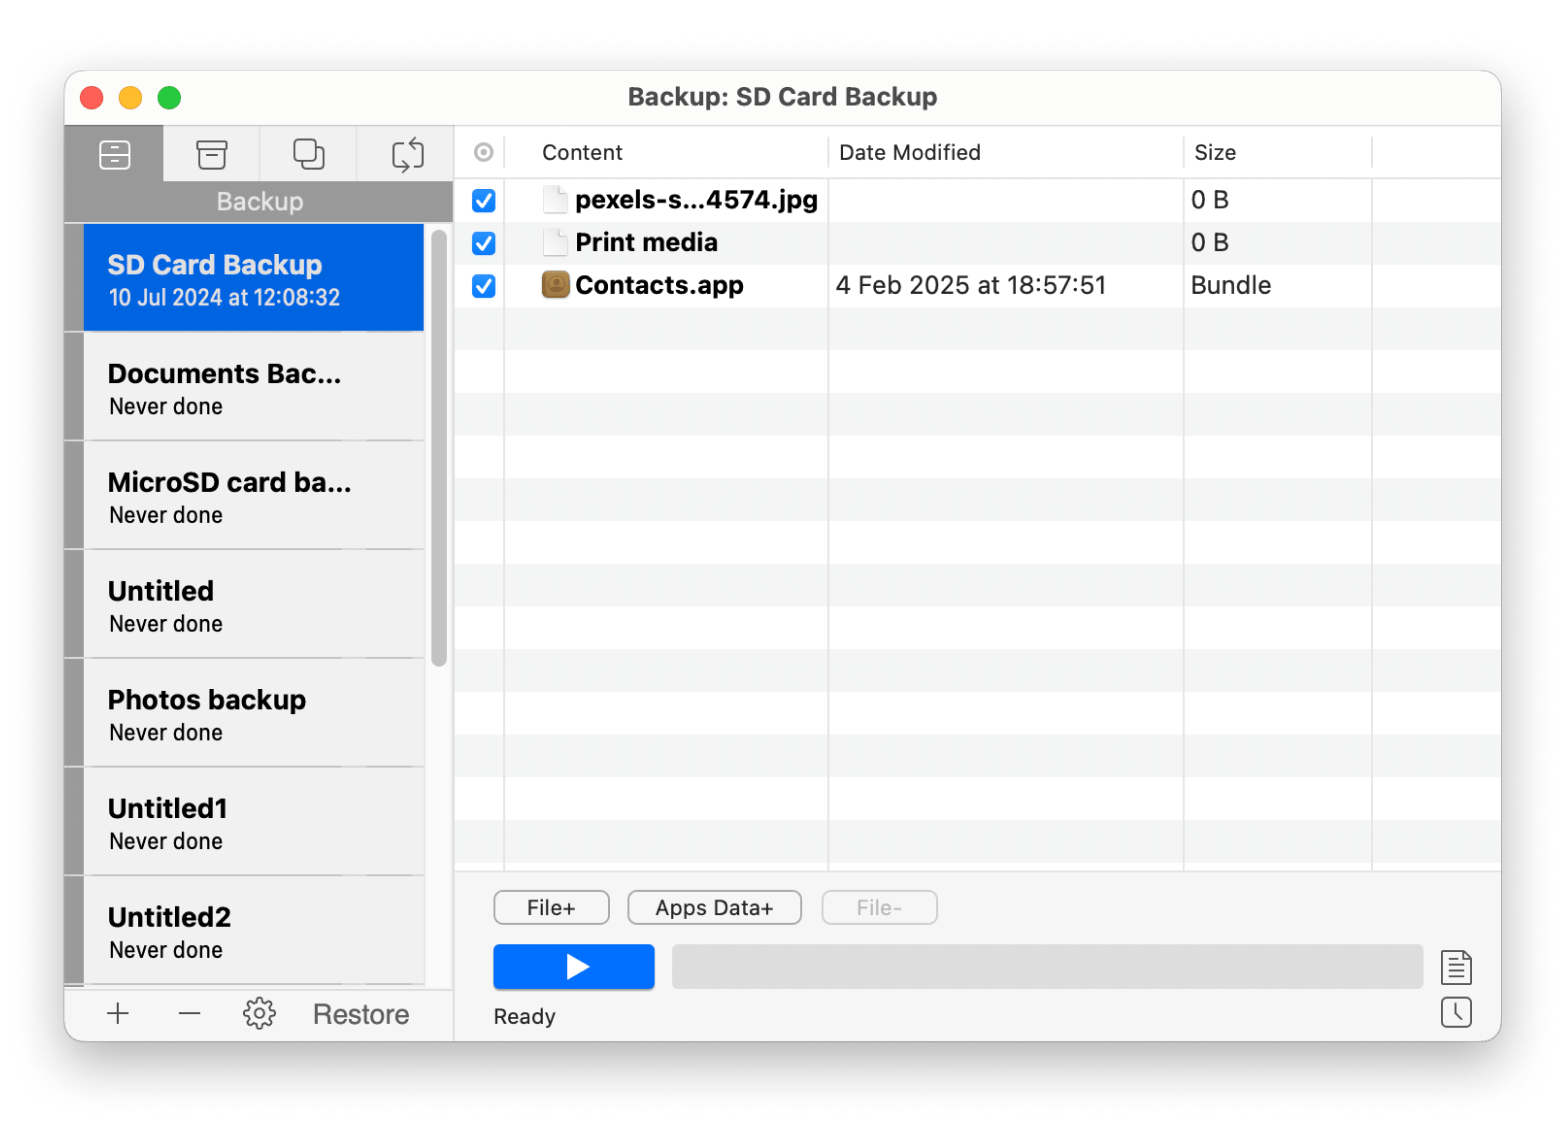
If you’d like more flexibility, you can use tools like GetBackup Pro and ChronoSync Express (both available on Setapp). These let you back up specific folders, automatically send files to any server, and even clone your entire system.

If you aren’t sure how to go about this process, check out our guide on how to back up a Mac.
Step 3: Free up disk space
Lastly, ensure you have enough space. The macOS download file alone will take about 16GB for the latest Sequoia version, and you’ll need around 25-35GB more for the installation. The system will use it as breathing room when unpacking files to build your new OS environment, and the installation can fail without it.
To free up disk space, use one of the methods:
- Start by checking your available storage in System Settings > General > Storage.
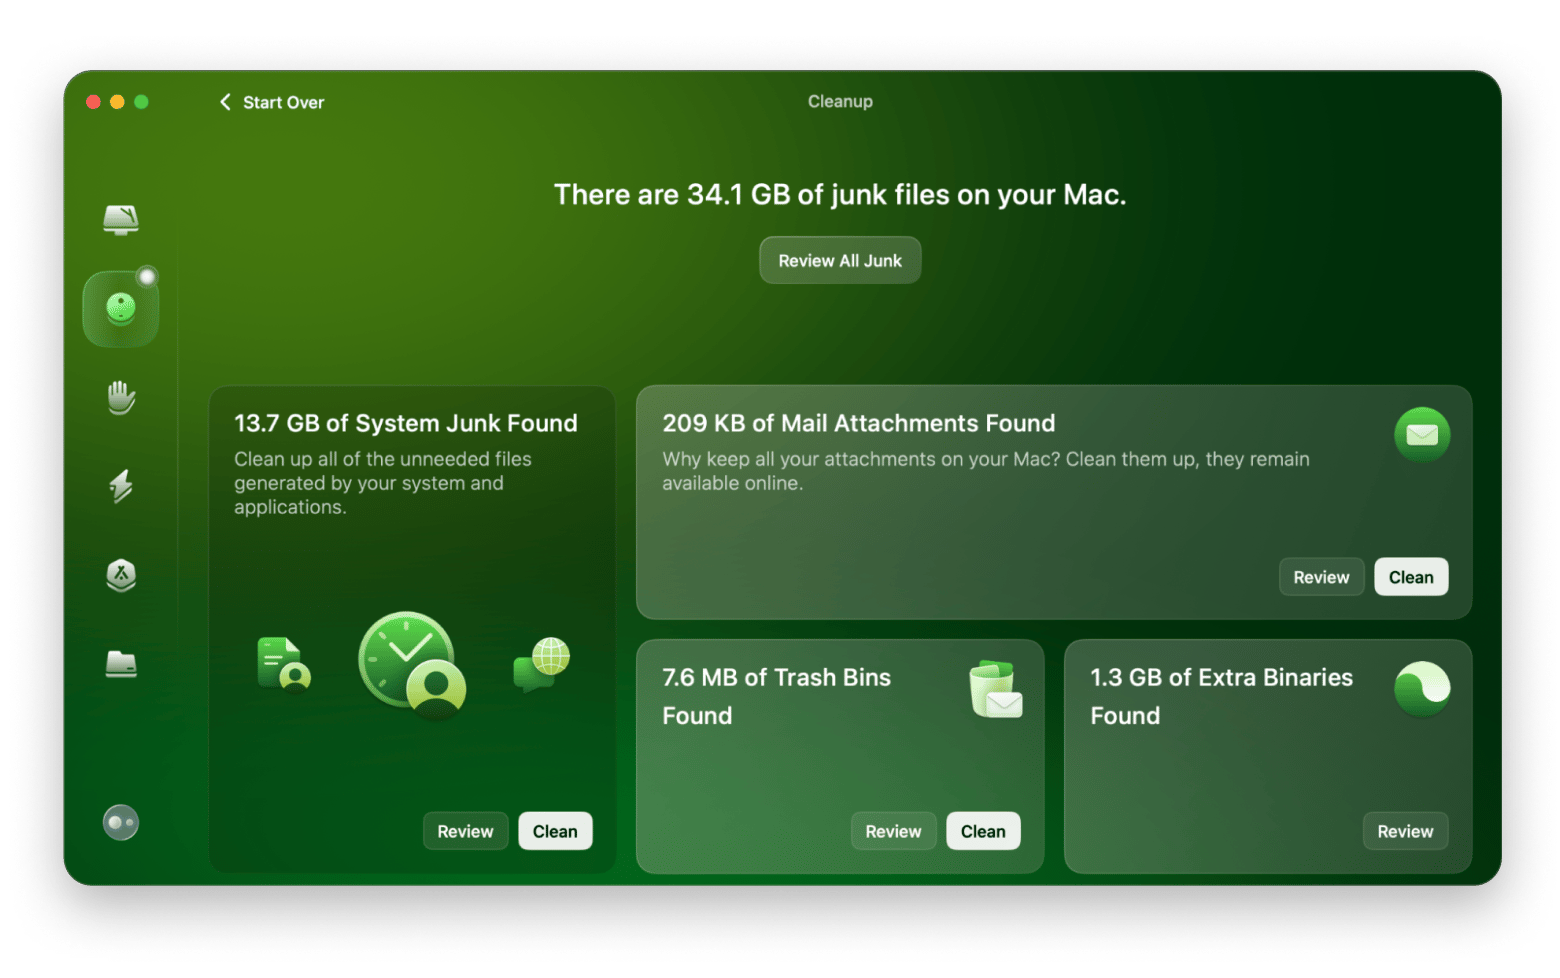
- If you’re cutting it close, you can free up more space using CleanMyMac. It will save you from manually digging through folders and probably sacrificing files you may need in the future. Simply open the app > Click Cleanup > Run.

How to download macOS
To install macOS, you can either:
- Go to System Settings > General > Software Update
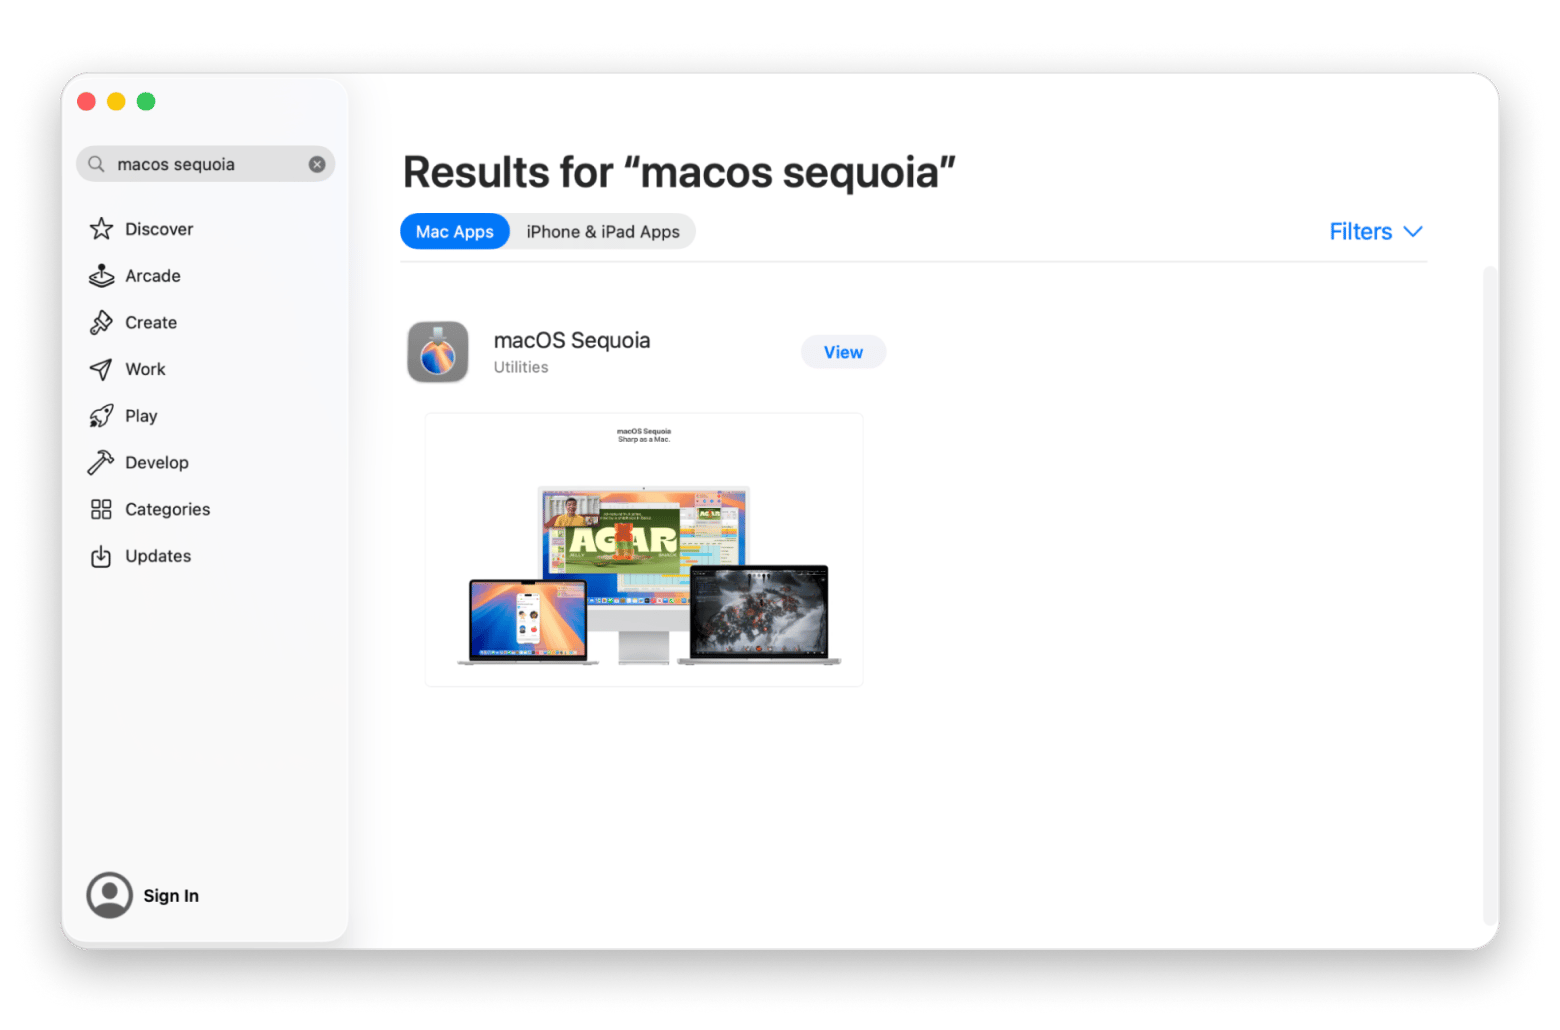
- Manually download your desired version via App Store (for versions like Big Sur, Monterey, Ventura, Sonoma, and Sequoia).

Both methods work well, but the former is for simple incremental updates while the latter covers all available (and compatible) macOS versions.
TipIf you’d like more information on your macOS version and the available upgrades, you can check our full list of macOS versions for reference. And if you’d like an older version like Sierra or Yosemite, you can still get it directly through the browser. Visit the Apple download page using Safari and click on the version. It will start downloading right away. |
How to install macOS (step-by-step)
Once you’ve downloaded the installer, it’s now time for the main event.
Method 1 – Upgrade installation (default option)
This is the official and easiest way to move from one macOS version to a newer one. It’s built right into macOS, so you only need to follow a few steps.
Here’s the step-by-step macOS installation process:
- Connect the Mac to power and a stable Wi-Fi or Ethernet network.
- Go to System Settings > General > Update.
- Click Upgrade Now.
- Click Continue on the installer after the macOS download.
During the installation, Mac will restart several times and then ask you to log in.
Note that this method keeps all your apps, files, and settings, although you might still want to secure your important files using GetBackup Pro for peace of mind.
Tip: While this method is easy and fast, you may not like that it carries over all your clutter. This doesn’t sit well with me, considering the fresh look you get with a new OS, so I use CleanMyMac to do a cleanup before and after installation. It helps identify and get rid of all the junk in your Mac, letting it perform as it should.
Method 2 – Clean Install via Bootable USB
If you’d like a fresh start or you are installing an older macOS version, the clean install method is the way to go. It lets you wipe your old files, cached junk, and outdated settings, giving you a fresh version of macOS. The process takes a bit more effort, but you’ll end up with a faster, cleaner, and more stable Mac.
Step 1: Download macOS
You’ll need the macOS version file you want to install, so download it first. There are three official options:
- Apple App Store (Sequoia to High Sierra)
- The Apple website through Safari (Sierra to Lion)
- Terminal via the command softwareupdate --fetch-full-installer --full-installer-version <number>, where <number> is the macOS version (e.g., 26.0.1 for Tahoe).
The first and third methods will store the macOS installation file as .app in the Applications folder, but you’ll need to mount the file and extract it if you used the website option. Double-clicking the file and then the mounted package will do it.
Quick tip: Confirm that your downloader appears as Install macOS [version].app in the Applications folder before you build your bootable installer.
Step 2: Prepare and format your USB drive
It’s now time to create your bootable installer. This part requires that you have a USB drive with a capacity of 16GB or more, depending on the macOS version. 32GB drives may be necessary for the updated versions of Sonoma, Sequoia, and Tahoe.
You should then format the USB drive:
- Open Disk Utility (Applications > Utilities).
- Click on the USB drive.
- Click Erase.
- Choose:
- macOS Extended (Journaled) format.
- GUID Partition Map scheme.
- Name the drive something simple (like MyVolume).
- Click Erase.
The disk should be ready for macOS extraction.
Step 3: Create a bootable macOS installer
It’s now time to create the installer using the downloaded macOS file and the formatted USB drive.
Here’s how to create a bootable Mac installer:
- Open Terminal (Applications > Utilities).
- Run the createinstallmedia command: sudo /Applications/Install\ macOS\ [version].app/Contents/Resources/createinstallmedia --volume /Volumes/[Name]. Replace “[version]” with the name of your macOS version (e.g., Tahoe) and “[Name]” with “MyVolume” or the name you gave your drive.
- Enter your password and press Return.
- Type Y to confirm erasing the drive, then press Return.
- Eject the USB safely after all files have been copied.
When the process is complete, safely eject the USB drive.
Step 4: Boot from USB and install macOS
It’s now time for the part where you get to install macOS from a USB.
Here’s the step-by-step macOS installation process:
- Shut down your Mac (Apple menu > Shut Down).
- Connect the bootable USB.
- On Intel-based Macs: Press the power button, then immediately press and hold the Option (Alt) key. On Apple silicon: Press and hold the power button until you see “Loading startup options.”
- Choose the USB drive using the arrow keys (Intel) or the pointer (Apple silicon) and press Return.
- Choose your language if prompted.
- You have two options:
- Option 1: Select Install macOS and choose your internal drive (usually Macintosh HD) to keep your files and settings.
- Option 2: Click Disk Utility to erase the startup disk first, then go back and select Install macOS > Macintosh HD.
- Follow the onscreen instructions.
Allow your Mac to take its time, and you should end up with a new macOS version.
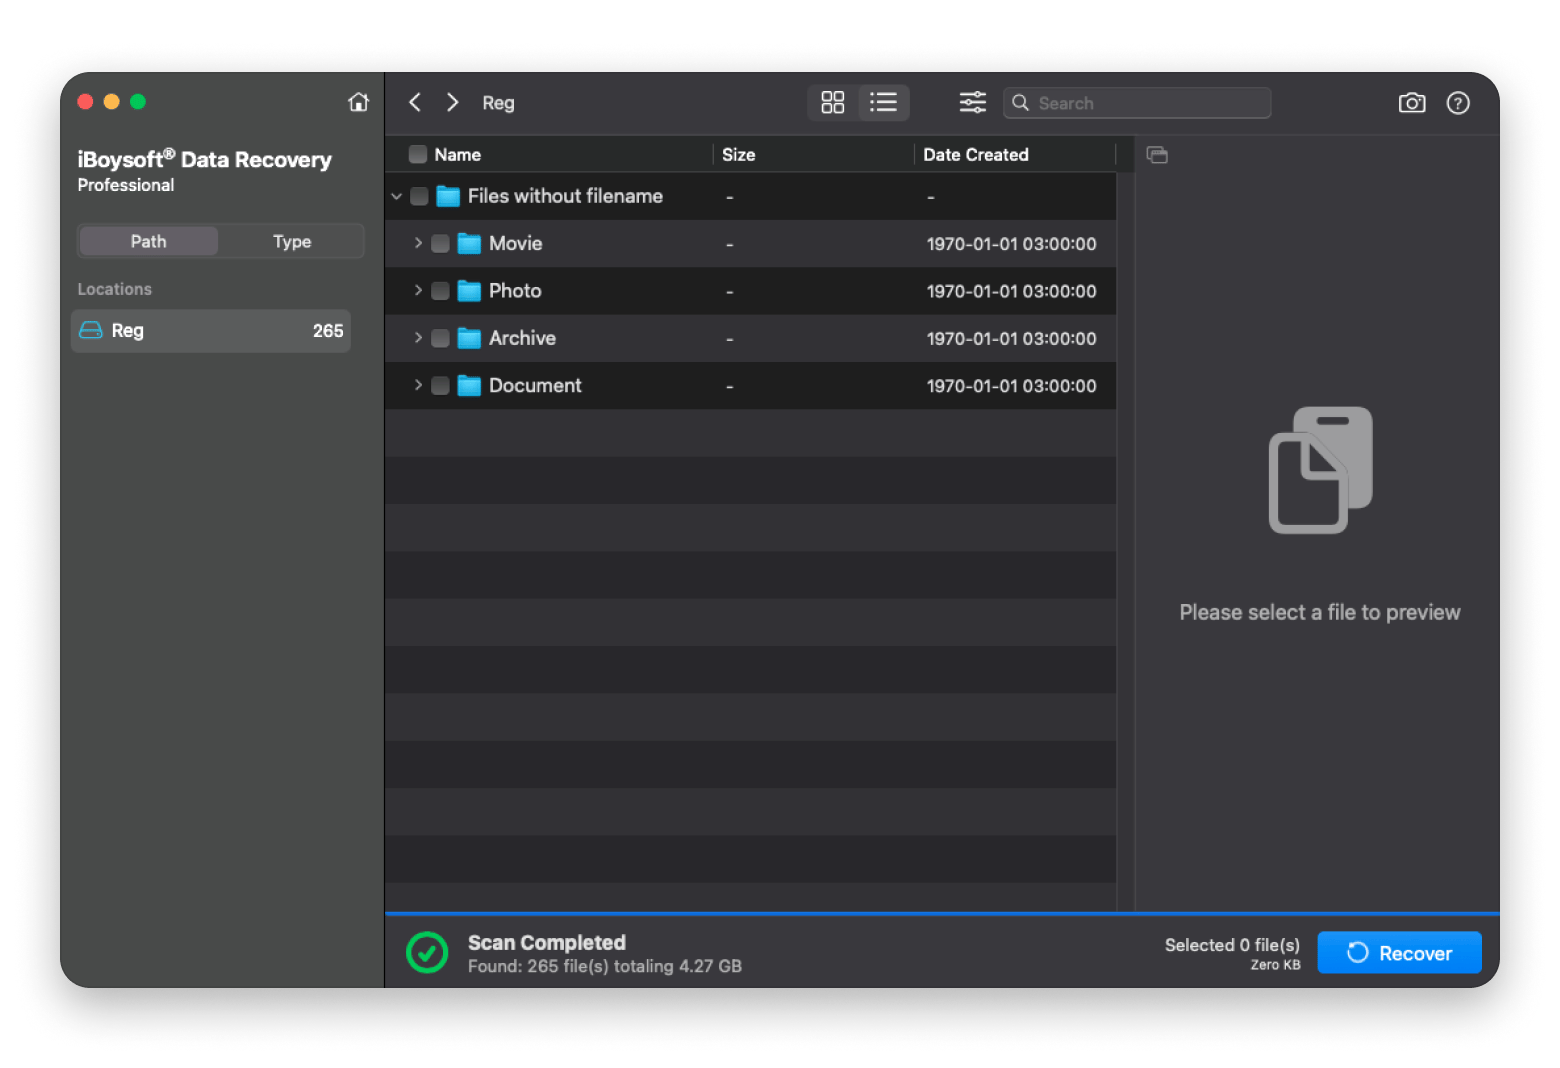
TipI’ve made a mistake one too many times in the past, so I know it’s always possible to end up losing data you forgot to back up. If it happens to you, don’t panic, as you can always salvage your files using iBoysoft Data Recovery. It’s one of the most reliable macOS data recovery tools, and you can check it out for free on Setapp.
|
Troubleshooting common macOS Installation Issues
Even when you are extra careful, things may not always go your way. The installer can freeze halfway, the USB drive may not be detectable, or your Mac can get stuck on the Apple logo longer than your patience can handle.
Here’s how to troubleshoot common errors you may come across:
- Installer doesn’t show up: Check that the drive is properly plugged in and in the correct format.
- Installation error: Check the time settings, as there may be a mismatch with the installation file certificates (System Settings > General > Date & Time)
- Not enough space: Clear out junk and large files using CleanMyMac.
- Can’t select bootable installer: On T2 Macs, enable external booting from the Startup Security Utility.
Why proper macOS installation matters
macOS installation can only be smooth when you do proper preparation. Things like backing up your data, checking compatibility, and preparing the installer are essentially setting up the process to run right. They eliminate mistakes that can lead to file loss or waste several hours of your day.
This means you can’t just start the process with “how to install mac OS” immediately your Mac feels sluggish or a new update rolls out. Skipping the groundwork will likely lead to issues like data loss, app crashes, or performance drops, and that’s why I’ve created this guide to take you through every important detail.
How to install macOS: Final thoughts
Whether you are upgrading or downgrading, you need to do proper preparations before you install macOS. Always start by protecting your files using a tool like Get Backup Pro and ChronoSync Express, as a small oversight can lead to data loss. You can also use CleanMyMac to clear junk and ensure your Mac runs smoothly, especially if you don’t want to clean your USB drive. And in case of any unforeseen issues, you can always count on iBoysoft Data Recovery to bring back your files from formatted or even corrupt drives.
All these apps are available on Setapp. The platform gives you a complete pack of macOS, iOS, and webOS apps that you can get with Setapp’s 7-day free trial.
FAQ — How to install macOS
How to download and install macOS safely?
You can download and install macOS safely by using official Apple sources and following the installation procedure carefully. Use the App Store, Terminal, or Safari to get the latest version from Apple’s servers. You should then back up your data using a flexible tool like Get Backup Pro to ensure you aren’t a victim of accidental data loss.
Can I install macOS on unsupported Macs?
Yes, but you’ll need a patcher like OpenCore Legacy Patcher, which helps older Macs run newer macOS versions. However, you should know that since this is a workaround, it may be unstable. Some macOS features that require newer models will also not work.
What’s the difference between an upgrade and a clean install?
Upgrading means installing a newer operating system over your old one, so it doesn’t affect your apps, settings, or files. It’s faster and convenient, although you’ll still carry over system clutter unless you clean up with CleanMyMac. On the other hand, doing a clean install wipes everything and installs your new macOS version, giving you a fresh start.
How do I reinstall macOS without losing data?
You can reinstall macOS safely without erasing your files by choosing the “Reinstall macOS” option in recovery mode. You can also do so when using a bootable USB as long as you don’t clean the drive using Disk Utility. In case of accidental data loss, use iBoysoft Data Recovery to help restore everything.


