How to restore Mac to previous date with or without Time Machine
- Quick fix: Use Time Machine. Connect backup > Restart > Command + R > Restore from backup.
- Advanced fix: Reinstall macOS. Enter recovery mode > Reinstall (won’t restore to a date).
- Tip: Reset NVRAM/PRAM. Hold Option + Command + P + R to fix glitches.
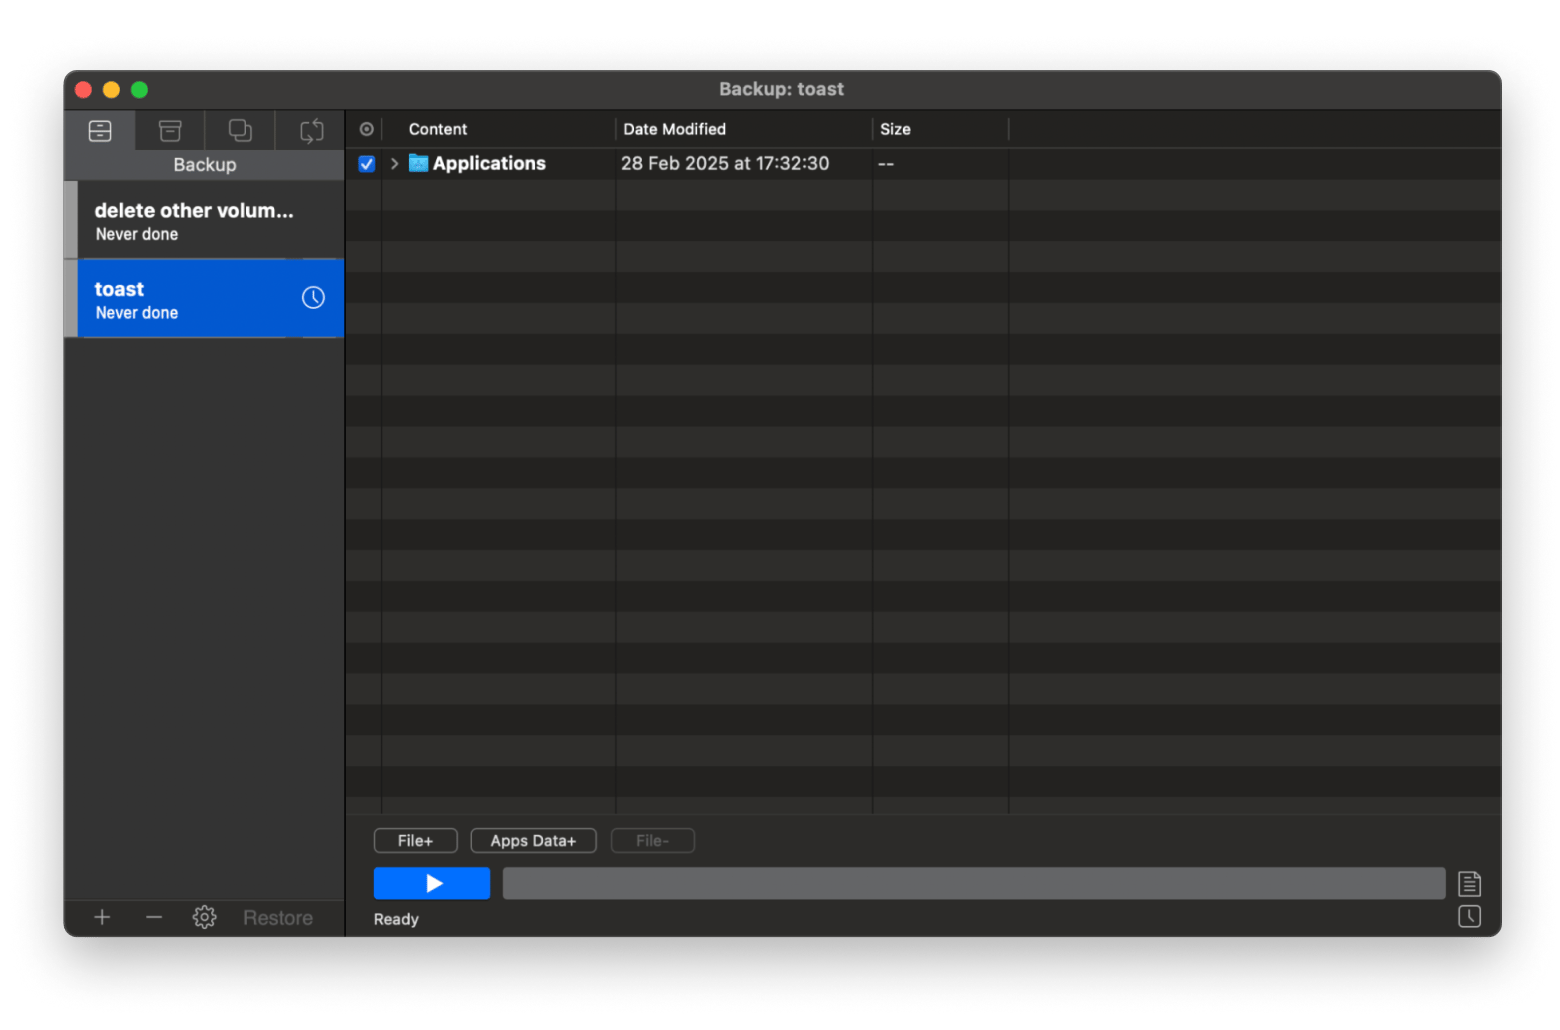
- Use apps: iBoysoft Data Recovery (restore Mac files), CleanMyMac (removes junk), and Get Backup Pro (back ups your data easily).
Have you ever installed a program that caused your Mac to malfunction? Accidentally deleted important files? System is suddenly running slower after an update? In all these cases, restoring your Mac to a previous date could be the solution you're looking for.
So, let me take you through some simple solutions to restore Mac to the previous date.
Looking to troubleshoot Mac issues quickly? Give the free GPT tool a try. It's here to help you resolve any problem on your Mac with the best solutions tailored to what you ask for.
How to restore Mac to an earlier date?
Remember that a full system reset will restore the computer to an earlier date on Mac, along with the contents of your backup, so ensure you have any recent important files backed up elsewhere.
Restore Mac to a previous date using Time Machine
Time Machine is a built-in backup tool that automatically creates hourly backups for the past 24 hours, daily backups for the past month, and weekly backups for all previous months. If you've been using Time Machine, restoring your Mac to a previous state is straightforward with macOS Recovery mode.
To restore to the previous date:
- Connect your Time Machine backup drive to your Mac.
- Click the Apple menu> Restart.
- Immediately hold Command + R until the Apple logo or spinning globe appears. This enters macOS Recovery Mode.
- Choose Restore From Time Machine Backup from the macOS Utilities menu.
- Choose your Time Machine backup disk.
- Choose the specific backup date and time you want to restore.
- Choose the destination disk for restoration > Click Restore
This will roll back your entire system, including files, apps, and settings, to the selected backup date.

How to reset your Mac without Time Machine
If you haven't been using Time Machine or another backup solution, restoring your Mac to a specific previous date isn't possible. However, you can still reinstall macOS using macOS Recovery mode. This will reinstall the operating system without erasing your personal files, but it won’t restore your Mac to the previous date.
To reset Mac without Time Machine:
1. Restart your Mac to enter Recovery mode:
- For Intel Macs: Hold Command + R during startup.
- For Apple silicon Macs: Press the power button. Wait till you see Loading Startup Options > Click Options > Continue.
2. In the macOS Utilities menu, select Reinstall macOS > Click Continue.
3. Next, click Agree.
4. Choose your startup disk > Click Install without erasing the disk.
5. Enter your Apple Account and password (if prompted) > Wait for the installation process to complete.
For more information, check out how to factory reset your MacBook without a password.
Restore Mac files without Time Machine using iBoysoft Data Recovery
Even if you haven't set up Time Machine or forgot to plug in your backup drive, you still have a shot at getting your files back with iBoysoft Data Recovery.
This is one of the most effective file recovery tools for Mac, and it can help you recover your lost or deleted files even without a backup. The software works with all Macs running Mac OS X 10.11 El Capitan or higher and supports APFS, NTFS, exFAT, and other popular file systems. It can even recover data from unreadable disks and unbootable Macs.
Here's how to recover files with iBoysoft Data Recovery:
Open iBoysoft Data Recovery.
Select the drive and click Search for Lost Data.
Preview files and click Recovery.
Choose a destination folder and click Select.
When you have the tool, you don't need to panic every time something goes missing.
Reset NVRAM/PRAM
Sometimes, system problems stem from corrupted parameter settings stored in your Mac's non-volatile memory (NVRAM or PRAM). Resetting this memory can solve certain issues.
To reset NVRAM or PRAM:
- Click the Apple menu > Shut down.
- Turn on your Mac and press Option + Command + P + R immediately.
- Press and hold the keys for 20 seconds:
- On Intel-based Macs, release the keys after hearing the startup chime a second time.
- On Apple silicon Macs without a chime, release them after the Apple logo appears and disappears two times.
4. Let your Mac restart normally.
It won't restore the Mac to the previous date but can resolve certain system-level glitches.
Use Disk Utility to verify and repair disk issues
Disk problems can cause a variety of system issues. Using Disk Utility to check and repair your disk might help:
- Restart your Mac and enter Recovery Mode
- Choose Disk Utility from the macOS Utilities menu
- Select your startup disk (usually named Macintosh HD)
- Click First Aid > Click Run to check and repair disk errors
This process scans your disk for errors and repairs them if possible, potentially resolving system instabilities without requiring a full restore.
Read also:
- Best Mac Backup Software
- Backup Mac to External Hard Drive
- Backup Mac to iCloud
- Fix Macos Could Not Be Installed on Your Computer Issue
Manual file recovery options
If you don't have a backup but need to recover files manually, your best bet is to use a data recovery app. There are many options to choose from, but my go-to is iBoysoft Data Recovery.
Unlike most other apps that promise a bit of everything, the tool is simple and effective. It can help you recover data from unreadable drives and unbootable Macs.
If you're looking for a free option, you can try PhotoRec or TestDisk. The two are open-source, although they only have a command-line interface.
Keep your Mac clean with CleanMyMac
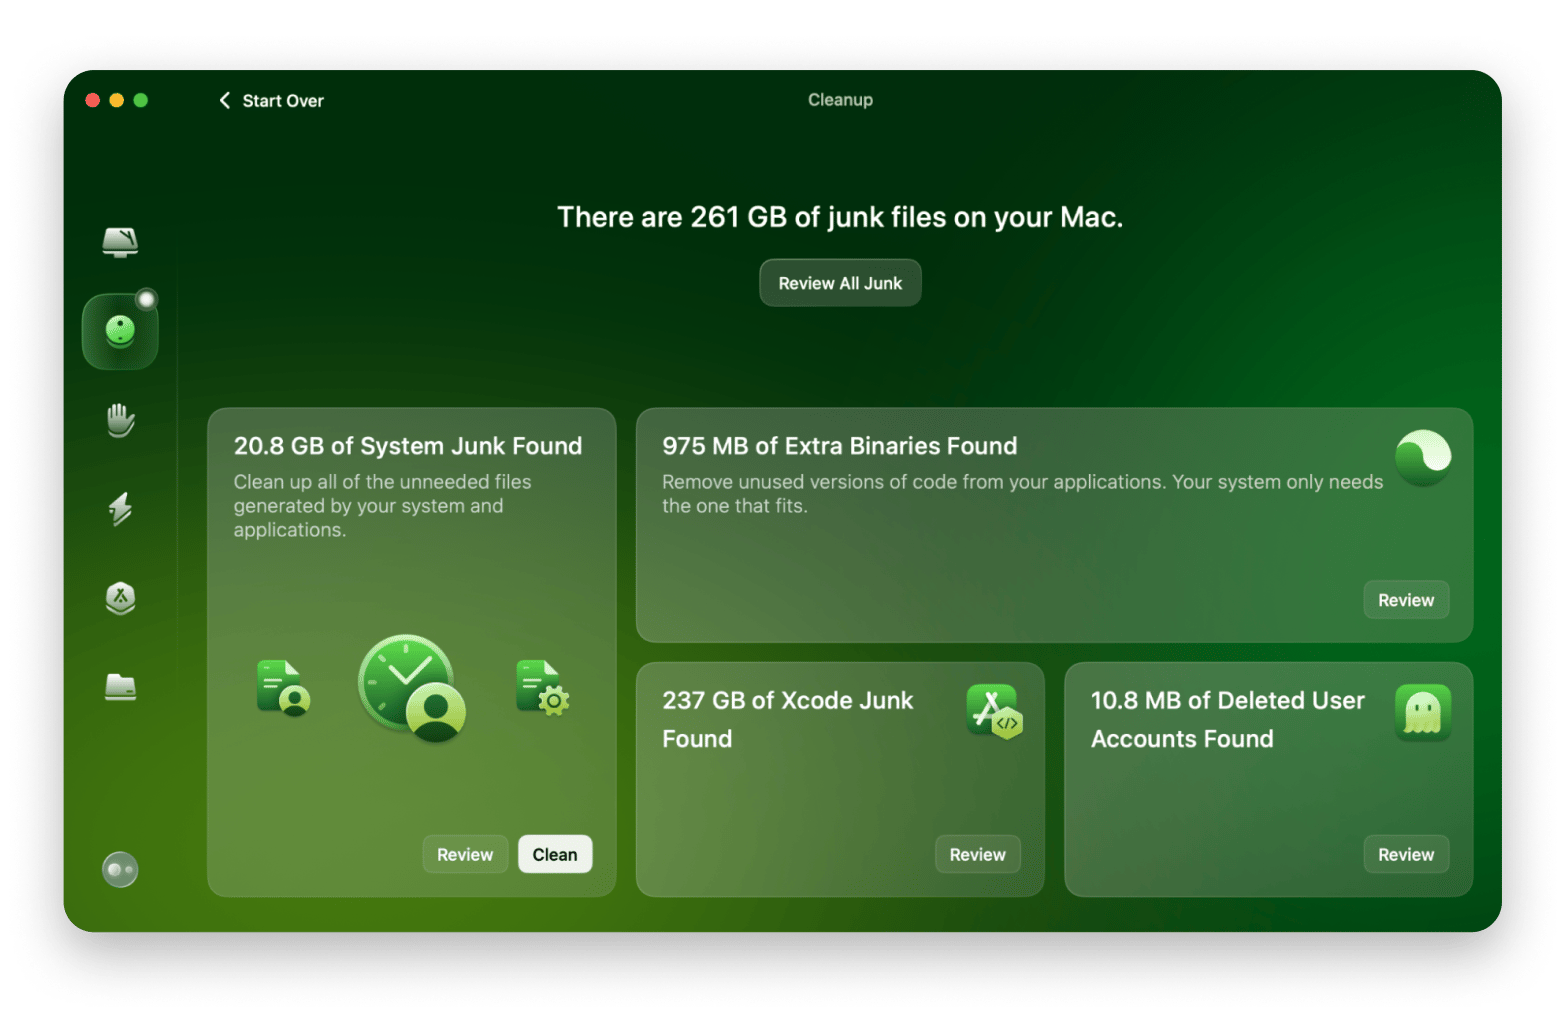
Cleaning unnecessary junk is one of the most time-consuming problems for any Mac user. First, you need to identify which files are junk and then find if they have any useless copies stored around. This is why I recommend CleanMyMac to make the process easier for non-technical users. It cuts out any manual labor as the app will scan the computer for you. So, all you need to do is review the scan results and improve your Mac performance with one click.
Here’s how to do it:
- Install and open the CleanMyMac app.
- Choose Cleanup from the sidebar menu > Click Scan.
- Click Review to choose what will be deleted from your Mac.
- Click Cleanup. This will ensure your Mac is not bogged down by junk you don’t need.

Why restore your Mac to an earlier date
Why do you need to restore your Mac to the previous date? It’s pretty simple:
- You install some shiny new software, and it’s like tossing a wrench into your perfectly tuned Mac engine — crashes left and right, apps throwing tantrums. It means you will need to go back in time on Mac.
- If your Mac has been compromised by malware, returning to a clean backup may be the most effective solution. Read on to learn how to check for malware on a Mac.
- macOS updates — sure, they’re supposed to make life better, but they roll in with bugs or decide your favorite app cannot reside on your system anymore.
- Over time, your Mac may accumulate temporary files, cache data, and other digital debris that slow down performance.
- Or maybe you tweaked some system setting in a fit of genius, and now nothing works right, but good luck figuring out what you broke.
When you restore Mac to the previous date, you're essentially returning your system to a known good state before problems occur. Think of it as a digital time machine that lets you undo problematic changes to your system.
Final words before you restore Mac to the previous date
The process of restoring Mac to a previous date is easy if you have Time Machine backups. You can also use macOS Recovery Mode to refresh the system without touching your files, though it won’t roll things back to a specific day.
And if what you really need is just a lighter, faster Mac, you’ll probably find it easier to clear out the junk with CleanMyMac. Also, consider using an app like Get Backup Pro and schedule or manually perform backups to secure your files. And in case you lose your data and don't have a backup, iBoysoft Data Recovery can help you get back important documents, photos, or projects in just a few clicks.
You can find all these apps on Setapp, a platform where you get access to 260+ Mac and iOS apps for virtually any need. There's a 7-day free trial to let you try any of the apps before committing.
FAQs
Can you go back to a previous update on Mac?
You can go back to a previous update. If your Mac supports it, you might be able to reinstall an older macOS from Recovery mode, but without a backup, you can't selectively undo a macOS update.
How do I restore my Mac to a previous operating system?
To restore your Mac to a previous operating system:
Restart your Mac and enter Recovery mode:
- For Intel-based Macs: Hold Command + R during startup.
- For Apple silicon Macs: Press and hold the power button until Loading Startup Options appears > Click Options > Continue.
2. Reinstall an Older macOS version. In macOS Utilities, click Reinstall macOS > Continue.
3. Accept Apple’s software license agreement.
4. Choose Macintosh HD > Click Continue.
Note that downgrading may cause compatibility issues with apps designed for newer macOS versions.
Can you restore Mac to an earlier date?
You can restore your Mac to an earlier date if you have Time Machine or another backup solution in place. Without backups, you cannot restore to a specific date. However, you can reinstall macOS and manually recover files you've backed up individually.
Can I recover files on Mac without Time Machine?
Yes, you can still recover files on Mac without Time Machine by using a data recovery tool like iBoysoft Data Recovery. The tool works with all major file partition formats and can help you recover any type of data, even when the drive is unreadable or your Mac is unbootable.
Is it possible to restore only specific files from a Time Machine backup instead of the whole system?
Yes, you can restore specific files from a Time Machine backup. You only need to open Time Machine, navigate to the particular backup, and pick the files you'd like to restore. You don't need to roll back the system to undo a small mistake.
What should I do if my Mac won’t boot but I need to recover data?
If your Mac won't boot but you need to recover data, you can use iBoysoft Data Recovery. You can install and run the tool directly from macOS Recovery Mode with just a few commands. This allows you to safely back up your files before attempting any repairs.
Can I restore Mac to a previous date using iCloud?
You can't restore Mac to a previous date using iCloud in the same way you would with Time Machine or Get Backup Pro. iCloud simply syncs your files, so you can use it to recover accidentally deleted ones from the Recently Deleted folder. However, it doesn't store any snapshots of your machine, so you can't use it to roll back the system.


