How to clone your Mac hard drive?
Dreading the time-consuming process of setting up a new Mac or worried about losing important files due to accidental damage or theft? Cloning your Mac can be the ultimate solution for ensuring a seamless transition to a new machine or creating a robust backup system.
In this article, we'll show you how to clone Mac hard drive, allowing you to effortlessly replicate everything from your apps to your preferences, saving you time, effort, and the potential loss of invaluable data.
When it comes to the data backup task, most likely, the first thing that comes to your mind is Apple's native backup feature Time Machine. However, is it the best solution? Let's understand the nuances.
| Methods of cloning a Mac hard drive | How to do it |
| Backing up Mac hard drive | Enable Apple’s Time Machine to periodically back up the Mac. |
| Restore Mac hard drive clone on an external drive in Recovery Mode | Turn off Mac > Connect external drive > Turn on Mac > Press and hold Command + R to enter Recovery Mode > Click on Disk Utility > Select your hard drive > Restore using on-screen instructions. |
| Recover files for old disk image | Open Disk Utility > Find the drive to clone > Restore. |
The difference between cloning and using Time Machine
Time Machine and disk cloning are two basic ways to back up your Mac files. How do they differ from each other?
Time Machine
Time Machine is Apple's standard method for creating incremental backups. When enabled, it periodically backs up your Mac, keeping the most recent versions in case you need to revert to a backup from a specific point in time.
Disk cloning
Disk cloning is significantly different from creating backup copies using Time Machine: this tool allows you to copy not only individual folders and files but even the operating system and all installed programs. That is, cloning is creating an exact copy of your existing disk with the possibility of further use on another device or the same Mac if necessary.
Cloning is great for those who need control, especially for businesses that may need to clone drives with sensitive business data like tax info or client files.
We advocate for pro tools like and recommend you use its Byte-to-Byte Backup feature to quickly create a clone (disk image) of your entire hard drive. This will save you from any disaster as you can recover all your data from the clone if your hard drive fails or gets damaged.
So, what method to choose depends on your needs.
Choose Time Machine Backup when you need to maintain a history of changes to your files and want the ability to recover individual files or the entire system to specific points in time.
Choose disk cloning when you want a complete and exact duplicate of your entire system for migration, backup, and quick recovery scenarios.
Before you start
Before starting cloning your Mac, it's always a good idea to run a regular backup routine. It may seem redundant to create a backup just before creating another backup, but it's better to be safe than sorry. If you plan on using a disk that has been used before, make sure to erase it completely to prepare it for the clone. Assuming you want to use the whole disk as a single volume, you can proceed with the cloning process.
For managing your backups, try Get Backup Pro, which offers various features such as full or incremental backups, folder syncing across multiple Mac computers, and creating bootable clones for new machines or reboots. You can also schedule backups at your convenience and save them to any external drive.

How to prepare your SSD or other external drive to use for your clone
Before we tell you how to clone a Mac hard drive for use as a backup, you need to prepare a place for the clone to live.
- Connect the external drive to the appropriate port on your Mac
- Use Spotlight to locate the Disk Utility app. Press the Command +Space bar and type in Disk Utility
- After you open Disk Utility, locate and select the drive under External. It will usually be named after the company that manufactured it
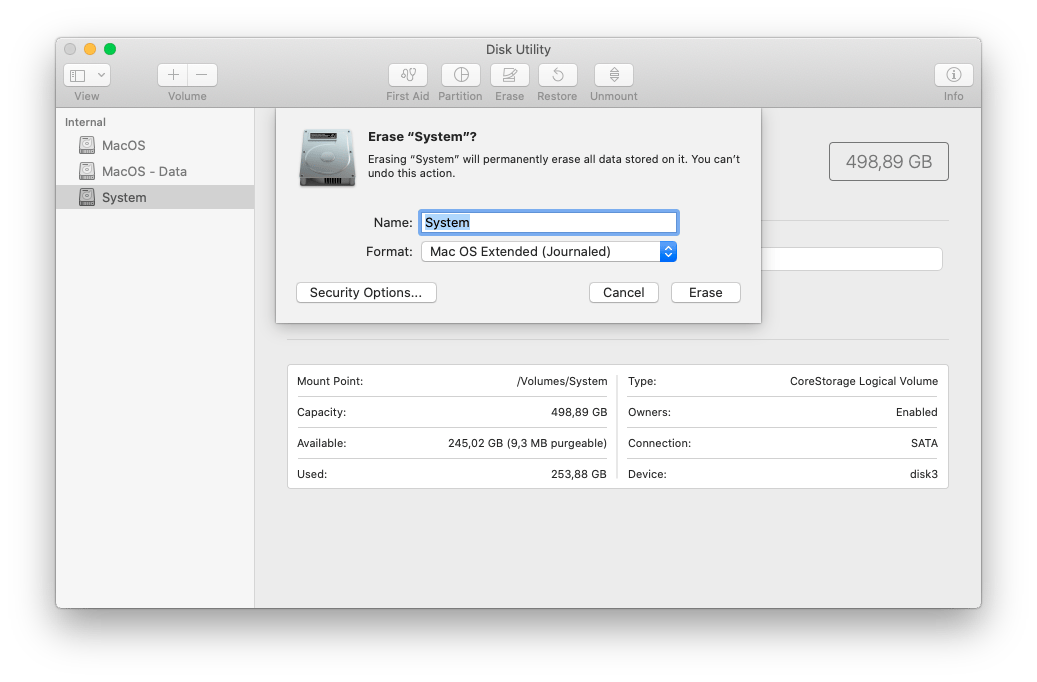
- Click the Erase tab at the top of the window
- Erase an external hard drive in Disk Utility
- Name the drive and select macOS Extended (Journaled) from the format list
- Click Erase
- Click Done when the process is complete
- Close the Disk Utility window.
How to create a clone of your Mac using Disk Utility
To clone a hard drive on a Mac, you can also use a built-in macOS utility called Disk Utility.
- Open Disk Utility. Use Spotlight search to find and launch the app. Just press the Command + Space bar at the same time and then type in Disk Utility. The app will appear as one of the results
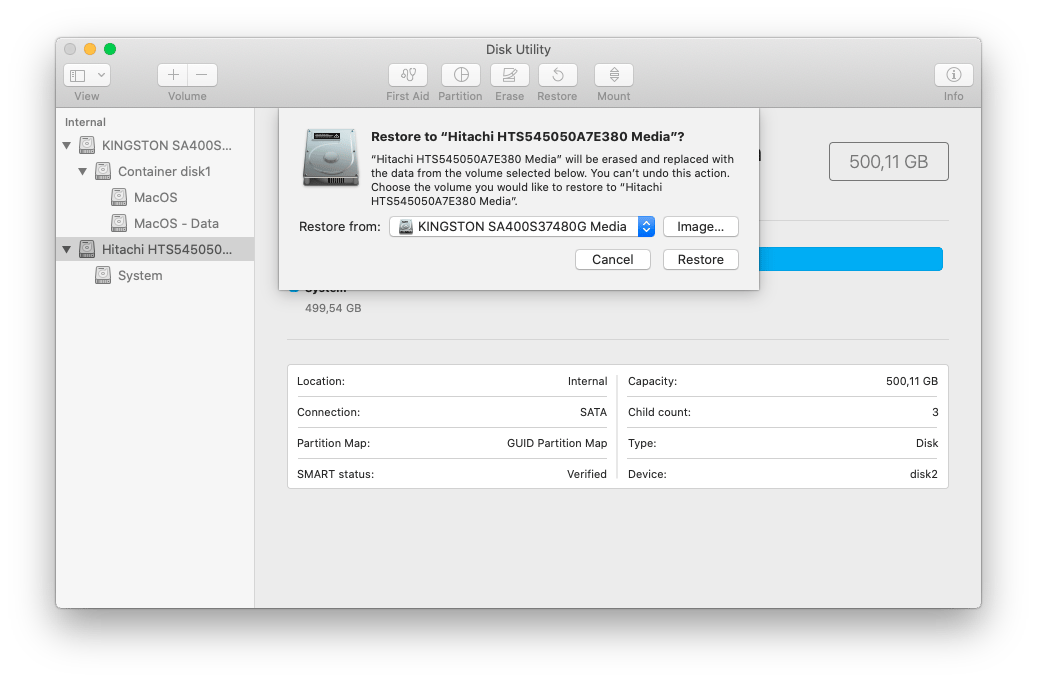
- Once you've launched Disk Utility, select the backup drive you want to clone your Mac hard drive to as the target drive. Next, click Restore
- Disk Utility will display a new window with a drop-down menu labeled Restore from. Select your Mac SSD (usually APPLE SSD XXX) as the source drive from the drop-down menu, then click Restore to begin the cloning process
- Disk Utility will then show you a status bar that slowly fills up as it clones your drive. When it's finished, click Done to complete the process. That's how you clone Mac hard drive with Disk Utility.
Restore the clone
Now you have a Mac hard disk clone on an external drive. If you ever need to restore your Mac from a clone, here's how:
- Turn off your Mac
- Connect the external drive to the appropriate port on your computer
- Then turn on your Mac
- Hold down the Command + R keys as soon as the system restarts to enter macOS Recovery Mode. Your Mac will boot to the macOS Utilities screen
- Click on Disk Utility and then click Continue
- Select your hard drive
- Next, click on the Restore tab at the top of the Disk Utility window
- Select your external drive next to Restore From
- Then select your Mac's hard drive next to Restore to and click Restore
- Once the backup has finished restoring, restart your Mac again.
Recover files from disk image
If you have a previously created disk image and need to restore files from it, try the following algorithm:
- Connect the external drive if the disc image is written on it. If it's stored directly on your device, find the disk image in storage. It can be a file with the extension .dmg or .iso
- Double-click it to have macOS create a virtual drive on your desktop or Finder
- Select and copy the files you need to the repository
- Close the virtual disk (click Eject)
- Check whether the documents and folders you need are saved.
How to boot your clone on another Mac
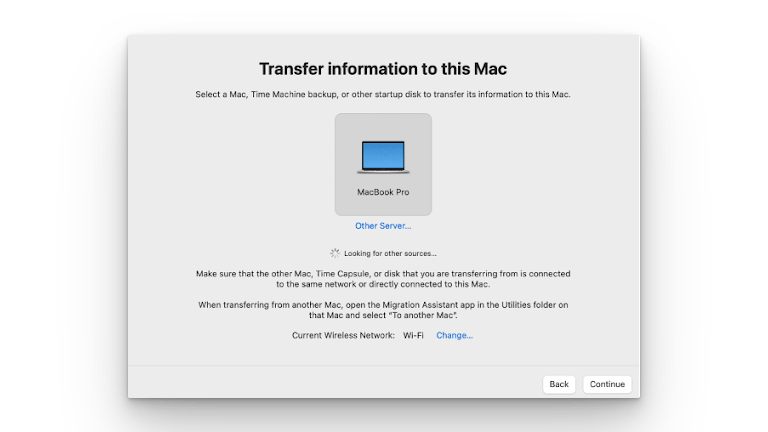
When you already have a ready clone Mac hard drive bootable version from the previous device that you used and you want to transfer this data to another Mac, you will need the drive where you saved the cloned version of the drive.
- Connect the external drive on which the disk clone is located
- Turn on the new Mac you want to boot from the clone. If the device was turned on before this, restart it (use the Option key for this)
- Select the external boot drive using the arrows
- Press Return to download files from the selected clone external hard drive Mac.
Bonus tip: How to keep your Mac clean?
Have you noticed that many files were redundant while you were doing a clone or backup? It happens when you actively use your computer for work or study: documents with similar names are created, files from the same subject are in different folders, etc.
Keeping your Mac clean is important to help it run smoothly and keep your clones organized for an optimal starting point when you need to reboot from a backup.
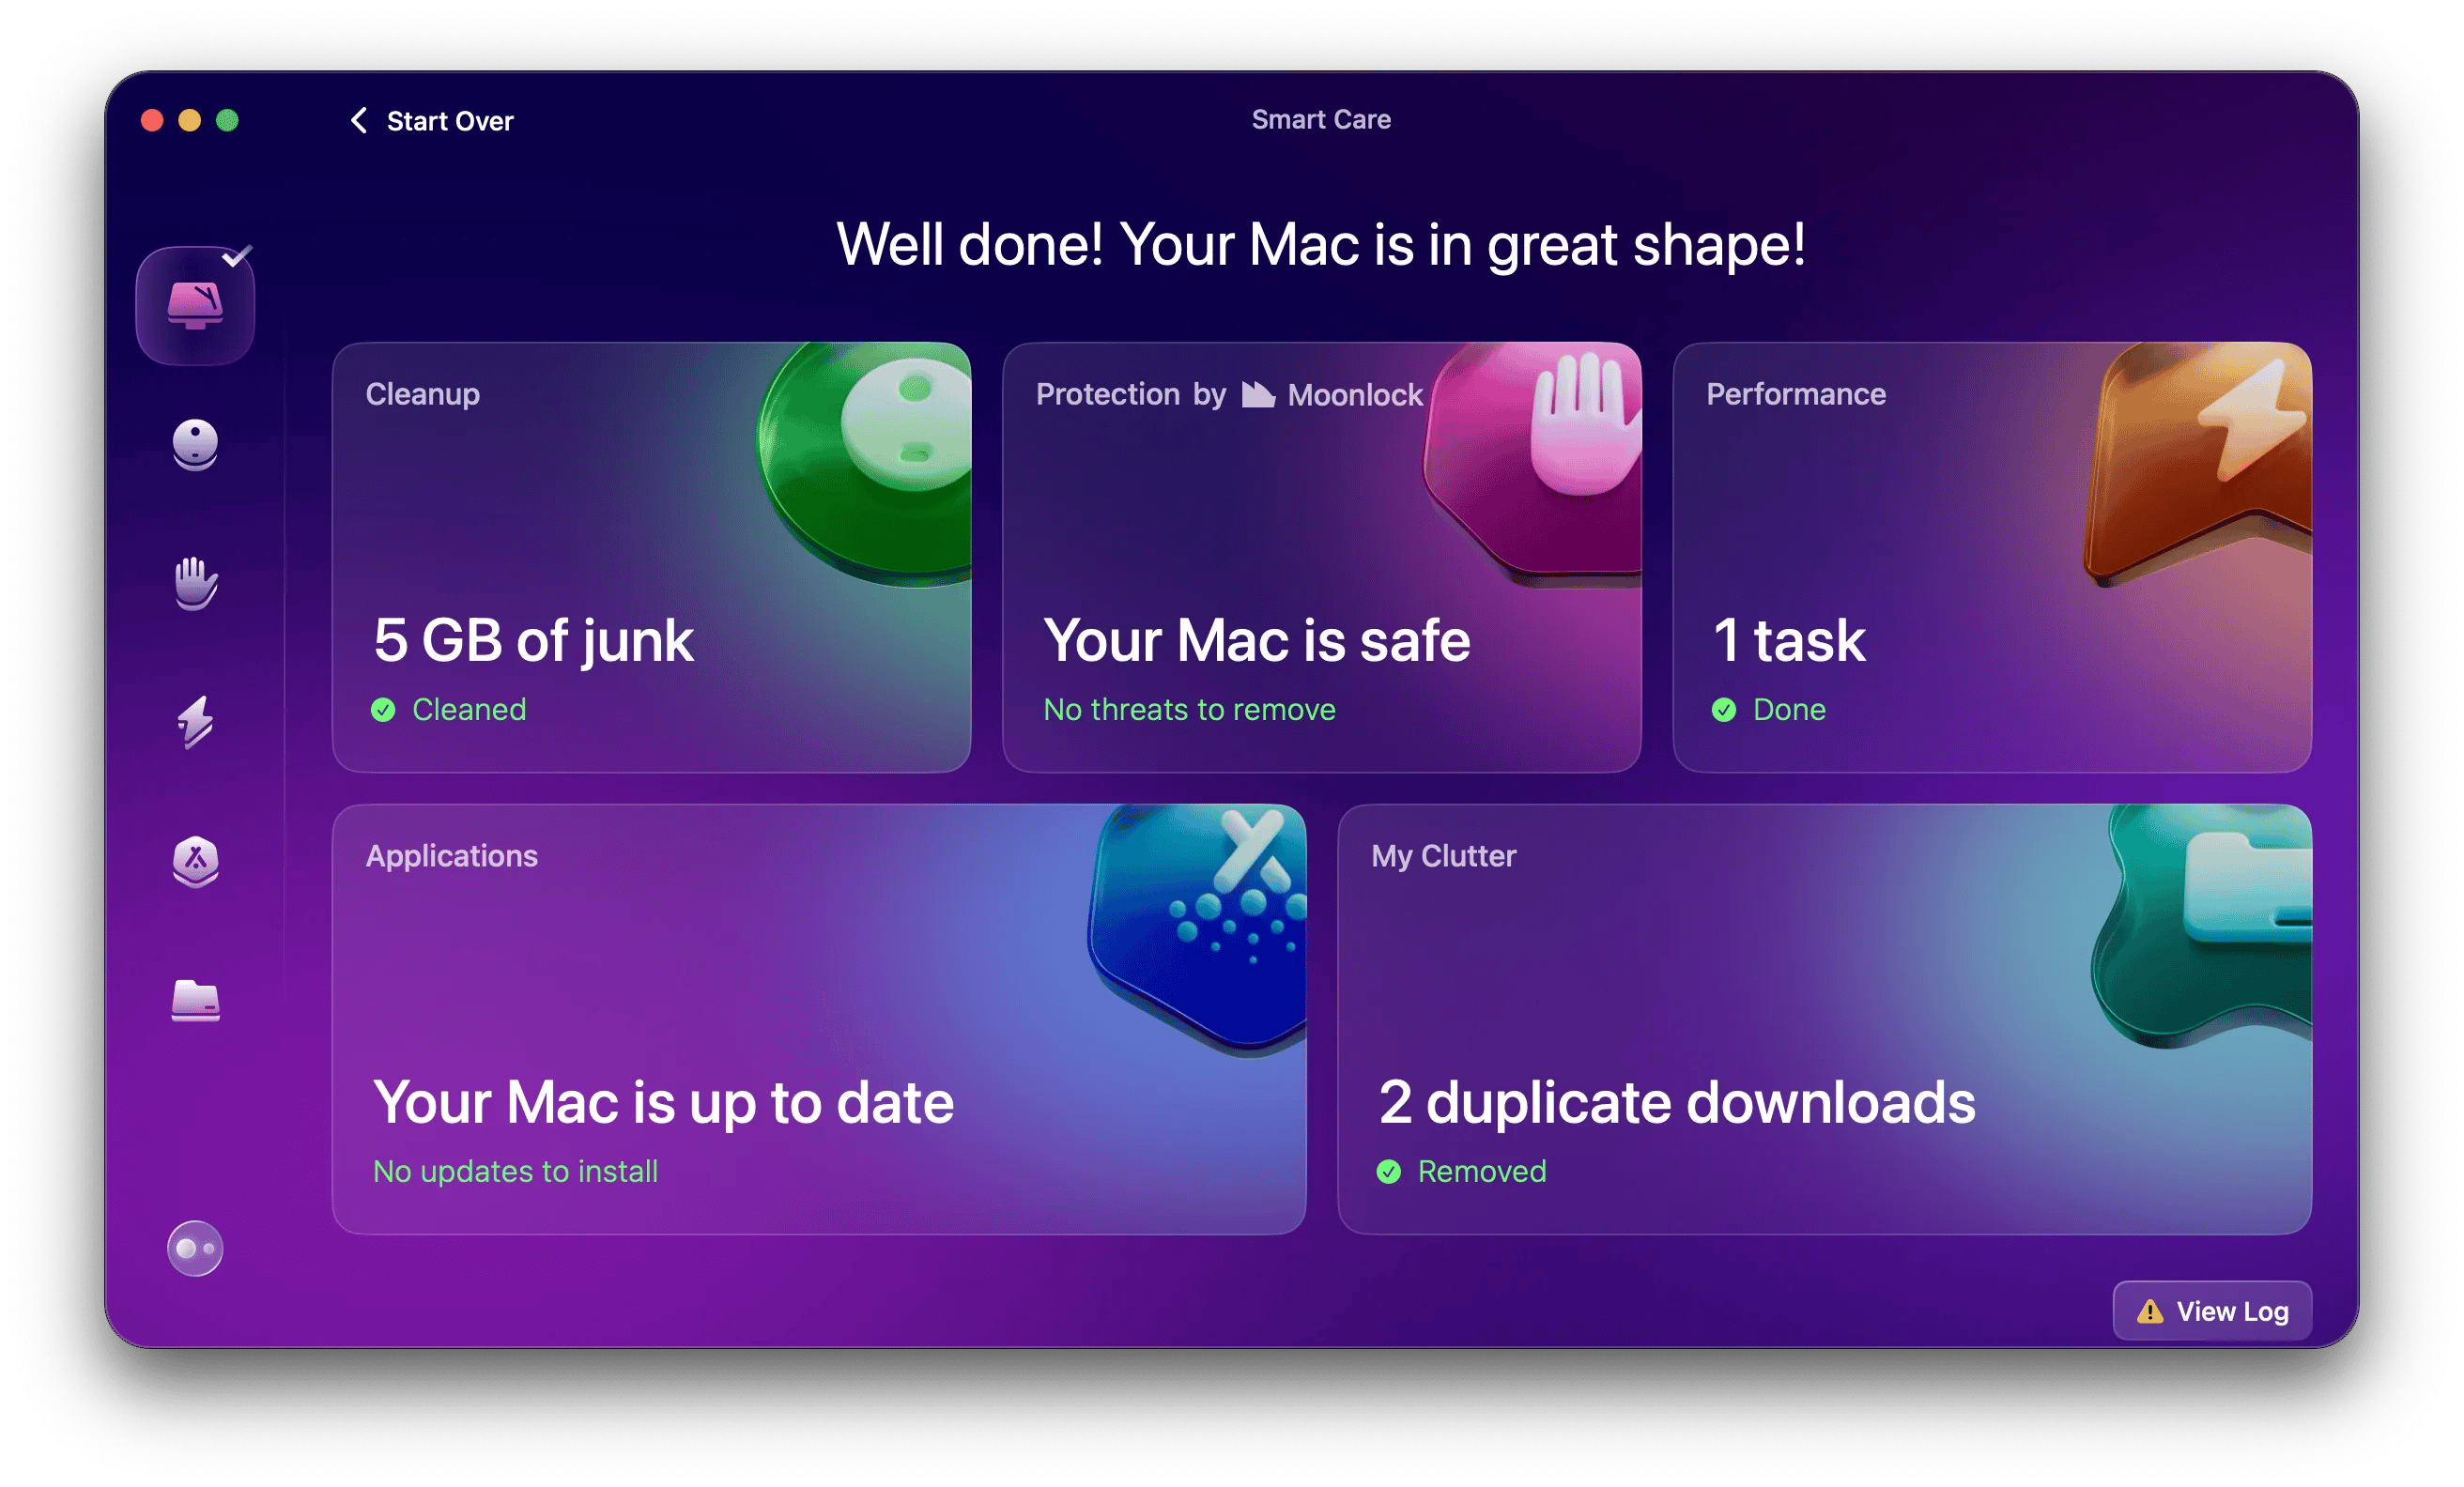
CleanMyMac is the best app for keeping your Mac running at peak performance. It can perform routine scans and is a great way to delete apps or files you no longer need in a few clicks. Check out how much junk has accumulated after just one day of active using your Mac:
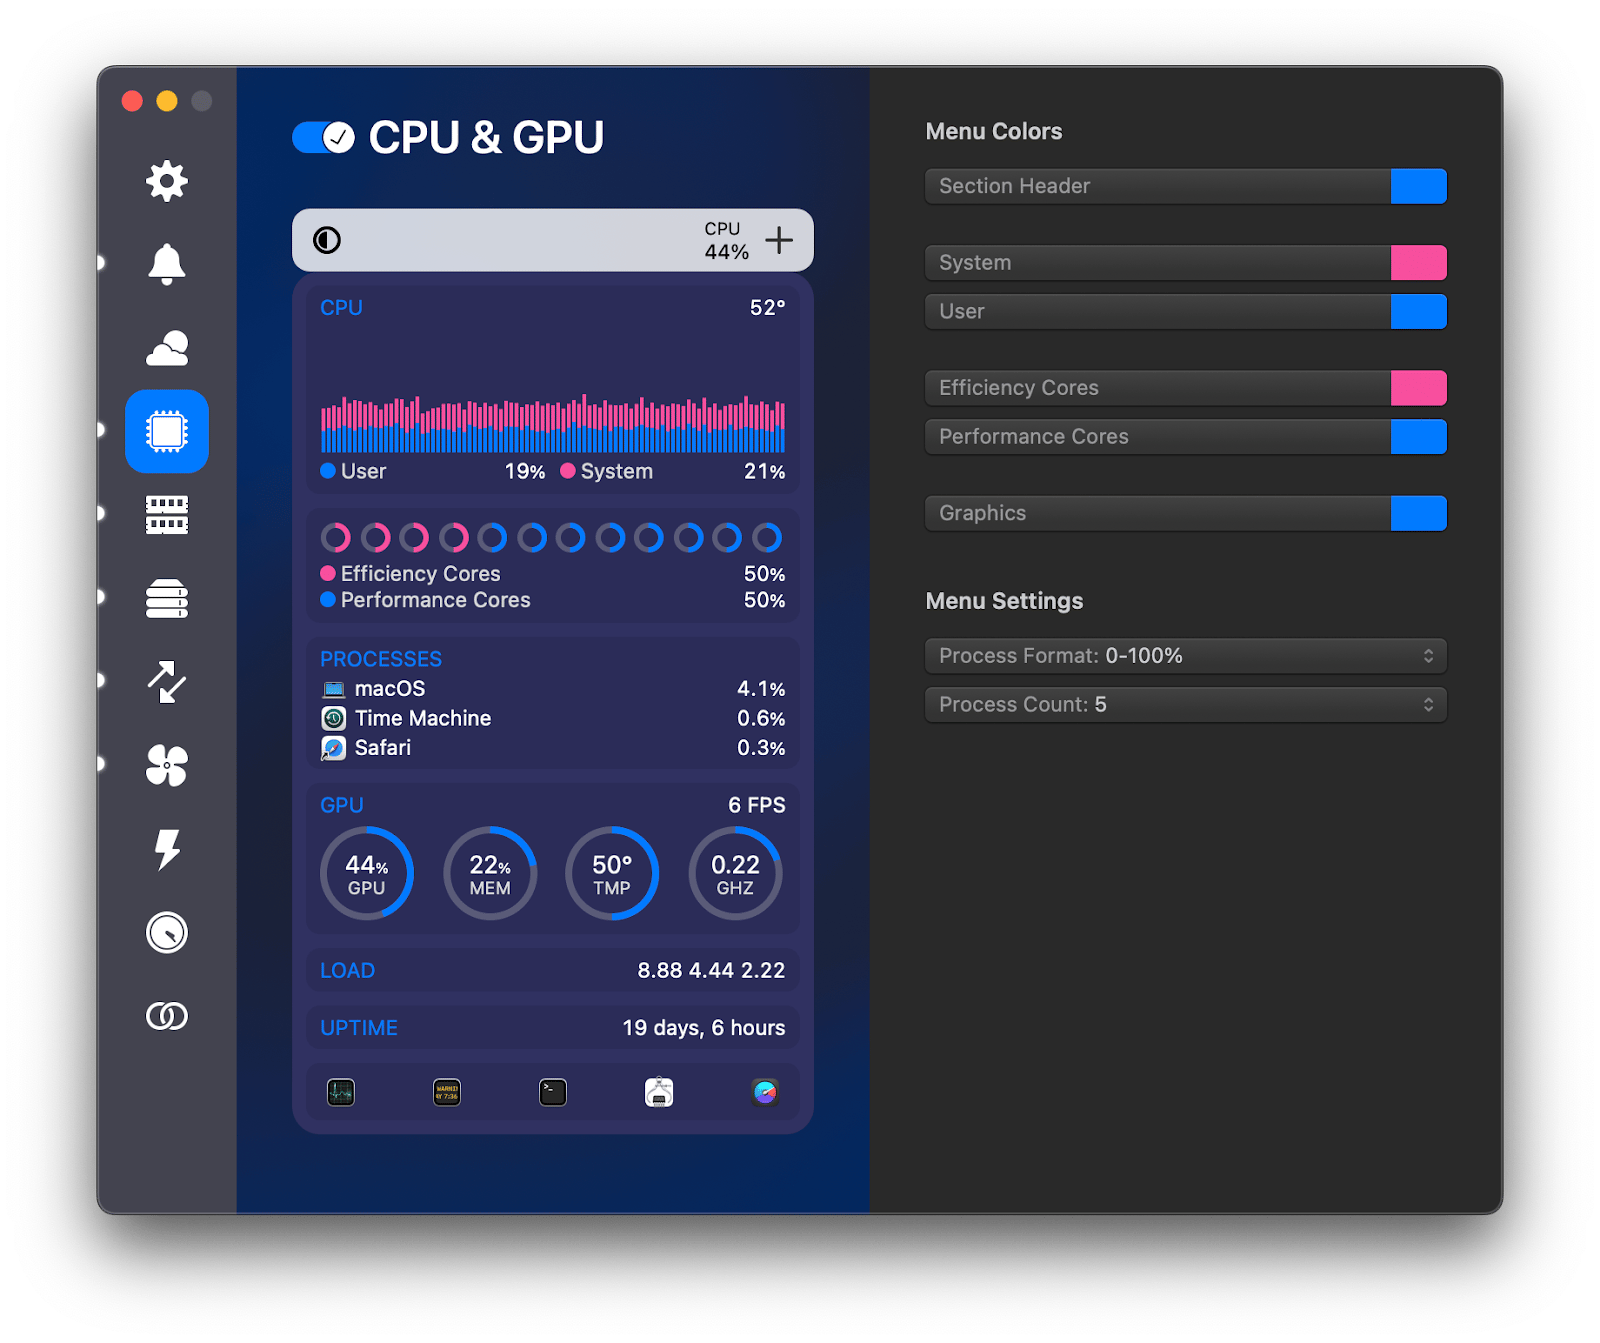
Another great app to download is iStat Menus, a system monitor that lives in your menu bar and provides insight on your CPU, GPU, and RAM use as well as your battery health statistics and various other tidbits you'll want to keep track of, like how hot your computer gets.
Final thoughts
All third-party apps mentioned in this article are available through Setapp, a platform with more than 240 Mac, iPhone, iPad, and web apps. Get Backup Pro, CleanMyMac, and iStat Menus we mentioned in this blog post are also among Setapp apps. The best part! You can try all of them for free for seven days! When your trial is over, Setapp is only $9.99 + tax per month, an excellent bargain when you consider the number of apps you will have access to.
FAQs
Can a Mac hard drive be cloned?
Yes, you can clone some folders and the entire hard drive, including installed apps, and save the clone on an external drive, for example, on an SSD.
Can I use Time Machine to clone my hard drive?
Time Machine is a macOS tool that is great for backing up individual files. However, Time Machine does not have the necessary options to create a bootable copy, as happens when cloning a disk. So, you will need third-party utilities for this.


