How to organize all the photos on your Mac: Advanced photo organization tips
I used to let my photo library spiral out of control. I’d keep every blurry screenshot, every five-shot burst from one sunset, and random photos I didn’t even remember taking. Before I knew it, I was getting those dreaded cloud storage warnings: “You're almost out of space. Upgrade now!”
So in this post, I’m sharing everything that helped me clean up my Mac photo library, step by step. Whether you want to do it manually or let some smart tools do the heavy lifting, I’ve got you covered.
But first, here’s a quick overview of the top methods and apps that can help you stay organized:
| Ways to organize photos on Mac | How to do this |
| Delete duplicates and clutter | Use the Photos app’s built-in tool to spot duplicates, or try Gemini for a faster cleanup of similar and identical photos. To find an even more personalized solution, describe your situation to our free custom GPT assistant, and it will pick the best duplicate file finder for you in seconds. |
| Use Smart Albums | Create Smart Albums in the Photos app by setting specific criteria. |
| Create regular albums | Select photos, right-click, and choose Add to > New Album to group images manually. |
| Favorite your best photos | Click the heart icon or press the period key. |
| Tag and enhance photos | Add keywords in the Info panel, or use tools like Lightroom or Luminar Neo for tagging and easy photo editing. |
| Group albums into folders | Right-click under My Albums to create folders and drag related albums inside. |
| Search smarter | Use HoudahSpot to search photos by date, file type, tags, and more. |
| Use Shared Albums | Create Shared Albums in Photos to easily share and collaborate with friends and family via iCloud. |
Delete duplicates and similar photos before organizing the library
I do it all the time! I snap a dozen photos, then choose the right one to share. The others? They're rotting away in my Mac's storage. And if you’ve ever moved photos from an external drive into your main library, chances are you’ve brought in a bunch of duplicates without even realizing it.
That's why curating your library is so important, and removing all the clutter should be your first step.
First, try using the native Mac tool for detecting and removing duplicates:
- Open the Photos app on your Mac.
- Look for the Duplicates album under Utilities in the sidebar. Photos will automatically list any identical images it detects.
- Click Merge to combine duplicates, keeping the best version and its associated data.
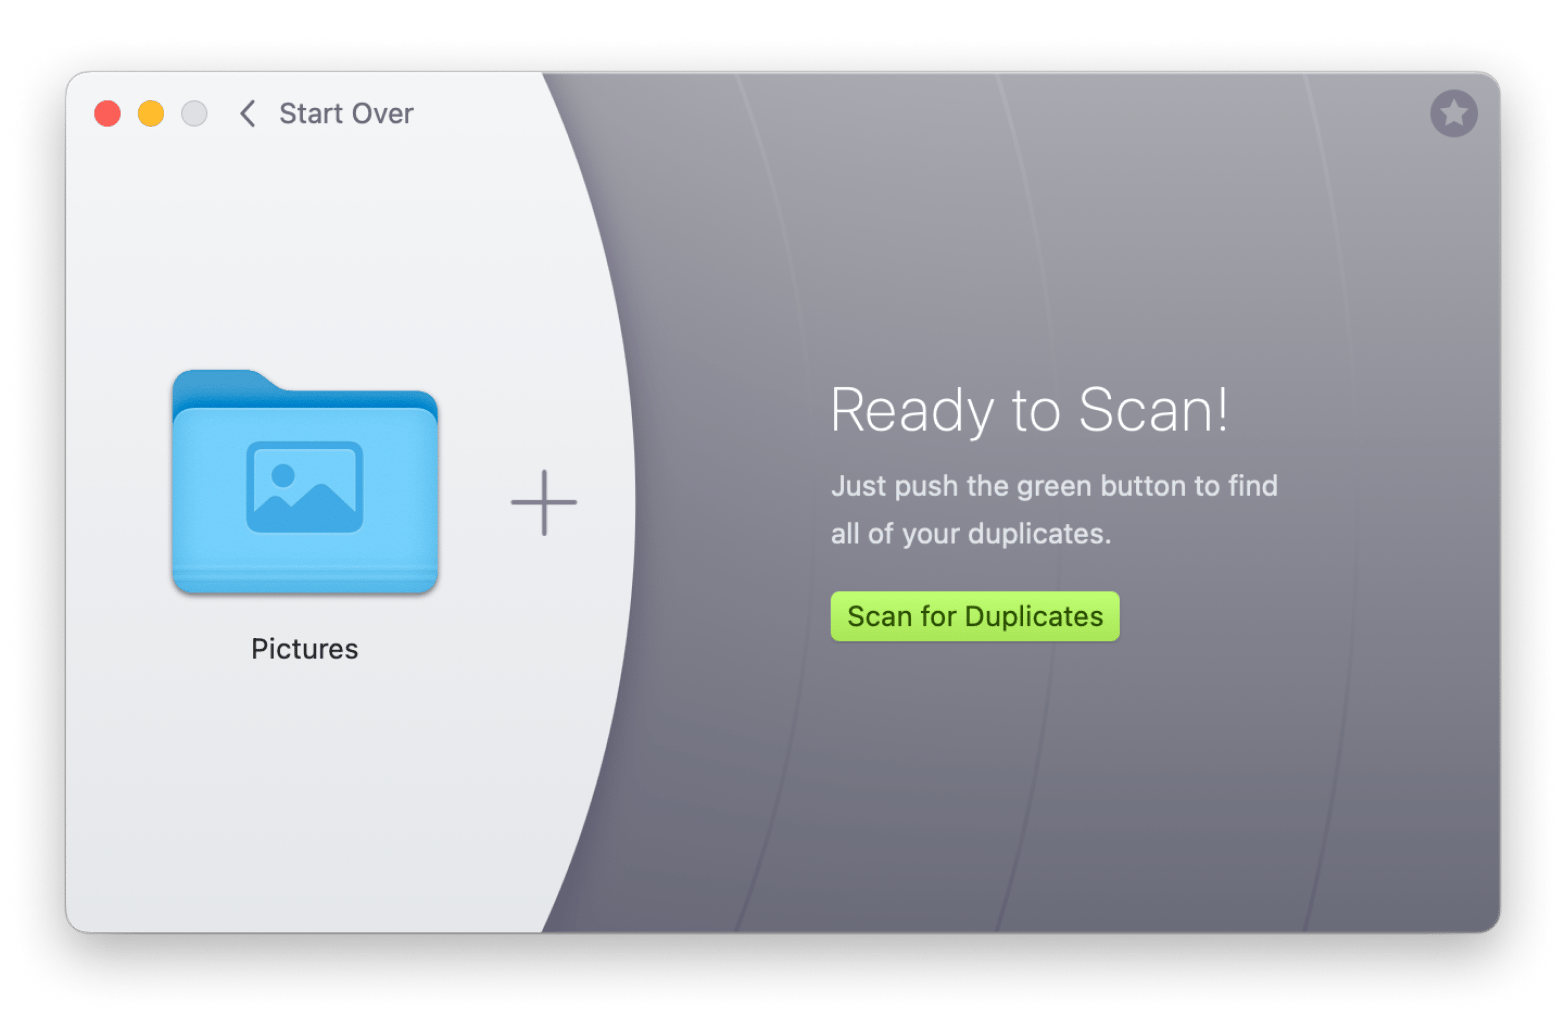
An alternative that does the job automatically is Gemini. The tool will accept individual files or folders, show you identical photos or even similar ones, and suggest you delete the duplicates. Simply drop the folder onto the Gemini app, look through the suggested pairings, and select the images you don't like.
And with Gemini's Duplicates Monitor feature, you'll be notified about duplicates, so there is no need to do any manual scanning. Just add it to your menu bar.
How to organize photos using the Photos app and other tools
There’s a lot you can do with the Photos app on your Mac once you know where to look. From creating albums and smart filters to sharing memories and using clever third-party tools, this section will walk you through all the ways you can take control of your photo library without the chaos.
Organize photos by creating your own Albums
The Photos app does some curation on its own. Screenshots, Live Photos, Bursts, and other types of images have their own albums.
The main Photos screen is also curated. You can view photos by year, month, or day. This is a handy way to dig deep for photos from a trip you took years ago, for example. The app uses geolocations for the Places album, which shows you where an image was snapped on a map. The Memories tab is powered by Apple’s smart tech. It picks out photos from certain times and places and turns them into little throwback collections, kind of like a personal highlight reel.
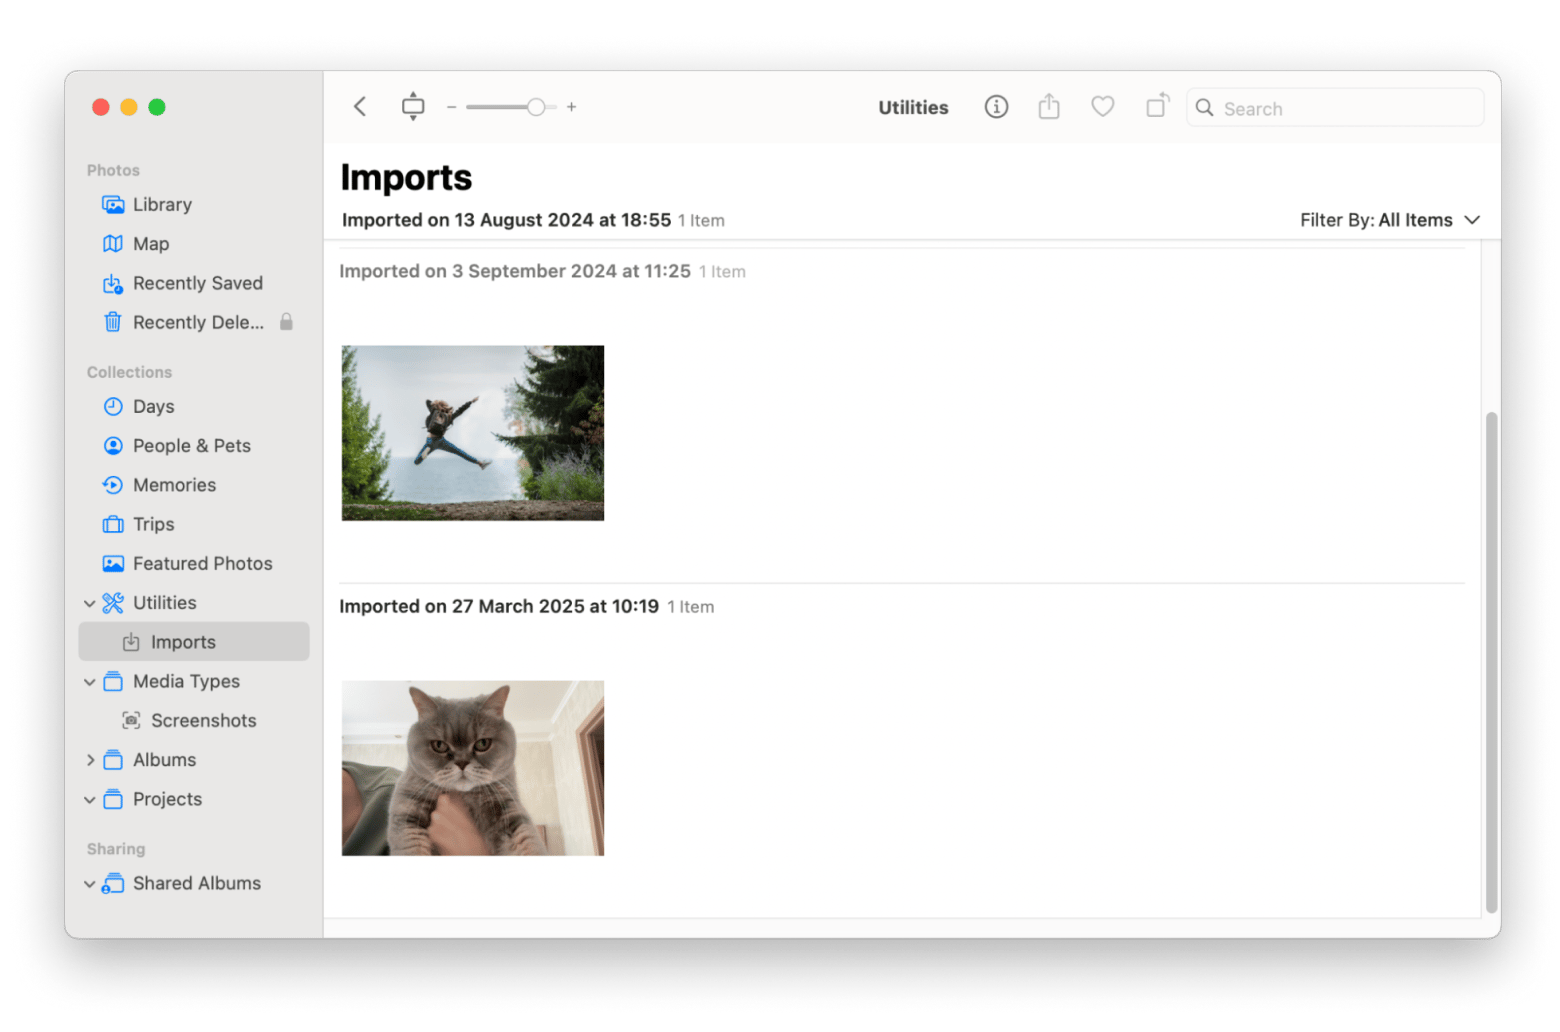
You can also create your own albums. The common way is to create a new album by clicking File in the menu bar > New Album. Keep in mind this will be a static album, which means you'll have to add images to it manually.
Group photos using Smart Albums
Another option is to create a Smart Album. It offers more granular controls that you can customize. The idea is to automatically send photos to the Smart Album based on specific triggers you set.
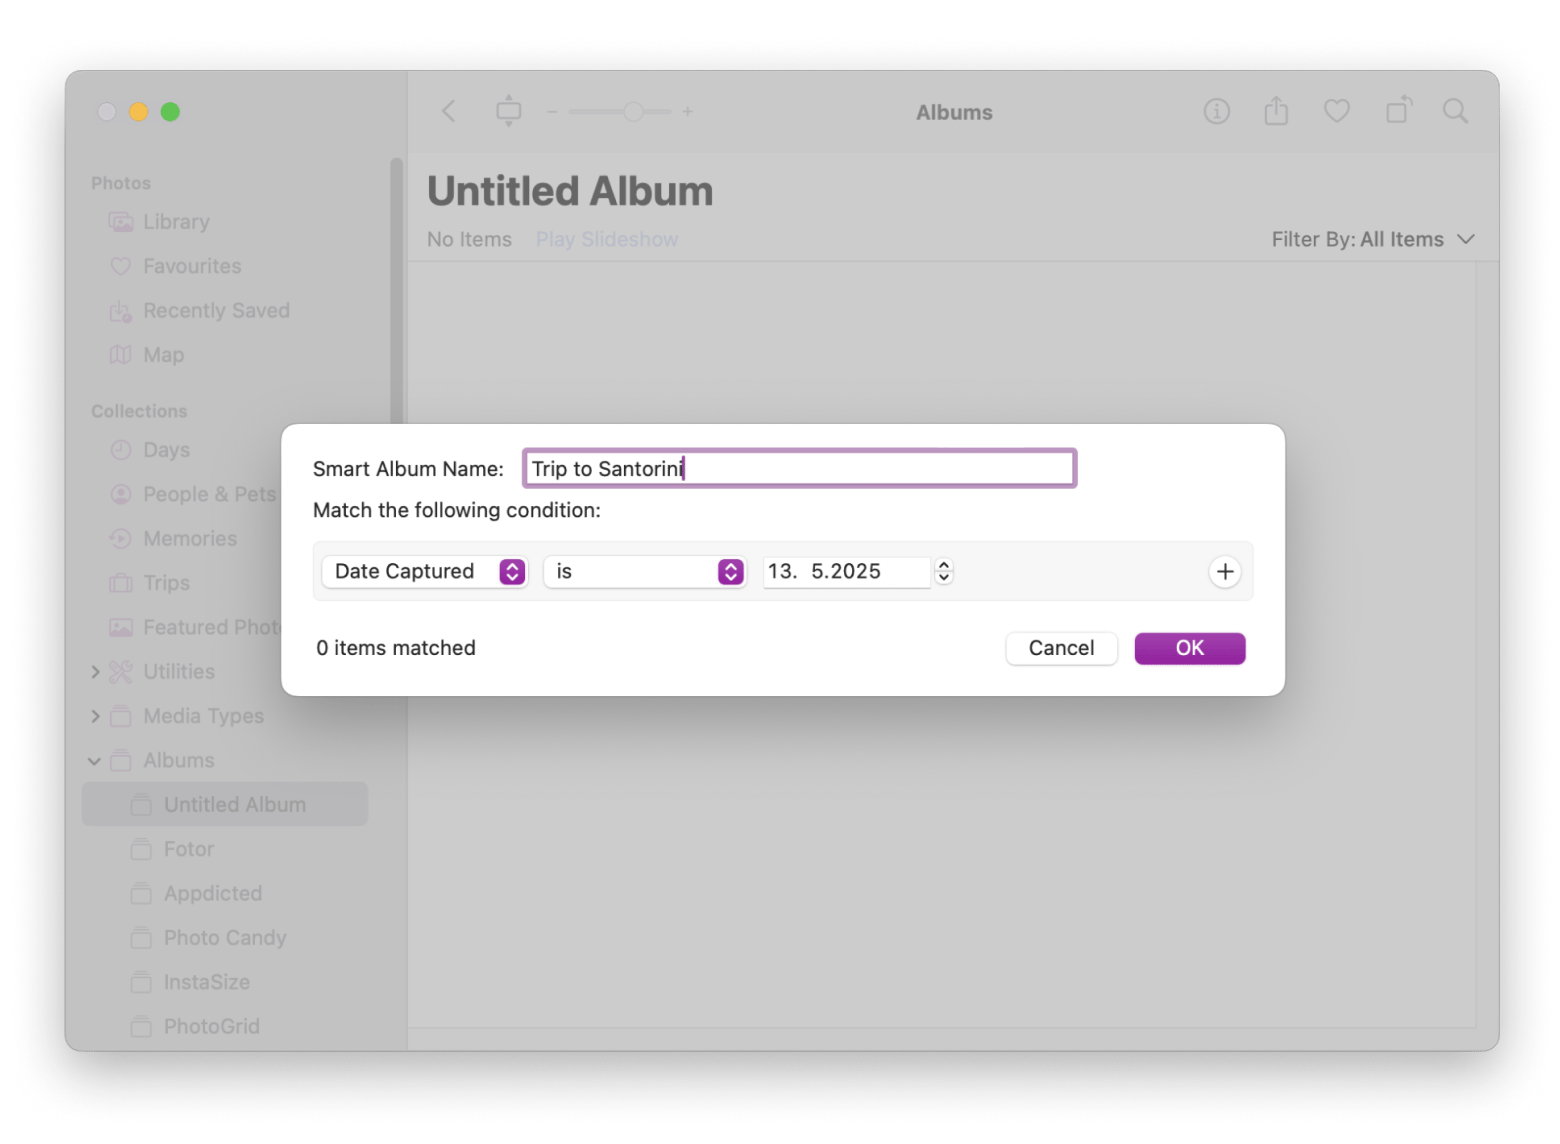
For example, let's say you're going on a trip on a particular date. In this case, you can set a range for this Smart Album that covers your travel days. All images you make will be automatically saved to that album. Then, once you're back home, you can share it with your friends and family.
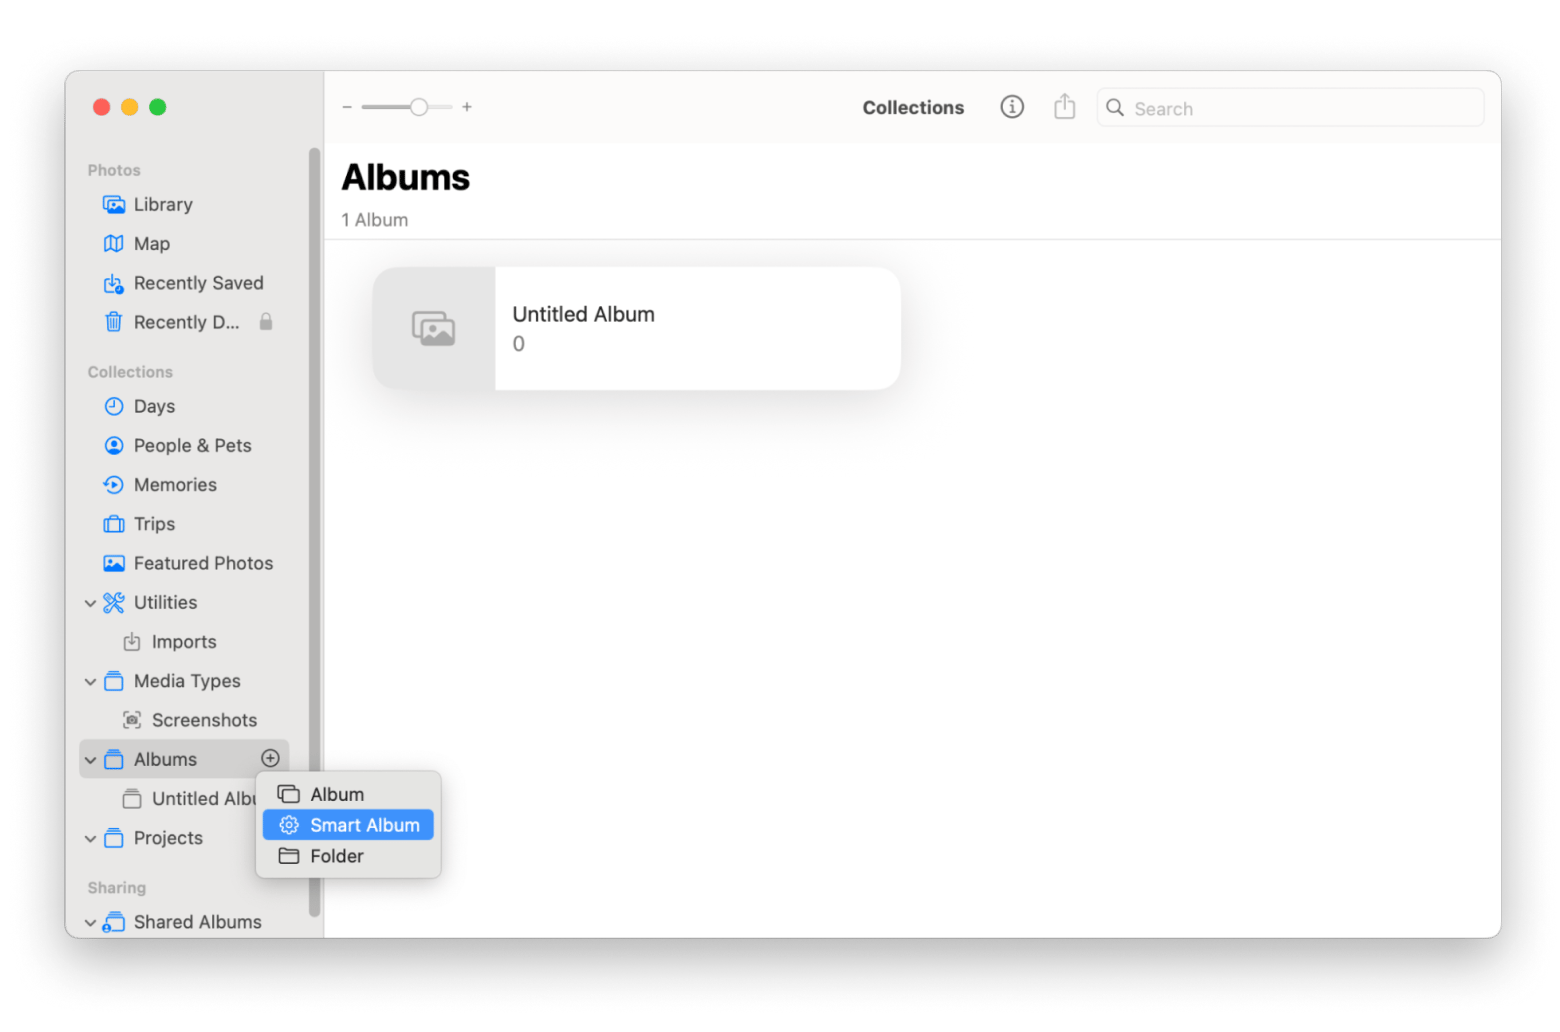
Here's how to make a new smart album:
- Open Photos on your Mac.
- Click the “+” icon next to Albums.
- Choose Smart Album.
- Enter the triggers that best suit your needs.
Add photos to Favorites
We all have those standout photos we love the most. To keep them easy to find, just add them to your Favorites album.
On your Mac, it’s super simple. Hover over a photo and click the little heart icon, or just press the period key while it’s selected.
And that’s all there is to it! Your favorite shots will now be waiting for you in one easy-to-find spot.
Add photos to an existing album
Drag and drop is your friend! All you have to do to add photos to an existing album is:
- Select the photos you want to move.
- Drag them over to the album you want to add them to in the sidebar.
- Release your finger from the mouse or trackpad.
You can also use the Shift or Command key to select multiple photos at once. From there, just drag them onto the album icon of your choice.
The third option is to:
- Right-click on an image or group of images.
- Scroll down to Add to from the menu that appears.
- Select the album to which you want to add images.
Manually exclude images from a Smart Album in Photos
To remove an item from Smart Albums, you need to delete it from your Photos library. You can also change the parameters of the Smart Album by right-clicking and adding more triggers. This is good for some use cases, but can get tedious.
To delete an image, simply right-click it and choose Delete. To add triggers to your Smart Album to exclude some types of images:
- Right-click on the Smart Album icon.
- Choose Edit Smart Album.
- Add triggers via the “+” icon next to the original triggers.
Read also:
Create Shared Albums
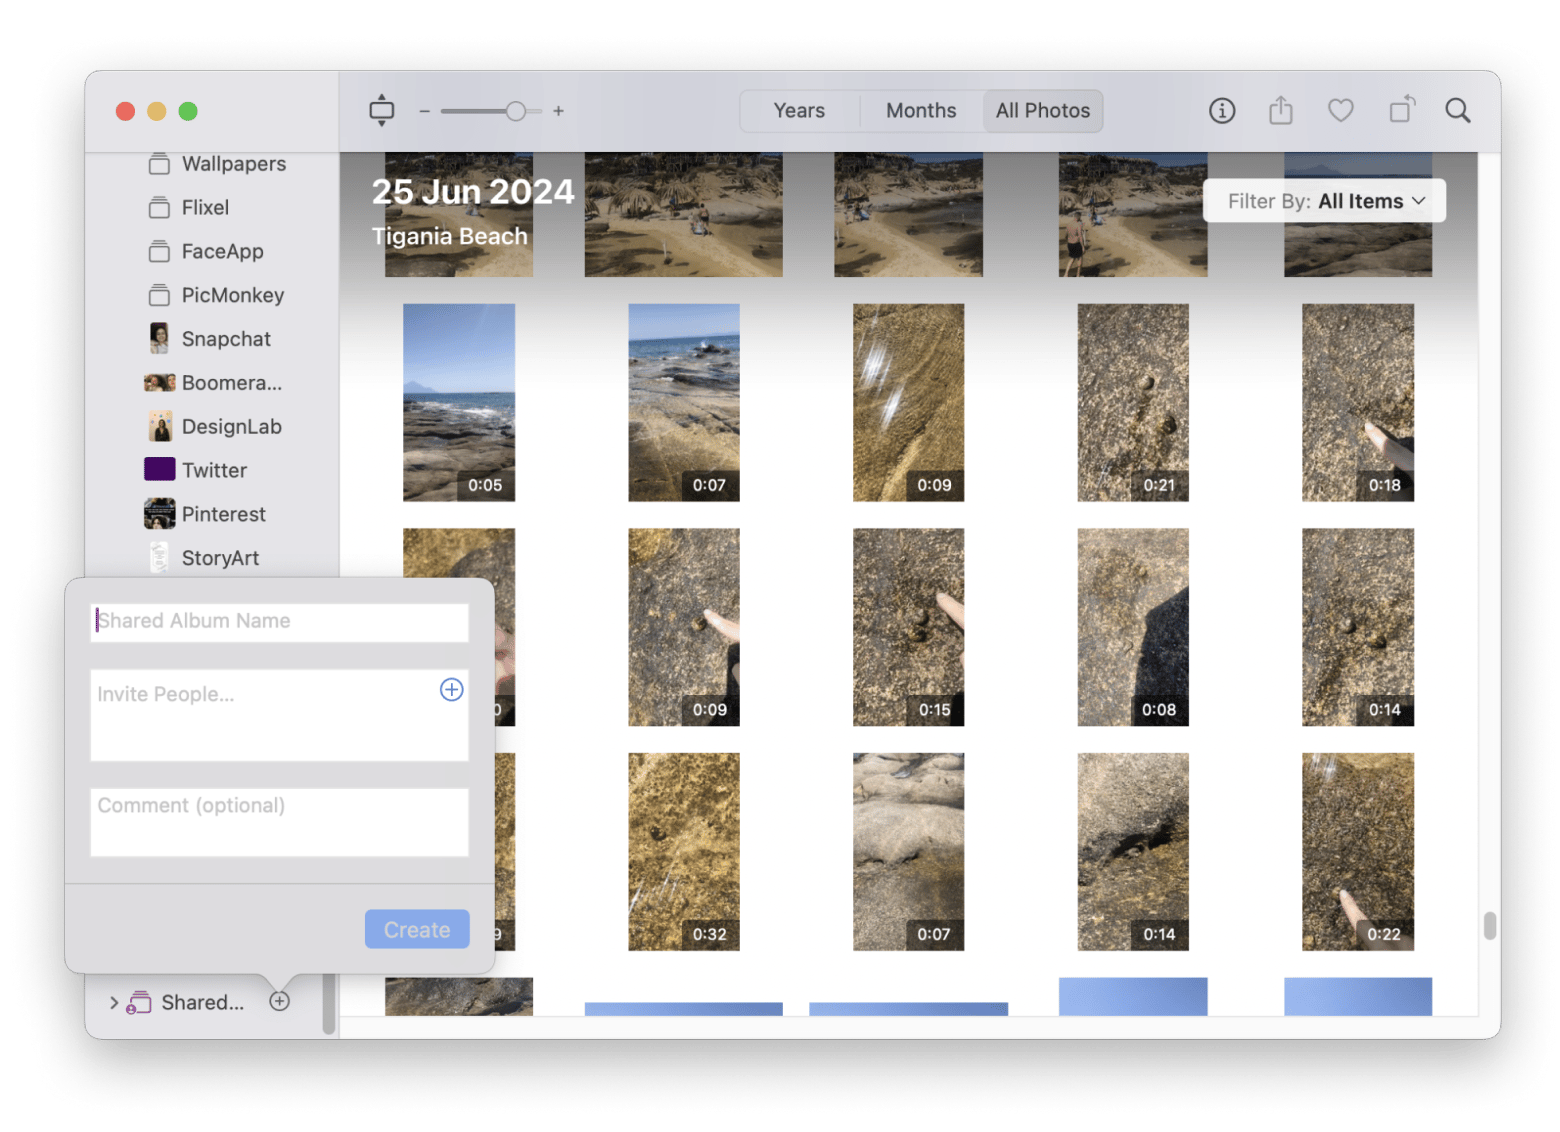
Shared Albums are a great way to share images with friends and family using iCloud. You can create the album and invite people to it. Once they join, they can add photos, too.
To create a Shared Album, click the “+” icon next to Shared Albums in Photos on Mac, name your new album, invite people, and even leave a comment.
Group your albums in folders
If your album list is starting to look a little chaotic, try grouping your albums in folders.
Let’s say you’ve got an album for each of your friends. Instead of scrolling forever, just make a folder called Friends and drop those albums in. It’ll make your Photos app feel a lot more organized.
To create a folder:
- Open the Photos app on your Mac.
- In the sidebar, right-click (or Control-click) Albums or anywhere in the Albums section.
- Select New Folder from the menu.
- Give your folder a name.
- You can now drag existing albums into this folder to keep things organized.
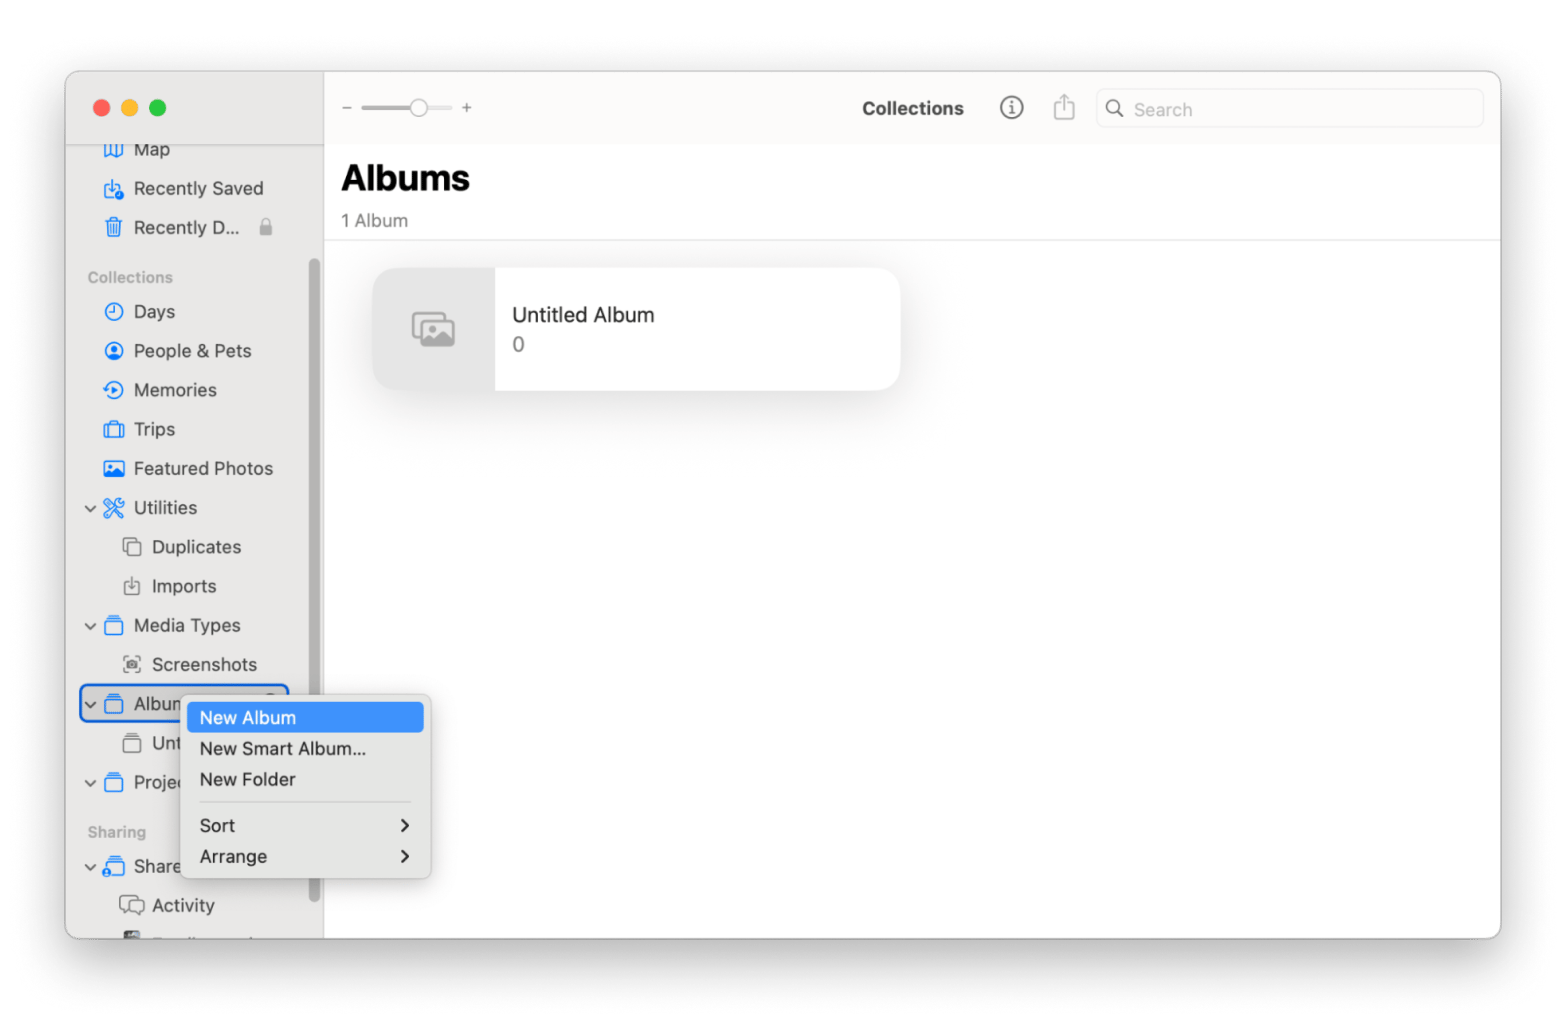
And if you want to rearrange things, no problem. Just click and hold an album, then drag it into the order that makes the most sense to you.
How to switch libraries in the Photos app
Your photos can come from a few sources, even external drives or connected cameras. Here's how to switch libraries in Photos on Mac:
- Quit the Photos app if it’s open.
- Hold down the Option key on your keyboard.
- Open the Photos app while holding Option. A window will pop up showing available libraries.
- Select a different library from the list, or click Create New to start a new one.
- Click Choose Library to open it.
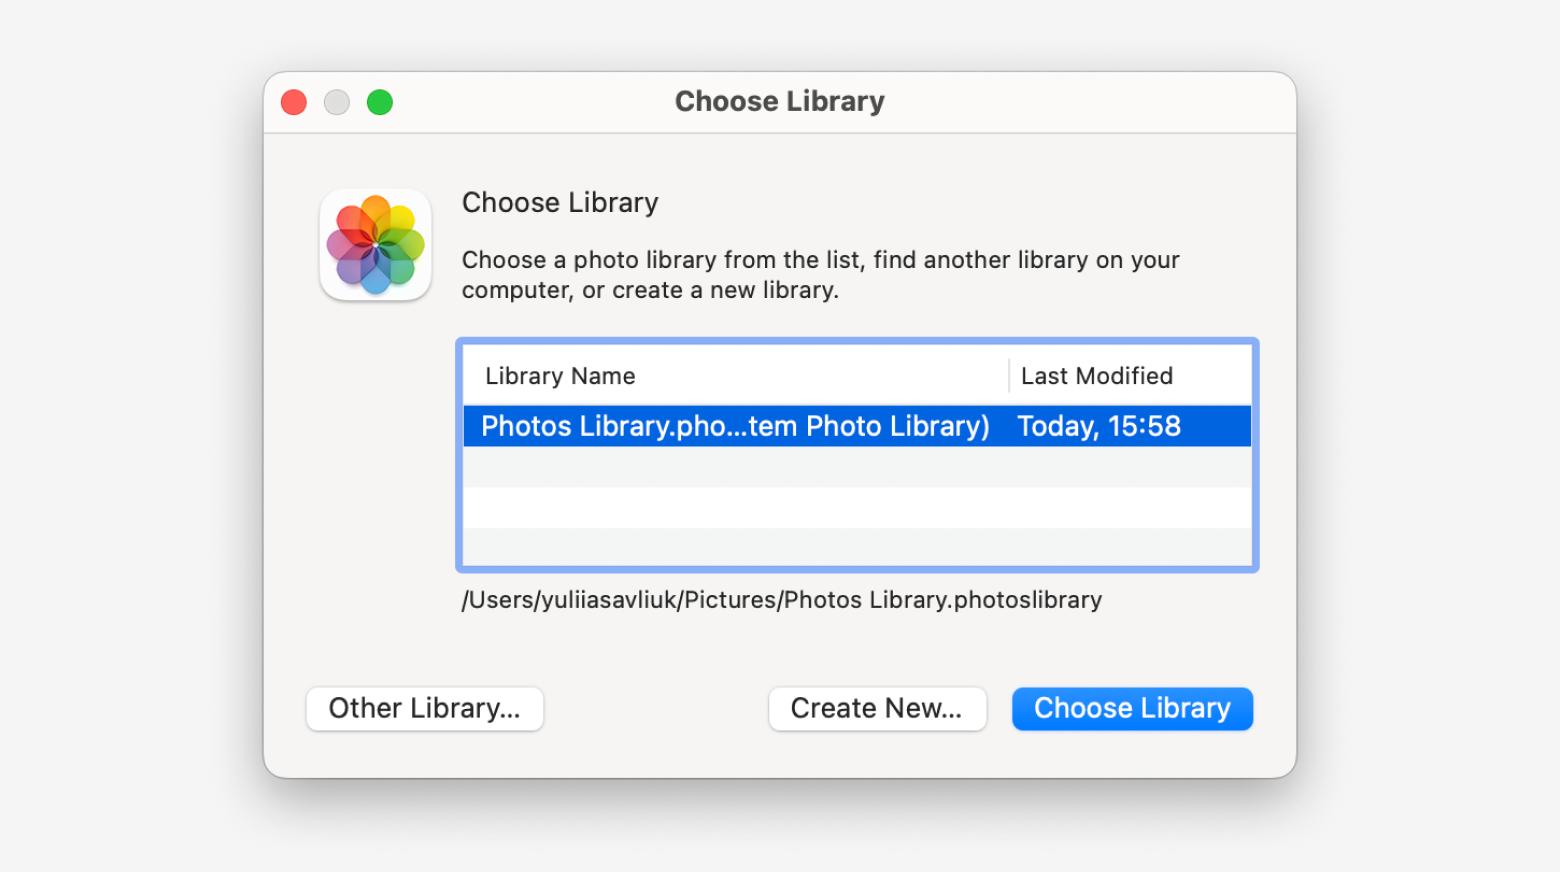
You can choose whatever folder or connected device you like. If you can't connect a device, you can also use AirDrop, as long as the device can send images via Bluetooth.
If you want to find the location of the current library:
- Open Photos.
- Click Photos in the menu bar > Settings.
- Go to General.
- Click Show in Finder under the Library Location section.
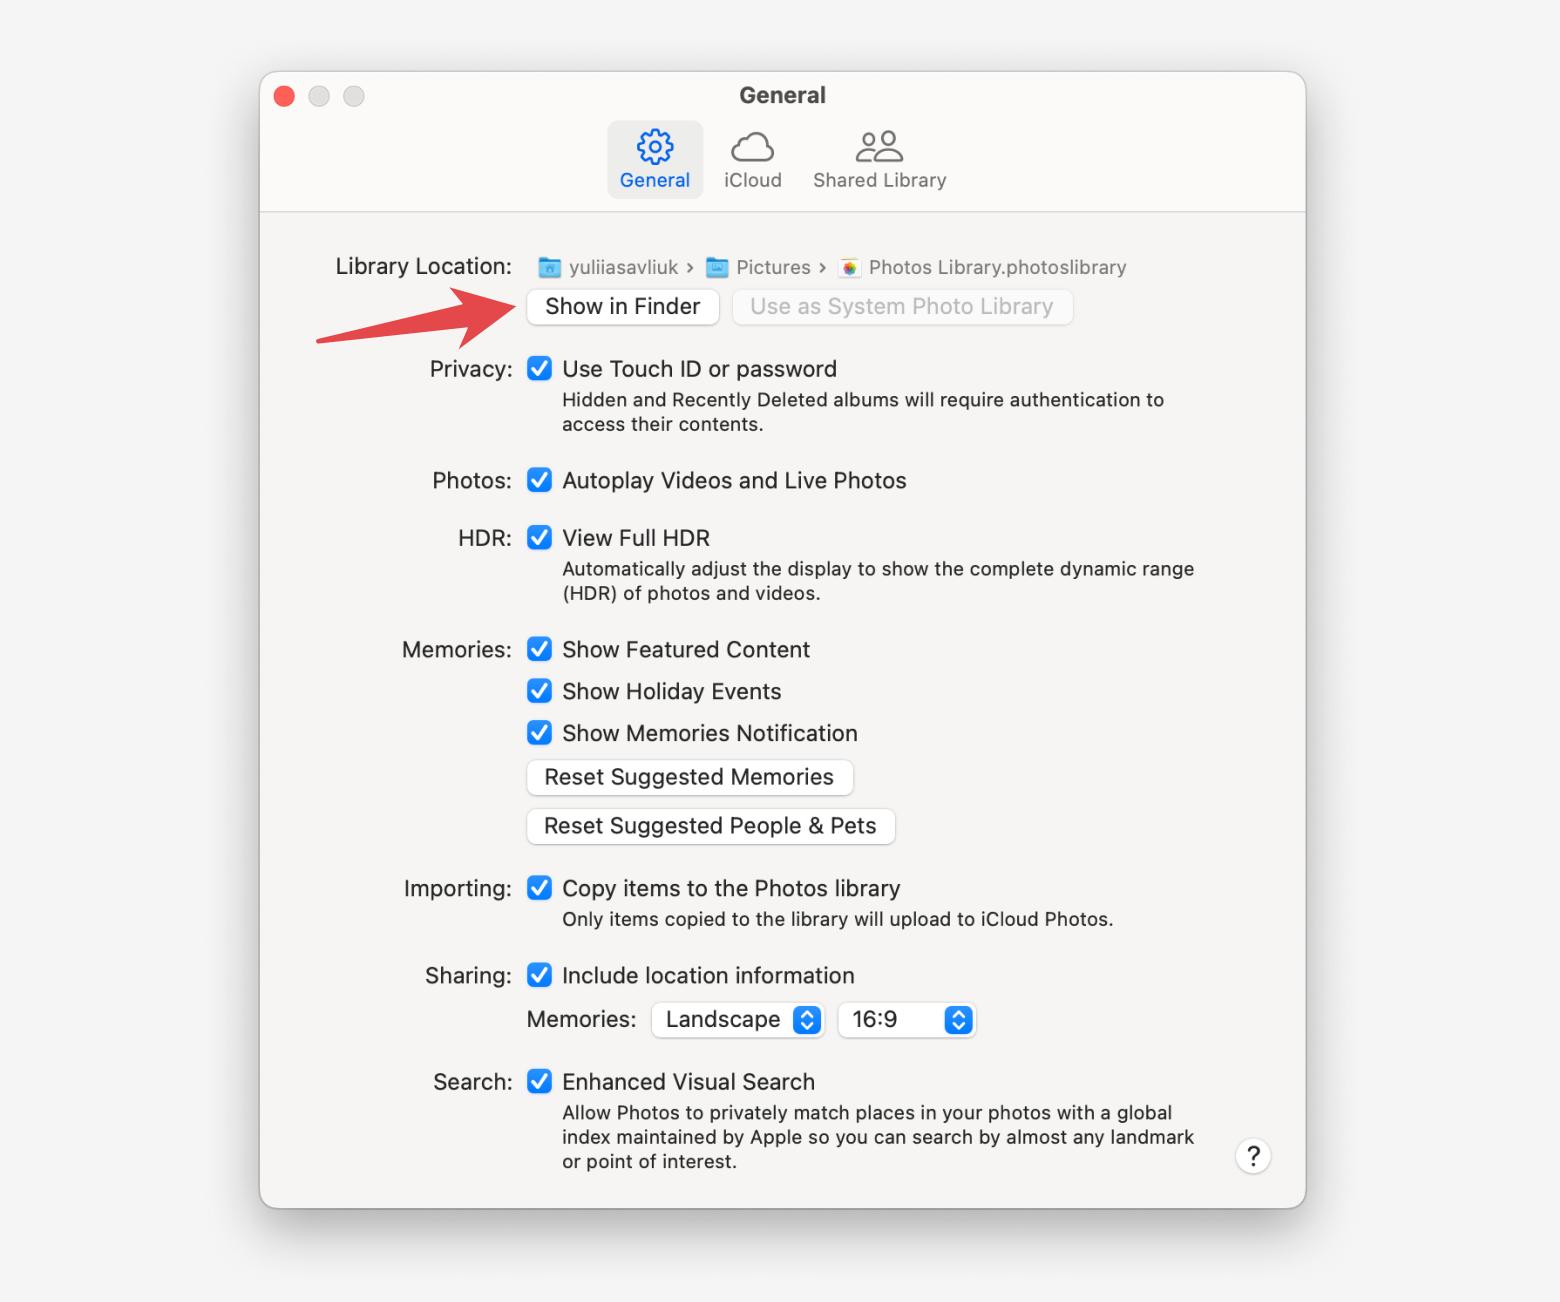
If you want everything in one place, you can simply import photos from other libraries or devices into your main Photos library.
Tools to improve photo organization on Mac
The Photos app has come a long way. It was once just a hub for storing your photos in chronological order, but it has evolved over the years. The app can now recognize faces, pets, and places, automatically put photos into smart folders based on certain conditions, and separate media into categories like Screenshots, Portrait, Live Photos, and Selfies.
But despite its powerful capabilities, it still lacks certain features. For example, it doesn’t have advanced tagging, folder hierarchies (it’s just a one-and-done folder), or any professional tools for photographers or editors. The average user might not need these extras, but professional photographers might get frustrated at this shortage of advanced features.
If you want access to additional features, consider using a third-party tool in combination with the Photos app. For example, apps like HoudahSpot and Luminar Neo.
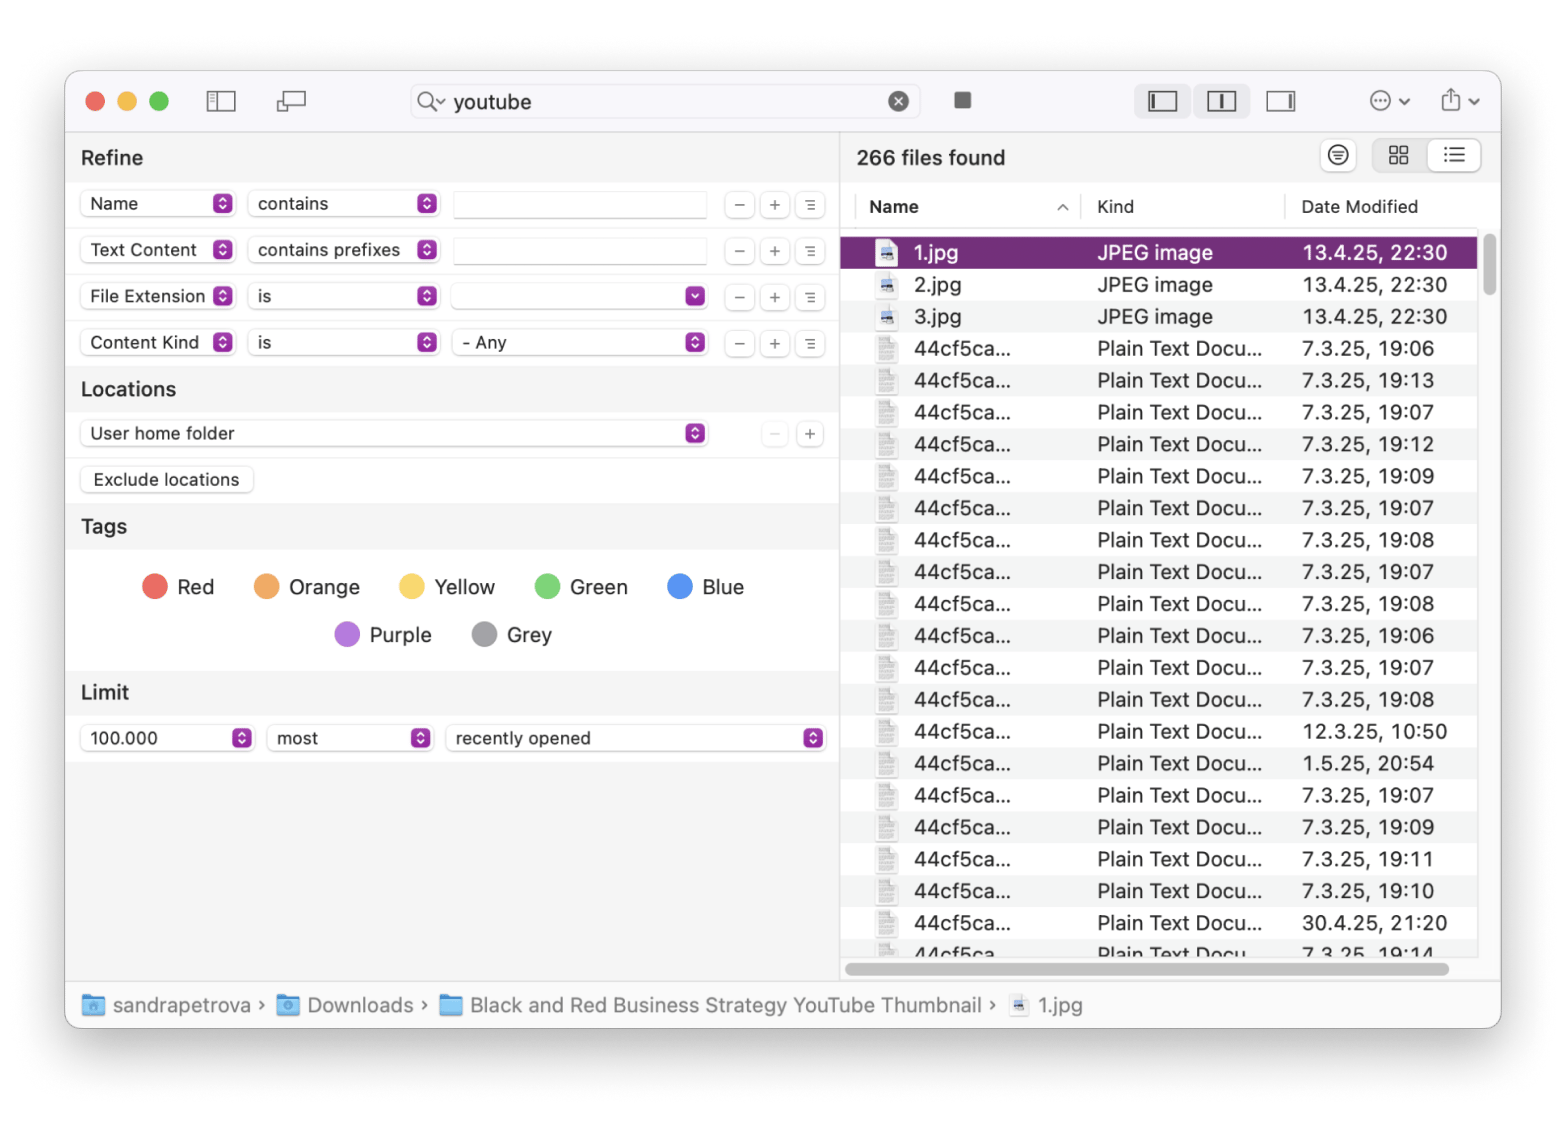
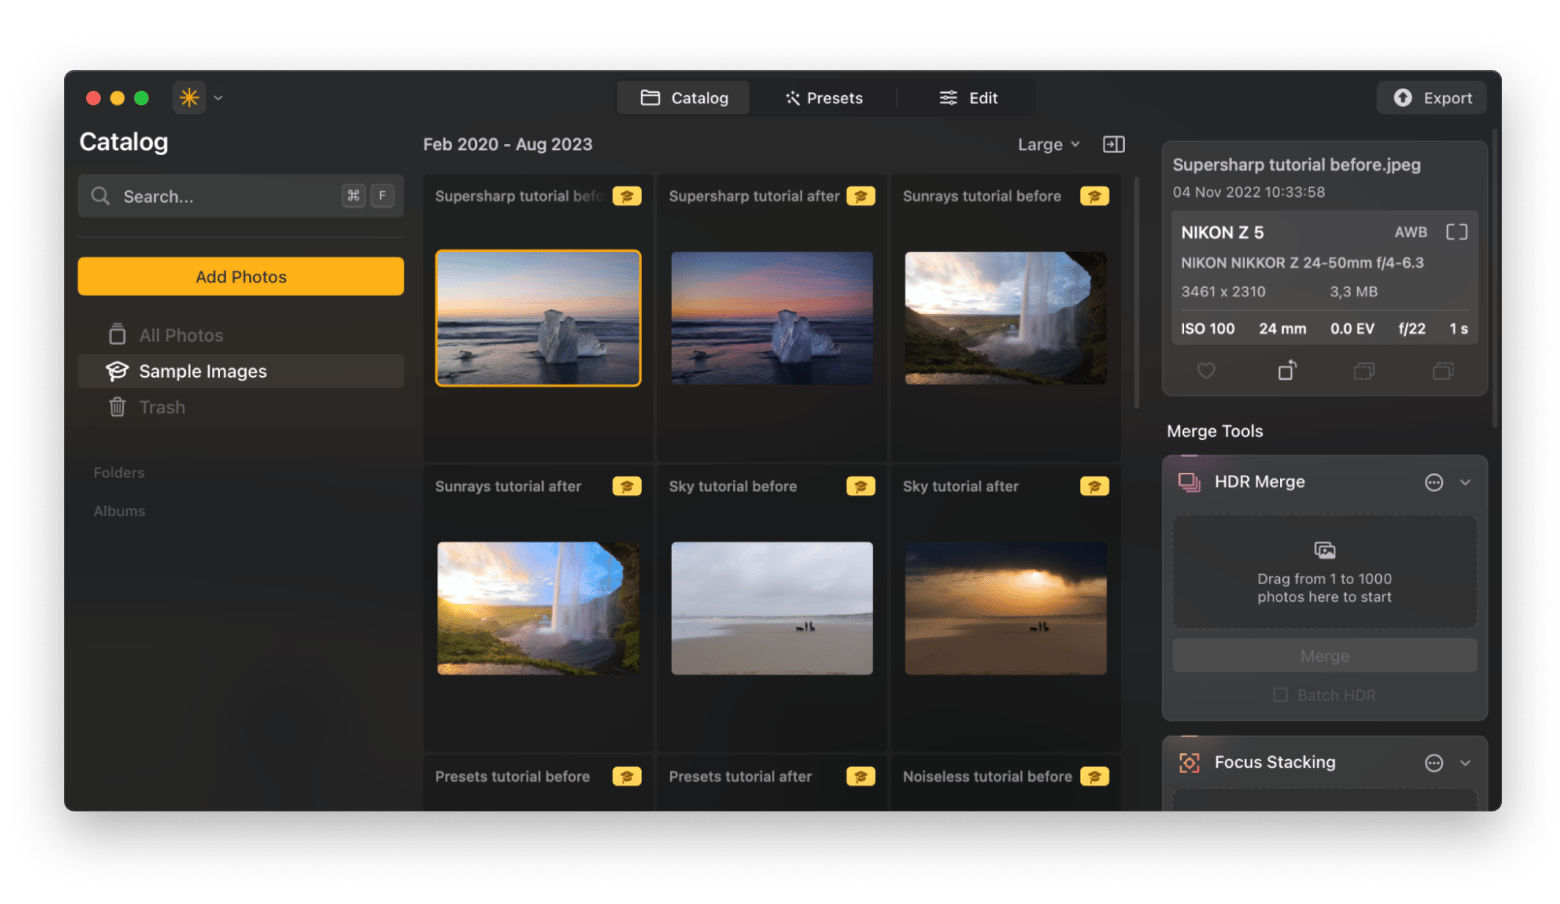
Luminar Neo is perfect if you want to give your photos a little extra magic. Its AI tools make editing fast, fun, and surprisingly easy, even if you’re not a pro. HoudahSpot helps you track down exactly the photo or file you need, using filters like file type, date, tags, and more.
Where are photos stored on a Mac?
Mac doesn't make it easy to access images from Finder. What you need to do is:
- Open Finder.
- Click Go > Home in the top menu bar.
- Look for the Pictures folder inside your Home folder. This is where your Photos Library.photoslibrary file is located.
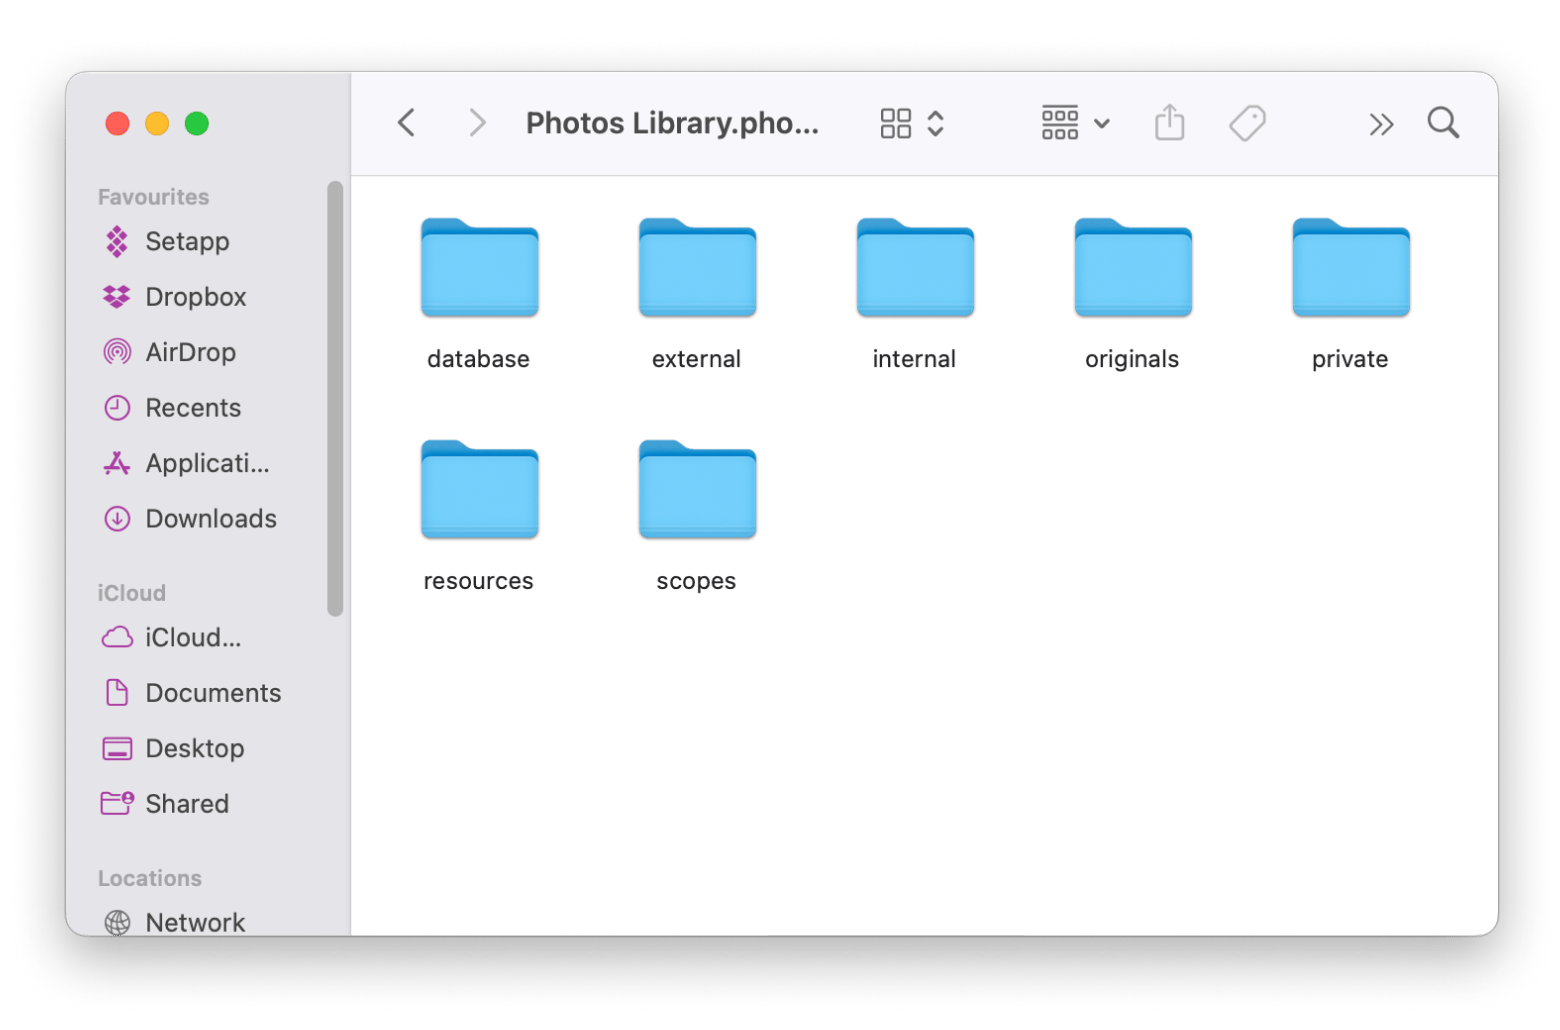
This opens up a large, complex file system, a behind-the-scenes look at how Apple organizes your photos. For some users, this can be a more effective way to manage images, especially older ones that are sorted into folders by the year they were taken.
If you want to peek inside and see how your photos are stored, right-click the library file and choose Show Package Contents. Just be careful, editing or deleting anything inside can damage your library.
Best practices for maintaining a clutter-free photo library
If your photo library tends to get out of hand, you're not alone. The good news? It’s way easier to keep things organized if you do a little maintenance every now and then instead of waiting for a full-blown mess.
Here are some simple habits that can help:
- Make tidying a habit. Set a reminder every couple of weeks, or once a month if that’s more your speed, to go through your photos and do a quick clean-up. It doesn’t have to take long.
- Get rid of the extras. We all take five versions of the same photo just to get the right one. The others? They can probably go. Use the Mac Photos app’s duplicate finder or a third-party tool to speed things up.
- Use the cloud to your advantage. iCloud is great for freeing up space on your Mac while keeping all your favorite memories accessible. Dropbox and Google Photos are solid options, too.
- Tag your photos for easy searching. Take a minute to add tags using the Info panel. Later, if you type something like “summer trip” or “family,” the right photos will pop up in seconds.
Follow these best practices, and you’ll be able to keep your photo library tidy and searchable.
Final words on how to organize all the photos on your Mac
That said, the built-in Photos app isn’t perfect. It covers the basics, but if you’re looking for a smoother, smarter way to manage everything, a few extra tools can make a big difference.
Need help spotting and removing duplicates? Gemini is your go-to. Want to enhance or clean up your shots without getting overwhelmed by pro-level tools? Luminar Neo has your back. And if you're trying to locate that one photo from a million years ago, HoudahSpot makes searching a breeze with its advanced filters. Plus, you can use CleanMy®Phone to organize photos on your iPhone, too.
The best thing is, you don’t have to get each app separately. They’re all part of Setapp, a one-stop hub with over 260 Mac and iOS apps bundled under one subscription. You can even give it a spin for free with the 7-day trial.
FAQ
What is the easiest way to organize photos on a Mac?
The easiest way to organize photos on a Mac is to use the features of the native Photos app, like Smart Albums, categorized images, and automatic detection for pets, places, and people. If you need a more streamlined cleanup process, tools like Gemini, HoudahSpot, and CleanMy®Phone can help detect and remove duplicates in no time.
How do I organize my thousands of digital photos?
To organize digital photos, start by decluttering your library. Then, take advantage of features like face recognition and other built-in tools in the Mac Photos app. For a more advanced organization, you can use a photo manager like Lightroom for keyword tagging and custom sorting. Perform this routine once every week or month, depending on how often you take on big batches of photos.
What is the best program to organize photos on a Mac?
The best programs to organize photos on Mac depend on whether you have simple or more complicated needs. The Photos app is ideal for casual users who want basic manual and automated features, while tools like Lightroom and Gemini are best for specific organization tasks and serious photography needs.
How can I move all my photos to my Mac?
How you move your photos to Mac depends on where they’re located in the first place. If you’re moving them from another Apple device, you can use iCloud Photos or a USB cable. From another cloud service like Google Photos, open the cloud service on your Mac, download the photos you want to transfer, and drag them into the Photos app.


