Sign in with Apple: What it is and why you should use it
Forgetting a password and getting locked out of an app or website is really frustrating and puts a hold on my whole workday. But Apple has completely re-routed the sign-in process.
Despite being introduced some years ago, the Sign in with Apple feature is more powerful than ever with the recent updates. It uses advanced end-to-end encryption, Face ID, and Touch ID (depending on the device) to protect your account.
Are you ready to ditch the countless passwords? Keep reading to learn how to sign in with Apple, what it is in detail, and why you should use it.
What does "sign in with Apple user" mean?
If you are the proud owner of a Mac, iPad, iPhone, or any other Apple device and have established an Apple ID, you are an “Apple User.” It’s more than just a title — it is a ticket to prompt sign-ins to third-party apps and websites with your Apple Account, removing the need to enter your email and password manually.
When I select Sign in with Apple ID, I know for a fact that it’s extremely secure (your profile isn’t tracked).
How does it work? Apple’s iCloud+ uses a special security process that involves a Hide My Email feature, which creates a random email address that connects to your real one to get rid of spam emails without sacrificing your privacy. Instead of using personal emails on the iPhone or Mac, you can use Face ID/Touch ID and voilá. You’re in.
Don’t forget to set up identification first
If you haven’t used Apple Sign in before, you should know that to activate it, you need to set up your Face ID or Touch ID first (depending on the Apple device you use).
To set up Face ID on iPhone:
- Go to Settings > Face ID & Passcode (you might need to enter your passcode).
- Tap Set Up Face ID.
- Hold your iPhone in front of your face and follow the instructions.
- Keep your face inside the frame and slowly rotate your head until complete. There are accessibility options for those unable to do this step.
- Tap Continue to complete the final scans.
- Tap Done.
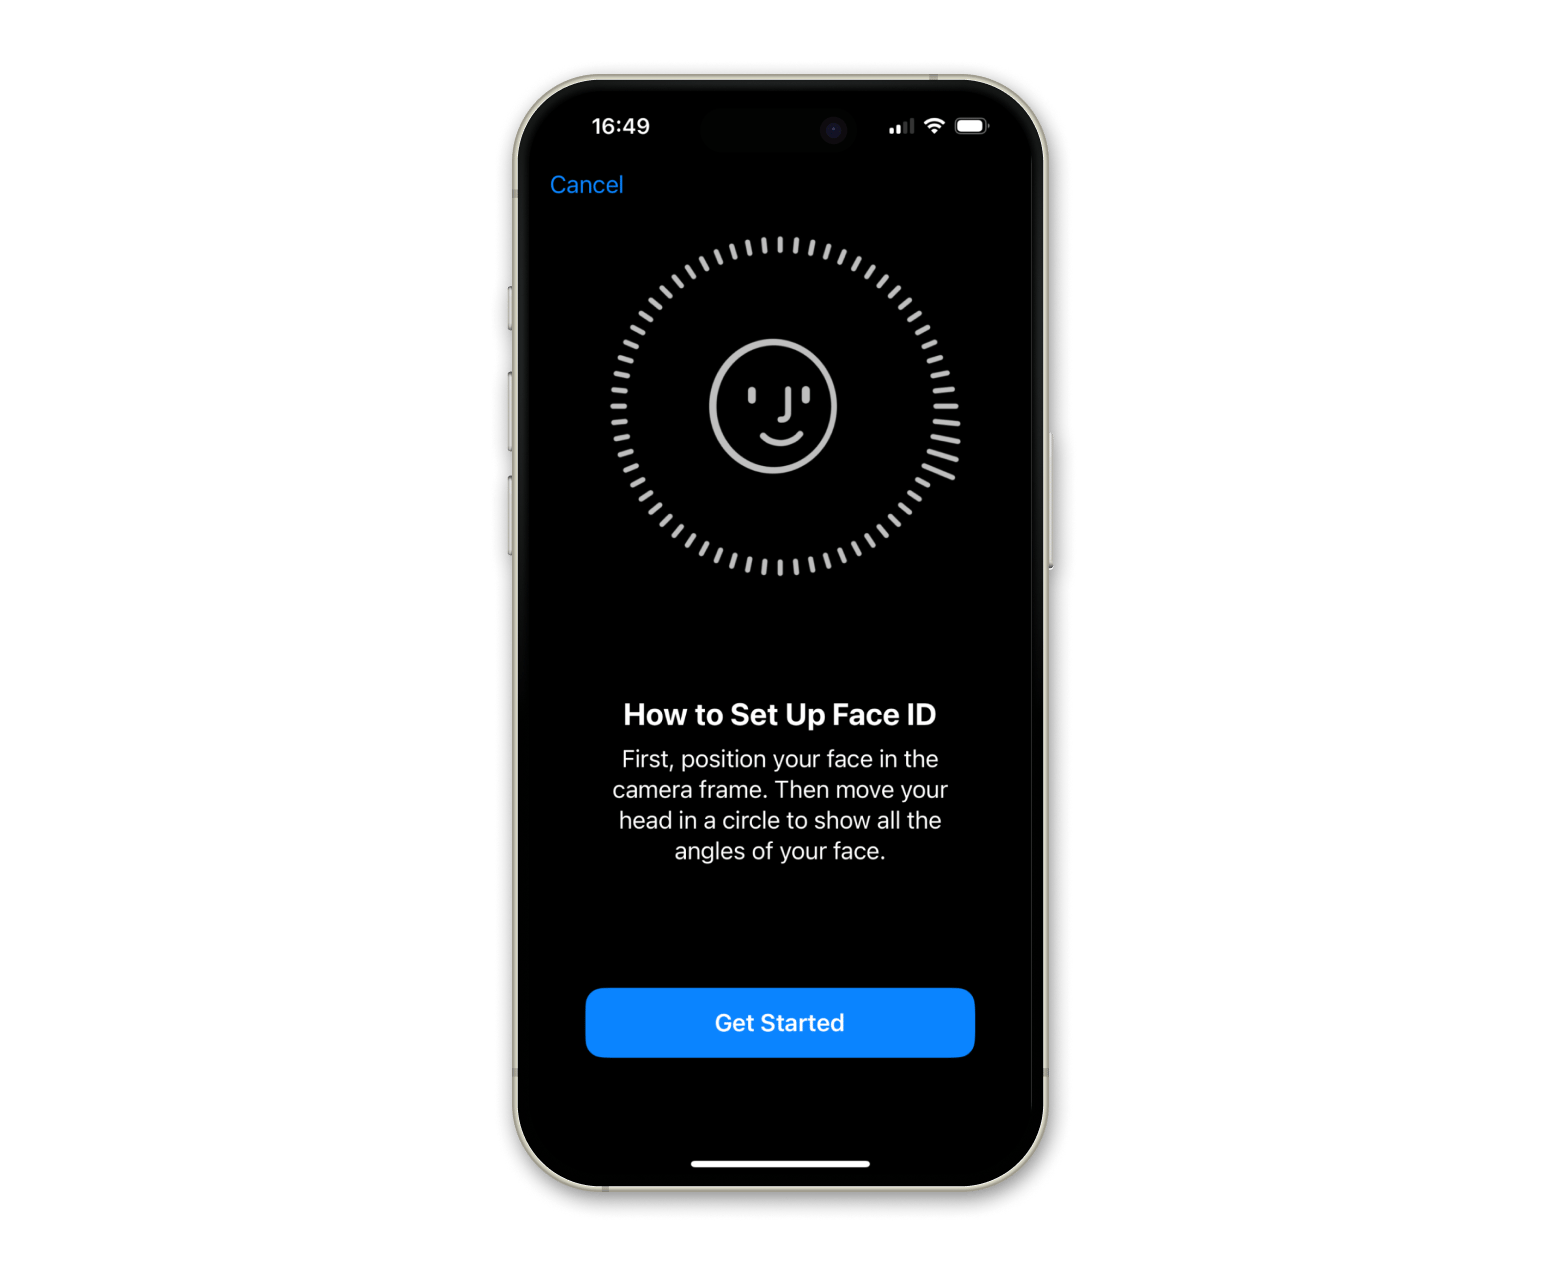
Now that you have Face ID, the possibilities are endless. With just one look at your screen, you can unlock your iPhone, make payments, and sign into accounts. You can reset your Face ID at any point.
To set up Touch ID on Mac:
- Go to the Apple menu> System Settings > Touch ID & Password.
- Click Add Fingerprint > Enter your password.
- Follow the instructions to scan up to three fingerprints.
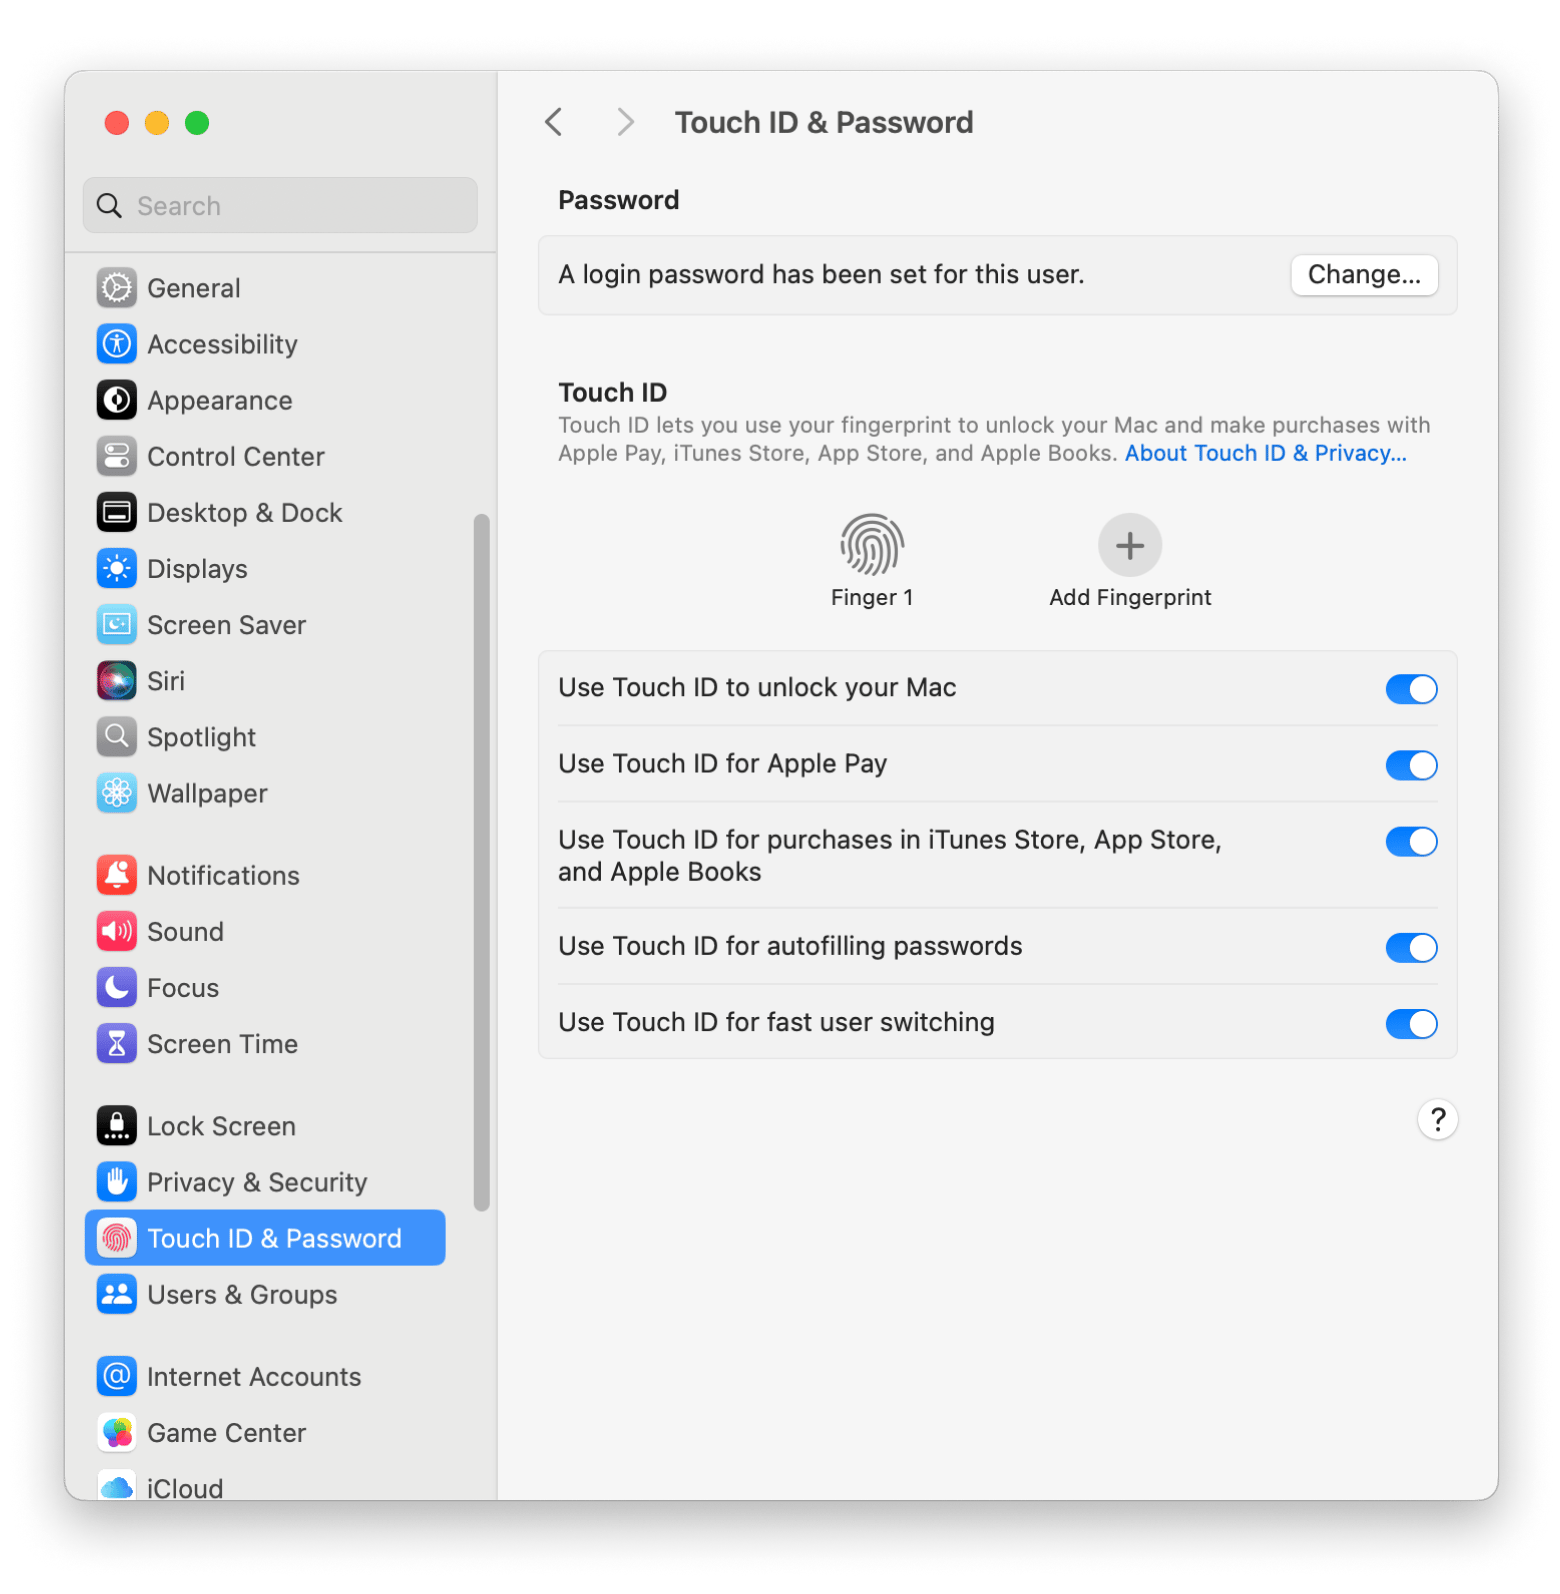
With Mac’s Touch ID, you can do similar things to Face ID on the iPhone, including unlocking your Mac, making payments, and auto-filling passwords.
How to enable Sign in with Apple
Simplifying the log-in process while protecting personal information lets you create accounts without sharing personal details. If you’re tired of remembering passwords or worried about data security, then follow the steps to sign in quickly to apps and websites.
Enable Sign in with Apple on iPhone or iPad
It requires only a few steps. Here’s how to enable sign-in feature:
- Open an app or website you need to sign in to.
- Tap the Sign in with Apple button. It usually looks like an Apple logo in a frame.
- If requested, your name and email address will be filled in automatically by Sign in with Apple using your Apple Account information.
- Choose Share My Email or Hide My Email.
- Tap Continue and confirm your sign-in using Face ID or your device passcode. If none of these are set, type your Apple ID password.
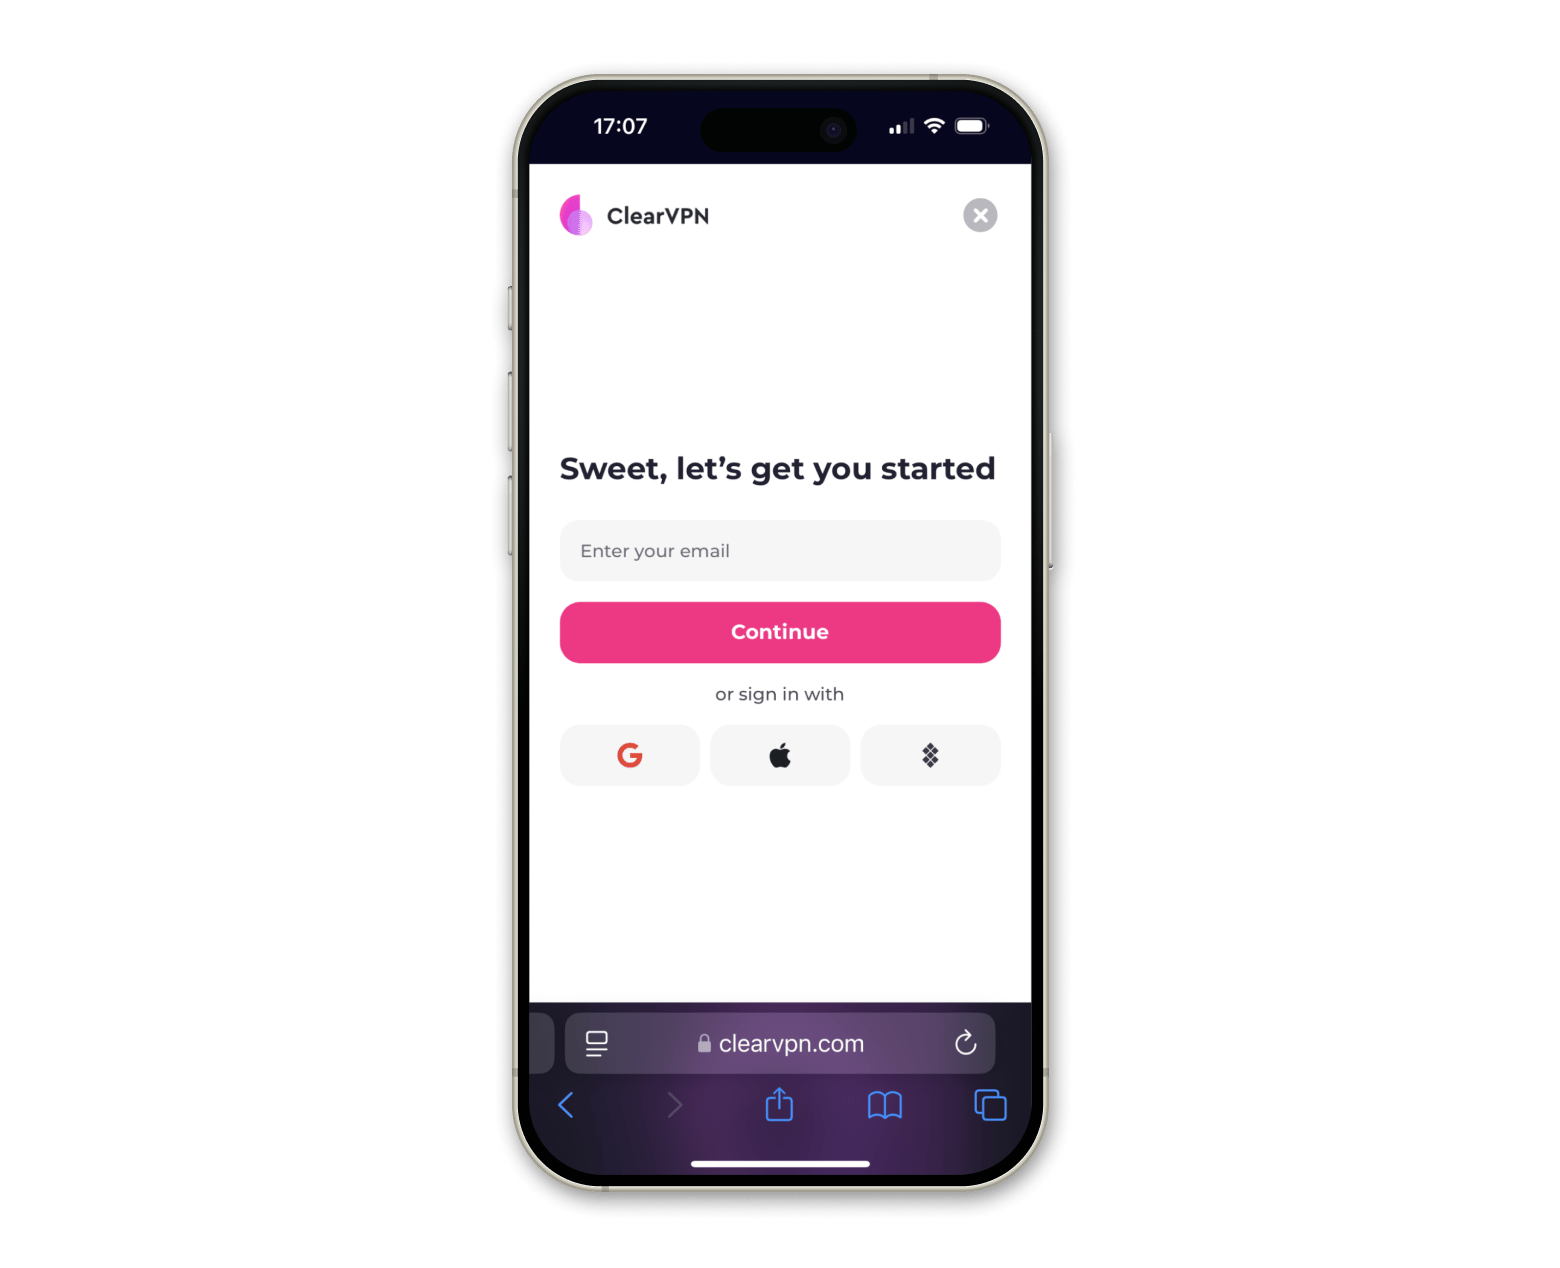
Whenever you need to log into an app or website, just tap the Sign in with Apple button and confirm with Face ID.
Note: To use the feature, you must sign in to your Apple Account in Settings > Apple ID on your iPhone or iPad. You must also turn on two-factor authentication.
Enable Sign in with Apple on Mac
Here’s how to enable the sign-in feature on your Mac:
- Open an app or website to which you need to sign in.
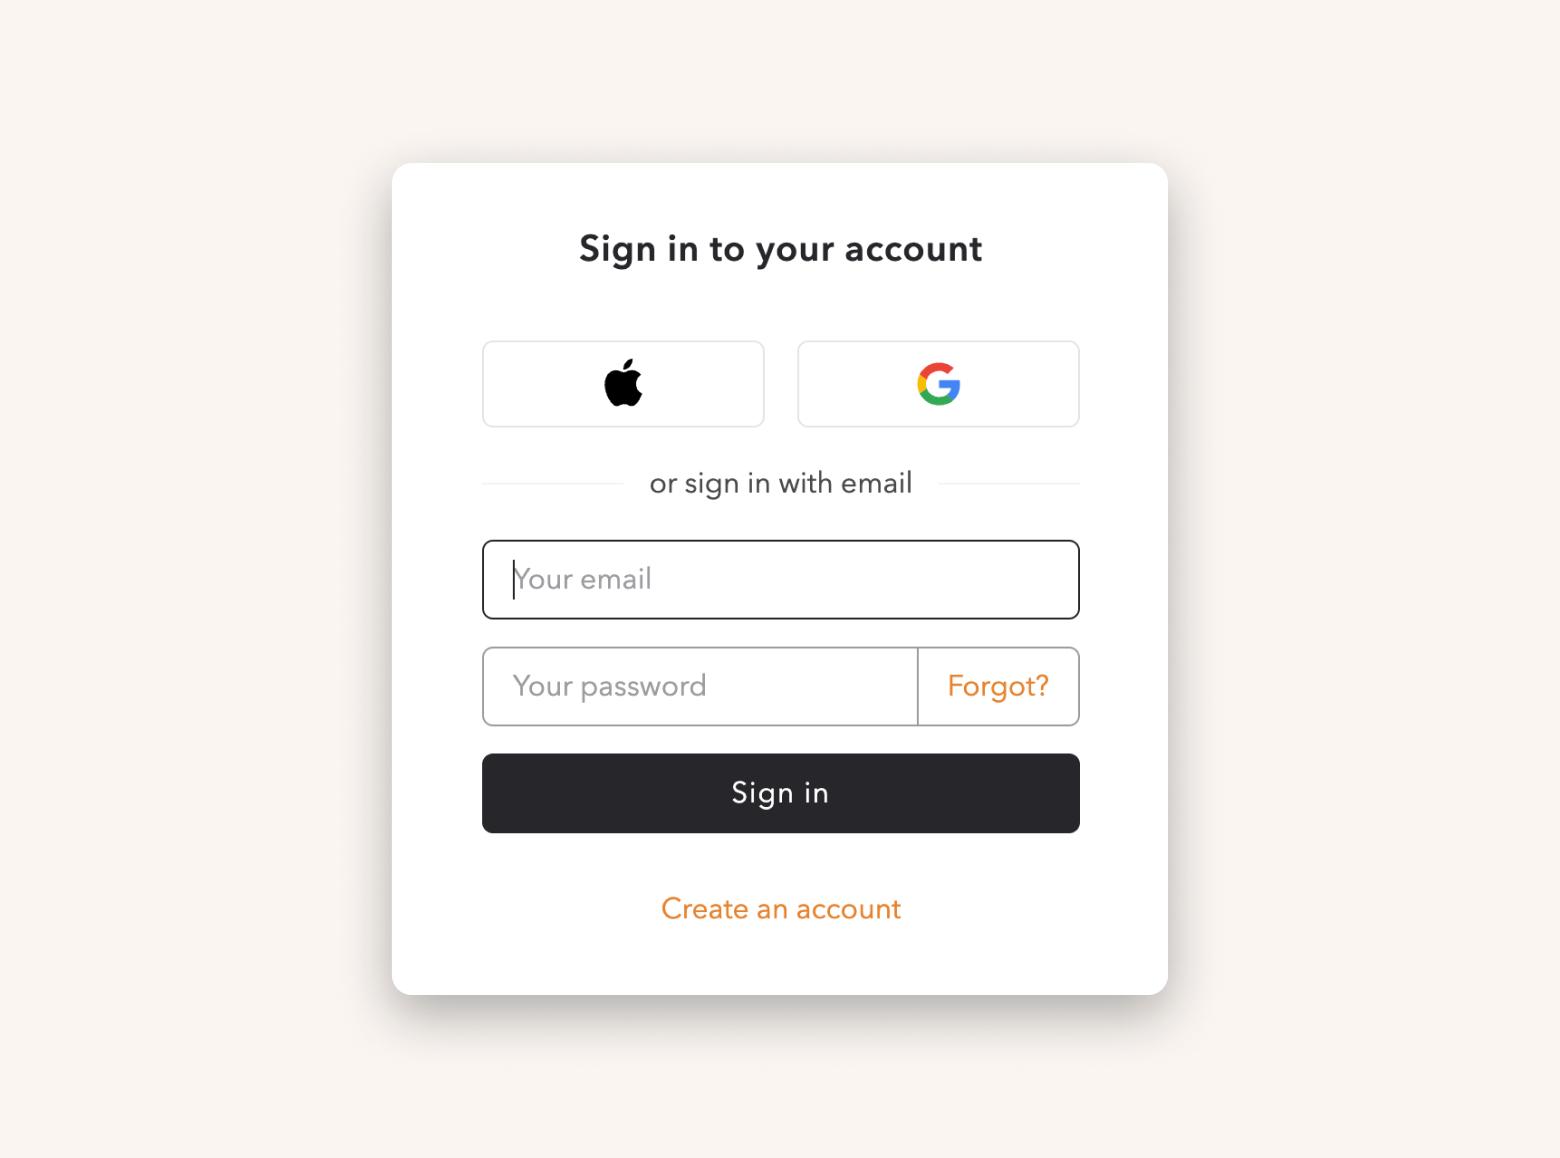
- Click the Sign in with Apple button.
- Type your login details(you might need to type your Apple Account password instead) or use Touch ID.
You can also ask CleanMyMac to send you reminders when another clean is due. This is brilliant for keeping on top of maintenance and getting the most out of your Mac in the long term.
To uninstall or delete your apps:
- Install and open CleanMyMac.
- Click Applicatuins > Scan.
- Wait for CleanMyMac to present the result > Review and take action.
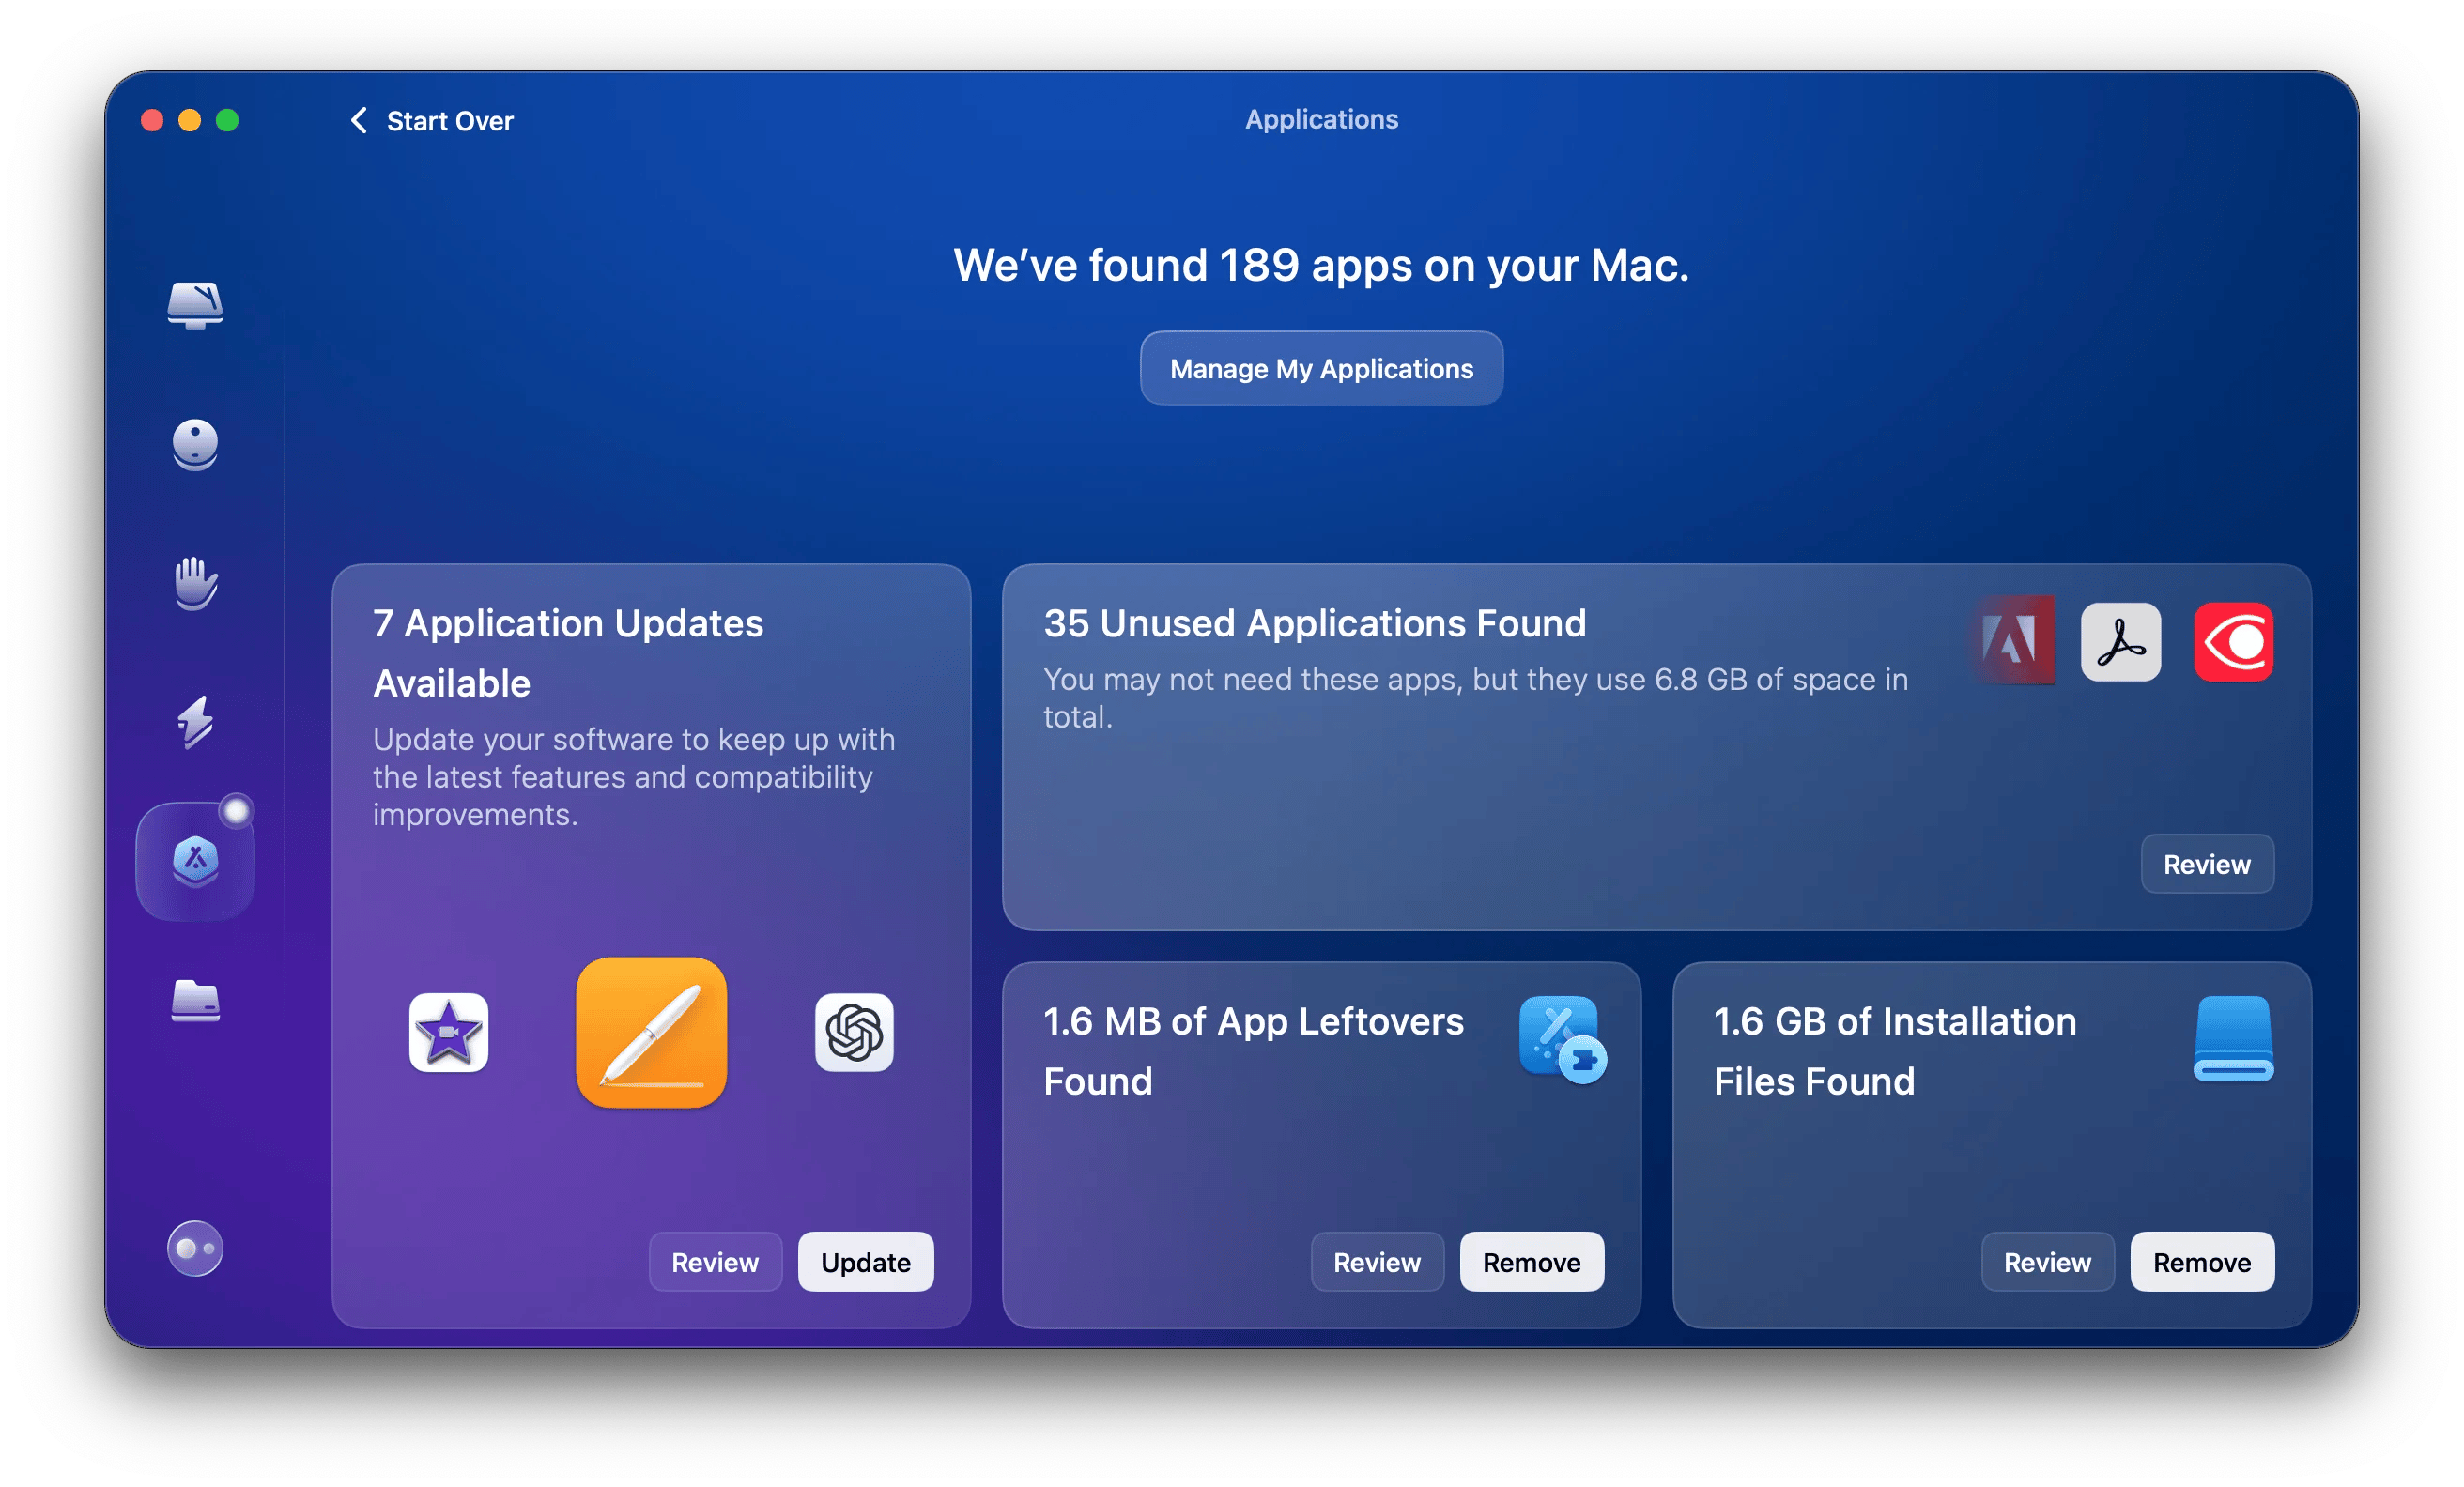
When I said I’m a Mac app fan, I wasn’t joking — 189 apps, 7 app updates, and over 1.6GB of installation files. Well, I guess it’s time to spring-clean my Mac.
Which apps support Sign in with Apple?
The ability to Sign in with Apple ID isn’t limited to Apple; you can use it on many other apps. Actually, major platforms like Google, Adobe, Dropbox, and a range of fitness, shopping, and productivity apps include Sign in with Apple as an option.
Adding accounts to Step Two can be done in two ways: through a two-step QR code, which you can scan through the Mac app, or by manually adding an account.
Plus, it has an extension for Safari users that lets you autofill two-step codes, allowing you to quickly sign in to your accounts.
Here’s how to use Step Two on your Mac:
- Go to the website or app you want to sign in to > Click Sign in.
- Install and open Step Two.
- Tap the add “+” icon on the top right.
- Click Scan Step-Twp QR Code. Click and drag the scanner to the QR.
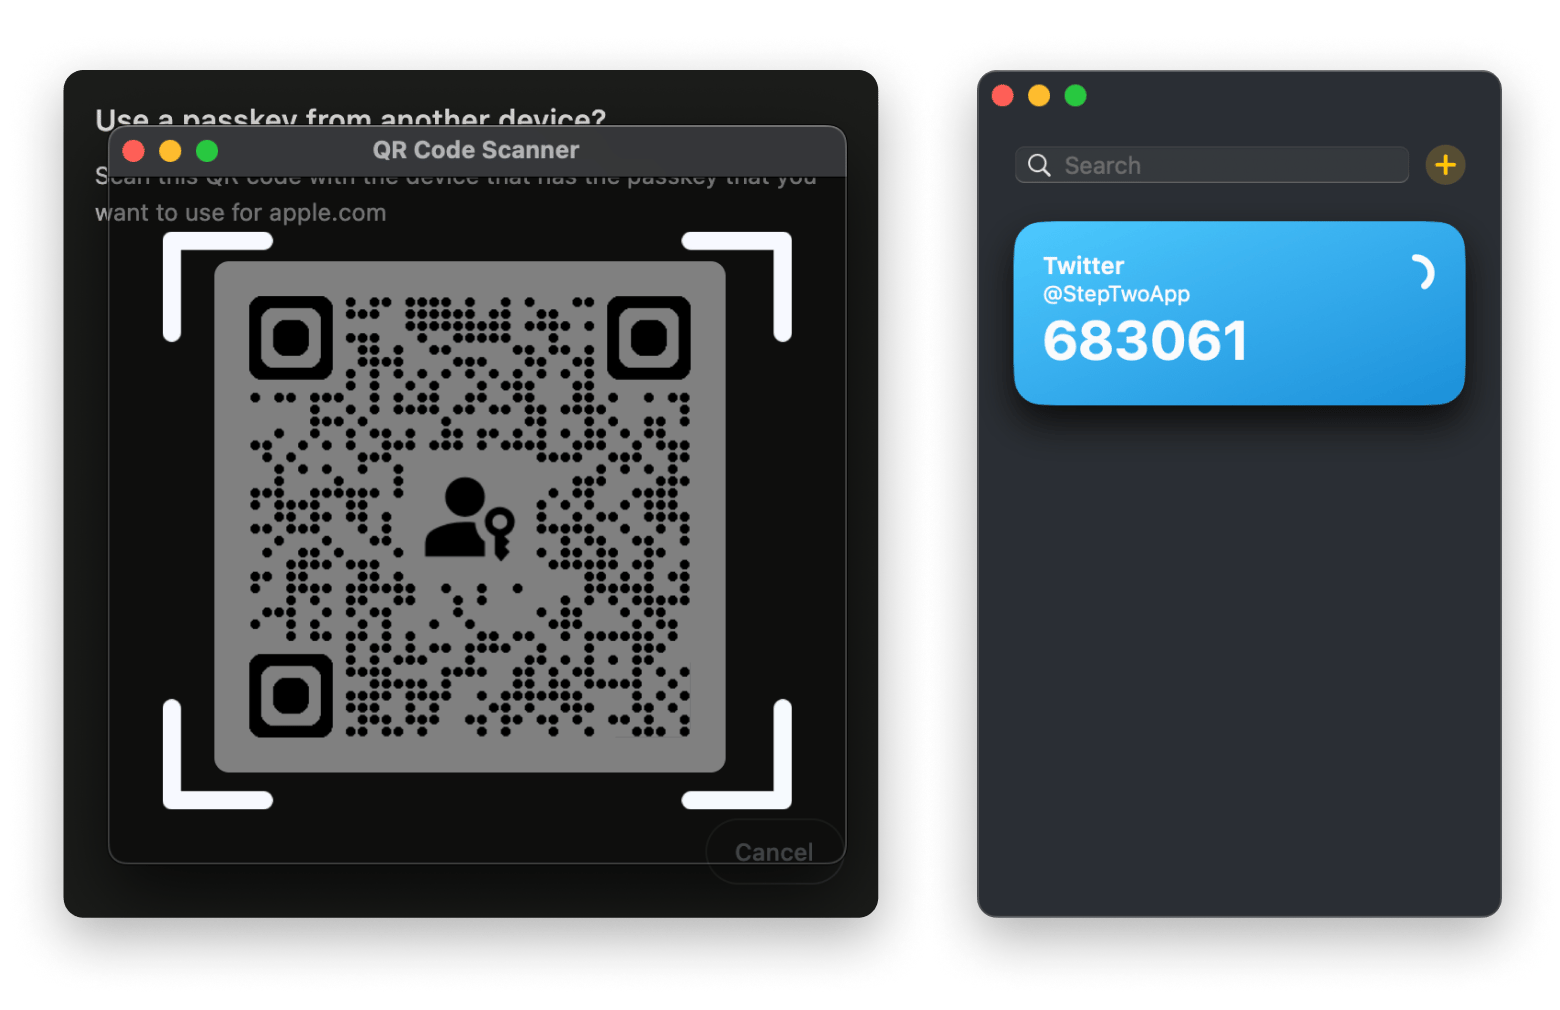
On iPhone, the process of setting up Step Two is pretty much the same, only that your camera will serve as a QR code scanner.
Manage your apps with Sign in with Apple
Apple Account Settings on your device, whether it be an iPhone, Mac, or iPad, is the place to view and manage the apps that you use with Sign in with Apple.
If you want to know the apps that use Sign in with Apple ID on your iPhone, go to Settings > Apple ID > Sign in with Apple. Here you'll find the full list of apps and websites using the feature.
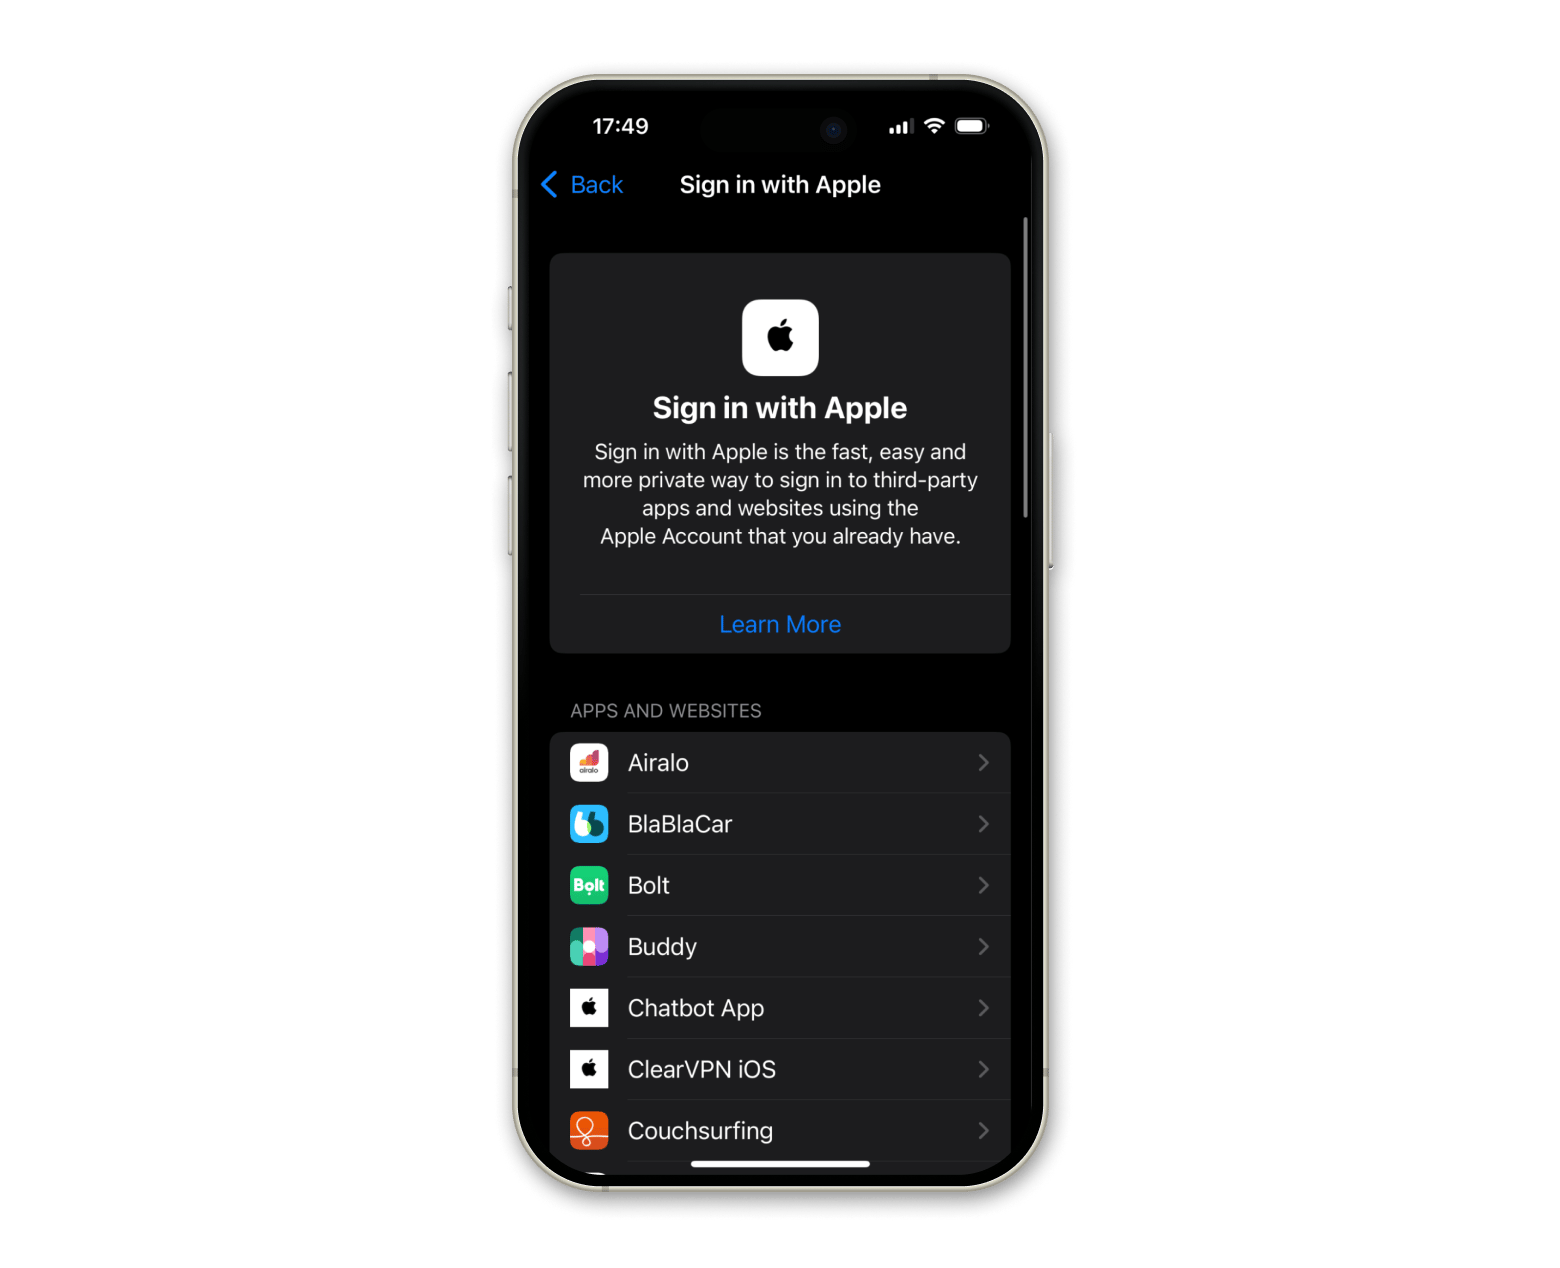
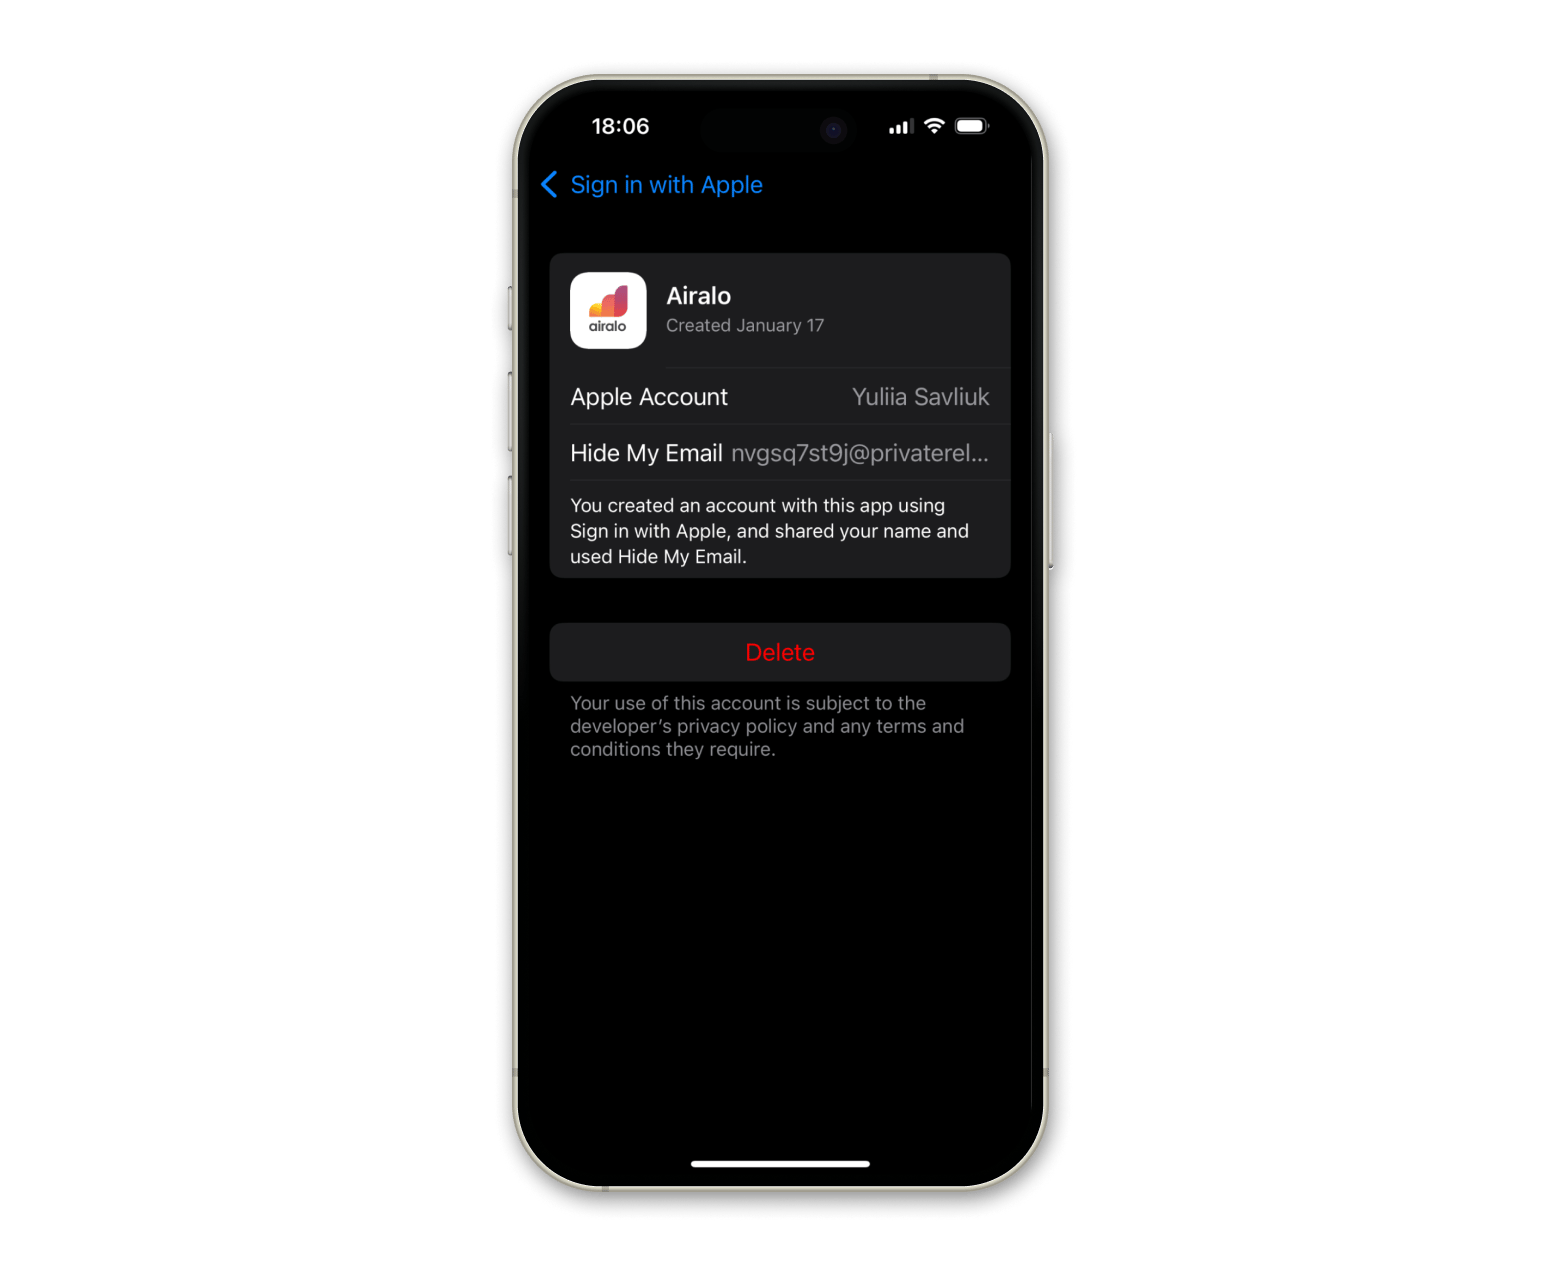
When you tap on one of the apps, you’ll get information on the date you first signed into it using Apple. It also shows if you shared your name and used Hide My Email.
For Mac users, go to System Settings > Apple ID > Sign in with Apple.
How to share your Sign in with Apple access
We all know passwords are supposed to be kept secret, but sometimes, it makes things a lot easier to share with others. Remember — only share passwords with those you trust to protect your data from falling into the wrong hands.
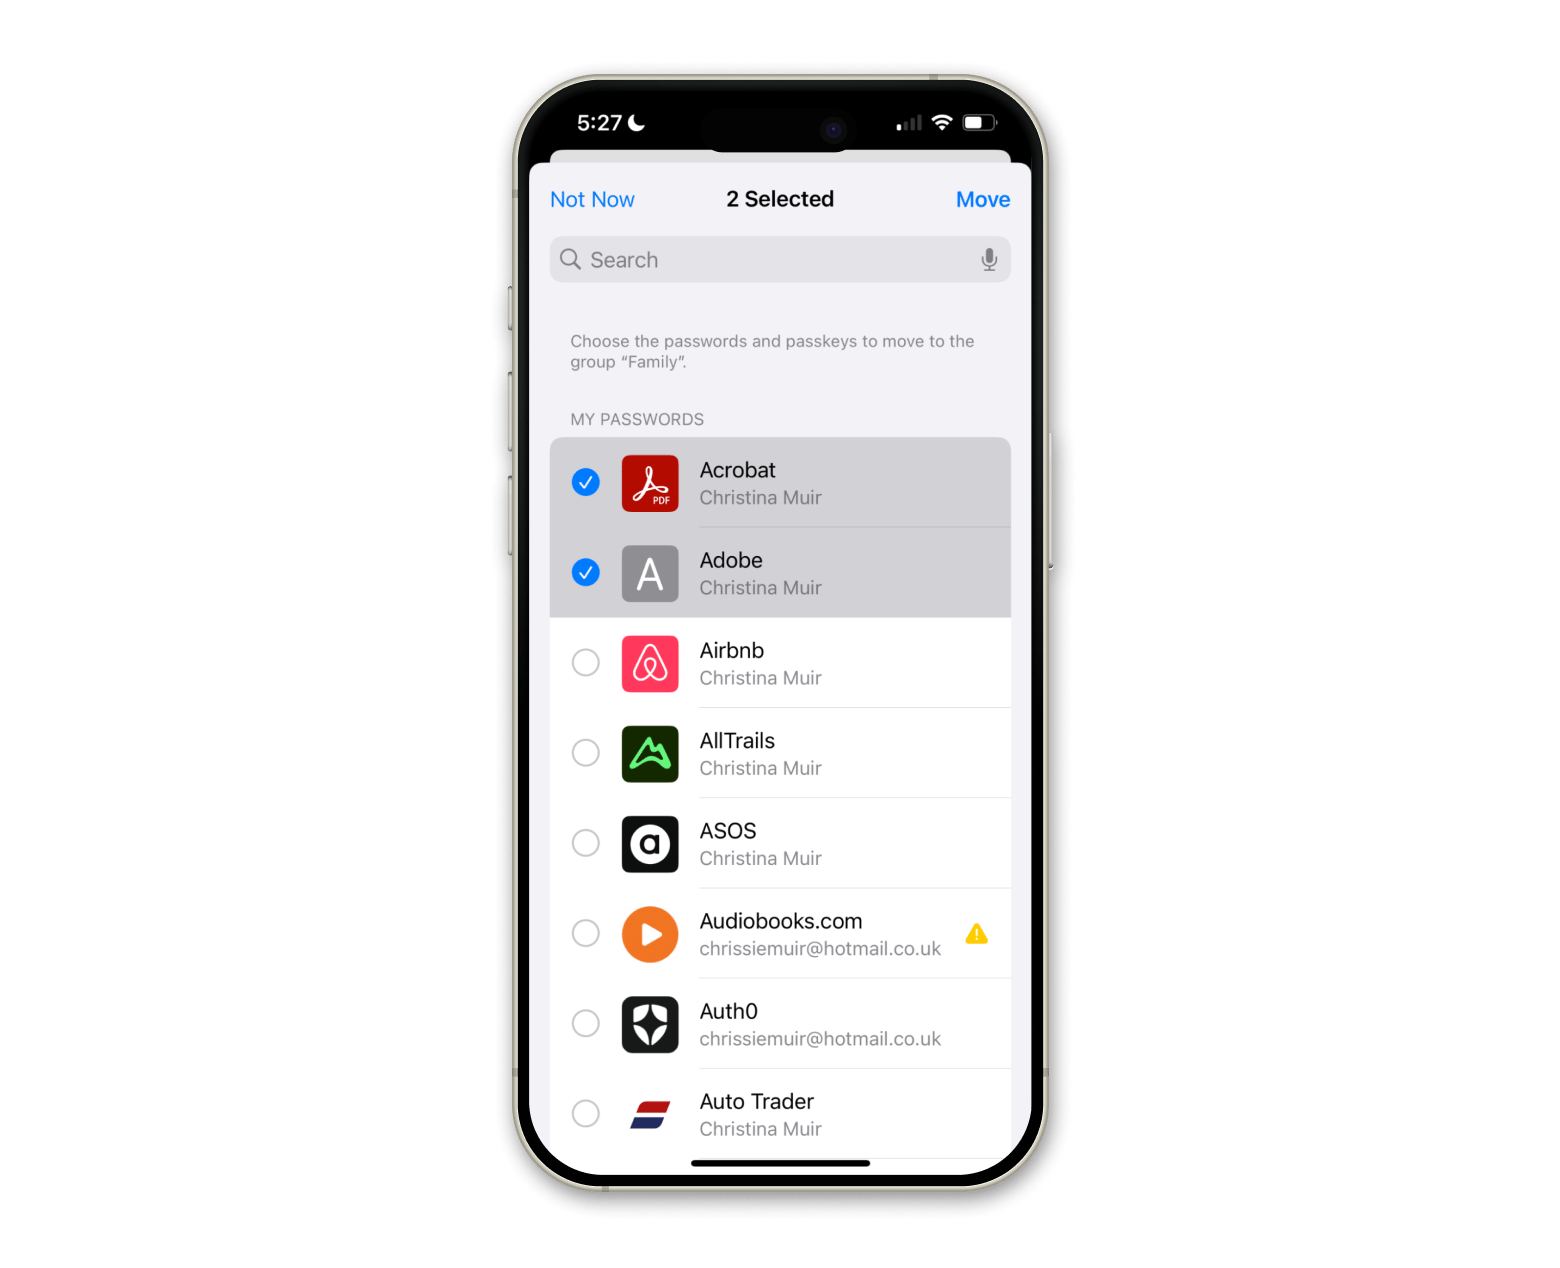
If you have updated your iPhone to iOS 18, then you can use Apple’s built-in Passwords app for safe password sharing with others.
Here’s how to share your Sign in with Apple access on iPhone:
- Open the Passwords app.
- Log in with Face ID or Touch ID.
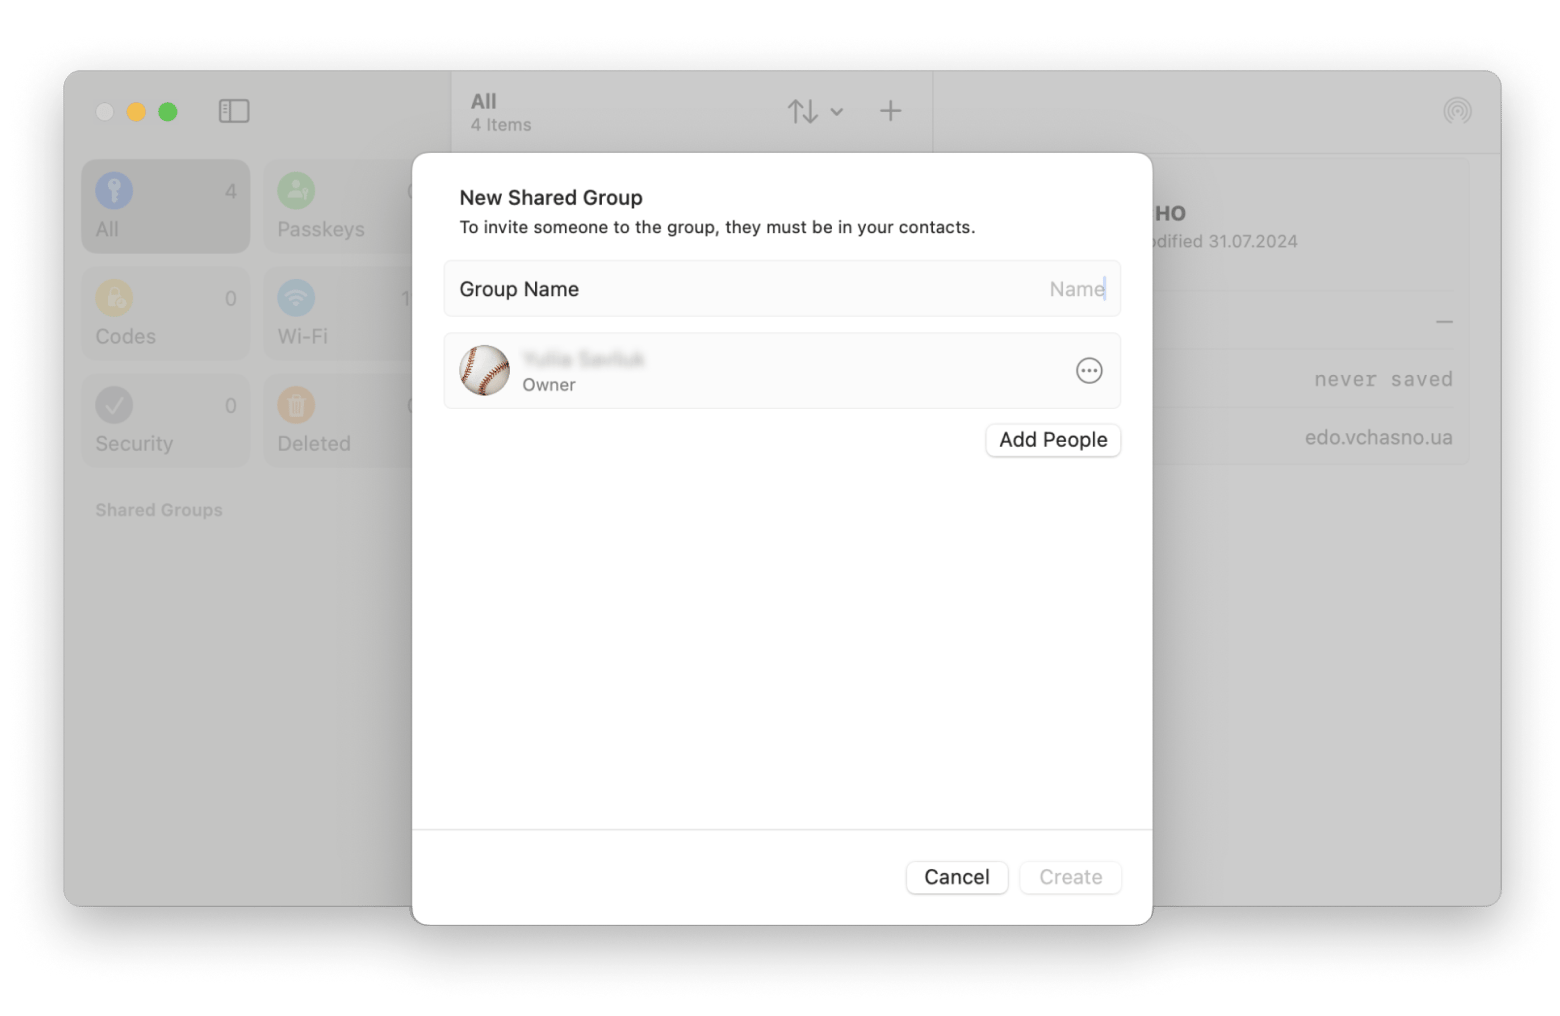
- Tap New Group.
- Name the group and click Add People to add contacts you wish to share passwords with.
- Tap Create.
- Choose from the list of apps to share.
- Select Move
Here’s how to share your Sign in with Apple access on a Mac:
- Go to Finder > Applications > Passwords.
- Sign in with your Touch ID or your Mac password.
- Click the add “+” button next to Shared Groups.
- Click Add People > Create.
Read more on how to store your passwords safely.
How to stop using Sign in with Apple with an app or website
You have full control over what apps use Sign in with Apple. It’s good practice to disable apps or websites you no longer use to keep up with your accounts.
To stop using Sign in with Apple on iPhone, go to Settings > Apple ID > Sign in with Apple > Choose the app or website and tap Delete.
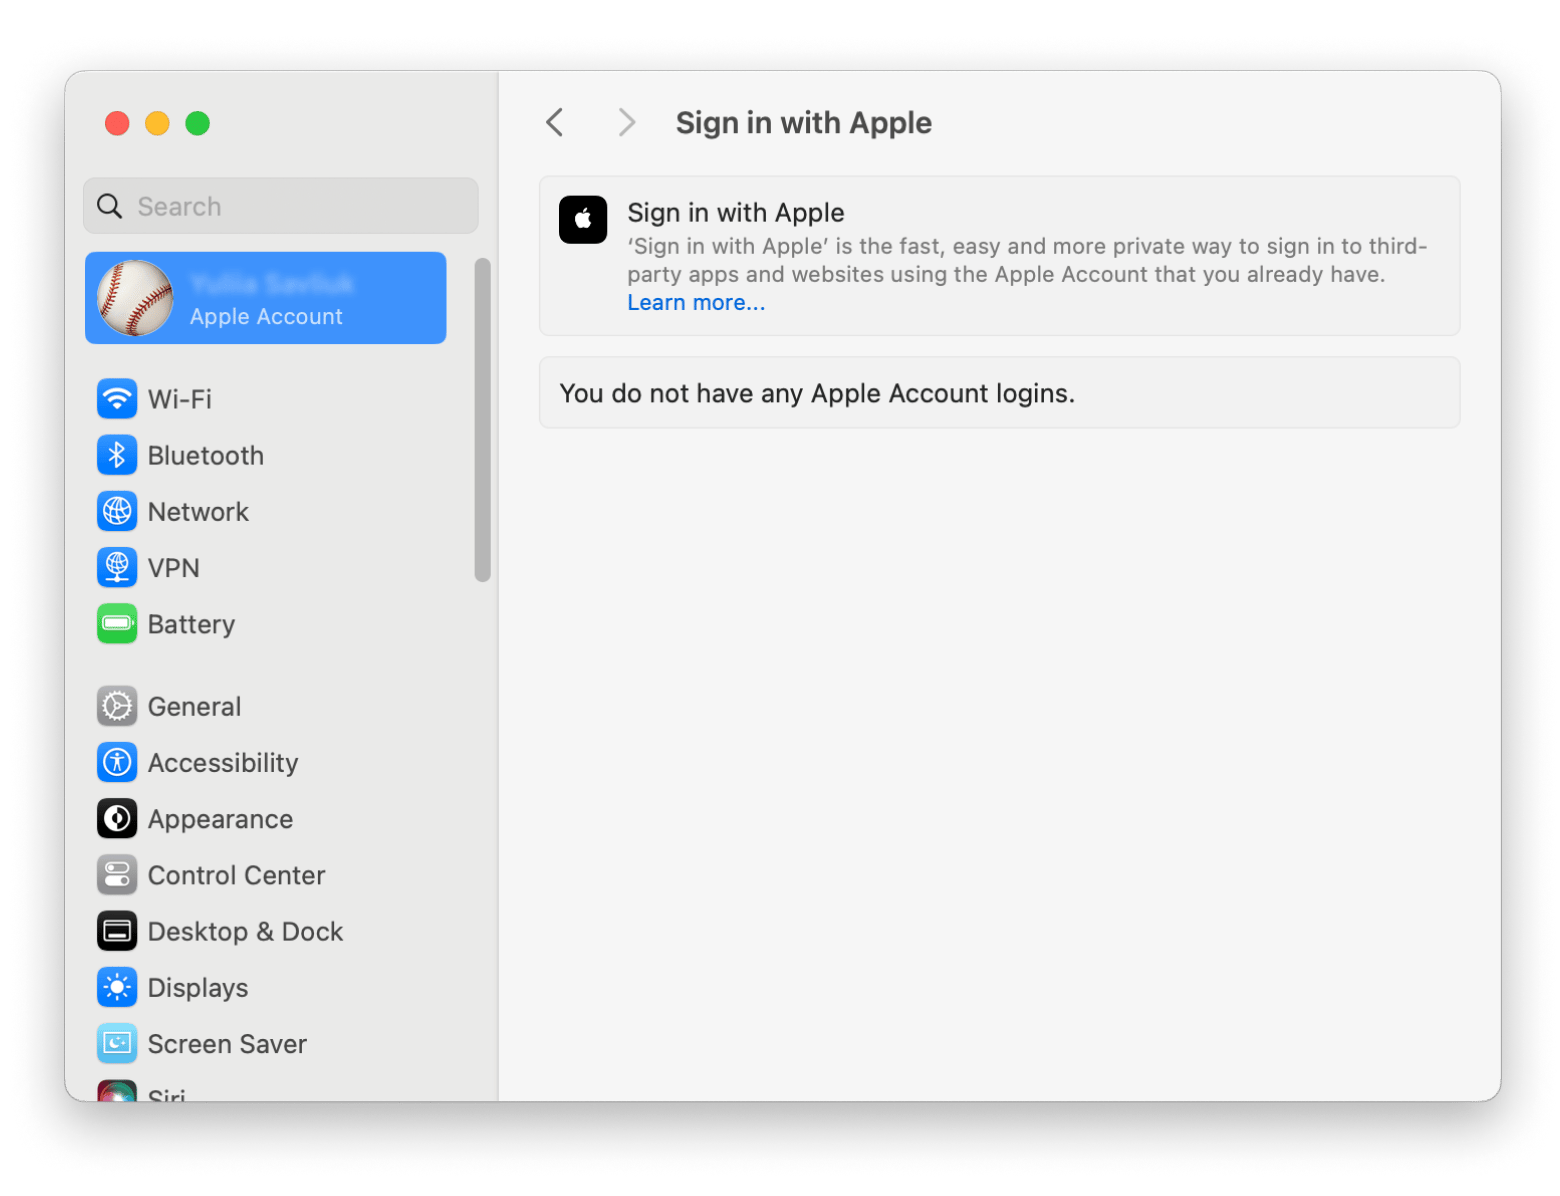
On your Mac, go to System Settings > Apple ID > Sign in with Apple > Choose an app or website to delete.
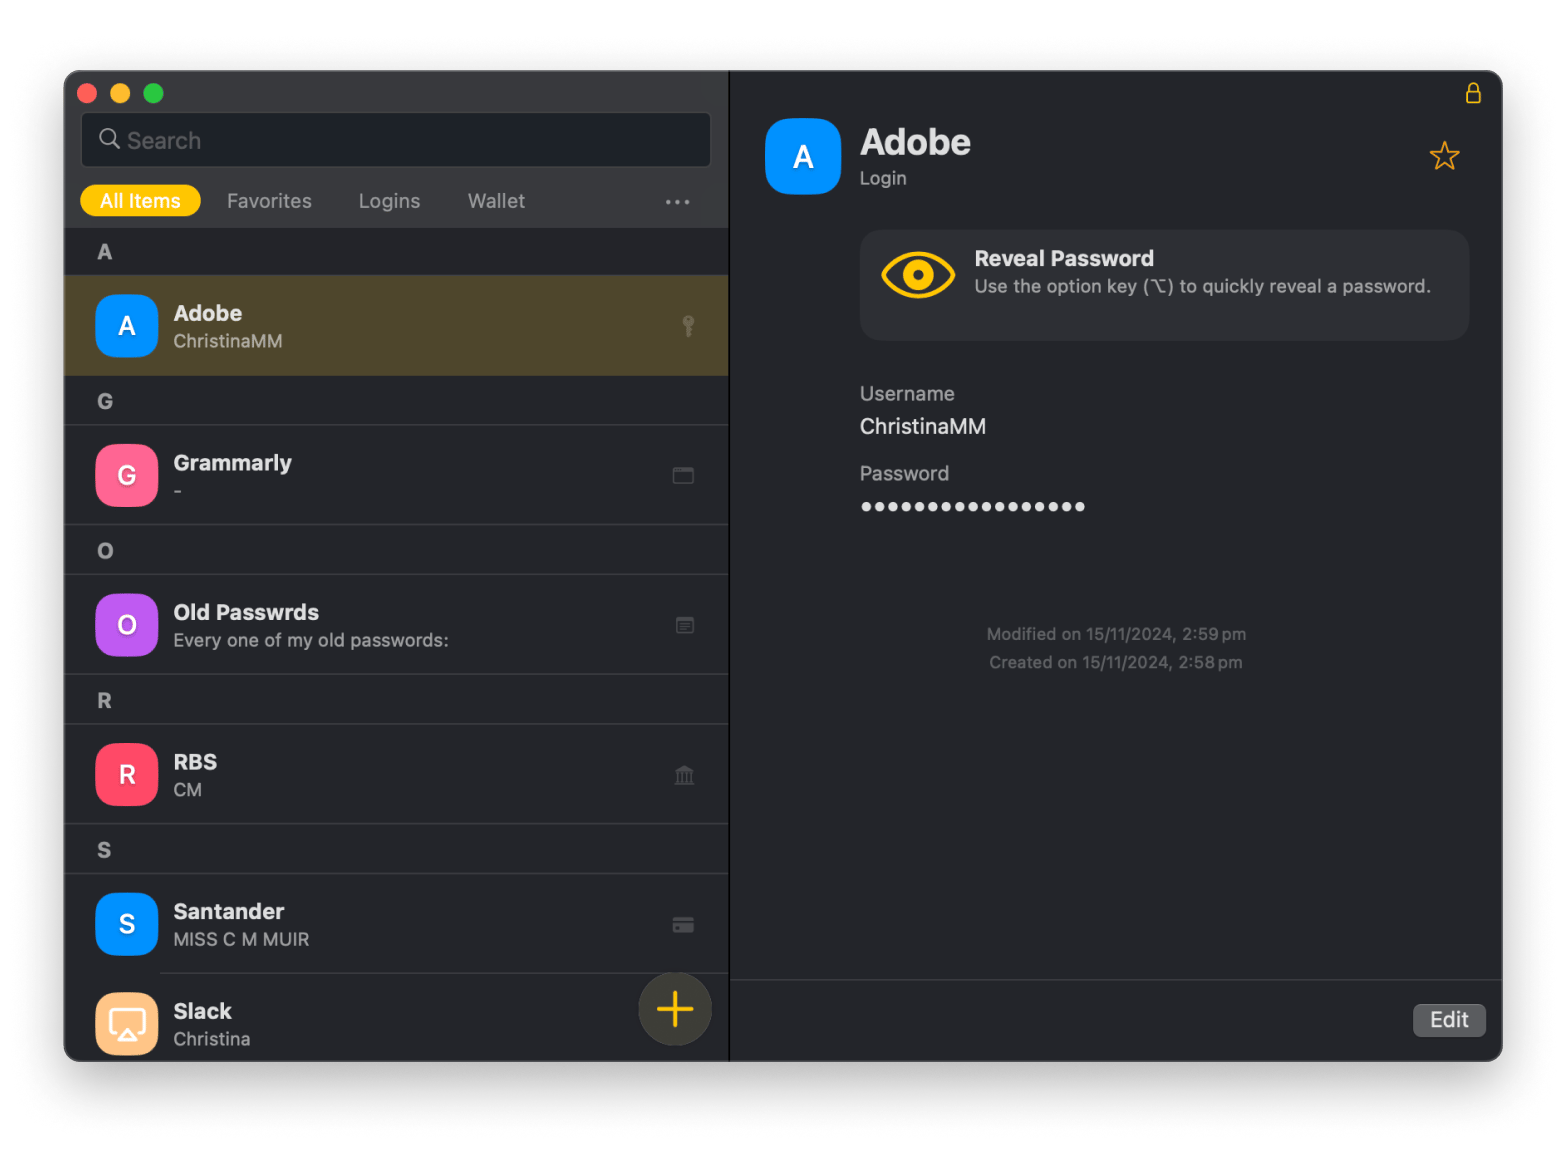
With Secrets 4, I store everything from bank details to software passwords, which the app automatically organizes. I also have a note of all my old passwords, which is particularly useful to prevent repeating old favorites. Keeping passwords safe and secure is a huge relief and is perfect for those looking to stop using Sign in with Apple.
Now, you’re ready to sign in with Apple
With the growing number of apps and websites we rely on every day, protecting your login information has never been more important. To prevent security risks, scan for threats using CleanMyMac. And Secrets 4 is a secure way to keep track of all passwords and emails for incompatible apps without Apple sign-in functionality. And Step Two lets you scan QR codes and copy unique passkeys from your Mac for an even faster login process.
To experience ultimate security and speediness, try these apps on Setapp and 250 macOS and iOS apps with a 7-day free trial. The platform covers everything from productivity to wellness and security. Get stuck in today and experience what else Apple can do.
FAQ
What can someone see if they log into your Apple ID?
If someone knows your Apple account and password, they can log into your Apple ID and see information, including your Photos, Contacts, and Location. Any other data stored in iCloud, including Calendars and Documents, can also be accessed.
What password does Sign in with Apple use?
When you Sign in with Apple, it uses your Apple ID password. This password will be set when you first get the device to access iCloud, the App Store, etc. If you have forgotten your Apple ID password, you can change it by going to Settings on any Apple device > Apple ID > Sign In & Security > Change Password.
Is it safe to use Sign in with Apple
It’s completely safe to use Sign in with Apple. In fact, it’s safer than using a personal email as it generates a random email address that forwards messages to your actual email. This lets you bypass third-party apps’ data tracking and protects from potential security breaches with end-to-end encryption.
Can I use my Apple ID to sign in with Apple on another device?
You can use your Apple ID to sign in with Apple. Enter your Apple ID information and complete the two-factor authentication.


