How to remove devices from Apple ID
While I’m not someone who replaces their Apple devices with the latest new models, I’ve certainly had my fair share of them throughout the years. And that means I’ve connected more devices to my Apple ID than I’ve thought of — a couple of MacBooks here and there and even an iPod Touch, which you can’t even buy anymore. It can be tempting to simply leave those connected devices alone, but the truth is that things can get messy, and this oversight can even lead to security risks.
Even if you initially wanted to remove a device to keep things neat and tidy, you’ll want to do it for other important reasons, too. If I’ve piqued your interest, you’ll want to read on, as I’m going to show you how to remove devices from your Apple ID.
What is the Apple ID device list?
The Apple ID device list does exactly what it says — it lists the devices attached to your Apple ID. It’s essentially how Apple manages devices, which details device information past the device model, such as the serial number and iOS version. But the catch is that it’ll only show devices signed into your Apple account services, like iCloud or iMessage. What it won’t show is every single Apple device you’ve owned while you’ve had that specific Apple ID.
Why remove a device from Apple ID?
The fact that this device list shows all devices logged into your Apple services is exactly why it needs to be managed carefully. After all, you don’t want to have traded in a device, sold it to someone on Facebook Marketplace, or lost and forgotten about it only to realize it can still access sensitive information.
Here are a couple of reasons you’d want to remove an Apple device from your account:
- Prevent iCloud issues: Since all these devices will likely be connected to your iCloud, removing devices helps you prevent running into any syncing accidents or overwrites.
- Avoid maxing out your device limit: Apple limits you to five computers and a total of ten devices associated with your account, but specifically for purchases.
- Keeping your account organized: Being proactive about your device list will help make sure you only keep the devices you currently own and use on that list.
- Privacy and security reasons: Whenever you switch devices, you can avoid the trouble of having your personal information in the wrong hands and front of prying eyes.
How to remove a device from your Apple ID using Mac
The best part about device removal with Apple is that the company lets you manage your Apple-registered devices from a variety of different ones and operating systems, including Windows PC. If you happen to be on a Mac, here’s the easiest way to remove a device on there:
- Open the Apple TV app or Apple Music app using Spotlight search (Command + Space) or by going to Finder > Applications.
- Go to Account in the menu bar and choose Account Settings.
- Click Manage Linked Devices under the Hidden Items section. If you don’t have any devices associated with your account, like me, this won’t appear.
- Click Remove next to the name of the device you want to remove.
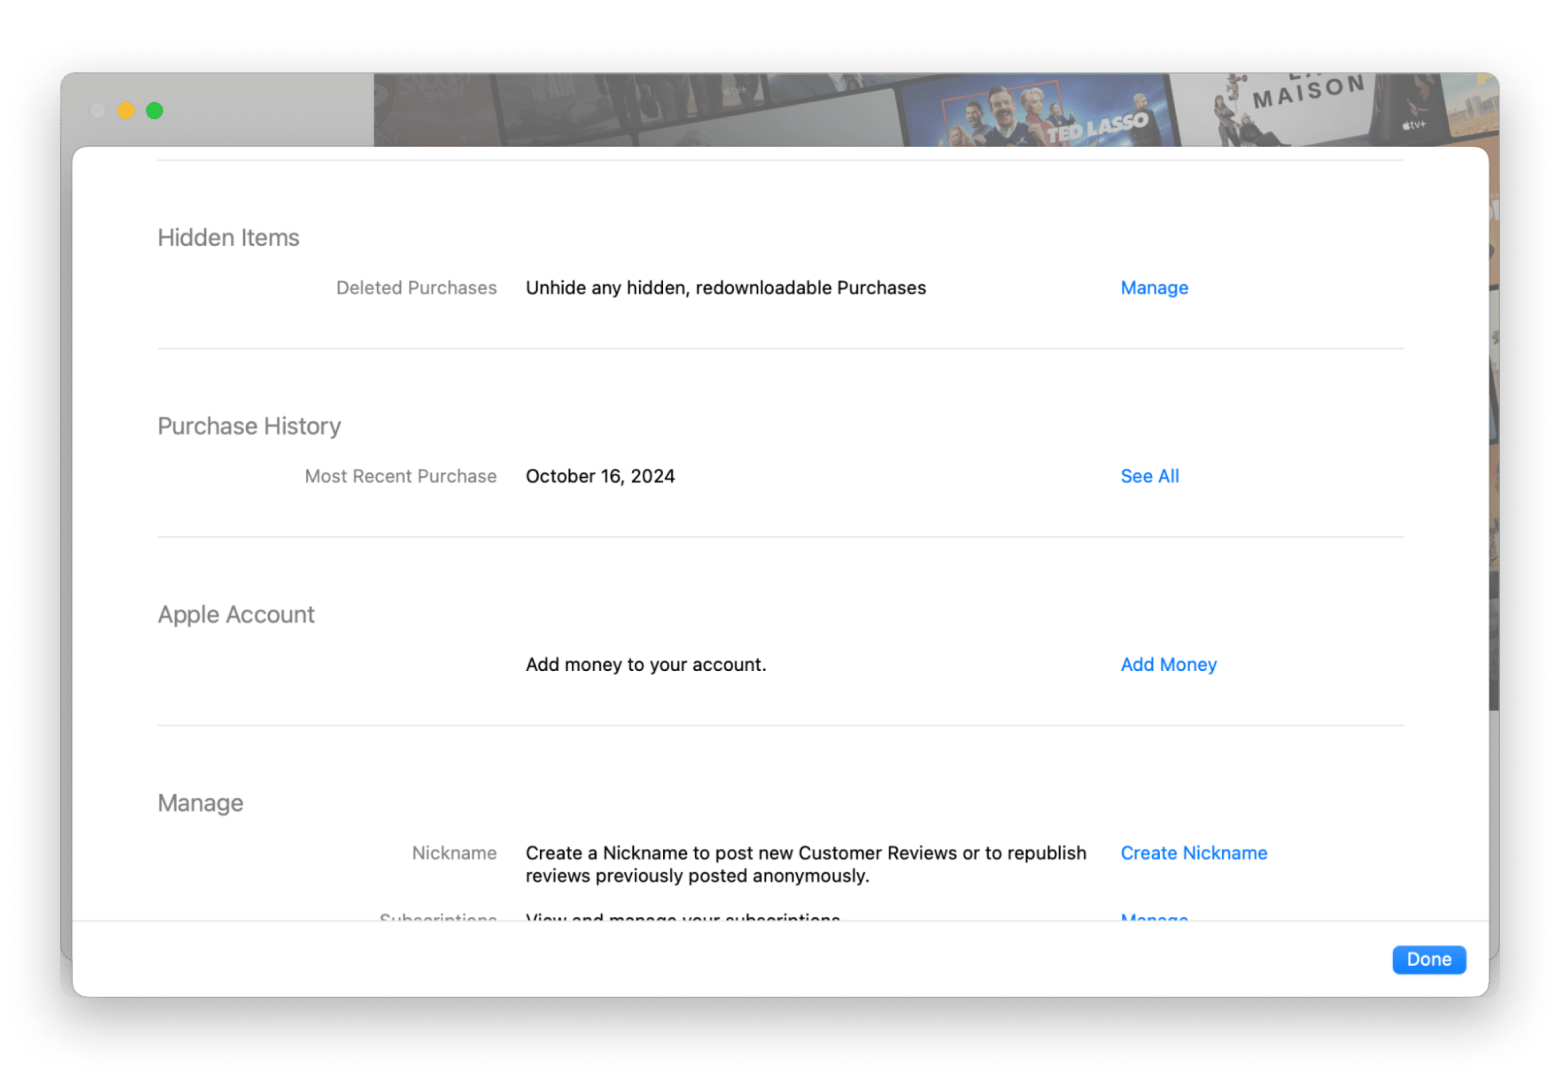
Unfortunately, if you’ve associated a device with your account in the past 90 days, the remove button won’t be clickable. There will be a note saying X days remaining that shows you when you can remove your device and either associate it with another account or leave it removed.
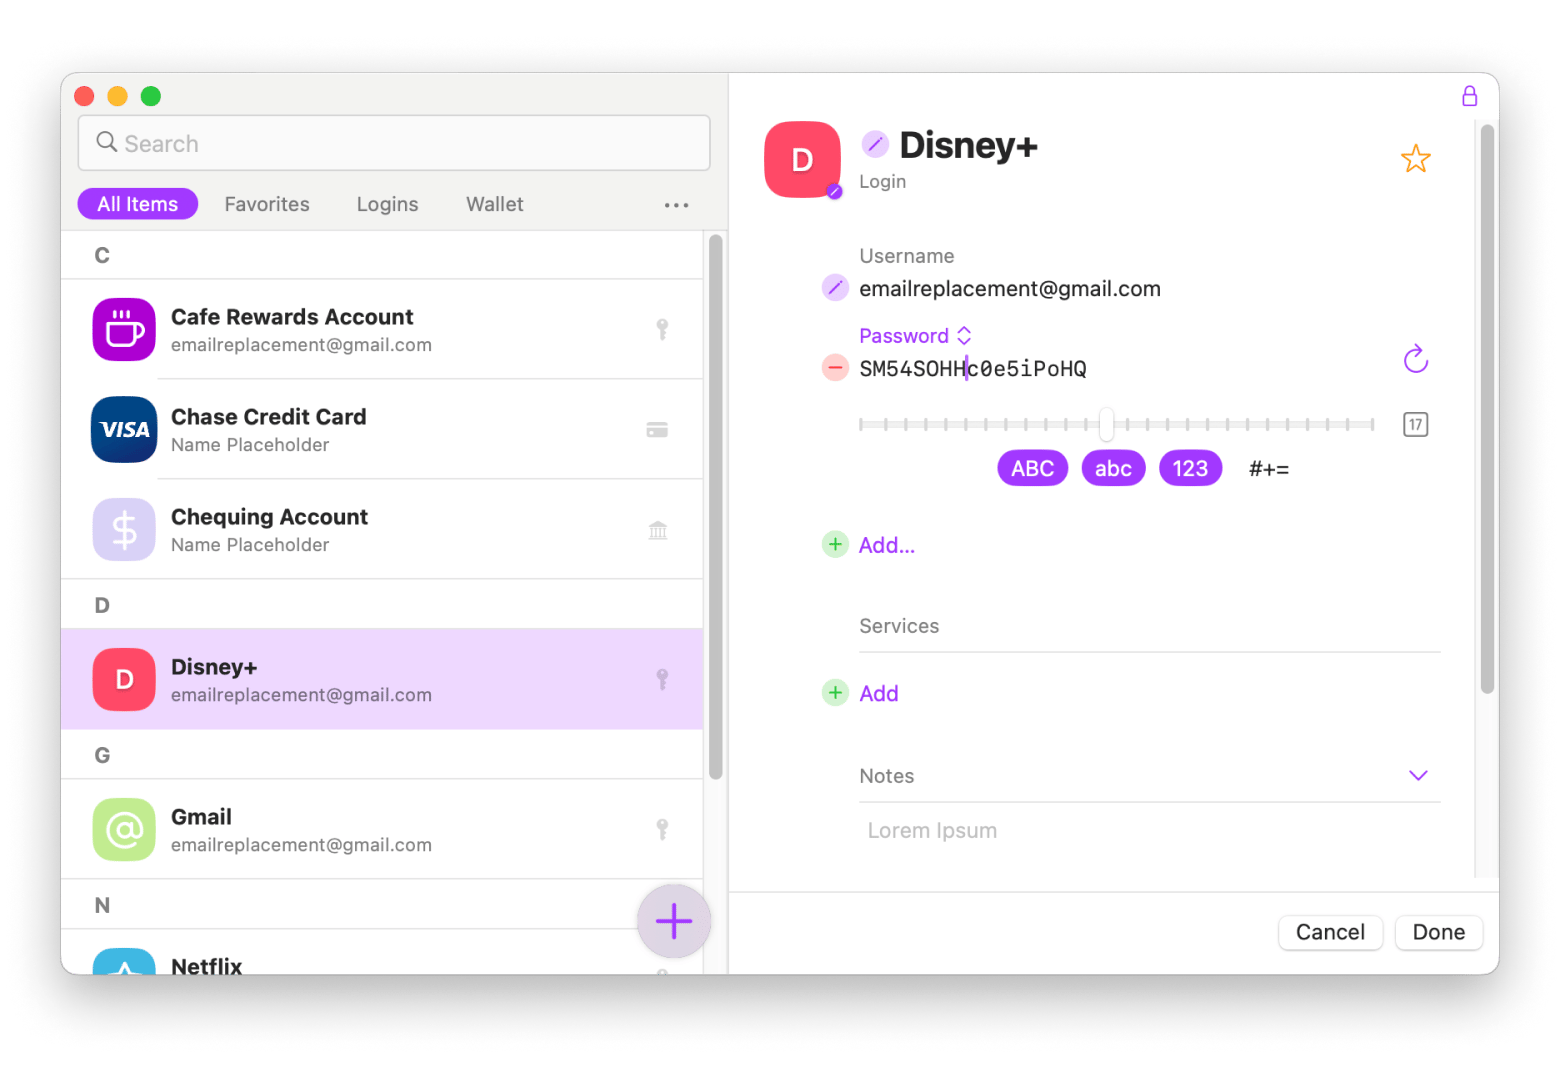
Tip: I’ll let you in on a little secret — I’m constantly forgetting my Apple ID password because Apple makes it so convenient to stay logged in everywhere. So when I’m signed out and have to log back in again, I often find myself in a pickle. That’s why I’ve been storing all my passwords, card information, bank account details, and all sorts of important information on Secrets 4. It syncs between Mac and iPhone for consistency and comes with many features, such as a strong password creator, automatic lock, and a safari extension. The app uses 256-bit encryption to lock sensitive information, so you don’t have to worry about data leaks.
Unlink a device from your Apple ID using iPhone, iPad
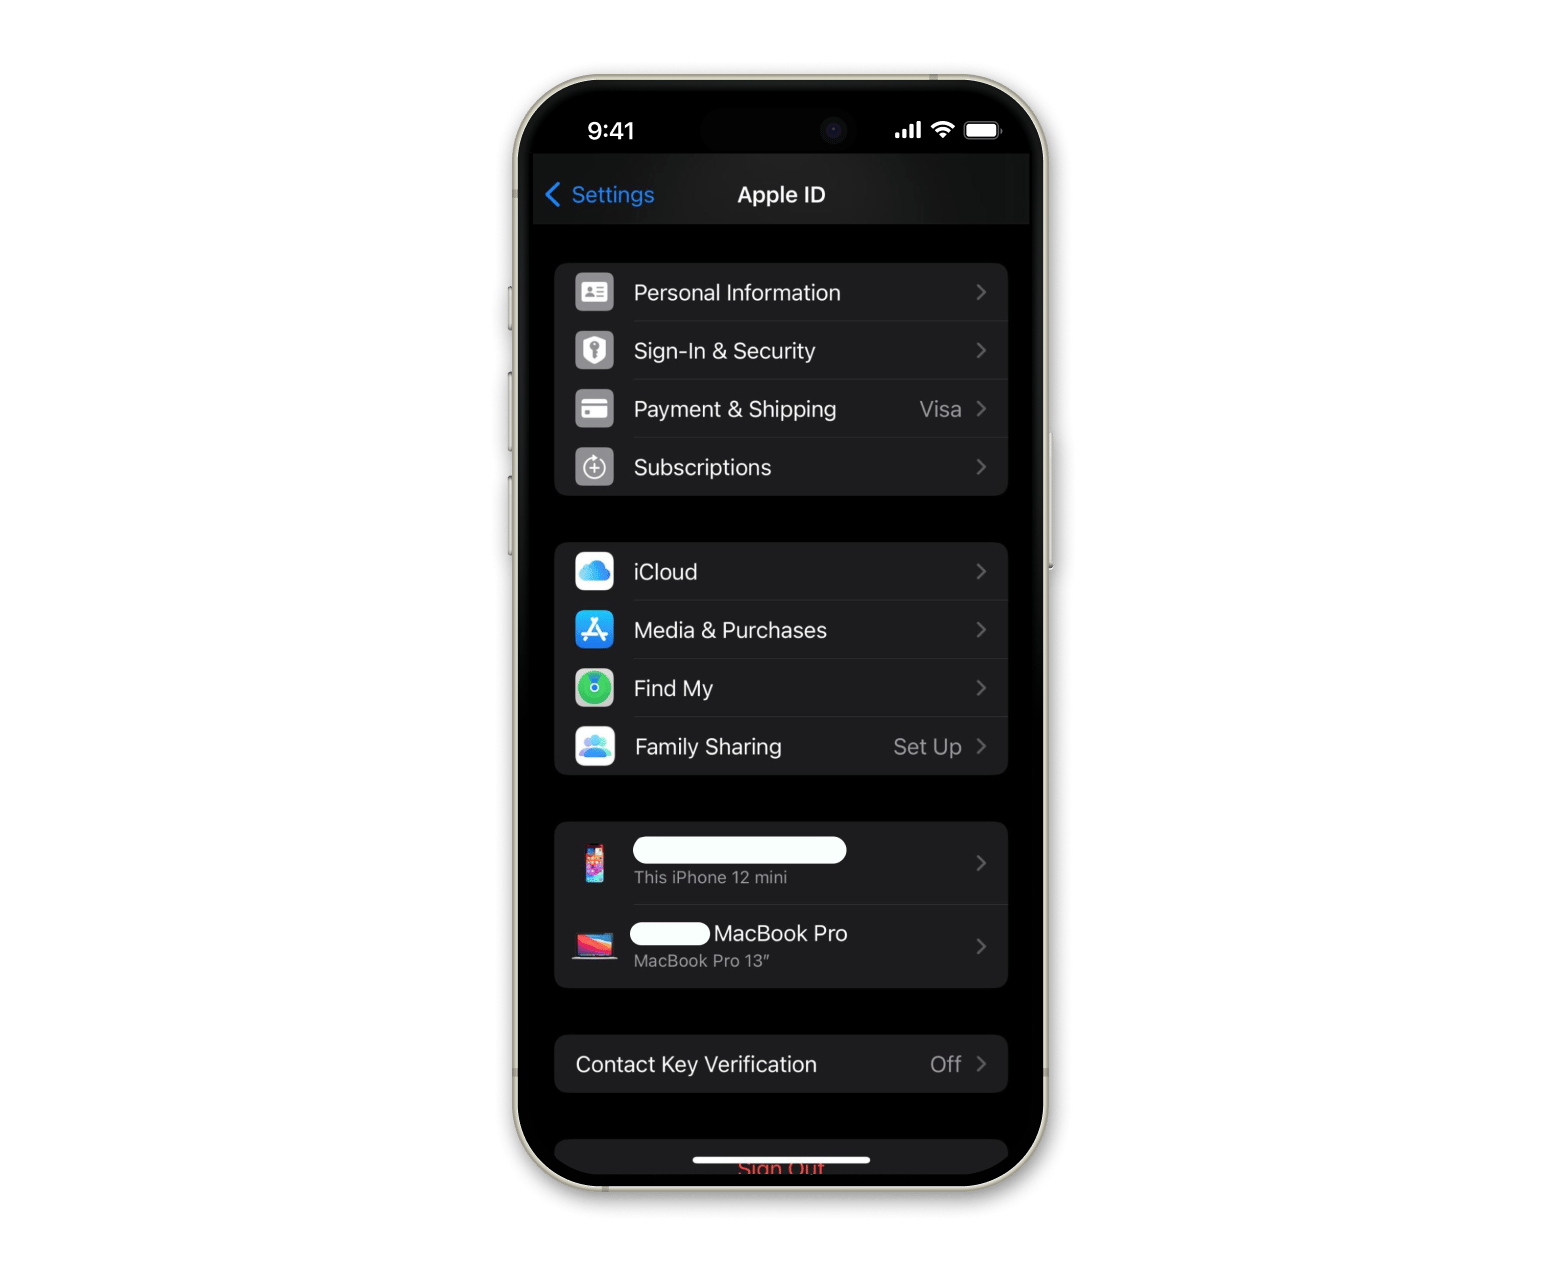
If you’re on an iPhone or iPad, the unlinking process is a lot simpler and present in a much more visual format. Here’s how to manage your devices:
- Go to the Settings app on either device.
- Click on your Apple ID.
- Scroll down to find your device list.
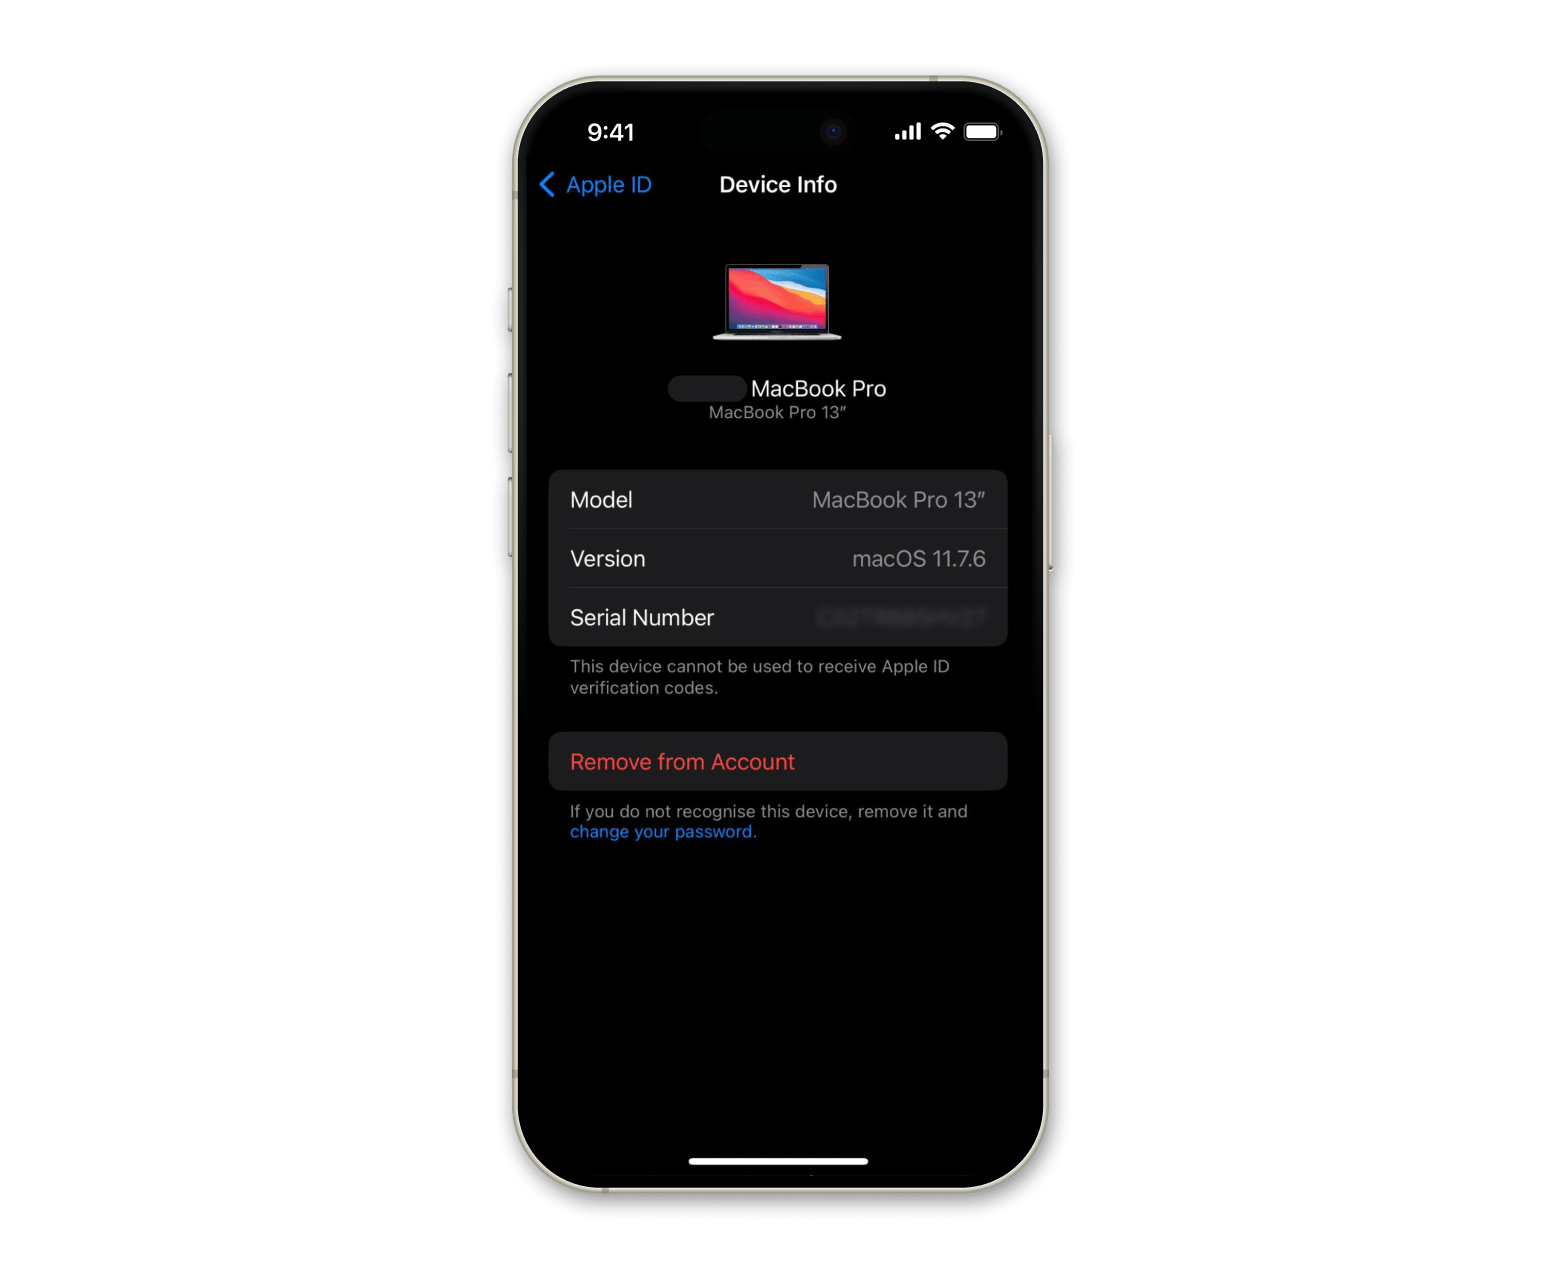
Click on the device you want to remove > Remove from Account.
Whenever I have to remove a device because it has run its course, I make it a point to back up my data carefully. While you can use Finder to manage backups and view a breakdown of your device storage, among other aspects of management, I’ve found AnyTrans for iOS to be a much superior app for managing my iPhone.
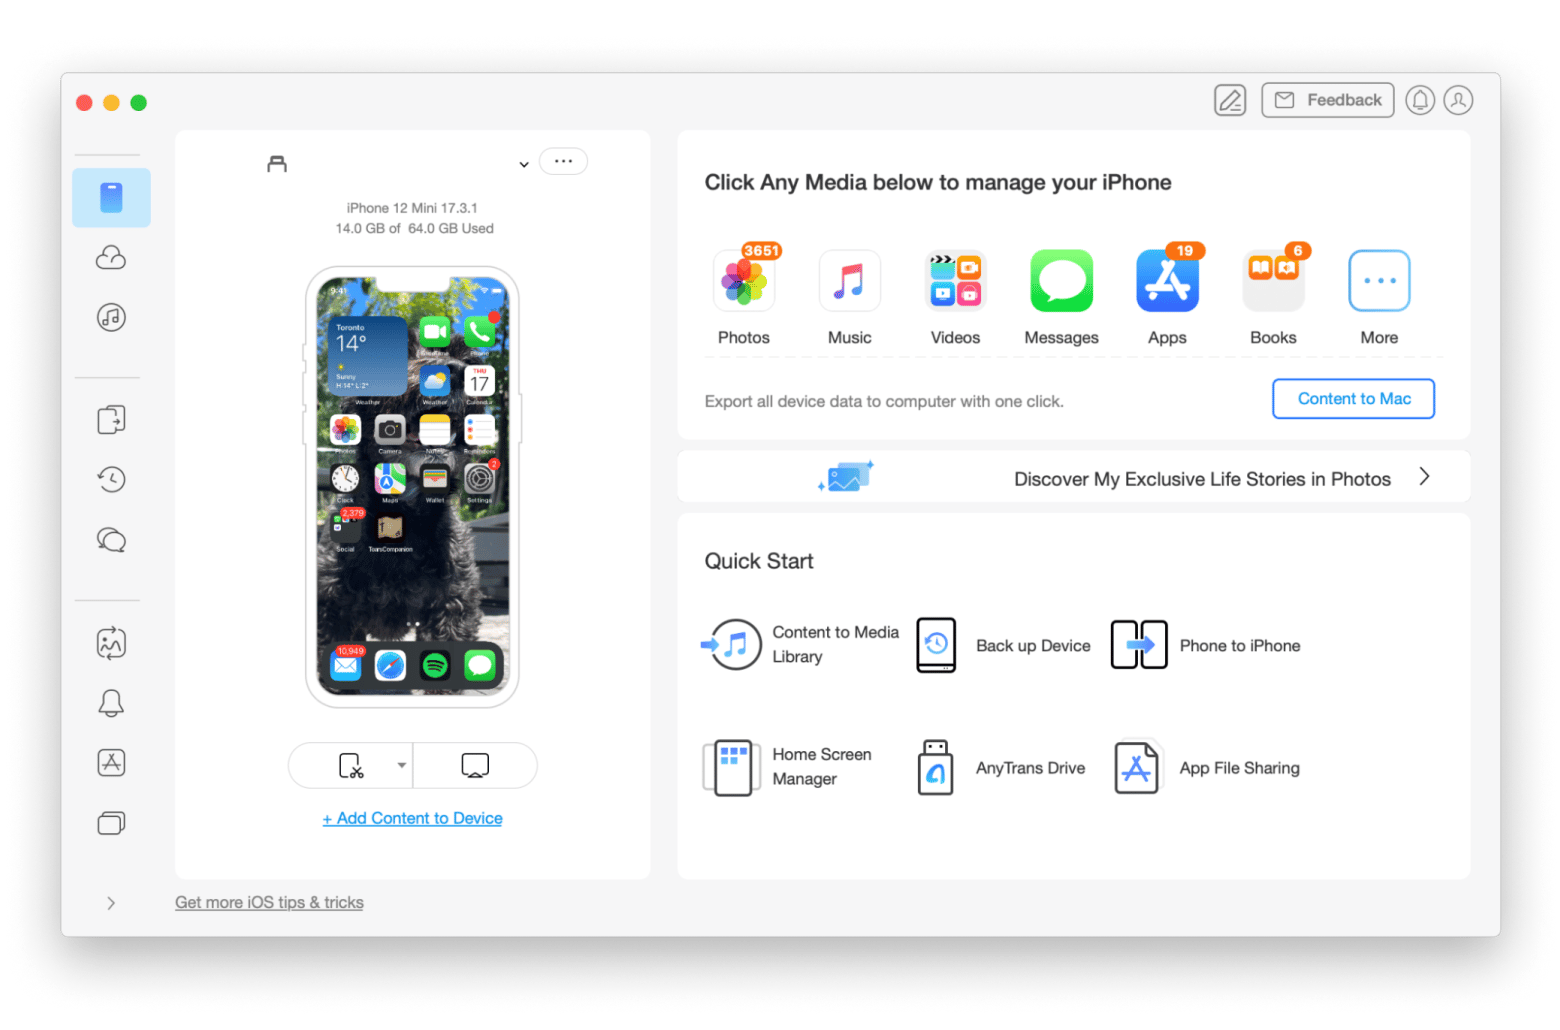
From the main interface alone, you can see that it’s much more user-friendly and visual, giving you detailed rundowns of all your main media apps like Photos, Messages, Music, and Apps. You can even manage your iCloud account from the platform, manage your content on messaging apps, and even create your own ringtone. Its biggest advantage is that it can even perform data migration in one click, letting you freely select and transfer specific items.
Use Apple ID Account page to delete a device
If you don’t happen to have your phone or computer at the moment and need to delete a device, potentially using a non-Apple device, you can access your Apple ID Account page through a browser. Here’s how to use your Apple ID account page to remove a device:
- Go to account.apple.com/sign-in and sign in.
- Click Devices in the left-hand menu.
- Select the device you want to remove.
Scroll down and click Remove from Account.
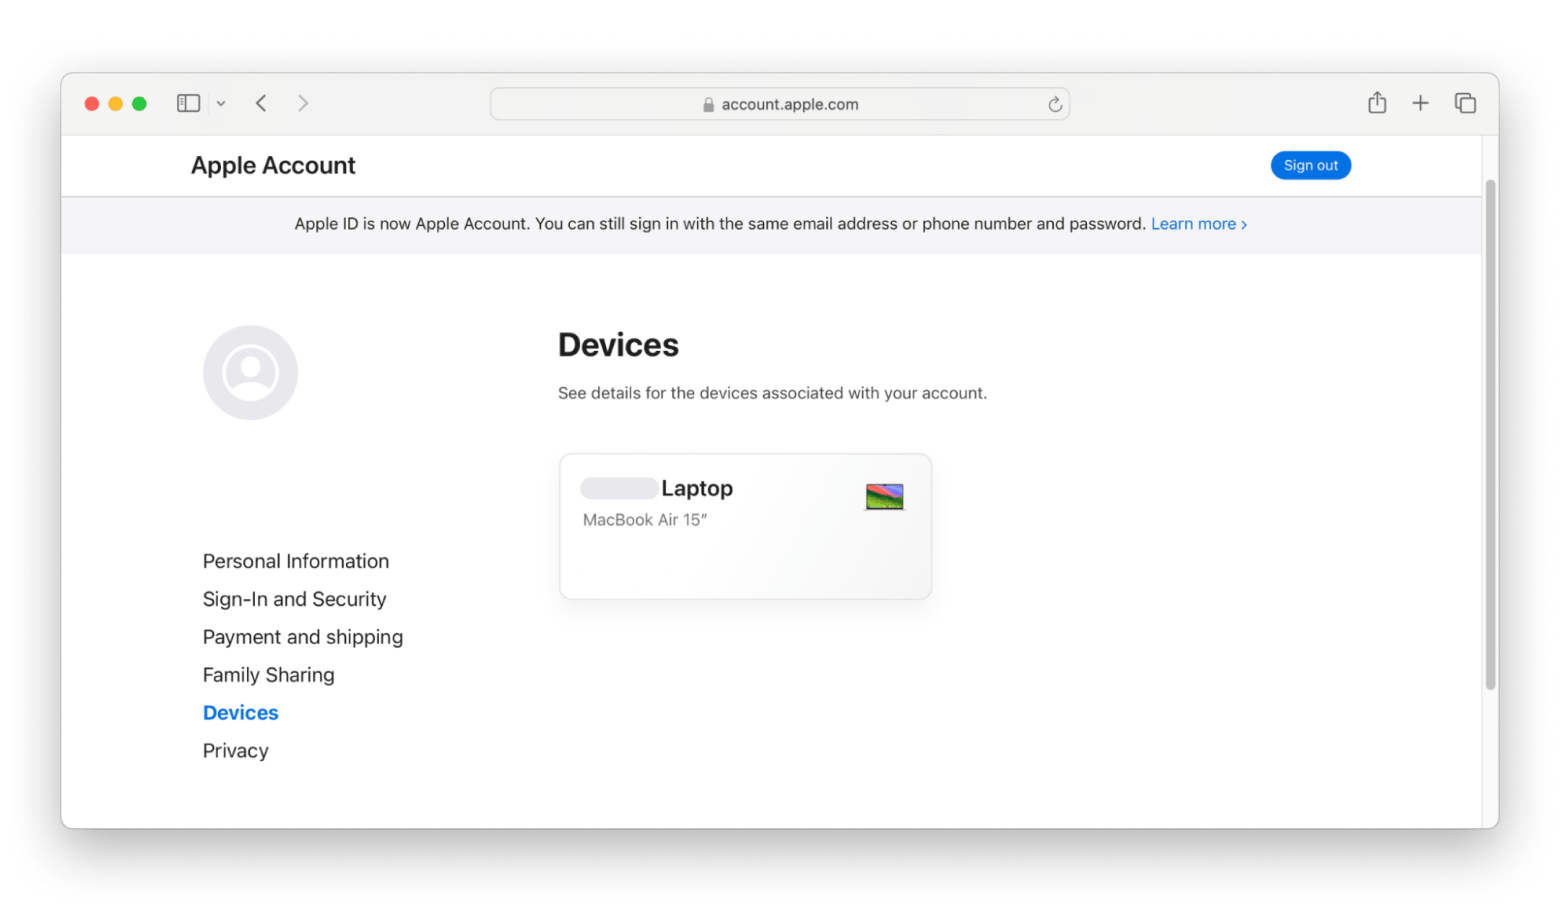
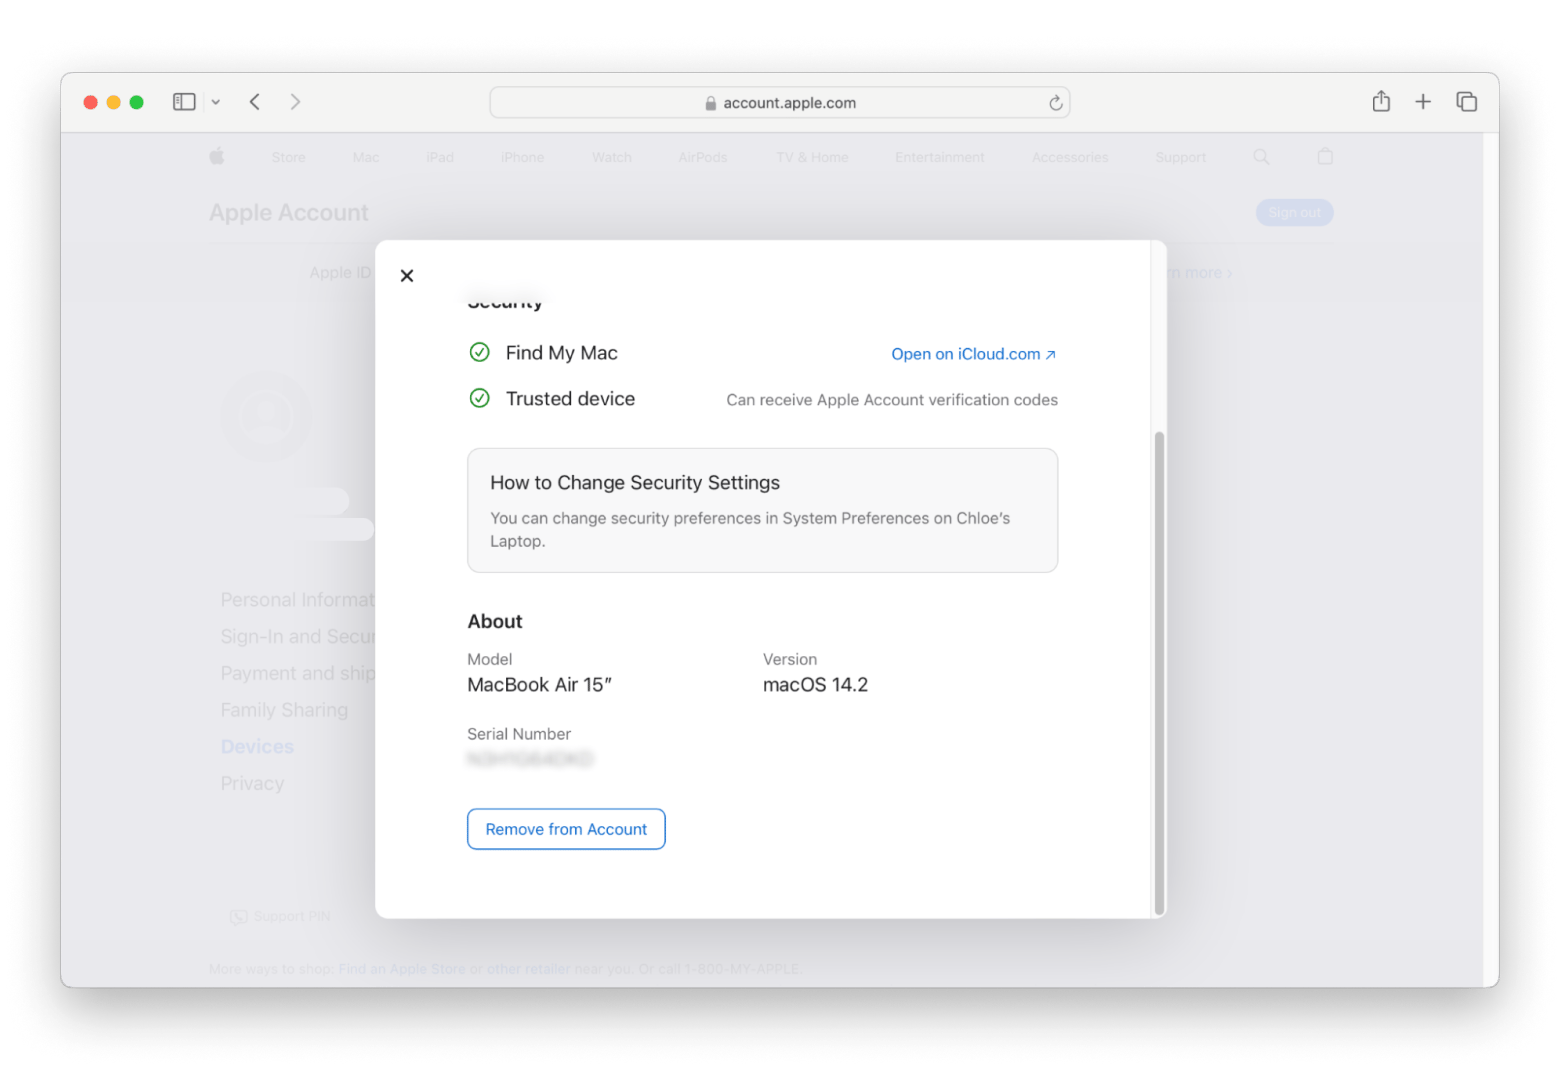
Whether you’re trying to figure out how to remove an iPad from your account or an old iPhone, you won’t be stuck having to wait until you get access to your devices.
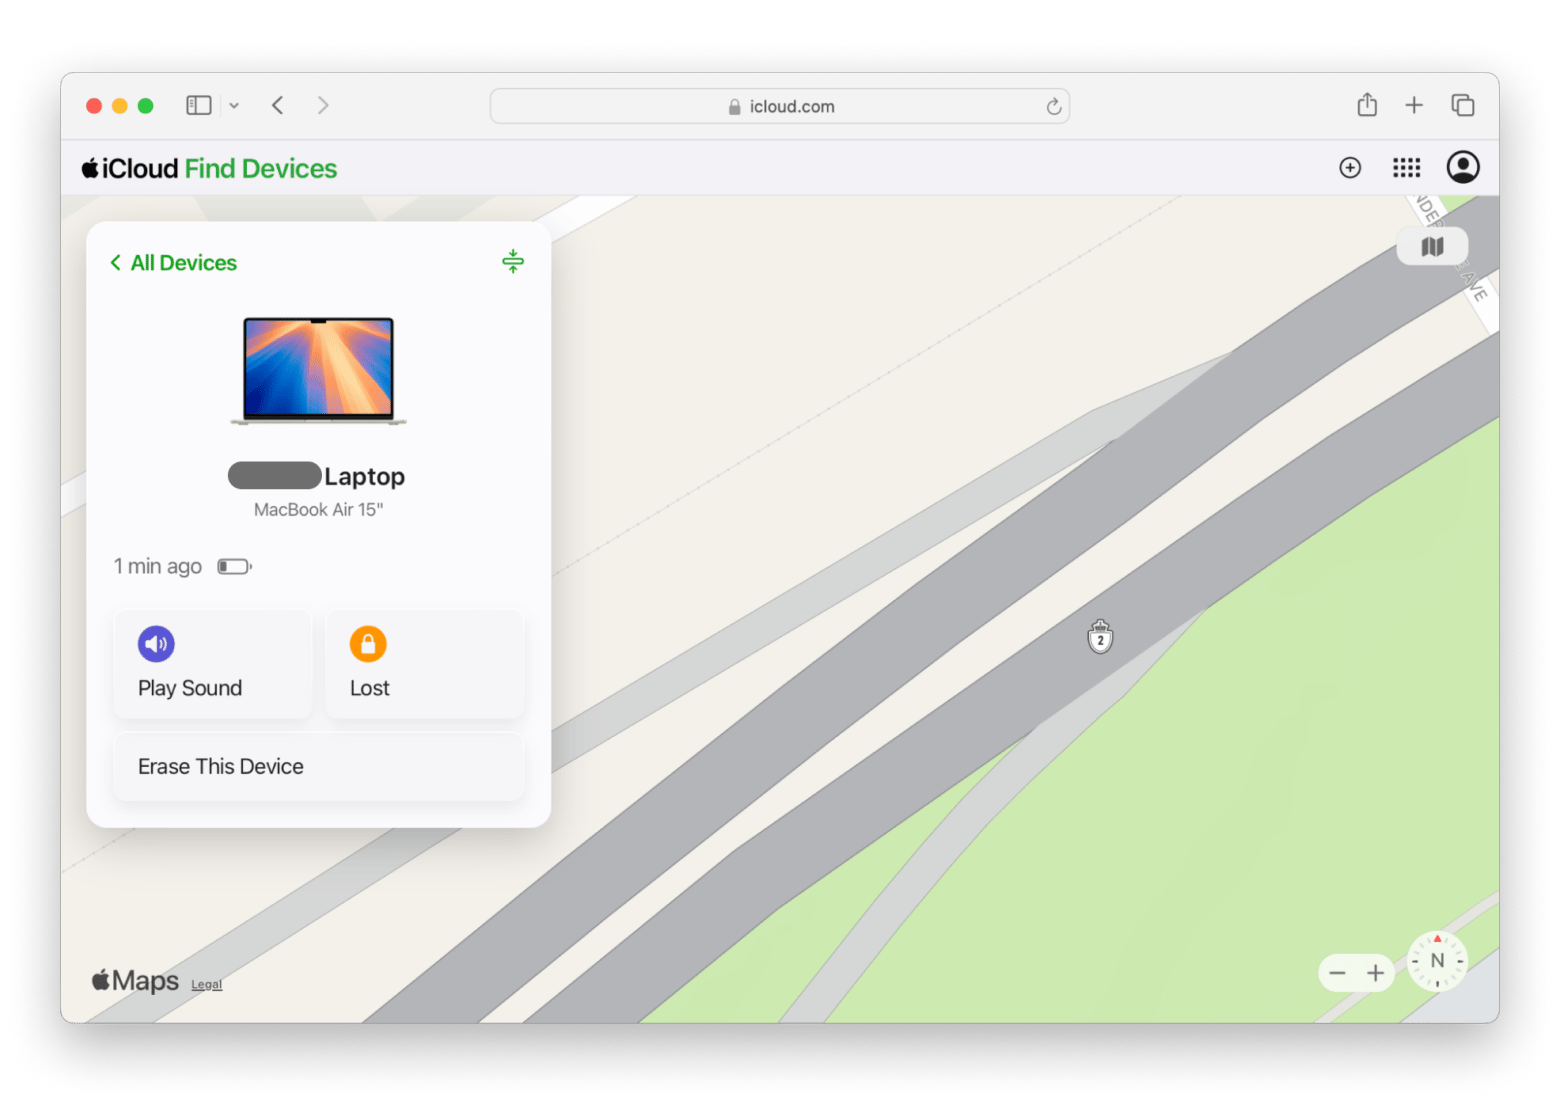
Remove a device from Apple ID using iCloud
If you’re trying to figure out how to remove your iPhone from the Apple ID device list or another device, and you can’t seem to do it using your Apple account, a good alternative is to use iCloud. Even if you don’t happen to use iCloud for storage, you can still access a bunch of useful settings there.
- Log in to your iCloud account at icloud.com/settings.
- Click on the profile icon in the top right-hand corner.
- Click iCloud Settings.
- Scroll down and click Find Devices.
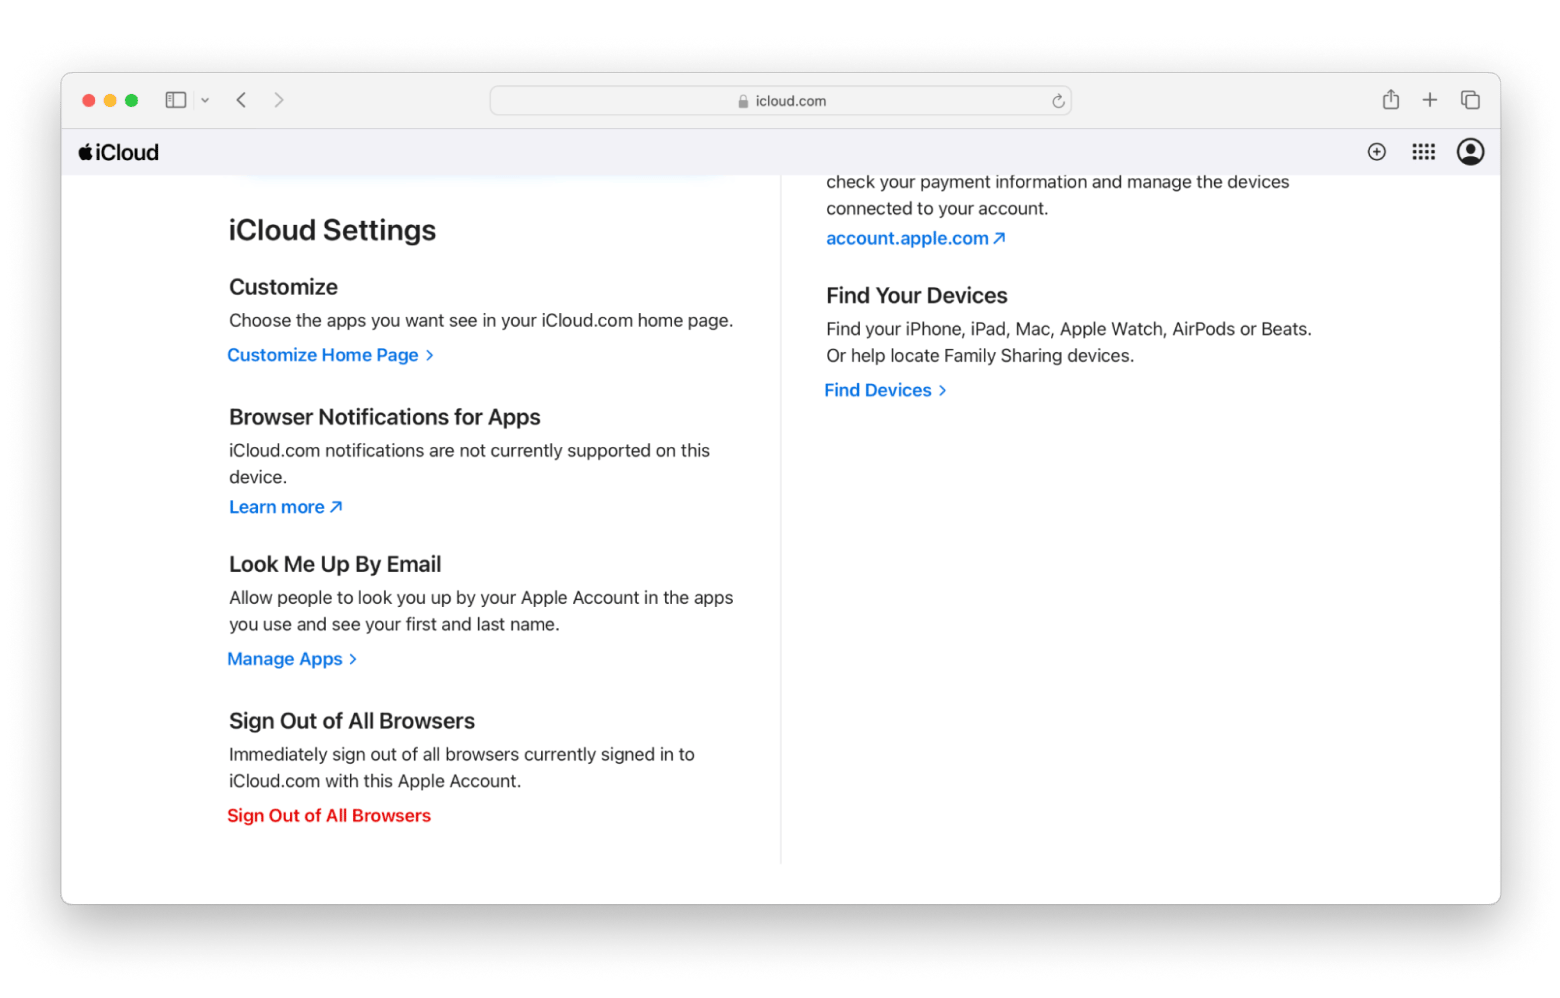
Click on the device you want to remove.
Click Erase This Device.
While Get Backup Pro automates the backup process for me, it also gives me more granular control over what I’m backing up, where it’s being backed up, and the exact schedule I want to automatically start a backup. I haven’t yet done a backup of my new MacBook Air, so I’ve set it to do so at the end of the month at 6:30 p.m. I can do a simple copy backup, clone, versioned, or incremental.
Wrapping up: How to remove iPhone from Apple ID device list and other devices
Seeing how easy it is to remove a device from your Apple ID device, we’ve got no excuse not to keep our list organized. Keeping it up-to-date and free of outdated and unused devices will keep intruders at bay, ensuring your personal information remains private.
With apps like Get Backup Pro and AnyTrans for iOS for seamless device management and backup and Secrets 4 for password and personal information storage, managing your Apple devices is made exceptionally easy. All these apps and 250+ more can be found on Setapp. The platform has awesome apps to choose from for every task, and you can try them all with a 7-day free trial. Why wait?
FAQ
Can I remove my Apple ID from a device remotely?
Yes, you can! Thanks to your Apple ID Account and iCloud, you can remove a device remotely. All you have to do is sign in from any browser (Windows included) and go to your account settings. There, you’ll find a way to manage and remove your devices, which means detaching them from your Apple ID.
Does removing a device from Apple ID delete everything?
Removing a device will disconnect that device from your Apple ID, but it won’t erase the content on your device. To wipe your device, you’ll need to do a factory reset.
How do I remove an Apple ID from a device without the password?
If you don't remember the password for the Apple ID linked to a device, you can't manually disassociate it through Settings without the password. However, you can use iCloud or your Apple ID account on a browser to remove the device remotely, but you'll still need the password to sign in. Alternatively, you can reset your Apple ID password via Apple's account recovery process. Use Secrets 4 to store all your passwords in one place and get quick access.


