How to save iPhone backup to external drive
Apple’s iPhones have long become much more than just phones. Now, apart from running apps we use for daily socializing, work, transportation, shopping, and managing finances, iPhones store virtually our whole photo, book, music, and movie libraries too!
Since iOS devices are running out of storage capacity quicker with such extensive use, backing up for the purpose of clearing space became very popular among users. However, this method can lead to a shortage of space on your Mac's hard drive — the default backup location for those who use multiple Apple products.
Once a Mac begins sending notifications identifying it’s running low on space, users turn to chat forums asking each other, “can you backup an iPhone to an external hard drive?” Fortunately, the answer is yes. So let's find out how.
Where to find current backups on Mac?
Apple doesn’t make it very easy to move iPhone backup to external drive, but if you take the time to understand the process, becoming an expert can happen faster than you think.
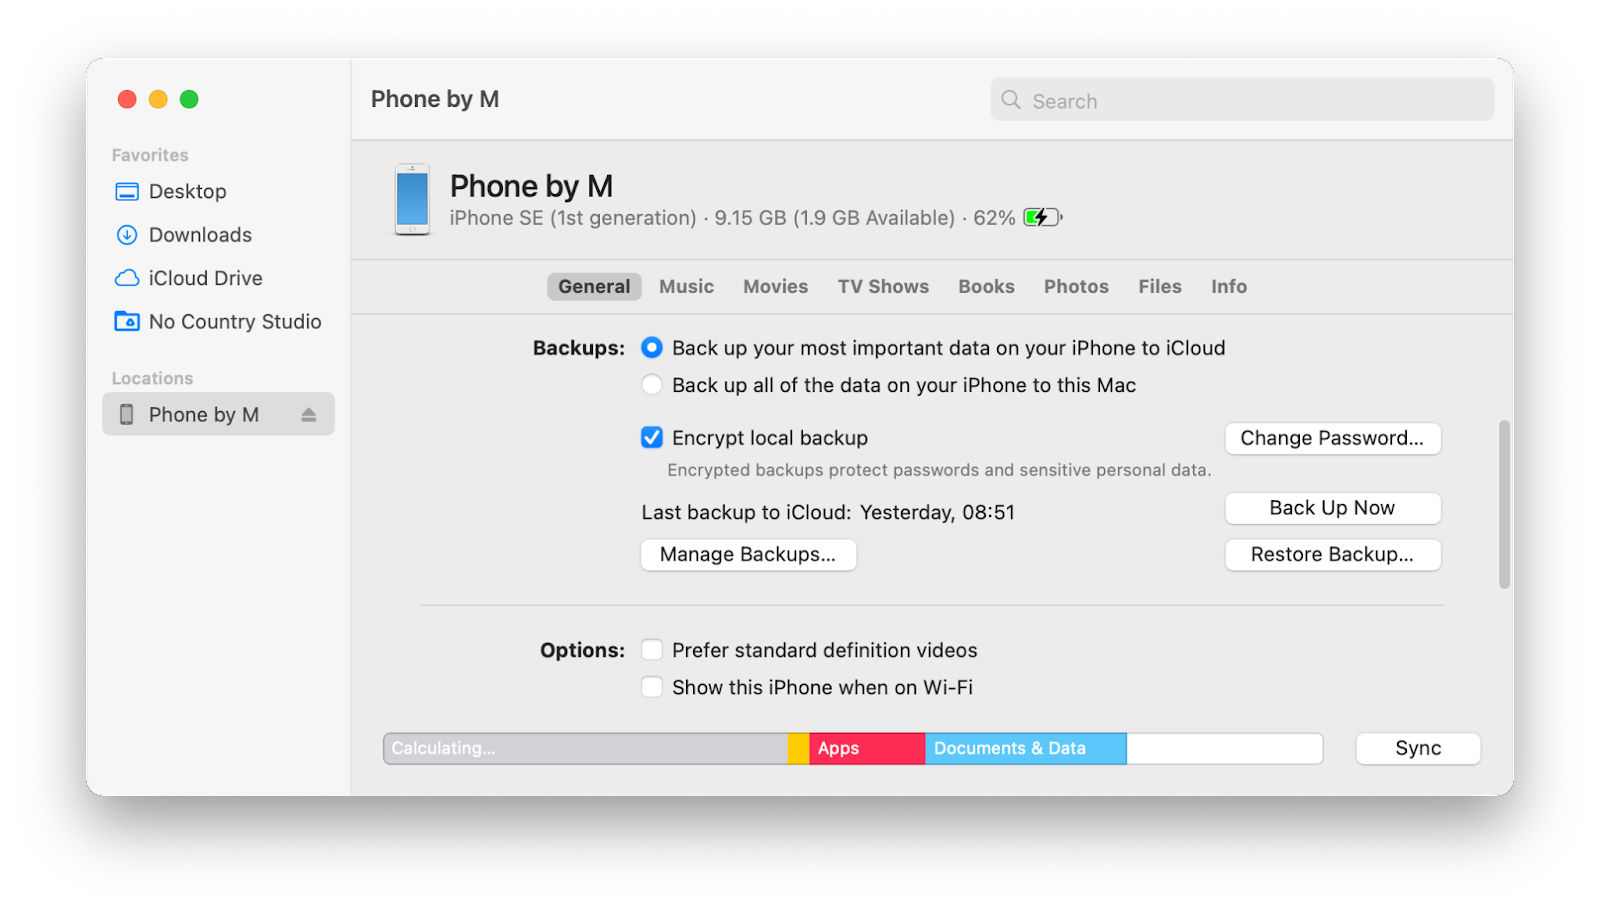
Before backing up iPhone to external hard drives, you need to find the current backup on your Mac if you have one. Here’s how:
- Go to the Dock and select Finder
- Click on the Locations section and choose your iPhone
- Click Manage Backups
- Long-press the Control key and click the name of the backup you want
- Select Show in Finder from the drop-down menu
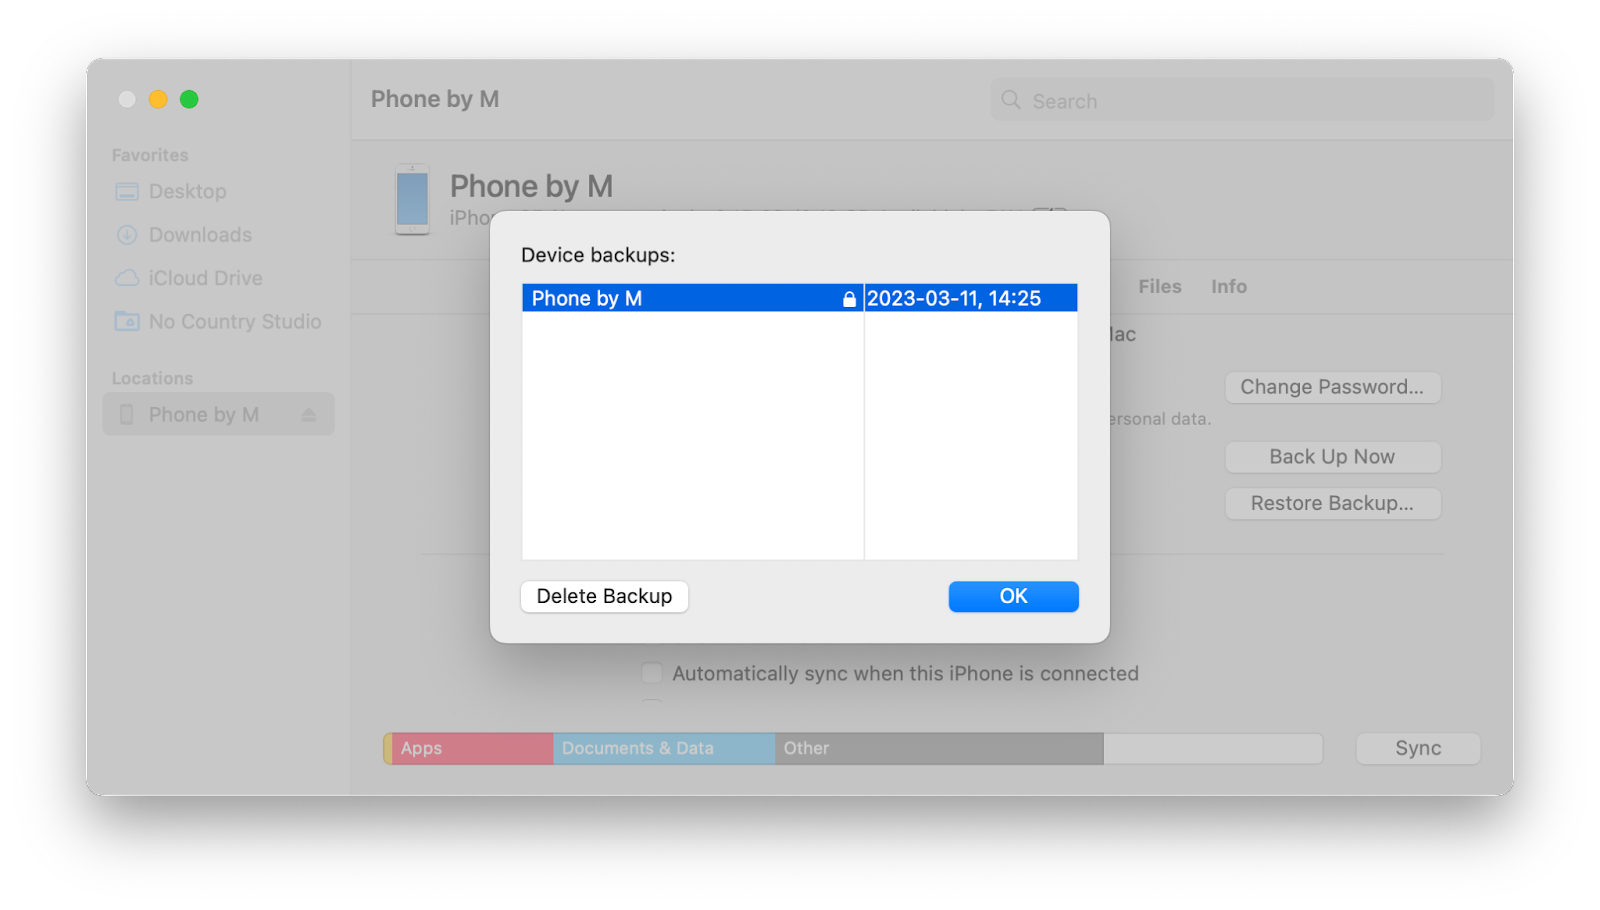
Note: After you’ve tracked the backup folder, don’t copy or extract specific files from it, as that might lead to your files being damaged. Instead, copy and transfer the entire folder.
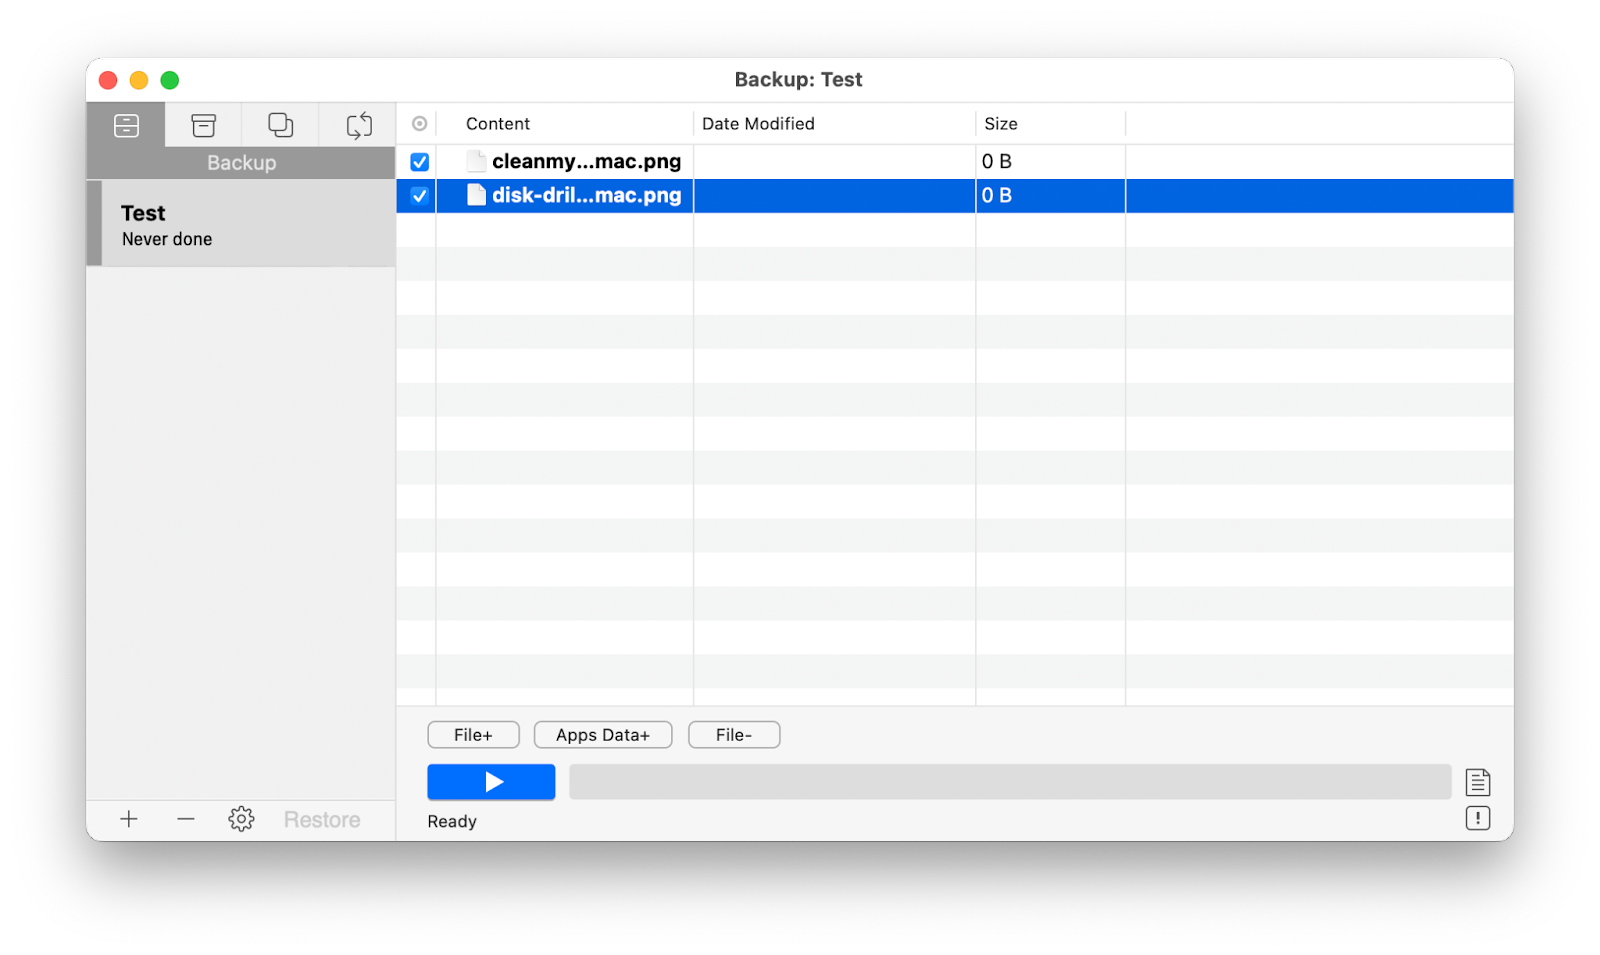
If you’ve ever lost files because of problems with your device’s hard drive or a corrupt backup, you might now be religiously backing up on a schedule. To make things easier for yourself and better protect your files, try a reliable utility like Get Backup Pro.
With a range of great customization features, Get Backup Pro offers scheduled backups, bidirectional syncing, and lets you create bootable clones of important discs. The app’s intuitive interface and straightforward processes help keep your data safe, while removing the hassle associated with manual backups.
The easiest way to back up your iPhone directly to external drive
Since the conventional way of backing your iOS device to Mac through its native Finder has a few downsides, like the inability to select specific files to back up or frequent Terminal command mistakes, let’s get into the details of a more convenient and reliable method first.
AnyTrans is an all-embracing file transferring tool that handles connections across iOS and macOS devices, allowing for multiple file manipulation options that Finder doesn’t offer. The app’s Air Backup Manager will schedule instant and wireless iPhone backups to a destination of your choice so you don’t have to lift a finger!
Here’s how to save iPhone backup to external drive directly:
- Connect your iOS device to your Mac and launch AnyTrans
- Click on Backup Manager ➙ Back Up
- Choose the files you want to back up
- Select your external drive as the target location and click Next
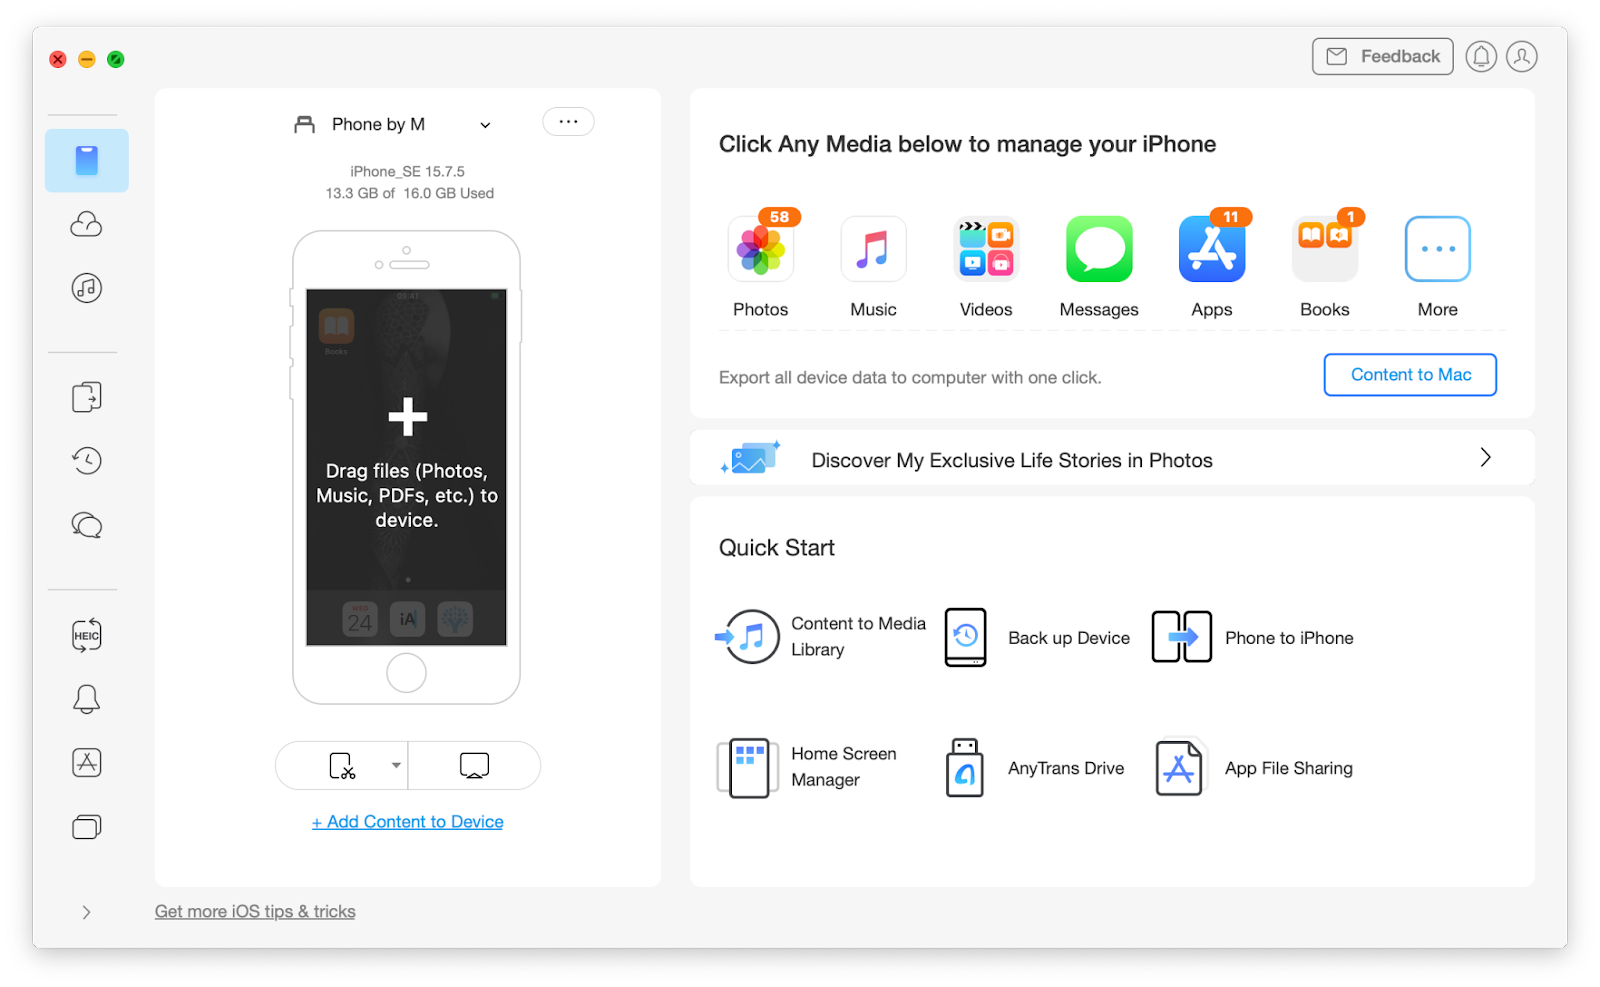
Once the backup process is finished, your files will appear on your external drive, bypassing your Mac. So if you were wondering how can you backup iPhone directly to external hard drive, AnyTrans is the perfect tool for you.
How to back up iPhone to external hard drive using Finder
A local iPhone backup on your Mac saves app data along with photos and other media and will let you restore all your iOS utilities if you change your iPhone in the future.
Here’s how to move iPhone backup to external drive using Finder:
- Connect your external hard drive to your Mac
- Go to the Finder window that displays your iOS backup
- Select the backup folder
- Drag it to the external hard drive under Locations in the Finder sidebar
- Type your admin password if prompted
- Rename your backup folder on the external hard drive to “iOS_backup”
- Go back to the original Finder window and rename the old backup to “old_backup”
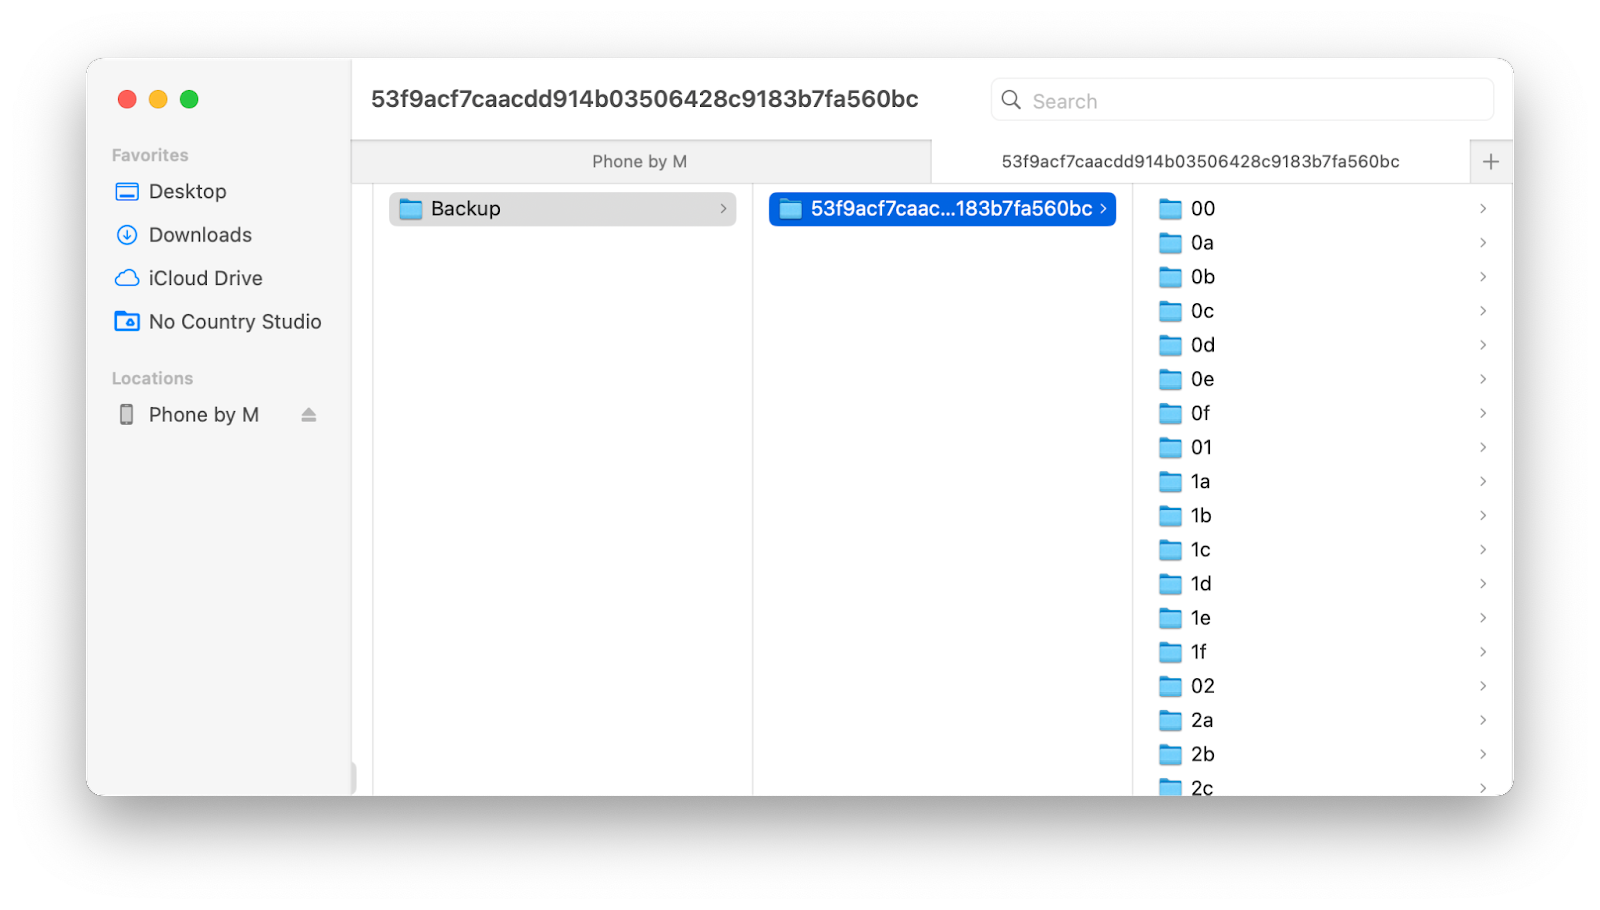
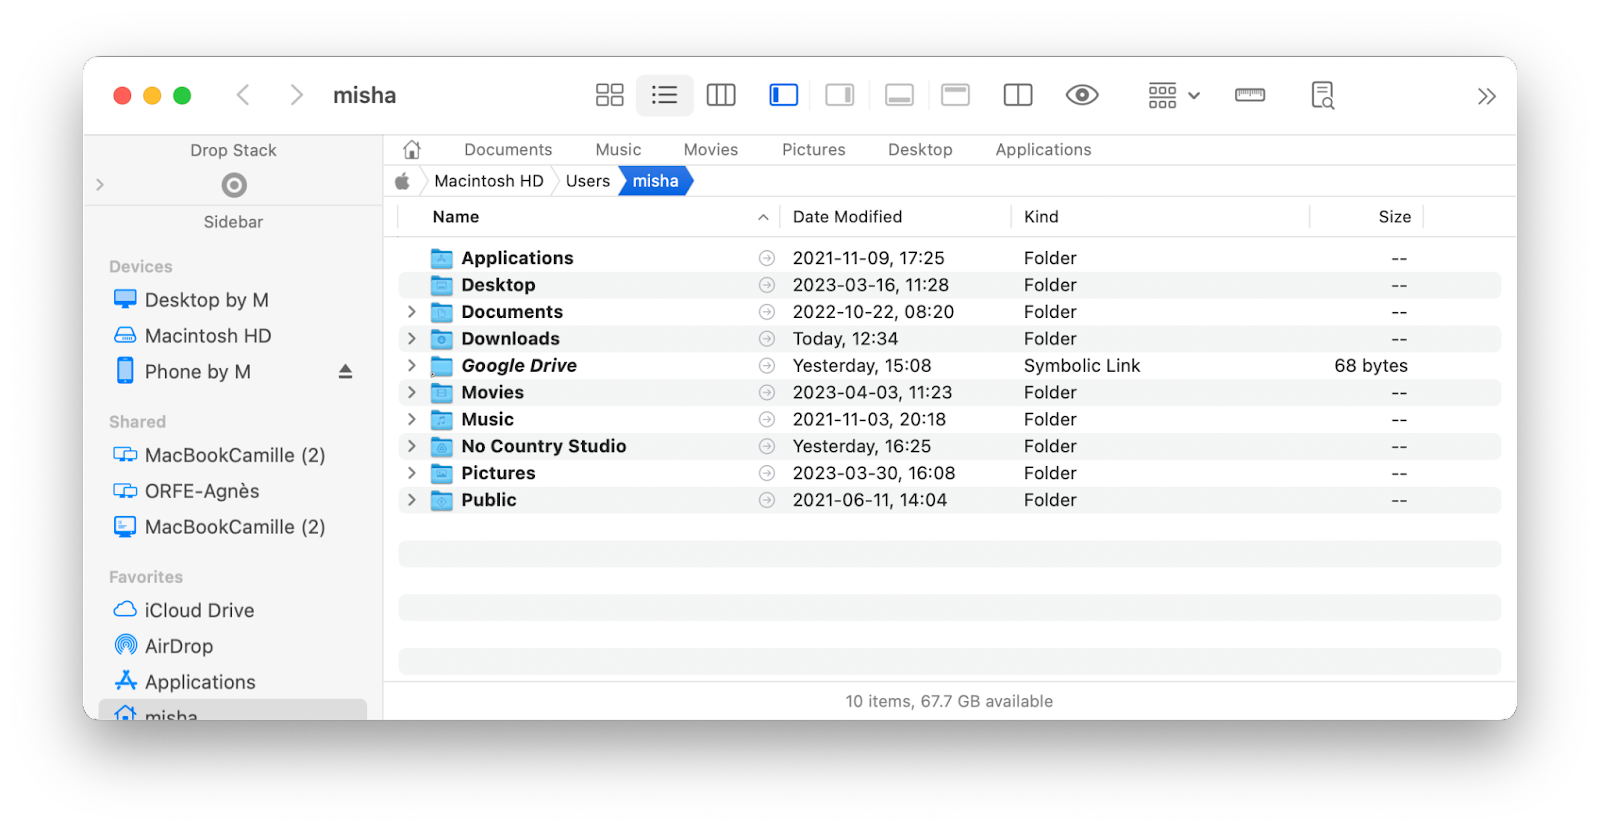
While Finder is essential on a Mac, you can expand your file management possibilities using a tool like Path Finder.
Path Finder is based on the unique modular system and offers a list of customizable features you can add and remove from the interface at any time. This smart file manager for Mac lets you copy, delete, view, and sync heaps of files across different locations. Use Path Finder’s FolderSync Feature to transfer files in batches or compare contents of folders across disks and be always aware of the state of your virtual database.
How to create a symlink
A symbolic link, or symlink, is a file that contains the path to your target file, or, in this case, your backup. If you want to always have your iPhone backup to an external drive, creating a symlink is essential, since macOS needs to know where to put and find the backup. Plus, this way you won’t have to worry about having enough free space on your Mac to perform the backup.
To create a symlink, you will need to allow Terminal Full Disk Access and then use a command to alter a few background settings on your Mac.
How to change iPhone backup location on Mac using a symlink
Permanently changing where your Mac saves your iPhone backups requires working with Terminal and if you decide to go this route, perform a full system backup with Time Machine first, so you can go back if something goes wrong in the process.
Before working directly with Terminal, you’ll need to go to your Mac’s Privacy section in System Settings and add Terminal to the list of apps with Full Disk Access.
Now, here’s how to backup iPhone to external hard drive by changing the backup location:
- Go to Utilities ➙ Terminal
- Paste the following command and change the relevant part to the name of your external hard drive and your backup folder: ln -s/Volumes/name-of-your-external-drive/ios_backup/~/Library/Application Support /MobileSync/Backup/name-of-your-backup-folder
- Hit Return
- Quit Terminal
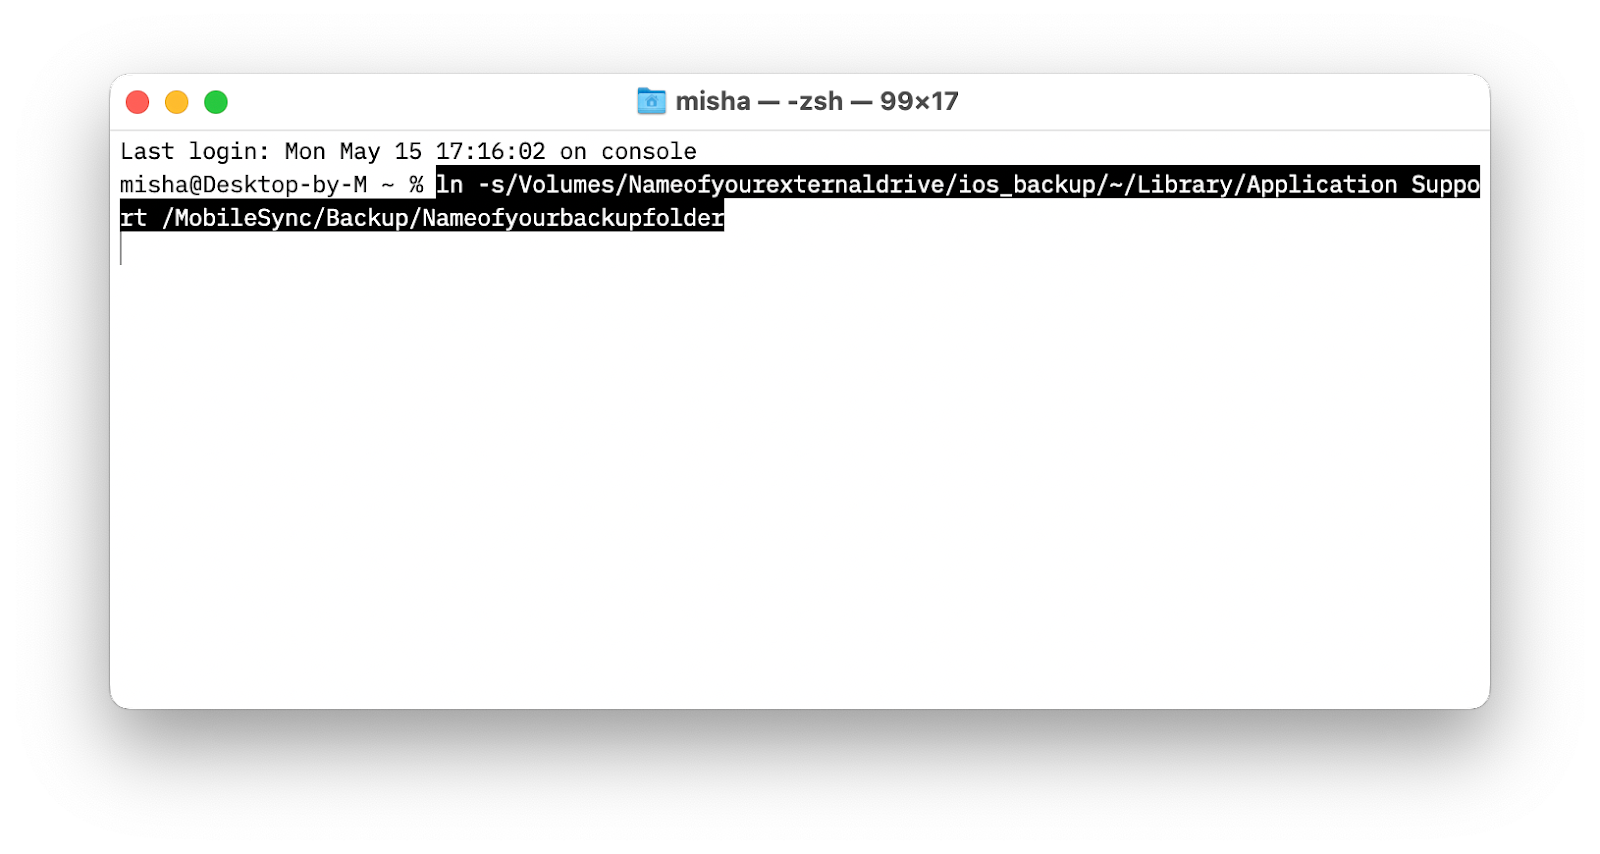
Done! You’ve just made a symlink between the new folder and the old folder that contains your backup.
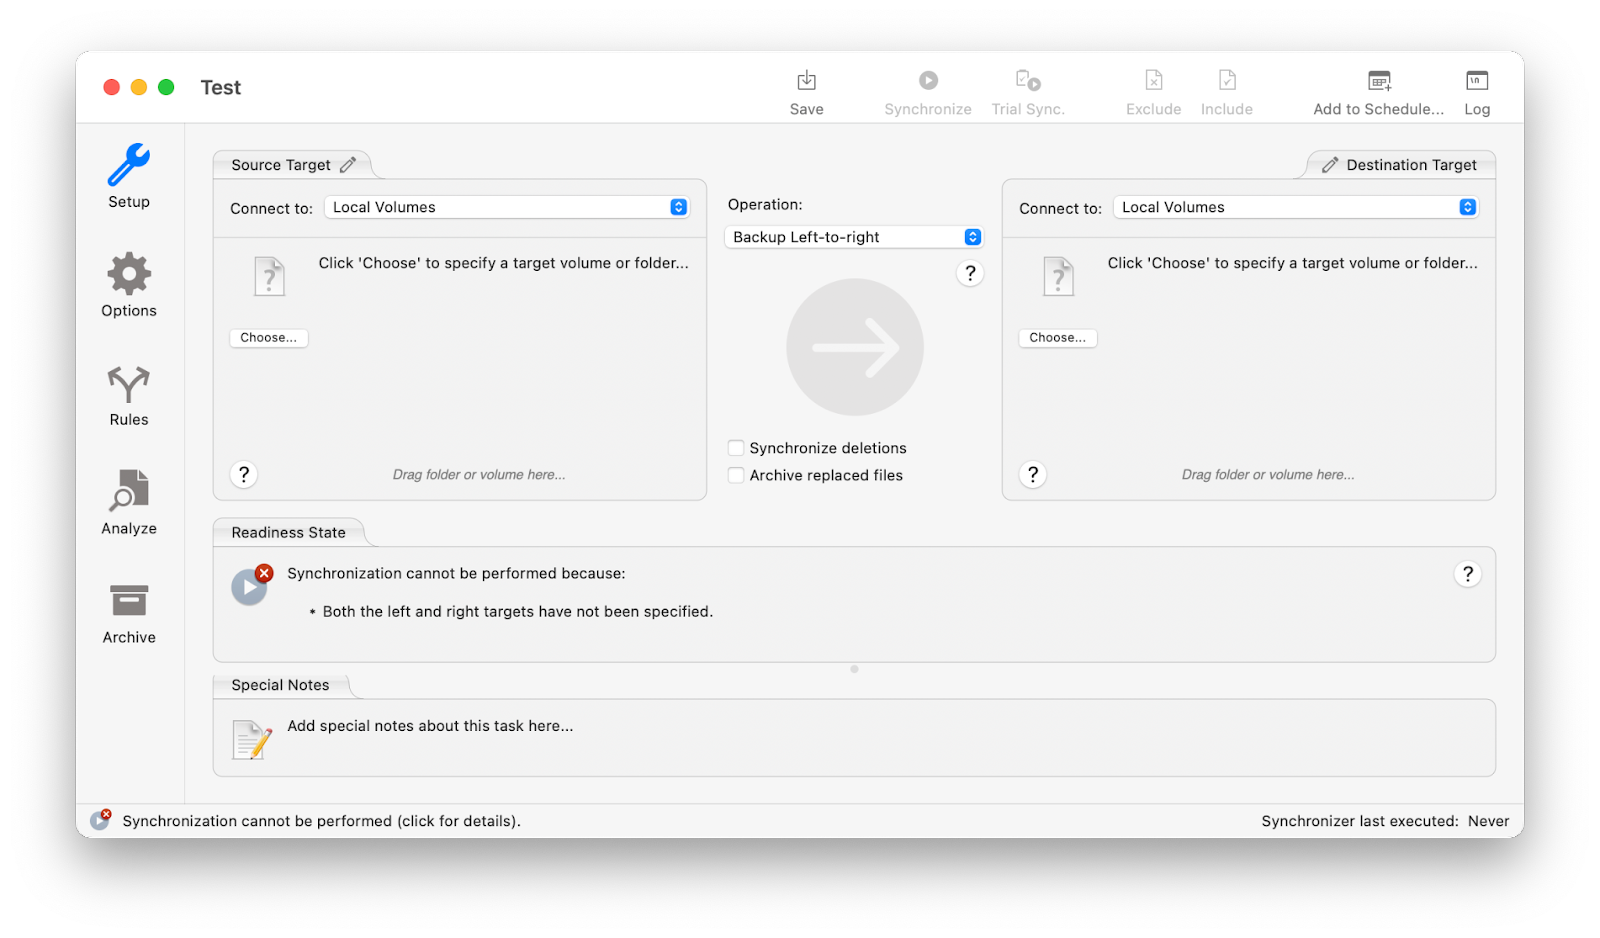
And if you want to stay on top of your files and backups, you need to try ChronoSync Express.
ChronoSync Express is an app that works like a switchboard for your files providing detailed history and analysis of your backups, plus a way to easily manage them using the Synchronizer Documents feature. Each document lets you set the source and destination of the files you'd like to back up, as well as the direction of the sync. Quickly hit the Trial Sync button to make sure your files are going the right way!
How to check if backing up to an external drive works
Once you’ve changed the backup location on your Mac, you want to be sure the files are going to the right place and your future backups work correctly. Here’s how to check if backing up iPhone to external hard drive works:
- Connect your iPhone to your Mac
- Go to Finder and click on your iPhone
- Select Back Up Now
- Wait for the backup to complete and open the new "iOS_backup" folder on your external hard drive
- Check Date Modified information, it should coincide with your recent activity
How to back up iPhone to external hard drive without a Mac
If you don’t have a Mac, you can use a PC and back up your iPhone by performing a similar operation as you would using Mac’s Finder. In some instances, however, you might not have any computer available, so how can you backup an iPhone to an external hard drive without one? You’ll need to get a USB-to-lightning adapter and follow these steps:
- Connect your iPhone to an external hard drive using the adapter
- Wait to receive a notification once your iPhone detects the hard drive
- Open your iPhone and select the files you’d like to back up
- Tap the Share icon and select your external hard drive as the destination
Why you should use an external storage for backups
Making sure your most valuable data is safe and has a copy is essential if you don’t want to lose it in an accident. The most effective solution is using an external storage device for your backups, largely because it frees up storage space on your device’s internal hard drive and protects your files in case your Mac’s HDD fails.
FAQs: How to store iPhone backup on external drive
On top of the above methods, here are some tips and solutions to the most common issues with backing up iPhone to external hard drive.
A way to auto-backup iPhone photos to external HDD/SSD
Make sure your external HDD/SSD and iPhone are connected to your Mac. Open Finder, go to Locations, select your iPhone, and check the “Automatically sync when this iPhone is connected” box.
How to connect an external hard drive to your iPad or iPhone
Use a cable adapter to connect an external storage device to an iPhone or iPad and select Trust when you see an iOS message asking whether to trust this device.
How do I copy my entire iPhoto library to an external hard drive?
Prepare your storage device by formatting it for Mac, then use Finder to create a backup of your iPhoto library and move it to an external hard drive.
Now that you’ve become an expert on how to backup iPhone to external hard drive, expand the possibilities of your macOS and iOS devices with the help of apps from Setapp, a platform of more than 240 practical utilities available to you for free through a seven-day trial.
Transfer data between devices with AnyTrans, sync folders via ChronoSync Express, let Get Backup Pro take care of all your essential files, find any of them in a click using Path Finder, and much more!


