How to cancel iCloud storage plan on Mac and iPhone in 2026
iCloud storage can be incredibly useful, especially if you’ve got loads of important files you want to keep safe and accessible.
That said, the monthly costs can add up. Maybe you're not using all the space, or you’ve found another cloud service that suits you better. No matter the reason, it's important to cancel your plan the right way so you don’t risk losing anything valuable.
If you’re trying to figure out how to cancel your iCloud storage plan on a Mac or iOS device, you're in the right place.
Before we dive into the steps, here’s a quick look at your options:
The action you want to take | Follow these simple steps |
Cancel on iPhone or iPad | Settings > Apple Account > iCloud > Storage > Change Storage Plan > Downgrade Options > Select Free Plan. |
Cancel on Mac | System Settings > Apple Account > iCloud > Manage > Change Storage Plan > Select Free Plan. |
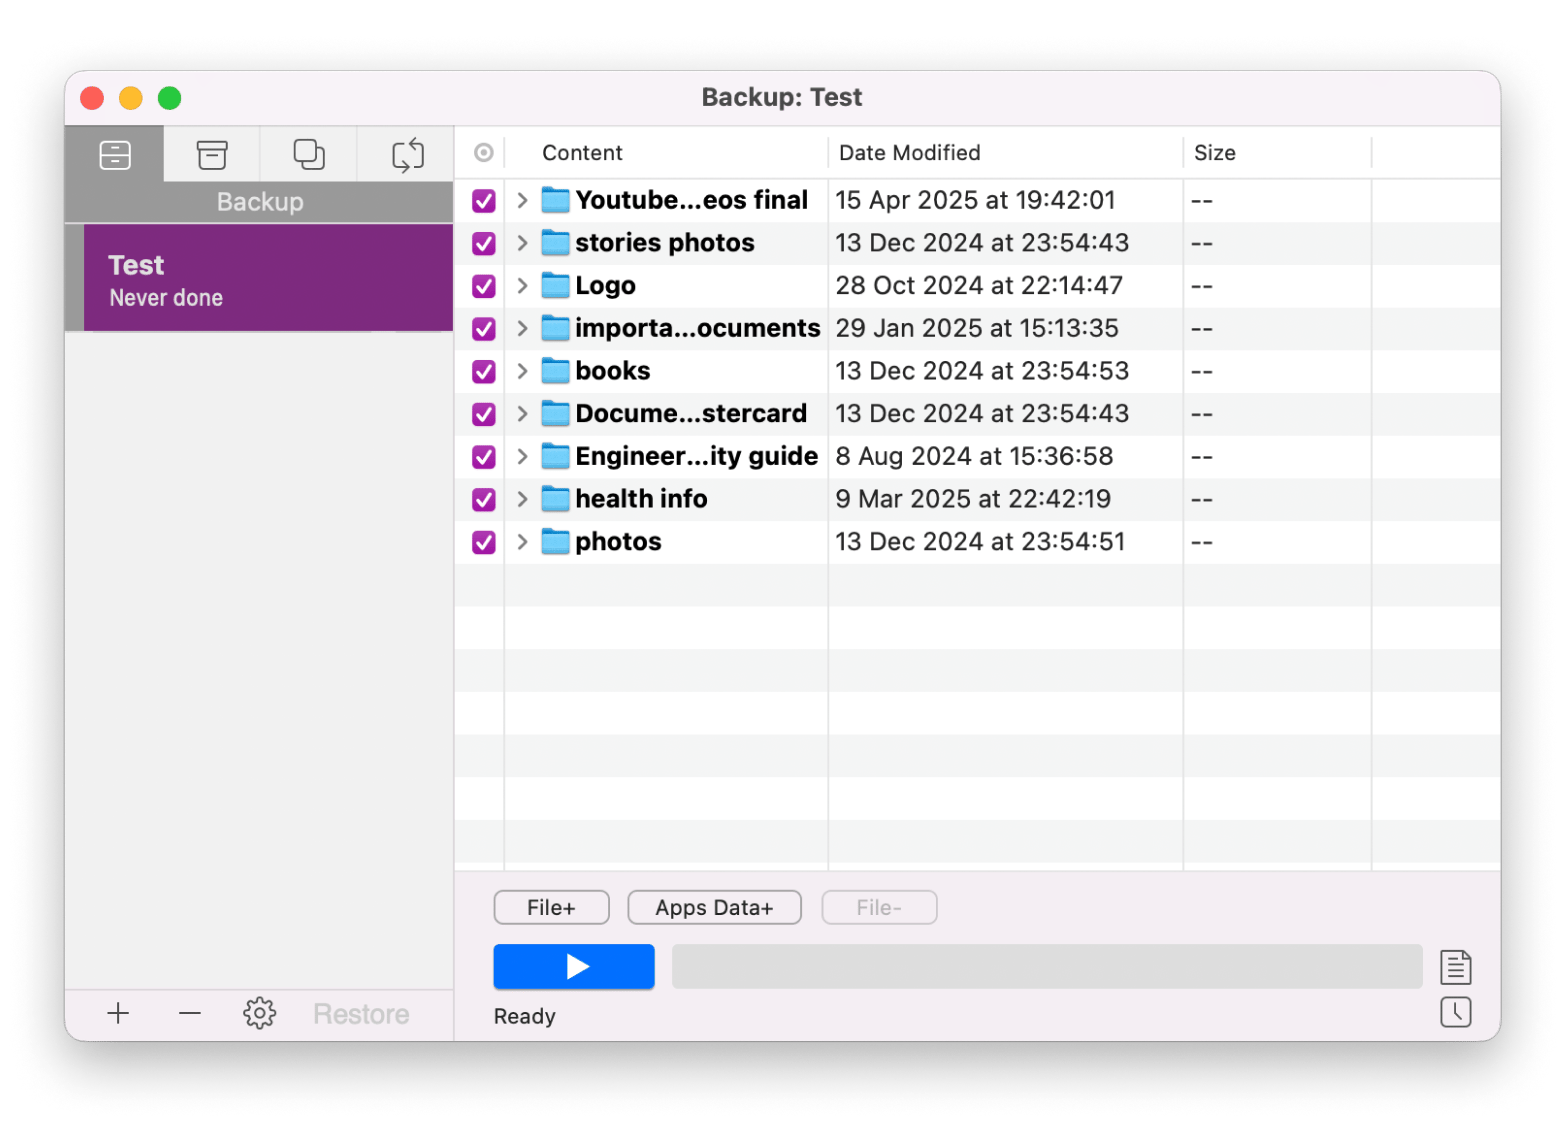
Before canceling | Back up important files with Get Backup Pro to your device, external drive, or another cloud service. |
If you can’t downgrade | Check for active Family Sharing plans or pending payments. |
Still having issues? | Contact Apple Support for help with cancellation or billing problems. |
How to cancel iCloud storage plan on iPhone or iPad
So you've made up your mind, and it's decided that you're canceling your iCloud storage plan. You're planning on doing it on your iPhone or iPad.
In this case, here's how to cancel iCloud storage plan on iOS:
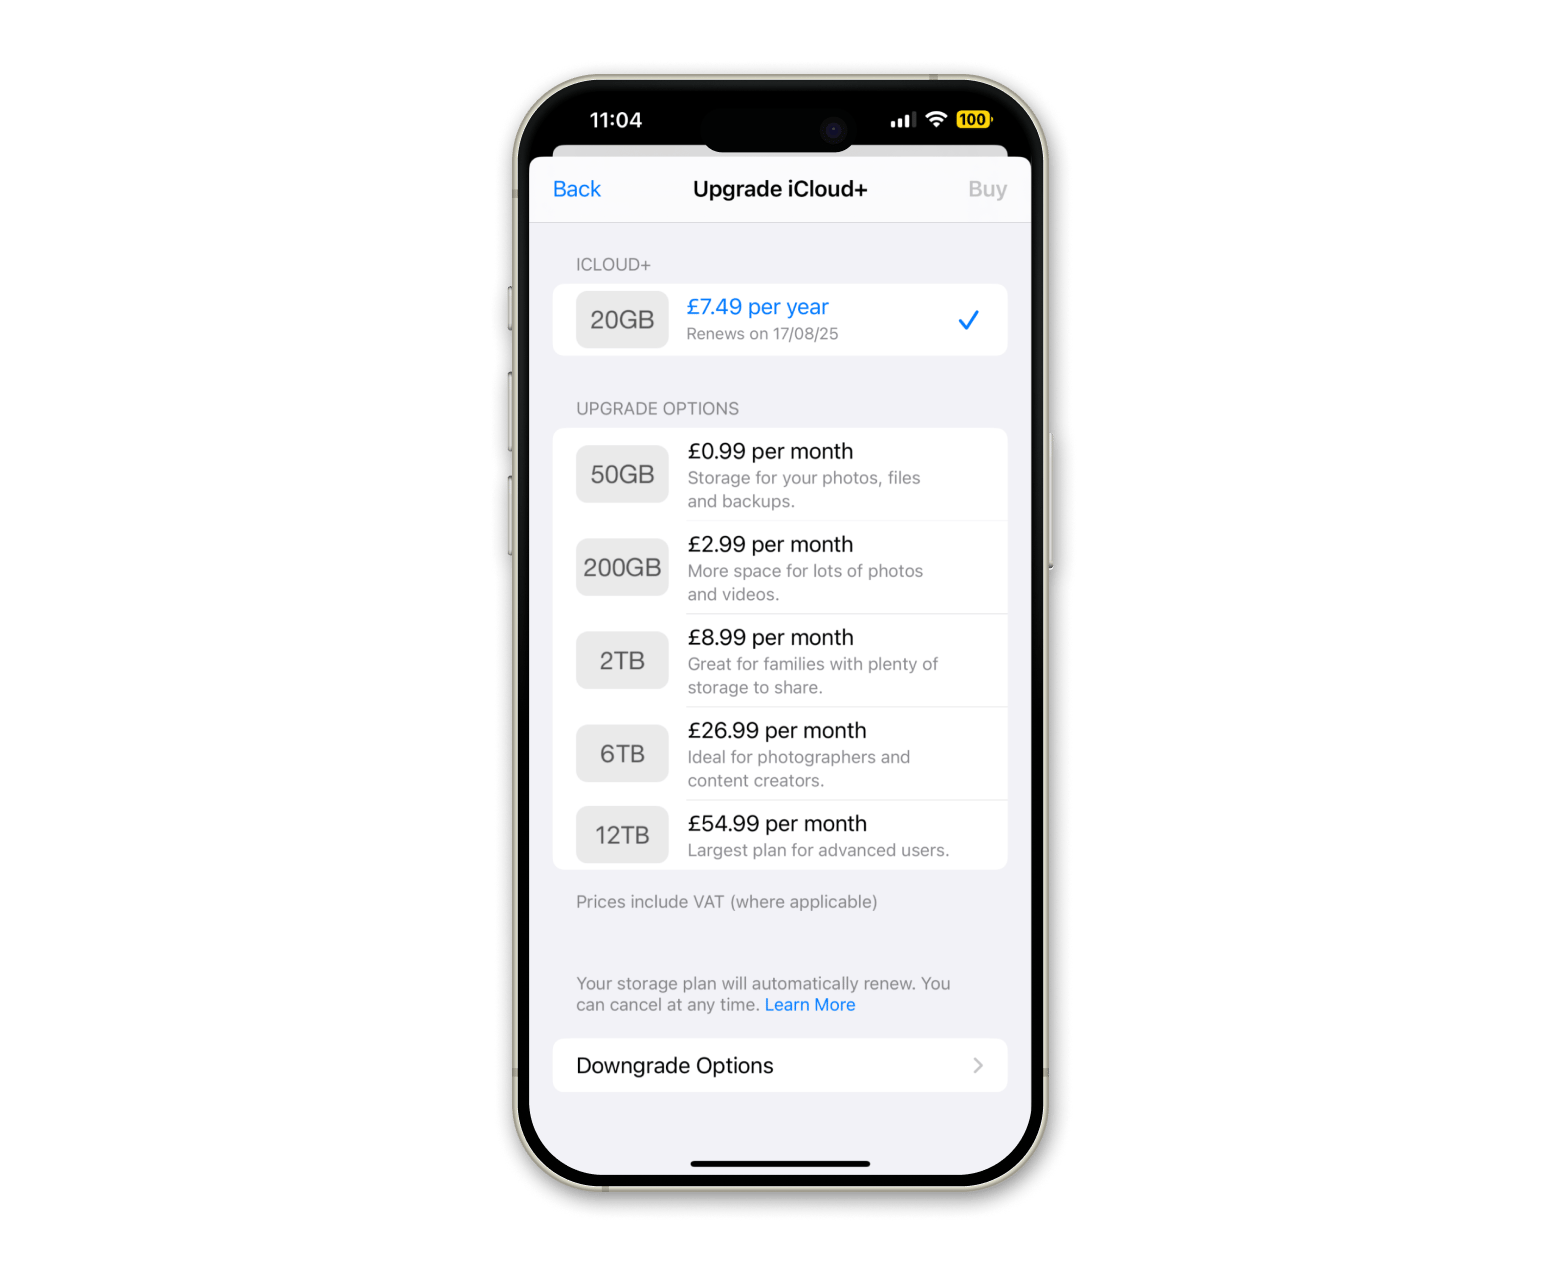
- Go to Settings > Apple Account > iCloud > Storage > Change Storage Plan.
- Tap Downgrade Options.
- Choose Free Plan.
- Confirm the downgrade using your Apple Account password.

Keep in mind that your plan will remain active until the next billing cycle.
How to cancel iCloud storage on Mac
Canceling your iCloud storage plan on Mac is as easy as canceling it on your iPhone.
Here's how to cancel iCloud Plus from your Mac:
- Click the Apple menu > System Settings.
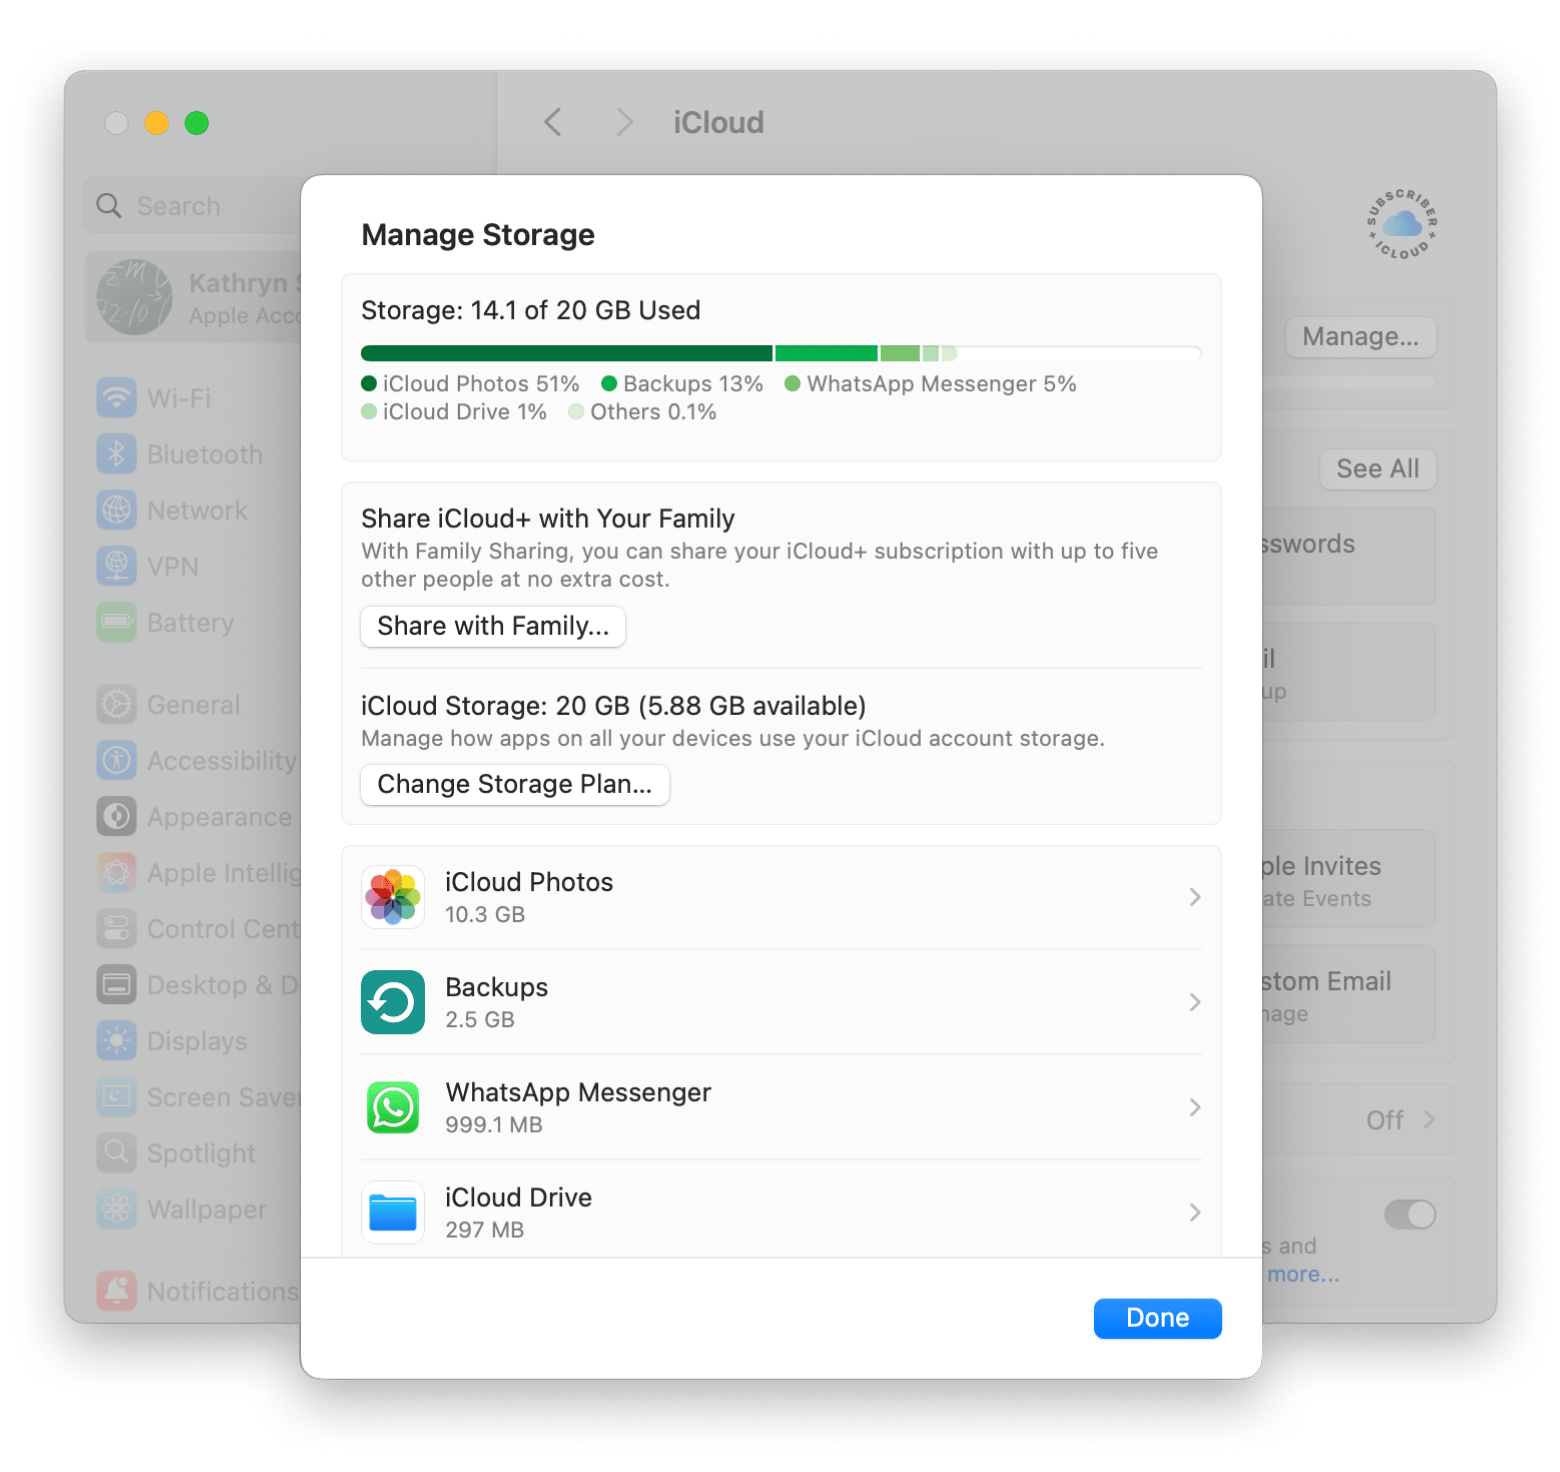
- Click Apple Account > iCloud > Manage.
- Click Change Storage Plan.
- Downgrade to the free 5GB plan.
- Confirm the cancellation using your Apple Account credentials.

Your plan will still remain active until the next time you’re billed, which gives you time to go through your files, check your disk space on your Mac and phone, and sort everything out.
Before canceling, it’s smart to tidy up your files, and there’s a helpful post on the best duplicate file finders that can guide you through clearing out the clutter and making the most of your storage.

How to downgrade iCloud storage without losing data
We’ve all been through the same traumatic experience, losing precious files we wanted to save. I’ve got some advice on avoiding accidental data loss when you’re learning how to downgrade iCloud storage. What you must do is start reducing some of your storage before you cancel.
Here are a few tips:
- Move files from iCloud Drive to a local drive or external storage.
- Download photos and videos from iCloud Photos.
- Delete unnecessary backups from iCloud Storage.
- Remove large attachments from iCloud Mail.
These tips can come in handy depending on the kinds of files and documents stored on your Mac or iPhone.
Read also:
- Recover Deleted Photos From iPhone
- Backup an iPhone to iCloud
- Sign Out Of iCloud on Mac
- Free Up Space on iPhone
What to do if you can’t cancel your iCloud plan
Oh no! You’ve tried all the tips I shared, and you're still having trouble canceling your iCloud storage plan. There are a couple of reasons why you may face difficulties when trying to figure out how to cancel Apple storage.
The two most common are:
- You have an active family-sharing subscription
- You have pending payments
If you have an active family-sharing subscription, you need to remove yourself from the family sharing option. Here's how to do it on Mac:
- Go to System Settings > Apple Account.
- Click Family and select your name.
- Choose Stop Family sharing.
If you’re still seeing charges or dealing with pending payments after canceling your plan, the best move is to contact Apple Support. They’ll be able to sort things out and point you in the right direction.
What happens when you cancel iCloud storage?
As soon as you cancel your iCloud storage plan, Apple will downgrade you to the free 5GB plan. You won't lose any data unless you exceed this free limit. If you go above the limit, your iCloud services could stop working properly. That includes backups, syncing, and even receiving new emails if you're using iCloud Mail. That's why you need to back up or transfer your files before you cancel.
Not sure where to start? Here’s a simple guide on how to back up your iPhone to Mac so you can keep your data safe before canceling.
You're now ready to cancel your iCloud storage
Canceling your iCloud storage plan is quick and easy, whether you're trying to cut costs or just don’t need the extra space anymore. A few clicks, and you're all set.
If you're tidying up before you cancel your iCloud storage plan, tools like Get Backup Pro and QuitAll can make a big difference. One helps you back up only what matters, and the other keeps your Mac running smoothly by closing unused apps in a flash.
Both are available through Setapp, along with 250+ other apps designed to simplify your digital life. There’s even a 7-day free trial, which is perfect for exploring what works best for you.
FAQ
How to downgrade iCloud storage?
To downgrade your iCloud storage on Mac, open System Settings, navigate to Apple Account, and choose iCloud. Then, click Manage. From there, click Change Storage Plan, then pick the Free Plan to complete the process.
What happens to my data when I cancel iCloud+?
After you cancel iCloud+, your data stays accessible until the end of your current billing cycle. Once that time’s up, your account drops to the free 5GB plan. If you go over that limit, Apple might start tossing some of your stuff. So it's better to back up the important stuff somewhere safe first.
Does canceling iCloud+ affect my Apple ID?
No need to worry, canceling iCloud+ won’t affect your Apple Account (former Apple ID). You’ll still be able to sign in, download apps, sync your data, and use all the usual features without any issues.
Can I get a refund after canceling iCloud storage?
Yes, you can request a refund from Apple for an iCloud storage purchase. However, you need to do it within two weeks of buying. Get in touch with Apple Support to start the process.


