How to select multiple photos on iCloud: The quickest ways revealed
Quick fix: Press Command + A (on Mac) to select all photos on iCloud. Tap Select (on iPhone) to drag your finger across photos to highlight multiple at once.
Manual option: Press Shift + Click for a range of photos or Command + Click to select multiple individual photos on Mac.
Bonus tip: Use tools like Gemini to remove duplicates on Mac, AnyTrans for iOS to transfer photos, and CleanMy®Phone to declutter iPhone storage.
Apple dropped the Select button on iCloud photos back in 2015, and there was a lot of confusion on how to select multiple photos on iCloud at the time. I didn’t think much about it back then until I wanted to organize my photos.
After trying out a few different techniques, I found some easy ways to select photos on a Mac. I thought it’d be helpful to put together a guide highlighting the best methods, from handy keyboard shortcuts to some automated tricks:
You want to | Do this: |
Select multiple photos on Mac | In the Photos app, press Shift + Click for a range or Command + A for all photos. |
Select multiple photos on iPhone | In the Photos app, tap Select, then drag your finger across the photos. |
Select multiple photos on iCloud.com | Click a photo, hold Shift + Click, or press Command + A. |
Remove duplicate photos on Mac | Use Gemini to find and delete duplicates. |
Transfer iCloud Photos from iPhone to Mac | Use AnyTrans for iOS to move photos between devices. |
Optimize storage & clean up clutter on iPhone | Use CleanMy®Phone to remove blurry & unnecessary photos. |
Edit photo metadata | Use MetaImage to update photo details. |
How to select multiple photos in iCloud on Mac
Using iCloud on your Mac makes organizing photos a lot simpler than on your iPhone. Once you pick out the photos you want, you can easily delete the ones you don’t need or move them into different albums.
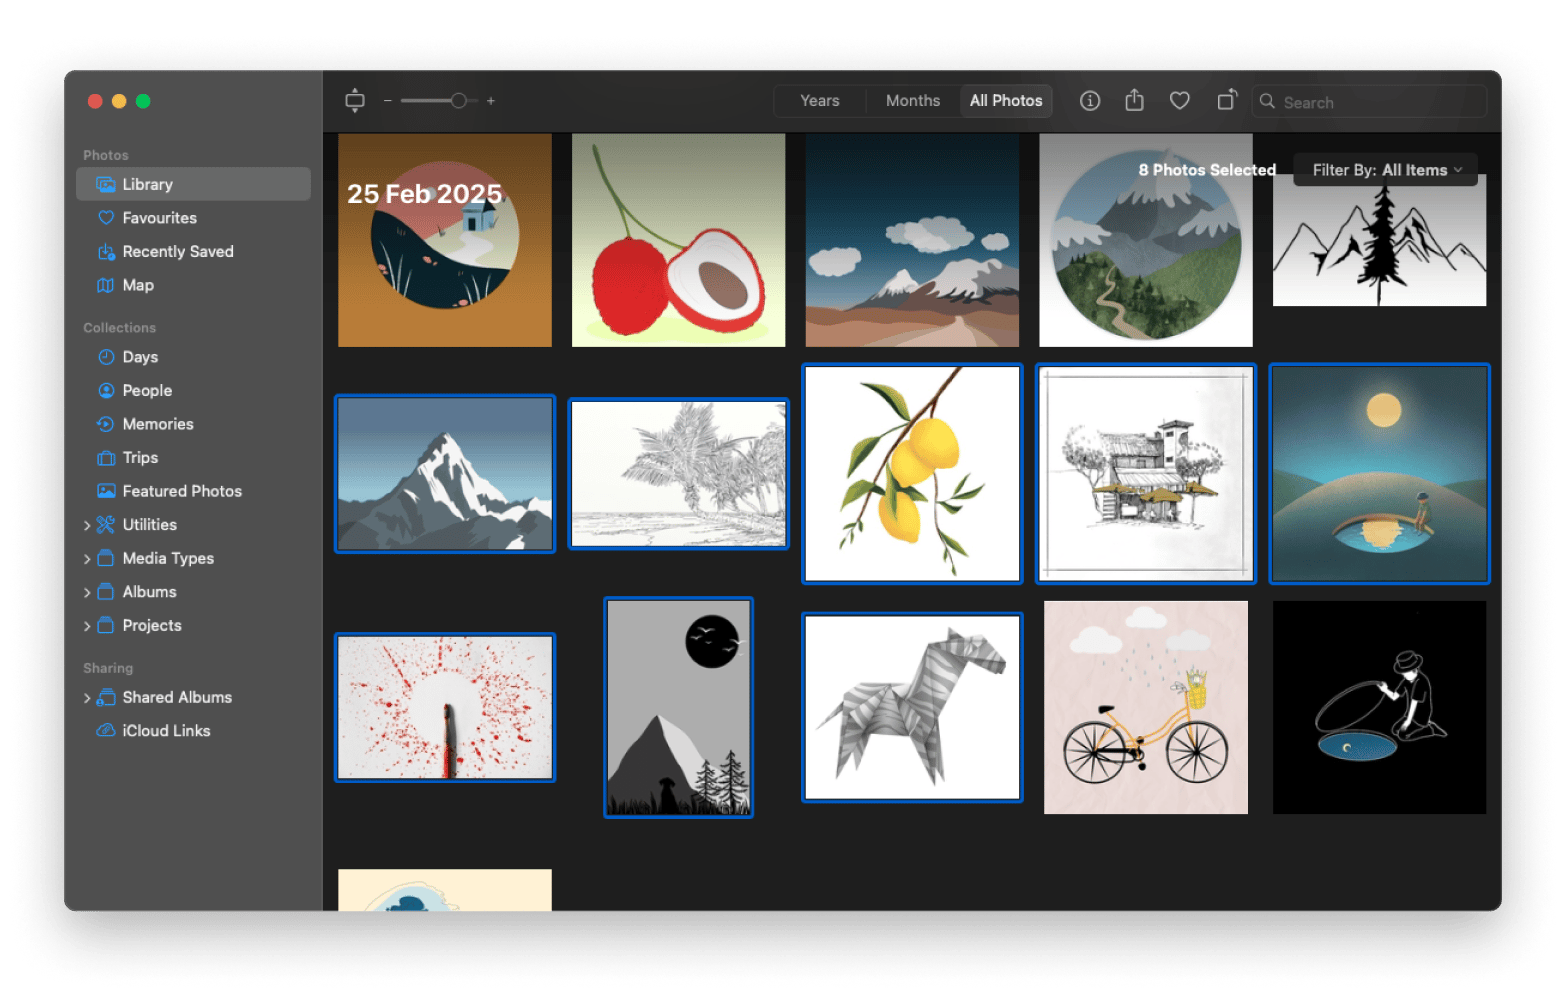
Here’s how to select multiple photos on iCloud using the Photos app:
- Open the Photos app on your Mac.
- Choose Library from the sidebar.
- Click on any of the photos to start selection.
- Hold the Shift key and click on the last photo in a range. This should select all photos between the two.
- If you want to select one by one, use the Command key and click on the photos you want.

How to select multiple photos in iCloud on iPhone
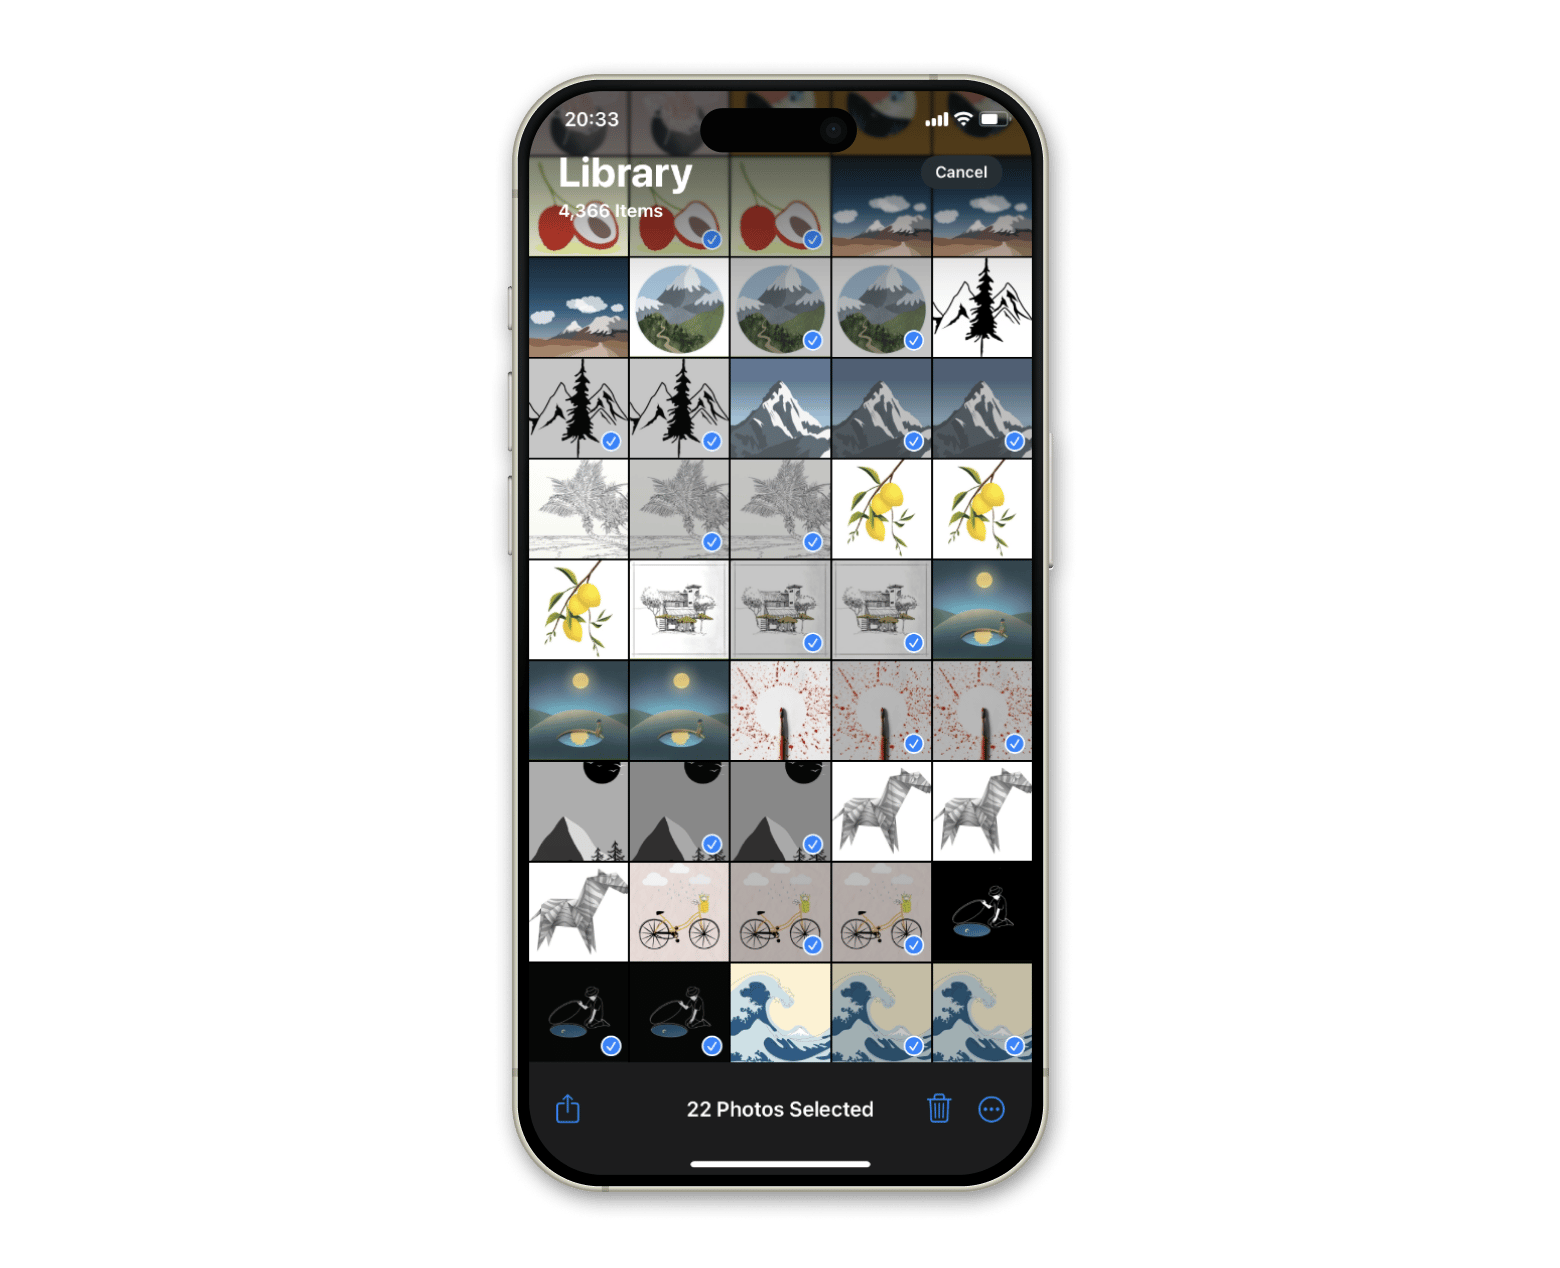
Managing photos on an iPhone can be a bit trickier than on a Mac, but you can definitely select multiple photos on your device.
To do so:
- Open the Photos app on your iPhone.
- Tap Select on the top right side of the screen.
- Tap on the photos you want to select. You can also drag your finger across.
iPhone will then allow you to delete, move, or share your photos.
How to select multiple photos on iCloud.com
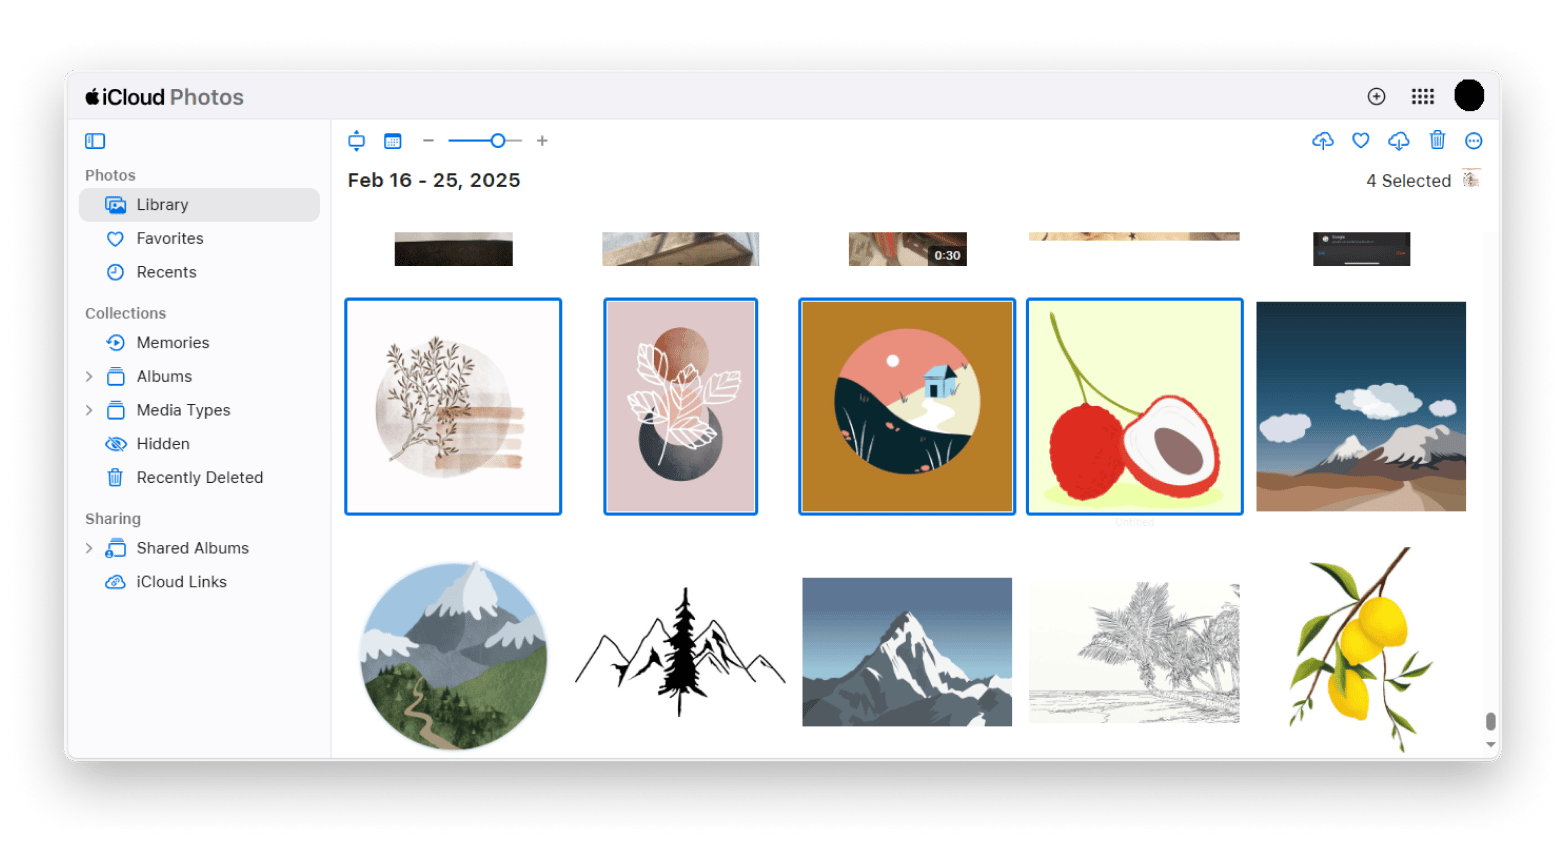
If you’d rather use your browser, iCloud.com lets you pick multiple photos and sort out your library.
Here’s how to select multiple photos on iCloud:
- Go to iCloud.com and sign in with your Apple Account.
- Click Photos > Choose Library from the sidebar.
- Click on any of the photos.
Hold the Shift key and click on the last photo in a range, or hold the Command key to select photos one by one.
Check out this guide if you want to download all photos from iCloud.
Read also:
- Upload Photos to iCloud
- Delete Photos From iCloud
- Download Photos From iCloud
- How to Recover Deleted Text Messages on iPhone
How can you optimize your iCloud photo library?
You don’t have to sort through each photo one by one to keep your iCloud library organized. There are way easier ways to do it.
Tip 1: Create albums
iCloud lets you put together albums to group your photos by events, places, or themes. It’s way easier to track them down later.
Tip 2: Sort by media types
The Photos app and iCloud.com let you view your media based on type. There are categories like videos, photos, selfies, portraits, time-lapse, and screenshots grouped automatically.
Tip 3: Transfer iCloud Photos from iPhone to Mac
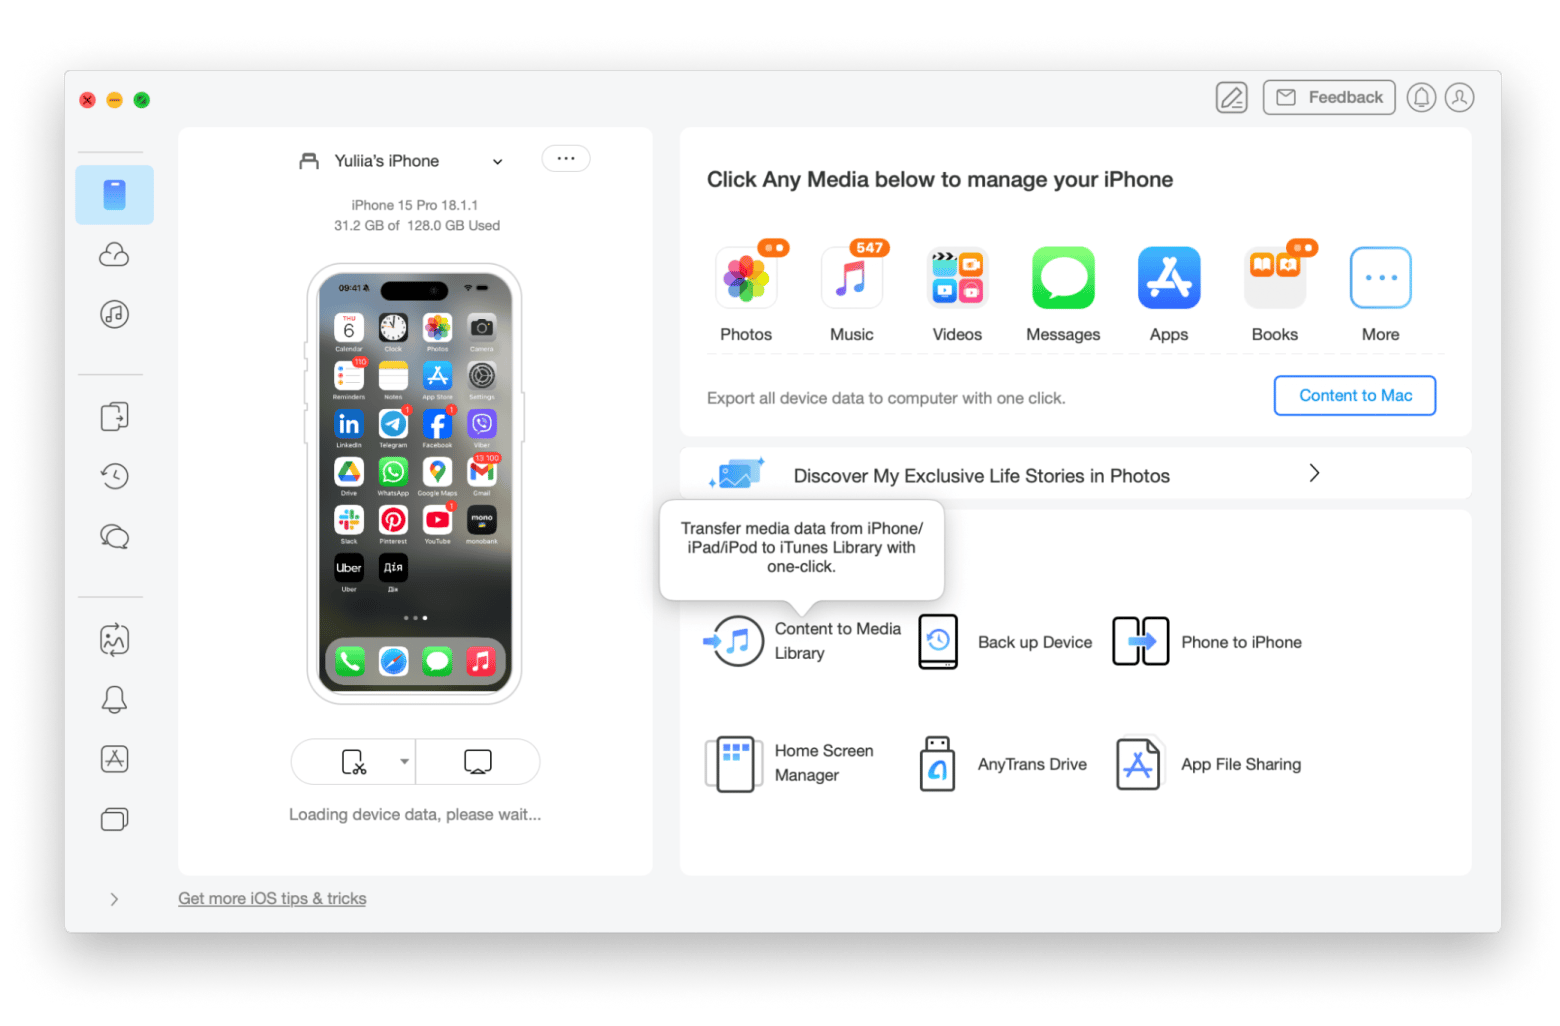
If you're looking to move photos between your iPhone and Mac for easier management or storage, AnyTrans for iOS can really help simplify things. You can move files to your Mac that you don’t need right away, so you can free up some storage space.
Tip 4: Declutter your Mac from duplicates
You can find and remove duplicate photos effortlessly with Gemini for a cleaner library. The app uses AI to remember what you picked for removal and will suggest those options after your next scan. You can also customize it to your preferences.

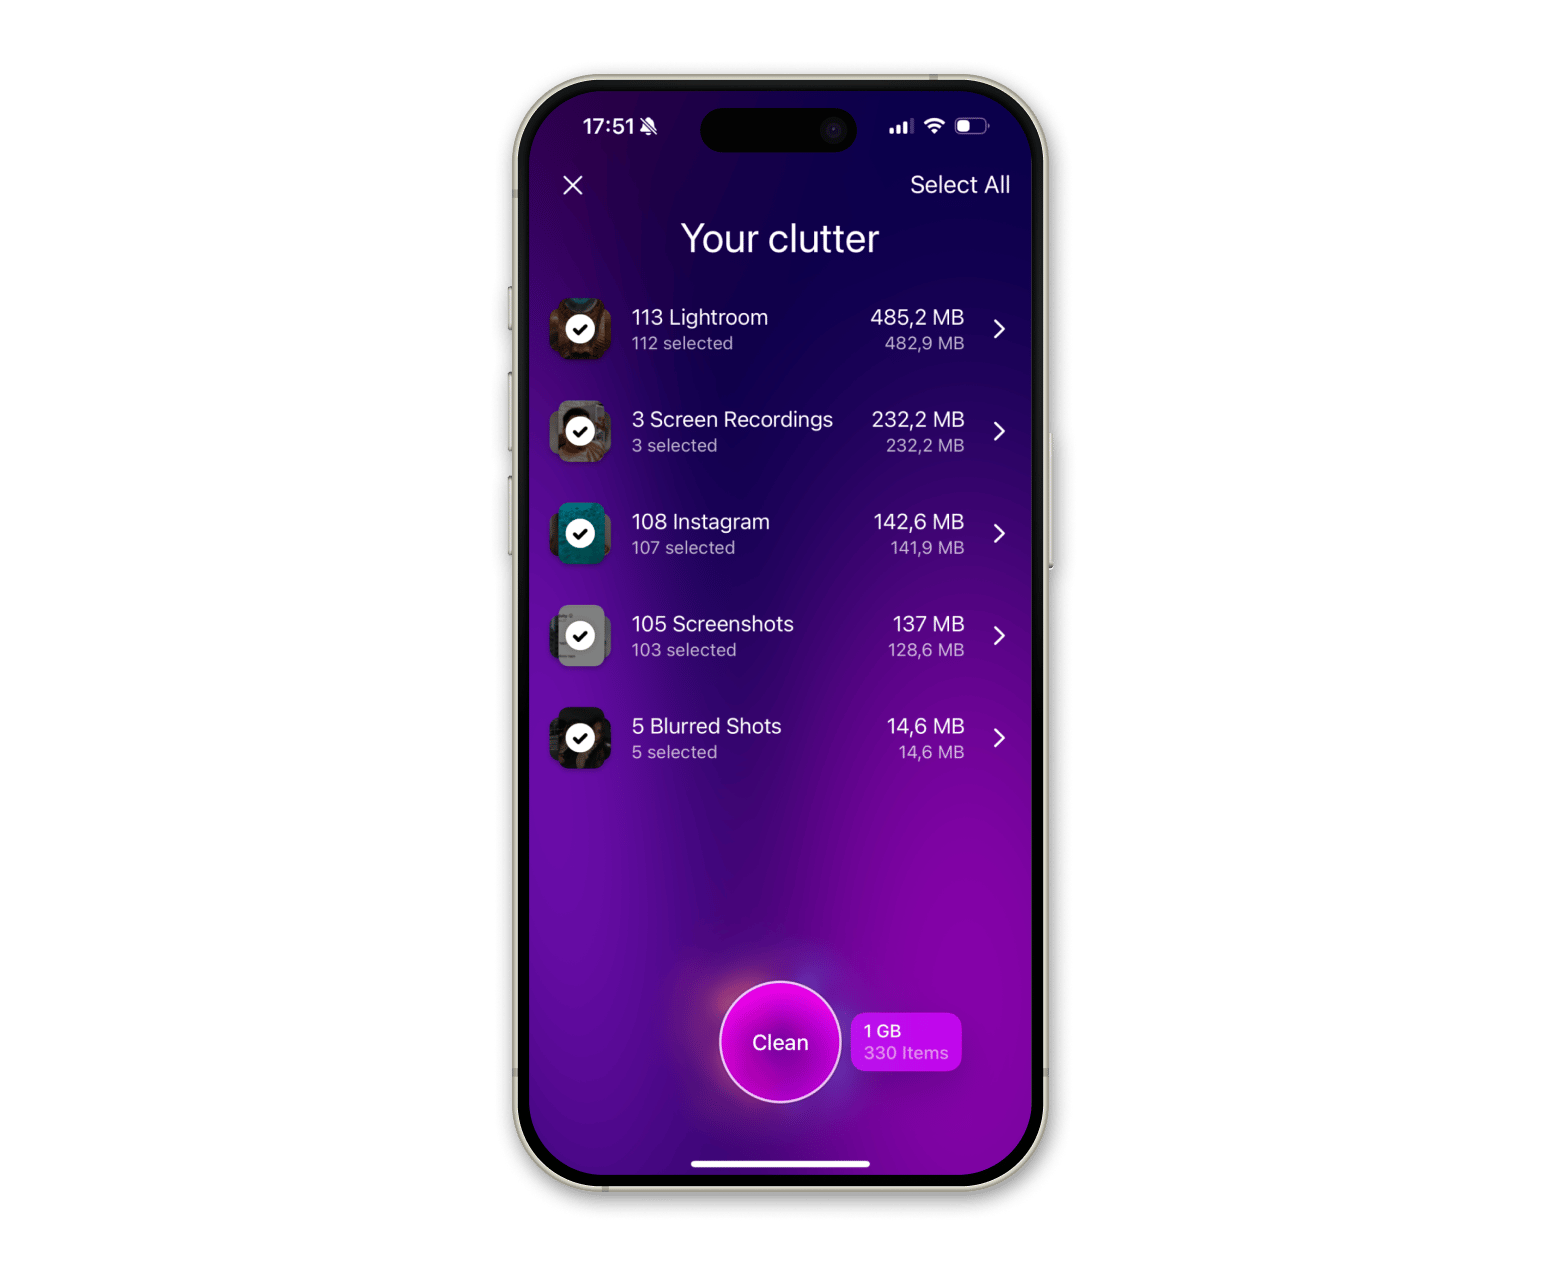
Tip 5: Declutter your iPhone from duplicates and blurred photos
CleanMy®Phone will help you identify and remove blurry photos, duplicates, and other unnecessary files to free up space and keep your phone clean. You can also look through your photos by date, like when you were on vacation, so you can clean up all those similar pictures of you next to the Eiffel Tower.
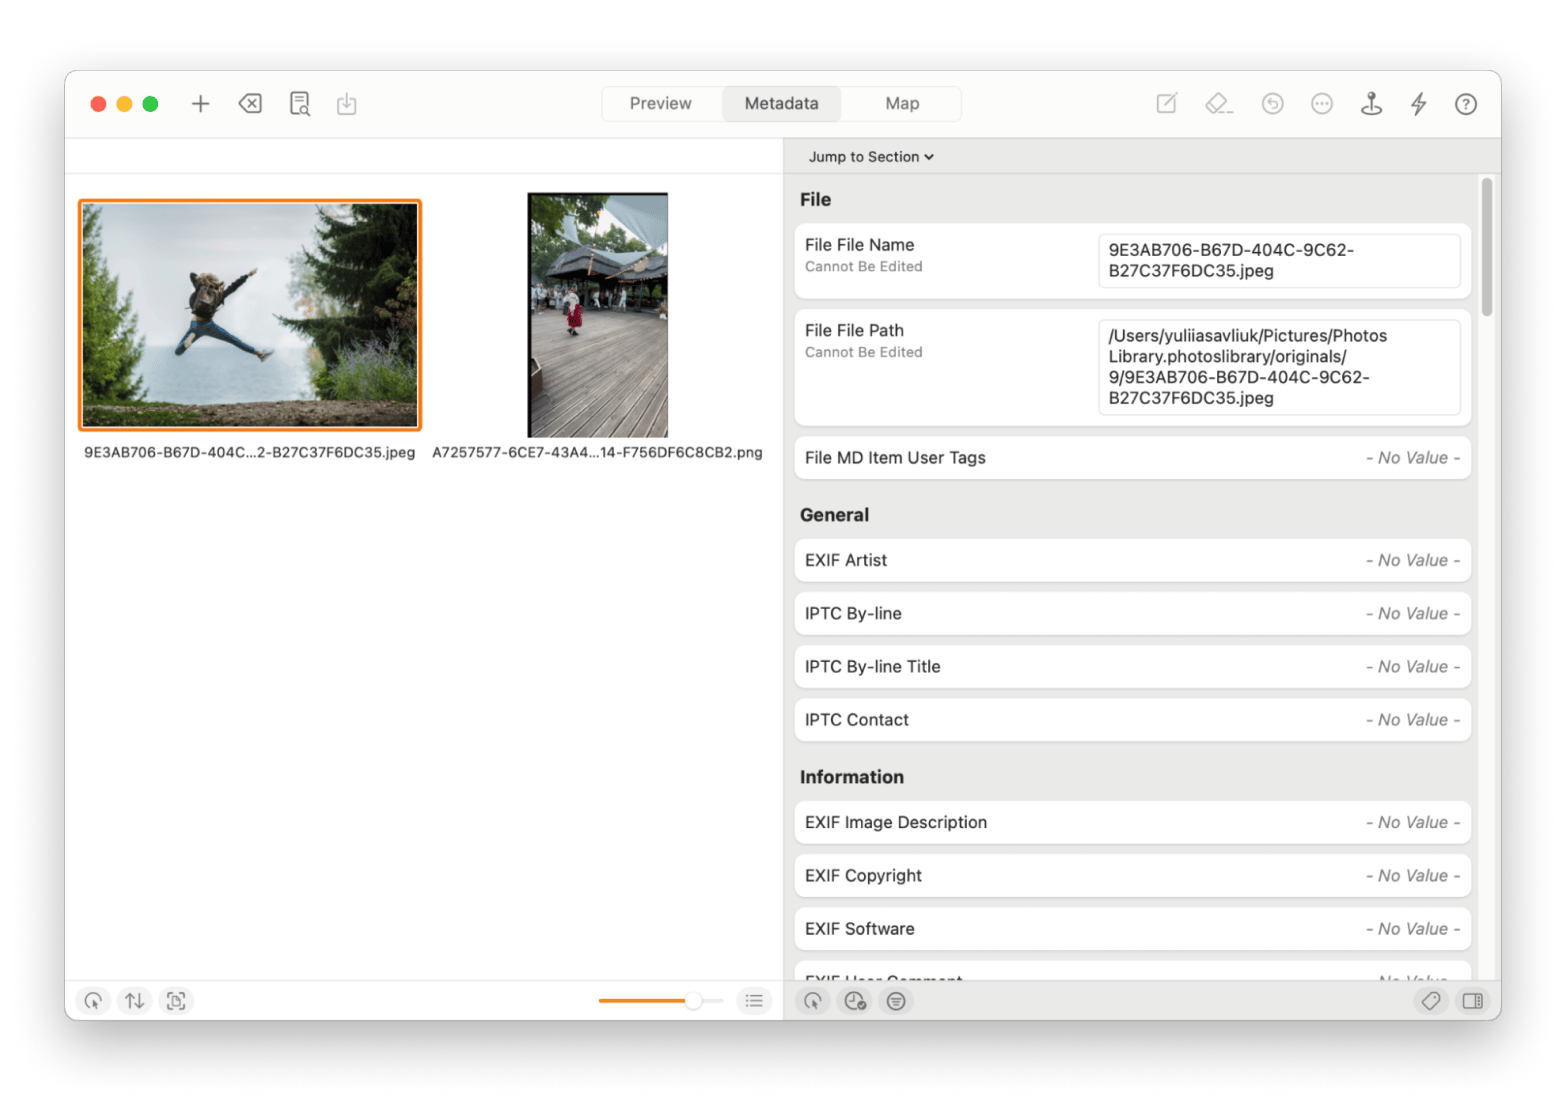
Tip 6: Edit photo metadata
After organizing your photos, if you'd like to quickly update or edit photo metadata (like location, keywords, or camera settings), you can use MetaImage. These will help you keep your library organized and free up space inside the Photos app.
Why is it important to keep your iCloud photo library optimized?
When I check the iCloud storage on my iPhone, it’s only then that I realize how much junk I have in my library. I’m sure I’m not alone, as we all like to take screenshots and burst photos, and we also have that blurry picture with friends from 2018.
Cleaning up your photo library will help in many ways.
- Find what you need more easily: There will be no clutter, so it will be easier and faster to search for specific photos.
- Prepare your library for backup: You don’t want to back up useless photos and videos, so save that space before backing up your memories.
- Getting iCloud ready for migration: When you are switching devices, why bring along that photo of a grocery list from 2020? Get a clean start.
- Track and delete sensitive content in a timely manner: When you organize your library, you can see and delete private and sensitive images before they are accidentally exposed.
- Collaborate with family members: A well-structured library makes it easier to share and organize albums for family events, vacations, or projects.
You'll even enjoy scrolling through once you’ve tidied up your library.
Summing it up: How to select multiple photos on iCloud
Managing your iCloud photos doesn’t have to feel like a chore. Whether you want to use iCloud Photos, select all feature, or simply clean up a few photos, the process is simple, and the right tools can help streamline everything.
If the photos are on your iPhone, you can first clear out blurry images with CleanMy®Phone, then move them to Mac with AnyTrans for iOS for easier organization. From there, use Gemini to quickly remove duplicates and similar photos on your Mac, then adjust any metadata you need with MetaImage.
Best of all, all these apps are available for free on Setapp via a 7-day free trial. It’s the best alternative app store for Mac and iOS as it offers 250+ apps under a single subscription.
FAQ
Can you select specific photos for iCloud?
You can select specific photos on iCloud on your Mac by holding the Command key for individual selections or the Shift key for a range on iCloud.com and by tapping Select and choosing photos in the Photos app on your iPhone.
Does deleting photos from iPhone delete from iCloud?
Deleting photos from your iPhone does delete them from iCloud, but only if you’ve set your photos to sync with iCloud. If you don’t want this to happen, disable iCloud Photo syncing.
Will I lose my photos if I turn off iCloud Photos?
If you turn off iCloud Photos, your iPhone will ask whether you want to keep the photos on your device or remove them. If you choose to keep them, they will remain on your iPhone, but if you remove them, they will be deleted from the device. The photos will still be available in iCloud unless you also choose to delete them from there.
Do permanently deleted photos stay in iCloud?
Permanently deleted photos stay in iCloud only for the first 30 days. They are usually stored in a Recently Deleted album, but iCloud permanently clears them after the period expires. If you wish to recover photos whose recovery timeline has expired, you’ll need a powerful recovery tool.
How do I select multiple files on my iCloud Drive?
If you want to select multiple files one by one, hold Command on Mac. For a range, hold down the Shift key. If you wish to select the entire library, press Command + A.
How do you select all photos on Mac?
To select all photos on Mac, use the keyboard shortcut Command + A.
How do you select all photos on your iPhone?
To select all photos on your iPhone, open the Photos app and tap Select in the top right corner.
How do you select all photos on iCloud.com?
If you want to select all photos on iCloud.com, log in using your Apple Account, go to Photos, and press Command + A. This should select all iCloud photos.


