Think you’ve been overcharged by Apple? Here's how to check Apple charges on your account [Updated for 2026]
- How to check Apple charges on your account
Open Settings on your iPhone or iPad > Tap your name > Media & Purchases > View Account > Purchase History. On a Mac, open the App Store > Click your name > View Information > Purchase History. - Most Apple.com charges are for apps or subscriptions
Charges often come from App Store app purchases, iCloud, Apple Music, or Family Sharing. Small recurring payments are usually subscription renewals, which can be easy to overlook. - Cancel unwanted charges and manage subscriptions easily
Visit reportaproblem.apple.com, check for suspicious or forgotten subscriptions, and cancel anything you don’t need. You can also manage subscriptions via your device’s Settings under Apple Account > Subscriptions. - Protect yourself from fraud and subscription overload
Use Secrets 4 to store passwords securely, Step Two for two-factor authentication, and MoneyWiz 2025 to track your expenses and avoid paying for subscriptions you forgot. These tools can help prevent surprise charges or security breaches. - All-in-one solution for managing Apple charges and more
With Setapp, you can access the above-mentioned apps and 250+ more in one subscription. Try all Setapp apps free for 7 days to take control of your spending.
Odd Apple charges? I'll help you figure out what they were for and will share tips I use to avoid unexpected Apple charges.
| Methods improve Apple purchase experience |
What to do |
| Always check unexpected Apple charges |
iPhone or iPad: Settings > Tap your name > Media & Purchases > View Account > Purchase History. Mac: App Store > Click your name > View Information > Purchase History. |
| Regularly verify subscription renewals |
Go to Settings > [your name] > Subscriptions to review active and expired subscriptions. Cancel any services you no longer use. |
| Check for Family Sharing purchases |
Open Settings > Family > Purchase Sharing to see who made recent purchases. |
| Check if your payment methods are secure |
Regularly review Settings > [your name] > Payment & Shipping for old or unfamiliar cards. To safely store your password information, install Secrets 4. Also, turn on 2FA for your Apple Account under Settings > [Your Name] > Sign-In & Security > Two-Factor Authentication. Apps like Step Two can help secure your logins. |
| Reduce app-related spending |
Track your recurring app and media payments using any budgeting or finance app (e.g., MoneyWiz 2025) |
What is the apple.com bill usually issued for?
Here are the most common reasons why you might see a charge from apple.com on your account:
- Purchases made from App Store, Apple Music, TV or Podcasts. Apple charges the credit card linked to your Apple ID account every time you buy an app, game, movie, music, or similar item.
- Renewals of Apple Service subscriptions. Similarly, your linked card will be charged to pay for any subscription services, like iCloud Storage, Apple Music, Apple TV+, or Apple Arcade.
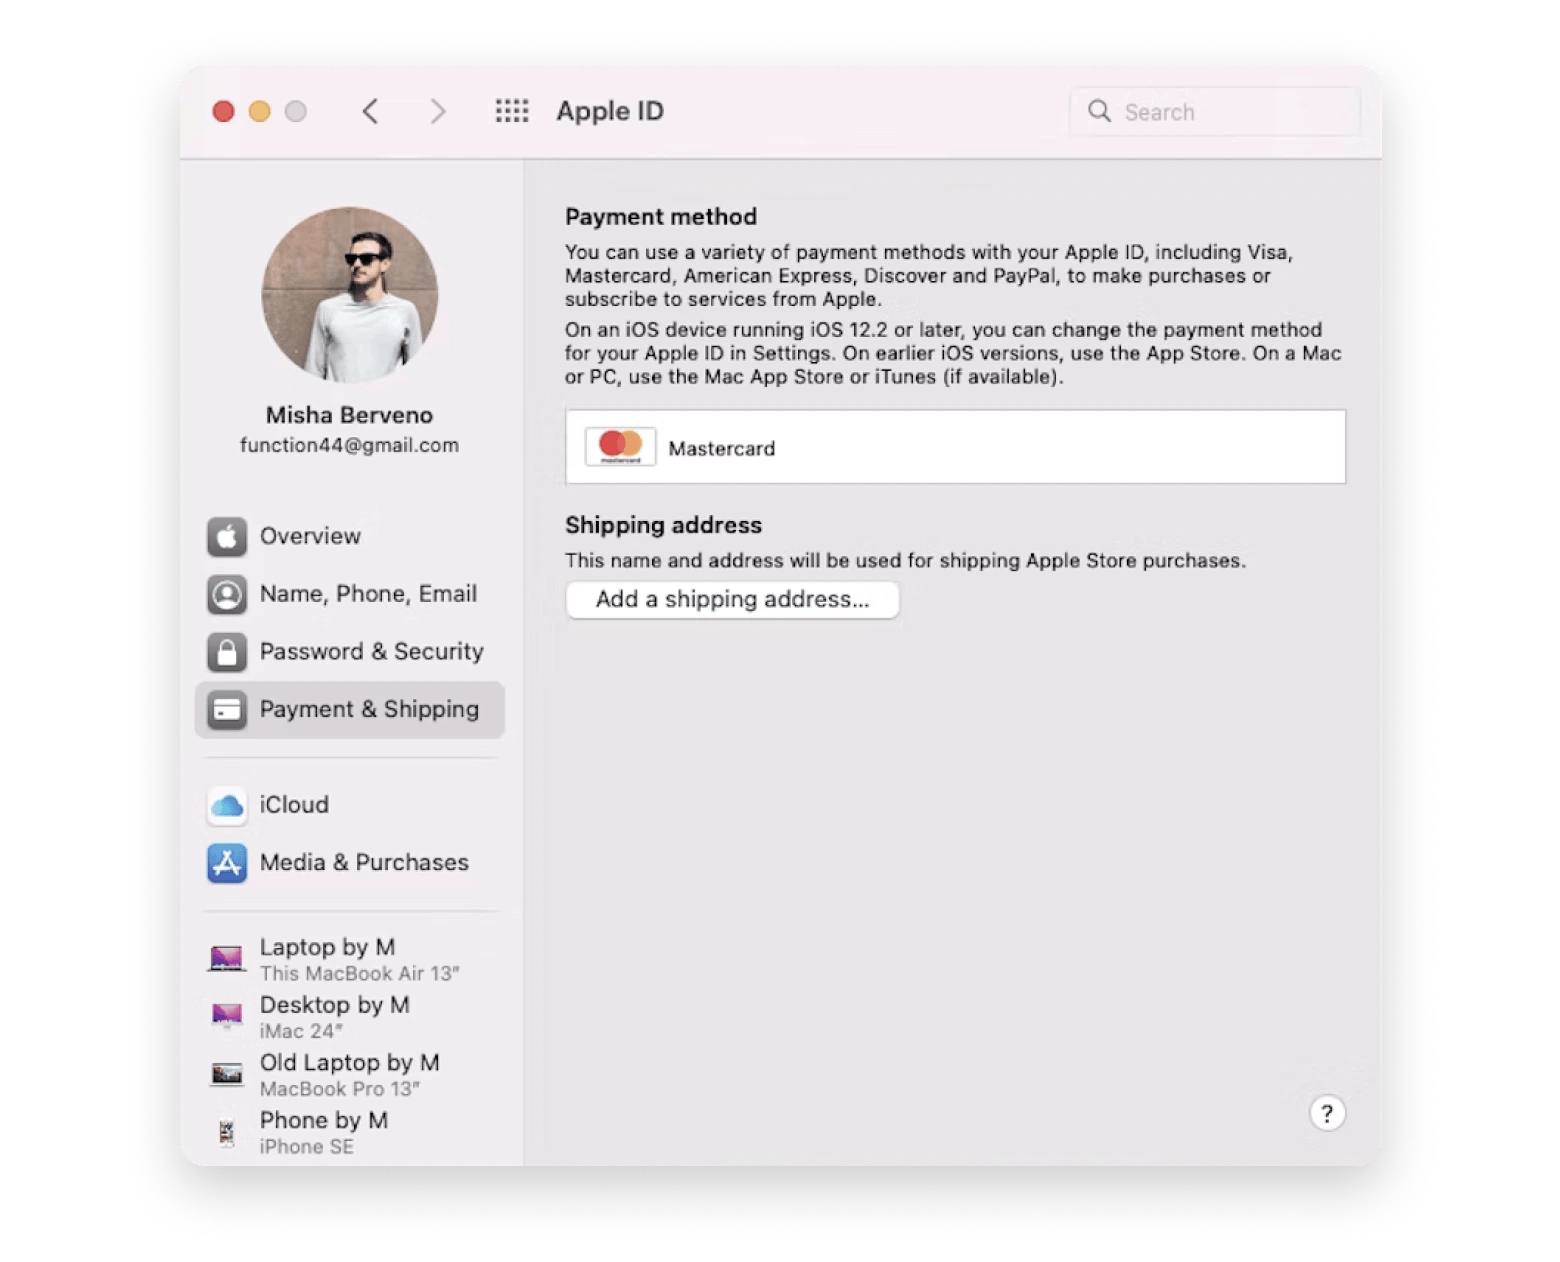
In both cases, apple.com bill charges may be small, easy to miss, and likely to be forgotten among numerous other payments that come off your card every month. If you'd like to find out which card is linked to your Apple ID account, go to Payment & Shipping from the Apple Account settings on your Apple device.

There is an unwanted apple.com bill charge in my account
There are a few ways to find out what was purchased:
- Check your email receipts. Apple sends a detailed invoice for every apple.com/bill charge on your account. Log into the email associated with your Apple Account and search by the date of the charge, the sender — Apple, or by simply typing the word "invoice."
- Call Apple's billing department. Their number goes with every Apple bill charge on your bank statement, and by the order ID they will be able to tell you what any apple.com bill charge is for.
- Go to reportaproblem.apple.com. It's Apple's website for problem resolution, but you can also check your purchase history section there. Simply sign in with your Apple Account and enter the amount of the charge you see on your bank statement into the Search box.
- Contact Apple Support. This can become your last resort if you are unable to locate an apple.com bill charge using the methods above.
Why is Apple taking money from my account?
According to reports from Sensor Tower, an average user spends about $21 per month on their subscriptions, and an additional $11 on apps. That's almost $400 of small charges per year that often go unnoticed.
For the next time you look at your bank statement and wonder about new Apple bills, here are all the cases when you might see Apple charges on your account:
- You've made a purchase using your Apple Account. This can often happen to pre-ordered items that haven't been fully charged yet. The amount on your bill can set you off as well, but it might be because Apple has grouped your purchases or you've paid for items partially using your Apple Account credit.
- Some subscriptions have escaped your memory. In other words, the apple.com/bill you are wondering about might be one of the monthly subscriptions. Perhaps you've accidentally signed up for iCloud Storage or forgotten to cancel Apple Music after the free trial, or purchased AppleCare?
- Your Family Sharing group member made a purchase. You will see charges from other members of the group if you are the Organizer. In this case, ask your family members if they can recognize the Apple bill in question. If you have young kids in the family, you might like to turn on the Ask to Buy feature to request permission before children can make purchases.
- Someone made a purchase using your Apple Account. This might be a person you willingly shared your password with, or a stranger who hacked into your account. You can protect yourself by creating a new, secure Apple Account password.
- Someone made a purchase using your card. Just like with the case above, if you suspect or discover that your card has been compromised, contact your bank to block the card and cancel any unwanted purchases. However, this should be your final strategy, after you've checked your account invoices and your Apple Store purchase history first.
Tip: If you can't find an app that you've purchased, it may be hidden on your iPhone. Learn how to find and open hidden apps on your iPhone.
How to check Apple Store purchase history on iPhone, iPad, and Mac
The first thing you'd want to do if you see unexpected charges from Apple is find out what you've bought. Checking Apple Store purchase history is quick, no matter what device you have on hand to do it.
How to check your App Store purchase history on an iPhone or iPad
- Open the Settings app.
- Tap your name, then tap Media & Purchases.
- Tap View Account. You might be asked to sign in.
- Tap Purchase History.
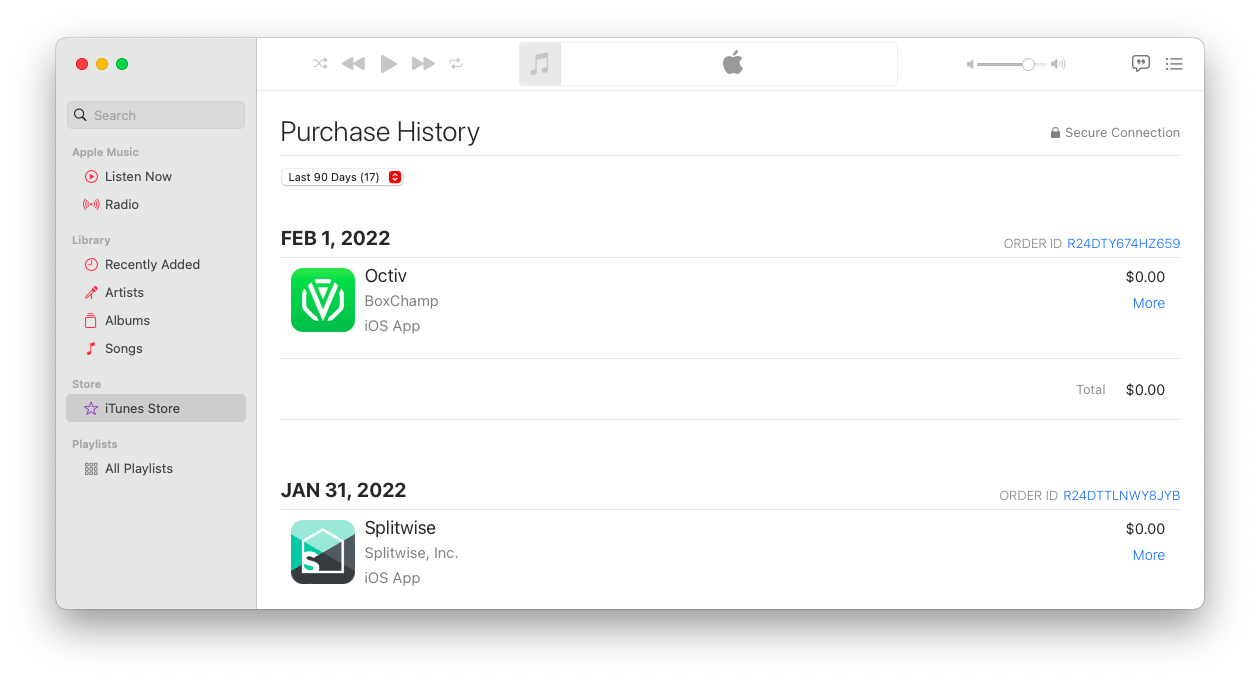
- Your purchase history will appear. If you're not sure what you were charged for, but you know the amount, search for the amount.
- If you want to see more purchases, tap Last 90 days at the top of your purchase history and choose another way to filter your purchases.
How to view Apple purchase history on a Mac
- Open the Music app on your Mac.
- From the Account menu at the top of the screen, choose Account Settings. You may be prompted to sign in.
- On the Account Information page, scroll down to Purchase History. Next to Recent Purchase, click See All.
- It may take a moment for your Apple billing history to appear. Click Select a Range. Or, choose Last 90 days, then set a date range.
Note: If you feel uneasy about downloading apps from the App Store, consider exploring other safe and trusted sources for getting the tools you need. Check out this article on how to download apps on a Mac.

If you ever find Apple bill charges on your account for purchases you're sure you didn't make, it might mean your Apple Account has been hacked or your credit card details have been stolen. To protect yourself from this scenario, I recommend you create a strong password and keep your card details secure.
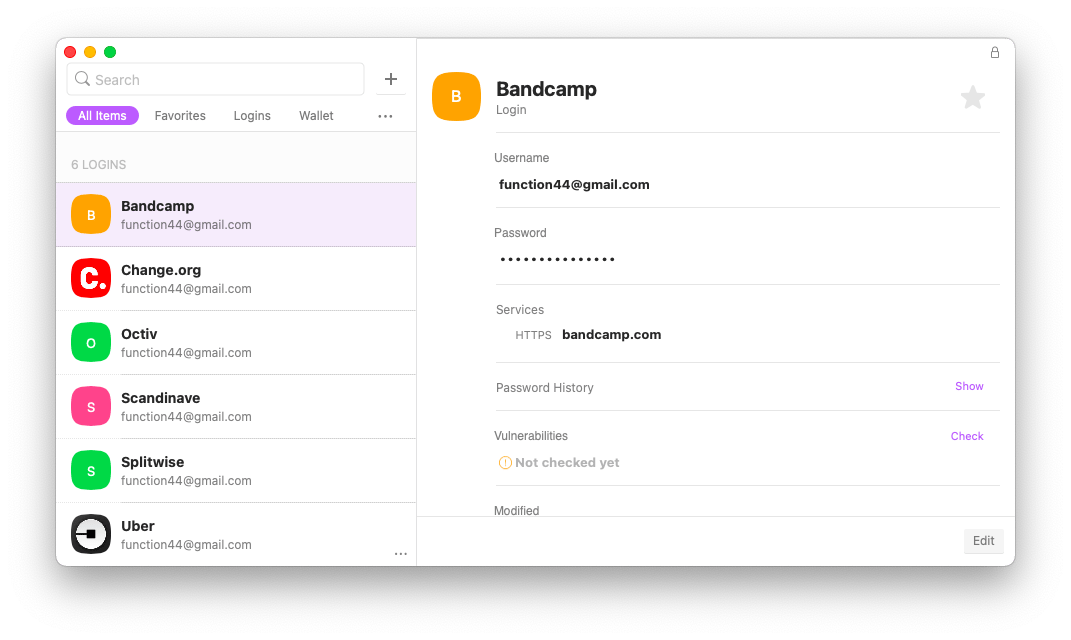
For that, you can use the built-in Passwords app on macOS. It’s a solid basic option that securely stores your passkeys, Wi-Fi passwords, and pretty much any login credentials or verification codes.
If I only needed to save passwords, I’d stick with this app. But since I also like to keep other information — like credit cards, bank accounts, software licenses, and even notes — I use Secrets 4 instead. It offers all these features, along with a clean interface and easy navigation.

An additional way to protect yourself from online criminals is by setting up two-factor authentication on your accounts. You can try Step Two, a security app for easy two-step verification process. You can quickly add a new account by scanning its two-step QR code. The app also comes with a Safari extension that autofills your verification codes for you, simplifying the sign-in process, while keeping your account secure.
Read more on multi-factor authentication.
How to cancel unwanted Apple bill charges
Now that you've checked your Apple Store purchase history, you might find charges that you didn't authorize. You have a couple options in this case: head over to reportaproblem.apple.com to use Apple's resolution process, or contact your credit card company and deal with the charge through them.
Oftentimes, we tend to underestimate how much we pay for apps and subscriptions until we actually sit down to calculate it. That's why most unexpected apple.com bill charges will turn out to be a monthly subscription that you've forgotten about or an app purchase that you just didn't plan into the budget.
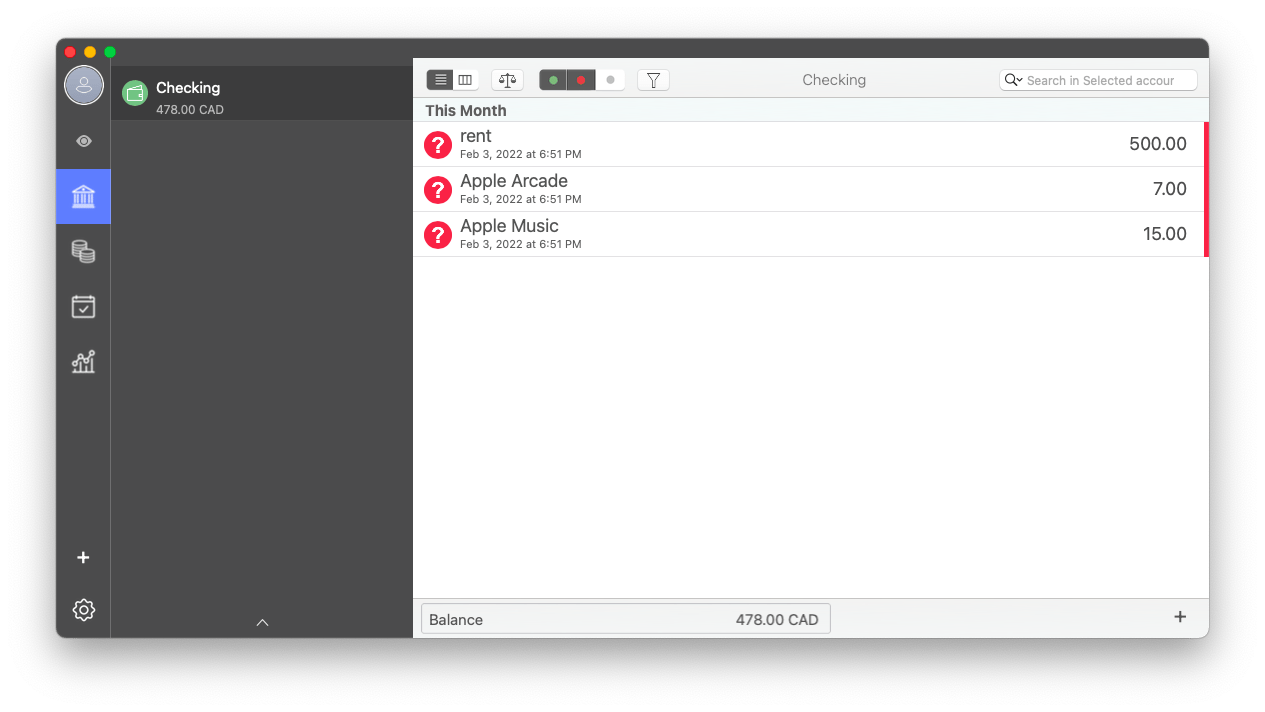
I use MoneyWiz. It's not just a bill organizer, but a reliable online base for all your financial needs and information. The app makes it easy to accurately plan your budget with spending forecasts, as well as pay all your bills on time with a bill payment organizer and reminder. Its user-friendly interface with some amazing time-saving options makes it one of the best budget apps to date.
Here is an example expense budget:

Check whether you are overpaying!This free App Budget Tracker shows exactly how much you pay per year, month, or week. Just enter the tools or services you use and their prices, and everything else is calculated automatically. |
Final thoughts
Now you're an expert on how to check your Apple Store purchase history and deal with any unwanted apple.com bill charges. It's a good time to protect your accounts further with the help of Secrets 4 and Step Two, get ahead on your budget planning with MoneyWiz, and up your network connection using WiFi Explorer.
Good news! All four apps – Secrets 4, Step Two, MoneyWiz and WiFi Explorer are available to you immediately and absolutely free through a seven-day trial of Setapp, a platform with more than 260 best-in-class macOS and iOS apps that can help make your life easier and solve any problem you can imagine. Try any Setapp app today and you'll never look back!
FAQ
How can I check my Apple subscriptions?
On your iPhone or iPad, go to Settings > Apple ID > Subscriptions. View and manage all active subscriptions.
On your Mac, go to Finder > Applications > App Store. Click on your name, and choose View Information, then scroll to Manage under Subscriptions. Additionally, use MoneyWiz 2025 to track and manage your subscriptions and expenses more effectively.
What is Apple.com bill 866-712-7753?
Apple.com bill is a charge that appears on your bank or credit card statement when you make purchases through Apple services. Typically, any charge that appears as Apple, Apple.com, or Apple.com/bill is legitimate and come from App Store purchases, Apple Music, iCloud storage, Apple TV+, or other Apple subscription services.
To review your purchase history, visit reportproblem.apple.com, sign in with your Apple Account, and check your receipts — they include tax, purchase date, and other details. Keep in mind that multiple purchases, including subscriptions, might be grouped into a single charge. If you use Family Sharing, you can also review purchases made by your family members.
However, many users have reported that Apple.com bill 866-712-7753 was a scam. Those fraudulent charges often involved small amounts like $0.99 or $5.99 which resemble normal subscription fees. In some cases, though, people have been charged dozens of dollars.
So can such a charge be fraudulent? Yes, it’s possible. Scammers sometimes manipulate the text in the billing name, for example, replacing the letter “i” in “bill” with a number “1” or a lowercase “L” to make it look like a real Apple charge. If you notice any suspicious charges, which are not reflected in your purchase history in reportaproblem.apple.com, contact your bank and Apple Support immediately.
How do I see transactions on my Apple account?
On your iPhone or iPad, go to Settings > Apple ID > Media & Purchases > View Account > Purchase History.
On a Mac, go to Finder > Applications > App Store > Account Settings and check Purchase History for recent transactions. For a more detailed analysis of your finances, consider using MoneyWiz 2025 to track and categorize these transactions.
How do I talk to Apple about charges?
To discuss charges with Apple, sign in to reportaproblem.apple.com, review your purchase history, and report any issues. Alternatively, you can call Apple Support using the contact information provided with the charge on your bank statement or use the Apple Support app to connect with a representative.
How do I stop Apple from taking money from my account?
To stop Apple from taking money from your account, open the Settings app on your iPhone or iPad and tap Apple ID > Subscriptions > View all active subscriptions and cancel any that you no longer want.
On your Mac, launch the App Store > Click on your name at the bottom left > View Information > Manage. Cancel any active subscriptions there.
Additionally, if you find unauthorized charges, review your purchase history and use MoneyWiz 2025 to monitor and manage your spending. If necessary, contact Apple Support or your bank to address any fraudulent activity.


