With the increased number of group calls, videoconferences, and live streams we now have to do on a daily basis, the video quality we get from our MacBook camera is becoming more and more important.
For years, MacBook cameras lagged behind at 720p, which frustrated lots of users, making them resort to external webcams and even tripod-mounted DSLRs. Finally, with the introduction of the 24-inch iMac, M1 MacBook Pros, and M2 MacBook Air, Full HD 1080p built-in cameras have become a reality — with Apple Studio Display even featuring an iPhone-like 12 MP camera. These updates have made Apple webcams usable in day-to-day life again.
But what if you’re stuck with an older MacBook camera? Is there nothing you can do? Let’s explore how to change camera settings on Mac so you can get the best picture quality with minimum effort.
Methods to adjust camera settings
How to do it
Hand Mirror
Install Hand Mirror > Right-click the app icon in the menu bar > Hand Mirror Plus.
By default, the app previews your camera in a popover window.
Zoom
Open Zoom > Settings > Switch to the Video tab > Choose your camera > Select HD > Select Touch up my appearance and use the slider.
Google Meet
Start meeting > Click on the ellipses icon > Settings > Switch to Video. In Send resolution, choose High definition (720p).
Is it possible to adjust my MacBook’s camera settings?
Like many things that are directly related to system capabilities, Apple doesn’t give you access to tweak individual aspects of macOS camera settings. Not only there’s no Camera app, you can’t even find camera preferences in System Settings.
So what do you do? You can check your camera quality beforehand, use third-party apps (or even hardware), and adjust your workspace lighting and background to start.
How to turn on your MacBook camera
The easiest way to turn on your MacBook camera is to launch an app that requires it by default, such as FaceTime or Photo Booth.
Go to the Applications folder and open either FaceTime or Photo Booth. Now you can check the current state of your webcam and improve from there
Quickly check how you look on camera
There’s no need to look for Photo Booth or other apps to preview your camera. Hand Mirror previews your camera in a popover window by default. You can switch to the smart window to drag it around the screen and resize it as you wish. To customize the preview window, right-click the app icon in the menu bar and choose Hand Mirror Plus (it’s unlocked for all Setappians).
Buy only Hand Mirror in Setapp Marketplace for $6.99, same app and plan as the developer, reviewed and security-tested.
How to adjust Mac camera settings via third-party apps
While we use FaceTime for personal video calls, it’s likely that we rely on other tools for professional communication, such as Zoom, Google Meet, Microsoft Teams, etc. All of them offer different levels of video customization.
In Zoom, for example, you can automatically improve your appearance and adjust the MacBook camera settings brightness, as well as set the quality to HD and reduce noise.
Here’s how to do that:
Open Zoom ➙ Settings (Command + ,)
Switch to the Video tab
Select your camera from the dropdown
Check HD
Check “Touch up my appearance” and use the slider
Check “Adjust for low light” in Auto or Manual, and adjust the slider as well
Other apps offer similar settings. To adjust video quality in Google Meet:
Start a Google Meet meeting
Click on the ellipses icon in the toolbar ➙ Settings
Switch to Video
In “Send resolution” pick “High definition (720p)”
How do I improve the camera quality on my Mac?
After tweaking video preferences in other apps, we still come back to the question we started with — how to change webcam settings Mac uses by default?
The best way to do that is to change your actual physical environment. There are a few general tips that can help you look great on any conference call:
Make sure your camera is not facing any strong light source (e.g. a window or desk lamp). Position your setup so that your camera and the light source are pointing in the same direction.
Let enough light into the room. Camera performance gets considerably worse in low-light environments.
Organize the space behind you so it’s non-distracting and pleasant to look at. Book shelves, sofas, solid-color walls, and art are just a few ideas.
Replace the default camera with a professional webcam or even a DSLR set on a tripod. You can change the video source in the MacBook or iMac camera settings.
How do I test my webcam before a meeting?
There are a few ways you can test your Mac camera to know its working properly.
Start by launching either FaceTime, Photo Booth, or Hand Mirror before your meeting to see that the camera is operational.
Then, since every app has somewhat different settings, it’s best to log into it and check the settings, making all the adjustments you need. Since some apps normally only work on the web (e.g. Google Meet), you can find solutions that would bring them directly to your Mac and make customization much easier, such as In Your Face.
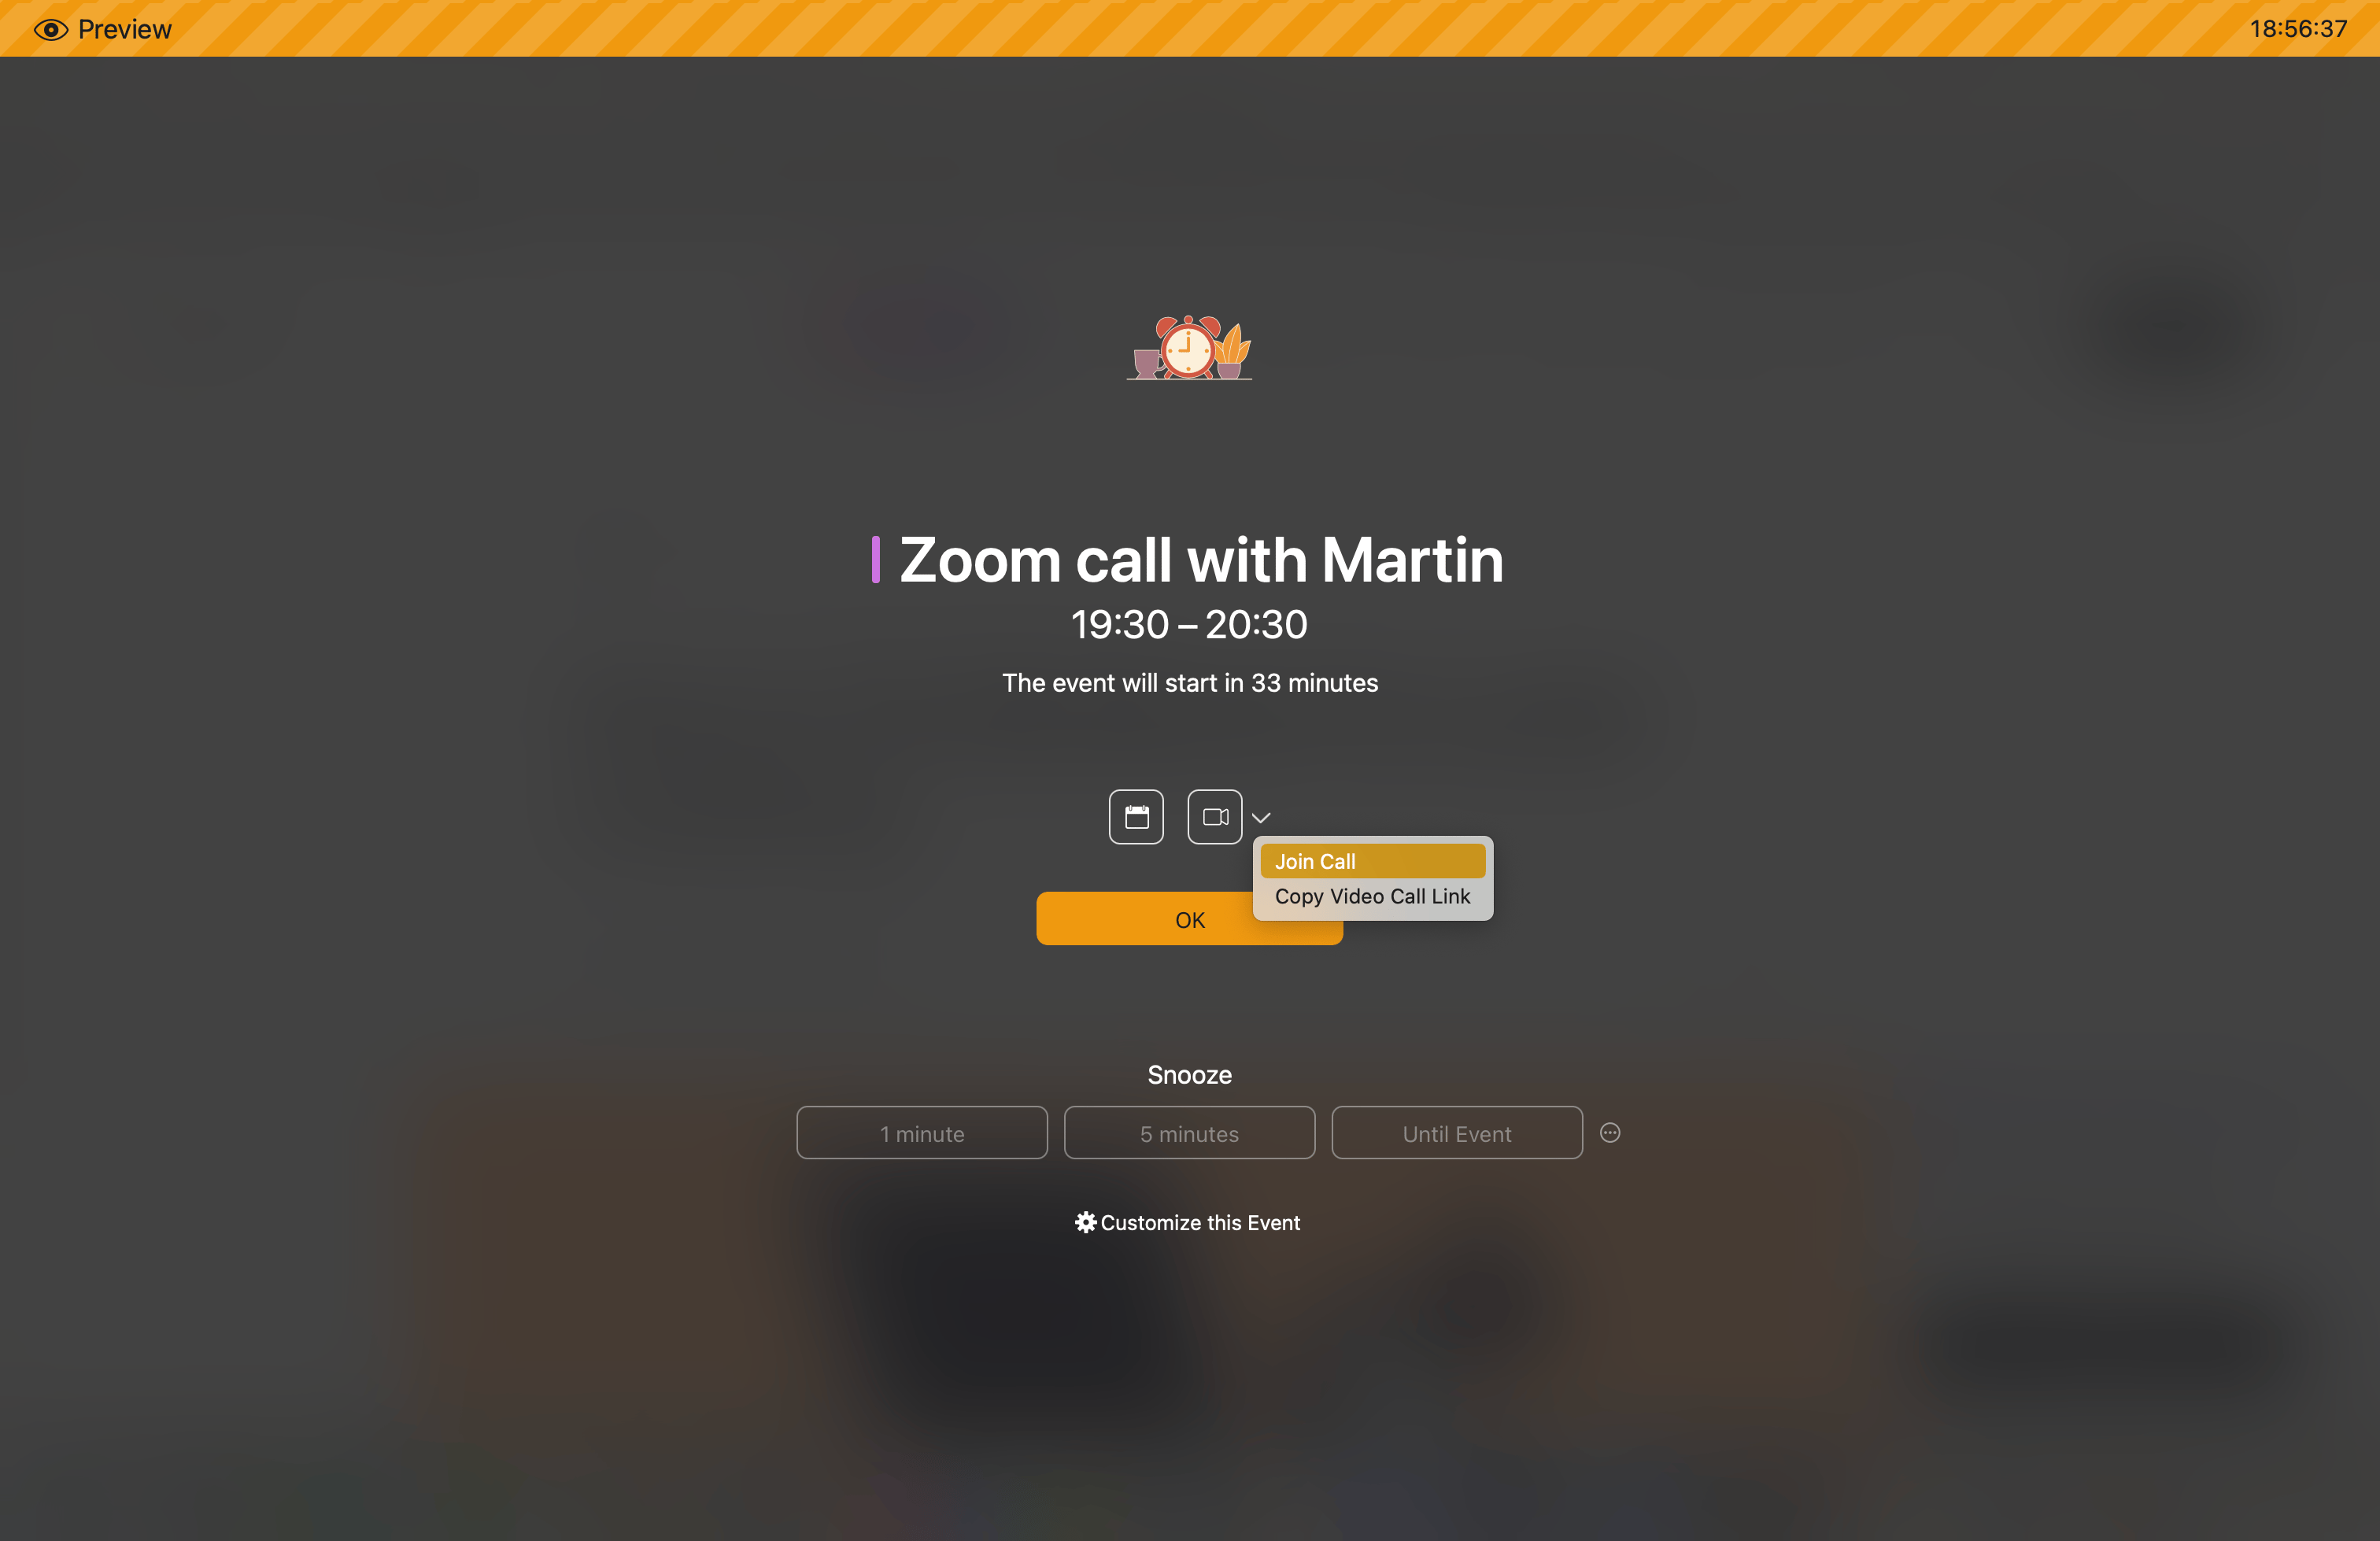
The app gives you a dedicated meeting schedule, with timers for your menu bar and auto-join notifications. A true meeting assistant that’s missing on Mac. No more switching between browser tabs and windows — you can find every feature you need in one convenient place.
Join calls right from the menu bar. Besides Google Meet, the app works with tools like Zoom and FaceTime, so all your meetings are one click away. We love how In Your Face launches Zoom calls without annoying browser redirects.
Get In Your Face in Setapp Marketplace for $24.99 per year, a familiar single-app purchase, handpicked and tested.
A big part of your overall productivity when it comes to meetings is having a flexible and reliable calendar that supports the way you work. And there are few options on the market as good as BusyCal.
BusyCal unifies your tasks and calendars, so no to-do ever escapes your attention. Scheduling also takes less time, with automatic travel timers and natural language processing. Plus, you can customize the interface as well as alerts to fit the way you work. Manage multiple calendars in lots of colors too, and sync them all everything across every device.
Final thoughts
You now know that default options for improving the camera on your Mac are pretty restrictive. However, the situation can be made significantly better by working on your environment and using third-party apps like Zoom or Google Meet. If you use Google Meet, manage the whole workflow with In Your Face to never miss a meeting but save a lot of time. You can also use your iPhone as a webcam with Apple's Continuity Camera feature and get outstanding results that way too. Swap your calendar for BusyCal and squeeze out some extra productivity in your day. Finally, you can use Hand Mirror to test your camera before meetings.
Fix your on-camera routine today, then keep the tools that actually help. Get full Setapp access to 250+ apps for 7 days. Cancel anytime. Try Setapp today.
Prefer one tool? Choose Hand Mirror for $6.99, or In Your Face for $24.99 per year, both via Setapp Marketplace with curated, security-tested downloads.
FAQs
Here are some popular questions and misconceptions about Mac camera settings.
How do I allow camera permissions?
When you install new apps (e.g. In Your Face), they won’t have access to your camera. To enable camera access, launch System Settings ➙ Privacy & Security ➙ Camera and toggle on the appropriate app.
Does green light on Mac mean recording?
If by recording you mean turned on, then yes. You’ll see the green light next to your Mac’s camera when the camera is active. But it doesn’t necessarily have to be in the recording mode per se.
Which function key turns on the camera?
There’s no specific shortcut for turning on Mac’s camera — mostly because it’s not a standalone feature. The camera on your Mac only works when a certain app is requesting it (e.g. for video calls). That said you can certainly create shortcuts to open apps that then activate the camera. Using the new macOS default Shortcuts app is a good way to do it.
Powerful apps live on Setapp
Ditch defaults and discover new gems on one app platform.