How to record a video on Mac: A complete guide for any user
- QuickTime Player is best for basic Mac recordings.
Use it for one-off tutorials or fast feedback videos. It’s free and built into macOS, but lacks advanced editing or audio control. - CleanShot X provides distraction-free, polished recordings.
Automatically hides desktop clutter and silences notifications. Great for professional tutorials, webinars, and screenshots for visual callouts. - Capto combines recording and editing in one workflow.
Perfect for tutorials and presentations, letting you record, trim, annotate, and manage audio without switching apps. Saves time and streamlines production. - Teleprompter App and VidCap enhance delivery and accessibility.
Teleprompter helps maintain eye contact while reading scripts, and VidCap generates automatic subtitles for sound-sensitive or accessible content. - SnapMotion extracts high-quality frames from videos.
Ideal for creating thumbnails or promotional images, ensuring full-resolution captures instead of blurry screenshots. - Professional results come from small adjustments.
Optimize framing, lighting, and sound to make your Mac recordings look and sound polished. Using Setapp tools simplifies setup and workflow for consistent, high-quality video content. Get a 7-day free trial.
Since my job involves video editing, I’m constantly testing different ways to record a video on a Mac, especially for clear, engaging tutorials. While many users rely on the built-in Screenshot toolbar, I quickly ran into its limits when recording regularly for work.
In this guide, you’ll learn how to record video on a MacBook using multiple solutions, from native macOS tools to specialized video capture software for Mac. I’ll share the apps I’ve personally tested and can recommend, including CleanShot X, Capto, Teleprompter, VidCap, and SnapMotion.
What you’ll get from this guide:
-
Practical ways to screen record on Mac with better control and quality
-
Tools that improve efficiency, accessibility, and presentation clarity
-
Tips for choosing the right app depending on whether you’re recording tutorials, feedback, or walkthroughs
By the end, you’ll have a clear setup that helps you record faster, sound clearer, and create videos that are easier for others to follow.
Need quick help? Learn how to screen record on Mac and find the perfect tool for your needs in seconds with our free interactive ChatGPT assistant.
Top tools for recording video on Mac effortlessly
The difference between a decent video and a polished tutorial often comes down to choosing the right video recording software for Mac. The best tools help you record video on Mac with more clarity, control, and efficiency, especially for tutorials, walkthroughs, and client demos.
With so many apps available, the key is finding one that fits your workflow. Whether you care most about screen quality, audio accuracy, or built-in editing, the right tool saves time and improves results:
| App | What’s cool about it |
| QuickTime Player | Built-in, free, and easy to use for basic video recording needs. |
| CleanShot X | Distraction-free recording with a clean interface. |
| Capto | Easy trimming, annotations, and perfect for educational content creation. |
| Teleprompter | Smooth script delivery while maintaining eye contact. |
| VidCap | Automatic subtitling with easy caption editing. |
| Snapmotion | Ideal for creating thumbnails and promotional images. |
Each of these tools addresses a specific need in my workflow, making video creation more professional-looking. Now let's explore how to use these apps in more detail. You can also learn ways to record, edit, and share video on a Mac with an all-in-one system to better effect.
QuickTime player: Free and simple Mac recording
QuickTime is a simple option for basic Mac screen recording without installing additional software.
Most Mac users know QuickTime as a media player, but it’s also a built-in way to record a specific video on a Mac. I use it for quick tasks like short tutorials or fast feedback videos when I don’t want to install extra tools.
QuickTime is ideal for basic Mac screen recording and one-off recordings on a MacBook. You can start immediately and trim the result, but that’s where its flexibility ends. There are no advanced editing or audio controls, so it works best when recording isn’t a regular part of your workflow.
How to use QuickTime to record video on a Mac
- Open QuickTime Player and go to File > New Screen Recording. Alternatively, press Shift + Command + 5.
- Click the Options pop-up menu, then choose your recording options.
- Choose a microphone to record your voice or other audio.
- Choose Show Mouse Clicks in Recording, if necessary.
- Click the record button, then click anywhere on the screen to begin recording the entire screen or drag to select an area to record.

When you're done recording, click the record button again to stop the process. QuickTime Player will process and automatically open your screen recording, allowing you to play it, edit using some basic tools like trimming, rearranging, and rotating, or share it with others.
CleanShot X: Clean and professional screen recording
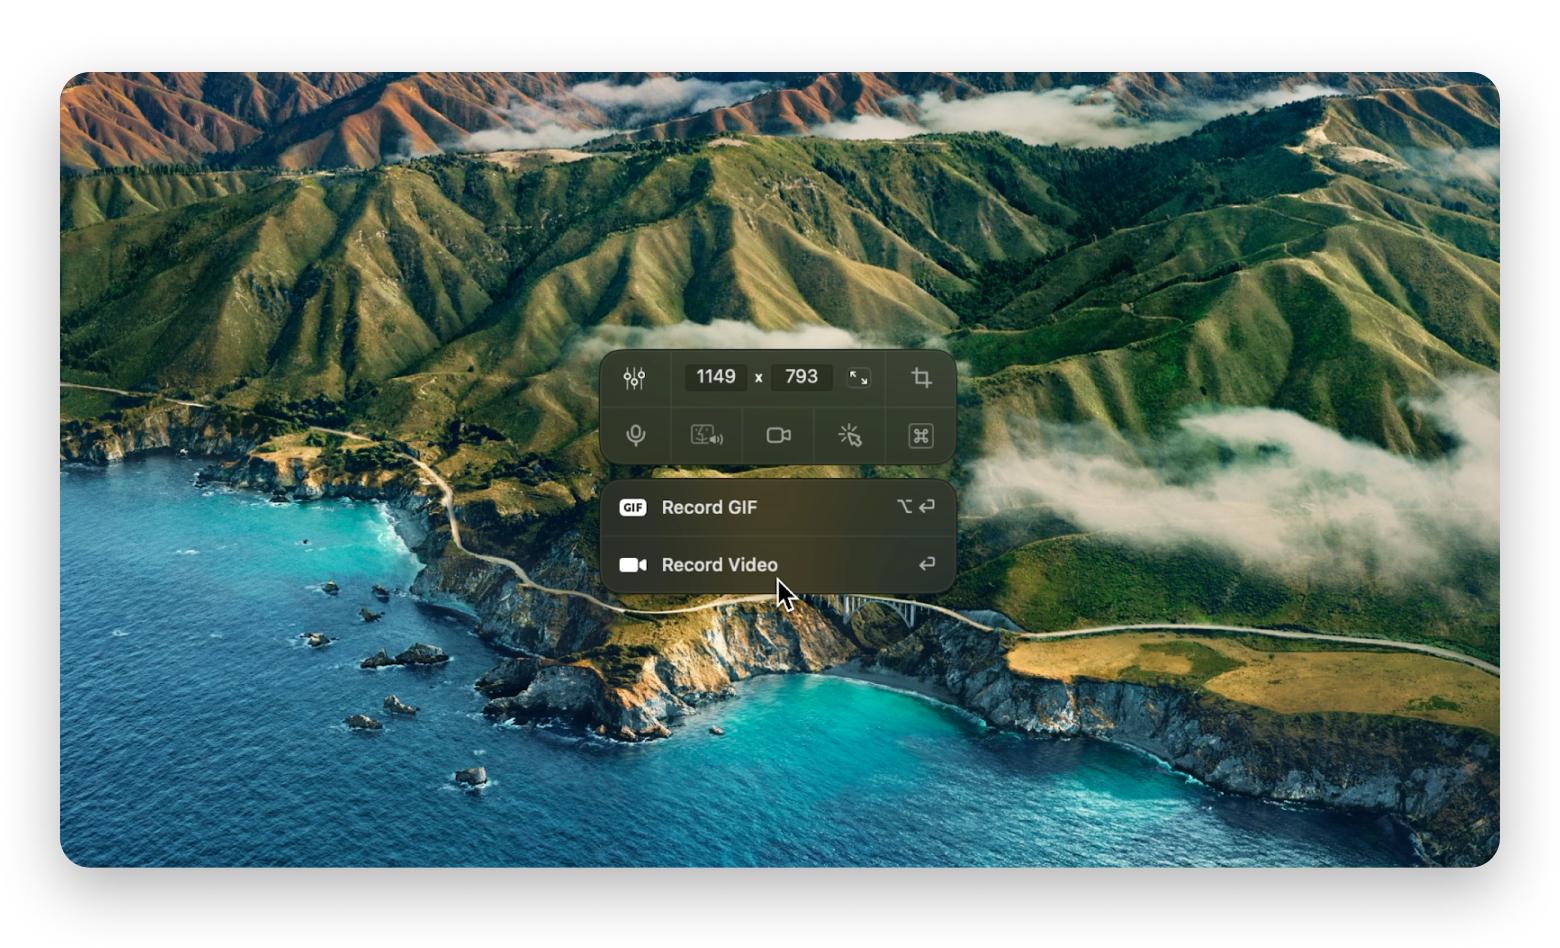
CleanShot X is my go-to video recording software for Mac when I need clean, professional screen recordings. If you’re wondering how to take a video on a Mac without distractions, this tool makes the process effortless.
It automatically hides desktop icons and silences notifications during recording, so I don’t have to prep my screen or worry about interruptions. The result is a focused, polished video from the first take.
I also use CleanShot X for screenshots that later become thumbnails or visual callouts. Built-in annotation tools make it easy to highlight, blur, or add text without switching apps. For tutorials, demos, or when you need to record a webinar quickly on a Mac, it keeps the workflow fast and distraction-free.
Many users also love CleanShot X. One Reddit user calls it “the best screenshot tool I've ever used on Mac,” and I can’t agree more!
How to use CleanShot X to record video on Mac:
- Launch CleanShot X and select the screen recording option.
- Choose whether to capture the entire screen, a specific window, or a selected portion.
- Click “Record” to start recording video on Mac.
"When I’m fact-checking or gathering material to support my videos, I rely on CleanShot X to capture key details from articles, posts, or websites. I love how easy it is to annotate screenshots, organize visual references, and never lose track of what I’ve saved. It’s become an essential part of my research process,” — Rotten Apple.
Capto: All-in-one Mac video capture and editing tool
Capto is one of the best apps for Mac recording and editing in one workflow.
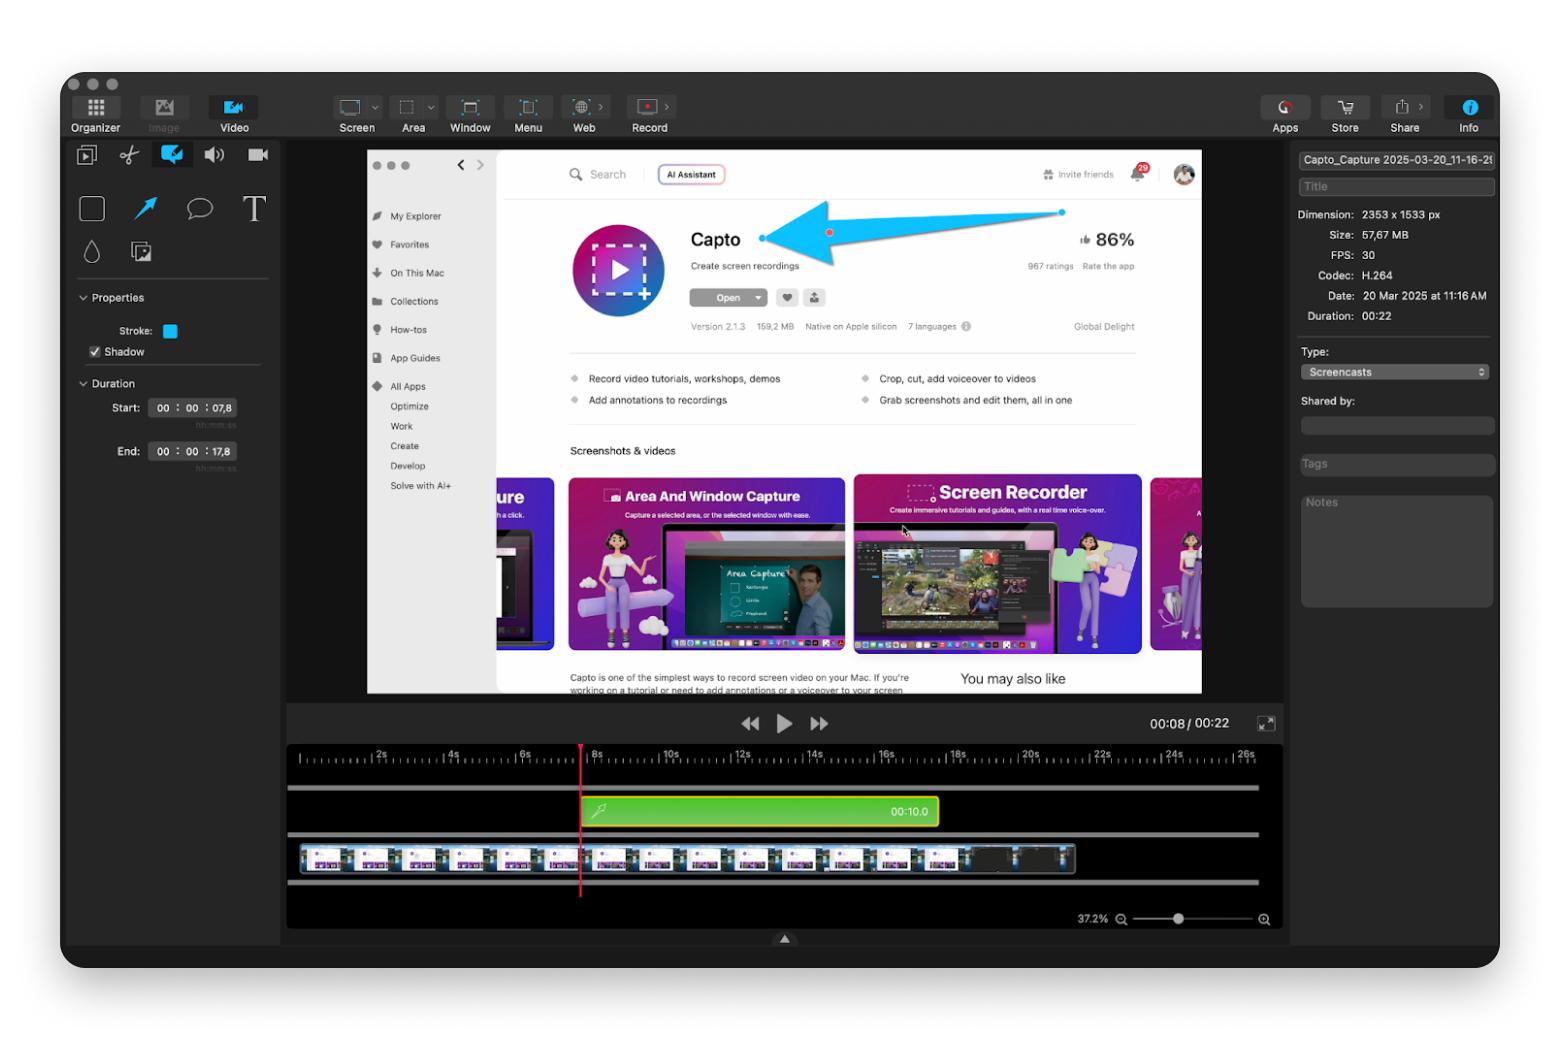
If I could use only one app to record video on my Mac, it would be Capto. It’s an all-in-one video recording software for Mac that lets me record, trim, annotate, and manage audio in a single workflow.
Capto is especially efficient for tutorials and presentations. I can quickly cut out mistakes, add visual annotations, and adjust audio without exporting the file to another editor. That makes it just as useful for professional tutorials as it is for university projects when I need a reliable screen record on Mac for a presentation.
If you want to record and edit videos on a Mac without juggling multiple tools, Capto keeps everything in one place and saves a lot of time.
How to use Capto to record video on Mac
- Open Capto and choose “New Recording” from the dashboard.
- Customize the recording settings, including audio sources and screen dimensions.
3. Press the “Record” button to begin capturing the video.
Read also:
- How to speed up video editing
- Best video editing software for Mac
- Best Screen Recorders for Mac
- Audio to Text
Teleprompter App: Smooth script delivery for Mac videos
If you’re figuring out how to record a video on a MacBook, Teleprompter App can take your presentation to the next level. It lets you read your script while maintaining eye contact with the screen, creating a polished and professional delivery.
I use it for tutorials, university presentations, or any recording where I need to explain complex topics clearly and naturally. Managing my script in one place ensures I cover all key points without sounding rushed or reading awkwardly.
How to use Telepromter App to record video on Mac
- Start the Teleprompter app and import or type the script.
- Adjust the scrolling speed and text size.
- Set up the camera and hit “Record” while following the script.
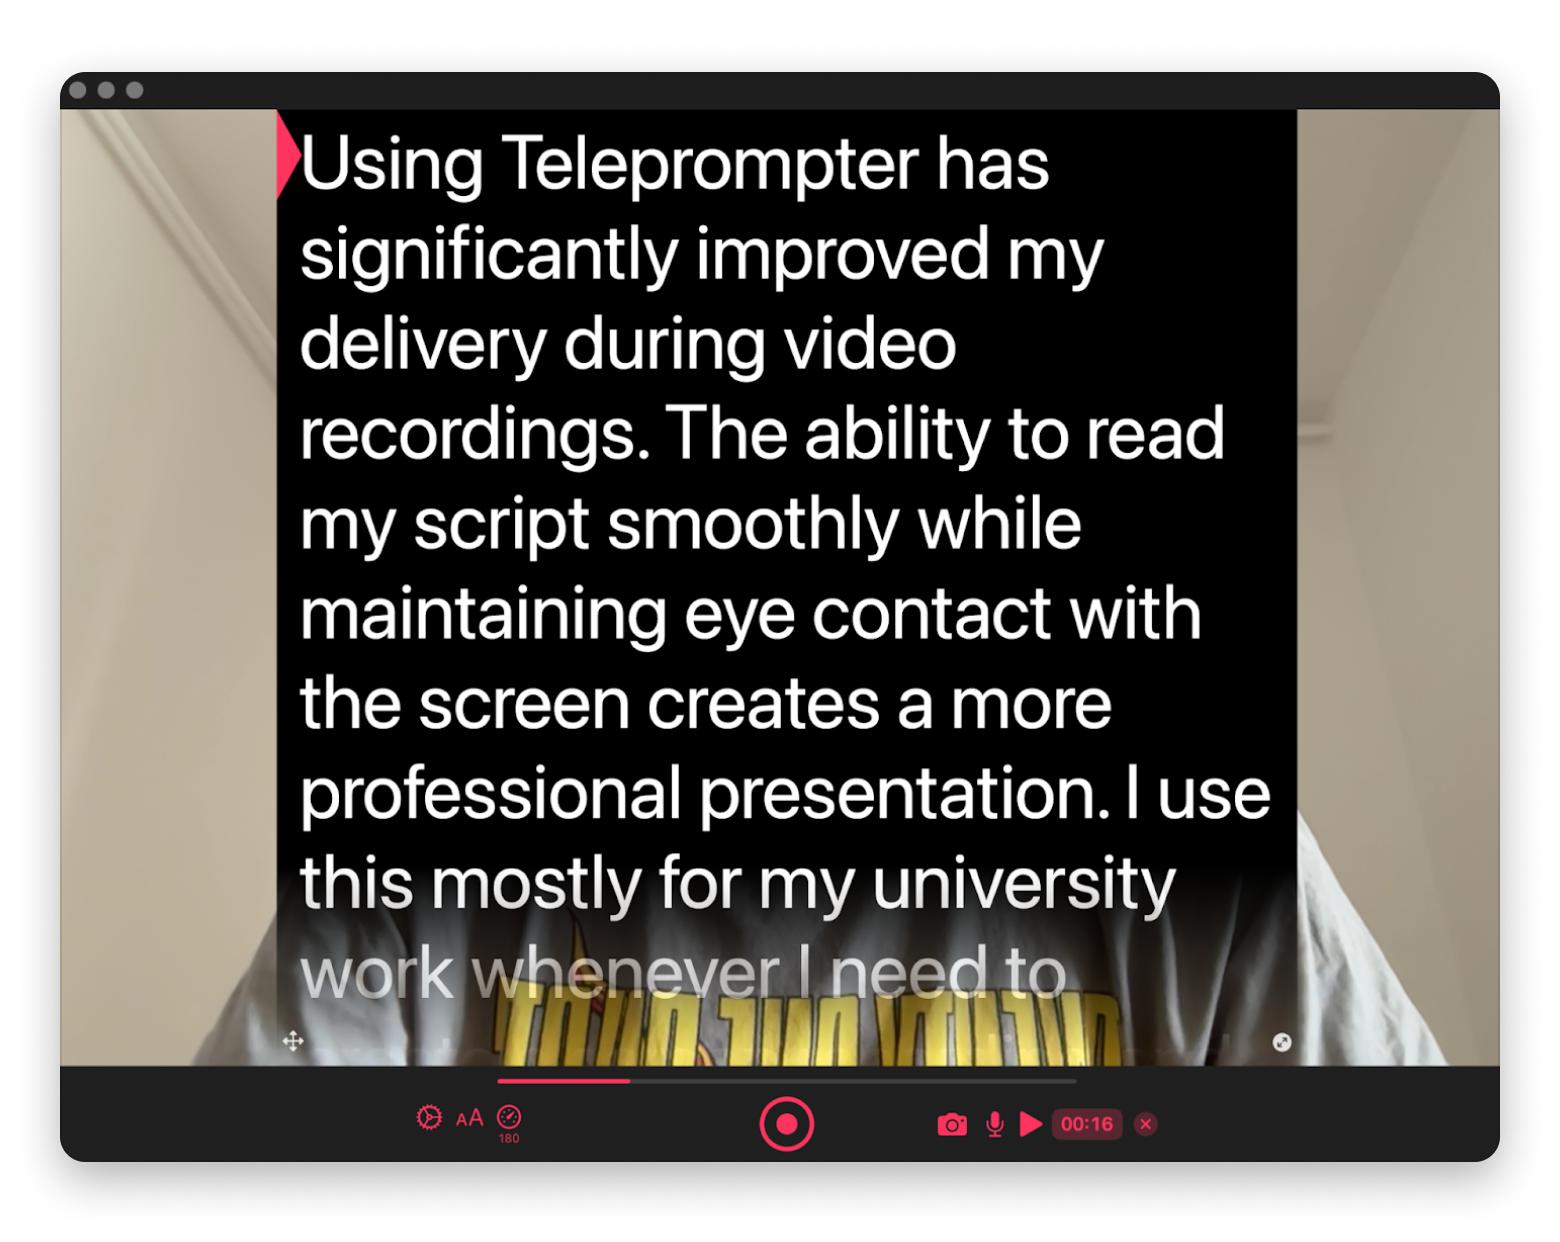
I like pairing Teleprompter with Capto or QuickTime. It lets me read my script naturally while capturing my screen and audio in a single step, so I can focus on delivering a clear, professional video without juggling multiple apps.
VidCap: Automatic subtitles for Mac recordings
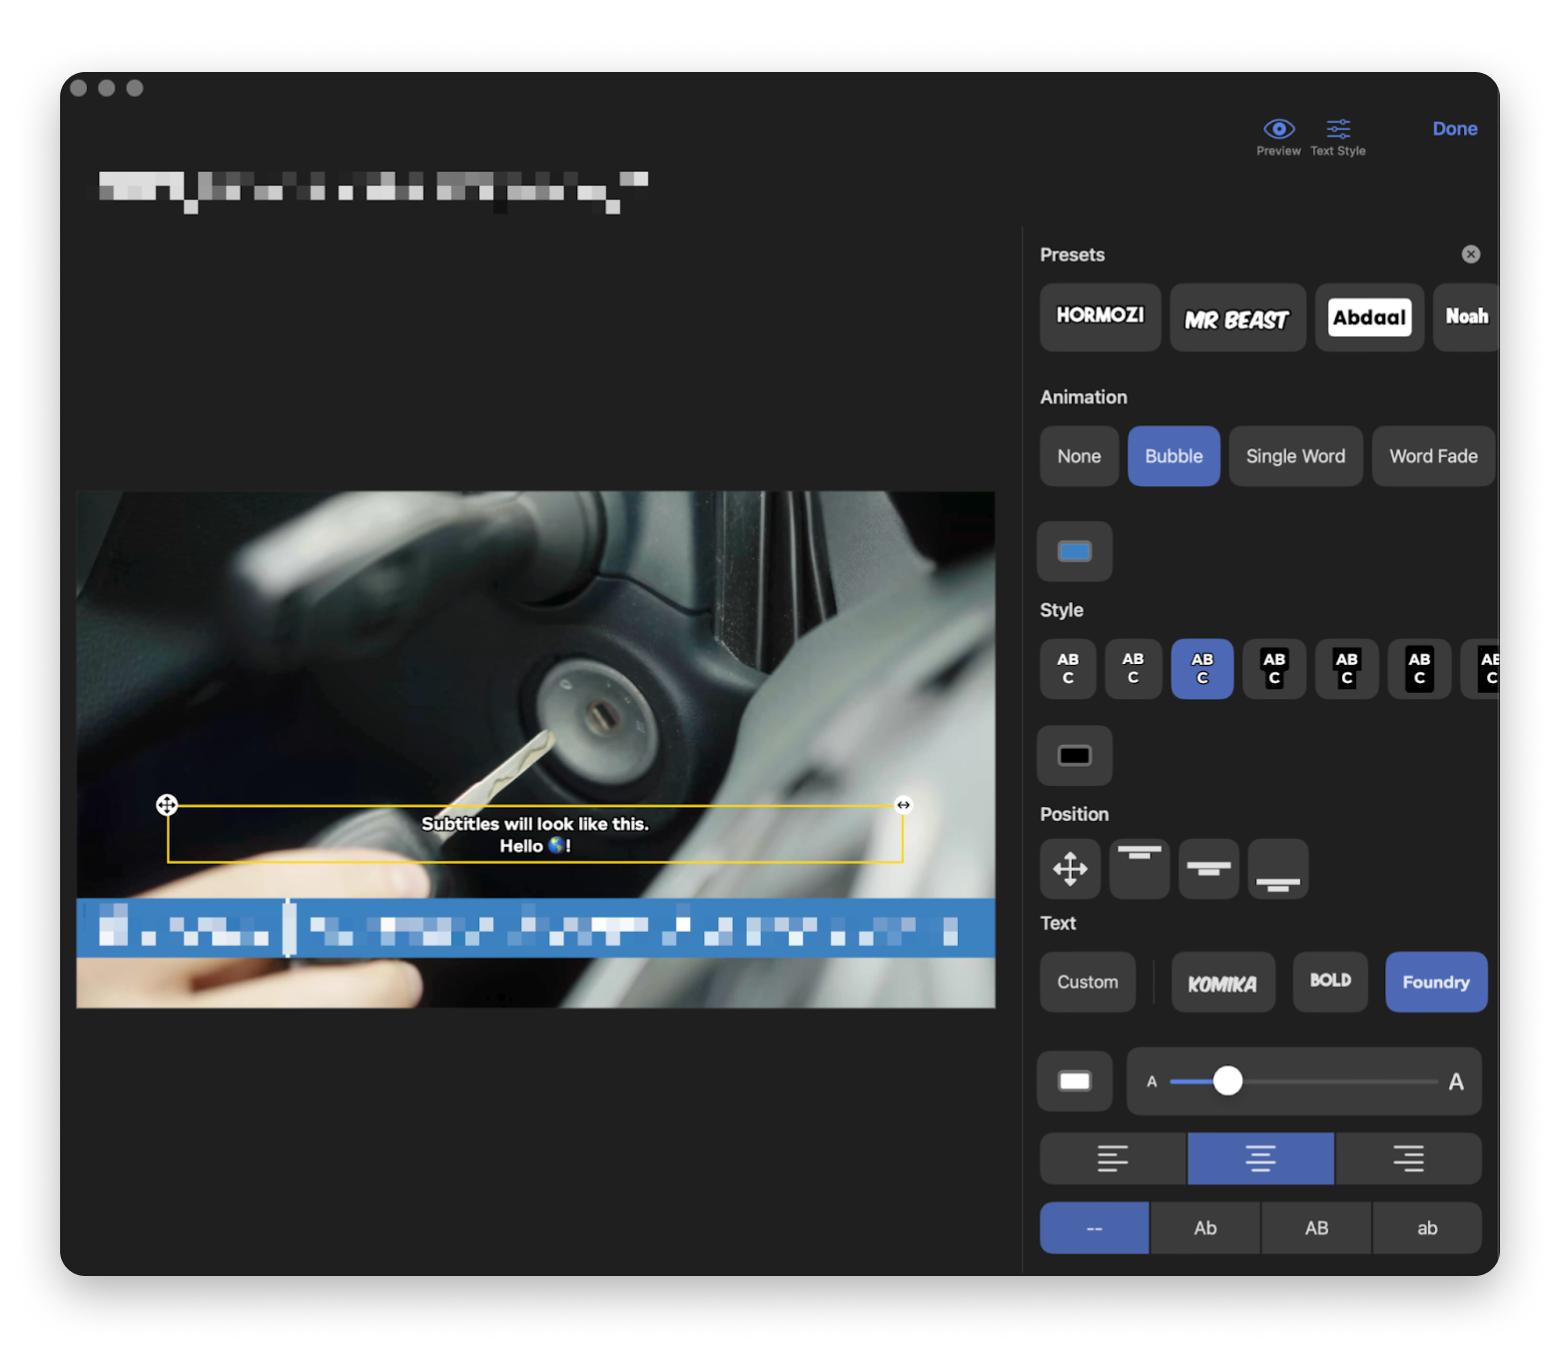
It's scary to think what would happen if I had to manually transcribe the movie and create subtitles. It's a video editor's nightmare. Good thing there's VidCap, which creates accurate, professional-looking subtitles.
I rely on VidCap when accessibility is a priority for my content or when creating videos that will be viewed in sound-sensitive environments. Instead of the cumbersome process of creating subtitles on my phone and transferring them to my Mac, VidCap handles everything in one workflow.
"Before VidCap, I had to jump between mobile apps and my Mac just to create decent subtitles, it was time-consuming and chaotic. Now, I can add and style subtitles directly on my Mac in minutes. It’s a huge relief when working on multiple projects: I can easily adjust timing, switch styles, and export clean, professional subtitles without all the extra steps", — Alina Shevchenko, video editor, director of photography.
How to use VidCap to record video on a Mac
- Launch VidCap and select the “New Video” option.
- Set the preferences for video quality and subtitles.
- Let VidCap handle the subtitling automatically.
Snapmotion: Extract high-quality frames from videos
One of the challenges everyone faces when recording video on a Mac is making an engaging video cover. I'm sick of taking screenshots with blurry, poorly timed shots.
And not only me. Reddit users also complain about the inability to take a nice screenshot from a video: “I took some videos at a concert and I want to take screenshots from it, but all my screenshots end up bad”, “they all look mid-movement”.
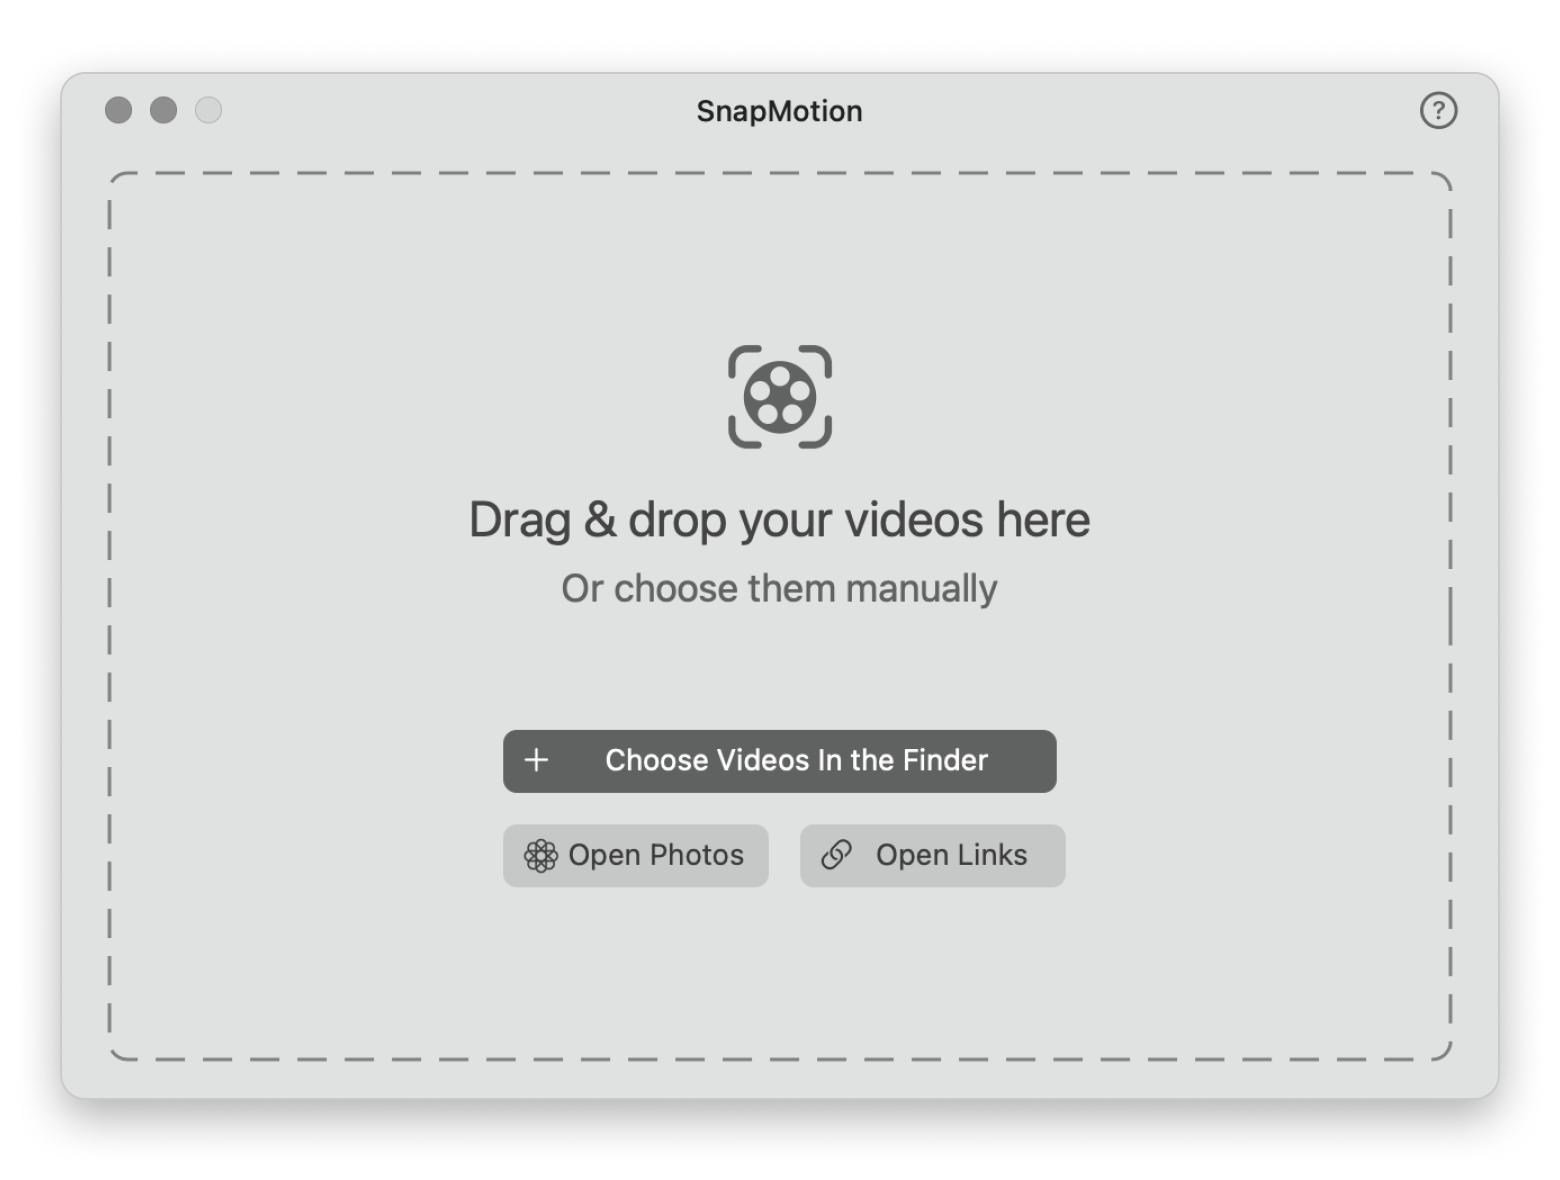
I often need to extract a single frame from a video in full resolution, and Snapmotion does just that. It's very intuitive — just import your video and take a screenshot, that's it. I use this tool when I need to pull professional-looking images from my videos for promotional materials, blog posts, or social media content. Instead of compromising with screenshots, Snapmotion gives me full-resolution frames that maintain all the quality of the original video.
How to use Snapmotion to record video on Mac
Import a video into Snapmotion.
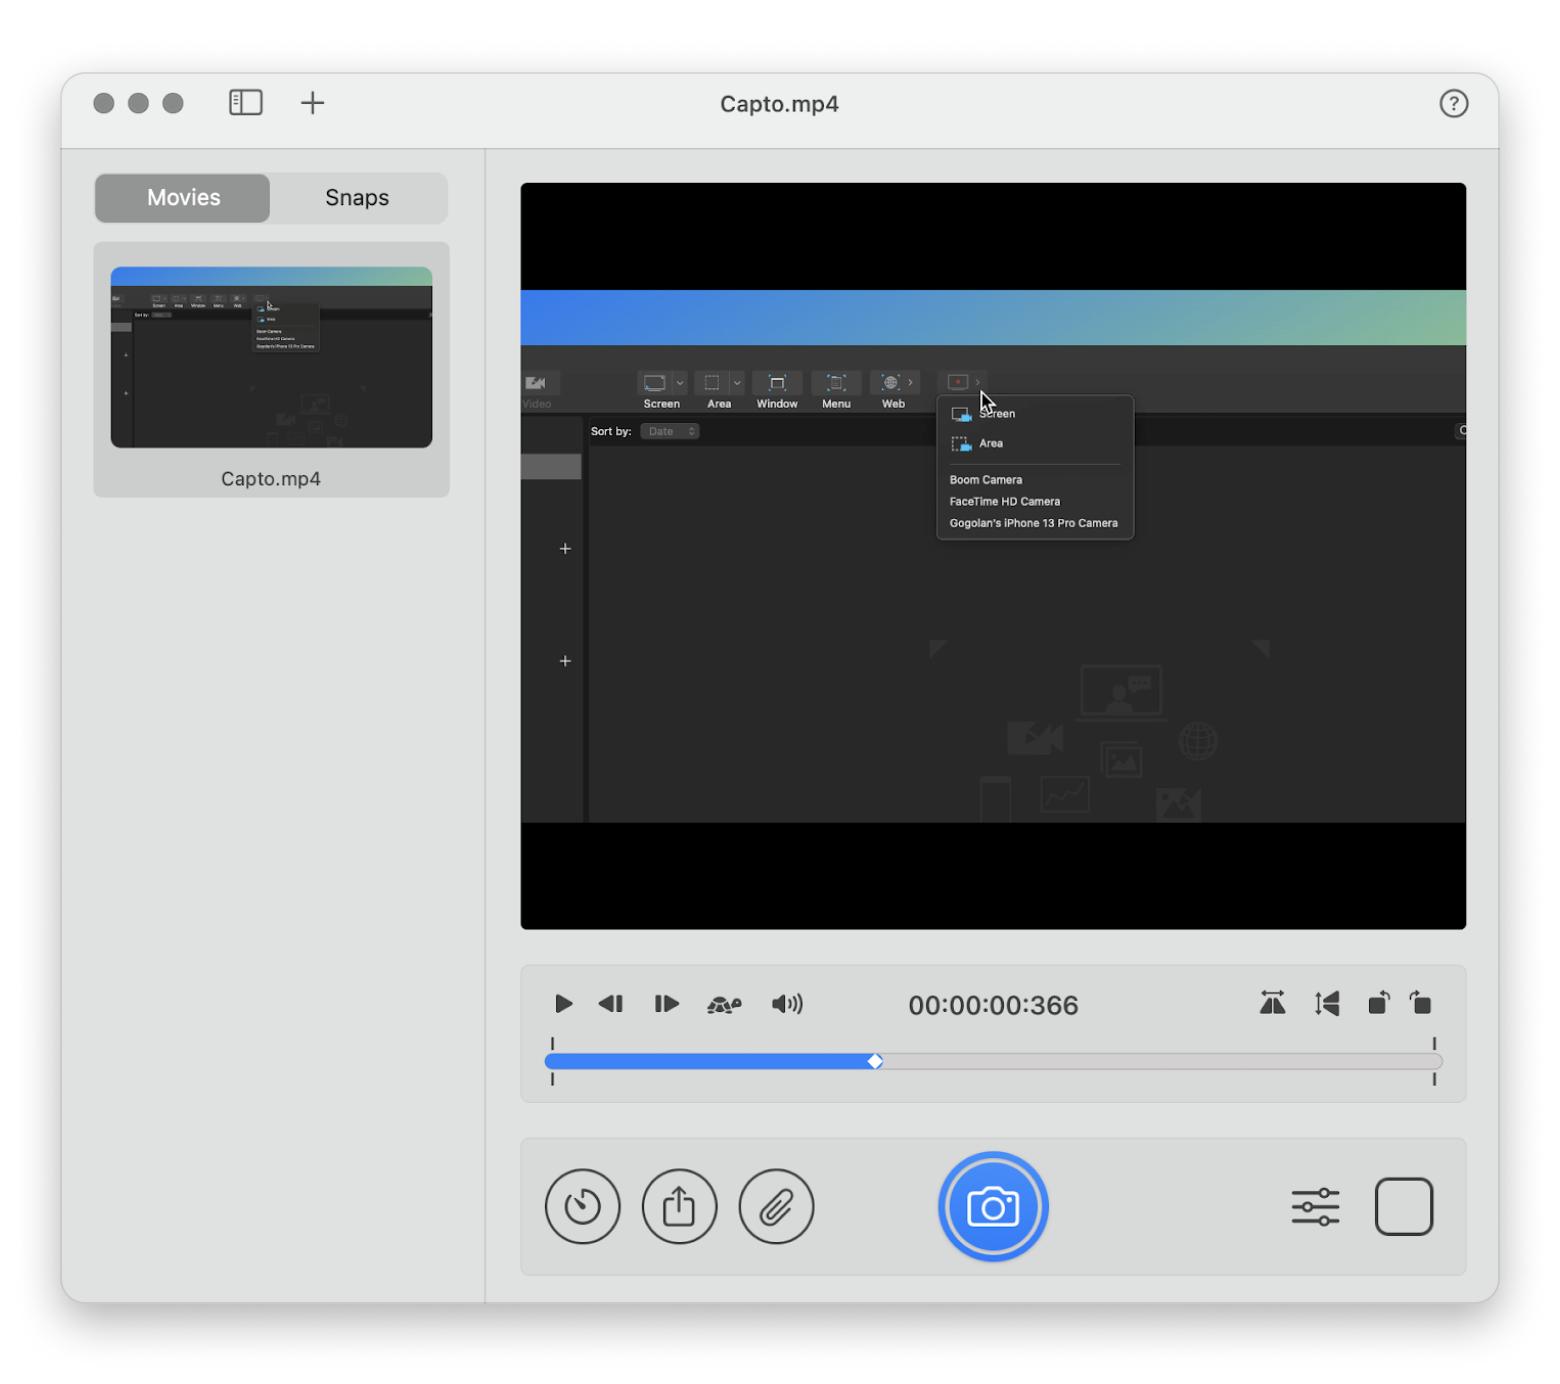
2. Choose to capture a series of frames.
Essential tips for recording high-quality videos on Mac
Since MacBooks have built-in HD cameras, they're one of the best devices to make video recordings on Mac with yourself. Apart from generic best practices like cleaning the lens with a soft cloth, here are some things to adjust before you record video with audio on a Mac with the best video capture software for the ultimate result:
- Framing. Get the camera at your eye level to give the recording a more natural feel. Plus, check the video frame to make sure it's not too tight or cluttered, and then center yourself in front of the camera.
- Lighting. It's best to record in a room with lots of natural light, but if you're using additional light sources like lamps or ring lights, put them in front of you to keep the shadows away from your face.
- Sound. Although you can use an external mic if you have one, Macs generally have good built-in mics, so all you really have to do is choose a location with minimal background noise and speak clearly.
Try implementing these small adjustments the next time you record video with audio on your Mac for a more professional-looking result!
How to save Snapchat videos on a Mac
Saving Snapchat videos on a Mac is difficult, but the procedure is safe, easy, and effective with the appropriate Mac video capture program. Using Setapp tools, you can record video on a Mac without compromising quality or spending hours on complex setups. Instructions for saving Snapchat videos on Mac:
On your Mac, open the Snapchat video you wish to capture.
Start a reliable screen recording solution such as Capto, QuickTime, or CleanShot X. These are dependable options for how to record video on a MacBook.
Choose a microphone, change your recording settings, pick full screen or a particular area, and allow audio as needed.
Start snapping the Snapchat video and recording.
Save your video in the format you want after stopping recording.
For additional guidance on optimizing your workflow, you can also explore how to record, edit, and share videos on a Mac or screen record on a Mac.
Note: Always respect Snapchat's terms of service. Use this approach for personal use or material you have authorization to capture; avoid distributing sensitive information without permission.
Final thoughts on recording professional videos on Mac
If you're creating educational videos, documenting processes, or communicating with clients, you'll need to know how to record video on a Mac.
While QuickTime provides a basic solution, specialized apps like CleanShot X, Capto, Teleprompter, VidCap, and Snapmotion transform the video recording experience on Mac. All these apps are available on Setapp with a seven-day free trial.
With the step-by-step instructions in this guide, you now have everything you need to start recording professional-quality videos on your Mac.
FAQ
How do I record my screen on a Mac?
The simplest way is to press Shift + Command + 5 to open the Screenshot toolbar, which contains screen recording options. To record video on Mac with more advanced features, use such applications as CleanShot X or Capto.
Can I record myself and my screen at the same time on Mac?
You can record your screen and webcam simultaneously with apps like Capto, making a picture-in-picture effect perfect for tutorials.
What is the best tool to record video on a Mac?
You can use QuickTime Player for the basics, but if you need more professional features, try CleanShot X, Teleprompter, or Capto.


