How to screenshare on Mac in multiple ways
143.5K views
9 min read
Mac screen sharing lets you show other people what you're doing on your computer remotely. The ability to share the screen online has become an essential part of most people’s daily work routine. Its potential implementations range from weekly meetings with colleagues and business presentations to live streams, interviews, technical troubleshooting calls, and more.
With an increasing number of companies allowing remote work in recent years, there has been more demand for video-conferencing software as well as screen sharing Mac tools to help facilitate better online collaboration.
As there are many apps and ways of how to share screen on Mac, it would be helpful to have a complete guide to Apple’s built-in tools, plus some alternative methods that can show you how to share desktop online like a pro.
Prepare your Mac desktop for screen sharing
Before you start screen sharing Apple devices, there are a few things you can do to maximize the quality of your desktop stream, eliminate distractions, and make sure your Mac is still performing at its best.
Since sharing an app window instead of an entire screen is easier on your device’s CPU, you can keep an eye on your Mac’s activity by running quick tests using a real-time CPU monitor like iStat Menus.
iStat Menus is a neat utility that provides vital information about your Mac’s key indicators and lets you adjust anything that looks off. Just click the menu bar icon to quickly get access to the latest stats on CPU and memory load, disk usage and activity, temperature monitor, fan sensors, battery life, weather, and so much more!

Another way to prepare before any screen-sharing calls is to clean up your desktop and hide all the sensitive or private information you don’t want to show by accident. PliimPRO is the perfect app to help you with that.
PliimPRO will ensure no screen share session is needlessly interrupted, by disabling notifications and giving you the option to mute speakers in a click. Compatible with any meeting platform, PliimPRO eliminates the problem of switching between apps or making manual settings adjustments before every meeting. Plus, it keeps your private stuff invisible by hiding desktop icons and active apps, making your desktop look neater as a bonus!
As an alternative, you can use One Switch to quickly hide all desktop icons, plus access more settings and switchers like light and dark modes and Bluetooth connections. One Switch is an easy solution to replace numerous apps and stay in control of your Mac with custom toggles.

How to screenshare on Mac
First, to cover the basics, let’s get into details of the native screen sharing Mac function you can find through a simple Spotlight search. Keep in mind that the built-in feature only works for Mac-to-Mac screen sharing.
While the setup needs to be completed on all participating Macs, the process is pretty straightforward. Here’s how to share screen on Macs using the same network:
- Go to the Apple menu on the Mac you want to share from
- Open System Settings ➙ General ➙ Sharing
- Choose to make your Mac accessible to all users who have your permission or restrict access only to certain users in your network
- Turn on Screen Sharing, then click the Info button and note the name and address of the Mac, for example: “My MacBook Pro” and vnc://[IPAddress] or vnc://[Name.Domain]
- Click Done

Now to connect to your Mac share screen session, the viewers will have to follow these steps:
- Go to Finder ➙ Locations ➙ Network to connect using the Mac’s name, or Finder ➙ Go ➙ Connect to Server to connect using the Mac’s address
- Select the name of the Mac you want to view, or enter its VNC address
- Enter the username and password of the person whose Mac you’re trying to view, if prompted, then click Sign In

How to edit display before you share screen on Mac
If you’d like to adjust your display settings for screen sharing Mac, you can do so from the Screen Sharing Preferences menu. Here’s how:
- Make sure you have Screen Sharing activated on your Mac
- Select Screen Sharing ➙ Preferences from your Mac menu bar
- Choose to scale your screen share or share desktop full size
- Adjust scrolling options, show or hide the tab bar
- Switch between Observe and Control display views
- Select Full or Adaptive Quality if network connection is slow or uneven
You can also tweak these settings right when you turn on Screen Sharing through System Settings by clicking into the View menu.
How to use FaceTime screen sharing
Starting with macOS Monterey 12.1 and iOS 15.1, Apple introduced the screen share feature in its FaceTime app. So if all participants of the call are using compatible software, you’re ready to launch FaceTime screen sharing. Here’s how:
- Open FaceTime
- Choose New FaceTime or find a contact and make a call
- Click on the SharePlay icon once the call connects
- Select to share Window or Screen
Now other participants of the call will be able to view the screen or window you shared until you choose to cancel.
Note: Even if one participant lacks a compatible device, screen-sharing options won’t appear.
Add more power to Mac screen sharing
While the built-in macOS tools cover the basic ability to screen share on Mac, you’ll quickly realize they’re not enough if you’re using this function on a regular basis. And once you do, you’ll probably start wondering how to screenshare on Mac in a quicker and easier way. And if the main reason you’re looking at Mac share screen options is that you’re often the host of webinars or presentations, then Presentify is the perfect app for you.
Presentify offers seemingly small but mighty features that’ll help upgrade all your online demos, presentations, and video tutorials. Presentify lives in the menu bar of your Mac and lets you annotate any screen, highlight cursor while presenting and even has whiteboard support. All to keep your audience focused and engaged in your presentation by emphasizing what’s important on the go!
Tip: If you are looking to elevate your screen-sharing game on a Mac, Teleprompter App is a must-try tool that promises to enhance your presentation skills. Designed to help create streamlined videos, this app allows you to add your script and enjoy a seamless broadcast of text on the screen while it records you speaking.
It's perfect for rehearsing before any presentation, offering the flexibility to record on both Mac and iPhone. This feature is invaluable for boosting your confidence, ensuring you're well-prepared to speak in front of an audience. Moreover, the app's scrolling script function means there's no need to stress over memorizing your entire speech. With Teleprompter App, you can focus on delivering your message with confidence and clarity.

Asynchronous screen sharing Apple tools
Since asynchronous communication and collaboration saves almost 60% of time in task completion, it’s clear why businesses prefer it to the traditional synchronous ones. Async screen sharing similarly doesn’t require participants to be present or be online at the same time.
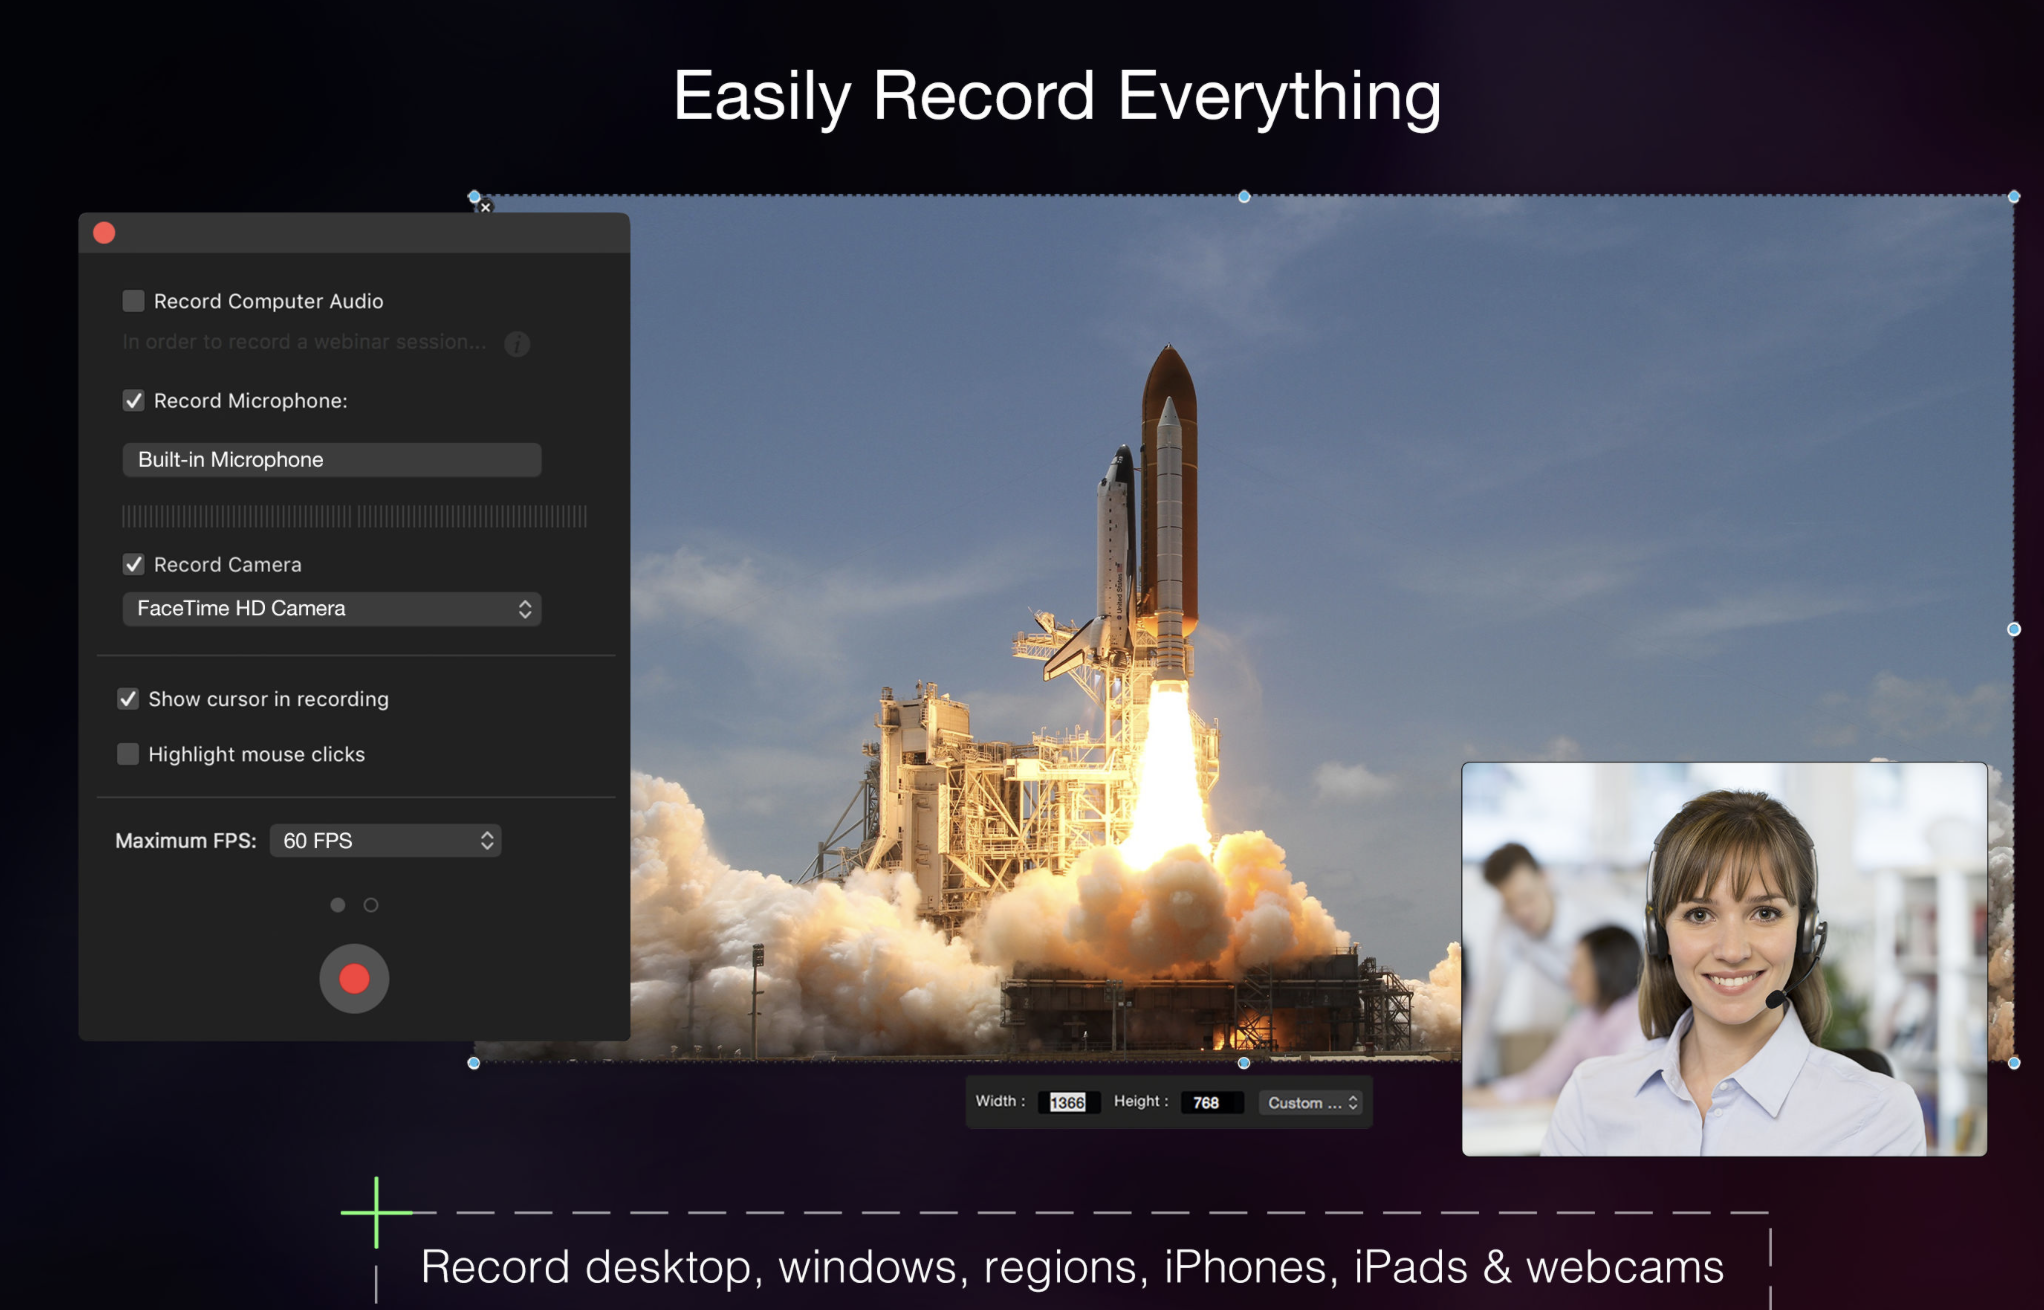
One of the best apps designed for asynchronous screen sharing is Capto.
Capto can create instant screen recordings to illustrate your point or highlight an issue. Coupled with the app’s voiceover or webcam and iPhone recording options, these screen share recordings make a powerful tool for effective project collaboration, product demonstration, or customer support.
Online tools for screen-sharing calls
Most video-conferencing tools now have the option to screen share on Mac or any other computer making it easy to connect with non-Apple users. Some of these apps work over the internet as well as through your local network, so you can share your screen with anyone, anywhere in the world.
Here are some of the most popular online screen sharing tools:
- Zoom. Likely the most commonly-used online tool today. Zoom has strong privacy features and great video quality. You can share your screen at any time during a Zoom call by clicking on the Share Screen button.
- Google Meet. If you have a Google account, you can create video meetings using this app. Google Meet does have a different name for screen sharing, so you’ll have to look for the Present Now button to share your screen.
- Slack. Initially created as a messaging app for businesses, Slack now has the option to share your screen during a video call. You can also choose to share your entire desktop or just one specific window.
- TeamViewer. This app was made specifically for screen sharing and requires both devices to have it installed to work. To share your screen, send your recipient the unique password and ID number that TeamViewer creates for each new session.
- Skype. Although known mostly as an app allowing you to make simple calls and video conferences, Skype also has a screen share feature. All you have to do is click the respective button during a call to initiate it.
FAQs: How to screen share on Mac
In addition to the methods described above, here are some answers to the most common questions regarding screen sharing Apple products.
How does screen sharing work?
The screen share software you’re using breaks down the data depicted on your Mac and sends encoded packets of information to another computer over the internet. The recipient device then rebuilds the image received from the other screen.
Is Mac screen sharing safe?
Due to the nature of screen sharing, there’ll always be a certain degree of risk associated with giving access to your computer to the wrong person. However, screen share on Mac is encrypted, so no unwanted parties can view what you’re showing.
How to screen share from Mac to TV?
Simply click on Control Center from your Mac’s menu bar and select Screen Mirroring. Then select the TV you want to share your screen to: it can be your Apple TV or another smart TV.
Why can’t you screenshare on Mac?
There can be multiple reasons for not being able to turn on Mac screen sharing such as an unstable internet connection, the function being disabled, your account not having the necessary permissions, Sleep mode being activated, or Mac Firewall blocking screen share.
What is the Mac shortcut for screenshare?
Although there isn’t a dedicated Mac share screen shortcut, the quickest way to begin sharing your screen is by pressing Command + Space to open Spotlight, typing “Screen Sharing,” and hitting Return to launch the app.
How to share a Mac screen with an iPhone?
Macs have a native iMessage app you can use to share desktop view with an iPhone. Alternatively, you can use third-party tools like Zoom, Google Meet, or TeamViewer that have iOS versions as well as macOS ones.
Screen sharing Mac made easy
As you now know, there are multiple native ways to share screen on Mac, but if you’re looking for more advanced features and expanded functionality, try one of Setapp’s dedicated screen sharing apps.
Presentify, Teleprompter App, and Capto will help you make sure your screen-sharing calls go smoothly. Plus, remember to eliminate distractions and prepare your screen before sharing with PliimPRO, One Switch, and iStat Menus.
Setapp offers more than 240 practical utilities for macOS and iOS devices to help increase the efficiency of your daily workflow. As an expert-created app suite, Setapp has a great solution tool for any use case giving you the option to check out any and all of its apps for free through a seven-day trial!