How to compress a video on Mac
Large videos are no friend to your Mac. It's a fact of life in the age of 4 K screens and HD videos that eat up memory space on your Mac and slow it down. Apart from this, large video files can cause compatibility and playback issues. And they are so cumbersome to share!
That’s why I’m here to share the best techniques on how to compress a video on your Mac.
What is video compression?
Video compression is a technique that you use to reduce video size on Mac. Some of the cutting-edge software can even retain visual and audio quality.
How does video compression work?
To understand how compression works, imagine video as a series of photos that are shown quickly one after the other. To reduce the video size, unnecessary repeated parts, such as images, scenes, and sounds, are removed.
There are many techniques to reduce video size on Mac. For example, spatial compression targets video elements with similar colors and merges them into one frame. Temporal compression reduces the time lag between successive frames. And quantization reduces the number of bits used. For example, a 32-bit video is compressed to 16 bits.
| Best ways to compress | Recommended if you… | Superpowers | Pricing |
| CameraBag Pro | Want editing and compression with no loss of original quality | Various video formats support over 200 professional filters | Included in Setapp* |
| Permute | Need to convert videos to more space-efficient formats | Conversion of videos across multiple formats, merging of two videos into one | Included in Setapp* |
| iMovie | Want intuitive editing features to edit and reduce video size | Simplified audio tracks (mono or stereo), automatic optimization based on settings | Free |
| QuickTime | Need a built-in multimedia player with basic compression needs | Screen recording with audio | Free |
| HandBrake | Need an online service for compressing video files | Wide format support, batch processing | Free with paid plans available from $1 |
| VLC | Want to preview parts of the compressed video before saving | Advanced playback controls | Free |
| VEED.io | Want cloud-based advanced video compression | Three compression levels, CRF (Constant Rate Factor), Bitrate | Free with paid plans available from $12 |
| Clideo | Need video compressor with predefined templates | Basic online video compression with an easy-to-use interface | Free with paid plans available from $6 |
*Setapp is a platform with 250+ apps for macOS, iOS, and web. Try it free for 7 days, then continue from $9.99 + tax per month.
Best ways to compress a video without losing quality on Mac
Compressing video on the Mac has become much easier with the introduction of various dedicated video compressors. The range of options varies from built-in tools that are quite restrictive to third-party applications that offer a wide range of advantages and possibilities. So, let’s discover how to compress a video file on a Mac without losing quality.
CameraBag Pro: Resize with minimal quality loss
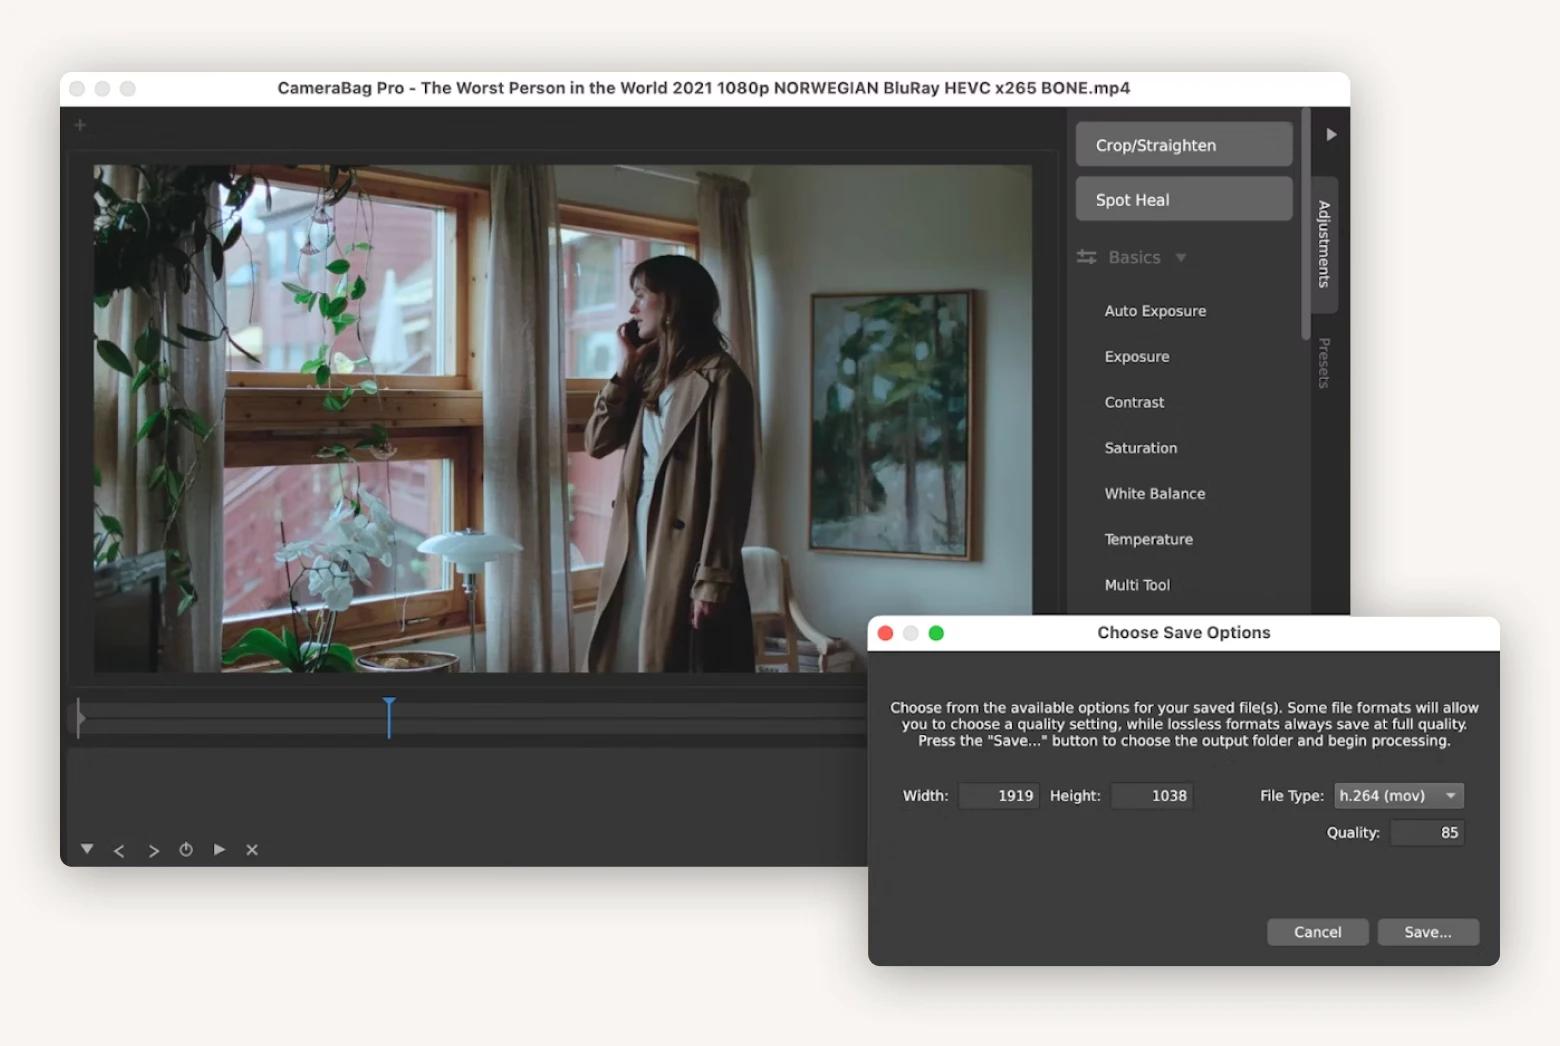
CameraBag Pro is an intuitive app that has proven to be an efficient way to compress video on a Mac. It features excellent non-destructive video editing and compression capabilities, coupled with a streamlined user interface that’s perfect for all levels of users.
Here’s how to reduce video size on a Mac with CameraBag Pro.
- Download and open CameraBag Pro.
- Click on the Load Photo/Video tab to select a video.
- Go to File > Save as…
- Adjust the video resolution, file type, and quality to your choice.
- Click Save.
Permute: Convert to a more economical format
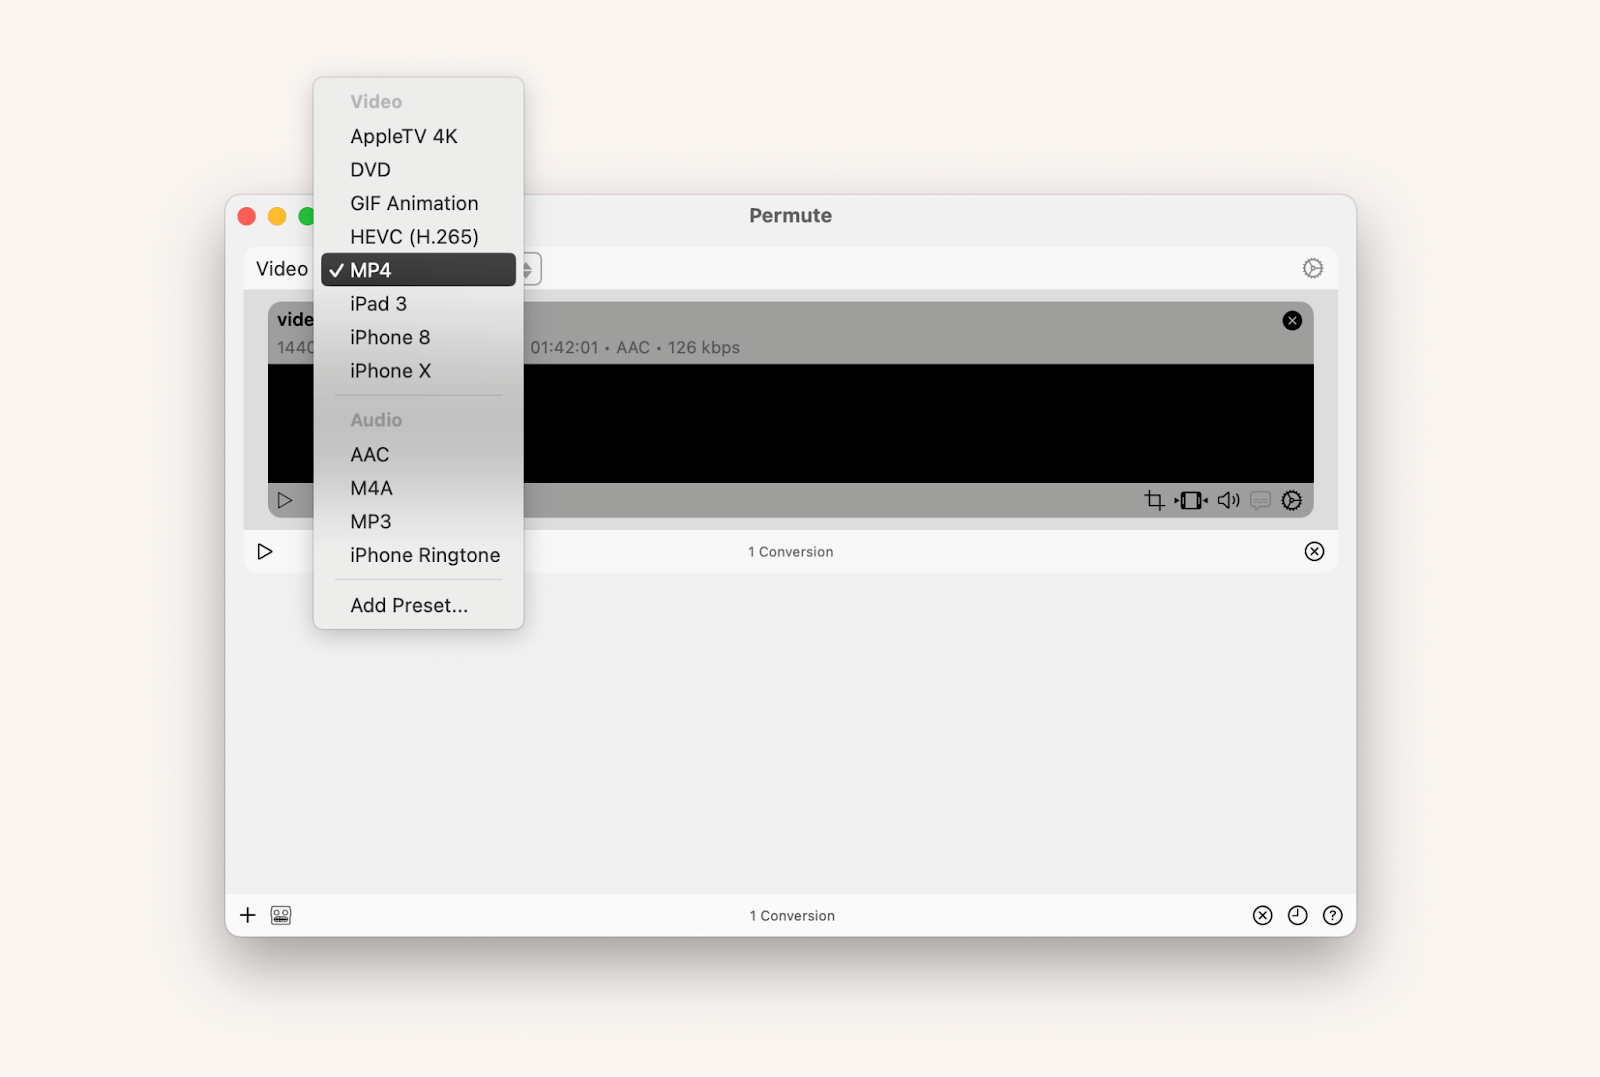
Permute is a versatile Mac app that is designed to convert video files between various formats. The thing is that some video formats tend to be larger than others. Typically, MP4 is lighter than AVI or MKV, for example. Therefore, converting video allows you to gain additional space without visible quality loss.
Here is how to make a video file smaller on Mac with Permute:
- Download and open Permute.
- Click the plus sign button in the bottom left corner to select the video or drag and drop the file.
- Choose the lighter video file format (for example, MP4) and click the Play button.
You’re done!
Reduce file size on Mac using iMovie
iMovie is a native Mac app that is designed with intuitive editing features that let you edit and reduce video size on Mac for free.
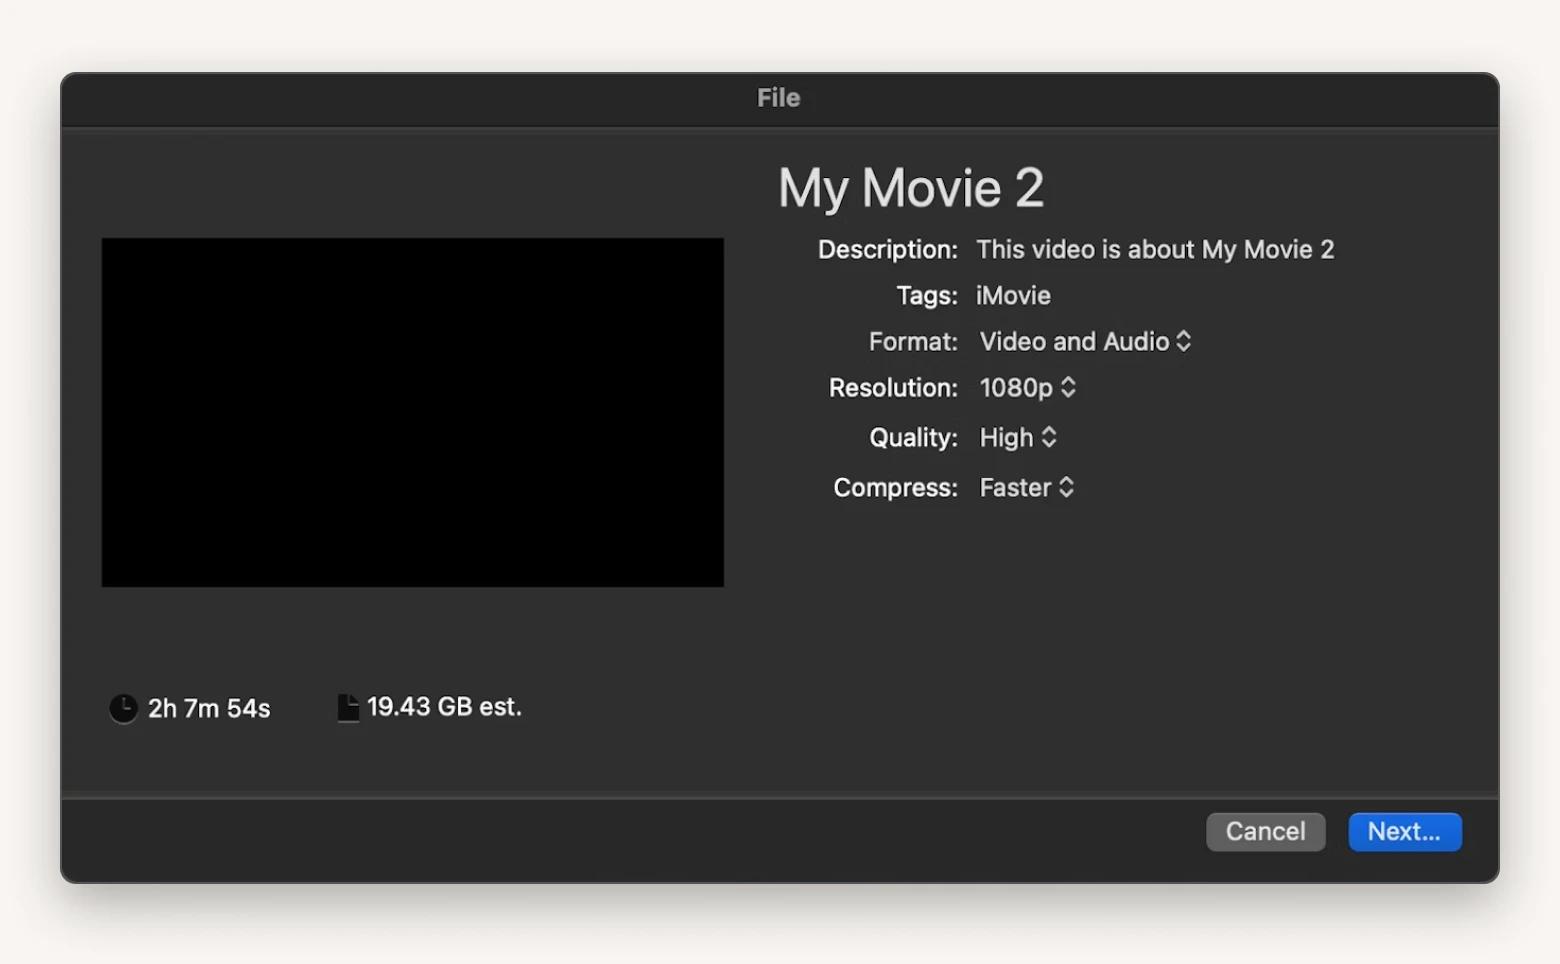
Here’s how to compress a video on Mac with iMovie:
- Drag and drop your video into iMovie.
- Click File in the menu bar > Share > File.
- Choose your settings: video format, compression, resolution, etc.
- Click Next and name your file.
- Click the Save button.
While you can reduce video file size by adjusting resolution and quality, iMovie lacks advanced compression settings and fine-tuning capabilities.
Compress video on Mac using QuickTime
QuickTime Player is a built-in multimedia player that offers basic video editing and compression. The app allows you to export files in 480p, 720p, and 1080p or audio only. You can reduce video file size on Mac using Quicktime by following these instructions:
- Open the video in QuickTime.
- Go to File > Export As.
- Choose the file format you prefer.
- Select the file location and press the Save button.
The QuickTime player is ideal for those with minimal compression needs. However, it noticeably loses video quality, and it is not ideal for large video files.

Reducing video file size with free compressors
If you need to compress files occasionally, have no privacy concerns, and can live with some feature limitations, you can try free compressors.
HandBrake: Cross-platform software
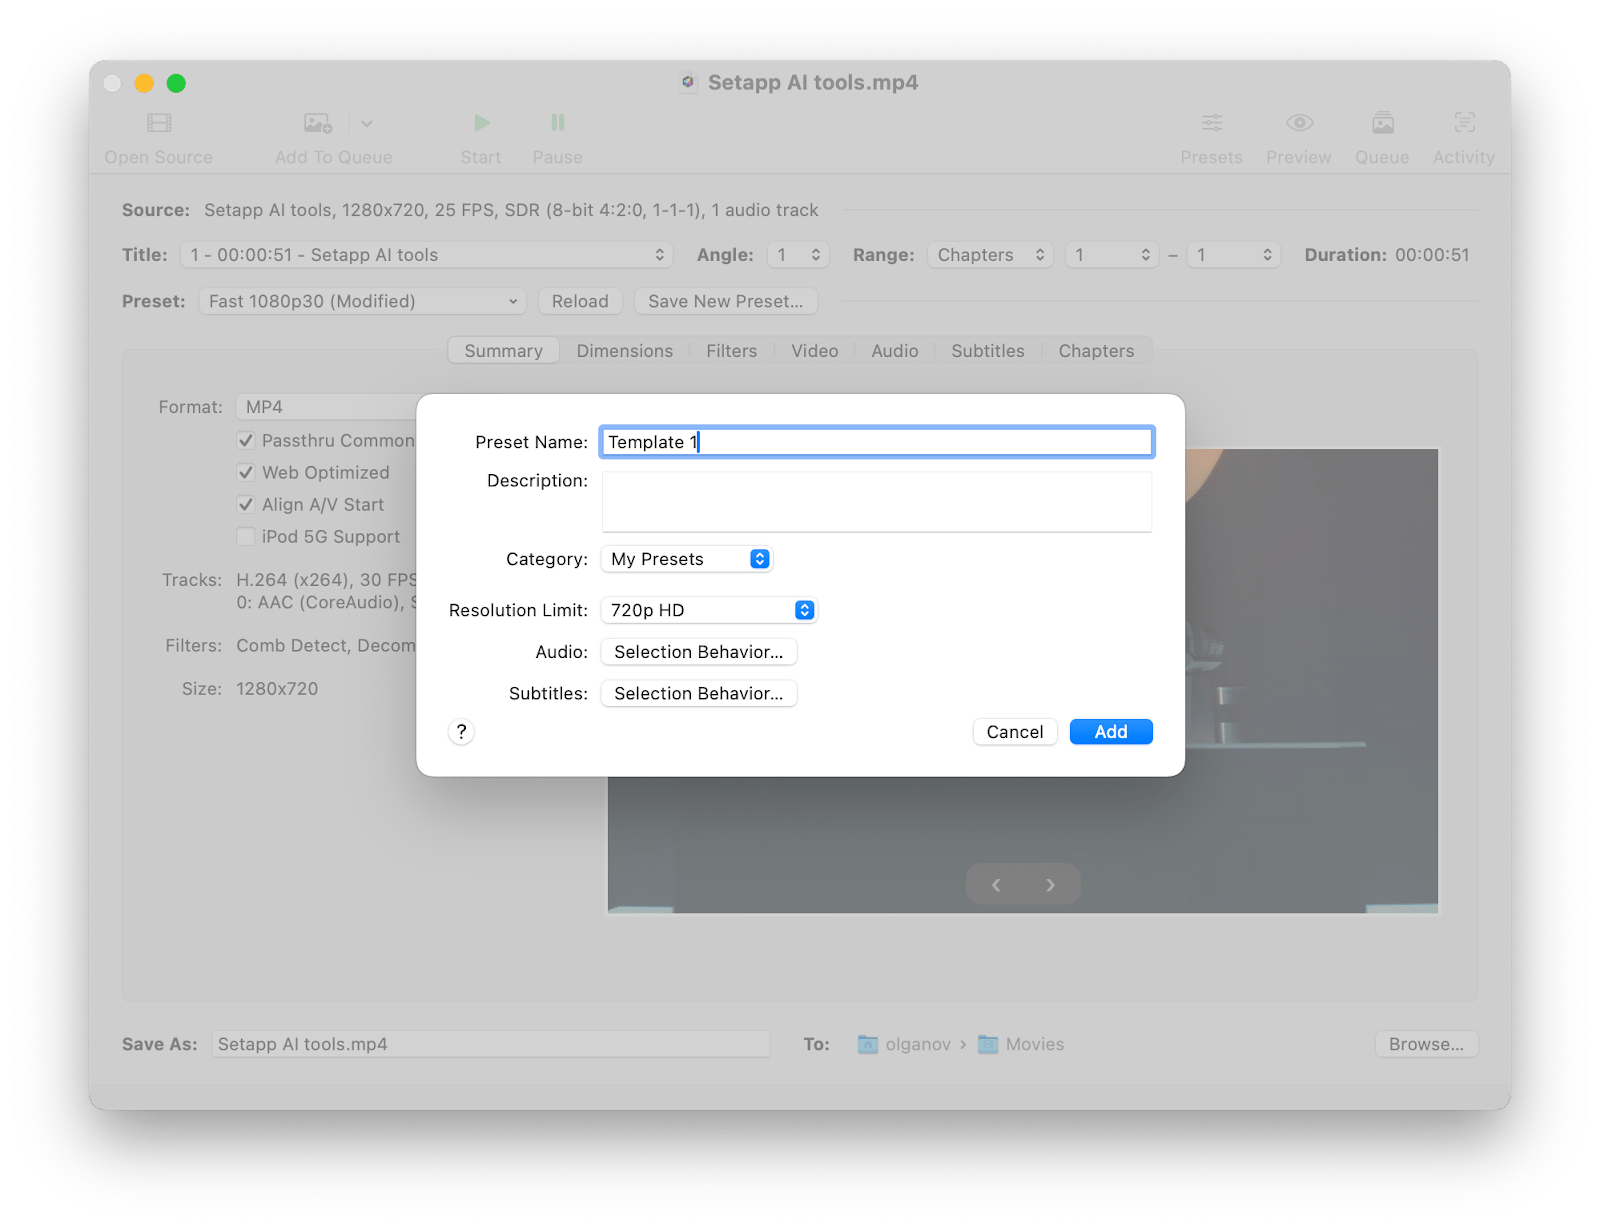
HandBrake is a cross-platform software that allows you to compress video files on a Mac with a simple change of the video preset and convert them to any of the available formats of your choice.
While HandBrake is efficient at compression, it causes inherent video quality degradation and compatibility issues with certain file formats.
VLC: Preview compressed parts
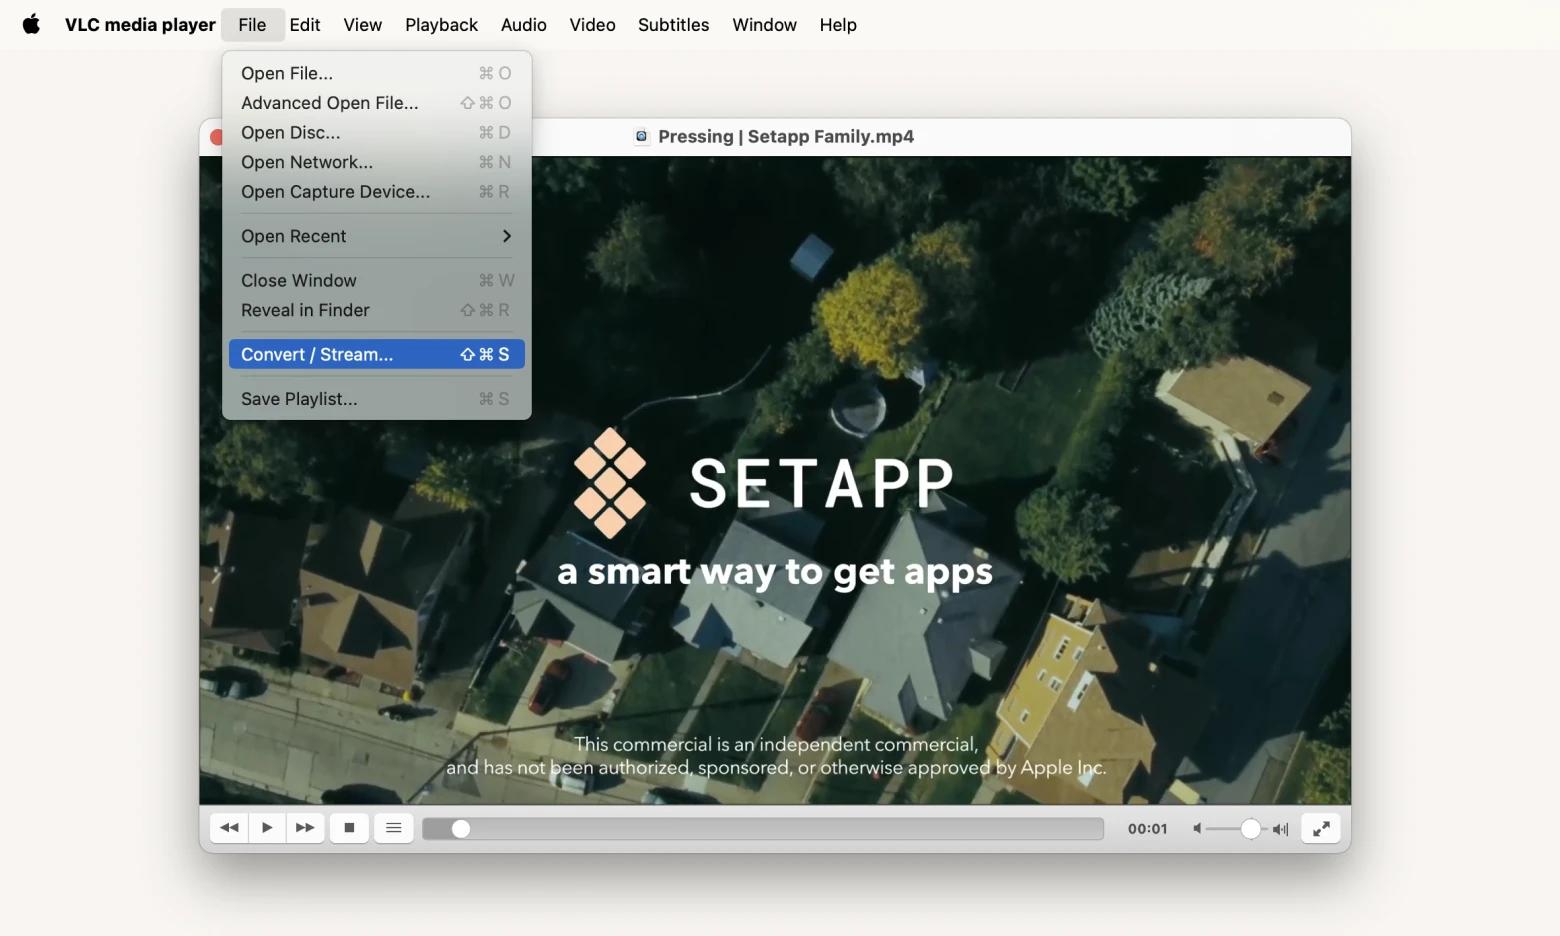
VLC is another free and open-source video compressor for Mac with a straightforward and standard interface. It allows you to preview some parts of the compressed video to check its quality before saving. However, as open-source software, VLC is not as comprehensive and regularly updated as other paid apps.
VEED.io: Three levels of compression
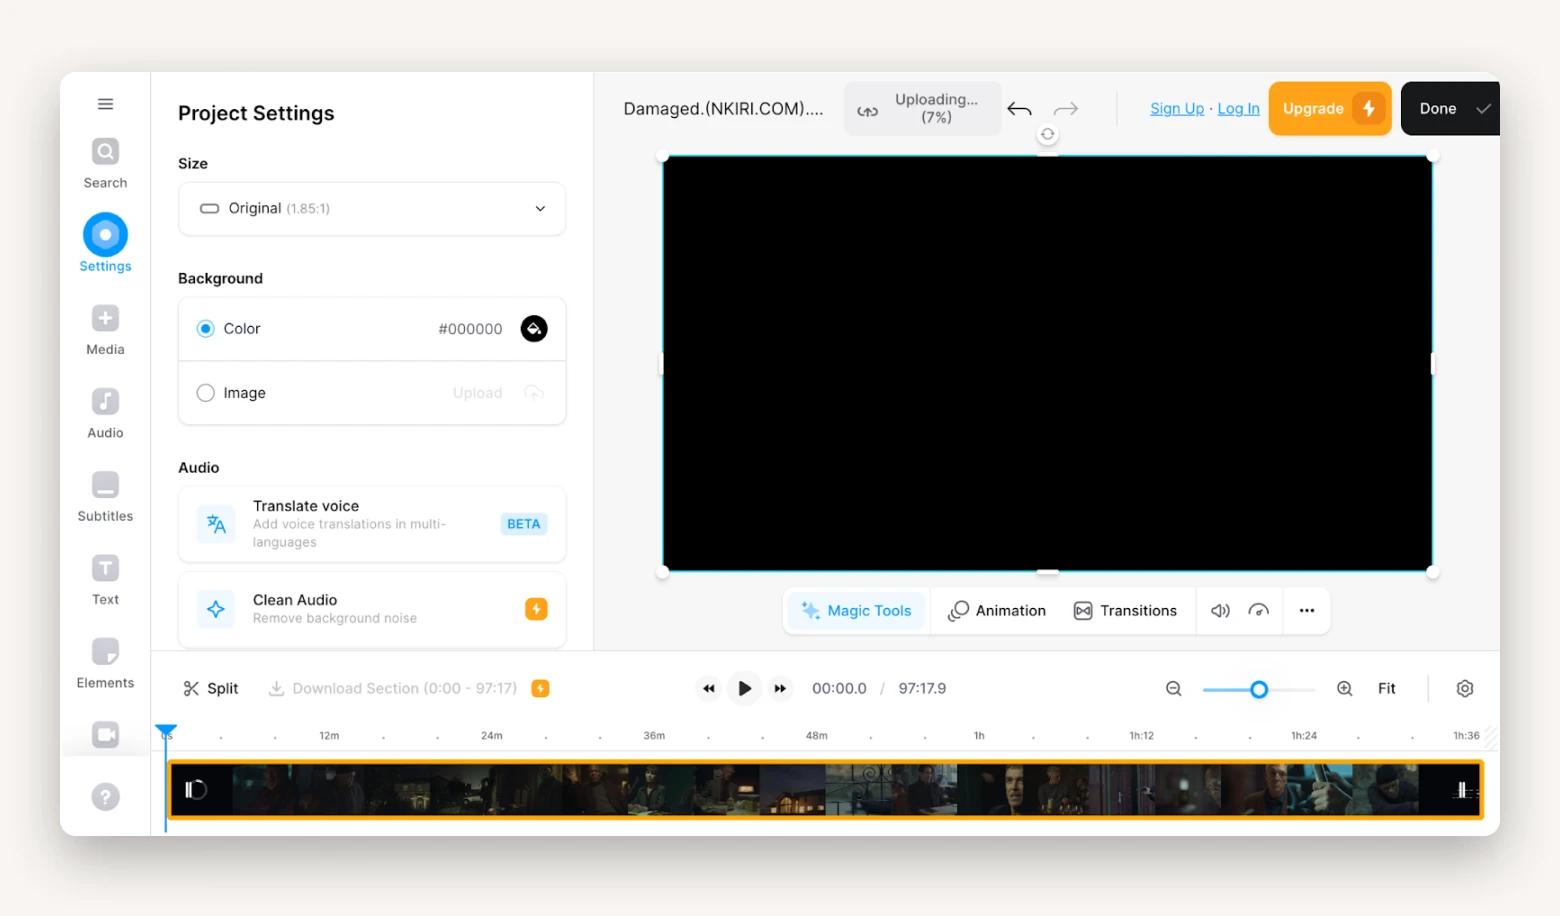
VEED.io is automated video compression software that gives you total control over the reduction in video file size you want. It offers three compression levels and a range of advanced settings, such as Constant Rate Factor (CRF) and Bitrate.
Clideo: Easy flow
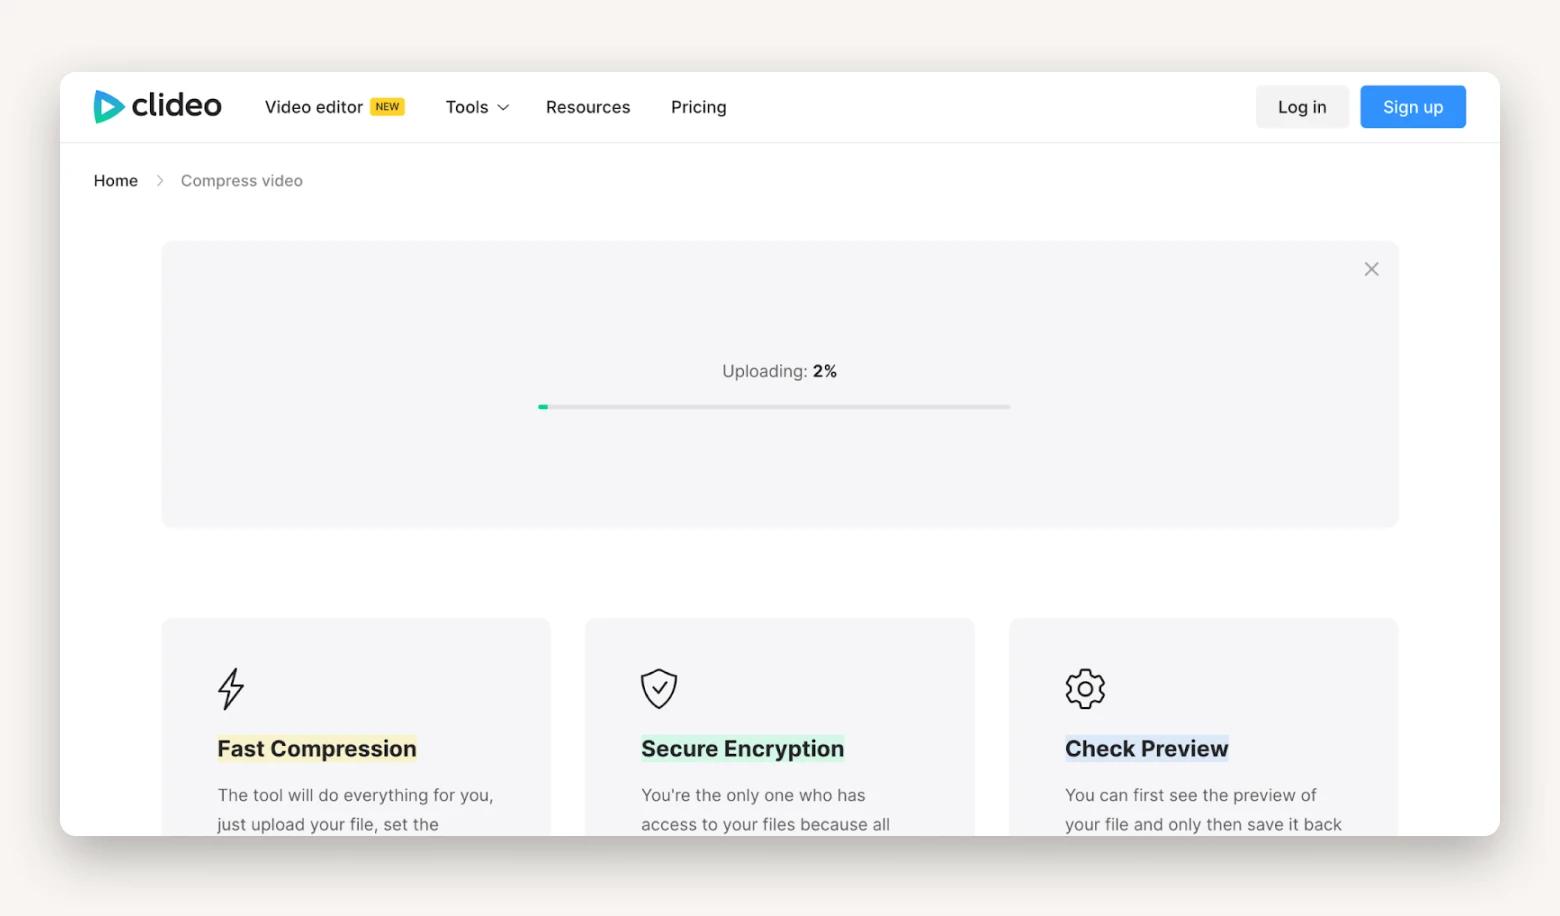
Clideo is an online video compression software solution that offers a predefined template that guides you on how to compress video files on a Mac.
Clideo works really easily: just click on the video upload thumbnails, make all the necessary adjustments, and download the video to your Mac in either 480p or 720p.
Depending on the size of the video and internet speed, uploading and compressing videos on Clideo can take some time. This is less efficient compared to desktop apps, especially for large files. Also, be careful with sensitive files.
How to play compressed videos
Most compressed videos do not need special apps to play. However, if you come across a video that is not playing or just want to enhance your viewing experience, try these media players.
Movist Pro: Easy-to-navigate player
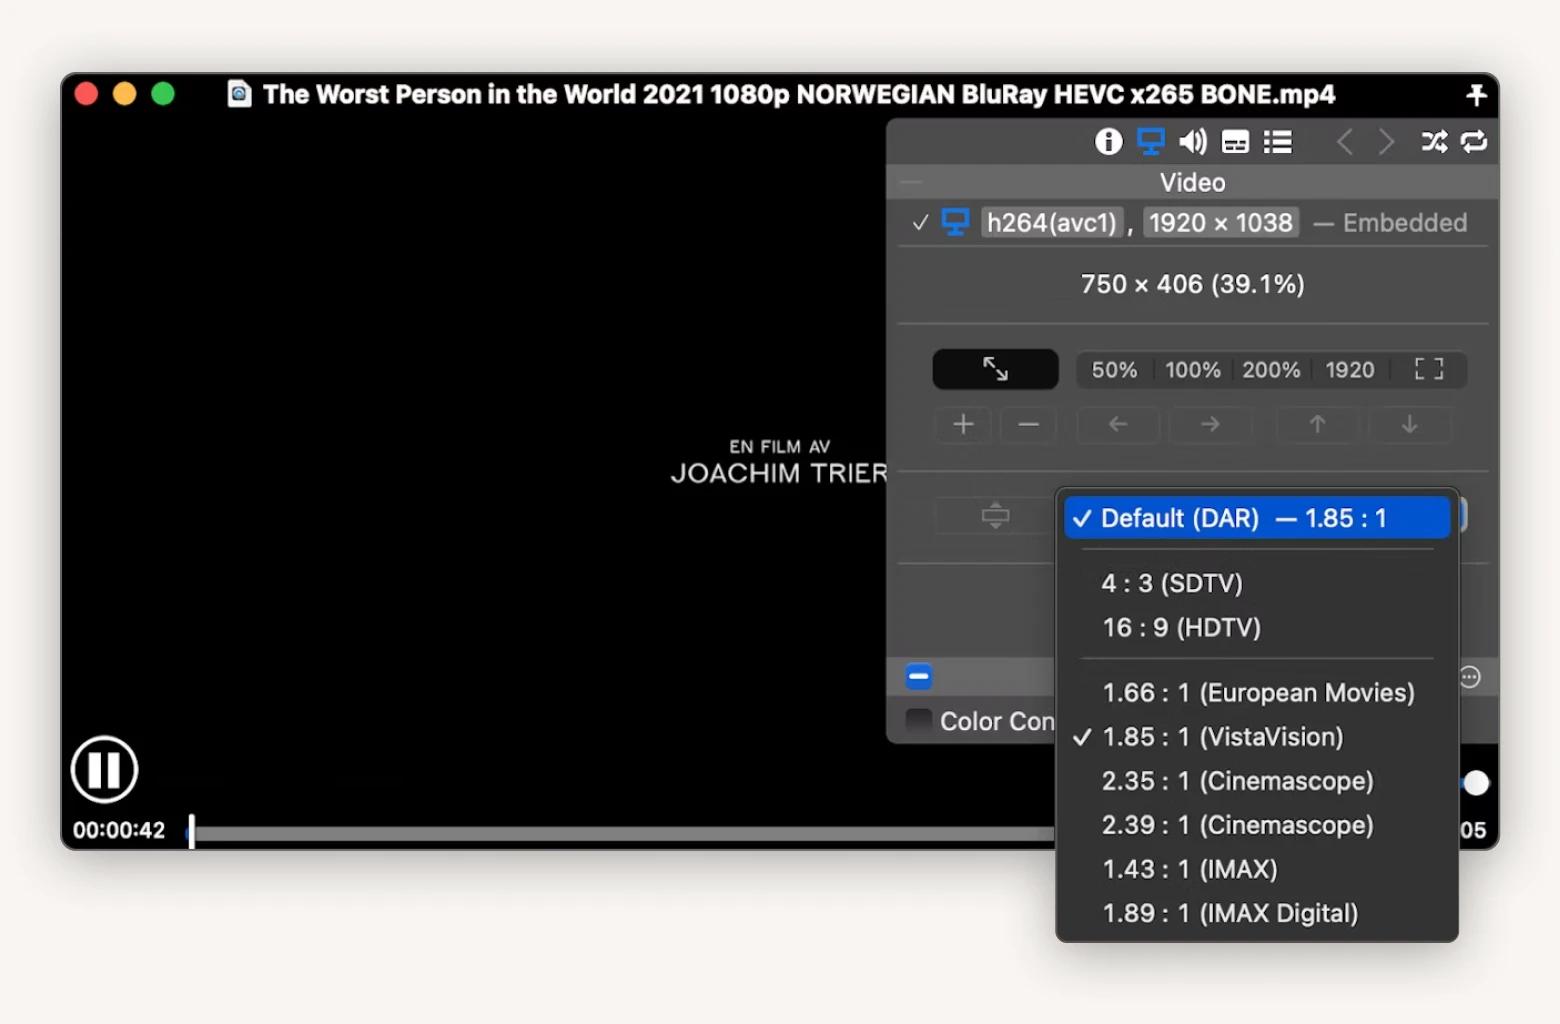
Movist Pro is a highly efficient media player that allows you to play all your compressed videos, enjoying the full functionality of choosing the correct settings such as video quality, equalizer, filter, and others.
Elmedia Player: For various video formats
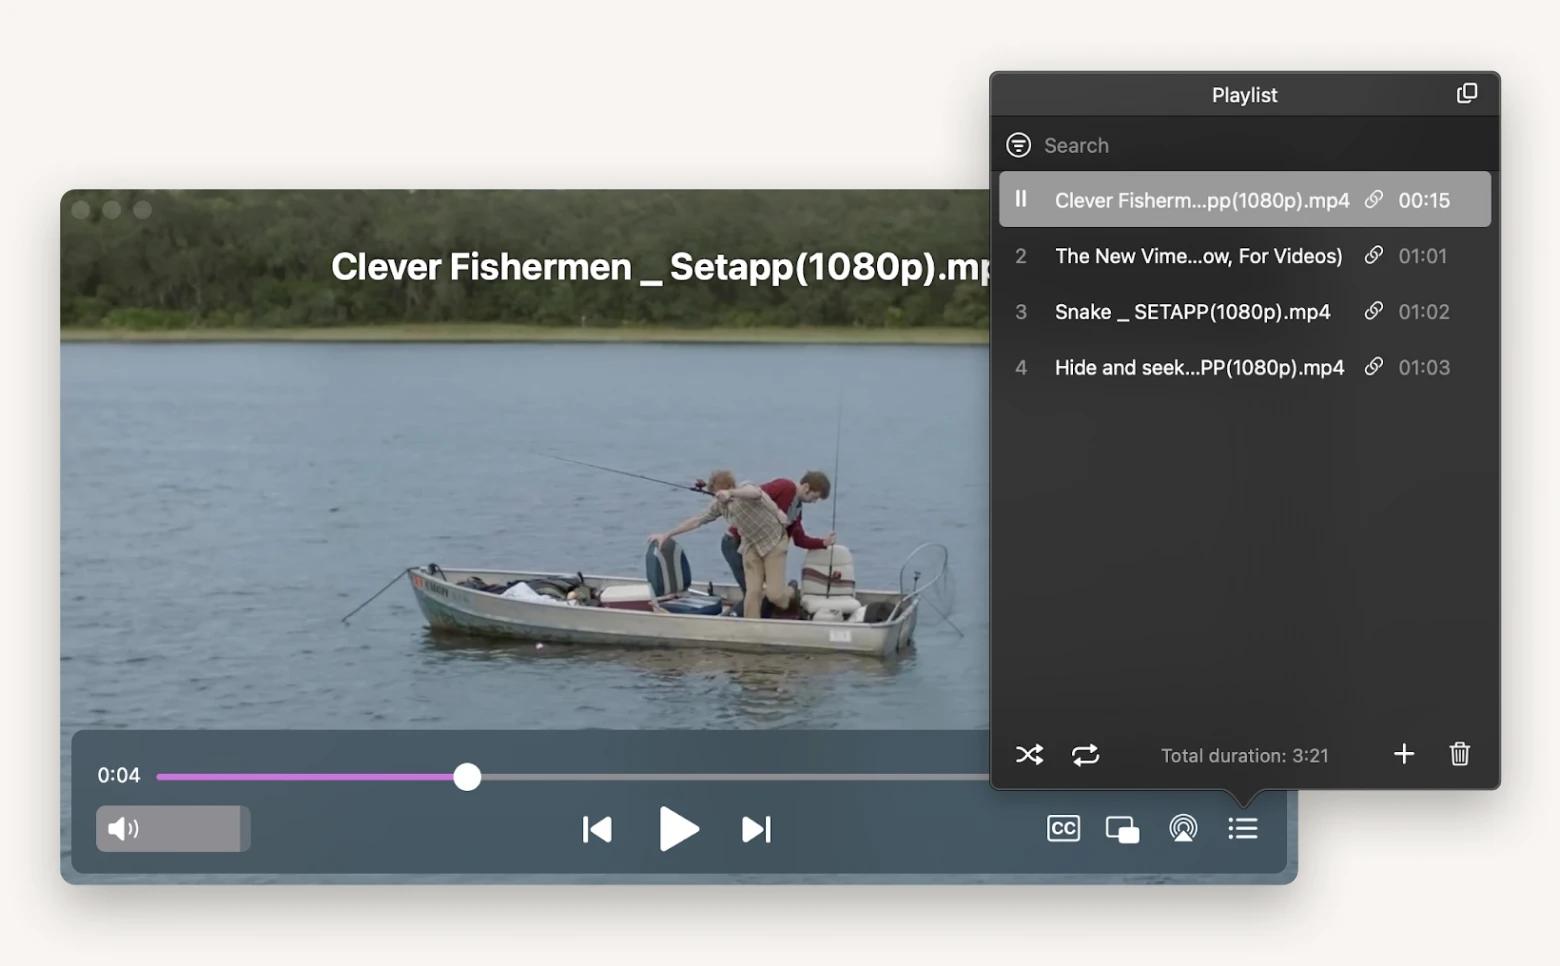
Elmedia Player is a versatile and easy-to-use media player with lightning-fast playback and compatibility with various video formats, including AVI, MKV, MP4, and others. Elmedia Player gives you total control over video playback and also offers extensive subtitle support in SRT, SMIL, and ASS formats.
Reduce video size on Mac with top compression apps
Excessively large video files cause more harm than good, including storage and compatibility issues, slow performance, and, most importantly, playback problems on your Mac. However, with highly functional apps like Permute, and CameraBag, you can enjoy the seamless reduction of huge video files to eliminate storage and other problems on your Mac. You can get started with the above-listed video compression apps (and 250+ others) on Setapp with a 7-day free trial.
FAQ
How do you compress video files without losing quality?
To compress video files without losing quality, use dedicated software like CameraBag Pro. Modern apps use codecs such as H.264 (AVC) or H.265 (HEVC), which help you compress files efficiently and without visible quality loss. Another option is to reduce the bitrate and resolution slightly. This can significantly reduce the file size while maintaining good visual quality. Alternatively, you can convert your video to another format, most especially MP4, which is known for its high compression and good video quality. Permute or CameraBag are great options for this.
Is compression the only way to make a video smaller?
Compression is not the only way to make a video smaller. There are several methods besides compression that you can use to make a video smaller. You can trim some unnecessary parts or reduce your video resolutions and bitrate to make it smaller without compressing the video entirely.
How do I compress a video for email?
The best methods to compress a video for email include video compression tools like iMovie, Permute, and CameraBag, which allow you to adjust the video quality to get an email-ready video file.
How do I reduce the MB and GB of a video?
You can reduce a video's MB and GB by shrinking the video with CameraBag. Another option is to reduce the video resolution or trim out some parts and change the file type (to MP4, for example) to get a smaller video file size.
What is the best format to compress a video in?
The best format to compress your video depends on your preferences, the intended use of the video, and the requirements of the platform you want to upload the video. The most commonly used video file formats include MP4, AVC, MOV, HEVC (H.265), AVI, WMV, and many others. However, the most efficient format is HEVC (H.265), which tends to be smaller in file size while maintaining high quality.


