How to avoid Google Photos storage limit even if you’re out of space
The days of storing my photos on an external hard drive or even on a physical camera or smartphone are long gone. A better solution is to move my photos to the cloud.
There are quite a few cloud storage providers available right now, but the one that has attracted the most attention in the past few years has been Google Photos, mostly because it offers free photo storage for everyone. Is this too good to be true?
Let’s go through the basics of Google Photos, particularly how to avoid Google Photos storage limits.
Avoid Google Photos storage | Here’s what to do |
Running out of 15GB free storage on Google Photos | Use Gemini to remove duplicate photos on Mac before uploading. |
Photos taking up space shared with Gmail and Drive | Create a separate Google account just for photo storage. |
Uploading unnecessary files to the cloud | Use ForkLift to selectively sync only essential folders to Google Photos. |
Hard to manage multiple cloud accounts | Use CloudMounter to manage Google Photos, iCloud, Dropbox, etc., from one place on your Mac. |
Unclear where storage is being used | Check storage breakdown in Google Photos > Storage icon or in Google Drive settings. |
How to use free photo storage
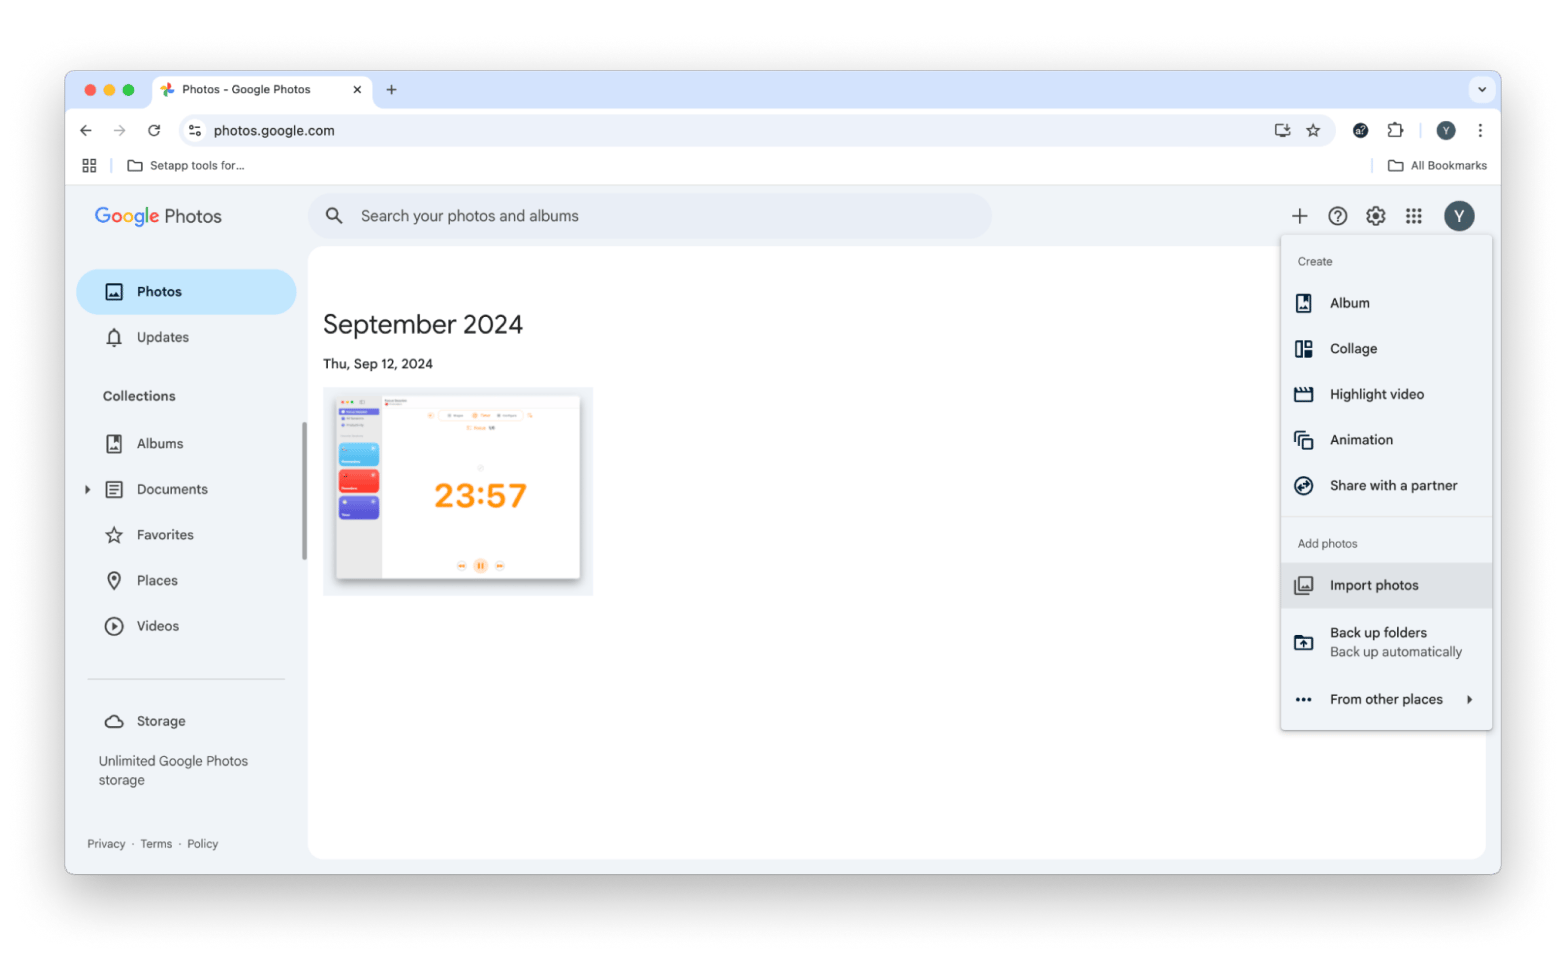
Once you have a free Google Photos account, you can start populating it with pictures. There are a few ways to do it:
- You can click the plus “+” button on the top right and import photos from your Mac.
- You can drag and drop images directly into Google Photos.
- You can use Google Drive to automatically back up selected folders to the cloud, such as your photo folders.
How to check Google Photos storage limit
If you’re an avid photographer, you might soon be nearing your free Google Drive storage limit of 15 GB. But how would you know?
To check the amount of Google Photos space you have left:
- Log in to Google Photos.
- Click on the Storage icon in the sidebar.
- Examine how much space is taken up.
If you’re hitting your Google Photos storage limit, you can always pay for more storage by simply clicking “Get more storage” and selecting the plan that best suits you.
Read also:
- Download photos from Google Photos
- Transfer photos from Android to Mac
- Cancel iCloud storage plan on Mac
- Transfer Google Photos to iCloud
Tricks to maximize your free Google Photos storage in 2025
Anyone signing up for an account can enjoy 15GB of free storage. But, this is shared across Google Docs too, so you may well run out of storage quicker than you anticipated! So, how can you maximize your Google Photos Storage in 2025?
There are great tools such as Gemini, ForkLift, and CloudMounter, which are all fantastic in different ways for optimization:
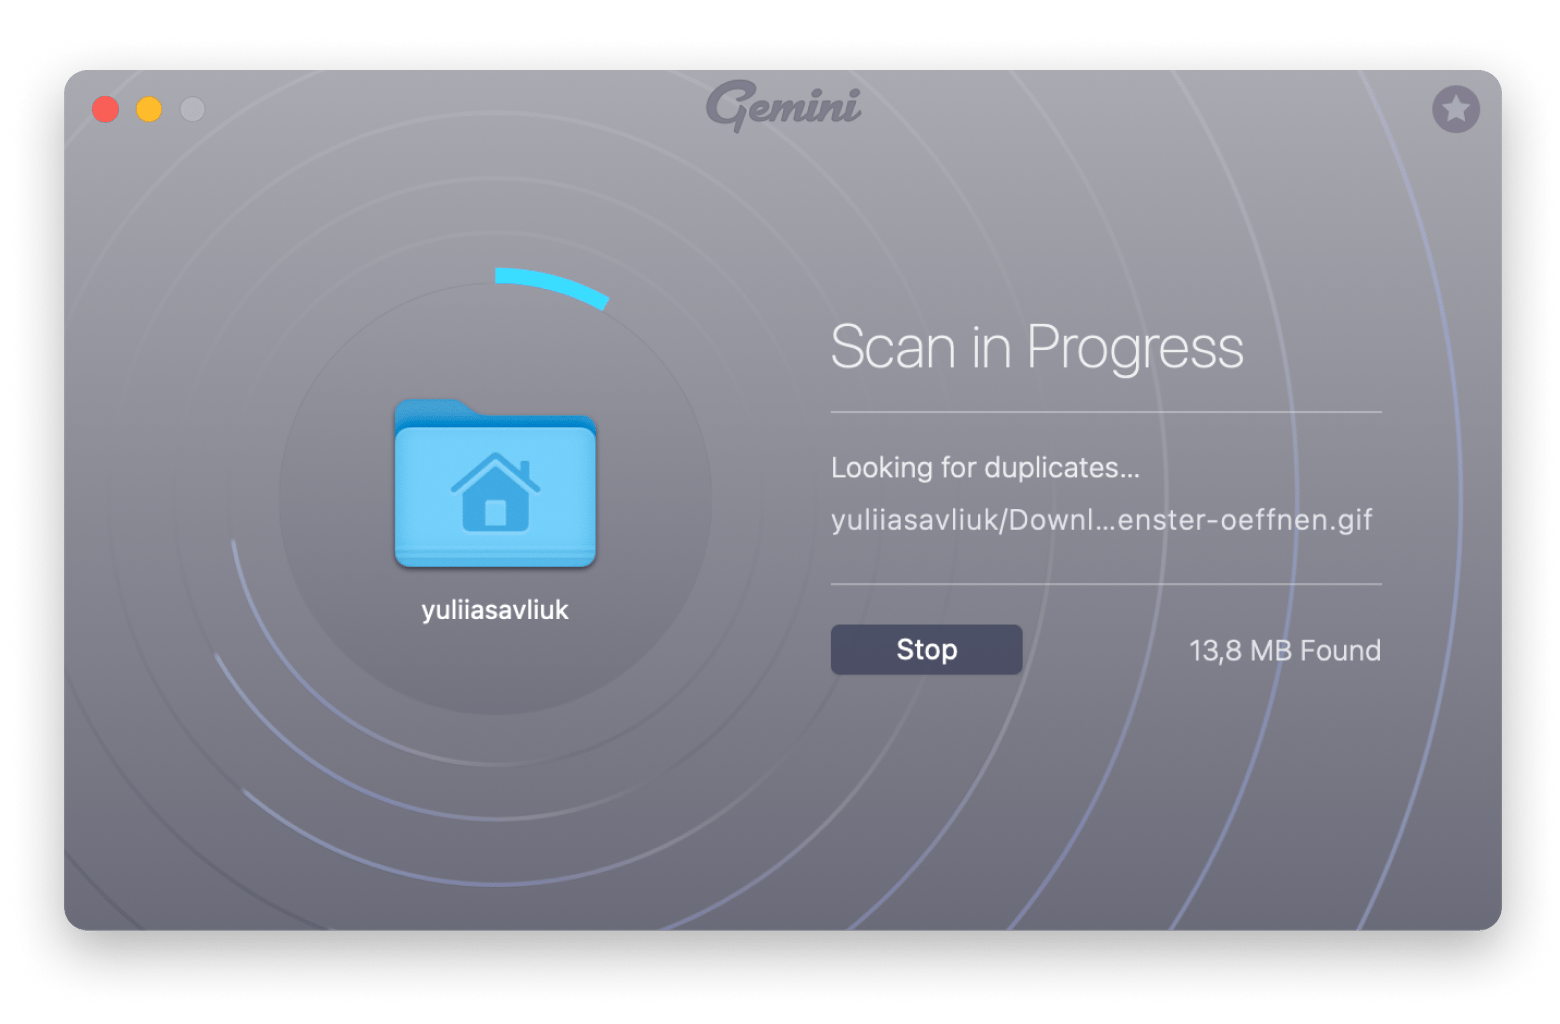
Gemini is a really cool app that helps you find duplicate photos on your Mac. It uses AI to scan for any copies, so you won't accidentally upload them to Google Photos.
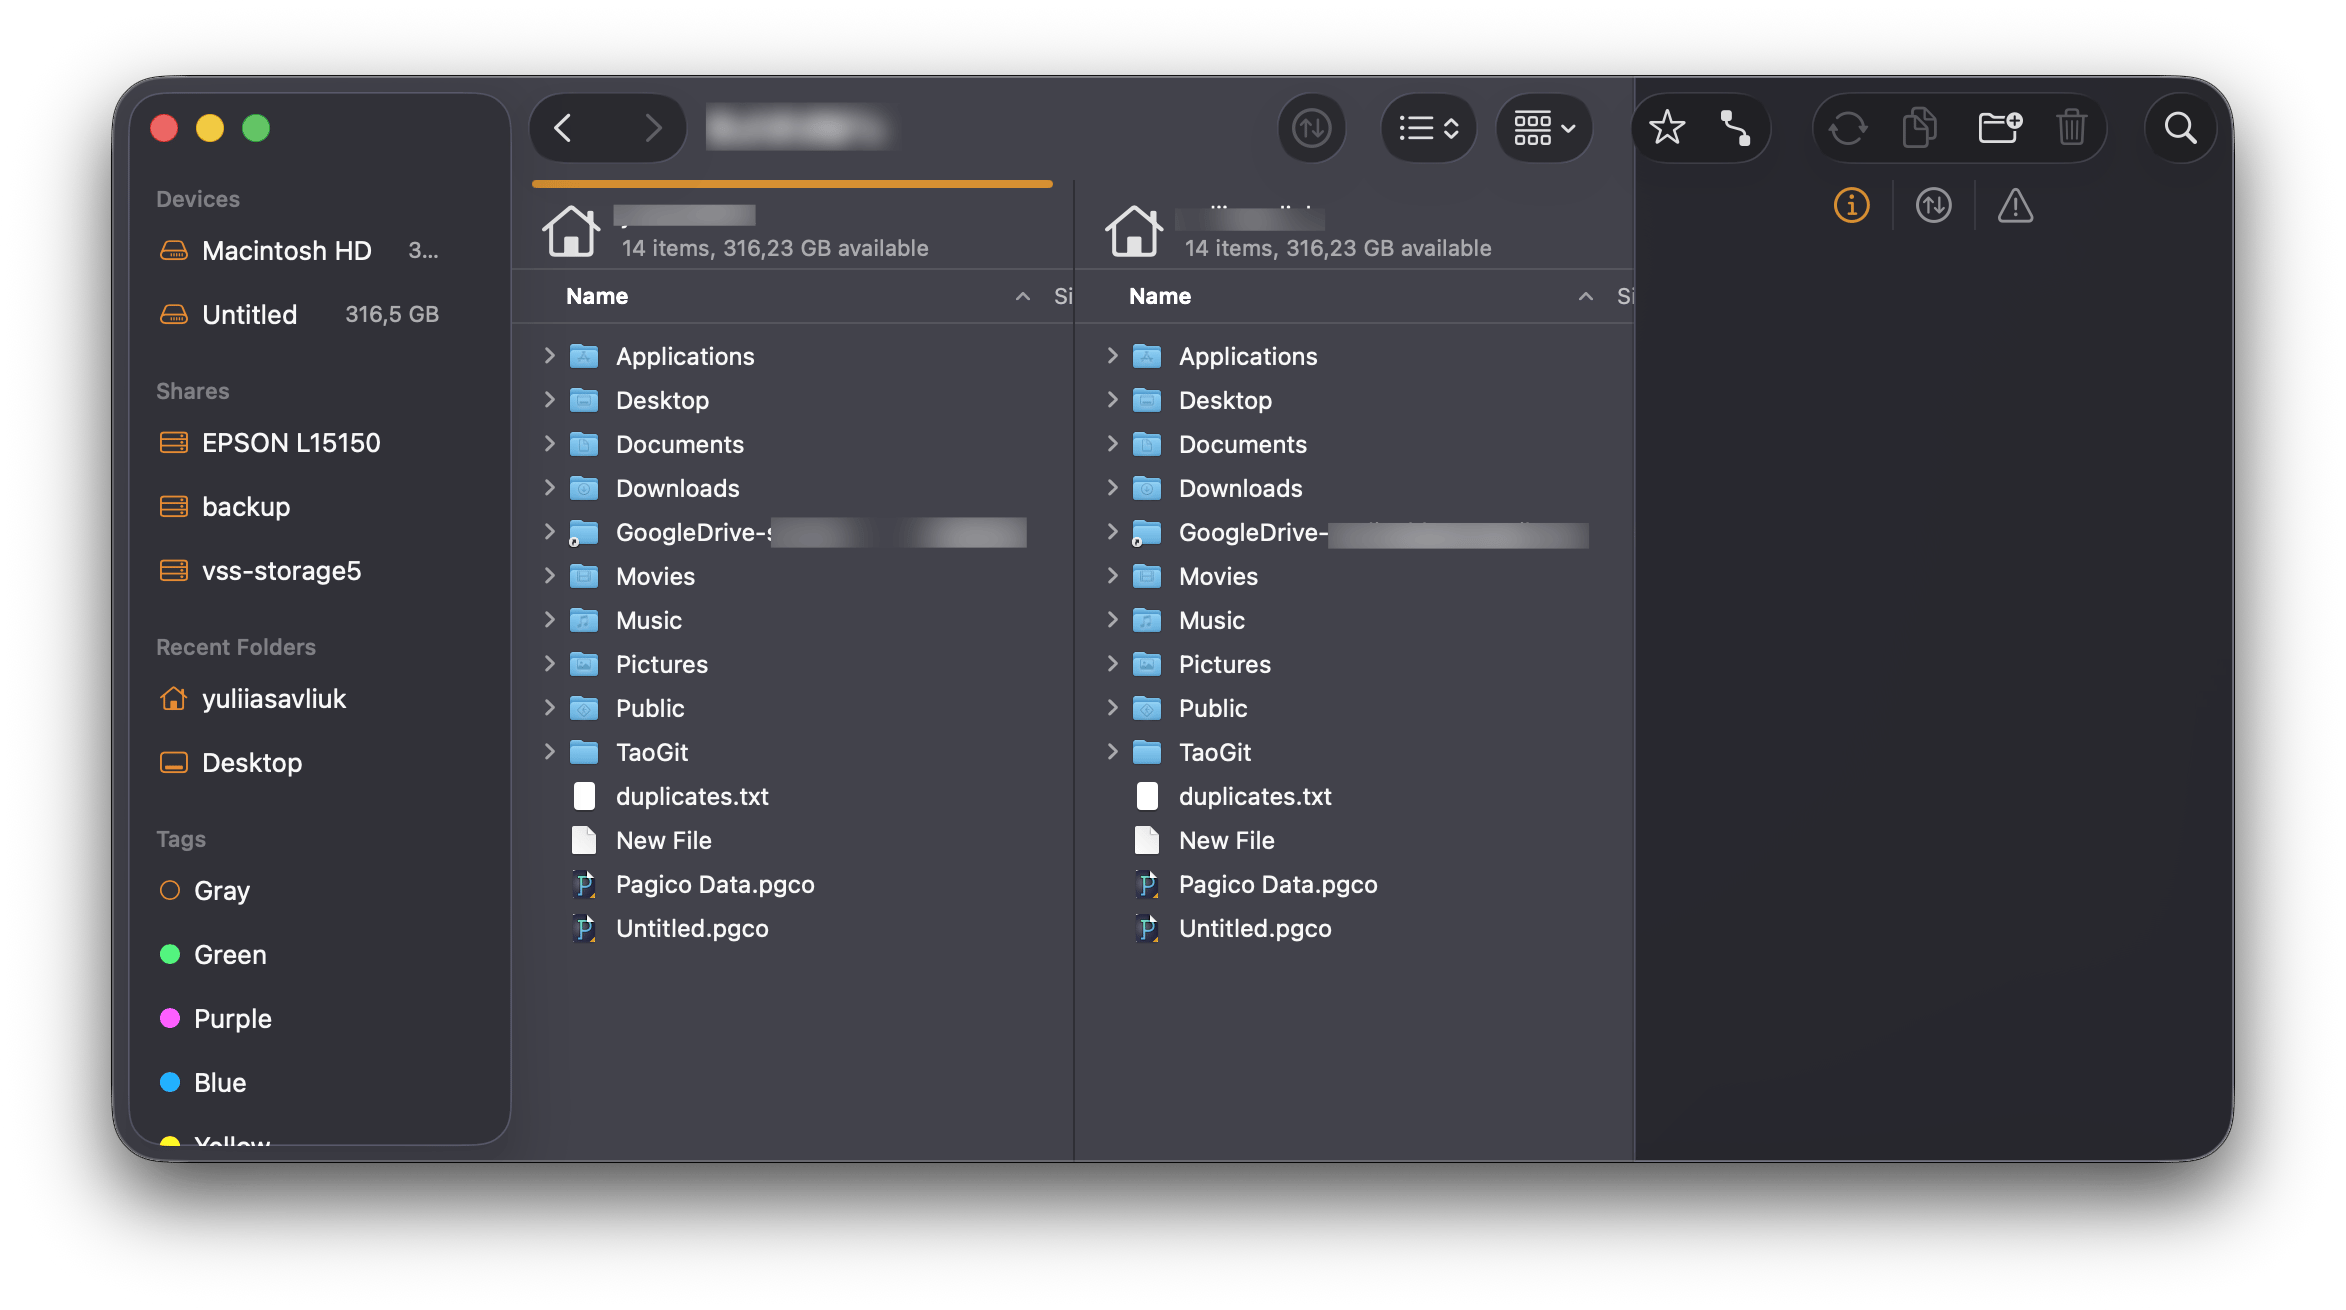
ForkLift can quickly sync folders between your Mac and Google Drive. This way, you only keep the files you really need in Google Photos, helping you stay within your storage limits.
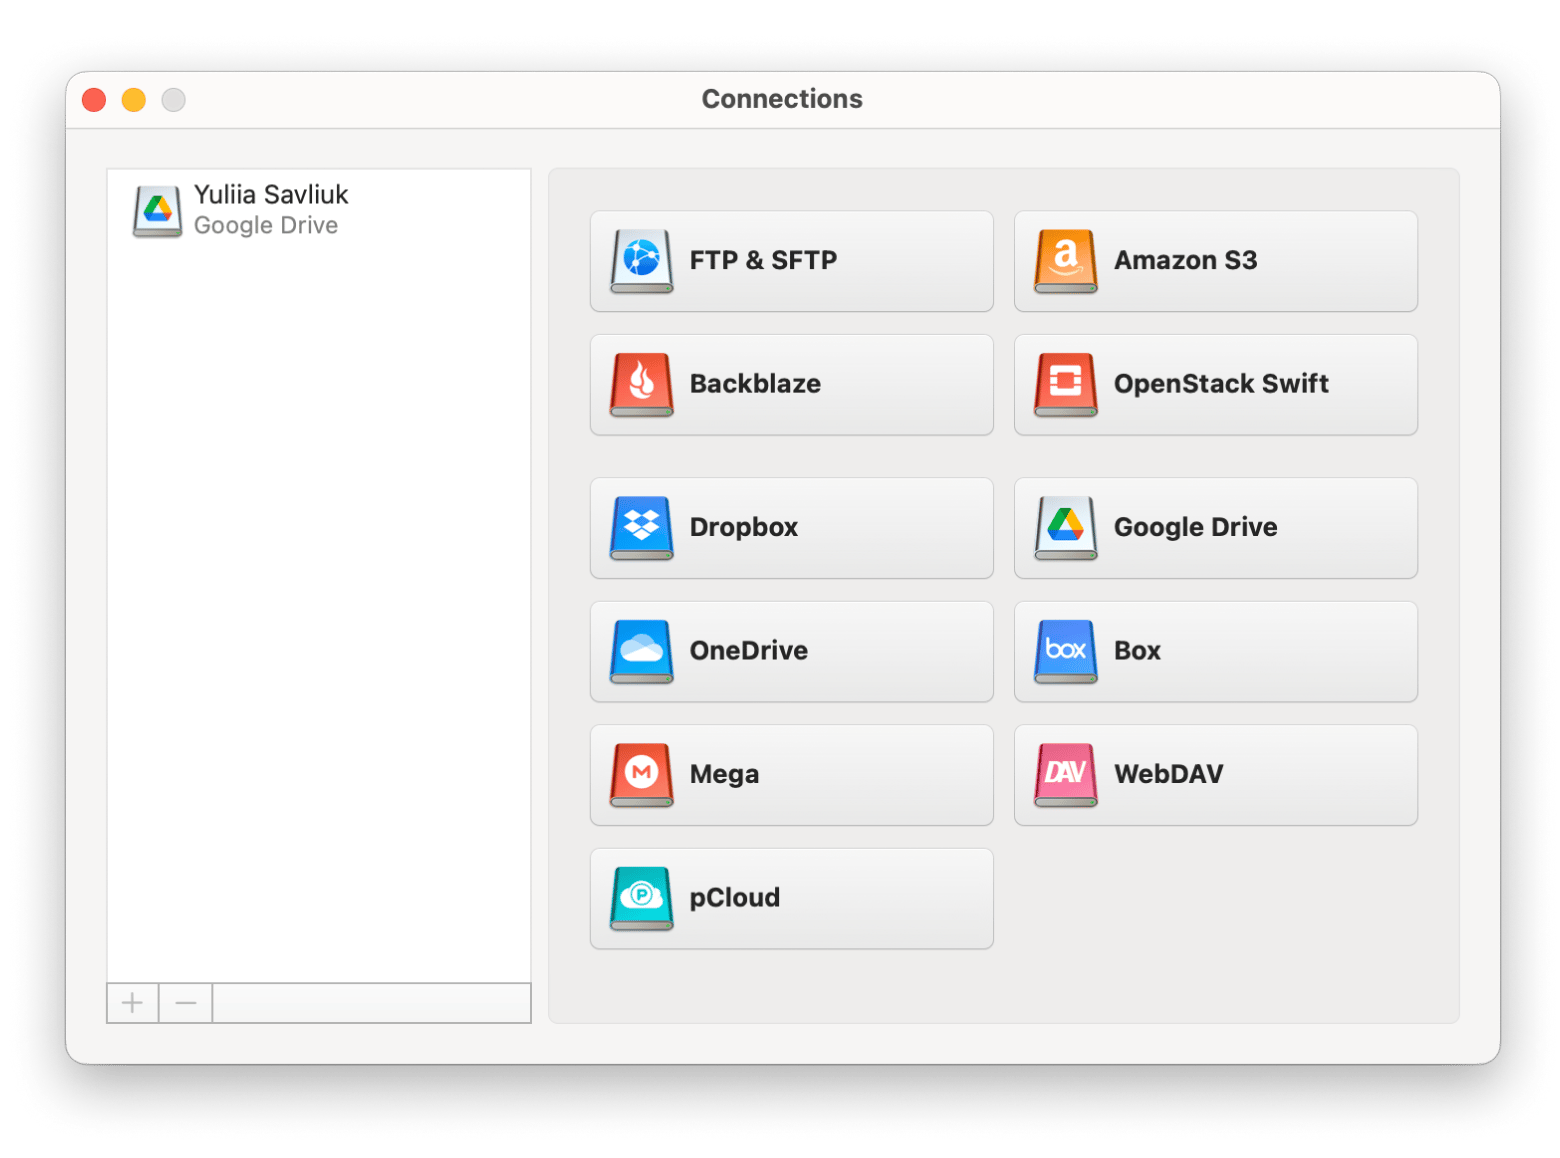
CloudMounter (I mentioned it earlier) helps you sync different cloud storage accounts and organize your photos right from the Finder sidebar.
Best Alternatives to Google Photos in 2025
OK, so what if, after having checked out Google, you think there might be other options that are better for you? Here are some of the other photo cloud storage services available in 2025:
Let’s compare! | Storage limits | Upgrade plans | What can it do? |
iCloud Photos | Free 5GB, then options of 50GB through to 12TB | Can upgrade from the free plan at any time. Then there are incrementally priced options ranging from 50GB to 12 TB. | Stores all photos and videos on the cloud, automatically syncs to all Apple devices. |
Dropbox | Free 2GB, then various plans from 2TB upwards to 15TB for multiple business users | Can upgrade from free at any time. 2TB plus plan costs $9.99 per month. Advanced 15TB plan costs $24 per user a month | Secure cloud storage, file syncing across devices, large file transfer, and collaborative tools. |
One Drive | Free 5GB storage, then various plans running from 100GB to 6TB on a family plan. | Can upgrade from free at any time. 100GB plan costs $1.99 per month. 6TB per person is $12.99 per month. | Cloud storage and file sharing, including automatic syncing, cloud storage, and online collaboration tools. |
Amazon Photos | Free 5GB storage, then various plans from 100GB to 30TB | Can upgrade from free anytime, 100GB costs $1.99 per year. $6.99 per month for 1 TB. | Upload, Download, and Edit Photos, Unlimited Photo Storage for Amazon Prime members, Amazon Photos Sharing |
Google Photos vs Google Drive: What’s the difference?
So, you might wonder how Google Photos compares with Google Drive and vice versa. Google Drive and Google Photos might seem similar at first, but they’re built for different things:
- Google Drive is your buddy for storing all kinds of files, from work documents and PDFs to spreadsheets and slides. It uses a classic folder system, so you can organize everything just like you would on your Mac.
- Google Photos, on the other hand, is made specifically to back up and organize photos and videos. Instead of folders, it sorts your memories into albums and stacks based on when and where they were taken. Perfect for scrolling through trips, events, or just random snapshots over the years.
Both apps use the same Google storage space, but the way they work and what they’re best at is pretty different — Drive is great for general files, while Photos is all about your visual memories.
Also, check out quick solutions on how to move photos from Google Photos to iCloud.
Does Google Photos still offer free storage in 2025?
Google Photos was first released as a standalone app in 2015 and immediately gained widespread attention for its free photo storage promotion.
All new photos and videos uploaded to Google Photos count towards the 15GB of free storage, which is shared across Gmail, Google Drive, and Google Photos. If you need more storage after the initial 15GB, it’s simple to purchase a Google One subscription. The Basic plan starts at $1.99/month.
If you don’t yet have a Google Photos account (or a Gmail account), starting one is easy:
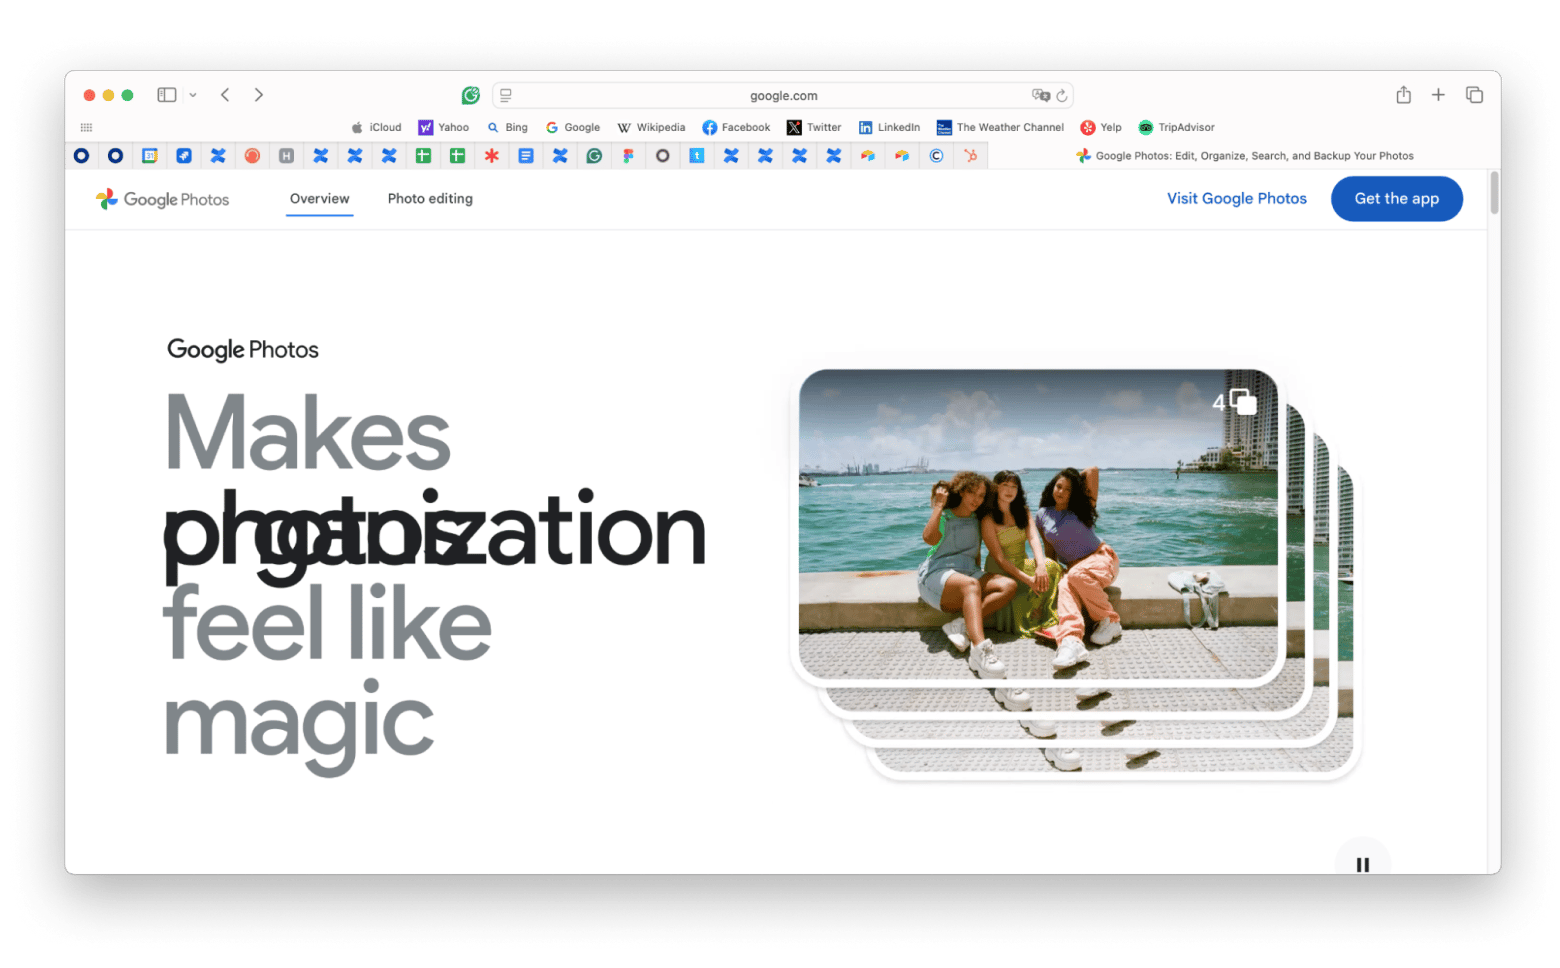
- Visit photos.google.com.
- Click Visit Google Photos.
- Create account > Enter all the information > Next.
- Verify your email address.
- Create a Google account.
Is Google Photos safe for long-term storage?
How reliable is it to depend on Google Photos for long-term use? All things considered, it’s a safe system for storing and backing up your photos.
However, over the years, there have been a lot of shifts with their policy, and it’s really essential that users know Google can gain access to their photos and data to analyze them.
There will also always be a chance of data loss and hacking. So, I always recommend that you keep physical copies of all your data, as well as secondary backups and cloud storage.
Avoiding Google Photos storage limit is possible
As you can see, there’s more than one way to get your photos to the cloud. You can, of course, pay for enough Google Photos storage right from the start or convert your library to lower quality.
The best hack, however, is to remove all duplicates with Gemini, create a few cloud storage accounts, and manage them with CloudMounter and ForkLift for quick folder syncing between your Mac and Google Photos..
Best of all, Gemini, CloudMounter, and Forklift are available to you absolutely free for seven days through a trial of Setapp, a platform with more than 260 best-in-class Mac apps that save you time, energy, and money. Try them all at no cost today and see how much more optimized your Mac life can be.
FAQ
How do I save Google Photos when storage is full?
To save Google Photos when storage is full, you can either upgrade your storage plan and pay extra, or you can back up all your existing photos to another app or program and then delete them from Google to free up storage.
How do I stop paying for extra storage on Google Photos?
To stop paying for extra storage on Google Photos:
- Log in to your Google account.
- Click your account icon and view your subscriptions.
- On the subscription page, click the subscription you want to cancel.
- You’ll be taken to a page that shows you all the details of your subscription.
- Click on the three dots on the right-hand side and choose Cancel subscription.
- Follow the cancellation steps. If you ever need to reactivate, you can do so by following these steps again.
Why is Google ending unlimited photo storage?
Officially, Google is ending unlimited photo storage because the company has experienced unsustainable growth and needs to find ways to manage costs. Sadly, many customers have lost out. Using Google One as a service has ensured that all Google users get a good service, and that people who just want a small amount of storage can continue to have that.
Is there a limit to Google Photos storage?
You can have 15GB for free, shared across all Google platforms. After that, there are paid plans which run up to 2 TB.


