How to create a website
In our digital-first society, having a website is necessary for all businesses, and is also a great idea for personal use, too. Most think it’s really difficult to make a website; it used to be, but these days, it’s actually pretty simple.
We’ll tell you why you should consider creating a website, discuss the process of building a website, and tell you about some products that will make it really easy to build a website on your own.
What you need to create a website: Checklist
Though it’s relatively simple to make your own website, you still need to have a plan before you start. Missing a critical step in the process can mean additional work later on, which is only going to slow you down.
Here are some checklist items you should consider before you create your own website:
- A name. You should have a name for your site picked out. It should be catchy, easy to remember, and as unique as possible. This is sometimes the most difficult part; as we create website names, they become ‘owned’ by the person who purchased the URL – which is your next step.
- Buy the URL. Every website has a URL, or destination address. When you want to visit Setapp, you go to setapp.com. Every website has a URL! If you don’t find the ‘.com’ address you want, chances are there is a different domain option, like ‘.io’ or ‘net’ available.
- Hosting. We can tell you how to build a website, but that website has to live somewhere. Hosting a website will almost always cost you money, and there are tons of services available. Before you learn how to make your own website, consider how much you’re able to spend monthly to host it.
- Find a website building tool. Most website builders are WYSIWYG (What You See Is What You Get) platforms. These WYSIWYG (wisee-wig) platforms let you see how your website will look as you build it, which is really handy for the novice website maker. These make it much easier to learn how to make a website as you don’t need to learn much code.
- Visual assets. Do you have a logo? Does your site need images? What font would you like to use - and what fonts are good for mobile webpages? Visual assets make a webpage shine, and you should consider what you need, and if you need to hire a digital artist to create anything – or if free online stock image or graphics platforms have what you need.
- Website design and structure. Define what your business will do online before you build. Are you a storefront which needs a proper webpage to tell customers about your place of business? Yours can likely be a pretty simple one-page design. Those who want to sell goods online may need to add a ‘shop’ section, and weave in some payment processing features.
- Navigation. Decide how you want visitors to navigate your site. Do you want the ;shop’ page to be front and center? Maybe it’s most important they find you, or are able to contact you. Consider what pages you need, how you want them laid out, and how to make all necessary components of your page discoverable.

How to create a website
Now that you have a better idea of what you need, let’s discuss each step in detail!
Step 1: Choose a domain name
Many hosting services will offer domain names, but it’s best to discover and buy the domains on your own. For this, we prefer Google Domains. Not only is Google essentially the authority on how the web works, its domain registry is the easiest to use, and it makes some of the granular details (like redirecting to your site) easy.
All you have to do is visit the Google Domains site, enter the name you want for your own website in the text box, and see what comes back. Chances are there is an option for you – but it may not be what you want. Google Domains tells you which domain endings are available, which are taken, and offers up alternatives. It also tells you how much the domains will cost per year, and lets you purchase them with ease.

Step 2: Find web hosting and register domain
Purchasing your domain name registers it as yours. Any domain name registrar, like Google Domains, keeps tabs on who (or which company) owns a domain. Though we can tell you how to make a website for free, there will always be costs associated with owning it.
One of the most costly things about having a website is hosting it. If you have a business, it’s important your customers be able to find your site any time they like, so consider ‘uptime’ – the percentage of time a web hosting service says it's able to keep its service active – over other features.
Most services have a package with customer service, uptime above 99 percent, and the ability to work with several types of website builders and platforms. Depending on what you need, the cost can range from a few dollars each month to hundreds, even thousands for sites with tons of traffic.

Step 3: Choose and set up the right website builder for you
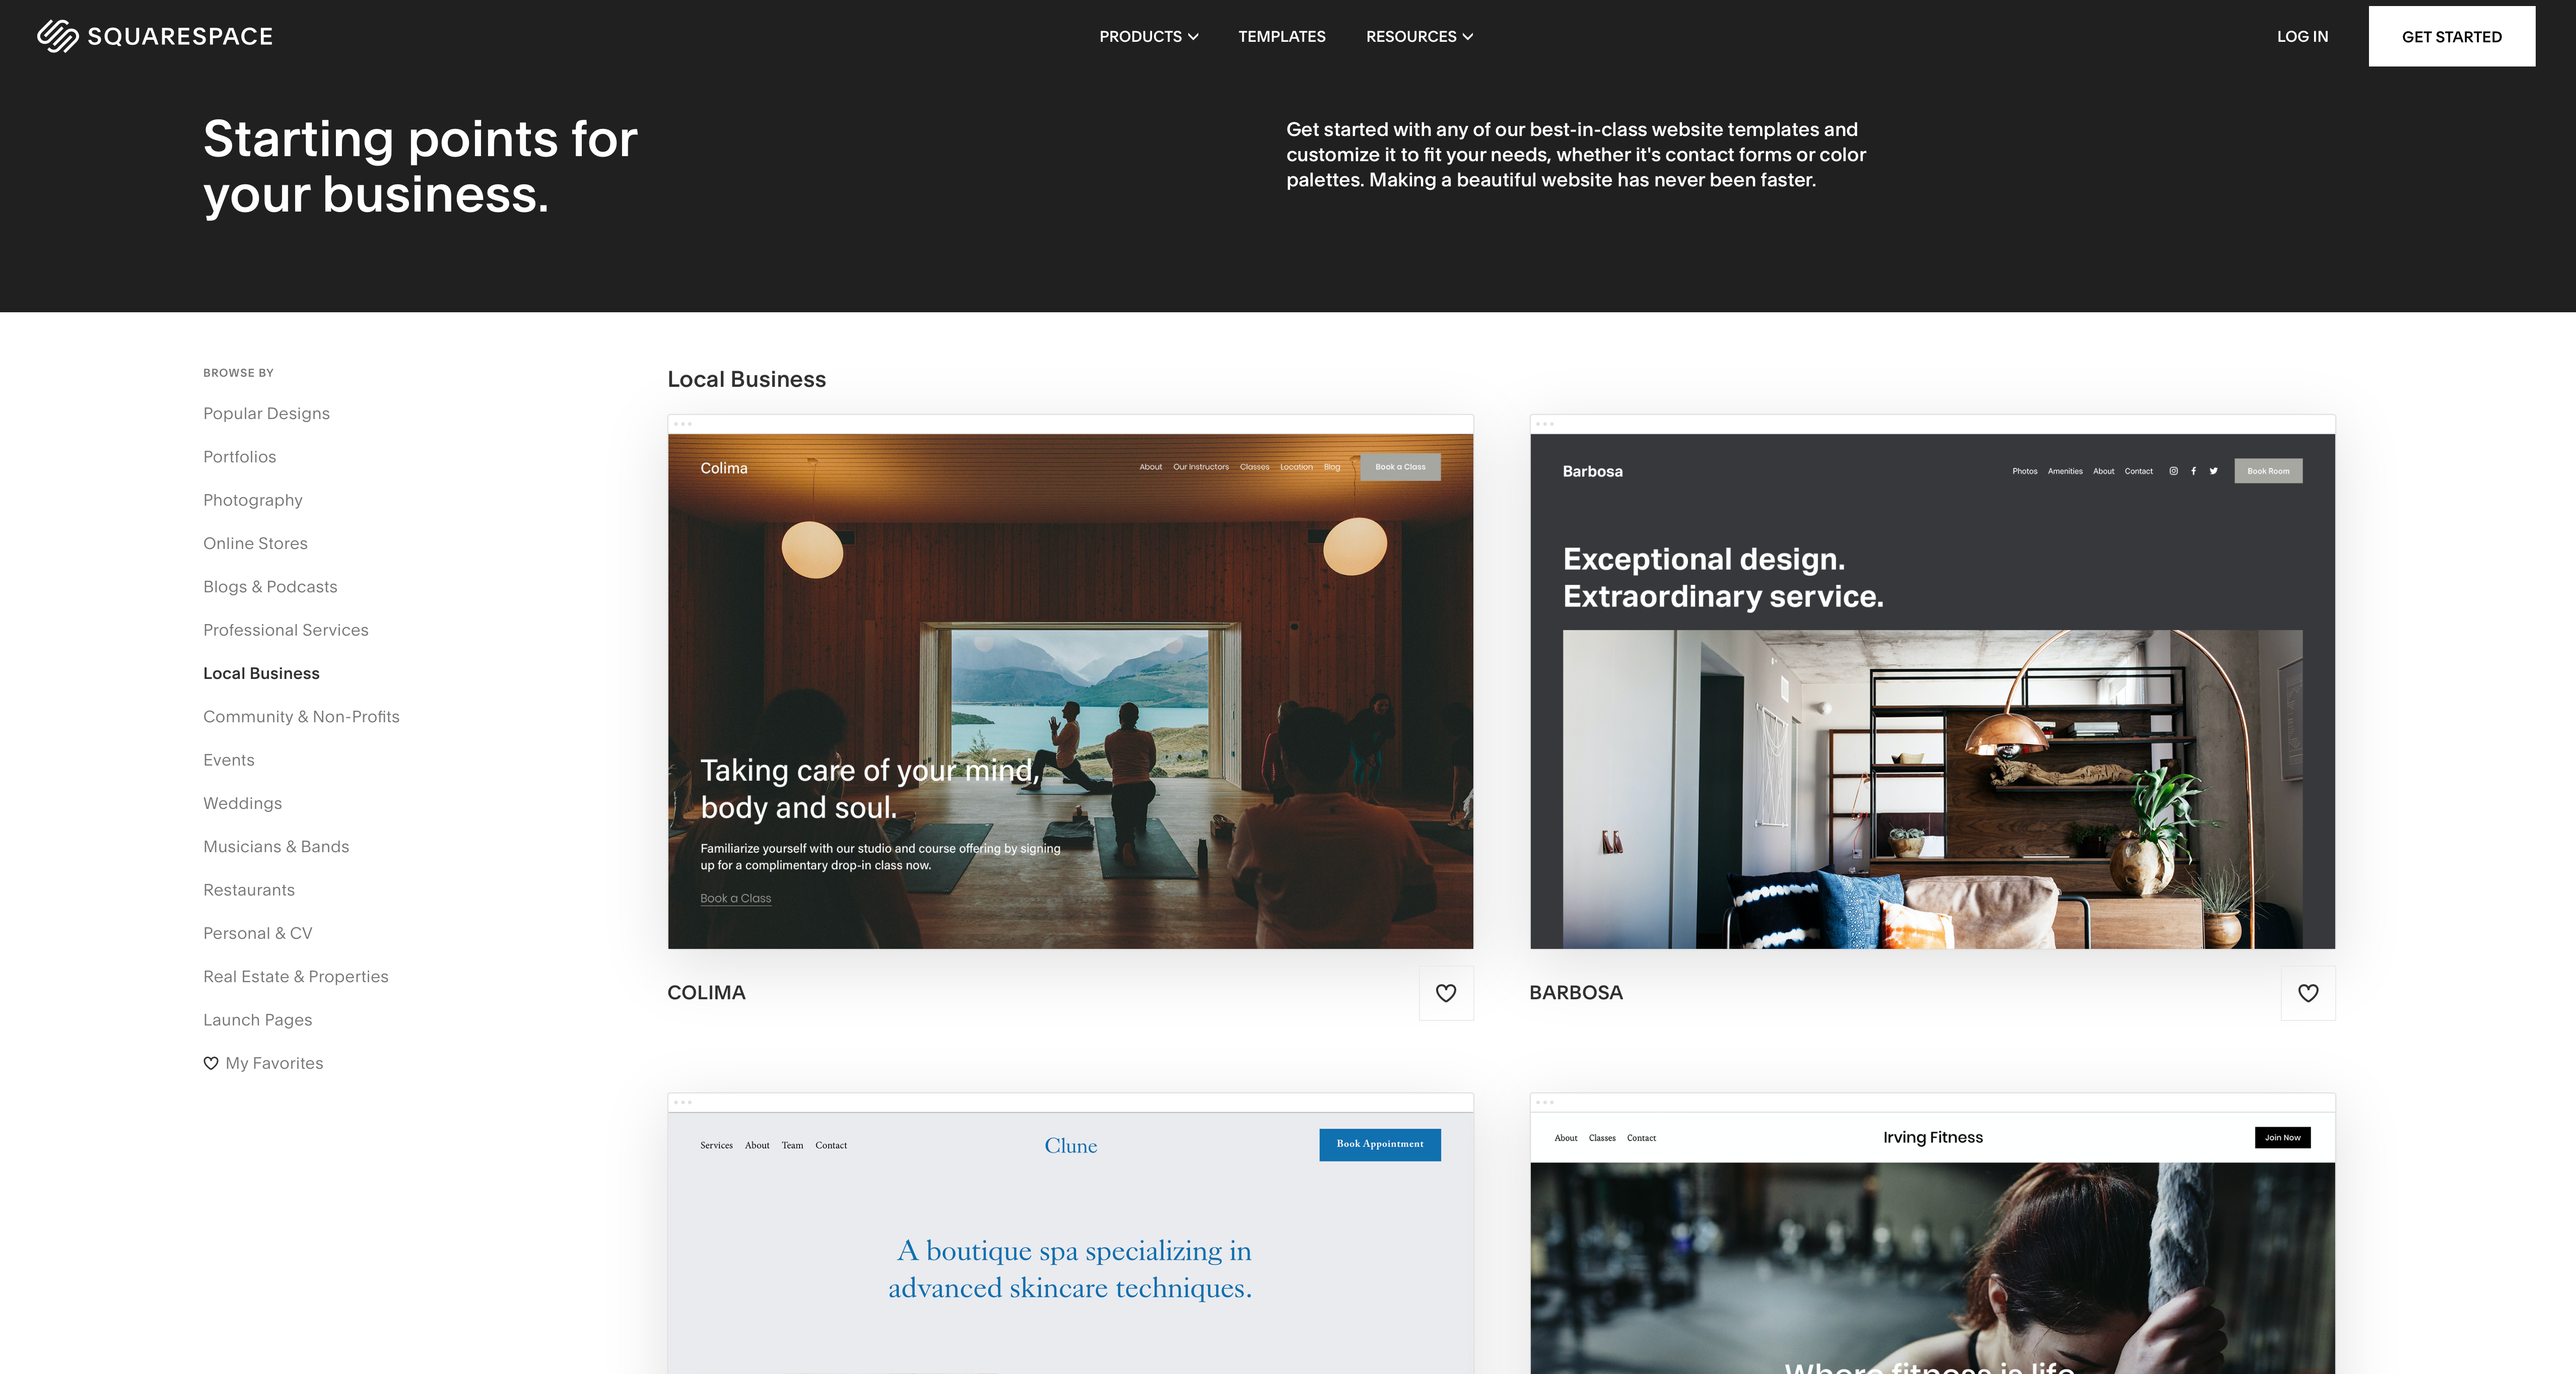
When choosing a website builder, consider features such as ease of use, templates, design customization options, and e-commerce functionality. Popular website builders include WordPress, Wix, Squarespace, and Shopify. Evaluate each platform based on your specific needs and budget. Once you've chosen a website builder, sign up for an account and familiarize yourself with the platform's interface. Take advantage of any tutorials or support resources available to ensure a smooth setup process.
Step 4: Customize design and website structure
Consider what visitors of your site will need, or want, and how to best serve it to them. Most modern websites have a menu at the top of the homepage, which allows customers to poke through the site as they like. This is a smart option for all websites, and these menus can be responsive for mobile users as well.
Design is always subjective, but you should consider your brand’s guidelines for use on the website. If your logo is green and purple, for instance, you want complimentary colors on your site – and to use your brand colors tastefully throughout the site.

Step 5: Add content/pages to your website
You should always start with a reliable homepage for any site. It’s the first thing visitors will see, and represents your business or brand to the world.
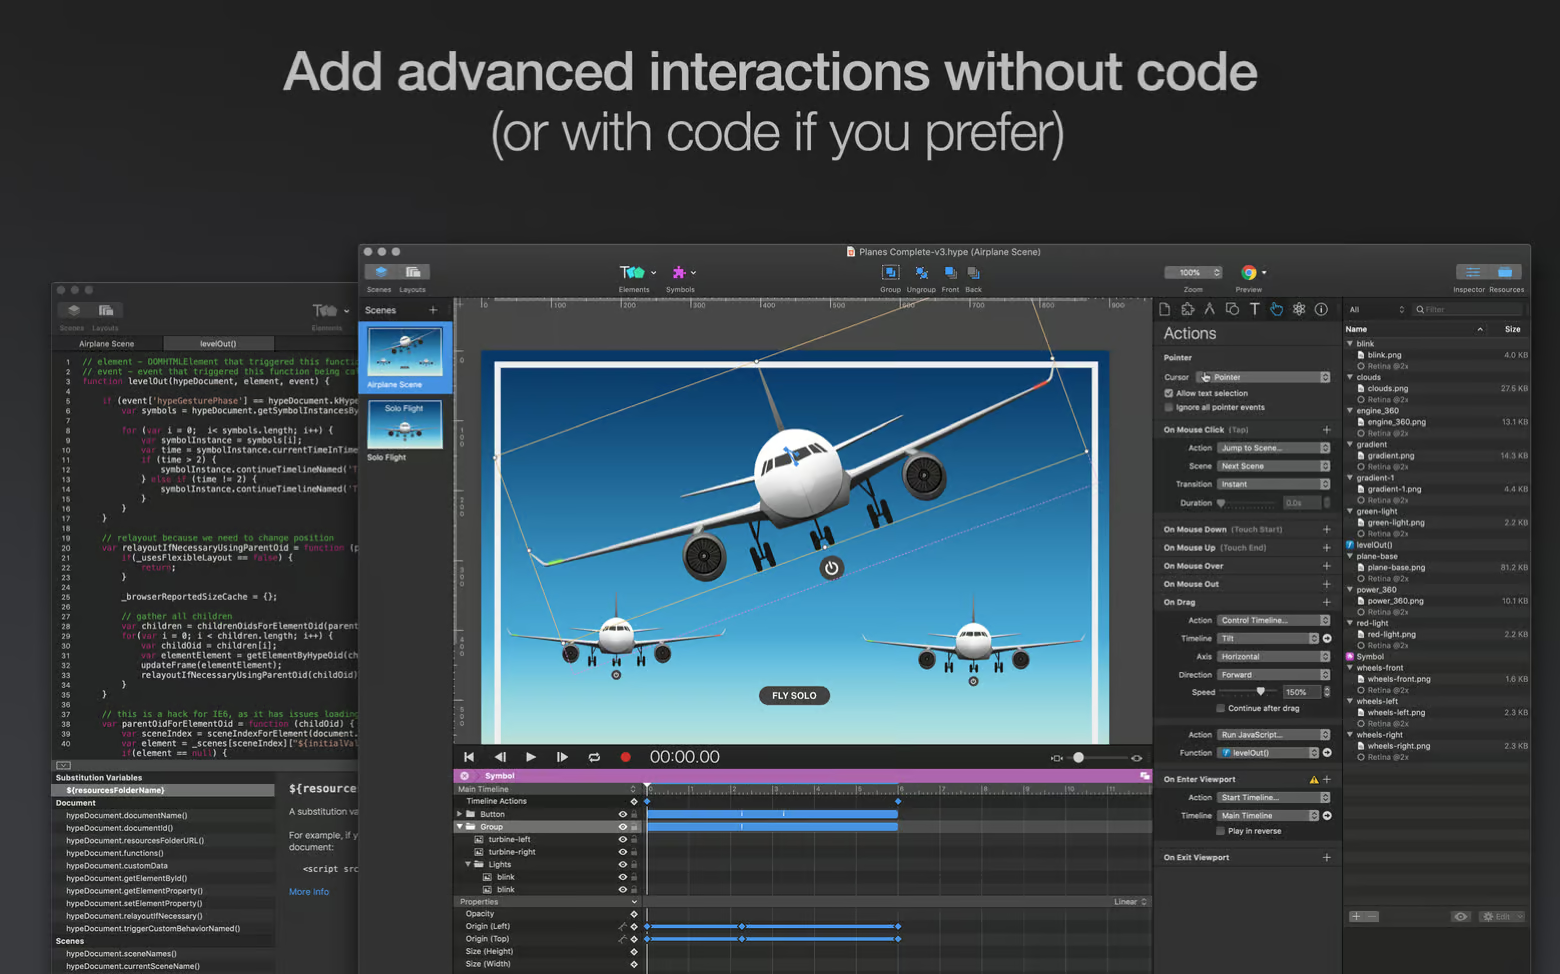
But what about those who want to ‘wow’ their audience? Animations are always a good idea, and there’s likely no better option for no-code animations than Hype. Though it can help you design any type of site, Hype is excellent for creating animations without trying to figure out how to code those animations.
It also creates animations using HTML, which keeps your webpages simple from a code perspective, and loading quickly on mobile devices.

Step 6: Set up a navigation menu
Once you have a homepage created and live, you have to consider your menu. As we mentioned before, having a solid menu on a website makes it easy to use, which visitors to your site will love. But those menus can get really difficult to manage; you have headers, sub-headers, various pages associated with all of these categories and headers – it’s scary!
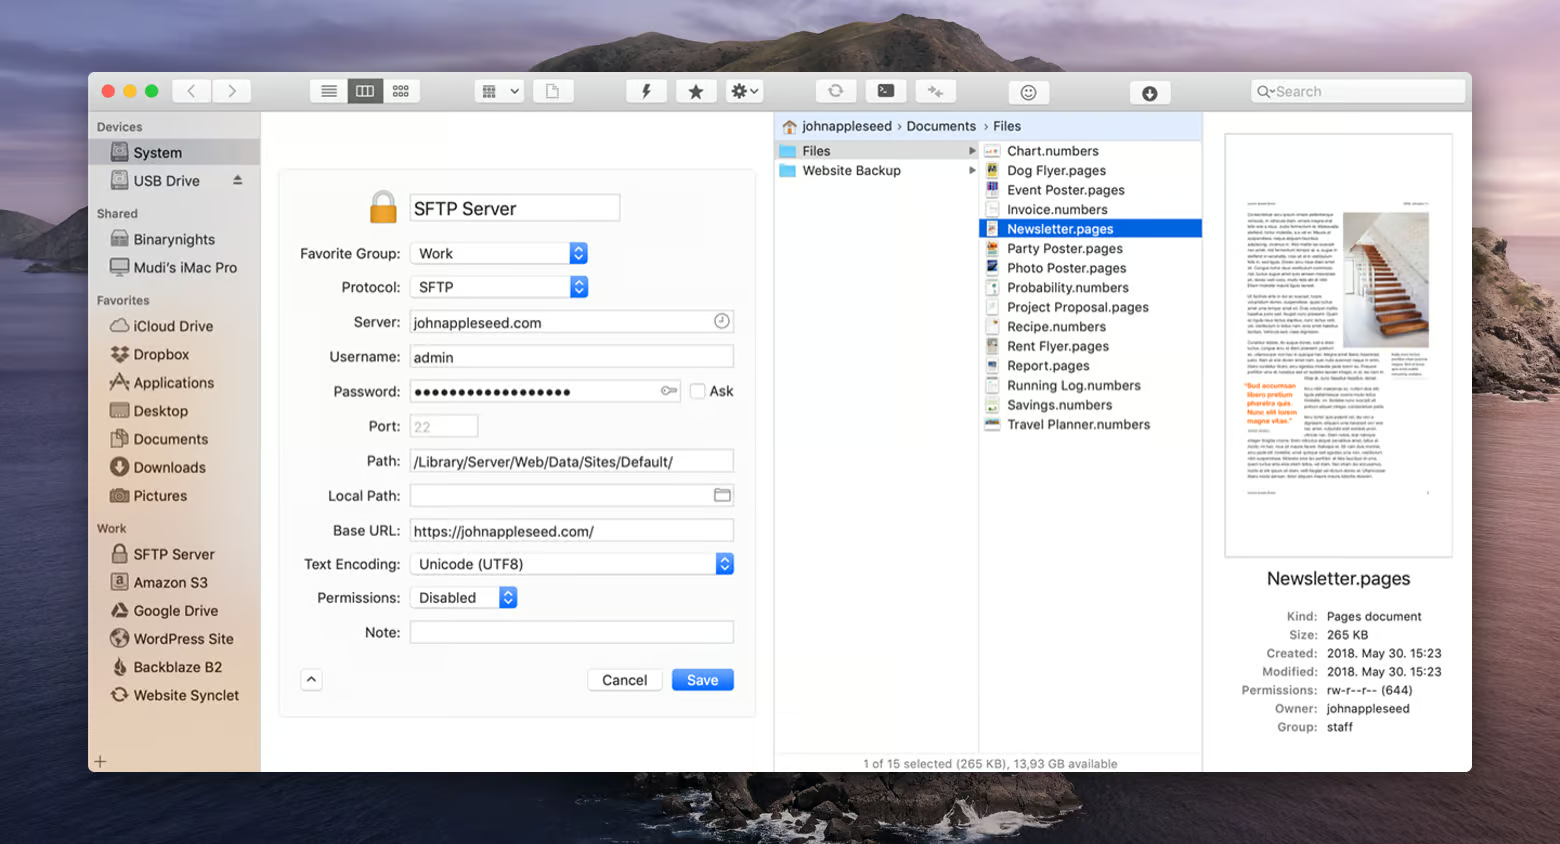
Forklift may be a better way to manage transferring your navigation tree to your website hosting provider. This FTP (File Transfer Protocol) app makes transferring files simple; your new pages and subpages are, after all, just folders you’ve created on your Mac that need to be sent to your web hosting provider! You can even sync Forklift with online services to make sending updates to your website a snap.

Step 7: Preview and test your website
Okay, you’ve built your website! Now what?
We test, that’s what! When you build and preview your website, you’ll want to monitor page load speeds, site performance (when scrolling or visiting different pages within your site), how fast images load, if any pages or links in your site are broken or non-responsive, and if the overall design is what you envisioned.
Simon is a really robust app that helps you monitor your site – even those tiny details you weren’t aware you needed to keep an eye on! It’s also highly customizable, allowing you to hone in on one aspect of your site, like a page you want to closely monitor, and has a suite of notifiers for testing amongst a group of beta testers. You can also capture your session if you want to share and discuss an issue with others.
Monitoring how your site works with its hosting provider and online storage containers for things like images is critical, too. That’s where Commander One comes in handy. It’s a handy all-in-one app for managing cloud and network servers, and provides detailed information about what’s happening, and why.

Step 8: Publish your website
Publishing your website boils down to uploading files to your hosting service. Once you own your domain, have that domain redirected to your hosting provider (which a service like Google Domains makes really simple), and have your files uploaded, your site is published.
This is why we advise using an app like Forklift, which can make file transfers a snap. It’s also why you should be critical of your hosting provider; those with onerous upload processes make publishing changes to your site cumbersome, and nobody wants that.
Important extra tips on creating a website
As so many businesses go online, payment processing is critical. If you’re going to sell goods online, consider which payment processor you want to use. Stripe, Square, PayPal, and others are great options, and most work really well with simple websites and are easy to use for novices.
Some, like Square, even have ‘shop’ pages you can build and redirect to, an option to consider if you want a simple landing page and a buy-online service for your business. Others, like Stripe, are far better at working with your existing shop online pages, and work really well for taking and processing payments online.

Try premium apps for free
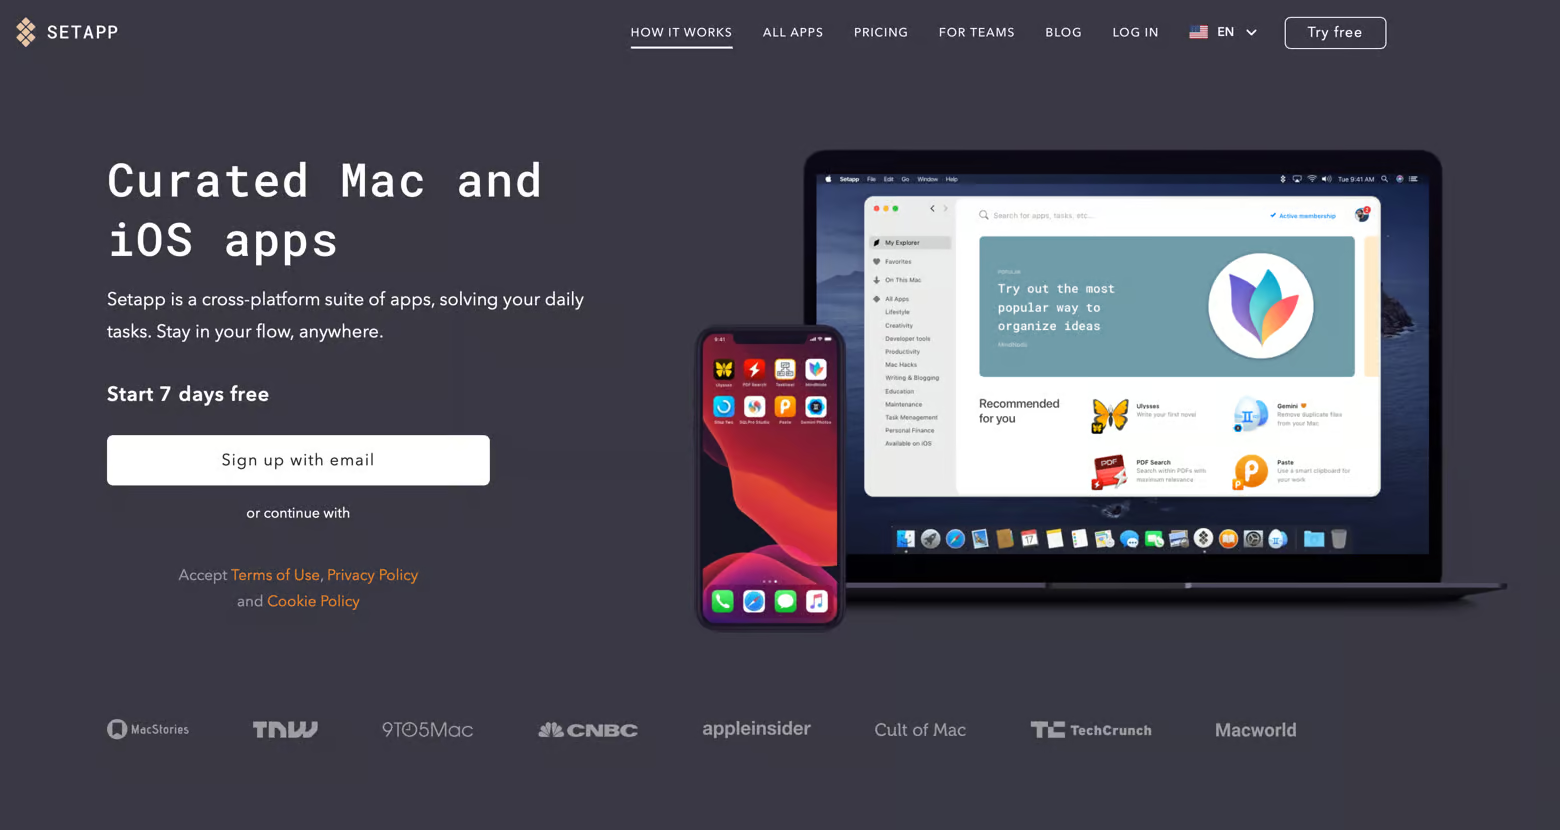
All of the apps mentioned here today – Hype, Simon, Forklift, and Commander One – are available for free during a seven day trial of Setapp, an incredible suite of apps for your Mac, iPhone, and iPad. In addition to these apps, you’ll gain immediate and unlimited access to nearly 260 other incredible tools.
When your trial period is over, Setapp is only $9.99 + tax per month – an incredible deal, so don’t wait. Give Setapp a try today!


