What to do when FaceTime won’t connect on Mac?
Starting with its initial release on iOS in 2010, followed by a Mac version in 2011, FaceTime has been one of the world’s most popular apps for video and audio calls. In 2020, FaceTime usage skyrocketed, with users spending roughly five billion minutes on calls per day.
Being free and available on every major Apple device by default, FaceTime acts as one of the reasons for many people to stay in the Apple ecosystem. And no wonder, because the app is sleek and convenient, with cool features and utmost safety provided by end-to-end encryption.
However, even the best tech and tools can break or malfunction. So if your FaceTime calls aren’t connecting properly, audio keeps breaking, or the app doesn’t load at all, making you wonder “why isn’t FaceTime working on my Mac?” — you’re not alone, and all you need are a few good troubleshooting tips.
How to fix FaceTime not working on Mac?
Repairing or troubleshooting FaceTime won’t connect on Mac or MacBook issues usually isn’t complicated and doesn’t require more than a few minutes. That’s if you know the steps to take and possible causes for the problem, of course.
To make this process smoother, here are the most popular and effective solutions to try when you’re wondering “why can’t I FaceTime on my Mac?”
Check your WiFi connection
The FaceTime app relies on a stable internet connection to send and receive audio and video, so WiFi problems would be the first answer to the “why won’t my FaceTime work” question.
To quickly check your WiFi status, simply look at the WiFi icon in the menu bar. If it shows no bars, that means your WiFi might be turned off. Click on the icon and select Turn WiFi On. Switching that toggle off and on again can also be a good way to quickly restart the connection if it’s acting up.

For more advanced internet settings, go to System Settings and select Network. Then next to the connected network, click Details. In case the WiFi tab in Network indicates that your Mac is connected, but the internet isn’t working, restart your router by turning it off and unplugging, then plugging back into power after waiting for about 30 seconds.
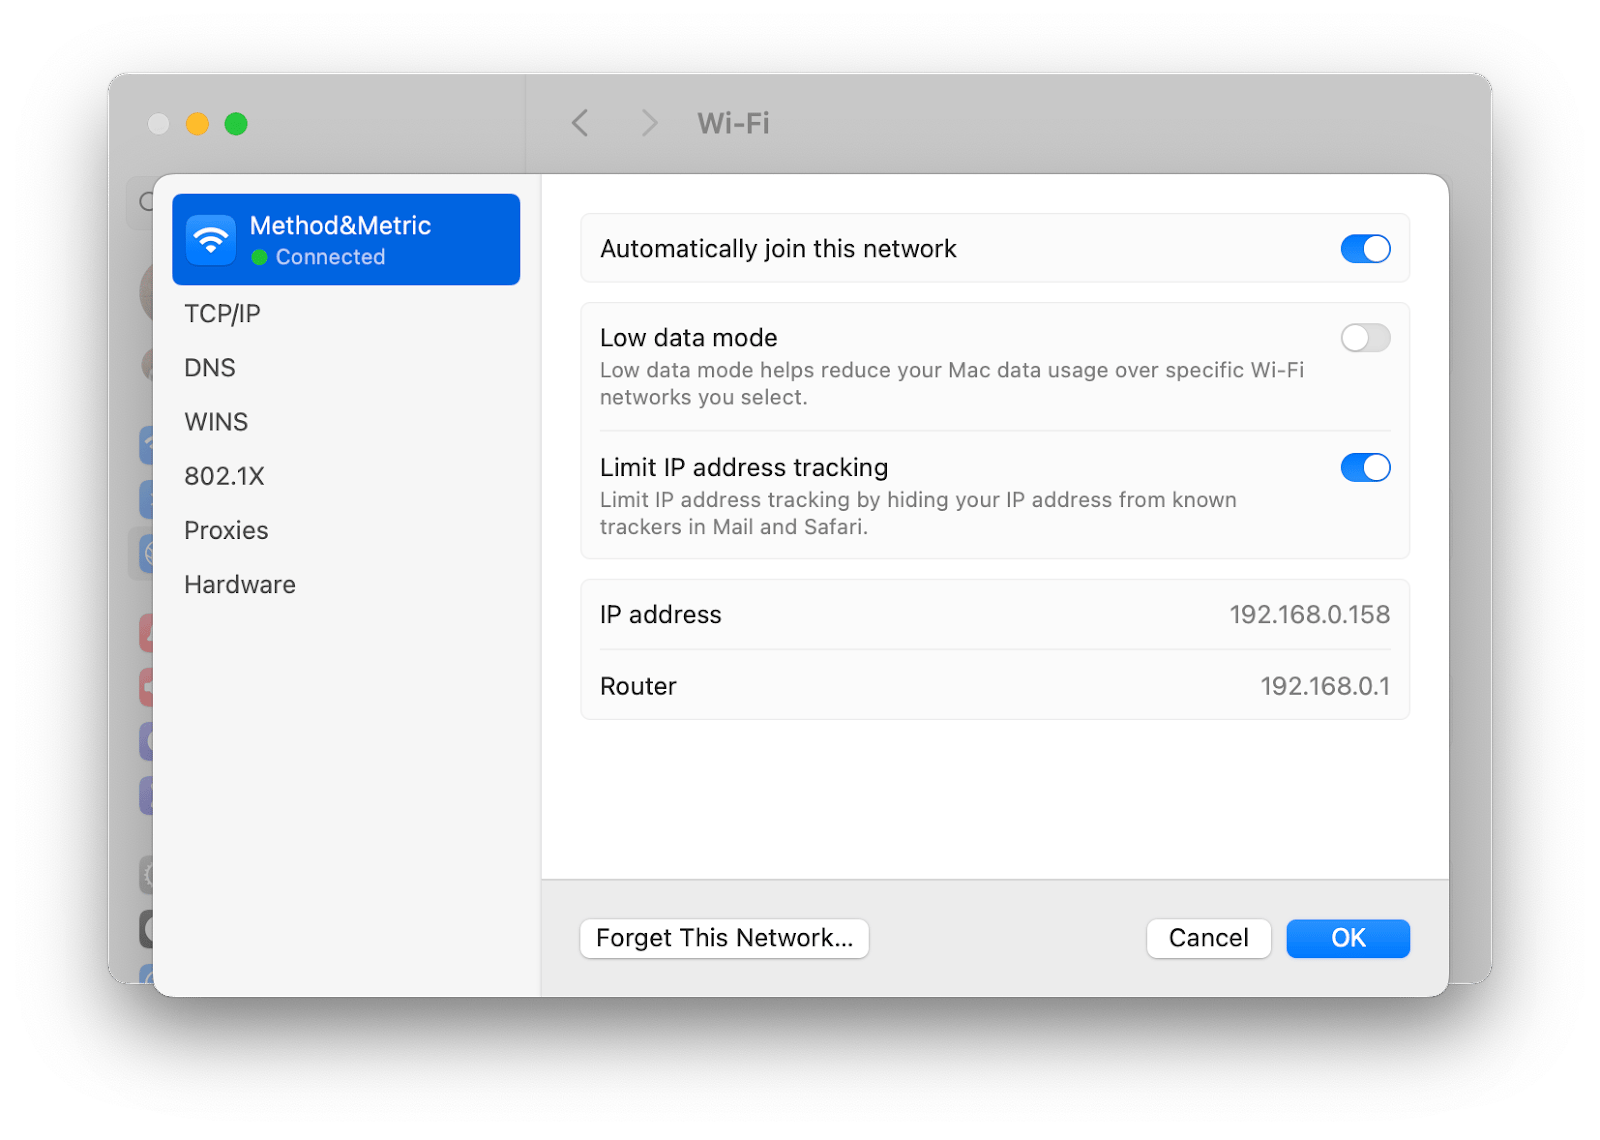
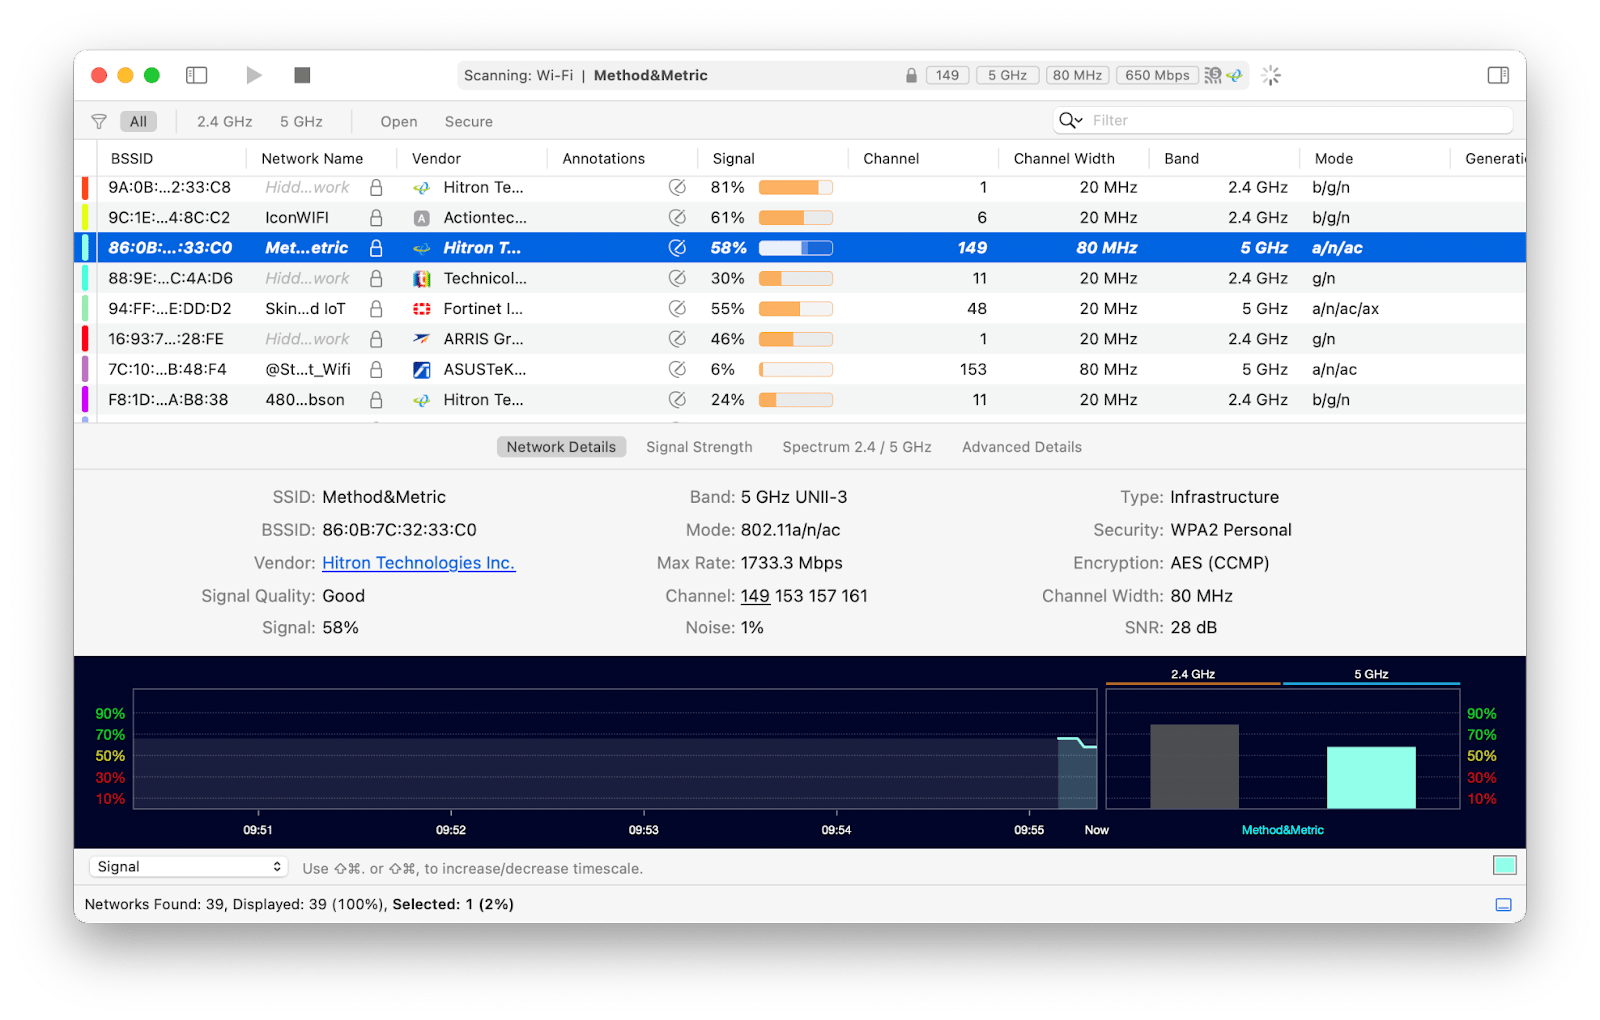
To automate the process of troubleshooting your internet connection every time something isn’t loading on your Mac, try a professional tool like WiFi Explorer.
WiFi Explorer gives you a clear view of your network and full control over the connection. Get a detailed list of real-time values for the strength of your signal, channel width, band, generation, security type, max rate, and much more. With WiFi Explorer’s extensive guide, you’ll be able to easily check and restore your network connections, even if you only have basic computer knowledge and no specialized skills.
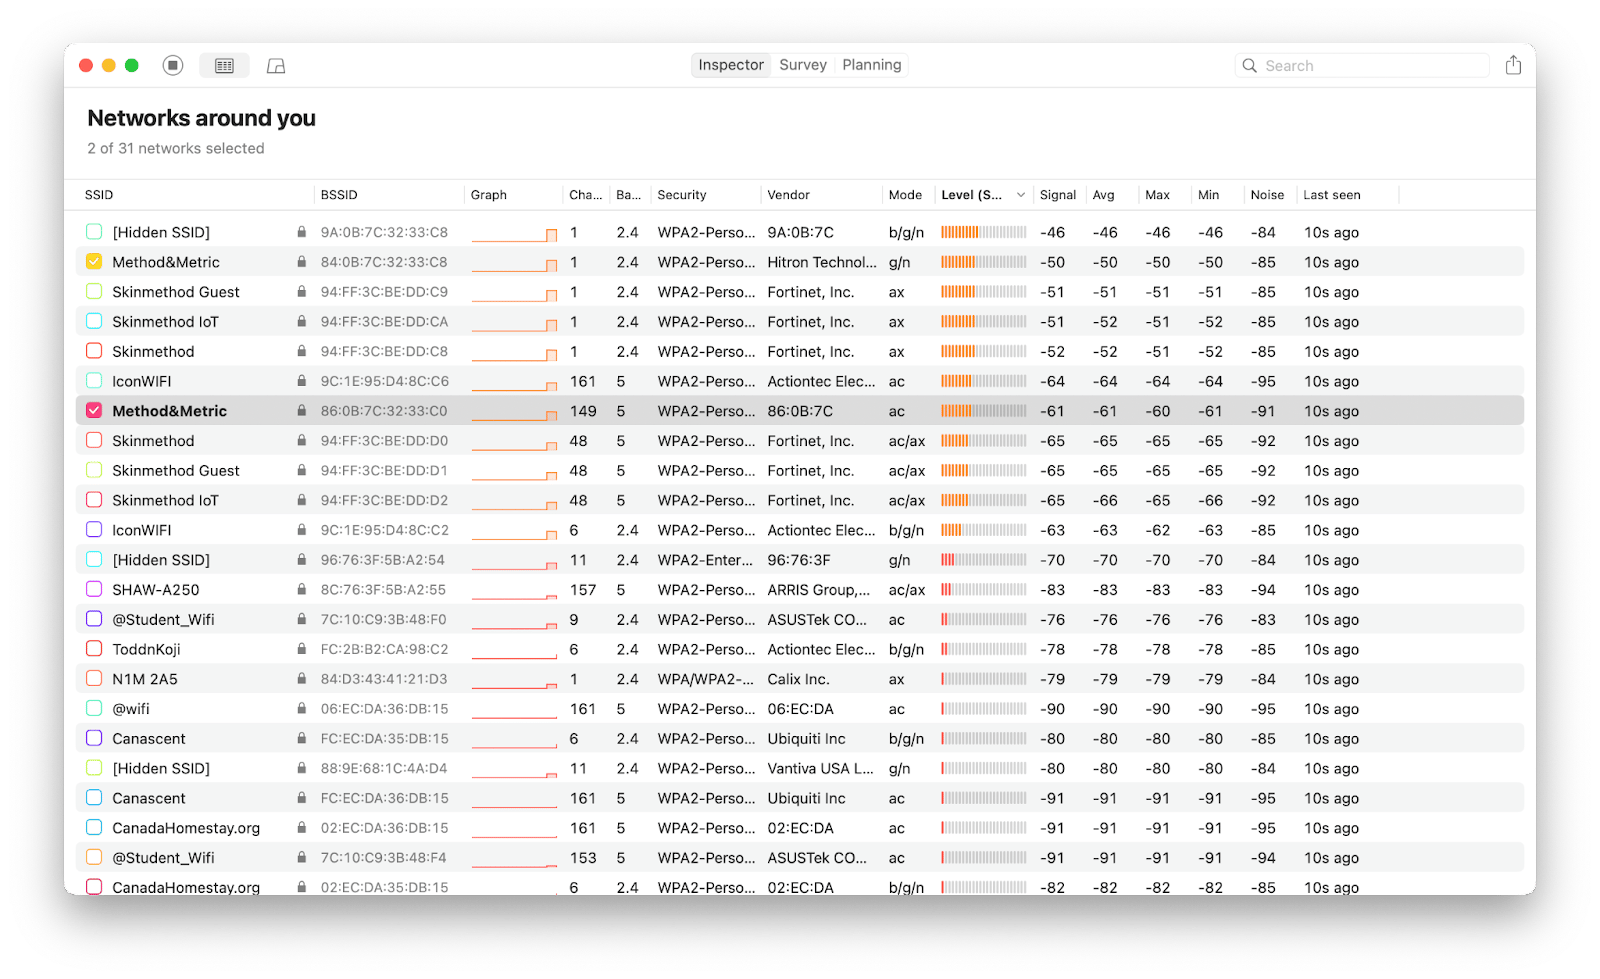
NetSpot is another great app for improving your WiFi connectivity on a deeper level. This tool makes it possible to analyze, manage, fix and deploy any kind of wireless network without having a technical background. An ideal network planner, NetSpot lets you draw or upload a map of your space and test the strength of the WiFi signal by physically moving through it. Plus, NetSpot features a neat, real-time heatmap of your network, so you’re a click away from checking exactly how weak or strong your WiFi could be.
Relaunch FaceTime
Just like any type of tech, apps can get glitchy and need a restart to load again and potentially shake off random bugs that may be causing the problem. So if FaceTime not working on MacBook for you, one of the simplest solutions you can try is to quit it by pressing Command + Q. Then go into your Mac’s Applications folder and launch it again.
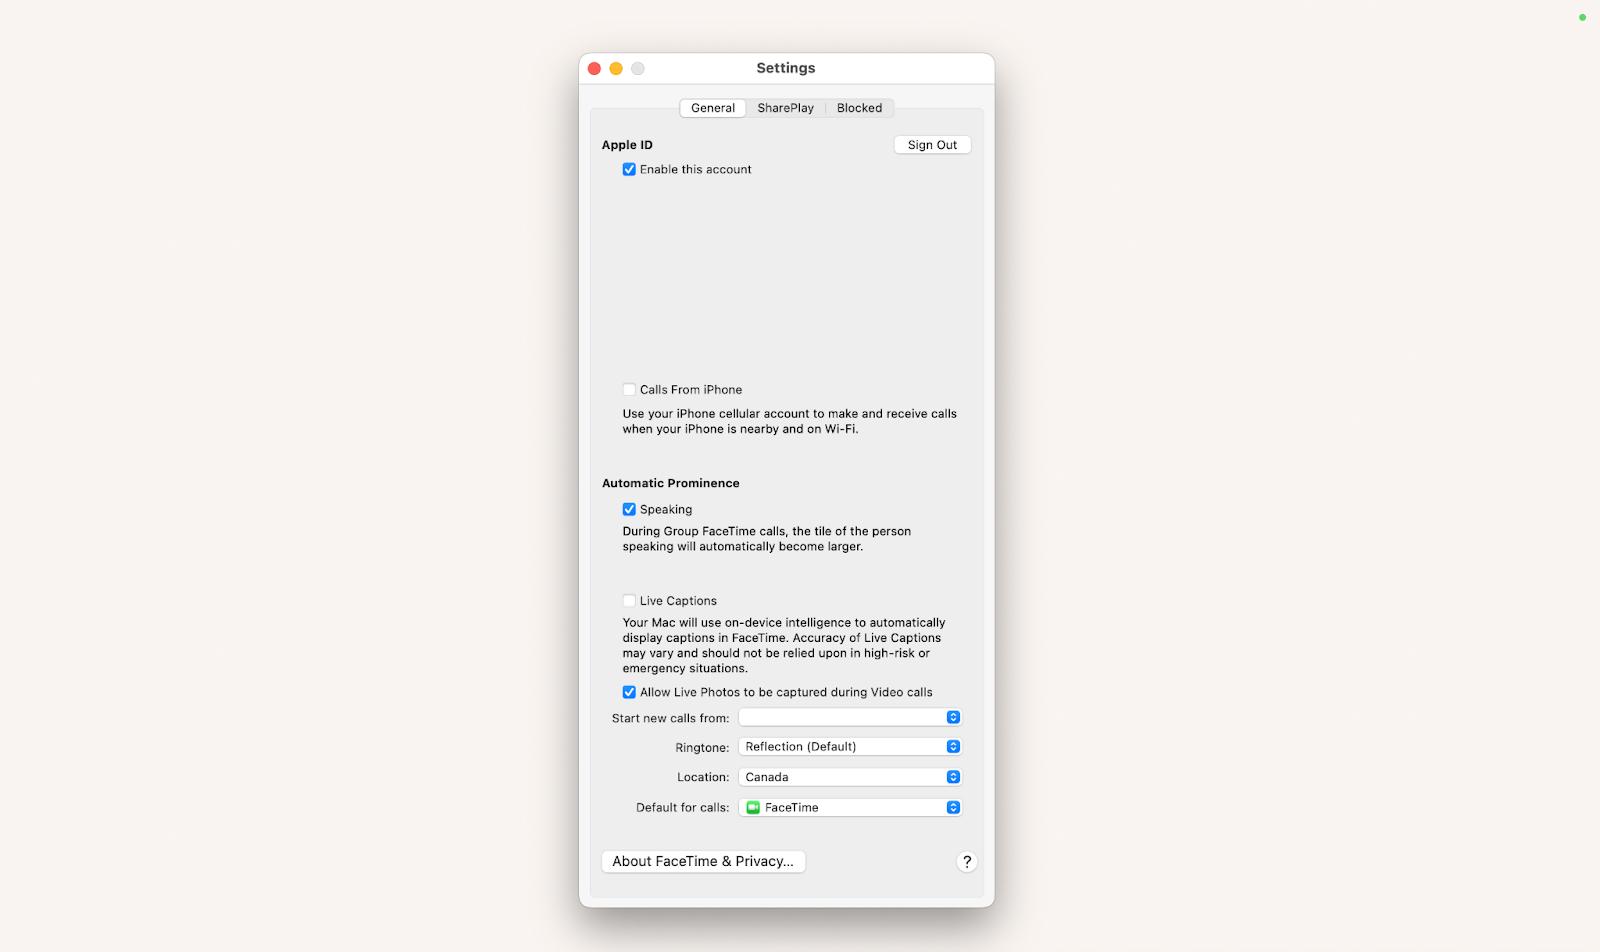
Apart from relaunching FaceTime altogether, you can try disabling and then enabling your account within the app to force some internal processes to reconnect. Here’s how:
- Open FaceTime
- Go to Settings
- Uncheck “Enable this account,” then check it back again
Check Apple servers
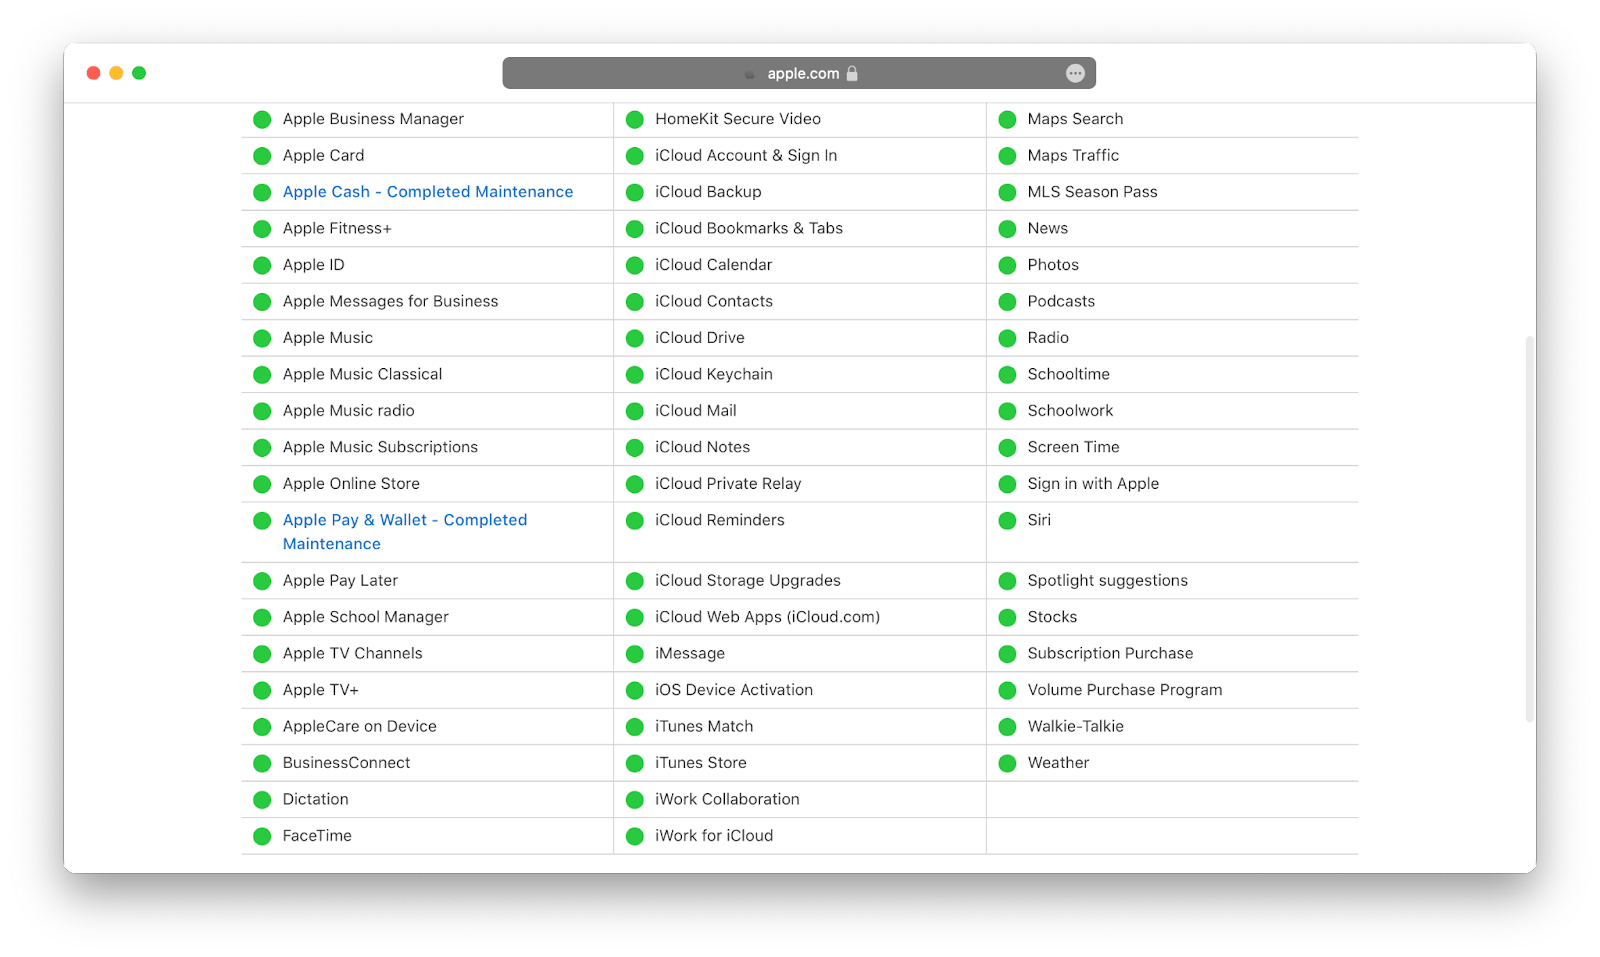
FaceTime video not working on Mac doesn’t always mean problems on your end. Sometimes, it’s because Apple’s own server infrastructure is down or experiencing temporary interruptions. So before getting too deep exploring your Mac, the WiFi, and the app’s imperfections, make sure it’s not just a system-wide outage that’s making you question “why can’t I FaceTime on my Mac right now?”
Here’s how to check Apple server status:
- Go to apple.com/support/systemstatus
- Scroll down to FaceTime
- Look at the dot’s color: green means everything’s fine, while yellow or red signify a bad connection
Flush DNS cache
DNS is a system for turning IP addresses into actual URLs, and the DNS cache is a place to accumulate those records, which then help reduce server response times by using stored information to load a website. It’s very convenient for making everyday connections faster, but if there’s a bug, it will seriously interfere with your connectivity.
Here’s how to resolve FaceTime not working Mac issue by flushing DNS cache:
- Launch Terminal from the Applications folder
- Type in the following command: sudo dscacheutil -flushcache; sudo killall -HUP mDNSResponder
- Press Enter
You may be asked to type in your Mac password, then press Enter once again to complete the process.

Check and set Date & Time
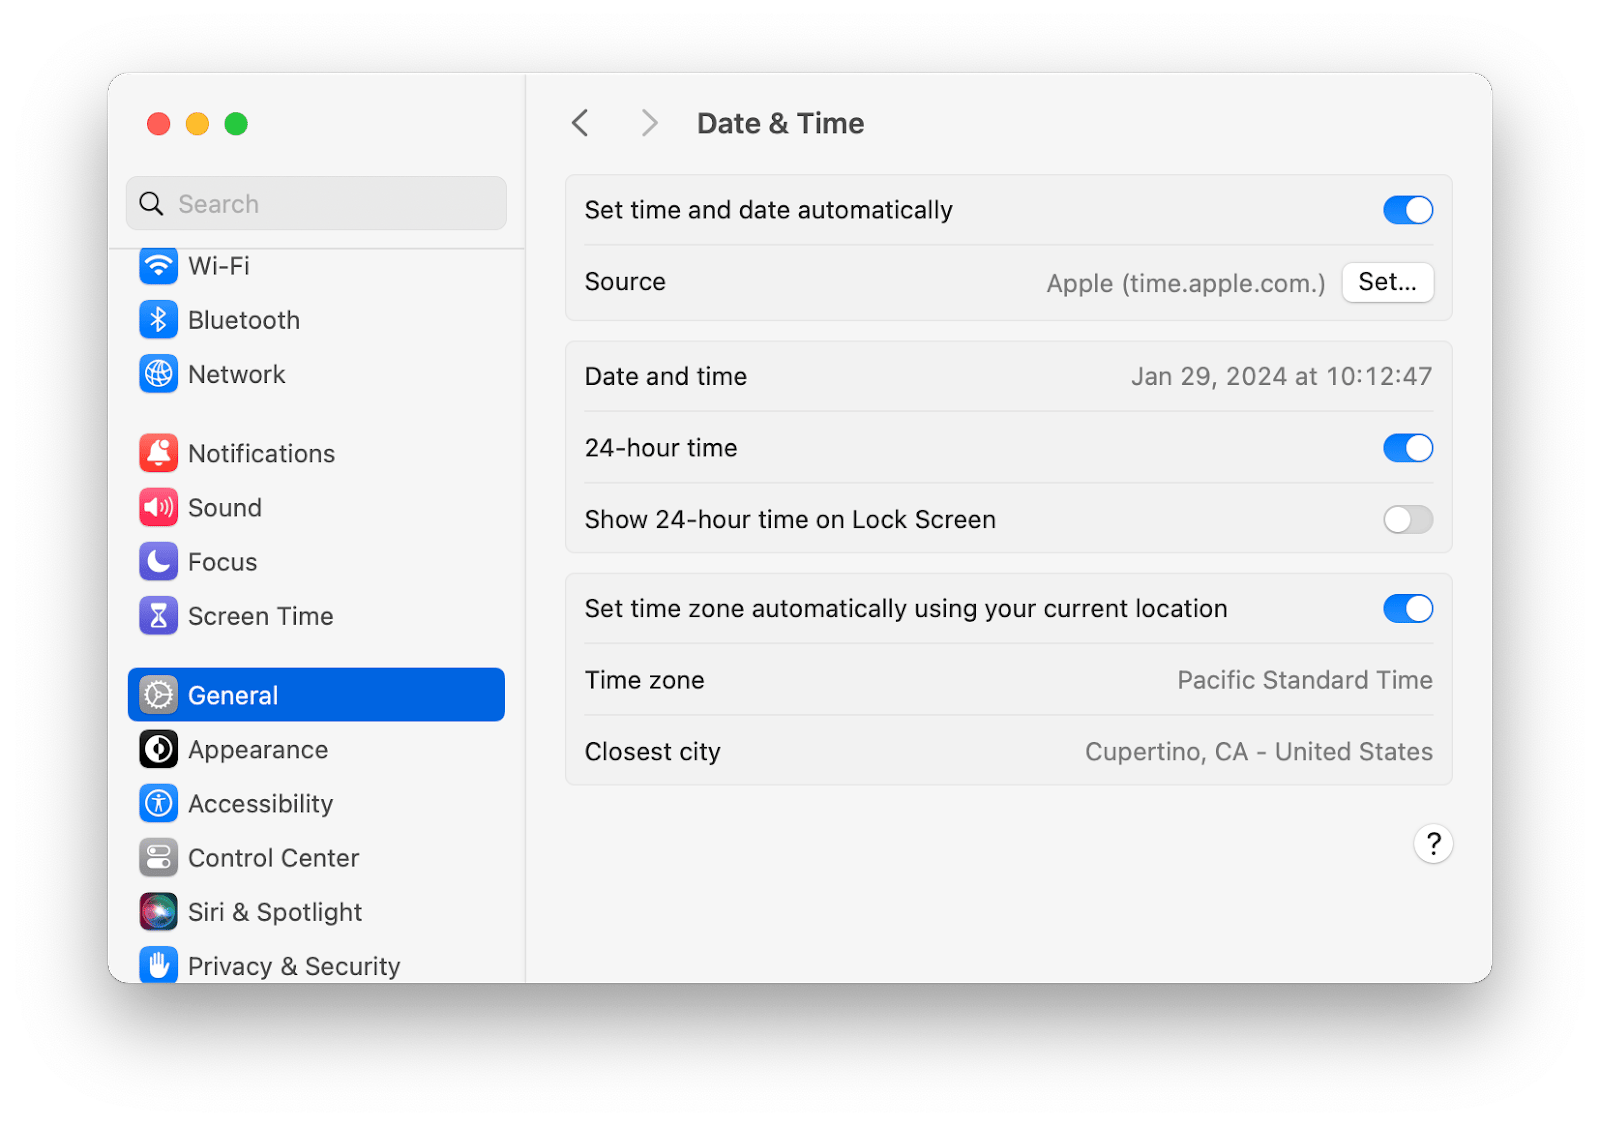
The effectiveness of this method for fixing FaceTime not working on MacBook may not be obvious, but it’s actually important that your Mac operates in the correct time zone. If you set date and time manually, there may be a discrepancy between that and the FaceTime server’s date and time, which may be causing the issue.
Here’s how to automatically set date and time zone on Mac:
- Go to System Settings ➙ General
- Click Date & Time
- Check “Set date and time automatically”
- Select Time Zone
- Check “Set time zone automatically using current location”
Check your microphone and camera
Two very simple troubleshooting steps to take when you’re wondering “why won’t my FaceTime work” are testing your Mac’s microphone and camera, since they might be at fault, preventing FaceTime from connecting properly.
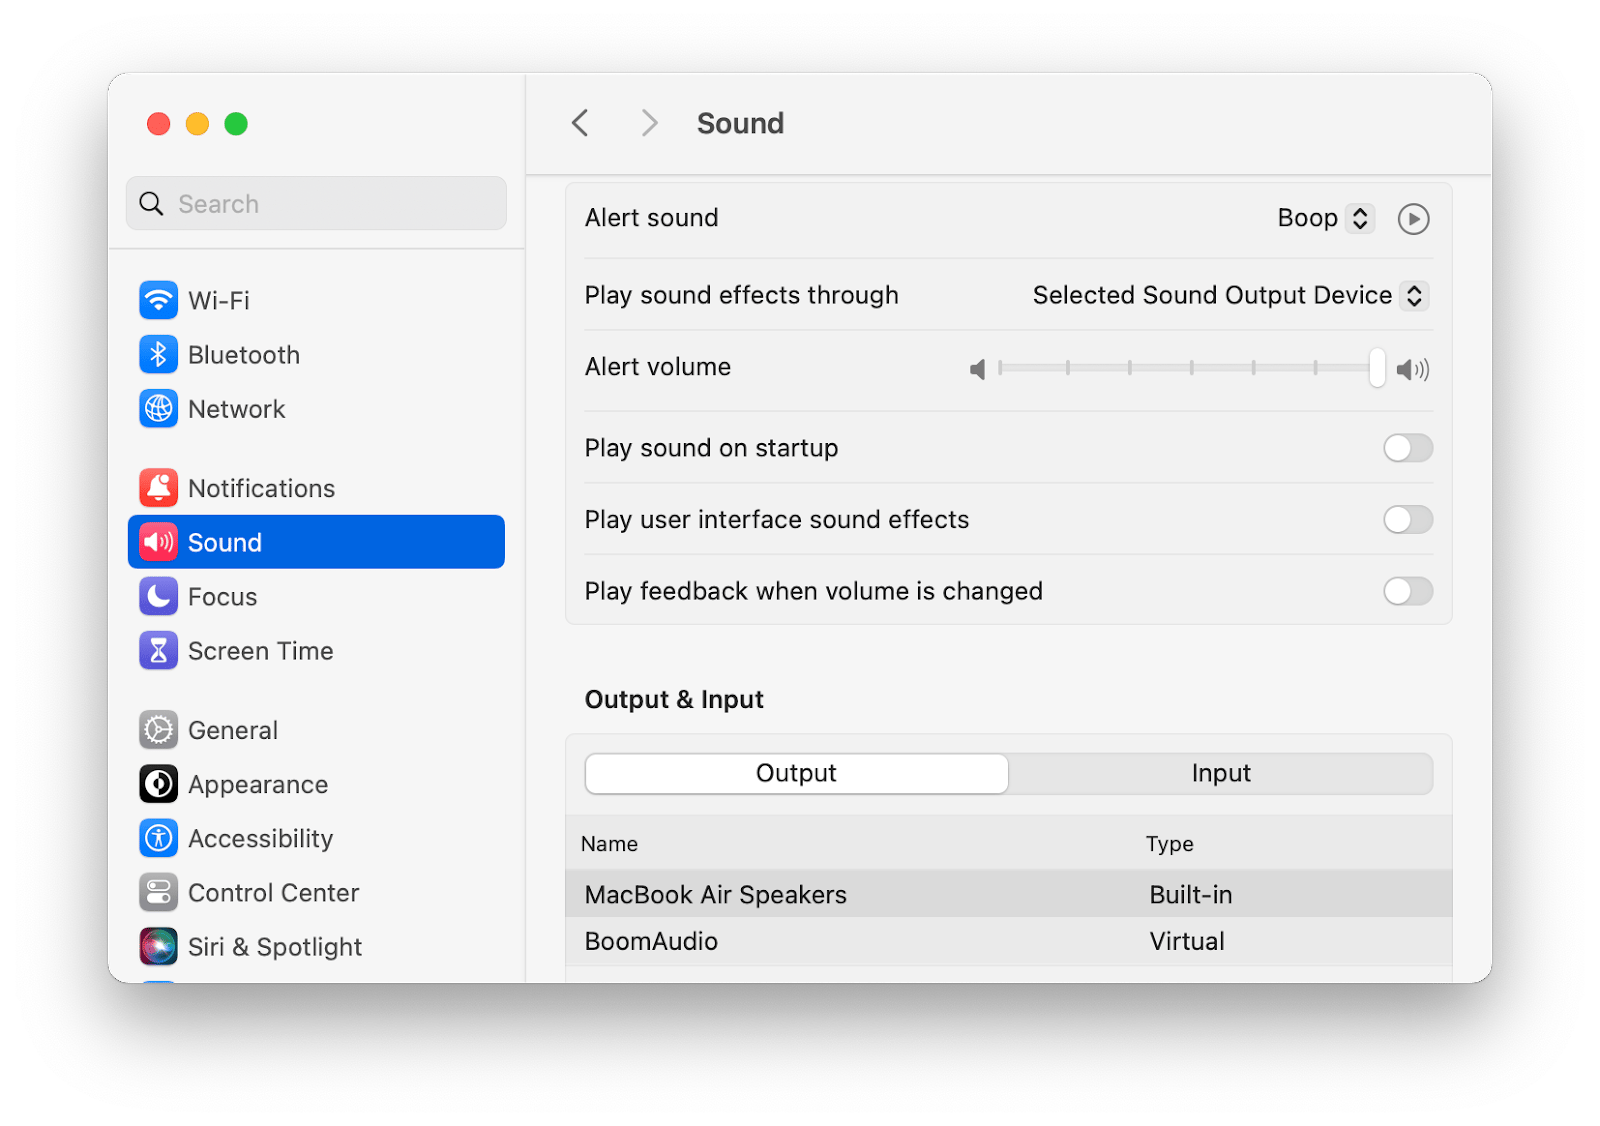
To check your microphone:
- Go to System Settings ➙ Sound
- Click on the input tab and see if the noise levels rise when you say something
To quickly test your camera, simply launch any other app that requires it like Zoom, Google Meet, or WhatsApp. If your video is showing up fine, your Mac’s camera is in good shape.
Update macOS to the latest version
FaceTime is a part of macOS, so in order to update the app’s internal processes, you need to install the latest version of macOS, rebooting the whole operating system.
Here’s how to fix FaceTime won’t connect on Mac issue by updating macOS:
- Go to System Settings ➙ General ➙ Software Update
- Click Update Now and follow on-screen instructions to install an update if it’s available
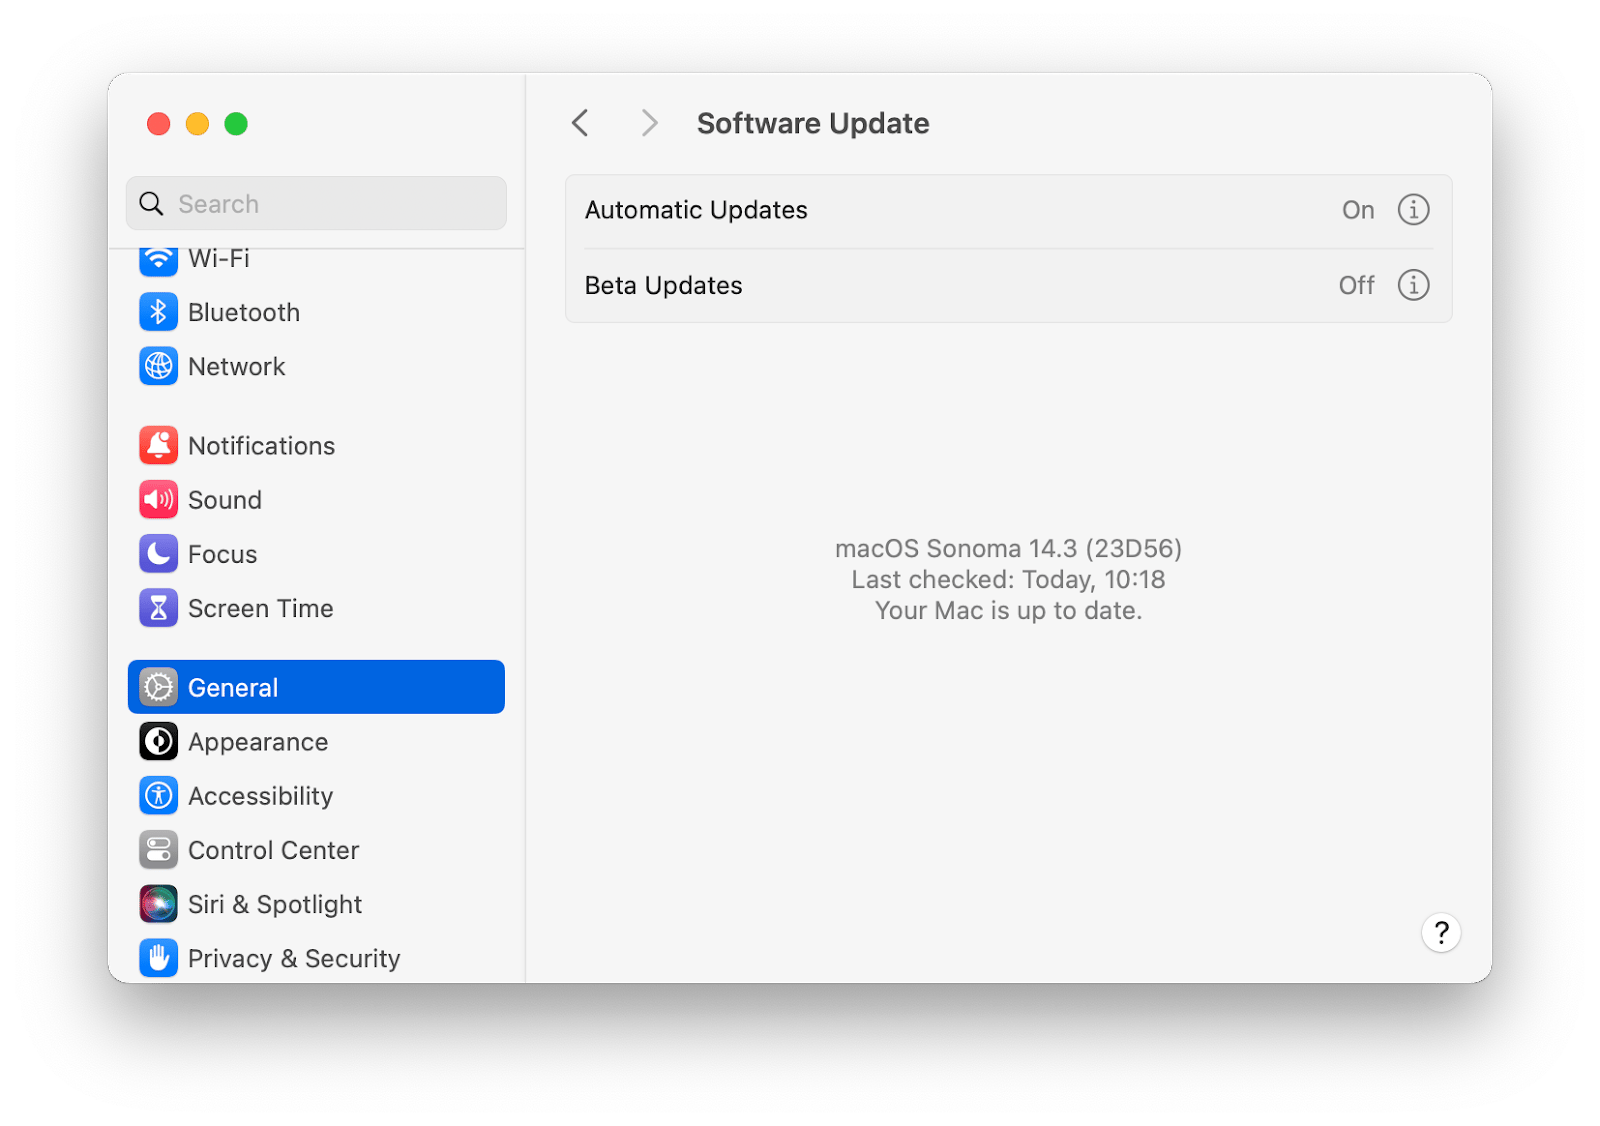
You can also turn on “Automatic updates” from the same menu to have software updates get installed as soon as they become available. This way you can make sure your system is always up to speed.
Check your Apple ID
Using a different Apple ID than your other devices might be what’s causing the issue of FaceTime not working on Mac. To check and fix this, simply open FaceTime and go to Settings. If your Mac’s Apple ID credentials don’t match your other devices, click Sign Out and sign back in using an Apple ID that’s the one used on your iPhone or iPad. In case your Mac is the only device, check that the Apple ID information in the FaceTime app is correct.
Check DNS settings
The final resolution to the question of “why isn’t FaceTime working on my Mac” can be something to do with your DNS settings. You already know that your Mac uses the Domain Name System (DNS) to access websites. But if the DNS servers you’re using are slow or unavailable, websites and apps using WiFi will take a long time to load or won’t load at all.
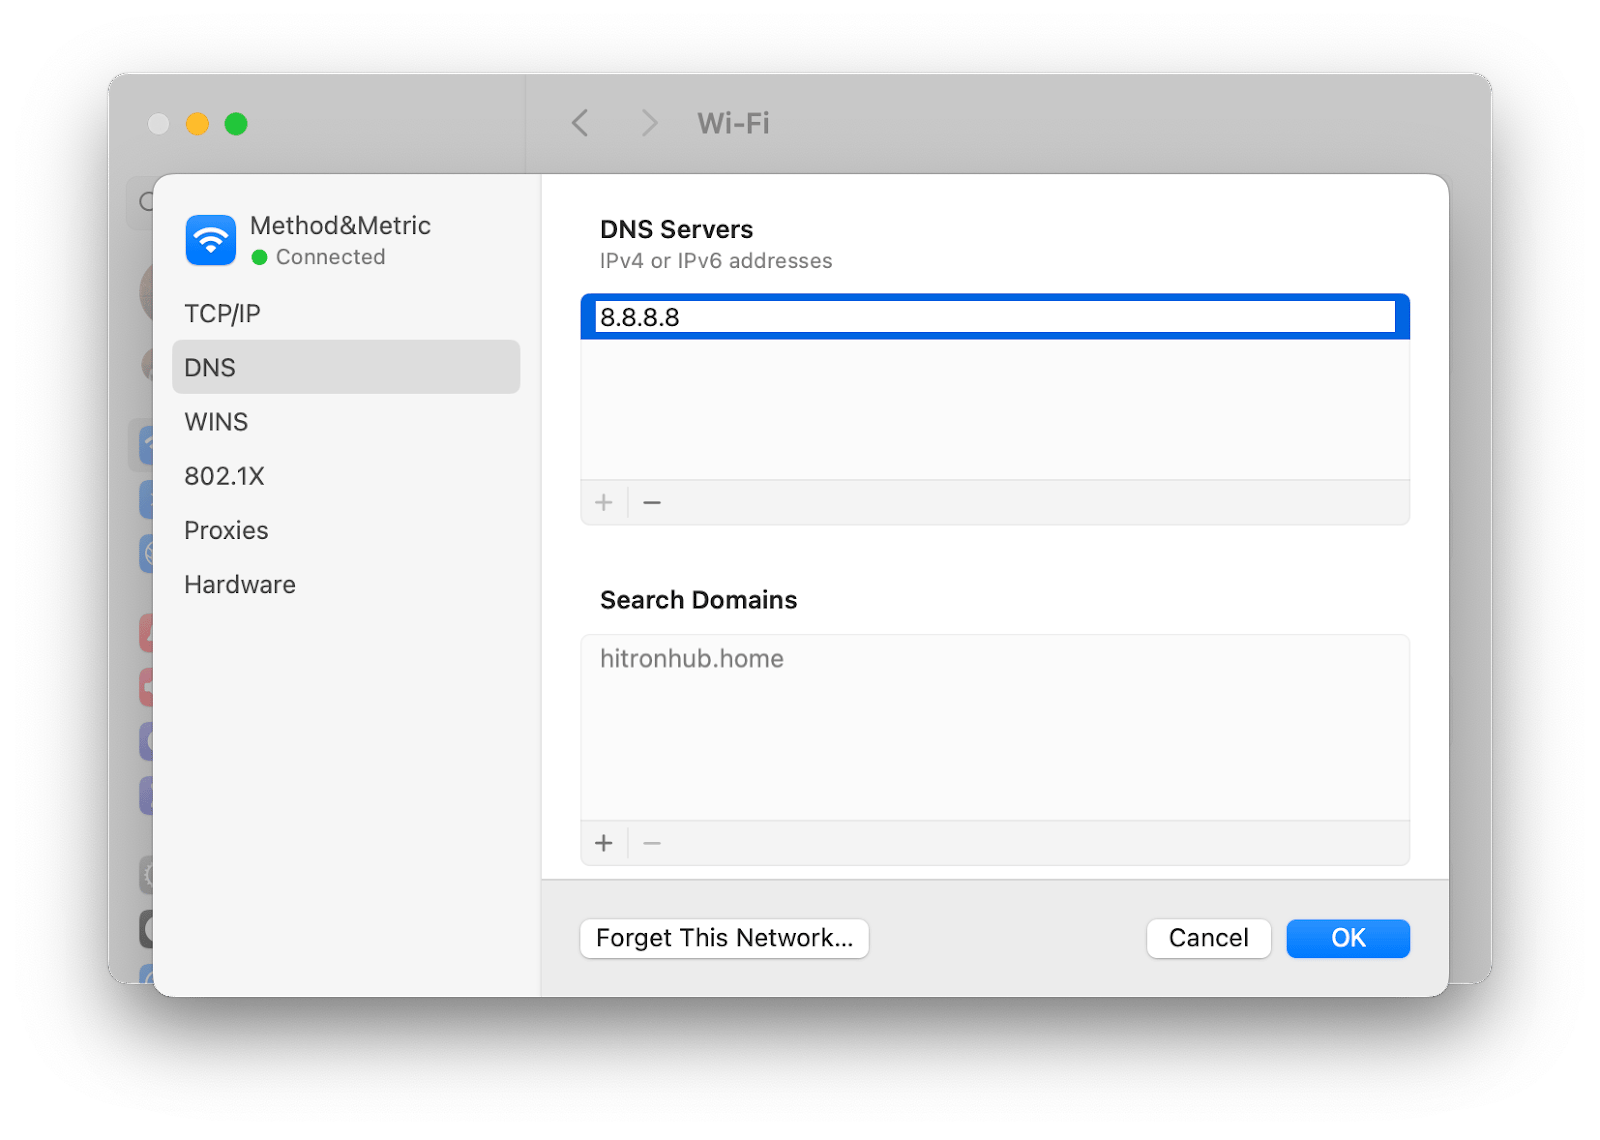
To change your DNS settings to Google’s open DNS, follow these steps:
- Go to System Settings ➙ Network ➙ WiFi
- Click Details next to your WiFi network
- Select the DNS tab
- Click on the + (plus) button and type in 8.8.8.8 and 8.8.4.4
- Click OK
Despite there being a long list of possible reasons for FaceTime not working on MacBook issues, you now know how to discover and fix the root of the problem in your particular case.
If you suspect that the answer to your question of “why won’t my FaceTime work?” lies in an unstable WiFi connection, check and quickly restore it with a professional app like WiFi Explorer or NetSpot. And if you know you’ll need to update to the latest version of macOS, have a backup of your most important data ready with Get Backup Pro.
Great news! All three apps — WiFi Explorer, NetSpot, and Get Backup Pro — are available to you absolutely free for seven days through the trial of Setapp, a platform with more than 240 top-rated apps for Mac and iOS. Try every Setapp app today at no cost and find the best Mac tools for any type of use case.
FAQs about FaceTime not working Mac
The above methods make a complete guide on what to do if you’re wondering “why isn’t FaceTime working on my Mac?” but here are some additional answers to the most common questions about this issue.
Why is my FaceTime not connecting?
There can be a few different reasons for that, from a poor internet connection to outdated software or incorrect settings. Use the guide above to troubleshoot all possible problems and find the right solution for your case.
How do I get FaceTime to show on my Mac?
Since FaceTime is one of the default apps on macOS, all you have to do is open it by clicking its icon in the menu bar, or pressing Command + Space and typing FaceTime. If FaceTime isn’t already turned on, click Turn On, then log in with your Apple ID and password.
How do I get FaceTime on my Mac instead of my iPhone?
All Mac models released after 2011 come with the FaceTime app preinstalled, so there’s nothing else you need to do to get it on your Mac. If, for some reason, your Mac doesn’t have the FaceTime app, you can download it from the App Store.


