How to run Windows programs on Mac
Not all apps have a version for macOS, especially the enterprise ones that most people don’t really use. Plus, some popular games just aren't available on a Mac. For example, you can't play the FC24 soccer game on a Mac, even if you've got Steam installed — pretty disappointing, right?
It might seem hard to believe, but a lot of Apple users deal with the fact that they can't run their favorite Windows apps on a Mac. Thankfully, there are ways to get Windows apps up and running on a Mac. There are several ways I know of. In this guide, I’ll show you how each method works so you’ll know how to run Windows programs on Mac.
Running Windows apps on Mac with Boot Camp
Boot Camp is a cool tool that lets you run Windows on your Mac. Once you get it set up, you can boot your Mac directly into Windows instead of macOS. It feels pretty much like using a regular Windows PC, so you can easily install and run all your favorite Windows apps.
That said, Boot Camp only supports Windows 10, which means you can’t install Windows 11, even if that’s the minimum requirement your apps need. And if you have one of the latest Macs with Apple Silicon chips (M1, M2, or M3), you can't use Boot Camp anymore. But don't worry! You can still run Windows apps using virtualization software like Parallels Desktop or VirtualBox. These programs let you run Windows in a virtual machine right alongside macOS, so you won’t have to reboot your computer or mess around with partitioning your hard drive.
Here’s how to run Windows on Apple Silicon Macs using Parallels (the recommended method):
- Get the latest version of Parallels Desktop for Mac (you can get a free trial to test it out before purchasing).
- Go to the Microsoft website and download the Windows 11 ARM version (available to Windows Insiders or through the Windows 11 ARM version download).
- You’ll need a Microsoft account to sign up for the Insider program if you haven't already.
- Open the downloaded Parallels installer and follow the on-screen instructions to install the software on your Mac.
- After installation, open Parallels Desktop and click Install Windows or another OS.
- Choose Windows 11 ARM as the operating system to install.
- Parallels will guide you through the setup, including allocating resources (like RAM and CPU) for the virtual machine. Parallels will automatically download and install Windows 11 for ARM.
- Once installation is complete, you can boot directly into Windows from the Parallels interface and use it just like you would on a regular Windows PC.
- You can run all your favorite Windows apps inside the virtual machine while macOS continues running in the background.
Then, your Mac will start up in Windows for the first time. At this point, you will be asked to install Boot Camp on Windows. If you don’t see any dialog, you’ll need to install the Boot Camp manually.
However, the drawback is you can’t easily switch back to macOS. To do that:
- Restart your Mac.
- Hold the Option key when your Mac restarts.
- You will see your Mac displaying both the Mac and Windows logo.
- Choose Mac to reboot in macOS.
Using a virtual machine to run Windows programs
Another way to run Windows programs on Mac is to set up Windows on a virtual machine. A virtual machine is like an app that works as a computer. After you set it up, you can move between macOS and Windows without restarting your Mac.
This is actually a better option for Mac users wanting to run Windows 11, especially if your Mac has an Apple M-chip. As I mentioned before, the Intel version of Windows 11 isn’t really made for M-series chips. But no worries — you can grab the Arm version of Microsoft Windows 11, and it works fine with virtual machines.
I guess the next question is — which virtual machines should you choose?
Well, Parallels and VMware are the popular ones. They’re arguably better than many free virtual machines. I like Parallels more because it is easier for beginners. You don’t have to be tech-savvy to use it. I can’t say the same for VMware, though, because it can be hard to use since it’s made for big companies.
Here’s how to turn Windows software on a Mac from a virtual machine:
- Download and install Parallels, VMware Fusion, or another compatible virtual machine software on your Mac.
- Download the ARM version of Windows 11 (for Apple Silicon Macs) or the regular Windows 10/11 version (for Intel Macs) and install it on your virtual machine.
- Once installation is complete, you can launch Windows from within the virtual machine without restarting your Mac.
- Install Windows programs just as you would on a Windows PC.
The benefit of a virtual machine is that you can switch between macOS and Windows easily. You don't need to restart your Mac, and you can run both systems simultaneously.
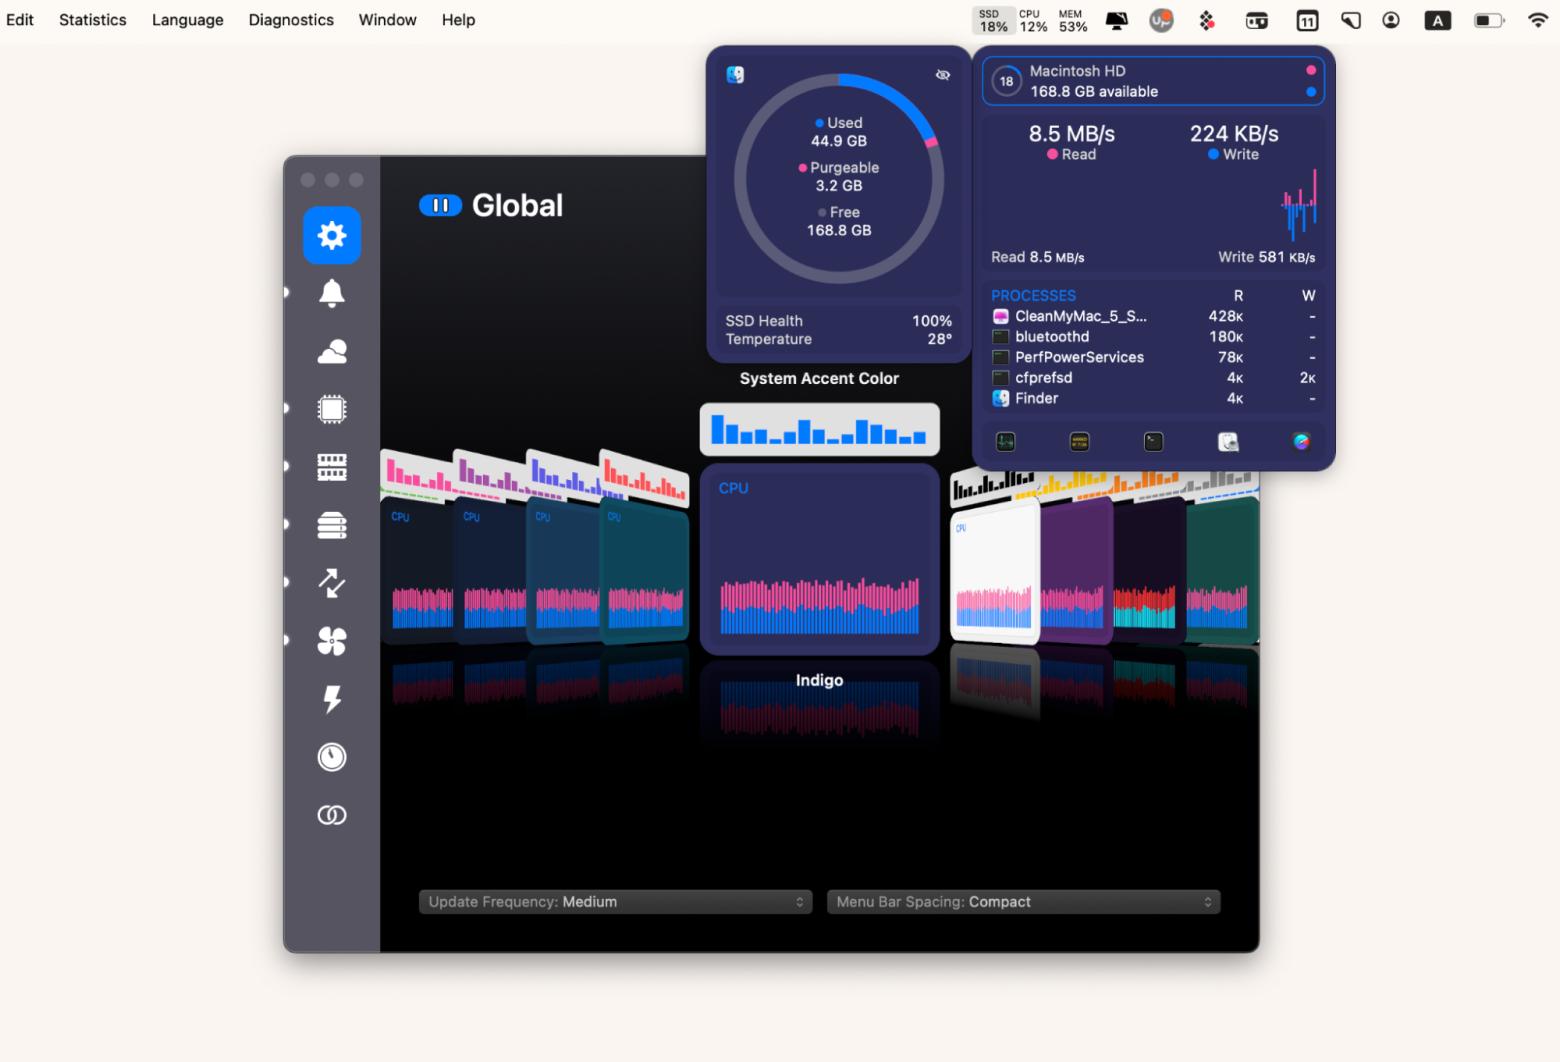
Although a virtual machine doesn’t require a separate disk partition, it takes up lots of computing resources, especially when running large Windows programs. So, you might find your Mac getting sluggish if you open too many programs. To know if you’re pushing your Mac to the limit, use iStat Menus. This handy tool lets you monitor CPU, memory, temperature, and other indicators from the menu bar.

Running Windows programs using Wine
If you want to run Windows software on a Mac without actually installing Windows, Wine is a great solution. Despite its name, Wine doesn't stand for "Windows Emulator" — it stands for "Wine Is Not an Emulator". For context, an emulator is a special app that imitates a different operating system, which Wine is not. Instead, Wine is a software technology that lets macOS understand the command a Windows app sends. You can think of it as an intermediary that translates the commands between the Windows app and macOS.
You can use Wine for free since it's an open-source project. But honestly, I wouldn’t suggest downloading and setting it up unless you’re pretty tech-savvy. That’s because Wine needs to be compiled and configured from the source code, which usually means you need some programming skills. Most people would find these steps pretty tricky since they're a lot more complex than just installing a regular app.
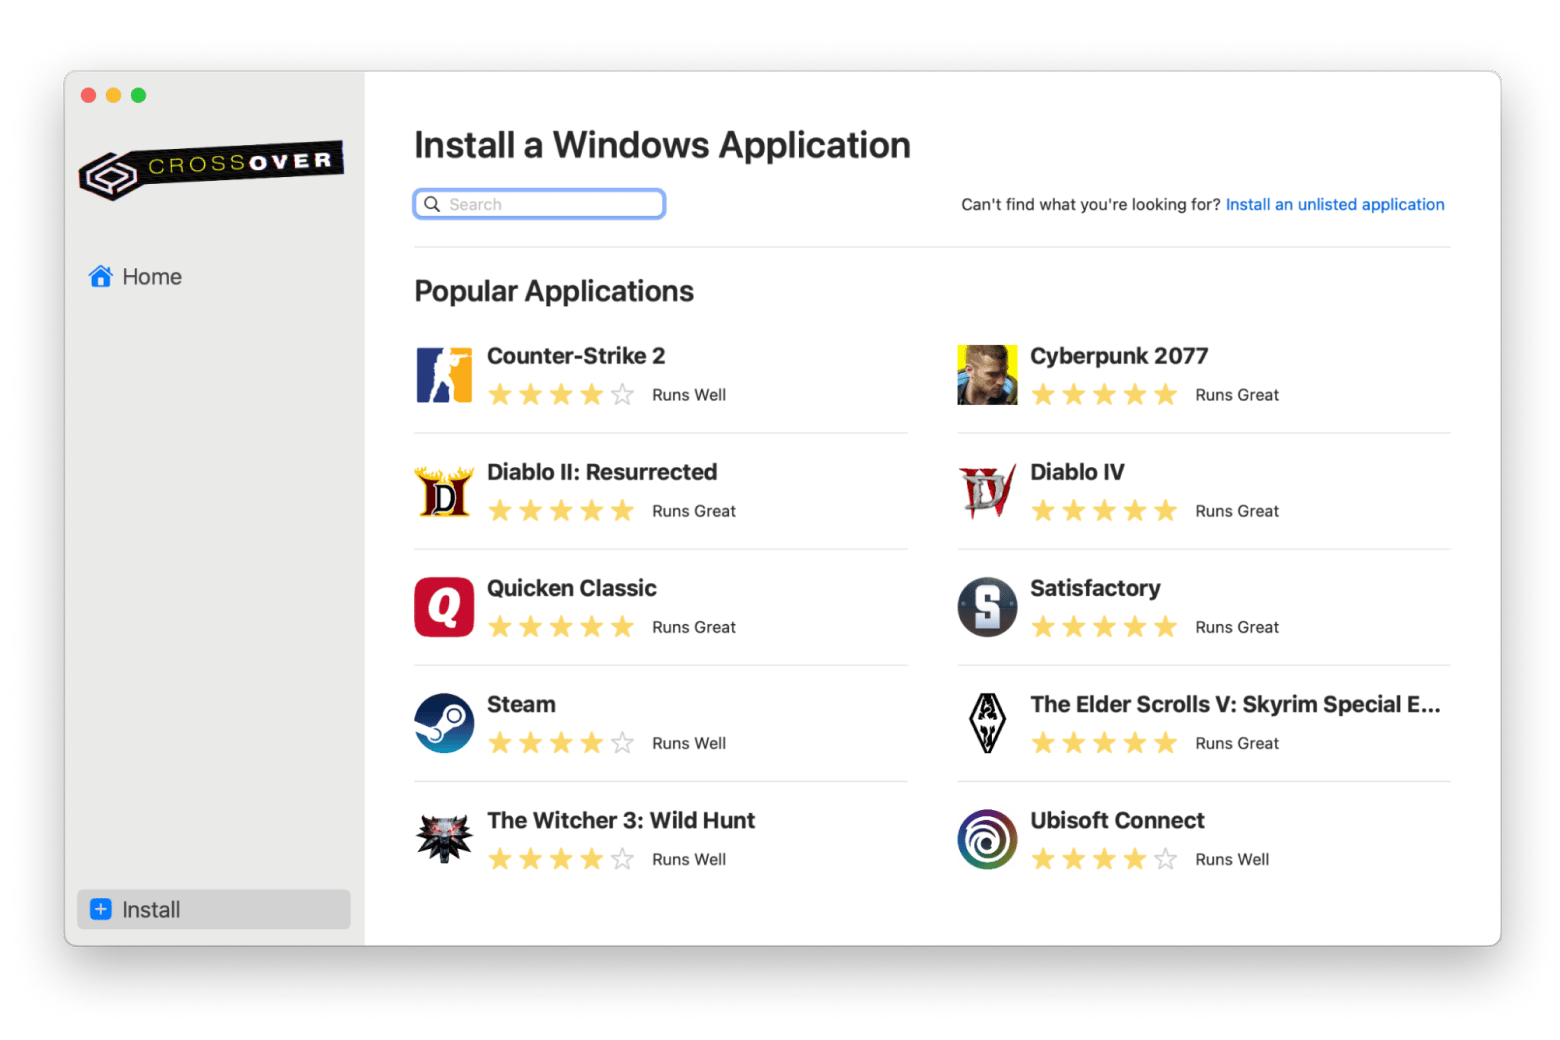
However, you can use 3rd party tools built on top of Wine. For example, WineBottler and CrossOver are Wine-based applications that let you install Windows apps on Mac. They are easier to use and come with a list of supported Windows apps. They also let you install an unlisted app in simple steps.
Here’s how to run Windows apps on Mac with CrossOver:
- Install and open CrossOver.
- Search for an application.
- Select the application. Then, click Install.
If you can’t find an application on CrossOver, you can manually install it using the exe installer file. To do that, click Install an unlisted application at the top right.

Although Wine-based tools can let you skip the hassle of installing Windows and buying a license for it, it isn’t perfect. Not all Windows apps are supported particularly newer versions. So, if you long to play a recently launched game on Mac, Wine probably wouldn’t do the trick.
Accessing Windows programs remotely with remote desktop
Remote desktop software lets you connect and take control of a remote computer over a network. Once connected, you’ll see a display of the Windows computer’s desktop on your Mac and operate the former as if you’re physically using it.
Let’s say you want to open an accounting software installed on a Windows computer. You can do so from your Mac as long as both machines are connected via the remote desktop software. Although convenient, be mindful that this method usually suffers from lag, which means gaming is off the list.
Still, if you use a good remote desktop software like Jump Desktop, you can easily move files, save documents, and open many Windows apps effortlessly.
Here’s how to do that:
- Install and open Jump Desktop on your Mac.
- Sign in to Jump Desktop with your email.
- Install and open Jump Desktop Connect on the Windows computer.
- Click Add a remote access user link and sign in to the same account for Jump Desktop.
- Then, choose your profile to add it as the remote user.
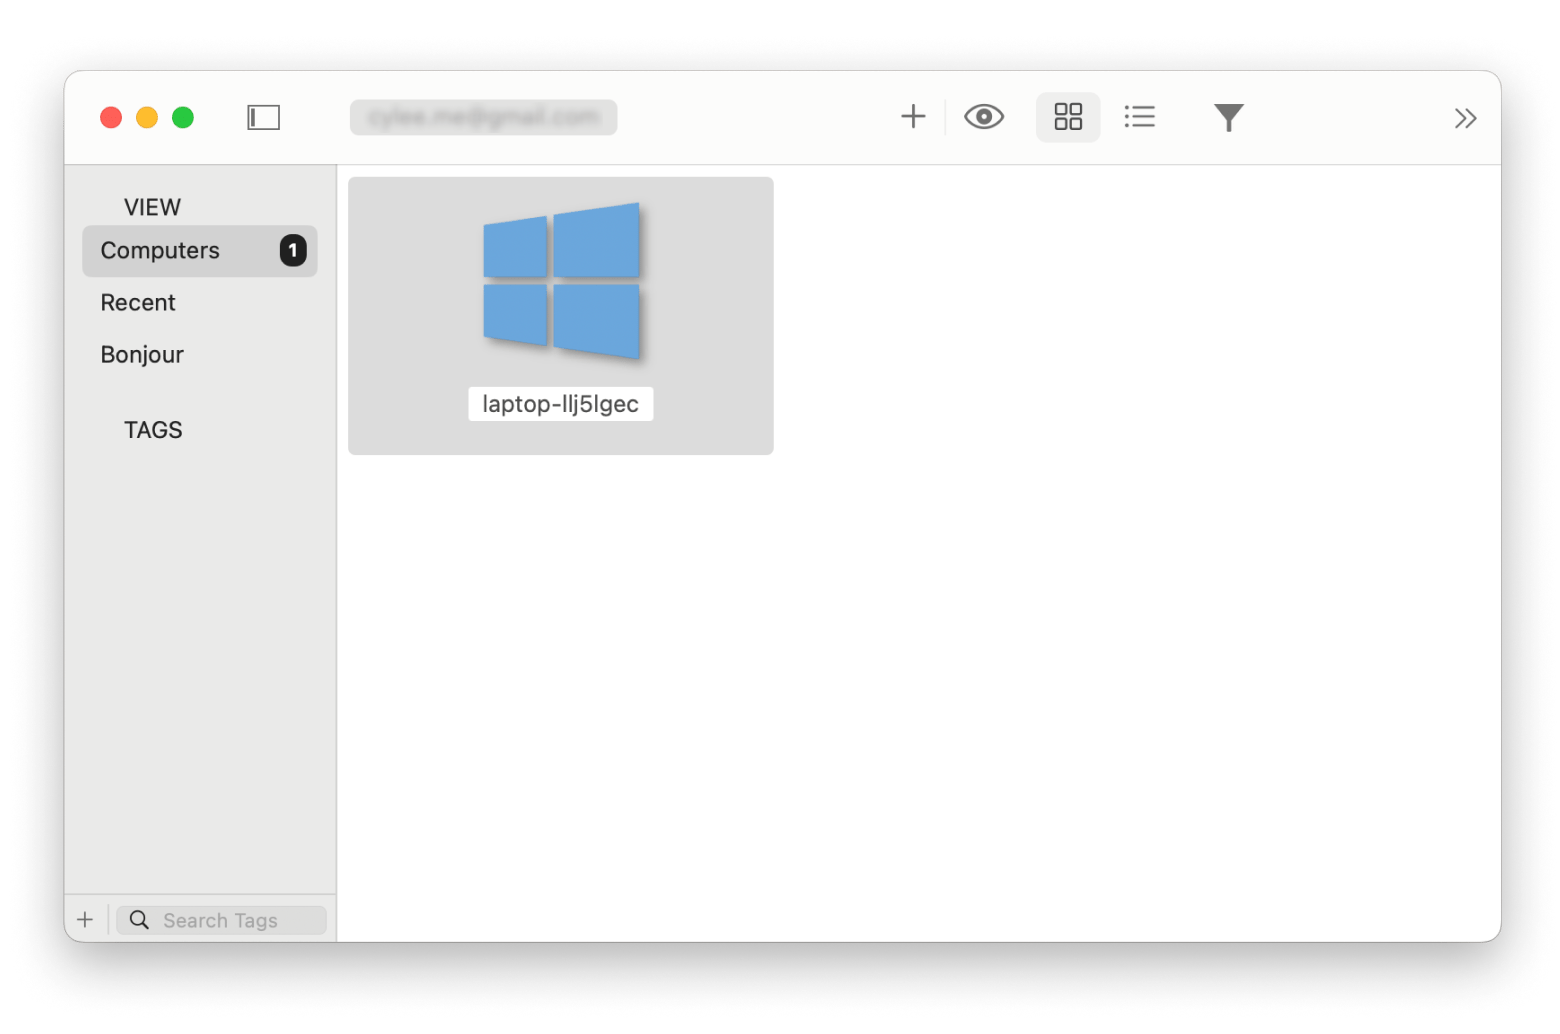
- Once added, go back to the Jump Desktop Mac on your Mac. Look for the newly added computers in the Computers tab.
- Click the play button on the computer thumbnail.
- If prompted, key in your credentials for the Windows computer.
You will see the Windows computer’s screen mirrored on your Mac, which you can navigate as if you’re physically using it.

How to use Windows apps on Mac (Solved)
By now, you should have a clearer idea of running Windows apps on Mac. Ideally, installing Windows on your Mac gives you the best app performance. However, many Mac users must use a virtual machine, Wine-based tools, or remote desktop software like Jump Desktop.
Regardless of the method to choose, make sure you keep an eye on your Mac’s health:
- Use CleanMyMac to free up storage space by removing junk files.
- Install iStat Menus to monitor CPU, memory, temperature, and other vital Mac indicators.
You can find all the apps on Setapp, along with dozens of others that help you boost productivity on Mac. Try them 7 days for free now. Setapp has tons of awesome apps that I use for my everyday stuff, so it's a great chance for you to find some favorites, too!


