How to scroll on Mac: A simple guide
If you’re a Mac user, you scroll, right? Haha. There are several methods to do so, some of which can be much better than others. Maybe you got used to your trackpad to browse your favorite blog, or the mouse to check emails, or keyboard to work on documents — mastering each method is a key to efficient scrolling because, if you can sit working for hours, you definitely know how your arm or wrist can hurt after a long day (not an industrial injury but still).
Let's explore the various ways to scroll on your Mac, including how to scroll on MacBook Air and MacBook Pro, and I'll share some helpful tips as we go.
How to scroll | What it does | How do I improve my workflow? |
Keyboard | Use arrow keys and spacebar for quick navigation. | Use KeyKey Typing Tutor to improve typing speed and learn shortcuts. |
Trackpad | Swipe with two fingers to scroll easily through content. | Use Swish to create custom gestures for smoother control. |
Mouse | Use the scroll wheel to move through pages quickly. | Use BetterTouchTool to set up cool actions for a mouse. |
Scroll bars | Click and drag the scroll bar to move up or down a page. | Adjust scroll bar settings in System Settings for better visibility. |
Method 1: Using the keyboard to scroll
Are you on the keyboard team? Then, this is for you:
Arrow keys: Use the up and down arrow keys to move through pages.
Option + arrow keys: This lets you scroll larger distances quickly.
Spacebar: Pressing the Spacebar scrolls down.
Shift + spacebar: This scrolls the page up on MacBook.
Command + down arrow: Jump to the bottom of a page.
Command + up arrow: Go straight to the top.
Simple yet powerful shortcut for quick navigation during working hours and free time.
You may also like "Best keyboard shortcuts for Mac."
Method 2: Scrolling with the trackpad
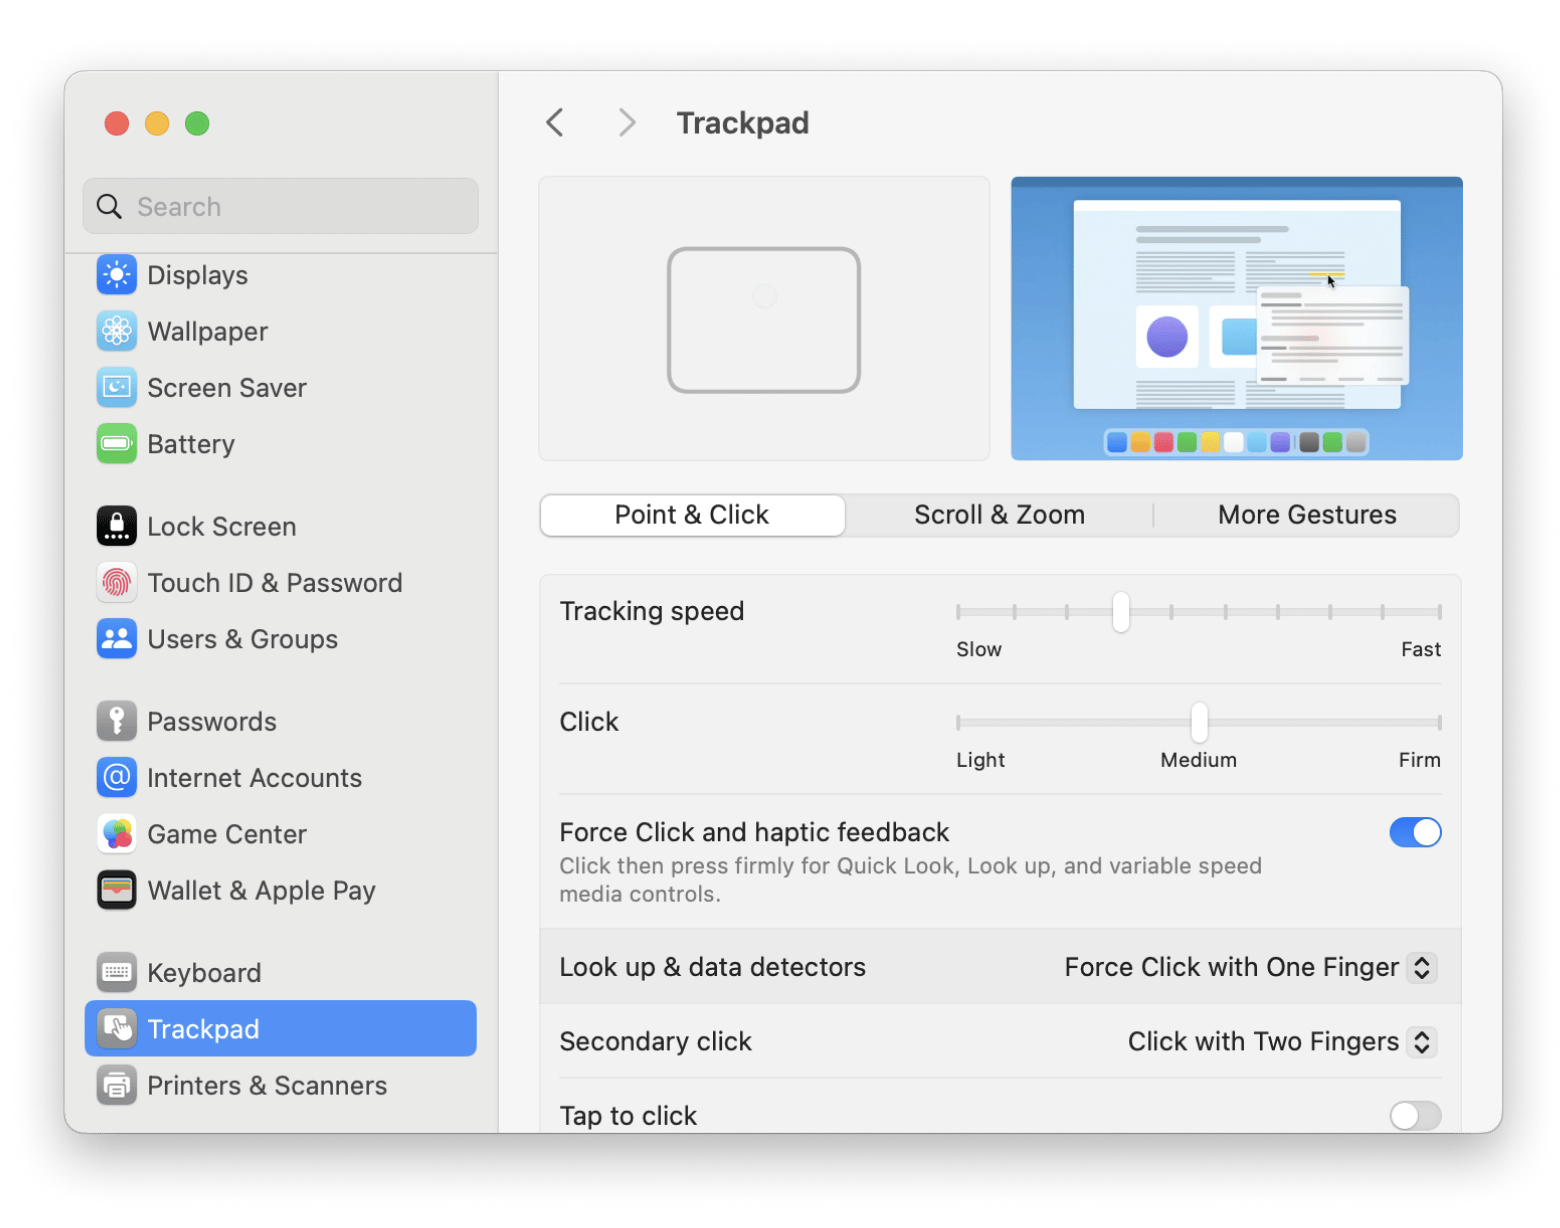
Scrolling with a trackpad is simple and intuitive. Just use two fingers to swipe up or down to scroll. You can even adjust the scrolling direction in the System Settings:
- Click the Apple menu and select System Settings.
- Choose Trackpad and then go to the Scroll & Zoom tab.
- You can toggle Natural Scrolling on or off based on your preference.

Originally, macOS set the scrolling direction for the mouse and the trackpad as natural. In this case, when a user shifts their fingers, the person will also be able to see the contents of the window moving in the person’s direction. This behavior mimics that of touchscreens, where swiping up results in scrolling down. If you're used to Windows, this default setting on a Mac might be a bit frustrating when using a mouse or trackpad. With Natural Scrolling enabled, the contents of a window move in the same direction as your fingers.
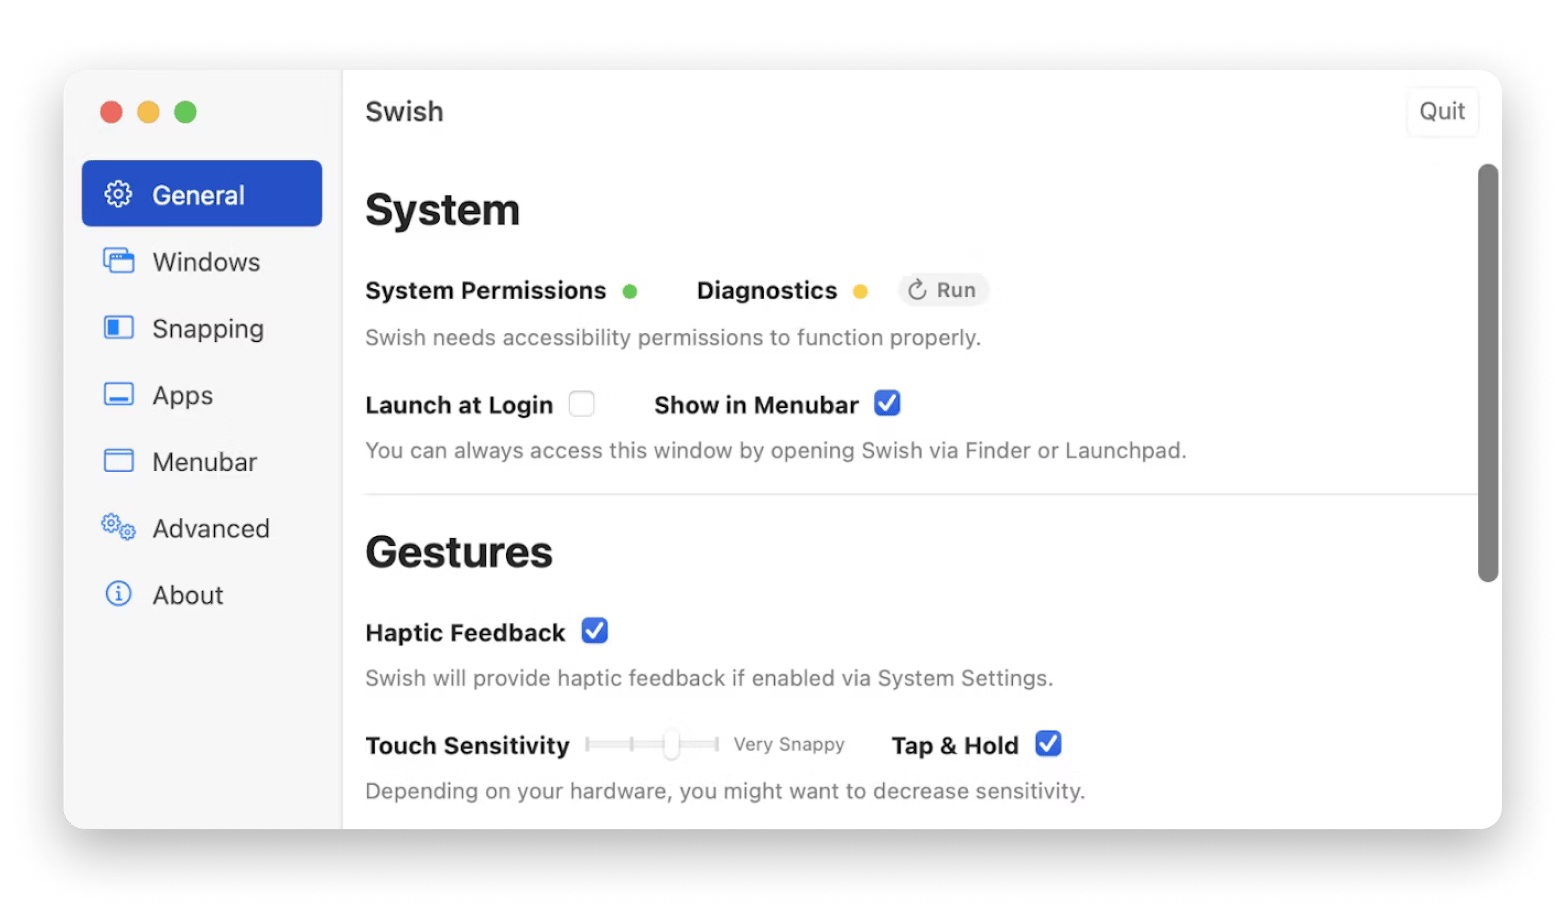
If you've got a ton of things open on your Mac, it's starting to feel like a cluttered desk. Maybe it's time to think about window management. When you're tired of constant dragging and resizing windows, and your trackpad's basic functions aren't enough, it's time to explore Swish. This app allows you to use simple gestures to easily manage your windows, snapping and arranging them exactly how you prefer.
The app features 28 practical gestures that can enhance your trackpad functionality. For example, you can pinch the window title bar to quit, swipe down to minimize, or double-tap to hide a window – all with smooth, natural movements that make multitasking easier. Swish also arranges your windows into organized grids, simplifying the process of working across various apps. Overall, it's an excellent way to maximize your trackpad's capabilities and improve your productivity.

Check this guide to fix MacBook Pro trackpad not scrolling.
Method 3: Scrolling with a mouse
If you're using a mouse, you can scroll with the wheel or touch-sensitive area:
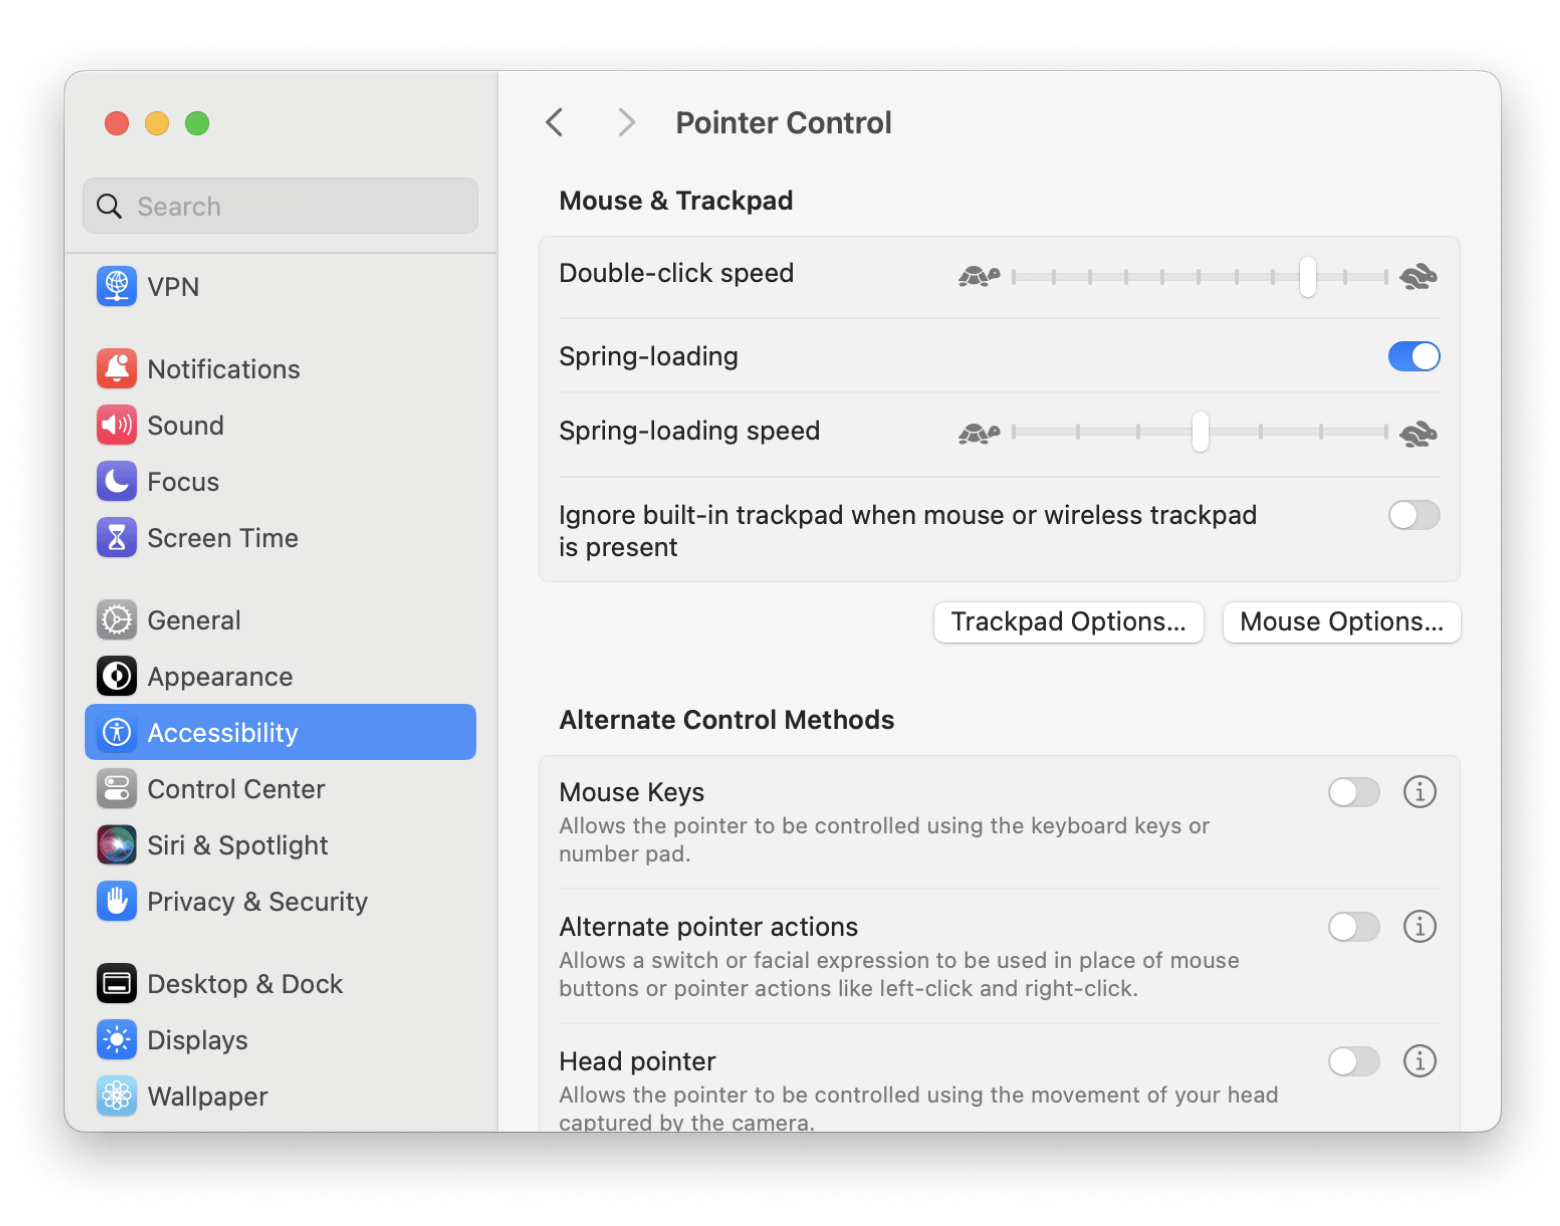
Go to the Apple menu and check System Settings > Accessibility > Pointer Control.
Here, you can enable or disable Natural Scrolling and adjust tracking speed.

Using a mouse can be especially handy for quick scrolling over long documents or web pages.
You may also like "How to change scroll direction on Mac."
Method 4: Using scroll bars
Scroll bars can be found on the right or bottom of your window. To scroll, just click and drag the scroll bar up or down.
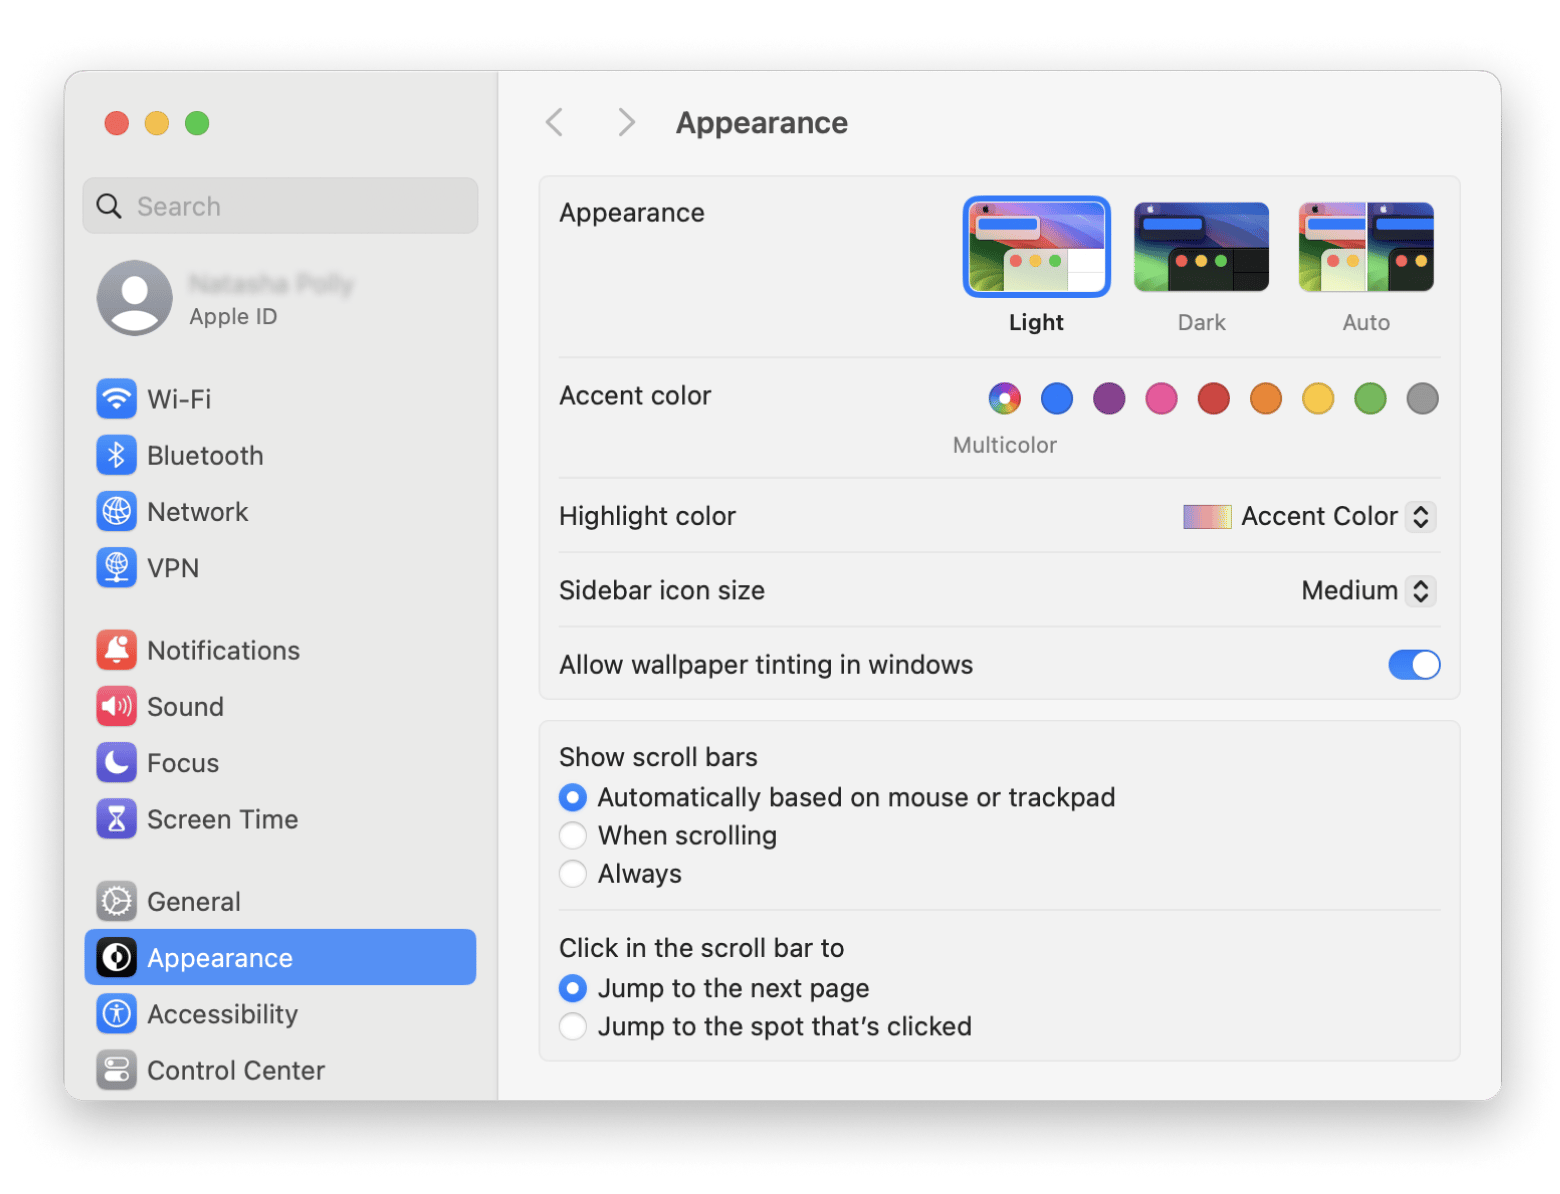
How to get a scroll bar on Mac? You can customize scroll bars in System Settings > Appearance by choosing when they should appear.

This method is straightforward, but it can be a bit slower compared to scrolling with a mouse or trackpad.
How do I scroll down on my Mac? Secrets revealed
Finally, all cards are given away, and you know all the hacks, no matter what scroll-down method you prefer.
If you prefer shortcuts, the keyboard might be your best bet for quickly figuring out how to scroll down on a Mac. For a more hands-on approach, using a mouse or trackpad can offer a smooth experience. While clicking and dragging the scrollbar can be less efficient, it's still an option if you need it.
By exploring these techniques, you'll also learn how to keep the scrollbar on your Mac visible, making it easier to navigate. I also suggest you use helpful apps like Swish, KeyKey Typing Tutor, and BetterTouchTool as you discover the scrolling method that works best for you. Check the tools out on Setapp, a subscription to 250+ handy apps for your Mac, iPhone, and iPad. All the apps are free to try during a seven-day trial. Sign up for Setapp today!
FAQ
How do you scroll on a MacBook Air without a scroll bar?
You can use two fingers on the trackpad to scroll up and down, or you can use the arrow keys on your keyboard. You can also swipe down with a mouse that has a scroll wheel.
How do I turn on the scroll wheel on Mac?
To enable the scroll wheel, go to System Settings > Mouse. From there, you can adjust the scroll direction and other settings to customize your scrolling experience.
What is the scroll key on Mac?
There isn't a dedicated "scroll key" on a Mac like you might find on some Windows keyboards. Instead, scrolling is typically done using the trackpad, mouse wheel, or by using keyboard shortcuts like the arrow keys or space bar.


