Customizing your Mac’s audio output: Check out these quick methods
TL;DR
- Use System Settings > Sound to adjust basic volume, input, and output options.
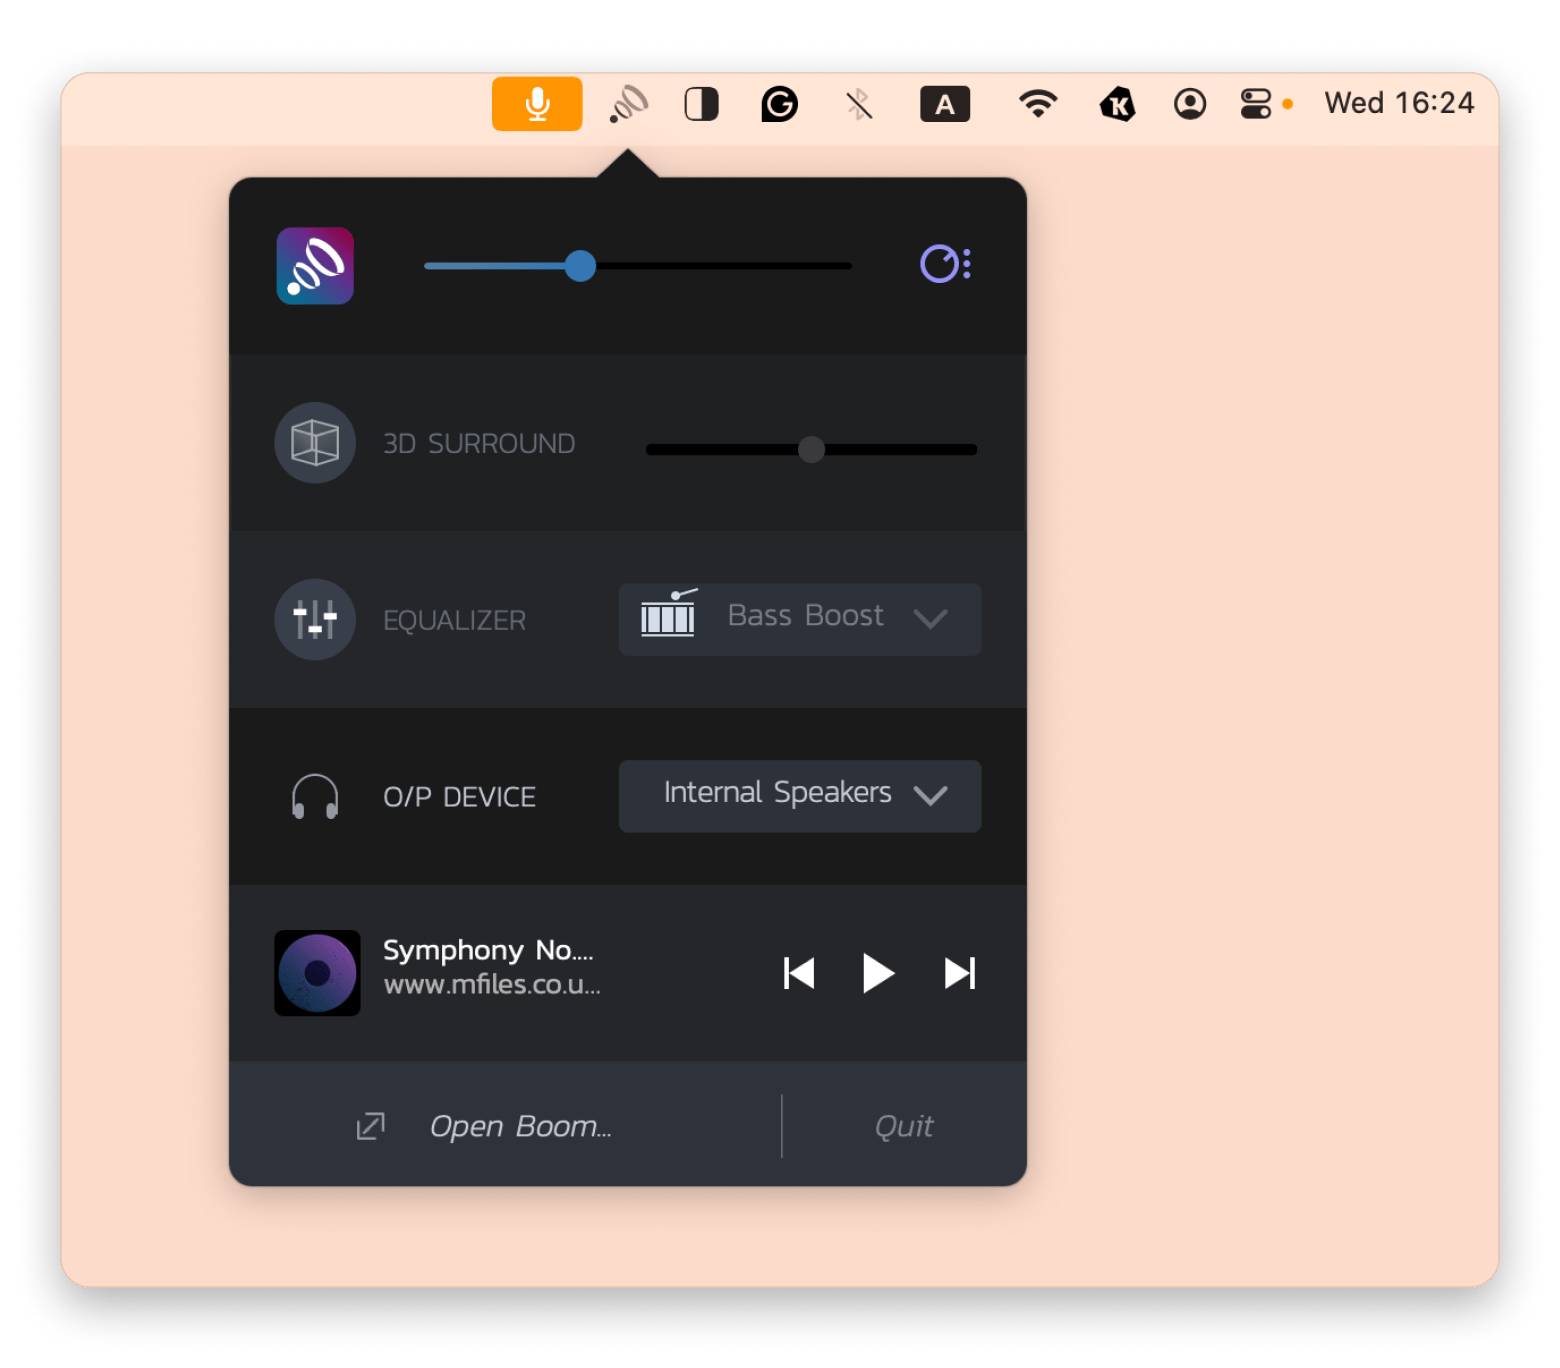
- For deeper sound control, try Boom 3D to boost bass, tweak EQ, and add spatial audio.
- Fix common audio issues by checking output devices, restarting Bluetooth connections, and cleaning ports.
- Record quick audio with the Voice Memos app or go pro with tools like n-Track Studio or Audacity.
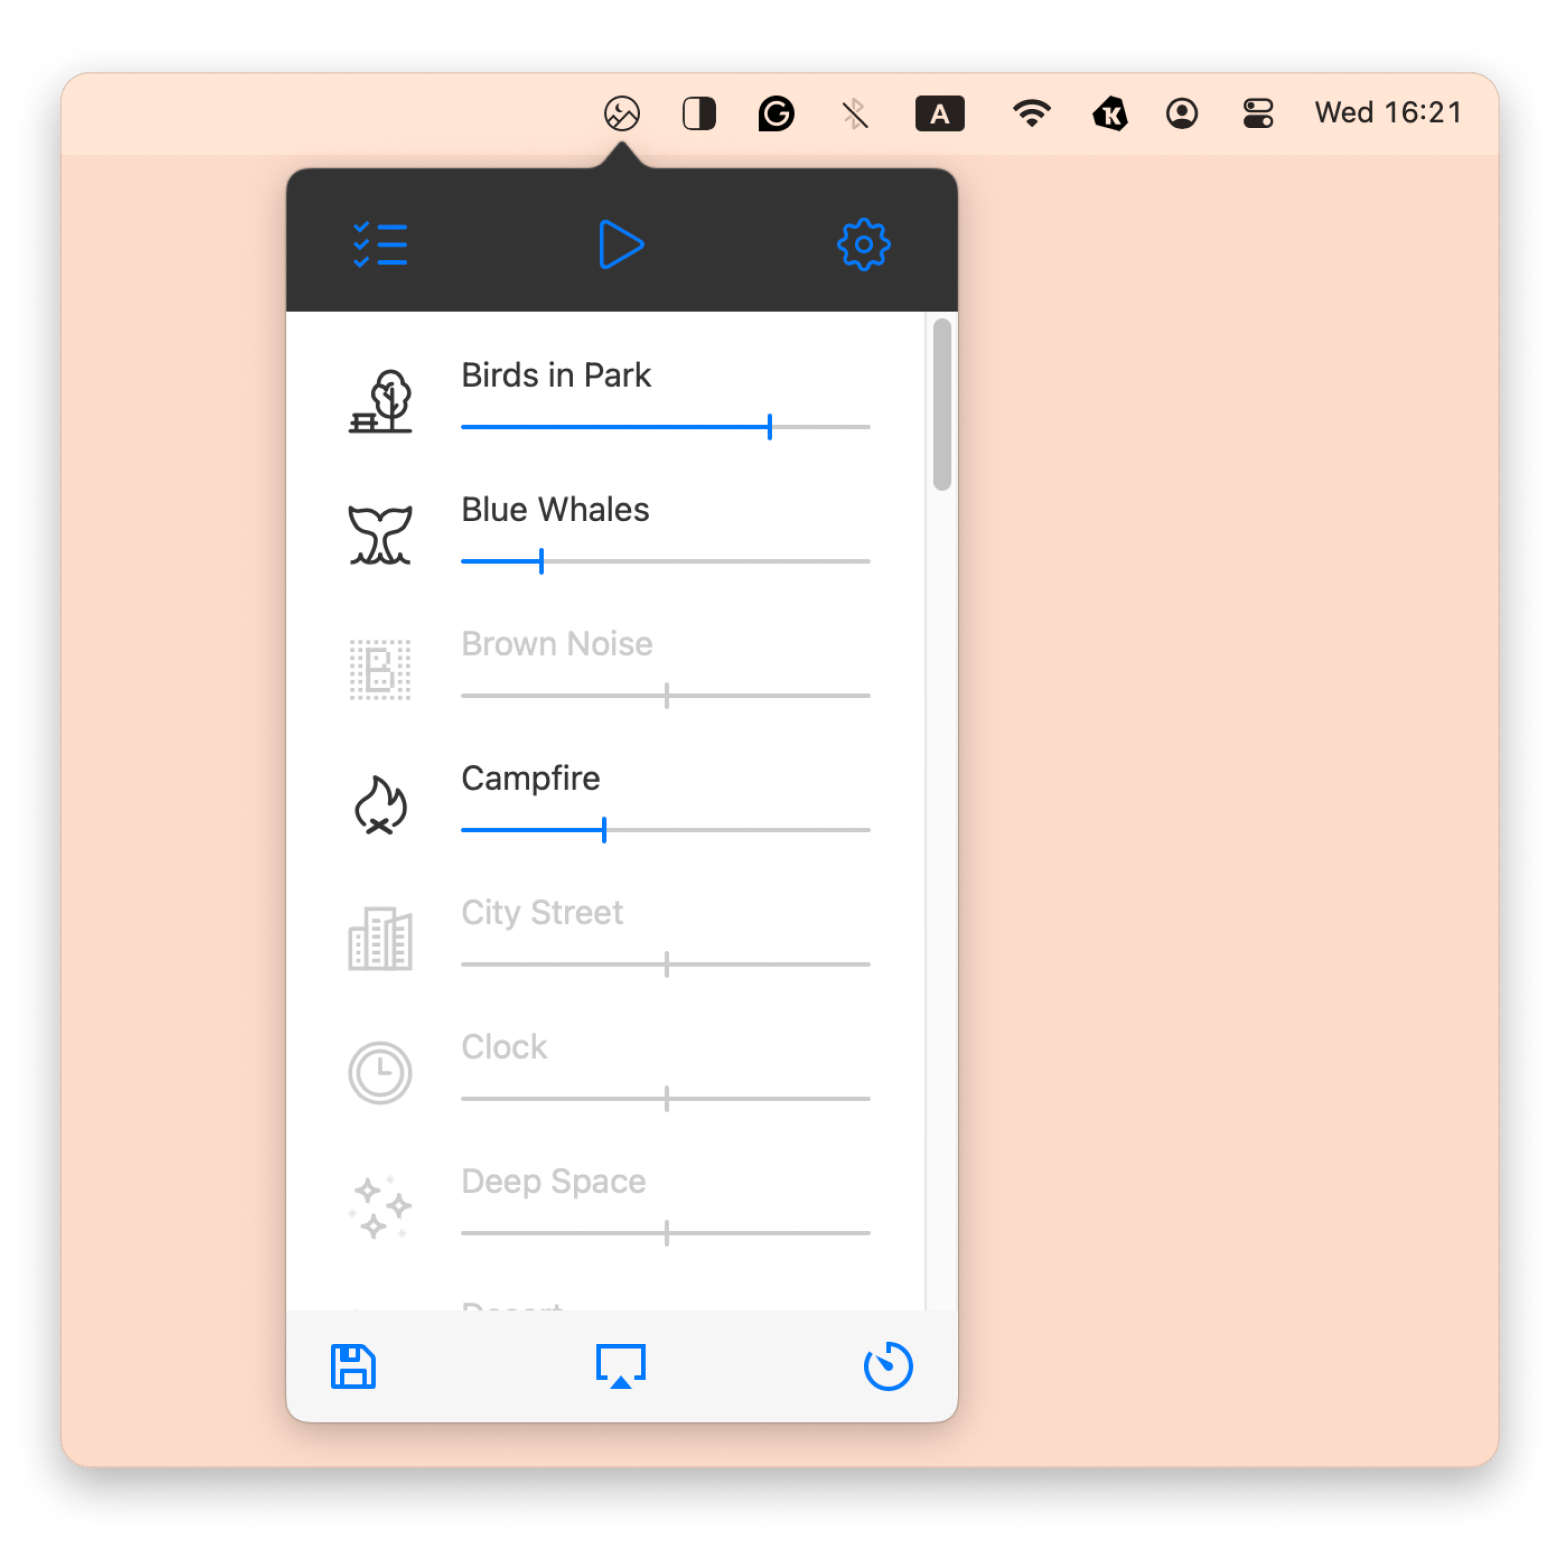
- Play ambient soundscapes with Noizio to help you focus or relax.
Just got a new MacBook, or maybe your current one's sound could use a real boost? Either way, you've landed in the right spot. I'm going to walk you through handy tools that help you do everything from adding more bass and customizing sounds to even recording and mixing audio right on your device.
Try MacBook sound equalizer
First, explore your Mac’s built-in audio controls: open System Settings and click Sound. You’ll see sliders for your speakers, headphones, microphone, and other basic audio options. These settings cover the essentials, but they don’t go much further if you want more detailed sound customization.
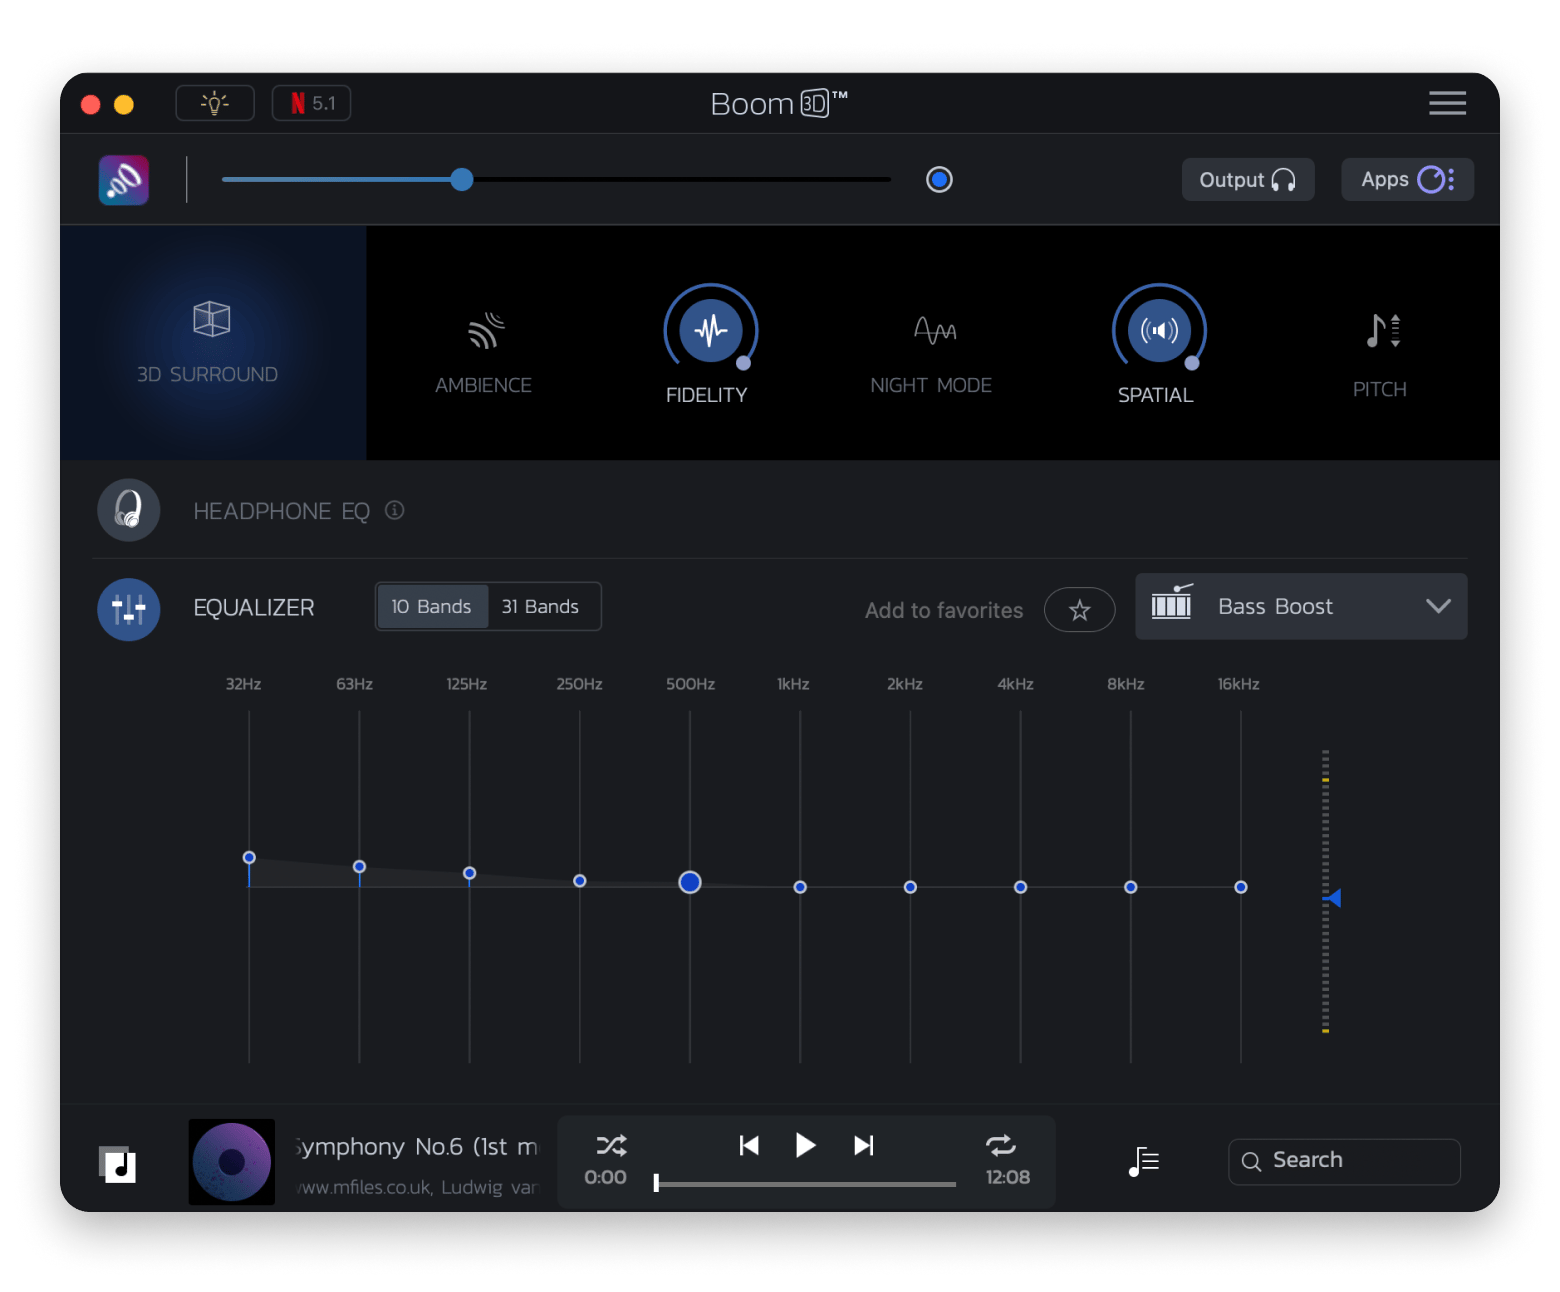
For more advanced options, you'll need a tool like Boom 3D. This handy app gives you a powerful equalizer so you can adjust every frequency to your liking. You can choose from genre-specific presets like classical, hip hop, or rock, or create your own custom sound profile.
How to boost bass on MacBook
To enhance the bass on your Mac, Boom 3D is a great tool to use. The app’s equalizer includes a Bass Boost setting to add punch to your bass. Just open the app, go to Equalizer, and select Bass Boost. You can also adjust pitch, fidelity, ambience, and spatial effects, just be sure to keep the volume at a safe level to protect your hearing.
Increase MacBook volume
To increase your Mac’s volume, press F12 (volume up) and F11 (volume down) on your keyboard. You’ll see a visual indicator on the screen showing the current level. Be cautious with high volumes, especially for long periods. You can also adjust sound in System Settings under Sound.
Read also:
Record audio on Mac
To record audio on your Mac, the simplest tool is the built-in Voice Memos app found in Applications. Just open it and click the red button to start recording. In Settings, you can choose between Lossless and Compressed quality.
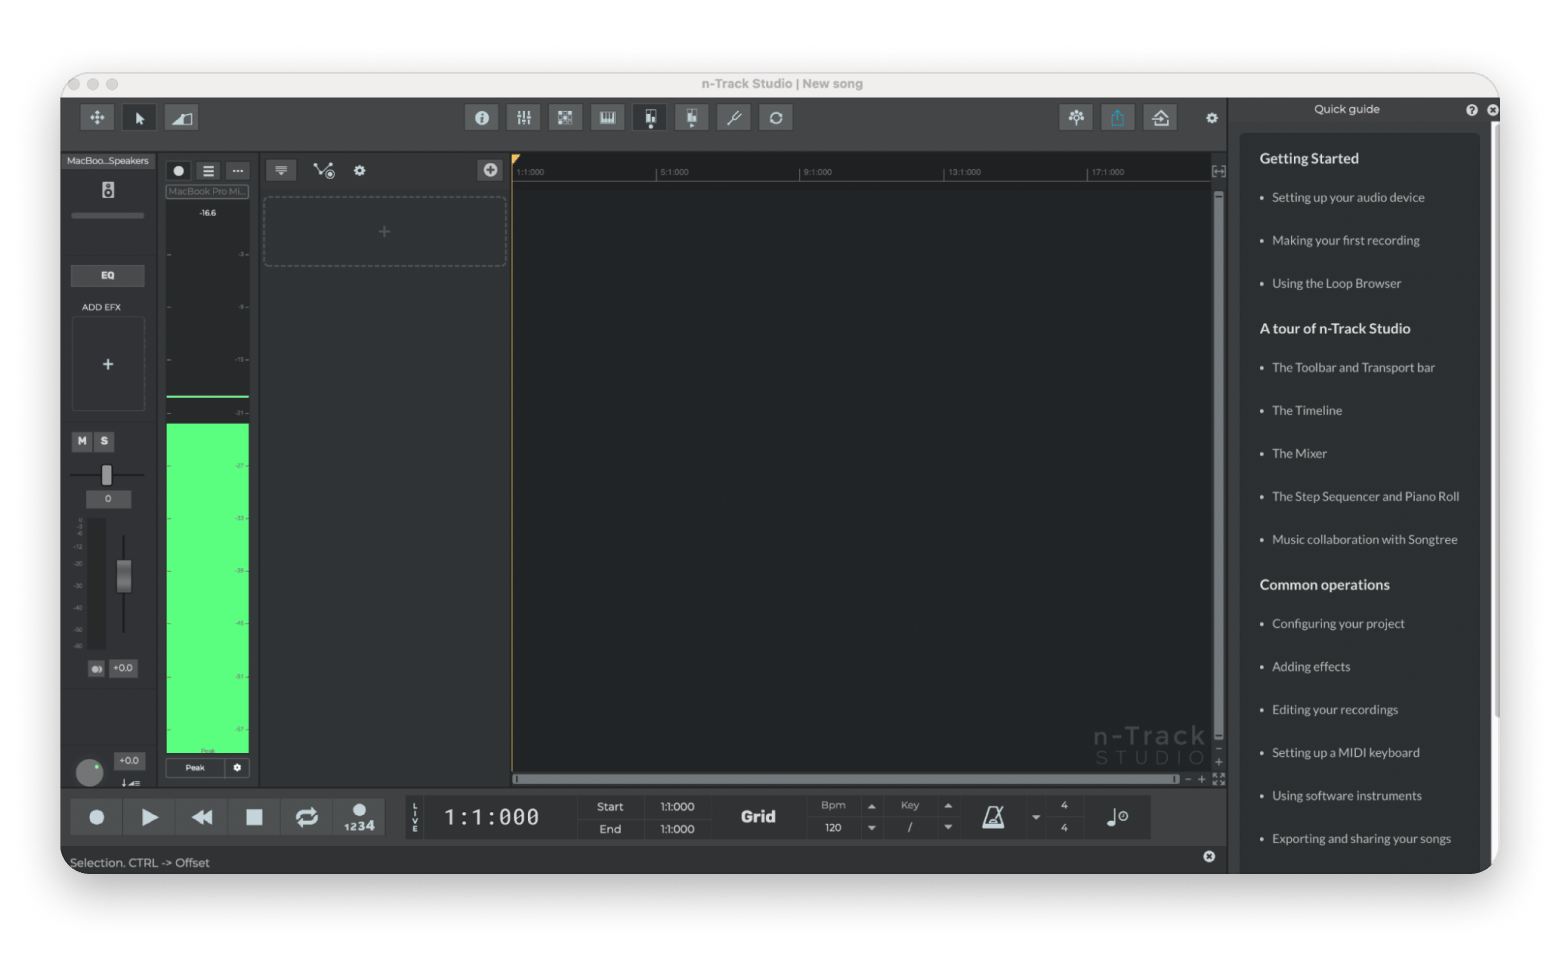
For more advanced recording and mixing, try n-Track Studio. It offers multi-track recording, editing, on-screen synthesizer, effects, and live recording. It's basically a mini sound studio on your Mac.
Apps for recording and mixing audio on Mac
No matter if it’s a voice note or a full-blown track, here are some tools you can play around with:
- Audacity: Free and open-source, Audacity is a great app for both beginners and pros. You can use it for voiceovers, noise reduction, basic multitrack editing, and exporting to a variety of formats.
- Hindenburg Journalist Pro: This app is designed with storytellers in mind. It streamlines podcast and interview production. You'll find features like automatic level-matching, chapter markers, and one-click publishing.
- Logic Pro: Apple’s top music app gives you all the tools you need to mix, edit, and master your tracks right on your Mac. It comes with a huge library of virtual instruments, flexible editing options, and powerful plugins. It’s a favorite among musicians and producers who want full creative control.
- Adobe Audition: This pro-level app is a favorite for sound design and post-production. It gives you powerful tools like a spectral frequency view to spot and fix audio issues, plus advanced noise reduction to clean up dialogue or background sound.
Also, check out the top tips on how to use GarageBand on Mac.
Troubleshooting common audio issues on Mac
If you're having trouble with your Mac's sound, maybe during a Zoom call or on FaceTime, don't worry! Here's what to do in every case scenario:
Mac doesn't produce any sound
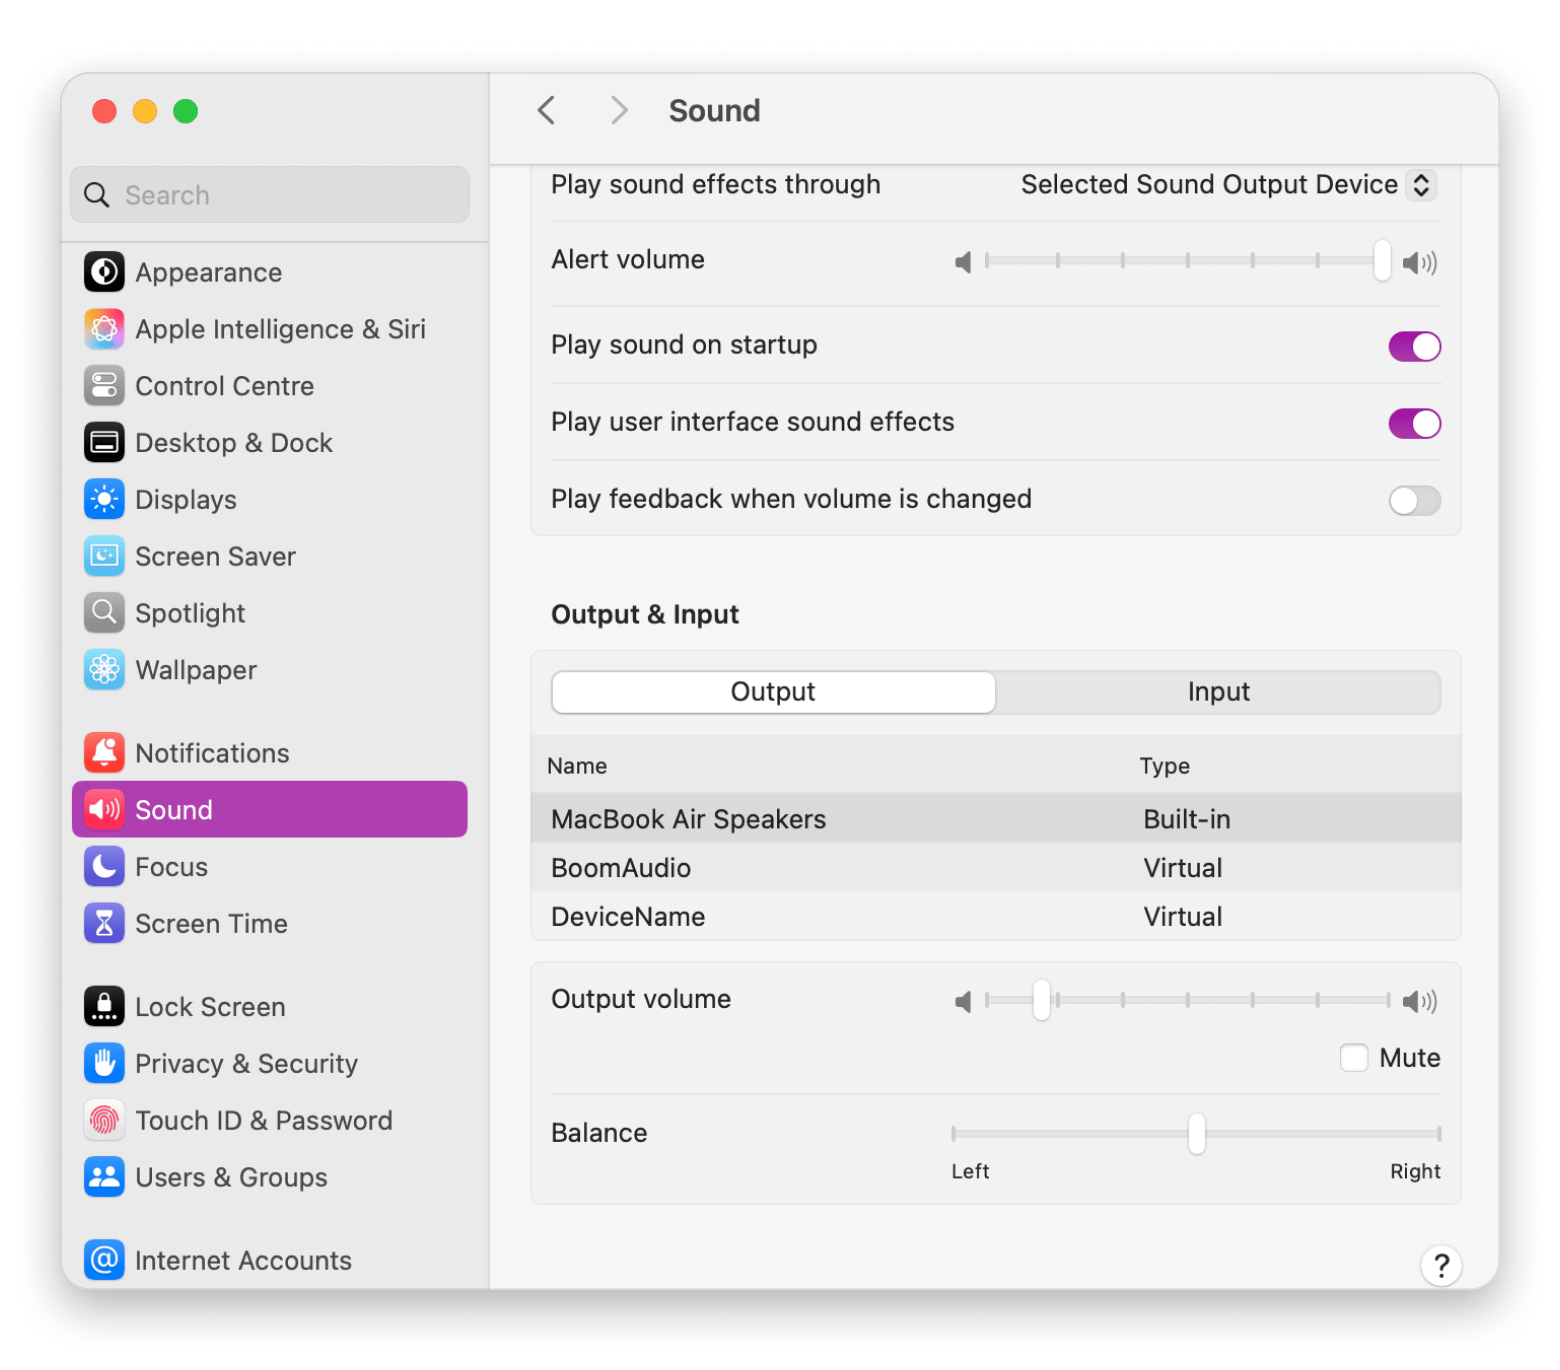
The first thing to check is whether your volume is muted by mistake and that nothing is plugged into the headphone jack. Then go to System Settings > Sound > Output. Make sure the Output volume slider is up and the Mute box is deselected. If your Mac is still silent, try rebooting.
Wrong output device
Your Mac might be sending sound to the wrong place. To check if this is the case, go to System Settings > Sound > Output, and manually select your desired output (e.g., your speakers, headphones).
Distorted or laggy sound
Close any apps you’re not using, as background programs can eat up CPU and memory. For Bluetooth devices, unpair and then pair your devices again to clear connection hiccups. Swap your audio output: switch from headphones back to the built-in speakers (or vice versa) to see if the problem follows.
Keep in mind that outdated or conflicting audio drivers and plugins can also cause these kinds of issues.
Audio works only in certain apps
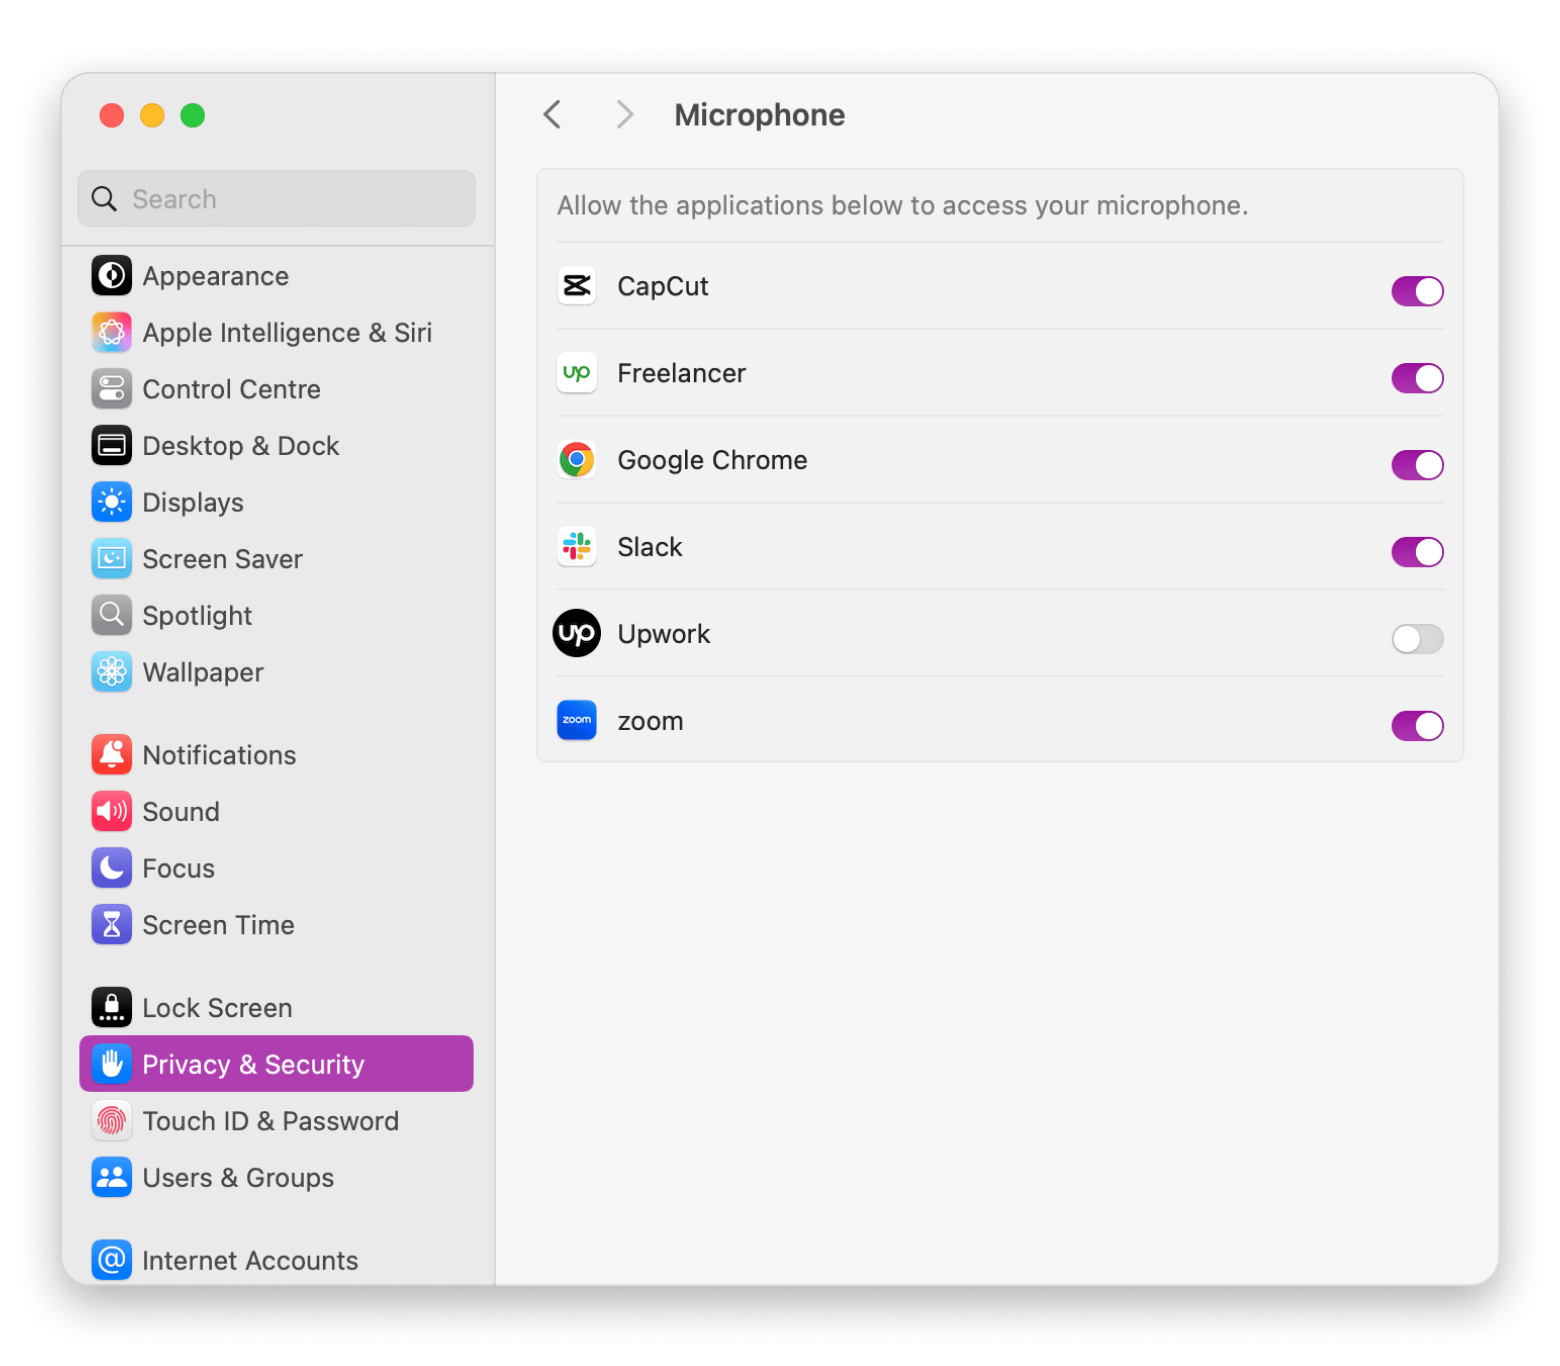
When sound plays in some apps but not others, it often points to app-specific settings. Open System Settings > Privacy & Security > Microphone, and make sure the app in question is allowed to use your mic.
Why is my Mac sound so quiet?
If your Mac’s audio is too quiet, try pressing the F12 key (volume up) several times. For videos playing silently in browsers, check the video’s sound icon, as many start muted by default.
If there’s no sound at all, go to System Settings > Sound and check the audio output. If only MacBook speakers appear, adjust the volume in the app you’re using.
Also, there are various solutions for when your MacBook Pro audio crackling.
Final thoughts on customizing your Mac's audio output
I know it can feel overwhelming to tweak all your Mac’s audio settings, but getting better sound is straightforward. You can start with the basics in System Settings, then dive into apps that let you boost volume, shape your EQ, and even record your own tracks.
I’ve walked you through my favorites: Boom 3D for next-level EQ and spatial audio, n-Track Studio for multi-track recording and mixing, and Noizio for those chill background soundscapes.
All of these tools are available on Setapp, my go-to subscription for Mac and iOS apps. With a single plan, you unlock over 260 premium apps, and you can try it free for seven days, no commitment required.
FAQ
How do I change audio output settings on Mac?
To change audio output settings on Mac, go to your list of output devices by opening System Settings > Sound > Output. Click the one you want, and your Mac will route all system audio through it.
How do I change the sound output of a specific program on Mac?
macOS doesn’t support audio routing out of the box for every app. To control audio for individual apps, you’ll need a third-party tool like BackgroundMusic, SoundSource (by Rogue Amoeba), or Audio Hijack.
How can I improve the quality of my Mac audio?
To improve the quality of your Mac audio, consider upgrading your gear. High-quality headphones or speakers can make a big difference. Also, check that your ports and speaker grills are clean, since dust and debris can muffle the sound. For more control, try EQ apps like EQMac or Boom 3D to adjust bass, treble, and midrange.
How do I split audio to different outputs on Mac?
To split audio to different outputs on Mac:
- Open Finder.
- Click Go > Utilities in the menu bar at the top.
- Double-click Audio MIDI Setup.
- Click the + at the bottom left and choose Create Multi-Output Device.
- Select the output devices you want to combine (like headphones + monitor speakers).
- Set this new device as your audio output in System Settings > Sound.


