How to record audio on Mac in 2026 [with AI]
Whether you are looking to get into the podcast game, want to record your music, do some freelance voice work, or create an odd voiceover for a product demo, you can rest assured your Mac can handle it. All you have to do is try out the various tools at your disposal and pick the ones that bring you the best results while not being too much of a hassle to handle.
Read on to see your options and find out if you’ll need to buff your setup with just the right set of apps and gear to record audio on your Mac.
How to record audio on Mac: Tools overview
To save you time, I've organized the key solutions from this article into a handy table. If you need more tips, insights, and additional tools, scroll down.
| Let’s compare! | Best for | Pros | Cons | Pricing |
| Voice Memos | Quick voice recordings and memos | Easy to use, allows trimming and organizing recordings | Limited editing features | Free (built-in) |
| Backtrack |
Recording past audio (up to 5 hours) | Records in a loop, AI transcription, stores recordings locally | Requires background running | Available on Setapp from $9.99 + tax per month, along with over 260 other apps. |
| n-Track Studio |
Professional music recording and editing | Professional-grade, multi-track recording, step sequencer, drum synthesizer | Requires some learning | Available on Setapp from $9.99 + tax per month, along with over 260 other apps. |
| QuickTime Player | Basic audio recording | Simple interface, allows mic selection | No advanced features | Free (built-in) |
| GarageBand | Music production and multi-track recording | Feature-rich, built-in music lessons, presets for instruments and vocals | Learning curve for beginners | Free (App Store) |
| Capto |
Screen recording with audio and webcam video | Records screen with audio, webcam recording. Has built-in editing tools. | Focused on screen and webcam recording | Available on Setapp from $9.99 + tax per month, along with over 260 other apps. |
How can you record audio on a Mac?
Macs are great for recording audio. You can use a built-in mic or plug in an external one for better audio quality and record audio with a selection of tools:
- Voice Memos (built-in)
- QuickTime Player (built-in)
- GarageBand (Apple's free tool)
- Third-party audio recording software
- Screen-capturing tools for Mac (perfect for video calls to record both audio and video)
If you are set on recording a podcast, YouTube video, or vocals, it’s best to use the highest-quality software and hardware (and set them to max sound quality settings) for the task, as it makes a big difference in the quality of your final product.
How to record audio on Mac with Voice Memos
Here’s how to record a voice memo on Mac.
- Open Voice Memos (though Spotlight or in Finder > Applications).
- Hit the red button to start recording.
- Speak.
- Hit the bottom left button for pause, if needed. Click Done in the bottom right corner when you are finished.
With Voice Memos, you can record both compressed or lossless audio, just make sure to pick your choice in app preferences before you hit record.
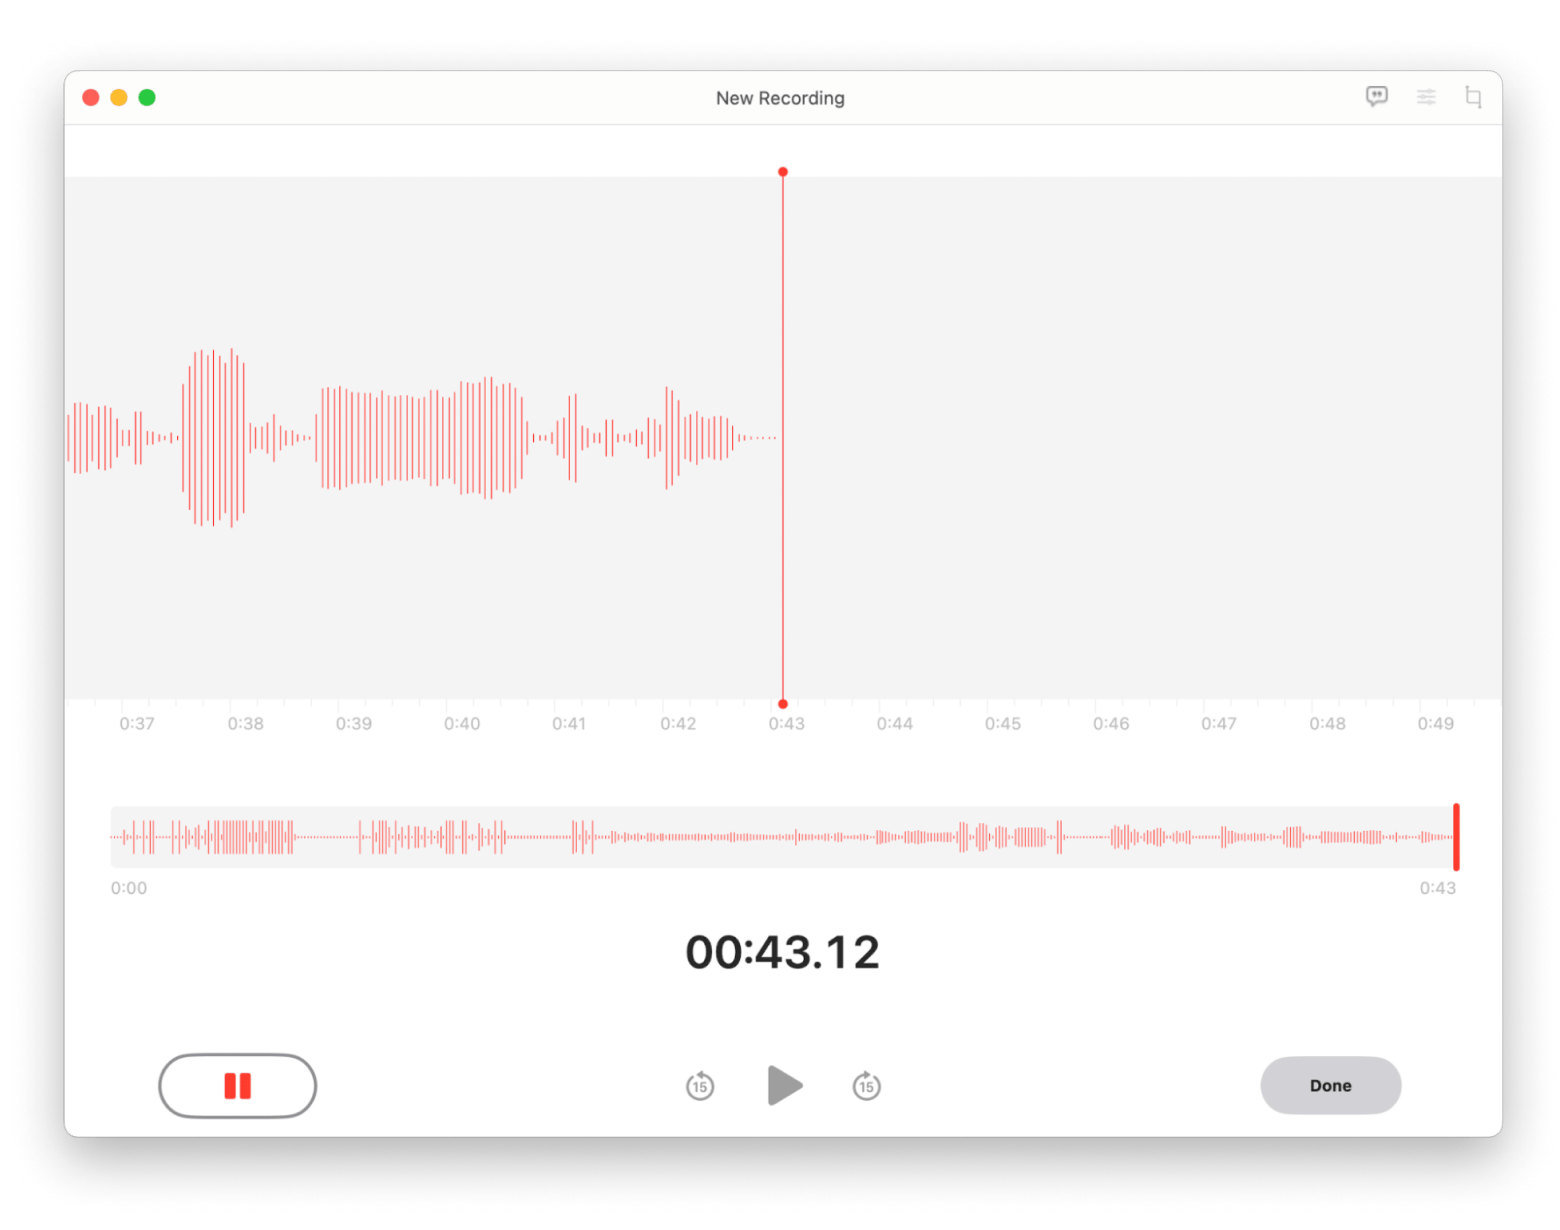
You can trim or cut out pieces of your voice memos, organize them in folders, and more with this handy built-in Mac app.
How to record audio from the past with Backtrack [AI]
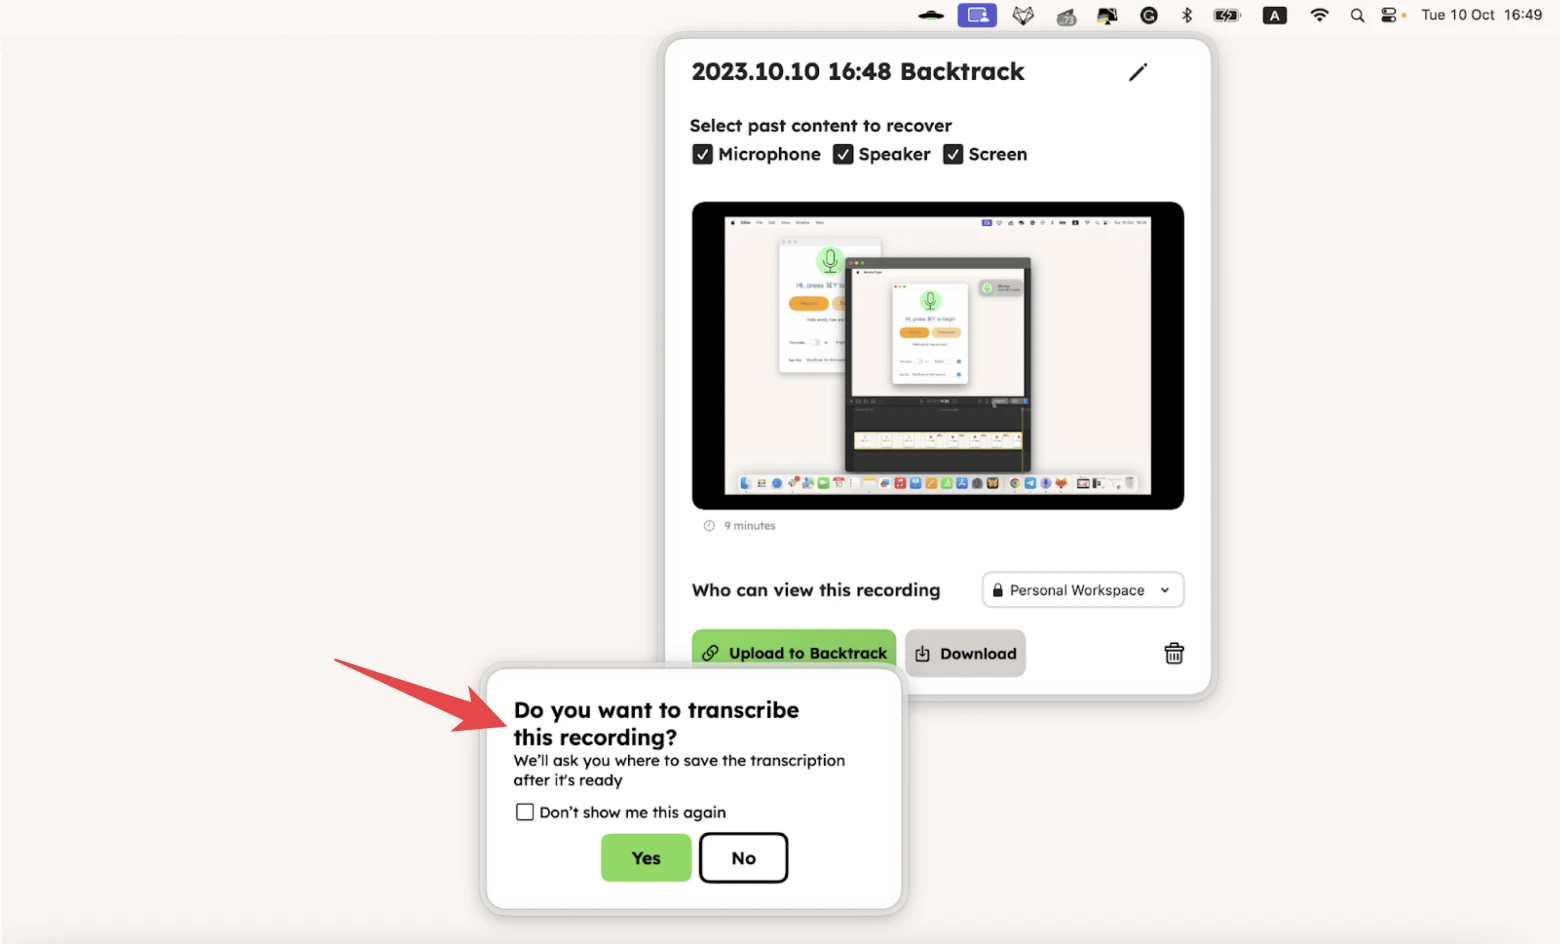
Some conversations, meetings, and brainstorming sessions happen unexpectedly — when you don't have time or forget to turn on recording. Keep Backtrack in your bar menu for those occasions, and you'll never lose important information.
Backtrack remembers what your Mac's microphone hears and what's happening on the screen. Then, it helps you go back up to 5 hours and capture audio or video clips. If you don't want to listen to all the audio, you can use the AI-generated summary and transcript of your conversation.
But here's a logical question: Surely an app like this will quickly fill up your Mac's memory? No, it won't. It records in a loop, just like a DVR, so you don't accumulate gigabytes of content. If you want, you can upload your recordings to the Backtrack cloud, but by default, they are stored locally and never go online.
Recording audio on Mac with n-Track Studio
If you are looking to record music on your Mac, n-Track Studio is the app to use.
It makes it easy for you to record audio, work on multitrack songs, and mix your music. It fully emulates a studio environment, allows you to create songs on the fly using building blocks, and even record live. With the app, you get access to hundreds of plugins and effects, plus a 20-band parametric EQ to polish your tracks.
From live performances to elaborate music arrangements, you can use n-Track Studio to do it. The app even allows you to create your own sound effects and add them to songs. Want to DJ a gig? The app’s step sequencer and drum synthesizer will come in handy!
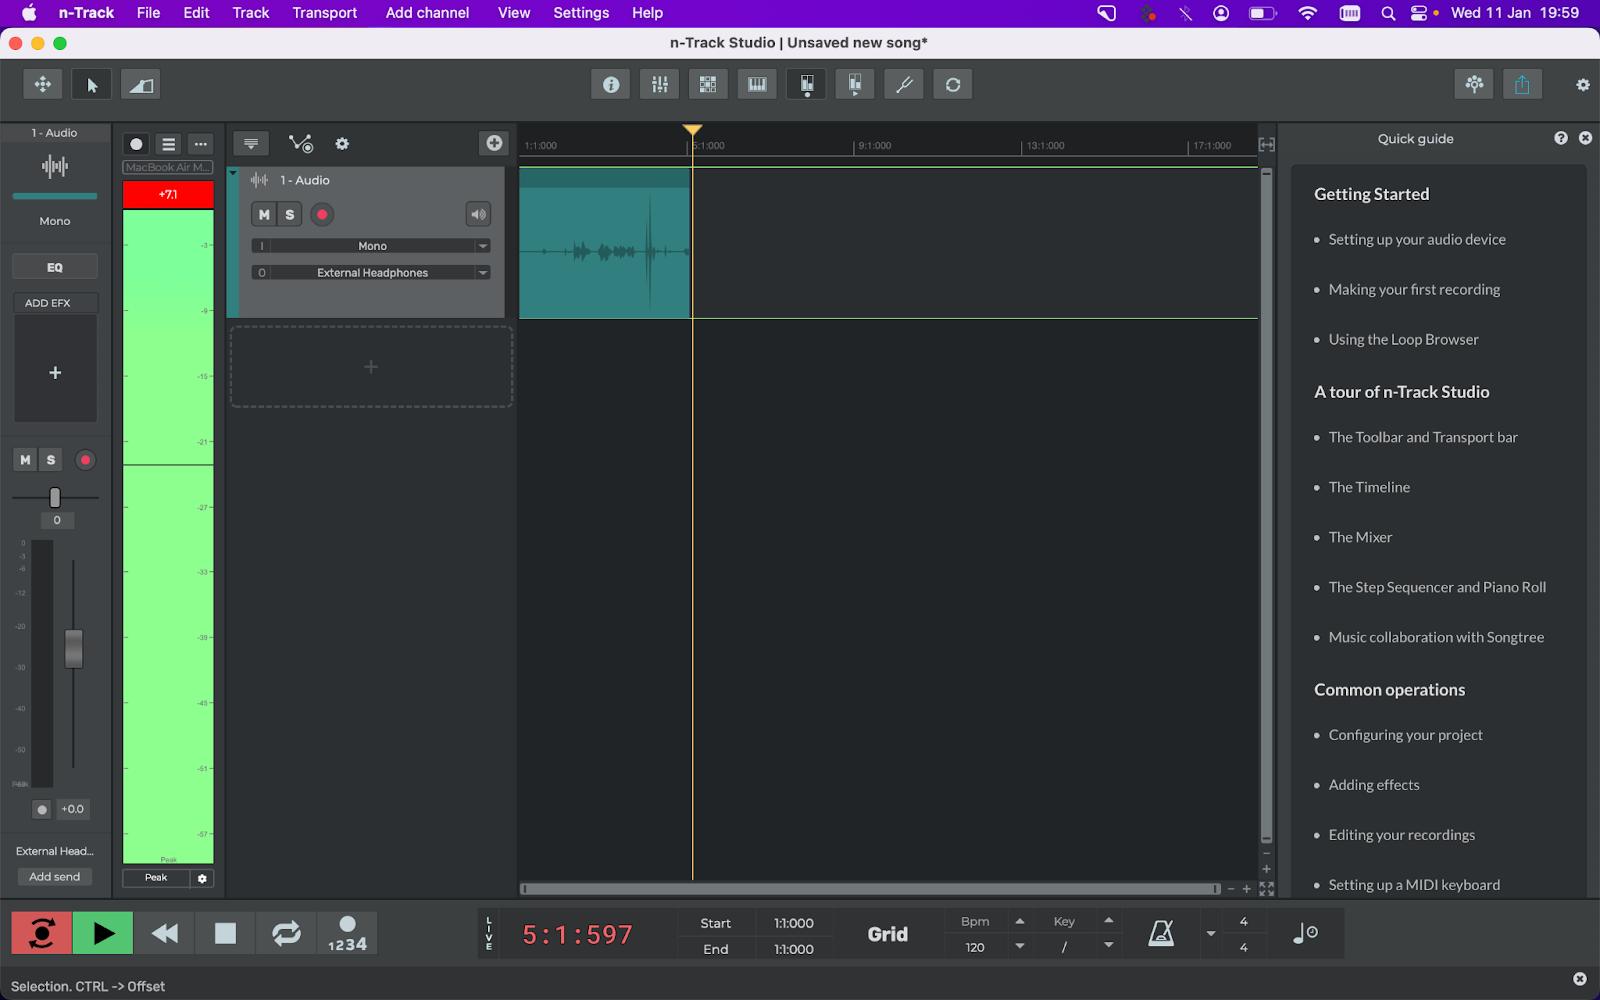
To record a track, open the app and follow these steps:
- Look through your recording settings to the left and at the bottom of the app window and make the adjustments that fit your desired result and style of music.
- Hit the recording button at the bottom left of the app.
- Play the instrument or sing vocals for the track.
- Hit stop.
- Repeat steps 3 and 4 for the rest of your instruments, vocals, and other audio tracks.
- Move the audio bits you’ve recorded around your song’s timeline, edit the items individually as necessary.
- Add effects or change track settings.
- Save your project.
How to record audio on Mac with QuickTime
QuickTime Player is a built-in Mac app that helps you play videos but can be easily employed to record quick audio.
If you need a simple Macintosh voice recorder, the app can do that nicely. Here’s a step-by-step for recording audio with this app:
- Go to Finder and open Applications.
- Spot and open QuickTime Player.
The app will prompt you to open a file, but you don’t have to — you can just find the QuickTime Player menu at the top of your screen in the menu bar and proceed with the steps:
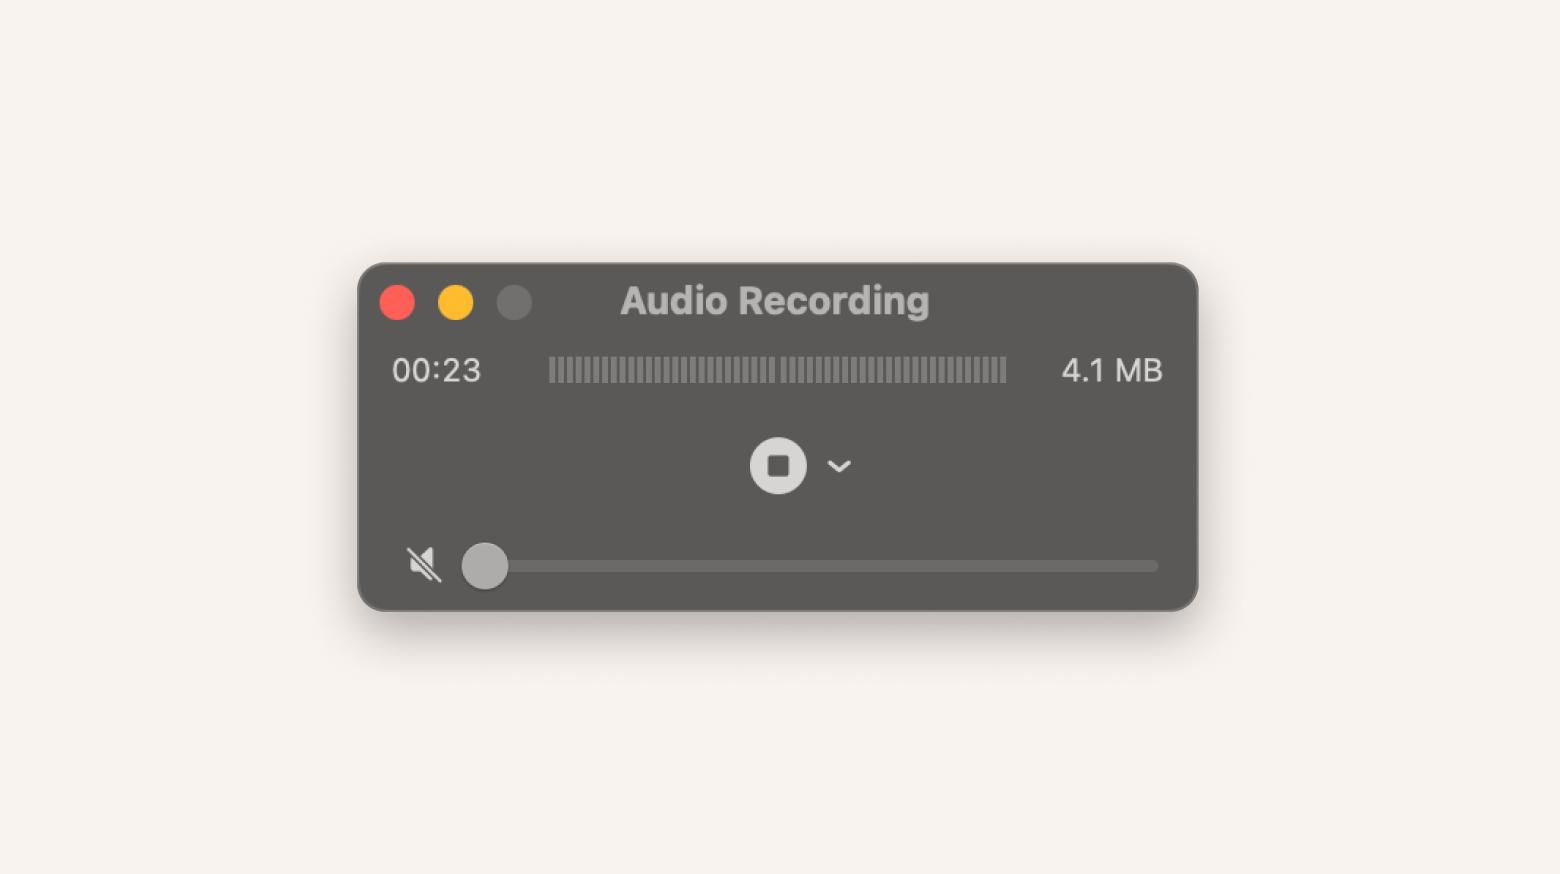
- Find File in the top menu bar and select the option New Audio Recording.
- Select your file quality and desired mic by hitting the bottom-pointed arrow next to the red record button.
- Hit the red record button.
- Press stop to finish and save your audio.
How to record sound with GarageBand
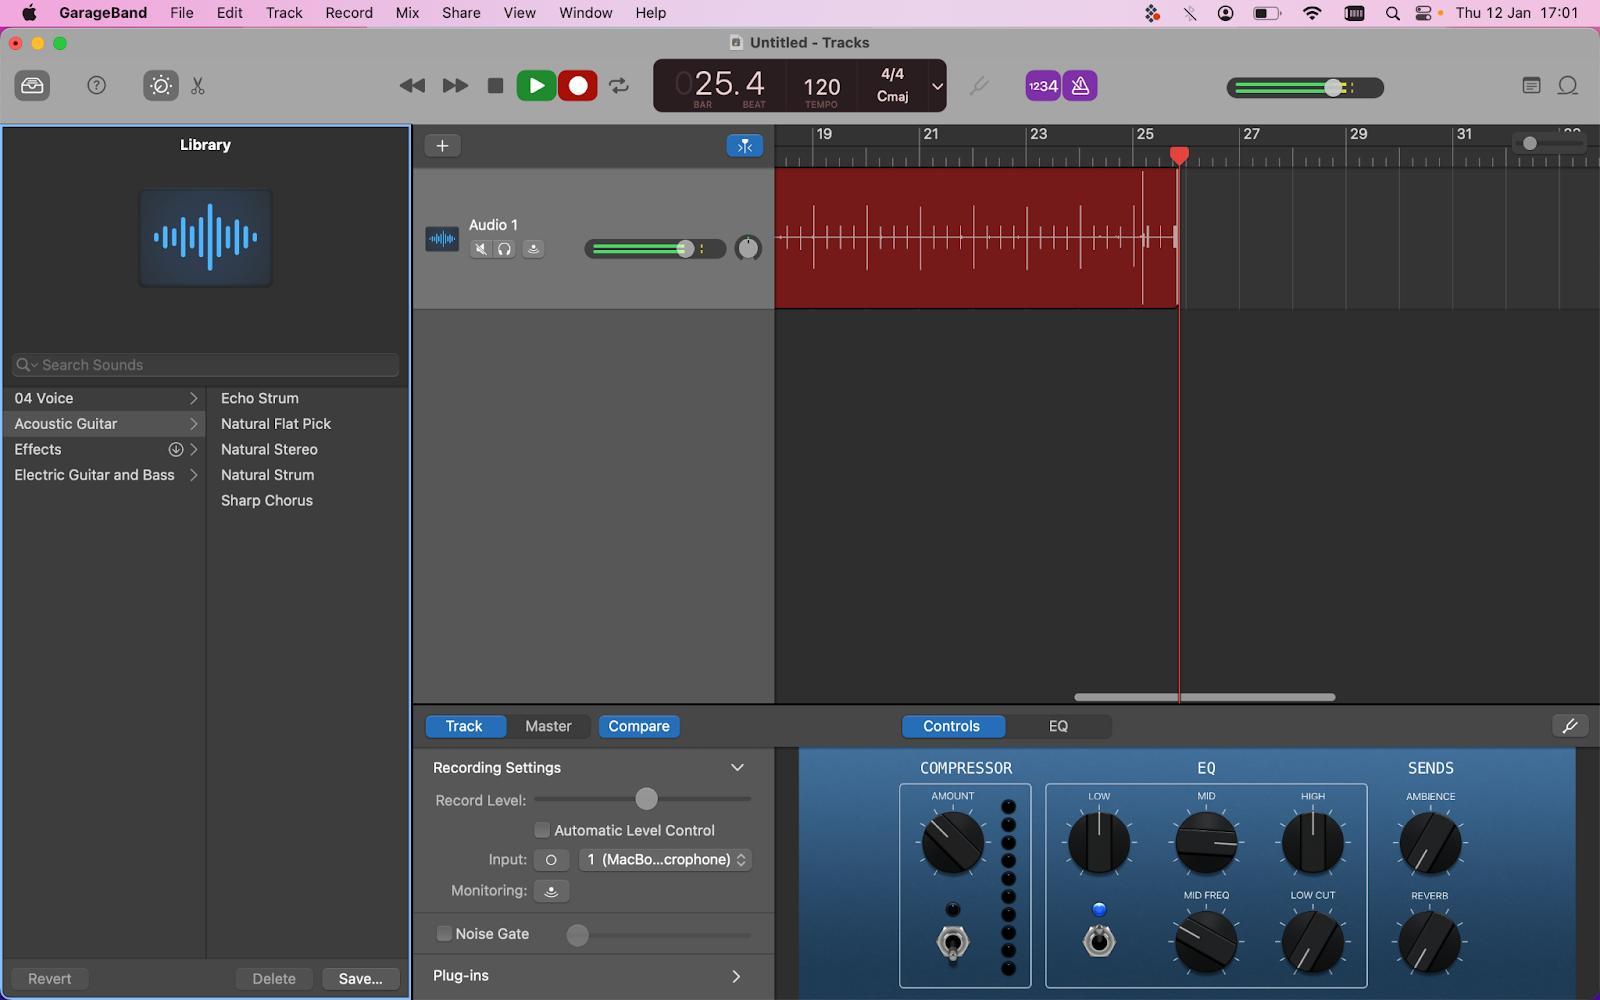
How do I record multi-track audio on my Mac with a native Apple app, you ask? GarageBand is the answer.
This Apple app that you can get from the App Store has a lot to offer — built-in music lessons, project templates, and presets for various instruments, vocals, and genres. To record your tracks with the app, just hit the record button. Edit your tracks with the plethora of tools within the app, mix, and save your end result.
More tips on recording sound on Mac
When you need to create a video recording of your online event or a product or flow walkthrough with a simple voiceover, you can use the screen-capturing app Capto.
This app can take multiple types of screenshots on your Mac, including freehand. But it can also record your screen. Just hit the record button in the top panel of the app, select your recording area (the whole screen or a part of it), and set the app up to get sound from a mic or use computer audio.
Pro tip: You can also use the drop-down menu of the Capto menu bar icon to start recording your screen or an area of it.
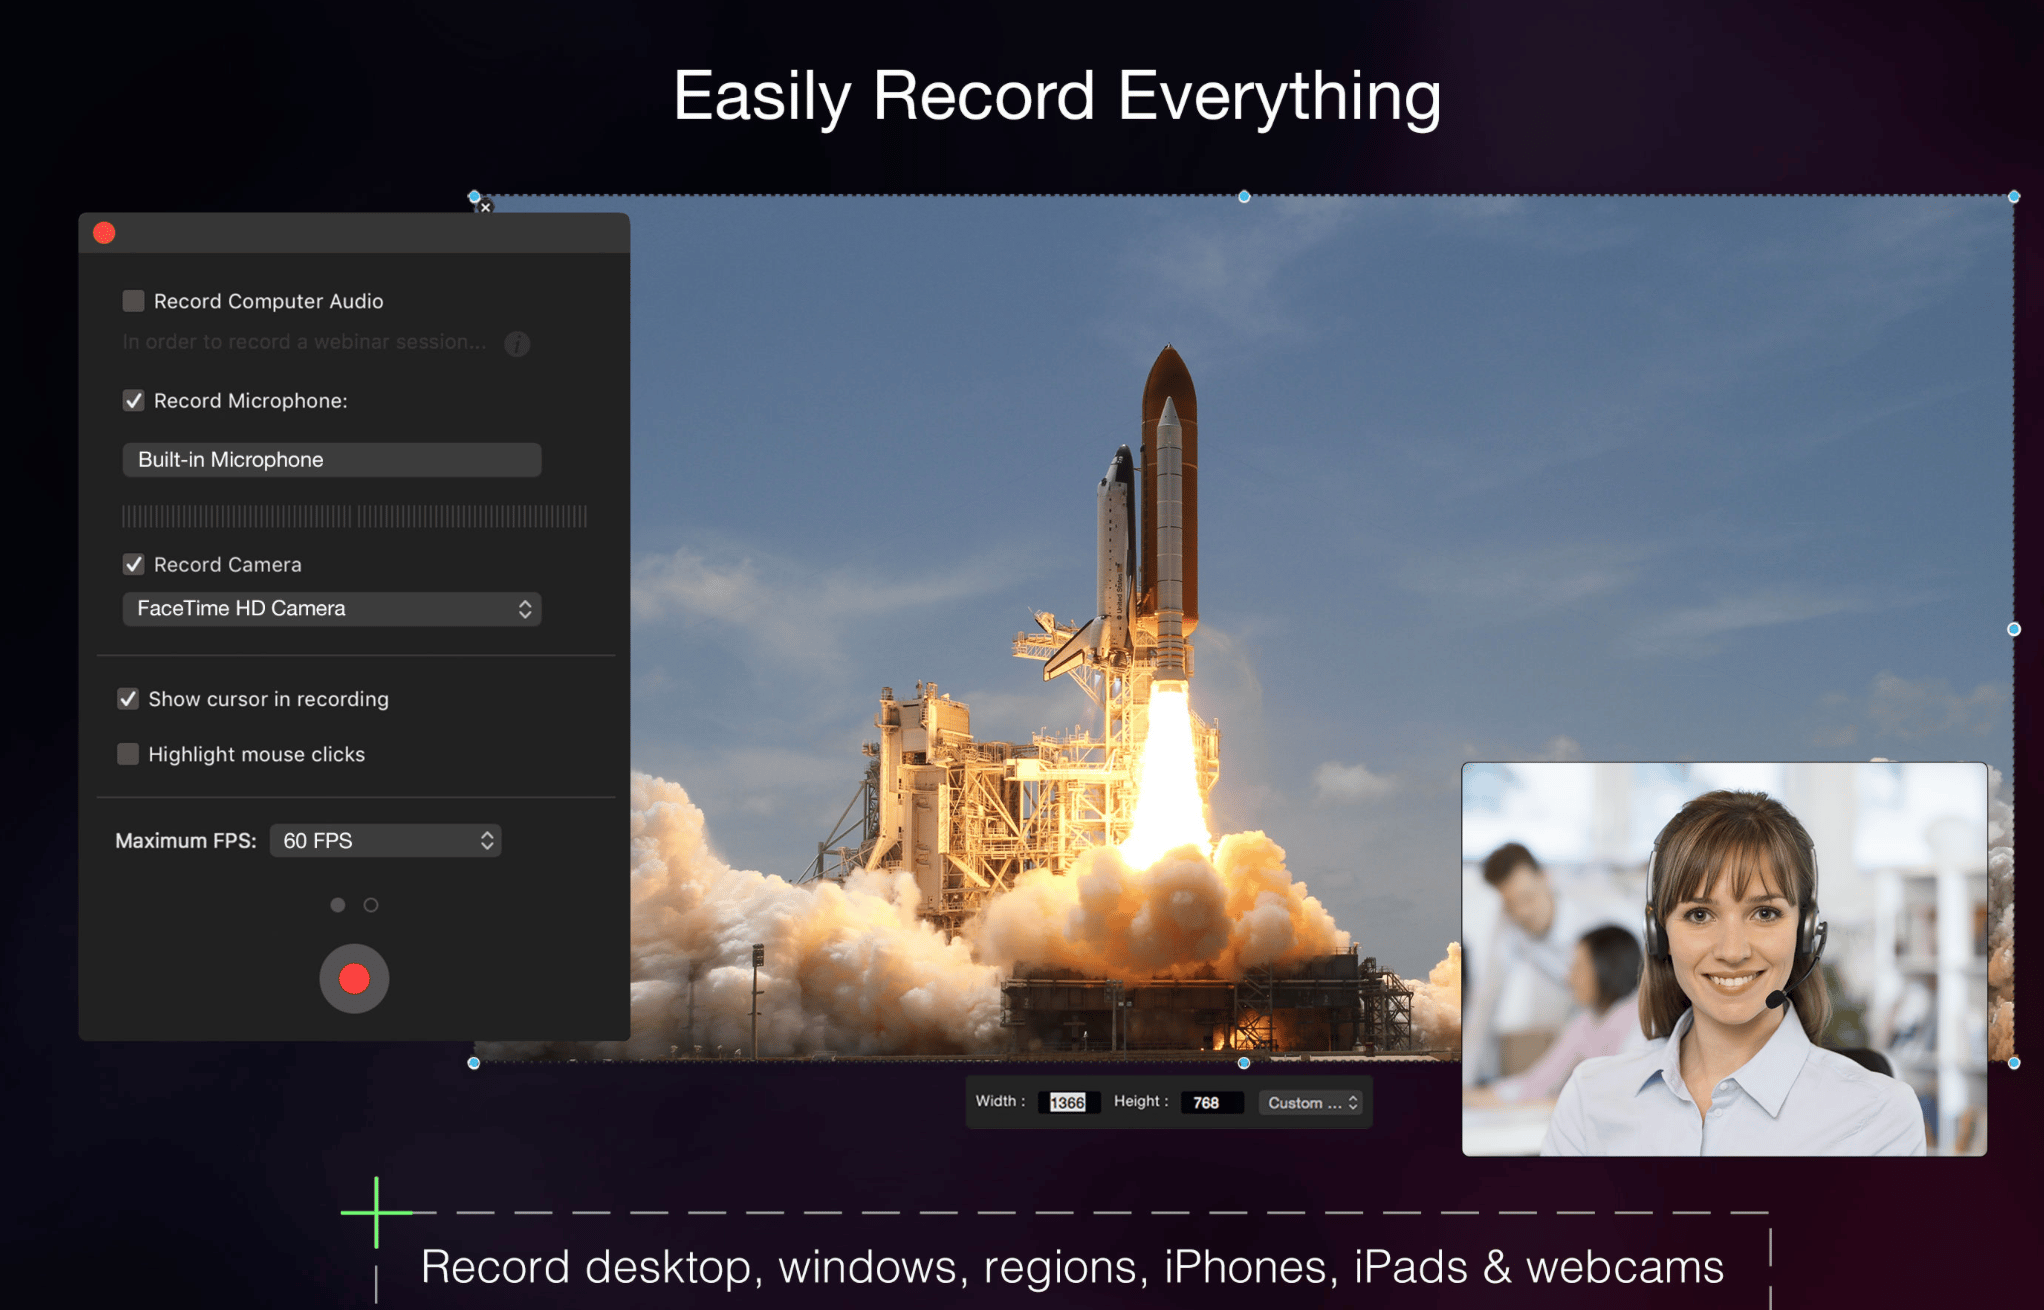
With Capto, you can opt to record your webcam as part of your screen recording as well as hide the desktop and show the cursor as you record. After your video is recorded, you can add text, objects, and images, and trim your timeline.
Try these tools for recording Mac audio for free
Recording audio on your Mac is as easy as the tools you use. You can opt for built-in options or apps that are more tailored to your demands — whether you want to make a track or are recording a product walkthrough.
From QuickTime to n-Track Studio, you can pick and choose your tools. Explore the third-party apps I’ve mentioned above — Capto, Boom 3D, and n-Track Studio — on Setapp. Don’t have a Setapp subscription yet? Try the free 7-day Setapp trial and use all of these apps to see which one works best for your tasks! For one monthly fee, you get 250+ apps for a myriad of tasks, from writing to planning, to scheduling, to optimizing your devices, removing junk, coding, managing databases, designing, and much more.
FAQ
Why can’t I record audio on my Mac?
If you run one of the apps suitable for audio recording on a Mac but the audio doesn’t get recorded, see if your Mac settings are set to allow the use of the built-in Mac mic. Go to Apple menu > System Settings… > Privacy & Security > Microphone and make sure the app in question is toggled on.
Next, go to the app you are using to record audio on your Mac and check that the app is set to use your built-in mic and not other hardware. If you still can’t record audio, connect an external mic and try recording sound with it.
How do I record audio from a website on a Mac?
On most screen recording tools, you’ll find an option to record the sound along with your video. Built-in Mac screen recorder QuickTime Player (reachable via a keyboard shortcut or through the app menu bar) as well as popular tools like CleanShot X and Capto can help you record the sound playing on your Mac along with the screen.
How do I record internal audio on a Mac?
You can record audio playing on your Mac with many apps that offer screen recording functionality. Just select the option of recording Mac audio and start the recording. Built-in app QuickTime Player, apps like CleanShot X and Capto are capable of recording internal audio on your Mac.


