Glyphs Mini lets you draw, edit, and export custom fonts on Mac — from individual glyphs to full typefaces — in a clean, beginner-friendly interface. Available on Setapp.
Adding fonts on a Mac takes minutes. Even when I was a newbie (I’m not a designer or anything), it took me no more than 10 minutes to figure it out. So, let’s see how to download fonts on Mac and install them.
I'll cover the built-in Font Book app and additional tools that I discovered after diving deeper into font-related stuff. I hope they'll help you up your font game without the hassle.
Advice on downloading fonts
Before you take your Mac and go installing fonts on it, here’s what you need to know about font sources.
Apple. Just open the built-in app Font Book and select the grayed-out fonts to add them to your Mac (more on that below).
Third parties. You can buy new fonts either as a one-time purchase or via a font service subscription.
Free fonts. They are open to the public for personal use or are available in the public domain.
Demos. You can sample fonts through demos.
DIY. With designer tools, you can create or edit fonts. If you want a custom font for your company or brand, you can hire a designer to develop it for you, or you can try your hand at doing it yourself, especially if you have the right background, knowledge, skills, and desire to take on a project like that.
Glyphs Mini is one app that allows you to create fonts from scratch as well as edit them. This lovely font editor is barely over 20 MB, but it can actually help you create custom fonts yourself! It will take you a minute, or ten, to study a few tutorials and guides if you are a complete newbie like me, but in the end, you will be able to make your very own font.
How to add fonts to your Mac
Whether you are looking to purchase more fonts, add a custom font your company developed for your brand, expand your font collection with rare fonts you’ve found as a free for personal use or demo version, add language-specific fonts, or something else, you might find yourself in need of adding a font to your Mac.
Let’s see how to do this through Font Book, DaFont, Path Finder, or manually, and then move to figuring out how to best manage your collection, install fonts for individual accounts, enable or disable them, and more hands-on advice relating to adding fonts to Mac.
How to install fonts on a Mac using Font Book
To install fonts on Mac through the built-in app Font Book:
Go to Finder > Applications.
Double-click on the Font Book icon.
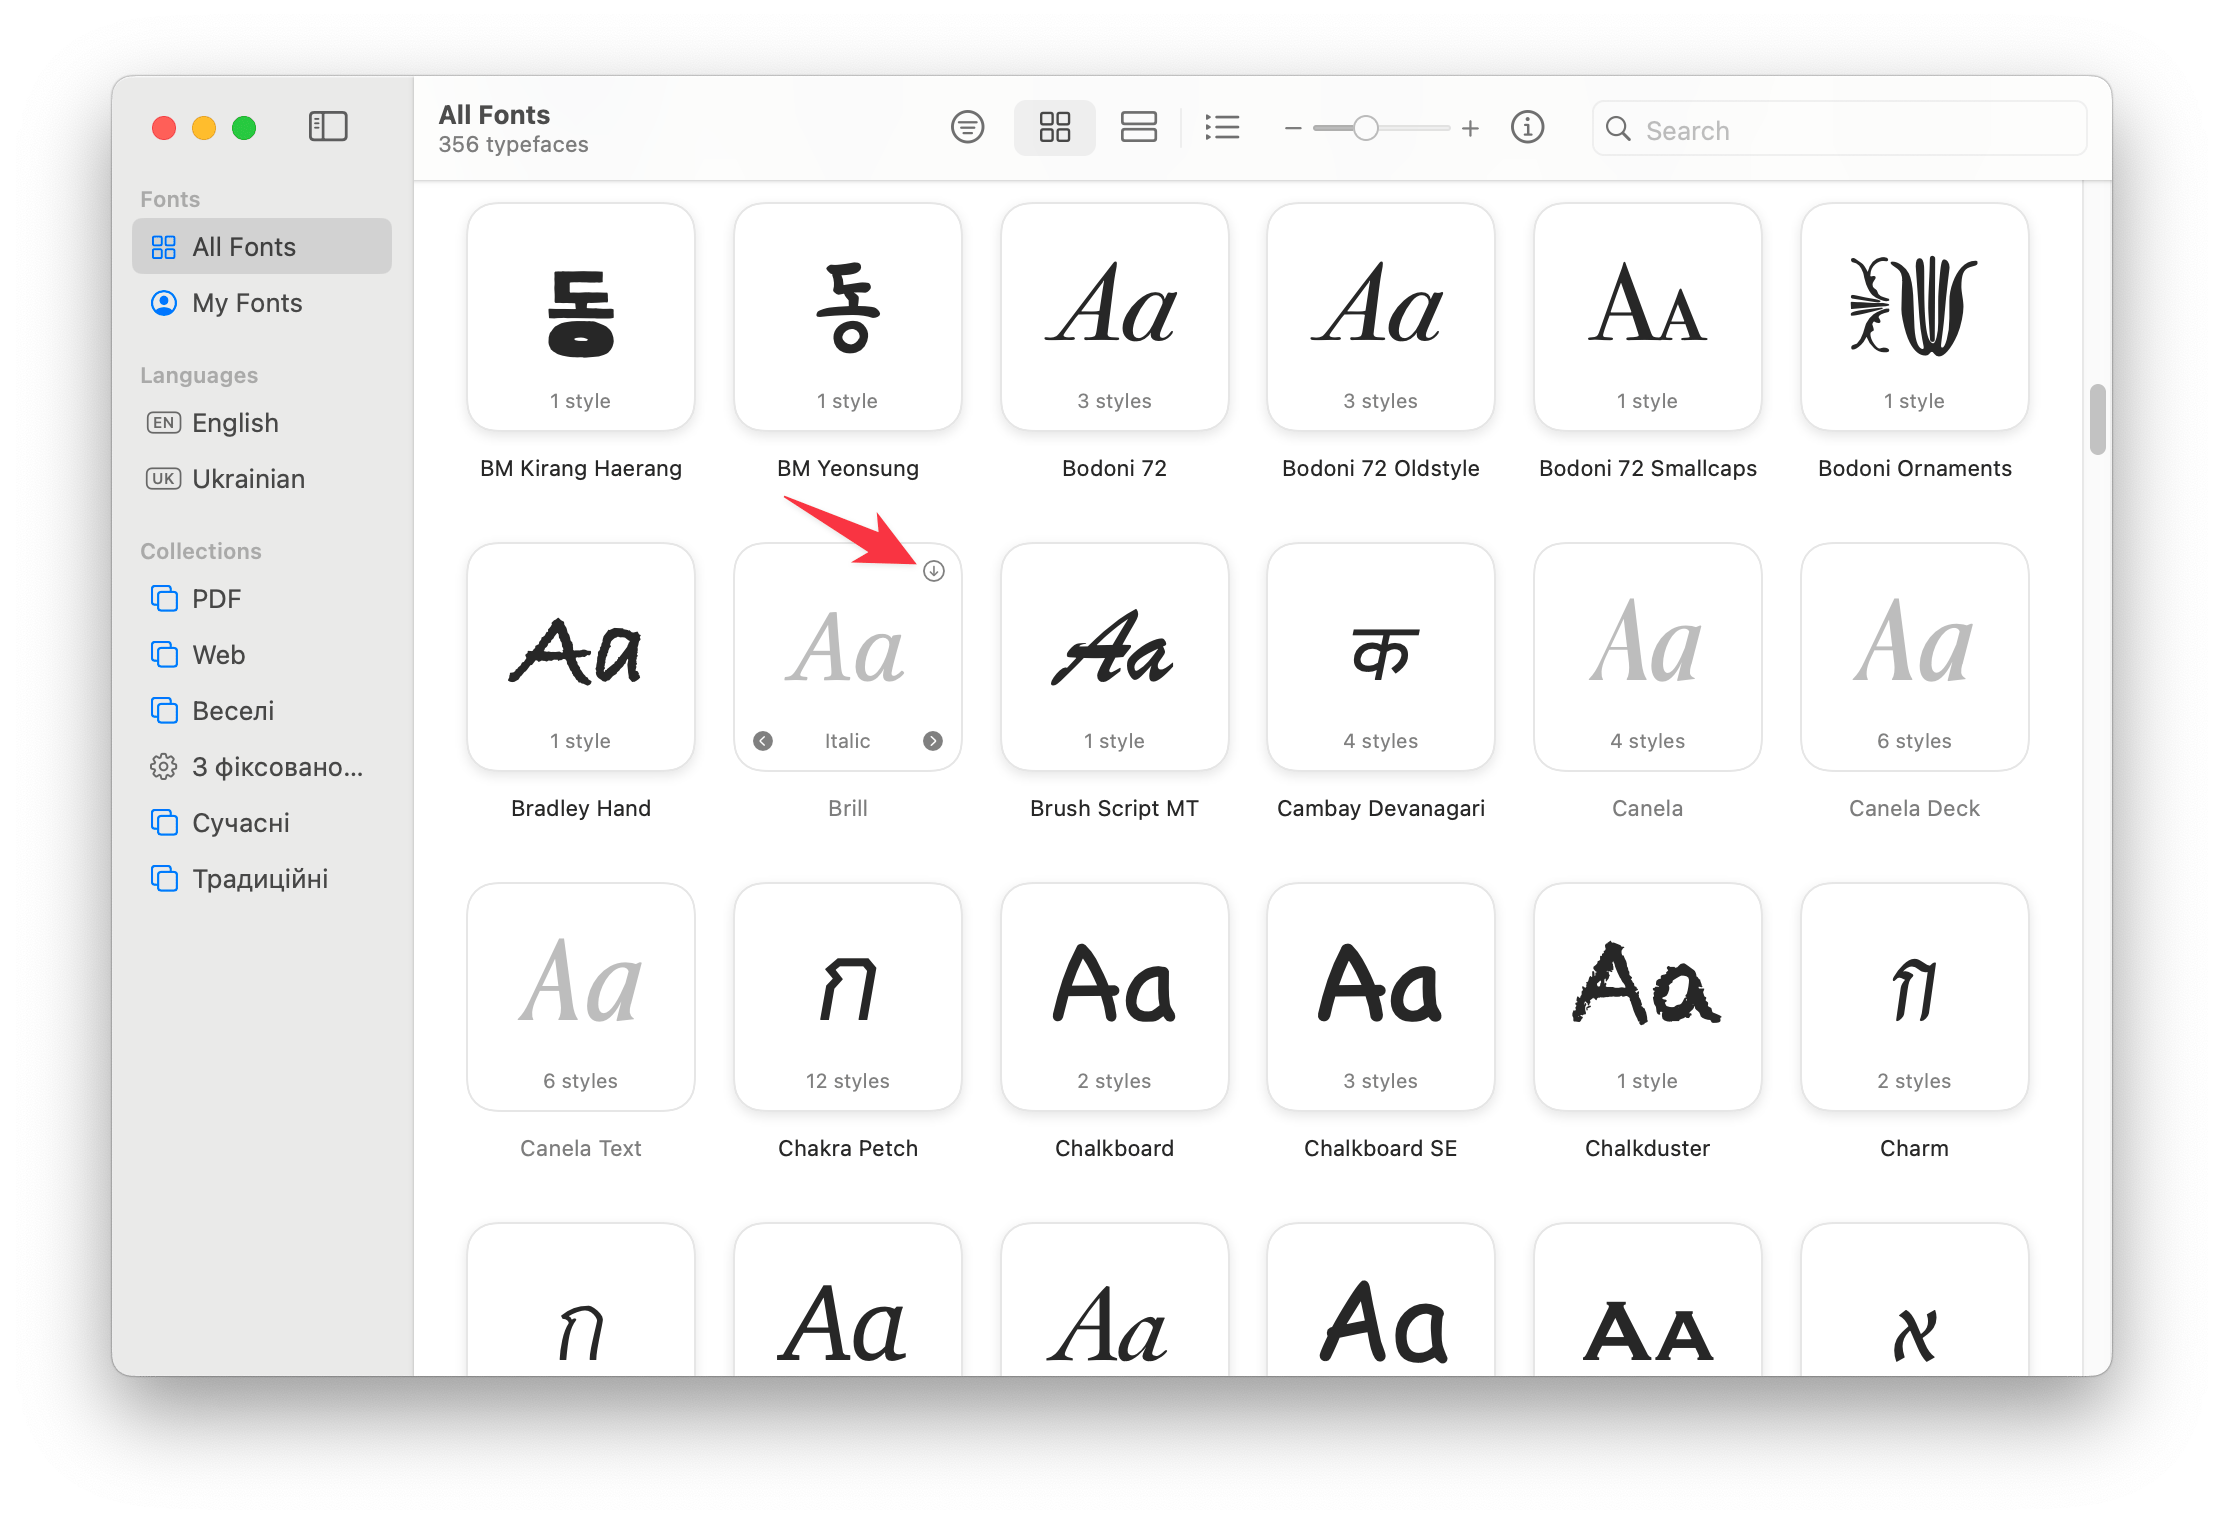
Browse the fonts on the list and select one of the grayed-out fonts.
Click the download icon to install it.
That’s one way to download fonts on Mac. To add a font you’ve saved to a folder on your Mac, just drag the font file to the Font Book window. Alternatively, you can open the Font Book app and choose File > Add Fonts to Current User. In the window that appears, double-click the font file. Done!
Installing new fonts on your Mac using DaFont
One popular source of fonts that are often free for personal use is DaFont. Here's how to download and use downloaded fonts on Mac:
Go to dafont.com and browse fonts.
Click Download next to the font you like and wait for the pack to download on your Mac.
Go to the Downloads folder in Finder (if that’s your default place for downloads) and open the folder with your downloaded font. It is usually named after the title of the font you’ve saved.
Double-click on an OTF or TTF file inside and click Install Font.
More methods to add fonts on a Mac manually
If you prefer to just add the file to the Fonts folder in Library, here’s the algorithm:
Open Finder, click Go in the top menu bar and select Go to Folder.
Type in ~/Library and hit Return.
Find the Fonts folder in the Library and open it.
Drag and drop your font file into the Fonts folder. Done! You can see your font in Font Book now as well.
Manage Mac fonts effectively
With time, your collection of fonts will grow. Naturally, Font Book makes it easy to keep track of and manage all your typefaces.
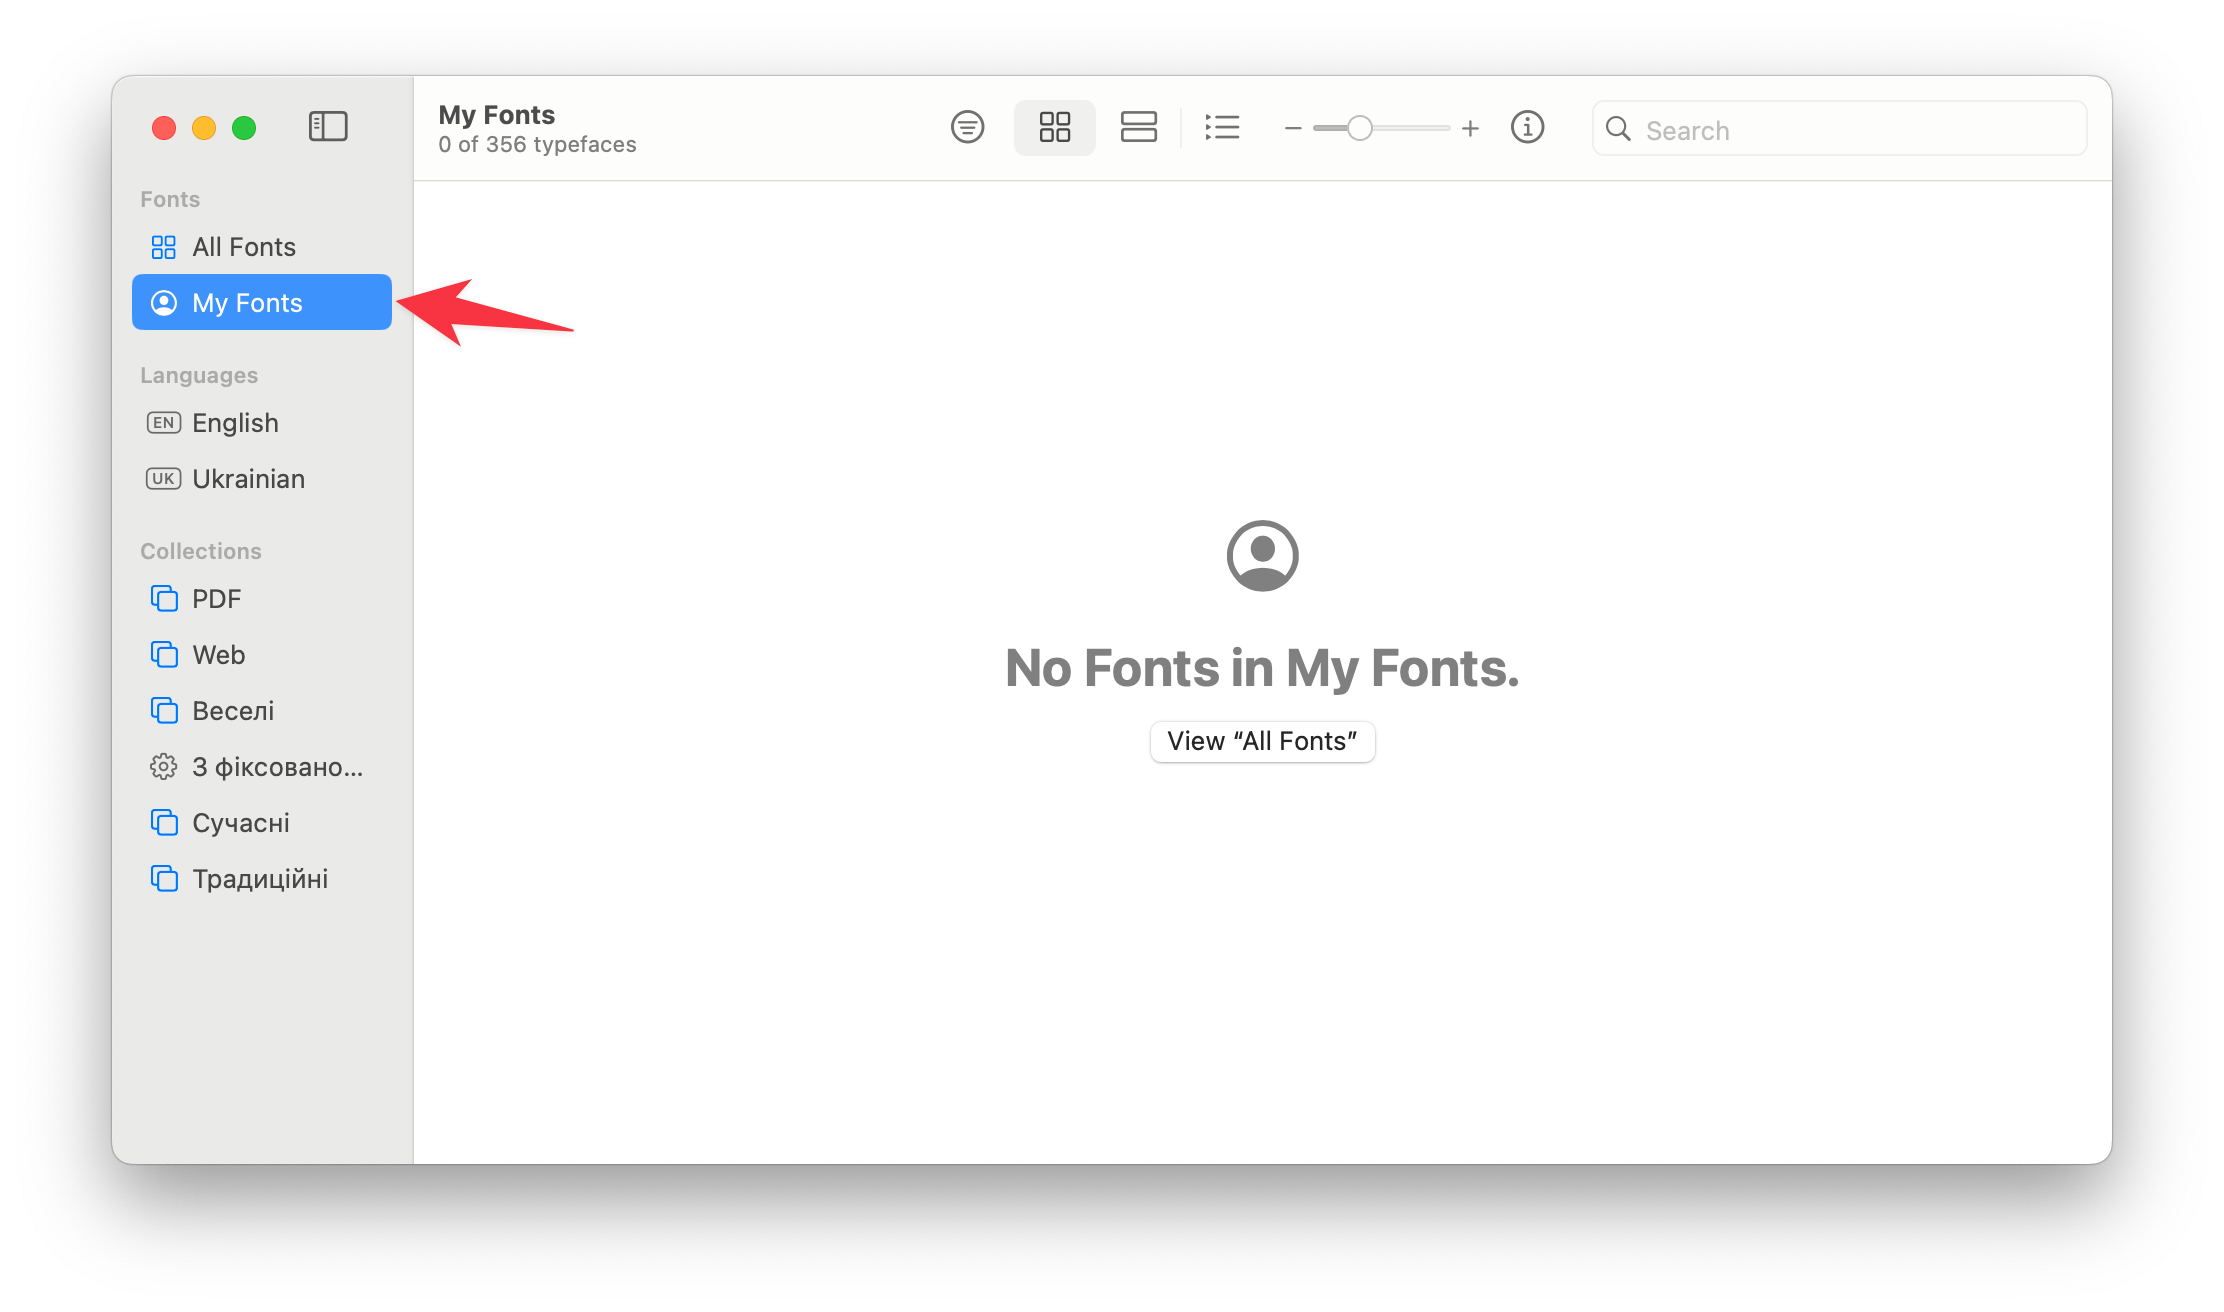
When you open the app, all the default typefaces are right in front of you in the All Fonts tab. And everything you’ve installed since gets added to the My Fonts tab.
You can combine various fonts into collections (for a specific project, for example; or based on style). To do that, just open the Font Book app and choose File > New Collection. Name your collection and simply drag the desired fonts into its name (in the sidebar on the left).
However, if you want more flexibility and features, Font Book is not the best choice. Instead, try using a font manager like Typeface.
The app allows you to preview font as text, easily browse and then drag and drop fonts onto Favorites or other folders to keep track of the ones you like for your project. You can import fonts through the app too.
Typeface also has a night mode. Even if you don’t plan to pick out your fonts in a dark room, it can come in handy for previewing what a typeface looks like on a dark background. To turn on Dark Mode in Typeface, go to View > Night Mode. You can also use the hotkey combination Option + N to turn it on and off in an instant:
Install fonts for your account only
If you are curious how to install fonts on Mac for your account only, that’s also possible. In fact, installing a font is set to User by default in Font Book. This means that if you are adding a font through Mac’s built-in app Font Book as we’ve shown above, the font gets added only to your Mac account.
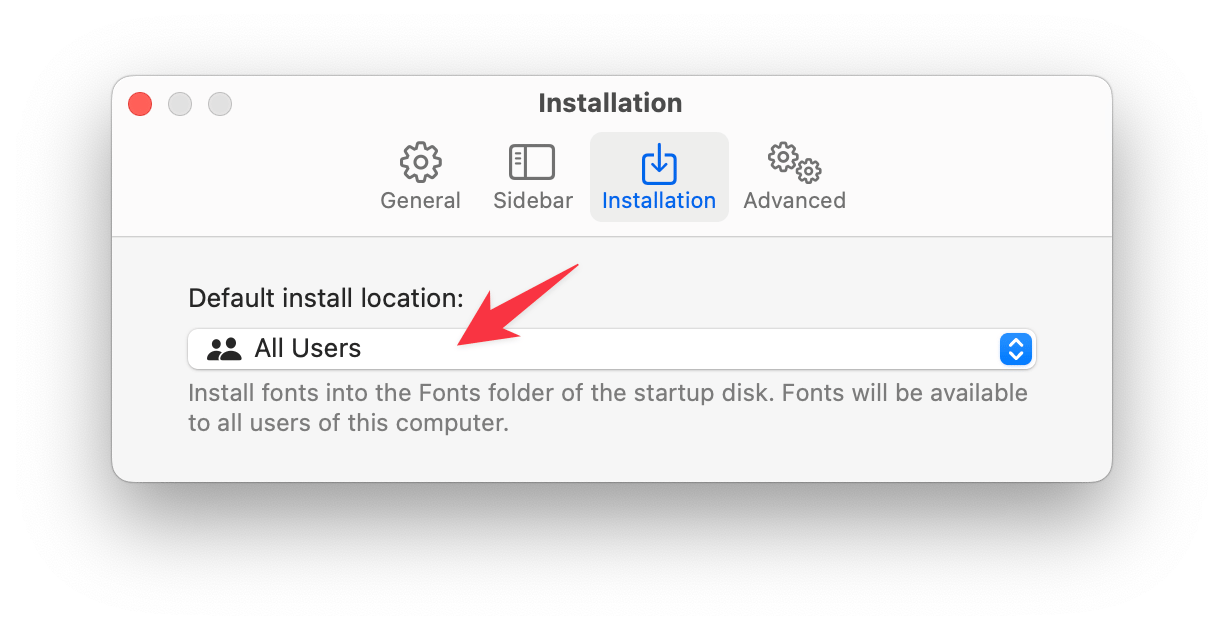
To switch to default font adding for all users (or vice versa):
Open Font Book and go to Font Book > Settings.
Choose the Installation tab.
Next to Default install location, choose All Users or Current User from the drop-down menu.
How to disable and enable fonts on a Macintosh
To disable a font on a Mac in the Font Book:
In the Font Book app, select one or more fonts or font collections.
Choose Edit > Deactivate, then click Deactivate Font (or Deactivate Fonts) to confirm. Deactivated fonts are dimmed in the list of fonts.
How to install WOFF font on Mac
WOFF stands for Web Open Font Format. It’s mostly used in web pages. It looks like the font is not supported on Mac computers, as I did not find this format listed as supported on this Apple support page on the subject. The listed supported formats are TTF, TTC, and OTF.
But if your font folder does not contain any TTF, TTC, or OTF files and you only have a WOFF file to work with, don’t despair — you can easily convert a WOFF file online. We’ve managed to convert such a file to TTF on convertio.co in just a few seconds. OTF file format is also available:
How to preview fonts on a Mac
Now that you know where to put fonts on Mac, let’s explore the ways to preview them.
To preview a font in Font Book:
In the Font Book app on your Mac, select a font collection or library in the sidebar.
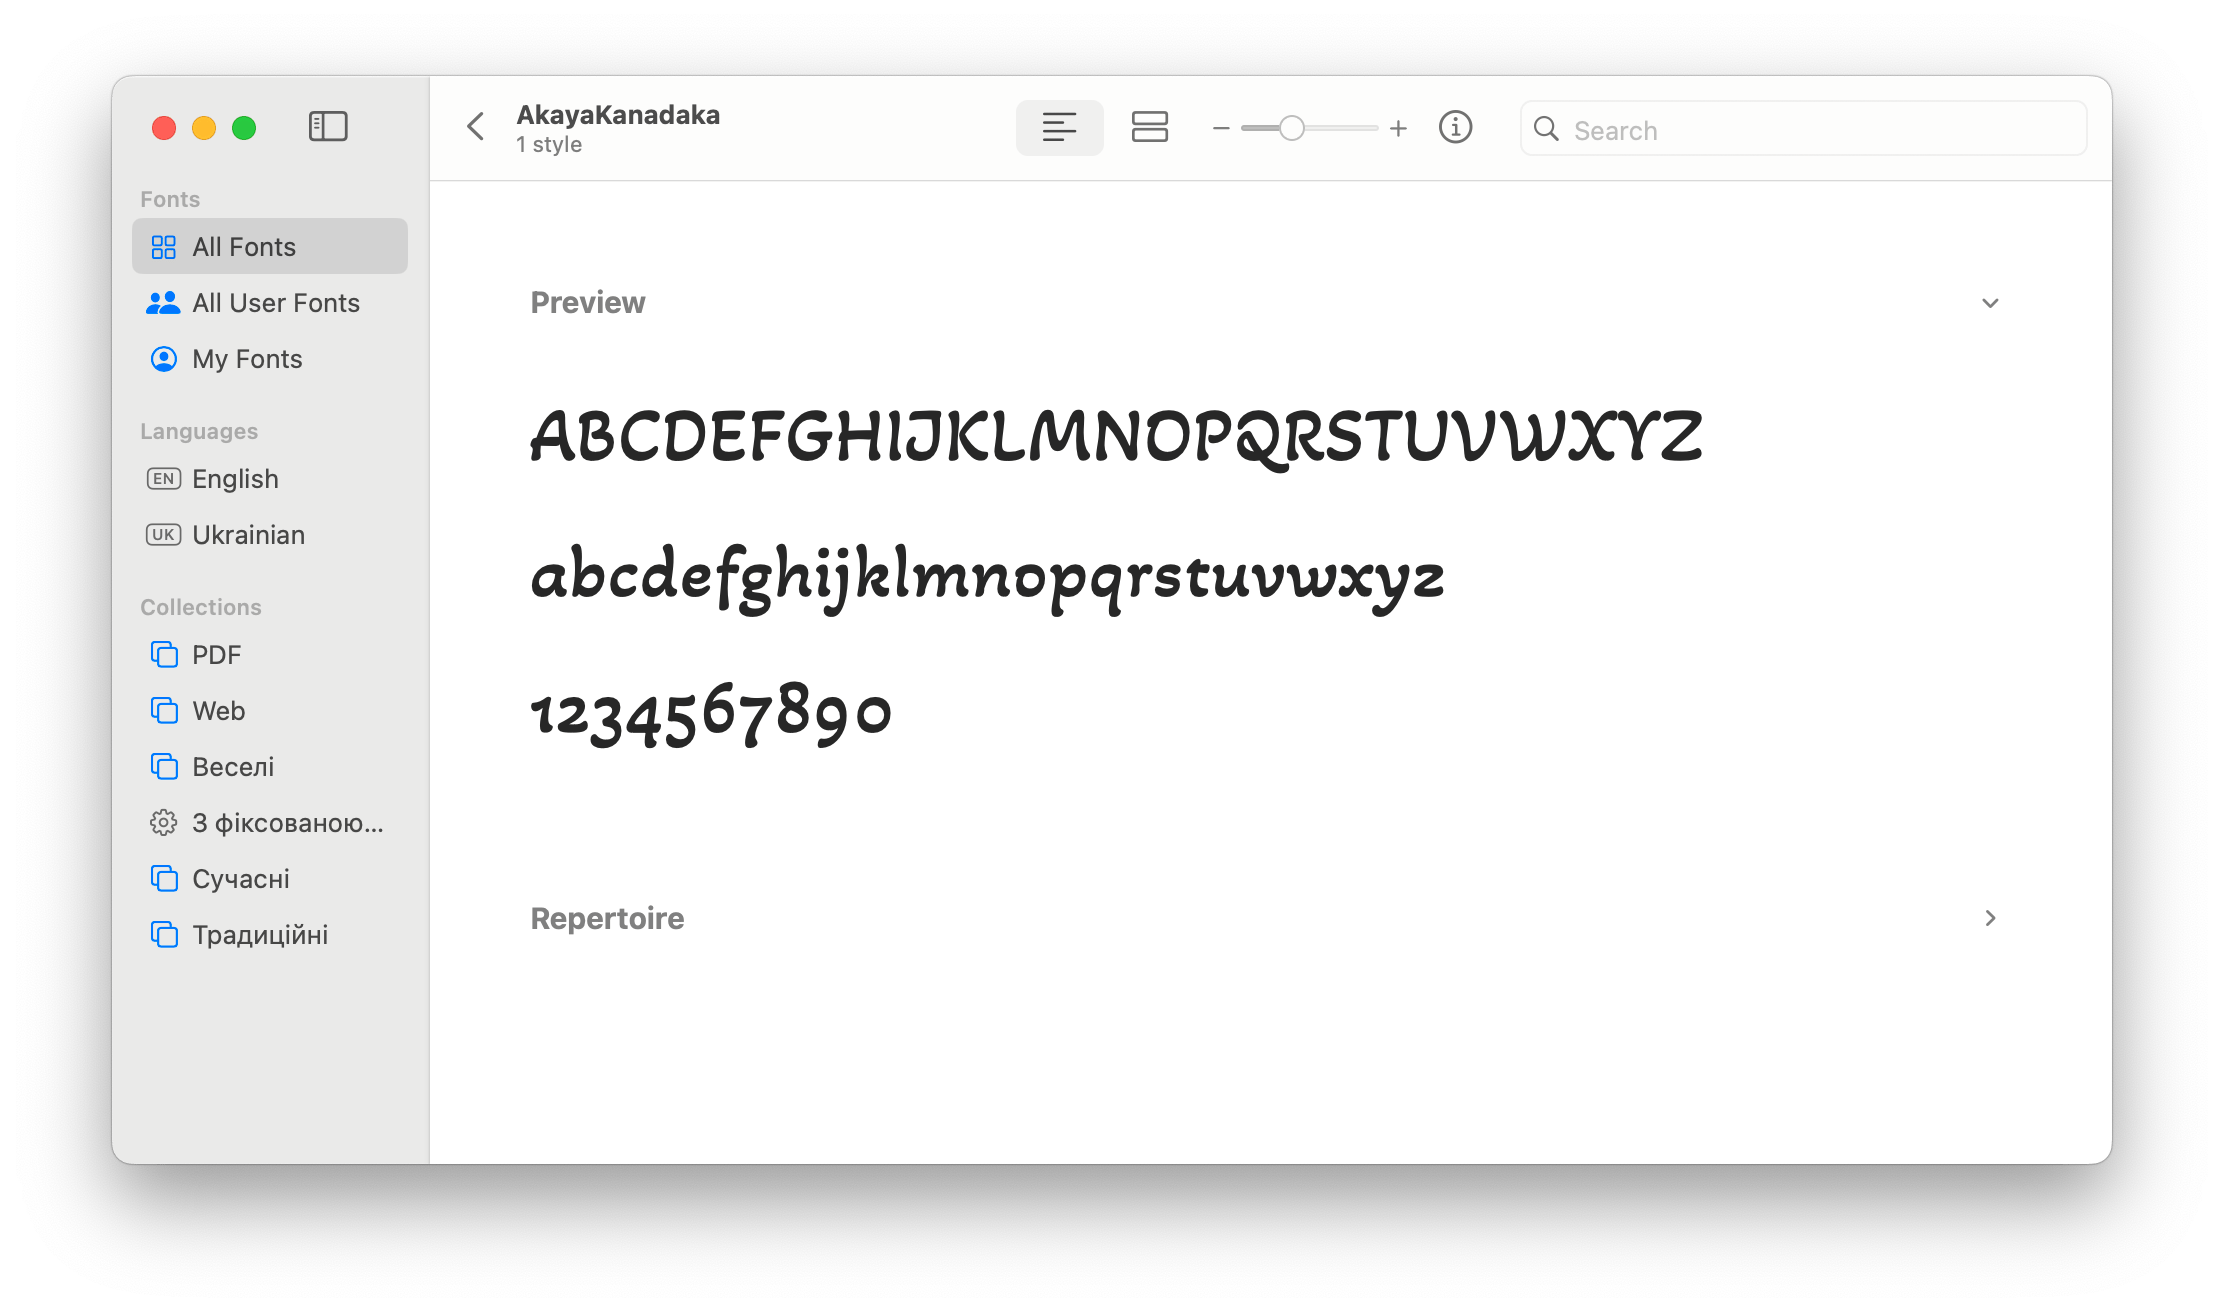
Click one of these buttons in the toolbar: Grid: Displays fonts in a grid, with a sample character or symbol.
Double-click a font to preview characters or to see the full repertoire of characters and symbols.
Remember I mentioned Typeface? It's the best tool if you want high-quality font preview, because it lets you view fonts adjusted to different layouts and projects. Even more, you can drag and drop a font from Typeface into your design app — Sketch, for example — and see the font change dynamically.
Install and manage Mac fonts via Setapp
Installing new fonts onto your Mac is a matter of seconds. You have quite a few options for doing that, including manual addition, installing from a downloaded font file, through Font Book, Typeface, or Path Finder, as we’ve detailed above. You can also make added fonts available just for your user or for every account on the Mac.
Adding and removing fonts is supplemented with enabling and disabling them. If you don’t want to delete the font file, you can just disable a font to make it unavailable for use, but you can enable it back whenever you need it again. And if no font suits your needs, you can actually design your own with apps like Glyphs Mini.
I hope the above guide was useful in solving your font installation woes. You can get the handy apps we’ve mentioned in the article — font manager Typeface, file and folder viewer Path Finder, and font editor Glyphs Min — in Setapp, a suite of 260+ apps that help tackle your everyday tasks with ease on Mac and iPhone.
The best part? You can try Setapp for free, with a seven-day free trial. Start exploring today and see how you like it.
FAQ
How to install fonts on PowerPoint Mac?
Once you’ve downloaded a font to Mac, either via Font Book, Typeface, or any other app, open PowerPoint and navigate to the Format tab. Then, click the Font drop-down and select the font you’ve downloaded.
How to install fonts on Mac for Cricut?
Although Cricut Design Space comes with tons of pre-installed fonts, you can additionally download other fonts. Just like with PowerPoint, you need to have your custom font downloaded to Mac. Next step, open your project in Cricut, add a new text layer, and click on the font dropdown in the toolbar. You can find the font by typing its name or applying the System filter and locating it amongst installed fonts.
How to install fonts on Mac Word?
The great news is you don’t have to install fonts specifically for apps like Word, you just need to have them installed on your Mac. Once you do that, restart your Mac, open Word, and go to Fonts — you’ll find your newly installed fonts there.